 It’s time to learn more about the strange happenings with the Twelve and the Lord of Eyes. Speaking to Horace Neble in the Tower of the Twelve, you learn about some strange occurrences in the asylum in the Embers District. Horace asks you to investigate what is happening and to see if you can rescue their informant. Beware; Xoriat itself is creeping into Stormreach. There is no easier way for the plane of madness to gain a foothold in our reality than in an asylum.
- Series: Lord of Eyes
- Level: 17
- Patron: The Twelve
- Length: Long
- Dungeon: The Embers Asylum
- Recommended Party: Standard
- MoBs: Odd Stormreach Citizen, Shady Character, The Receptionist, Suspicious Stormreach Guard, Eye Horror, Evil Eyes, Xoriat Renders, Greater Evil Eye, Night Shift Orderly, Male Patient
- Dangerous MoBs: Reality, Nightmare, Daydream, Right Eye, Wrong Eye, Nurse Ratchet
- Buffs: Standard
- Special Note: There are Xoriat Render creatures in here that will change your vision of reality. Be very careful when you kill these creatures, since they will grant you access to some places and block your access from others.
- Quest Stats: Detailed Quest Stats on DDMs Realm Here
 Before you head in, make sure that you have spoken to Basmore Trask and you are on the right step of the Lord of Eyes quest arc.
The quest entrance is actually located in the Marketplace just south of the bank on the westernmost wall. From the entrance to the Phoenix Tavern, you can see the stairs leading up to it.
Once you zone in, buff up, summon pets and hirelings, and be ready for a fight. There are many spell casters in here, so your standard buffs for spells should be used. The evil eyes shoot Force Missiles but Shield and Nightshield do not block these spells, unfortunately.
Once you are ready, speak to Durk. He is full of his usual nonsense but should give you some idea what is in store for you in the quest.
You will have two options for entering the asylum: hitting it from the front or sneaking in through the side entrance. If you want to get Conquest, split the party here. Make sure to send the rogue to the door on the west side of the entrance so they can take care of the trap on that side. You can rejoin each other in the asylum foyer.
The Embers District
Heading into the Ember District to the north of the quest entrance, you will encounter citizens of Stormreach who will to attack you. Some are casters and will ambush you from the roofs so keep an eye out for these.  There is a ladder near the gate that will allow you to reach the casters if you can’t take them out at range.
When you reach the entry gate of the asylum you will run into Reality. Killing it will allow you to pass the gates. Soon after this, you will encounter Nightmare. Unfortunately these two do not count until you activate these optionals further. But they do give you a preview of what you should be doing once you are in the asylum itself.
The Secret Entrance
Heading to the west once you zone in will send you toward the secret entrance of the asylum, you will also run into a few Stormreach citizens, however, not as many.
This section can be stealthed and if you are running this quest to stealth it, I would suggest going this way to sneak into the asylum.
Watch out for some traps once you enter the duct work. The control box will be a bit before the room with the fire traps so keep an eye out for it.
This route takes you past the entrance and drops you into the foyer. Be ready for a fight when you jump down as they will not take too kindly to you dropping in on them.
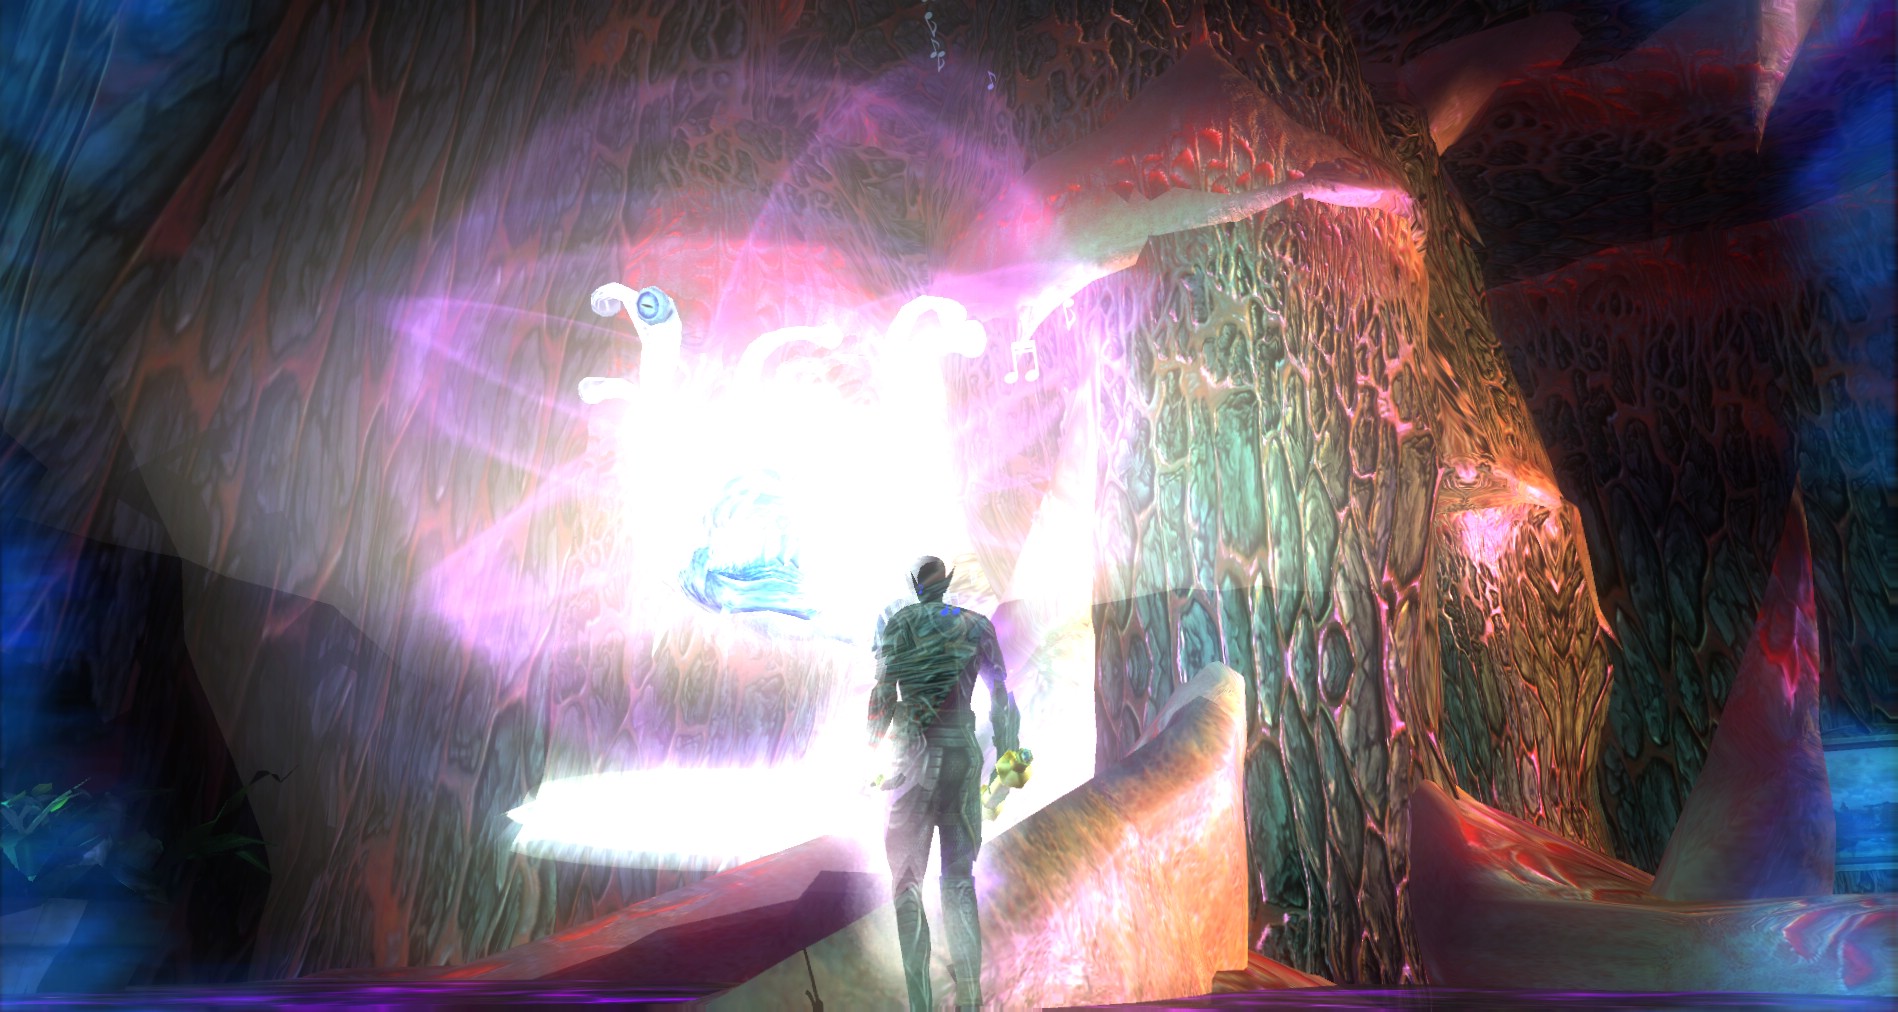
Warped Reality
 Your main goal is to navigate the asylum by jumping between the Reality, Daydream, and Nightmare worlds so you can accomplish all of the quest goals. Killing Reality, Daydream, or Nightmare are the only ways to switch between worlds, but you can only access each of them when you are in one of the others’ worlds. For example, if you are in Nightmare, you switch to another world by killing Reality or Daydream just as you did at the entrance to the asylum. This quest has the same idea as Inferno of the Damned in the Necropolis but instead of switching between mirrored planes you are switching between different realities.
There are three versions of reality in this quest. Each one will grant you access to some of the dungeon and some will limit your access. You will need to switch back and forth between all the various realities to complete all the optionals and objectives in this quest.
Reality
 Reality will give you black and white vision.
- Reality is in the south west of the asylum should you need to fight it to switch.

Nightmare
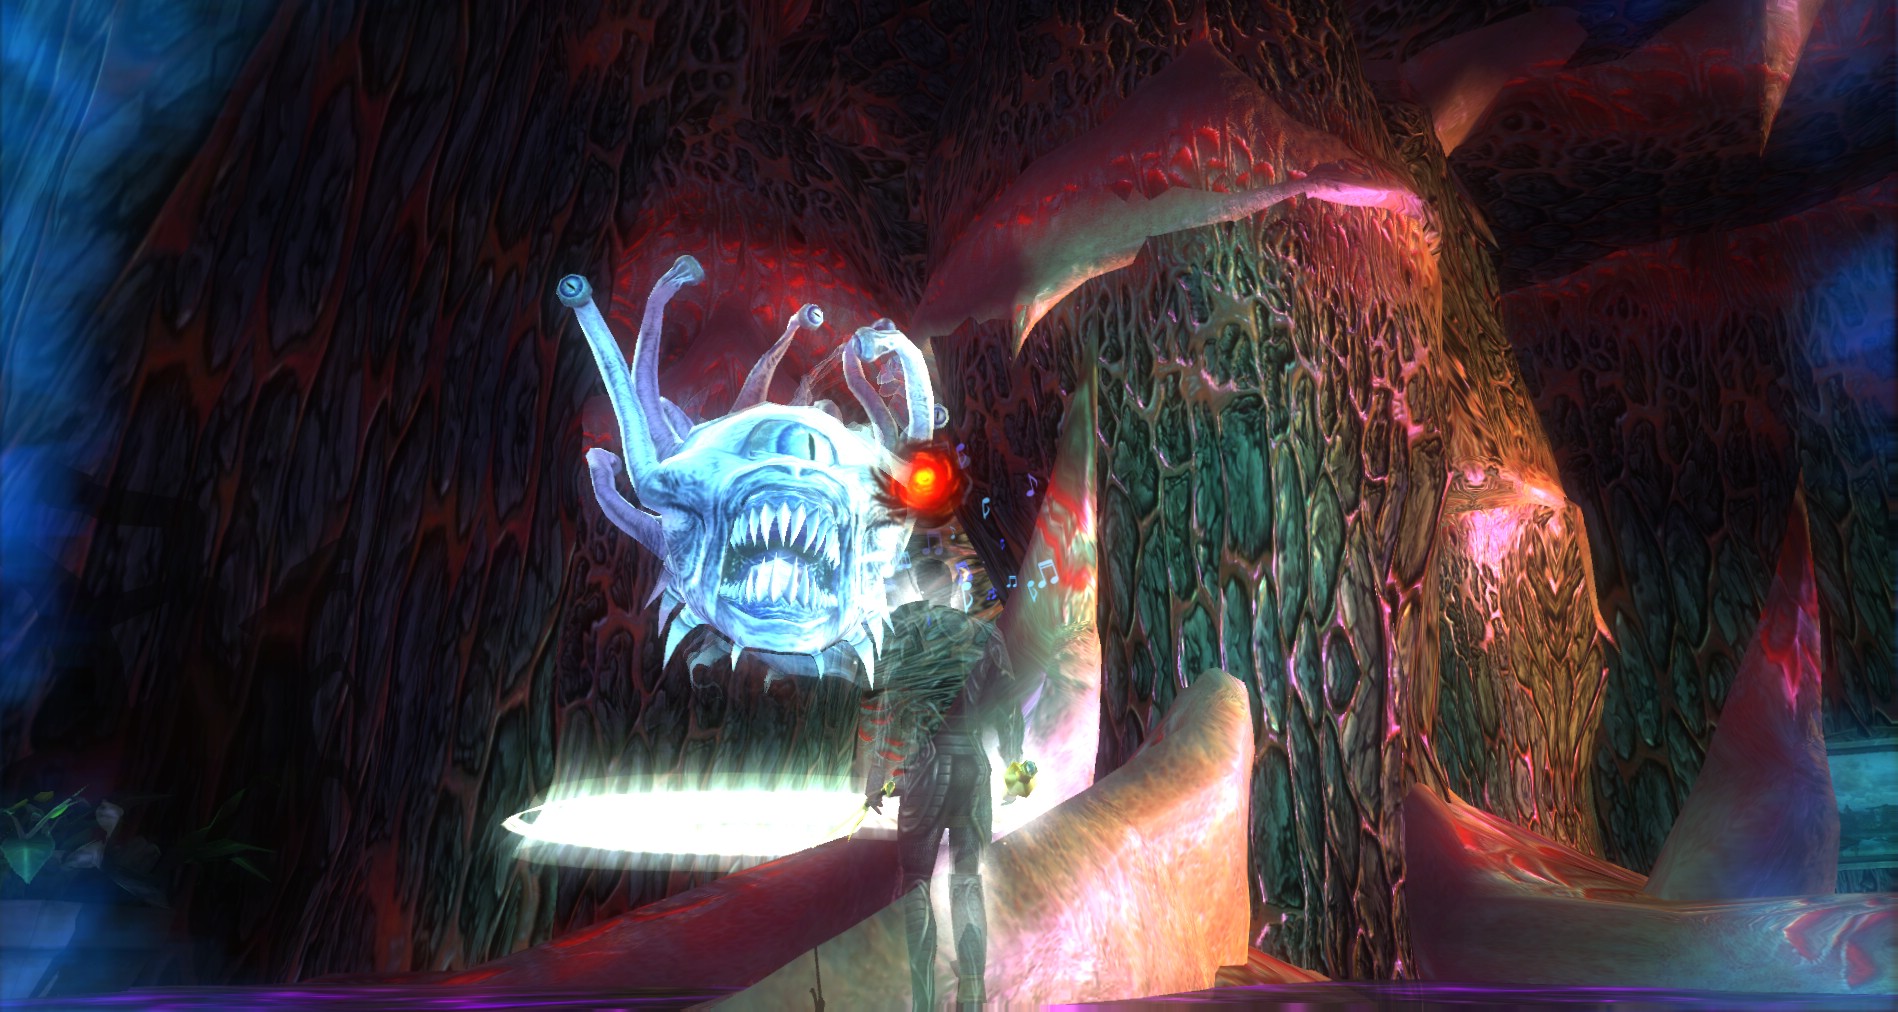
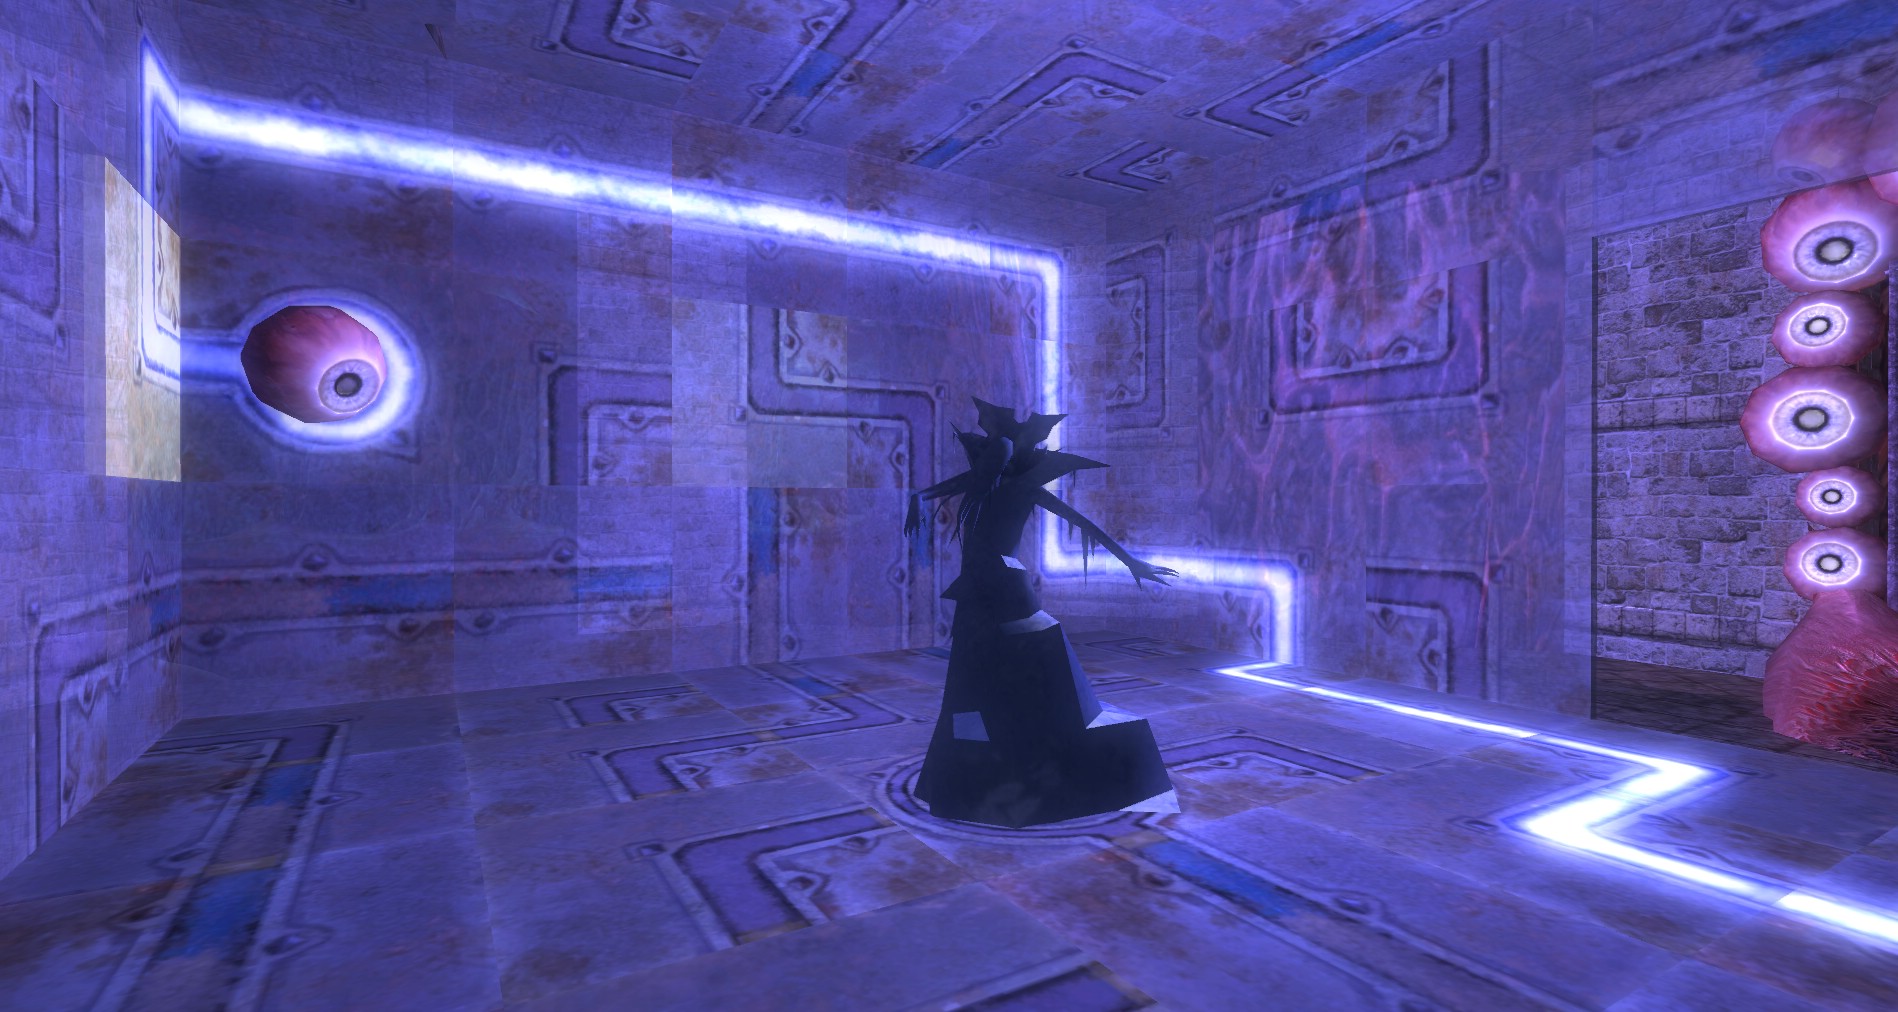
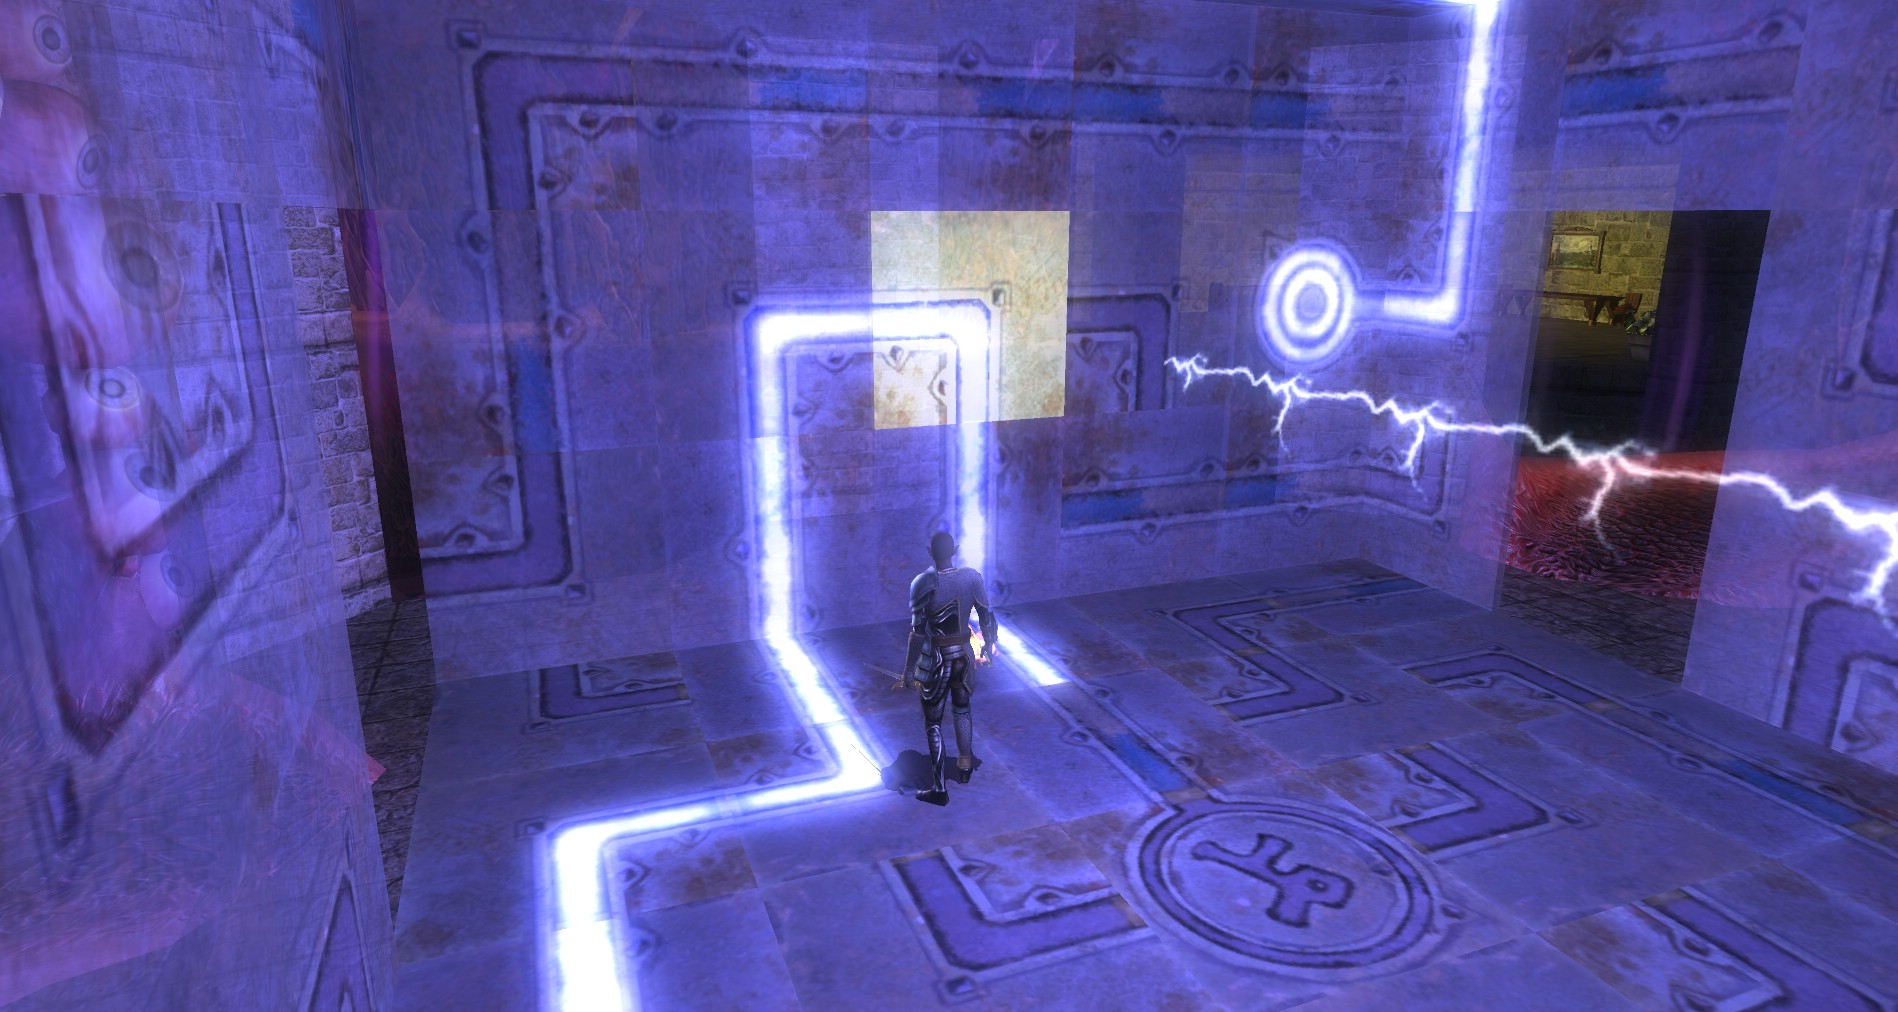
- Nightmare is wavering blue-edged vision.
- Nightmare is in the north west of the asylum should you need to fight it to switch.
- You can reach the shrine in the south east.
- You can reach the Right Eye in the north east.
- You can reach the Wrong Eye in the north west.
Daydream
- Daydream is normal vision.
- Daydream is in the north east of the asylum.
To change your reality you must kill them in a certain order: Nightmare > Reality > Daydream > Nightmare
When you switch realities some monsters in the asylum will respawn.
The Sane Asylum
 Make sure to open up and clear all of the patient cells in the asylum if you are not stealthing the quest. Many have multiple doors which will grant you access to different areas as you go along. This will also help your hirelings and summoned creatures to get to you and your enemies. They can get stuck or confused in here really easily.
You can use the door levers from either side of the wood doors in the asylum, so don’t turn around if you target a door on the other side of a wall, you may very well be able to use it.
Eye Horrors turn into evil eyes when they die so be ready to keep fighting the freaky little things.
Be prepared to fight new enemies when you switch realities. Many monsters will not be able to reach you in the quest unless you are in one reality or another.
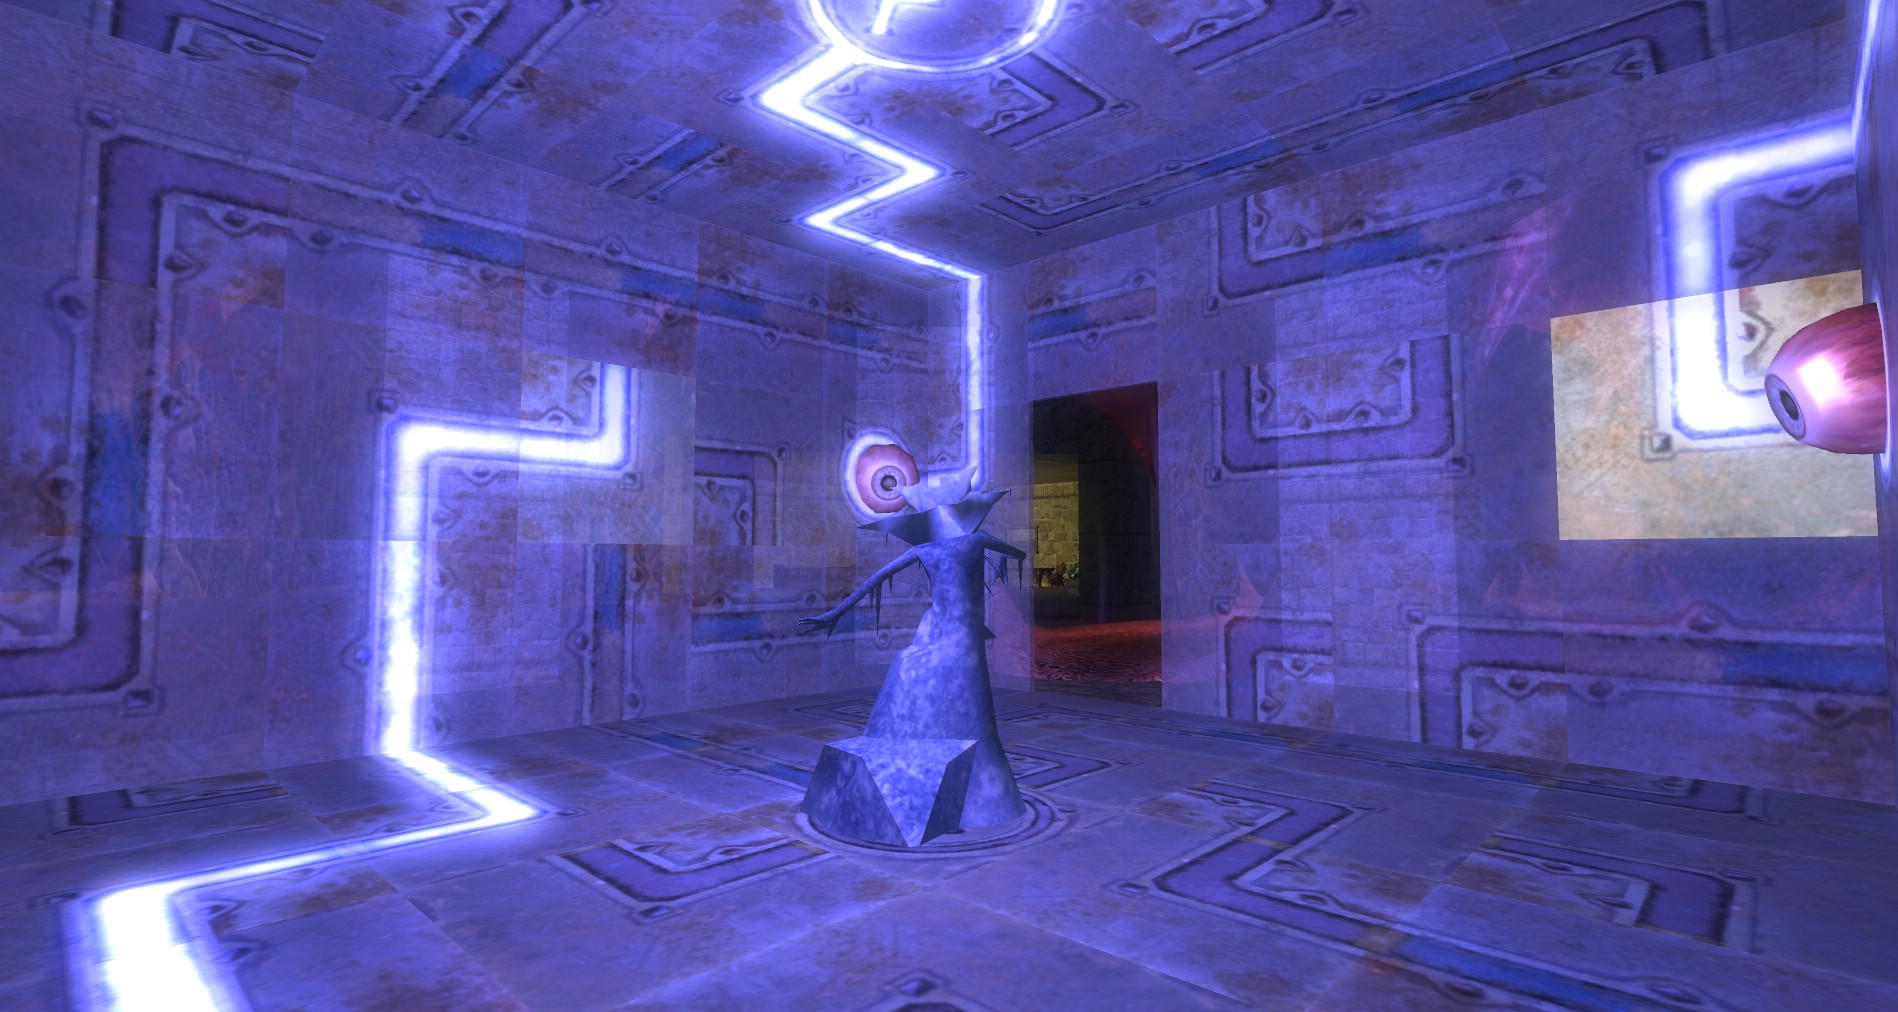
Frozen Fred and the Puzzle for Prizes
You will have to kill Reality, Nightmare and Daydream at least once to gain access to Fred’s area and the final room. I would suggest doing this so you can do the extra puzzle then go back and take out the beholders.
Puzzle A – Note how the bottom floor tile to the east of Fred is straight.
 |
 |
 |
Puzzle B – Note how none of the bottom floor tiles by Fred are straight.
 |
 |
Puzzle C – Note how the bottom floor tile to the north of Fred is straight.
 |
 |
 |
I am not sure if you can get the extra chest if any of the puzzle is destroyed, so I would suggest heading straight in to get the puzzle solved first. Then go after the two optional eyes (Right Eye and Wrong Eye). Doing this will get you an extra chest with a chance at some of the named loot.
Look to the images of Fred’s Puzzle chamber to see how to solve the puzzle.
Once the puzzle is solved you will notice there is no chest. This is because Fred is a cheap, ungrateful Mind Flayer. Press him for a reward to get him to grant you your well-deserved extra chest.

Right Eye
 The Wrong Eye is an armored beholder and will not remove buffs, thankfully.
The Right Eye is at the end of one of the secret Daydream Passage that can be found in the center of the northernmost wall of the Asylum. You should be in “Nightmare” to enter the passage. Go into the cell above it and the floor will fall out beneath your feet, dropping you into a fleshy hallway. There are some evil eyes and eye horrors on your way to the Right Eye but they are easily defeated.
When you are ready to fight the beholder, make sure that you all go in as a group. A portal will appear and can block party members and summoned creatures.
When the Right Eye dies its magic will falter causing the same side of the puzzle to break. You will need to solve the puzzle in order to get the extra chest it offers.
Once the Right Eye is dead, take the portal back to the foyer of the asylum.
Wrong Eye
The Wrong Eye is a fleshmaker beholder and will not debuff you either. Thanks for the new and FUN kinds of beholders devs!
The Wrong Eye is at the end of another secret Daydream Passage that can be found in a cell at the north end of the west wall of the Asylum. You should be in “Nightmare” and the floor will fall out beneath your feet, dropping you into a LSD-induced puddle. There are more eyes creatures on your way to the Wrong Eye but they shouldn’t even slow you down.
 As with the other side a portal will appear and can block party members and summoned creatures so go into the room together.
When the Wrong Eye dies its magic will falter causing the same side of the puzzle to break. You will need to solve the puzzle in order to get the extra chest it offers. Hopefully you have already solved the puzzle and gotten the extra chest. With both the Wrong Eye and the Right Eye defeated there will be another chest waiting for you just after Fred.
Once the Wrong Eye is dead take the portal back to the Foyer of the asylum once again.
Secret Chest and Shrine
 Make sure you head down to the south east corner of the asylum before you finish out. There is a cell there with another false floor and you can go down there to access another shrine. Not only that you will also get the third of the Daydream Passages as well as an extra chest. Well worth the trip down there. Make sure you are in Nightmare so you have access to it.
The Nurses’ Station
Once you have completed everything, you want head back toward Fred.
Use the shrine right before Fred for the final fight. Toss out any buffs that cannot get taken away by beholder anti-magic fields and put on your beholder fighting gear.
Make sure to grab your extra chest past the puzzle if you killed both of the eyes. When you get to a hole at the end of the tunnel, stop. As soon as you jump down, be ready for a fight. You will be fighting Nurse Ratchet which is a nasty, mean beholder. Use normal tactics with Nurse Ratchet for the most part.
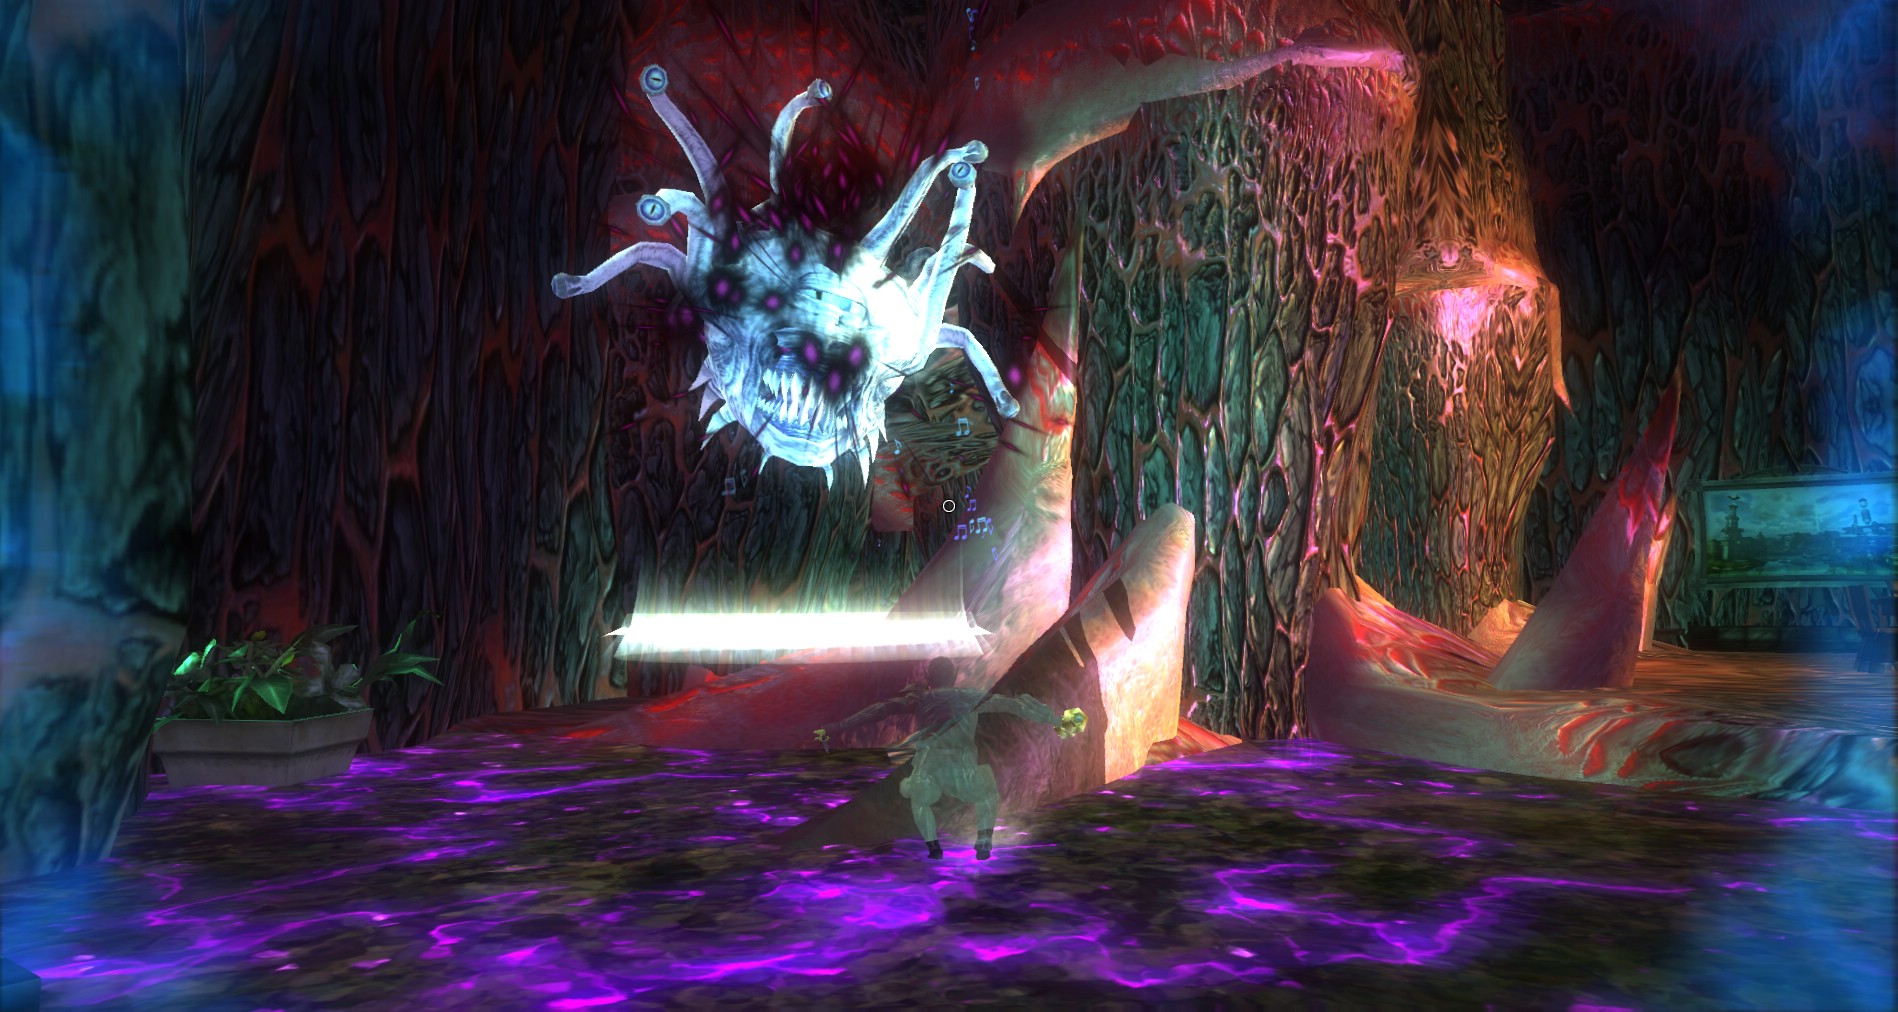
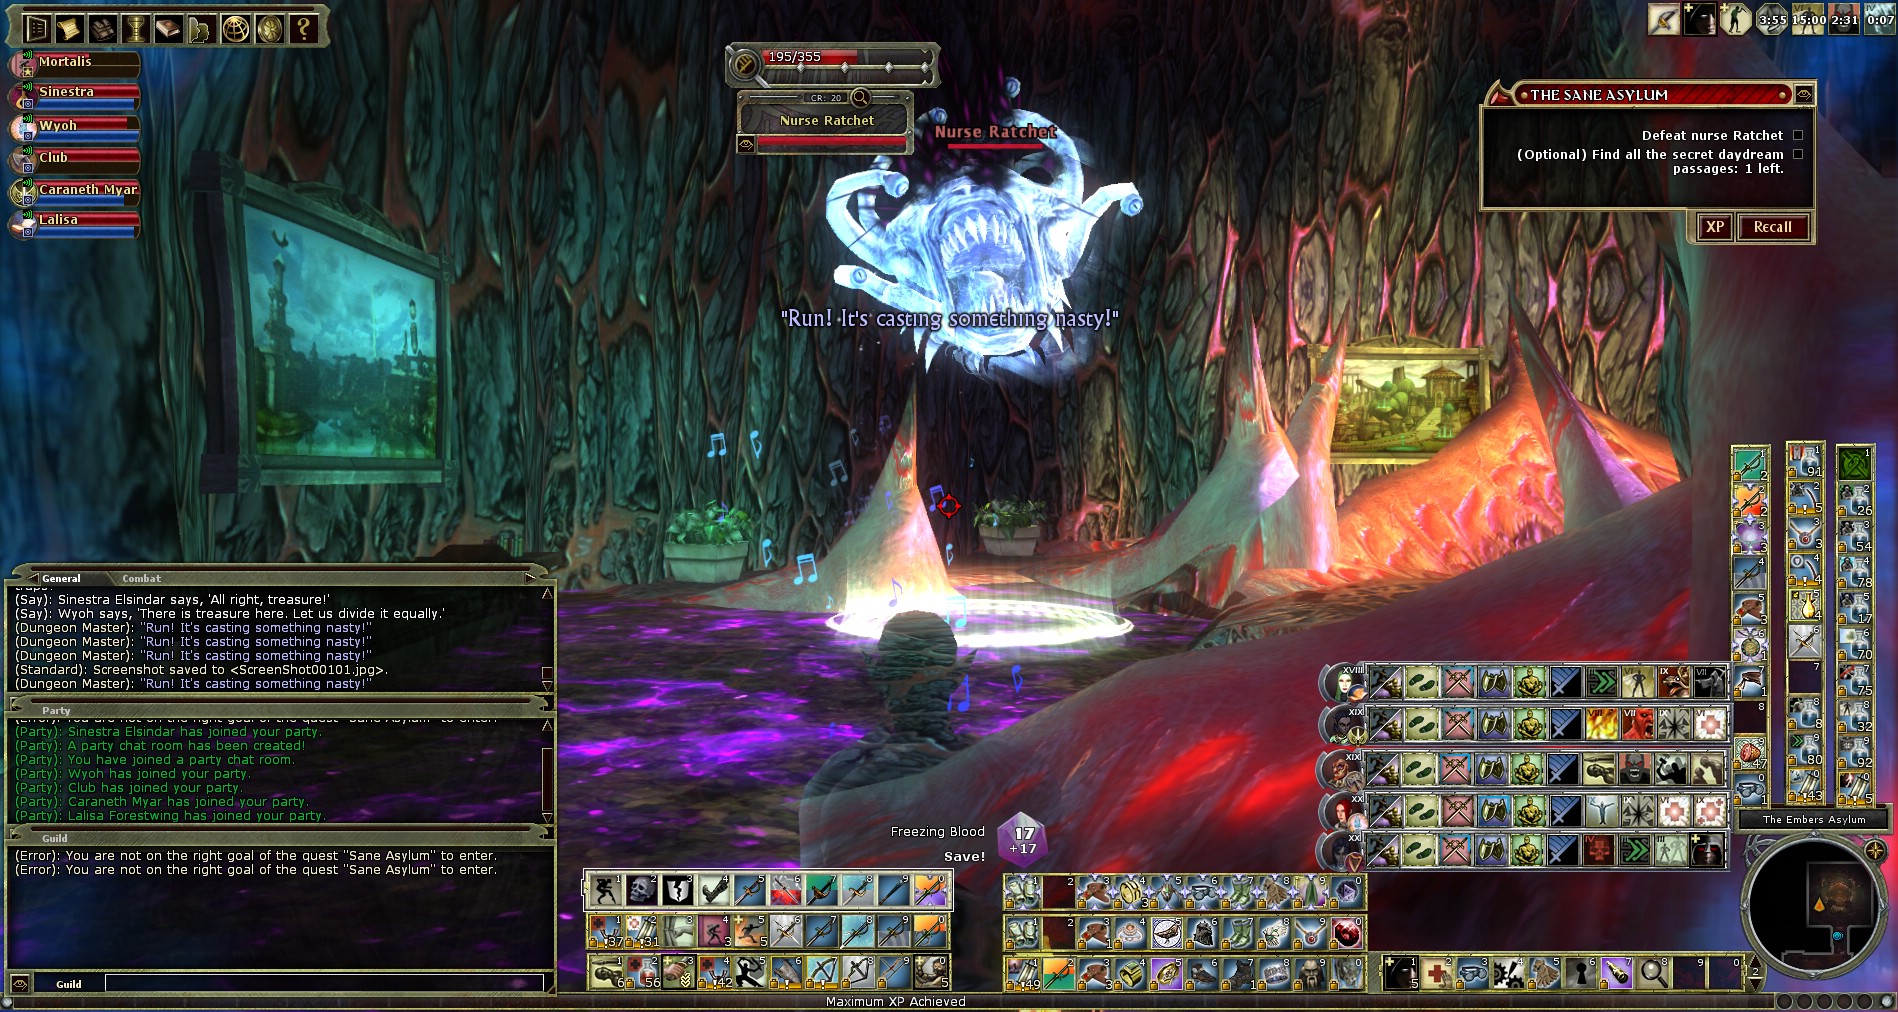
When Nurse Ratchet teleports you will see a DM’s announcement “Run! It’s casting something nasty!” This is good advice. You will also see Nurse Ratchet covered with a curse like cloud. In a few seconds, Nurse Ratchet lets loose a very nasty area of attack spell that blasts all those near her with force damage as well as a healing curse on anyone caught in the blast. She does this attack about every twenty seconds or so. Make sure you are on your toes.
 Use the pillars in the lair to avoid Nurse Ratchet’s area of effect attacks and eye beams. Break line of sight to get a Heal off, use a potion or two or just avoid some eye beams. You should use hit and run tactics on her. Once she teleports, run away and hide behind a pillar. Once you see the explosion, charge back in!
Once Nurse Ratchet dies, the madness begins to fade and you will be teleported back to the foyer of the asylum where Fred is now sealing the asylum up tight. Be sure to give Fred a hug and loot the chest before you leave the quest.
Repair and sell just outside in the Pheonix Tavern and then head off back into the Twelve to tell Horace Neble what you found out in Embers Asylum.

No Comments Yet