 The Cannith Manufactury has been overrun both with warforged loyal to the Lord of Blades, and with rogue Cannith elements loyal to Toven d’Cannith. Lena d’Cannith wants you to retrieve the master Manufactury Schematics that contain the security overrides needed to lock down the area. Go to the Syrania Conduit Floor inside the Cannith Manufactury and then search for the schematics. This quest caters to a couple of different types of groups. Decide if your group wants to: stealth your way through, use smarts to win your way through, or straight up smash your way through. Each path has its own unique challenges and rewards!
- Series: None
- Level: 19
- Patron: Cannith
- Length: Medium
- Dungeon: Syrania Conduit Floor
- Recommended Party: Standard, groups can differ greatly depending on how you run this quest
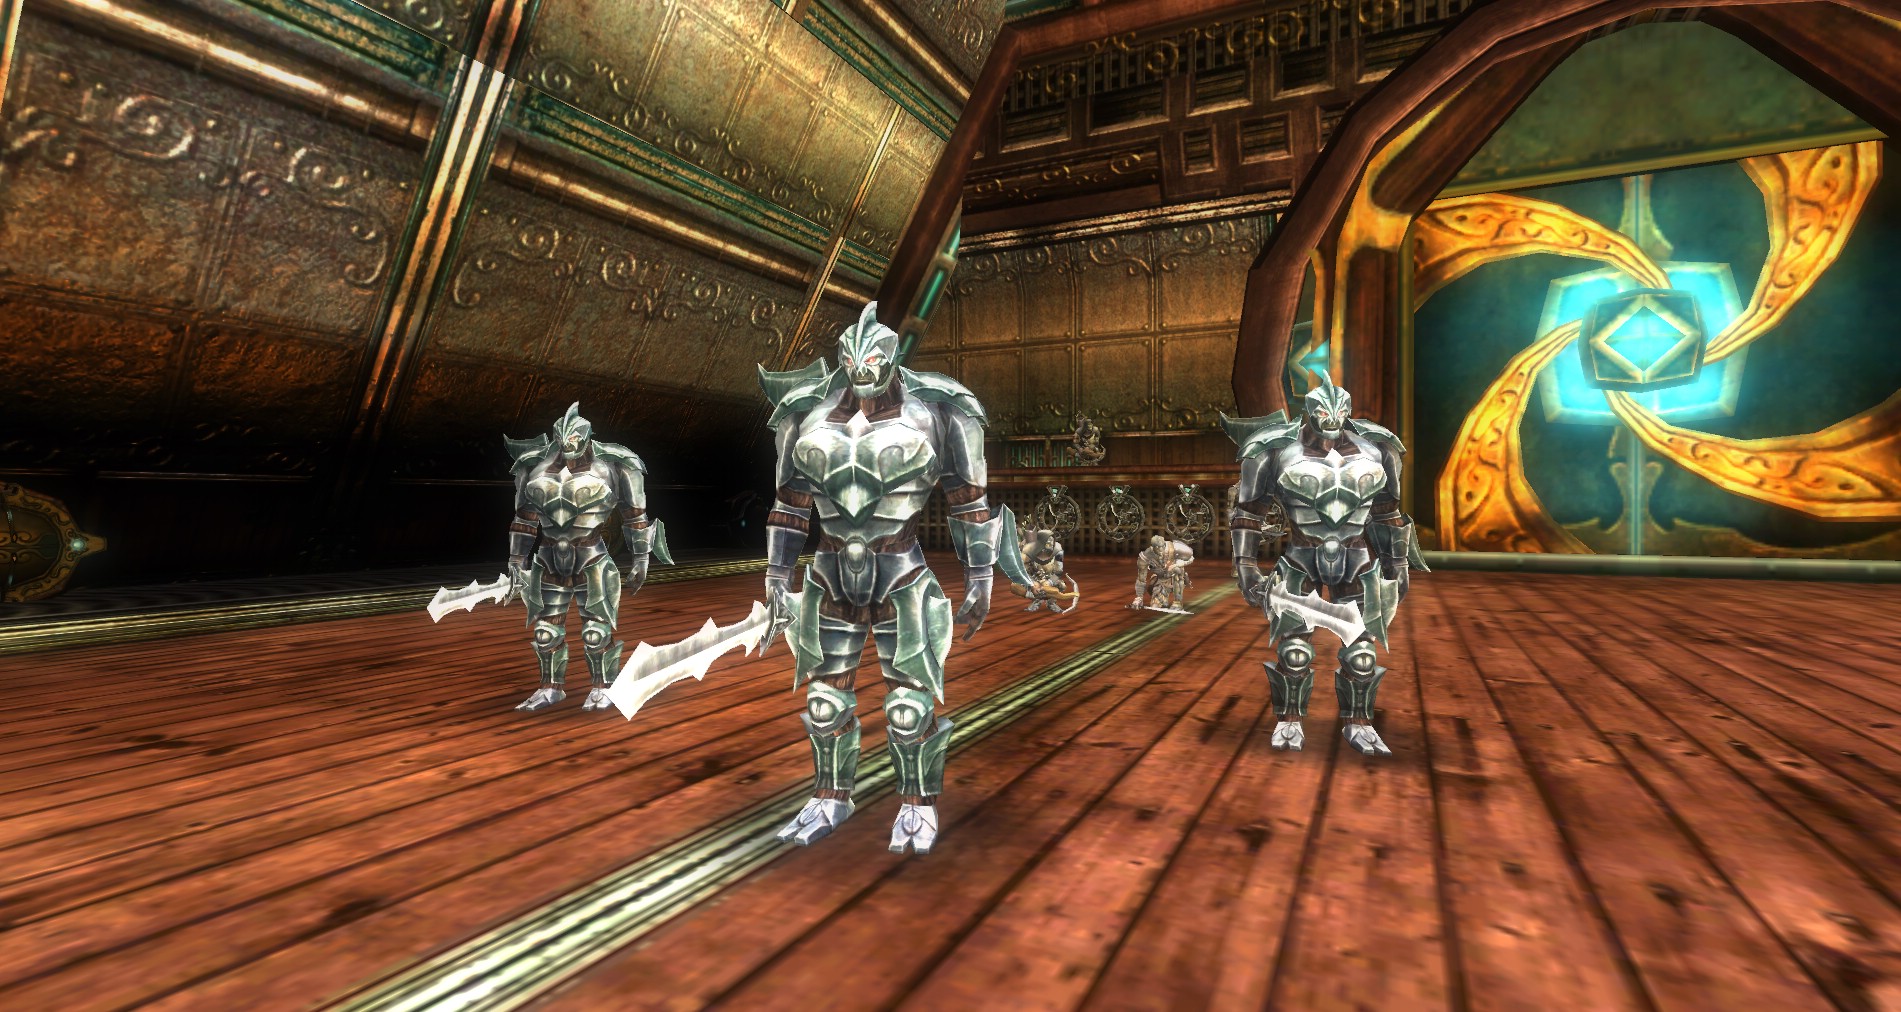
- MoBs: Cannith Fighters, Bladesworn Paladin, Bladesworn Tempest, Bladesworn Assassin, Watcher Constructs, Iron Juggernaut, Bladehound, Cannith Warhound
- Dangerous MoBs: Rogue Artificer, Artificer, Peacemaker, Master of the Hunt, Whitefang
- Buffs: Freedom of Movement
- Special Note: You can complete this dungeon in three different ways: Stealth, Smarts or Smashing. You need to complete this quest before you can run the Master Artificer and Lord of Blades raids.
- Quest Stats: Detailed Quest Stats on DDMs Realm Here

Entering the Syrania Conduit Floor
The first order of business will be to decide how you plan to run this quest. There are several different ways to complete it. Each section will be divided into the different options so you will know how to handle each piece depending on how you want to run it.
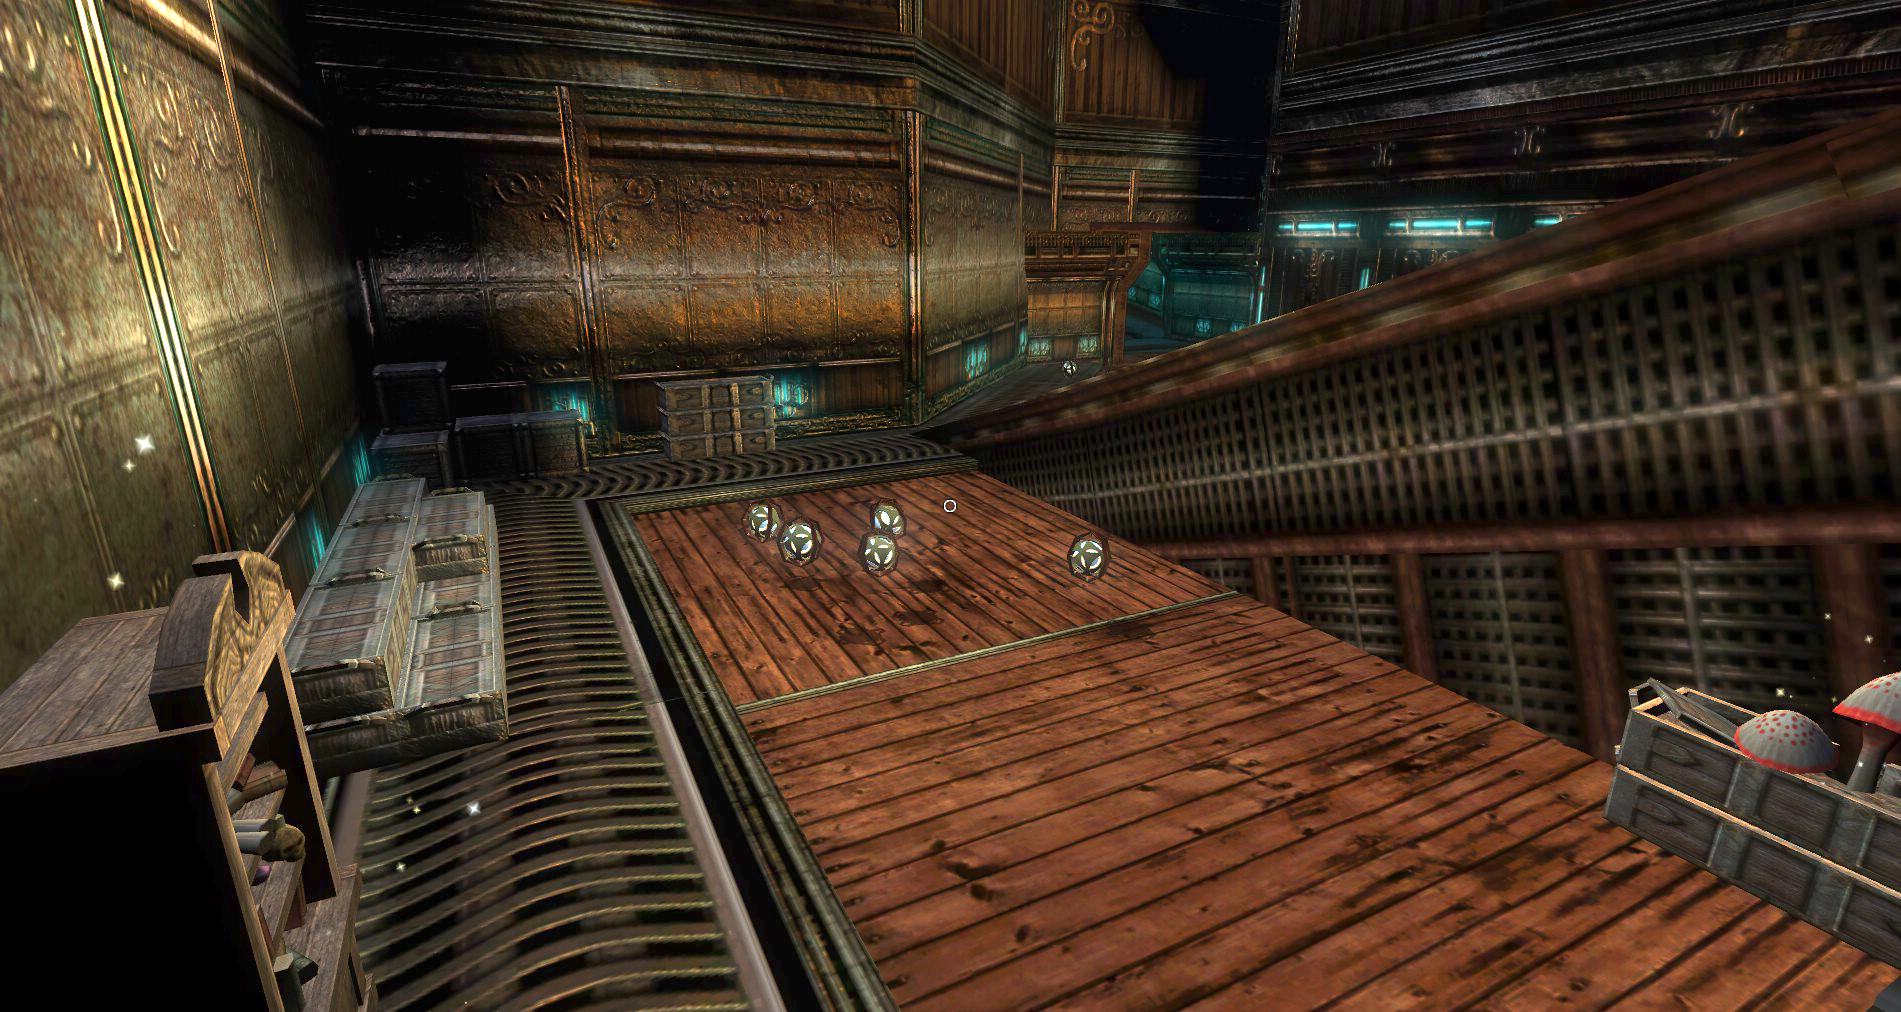
Once you have decided how you will be running the quest, make sure everyone is on board, then buff up and head off. Don’t forget to smash all the supply crates here if you are looking for Ransack.
The Cannith Strike Team
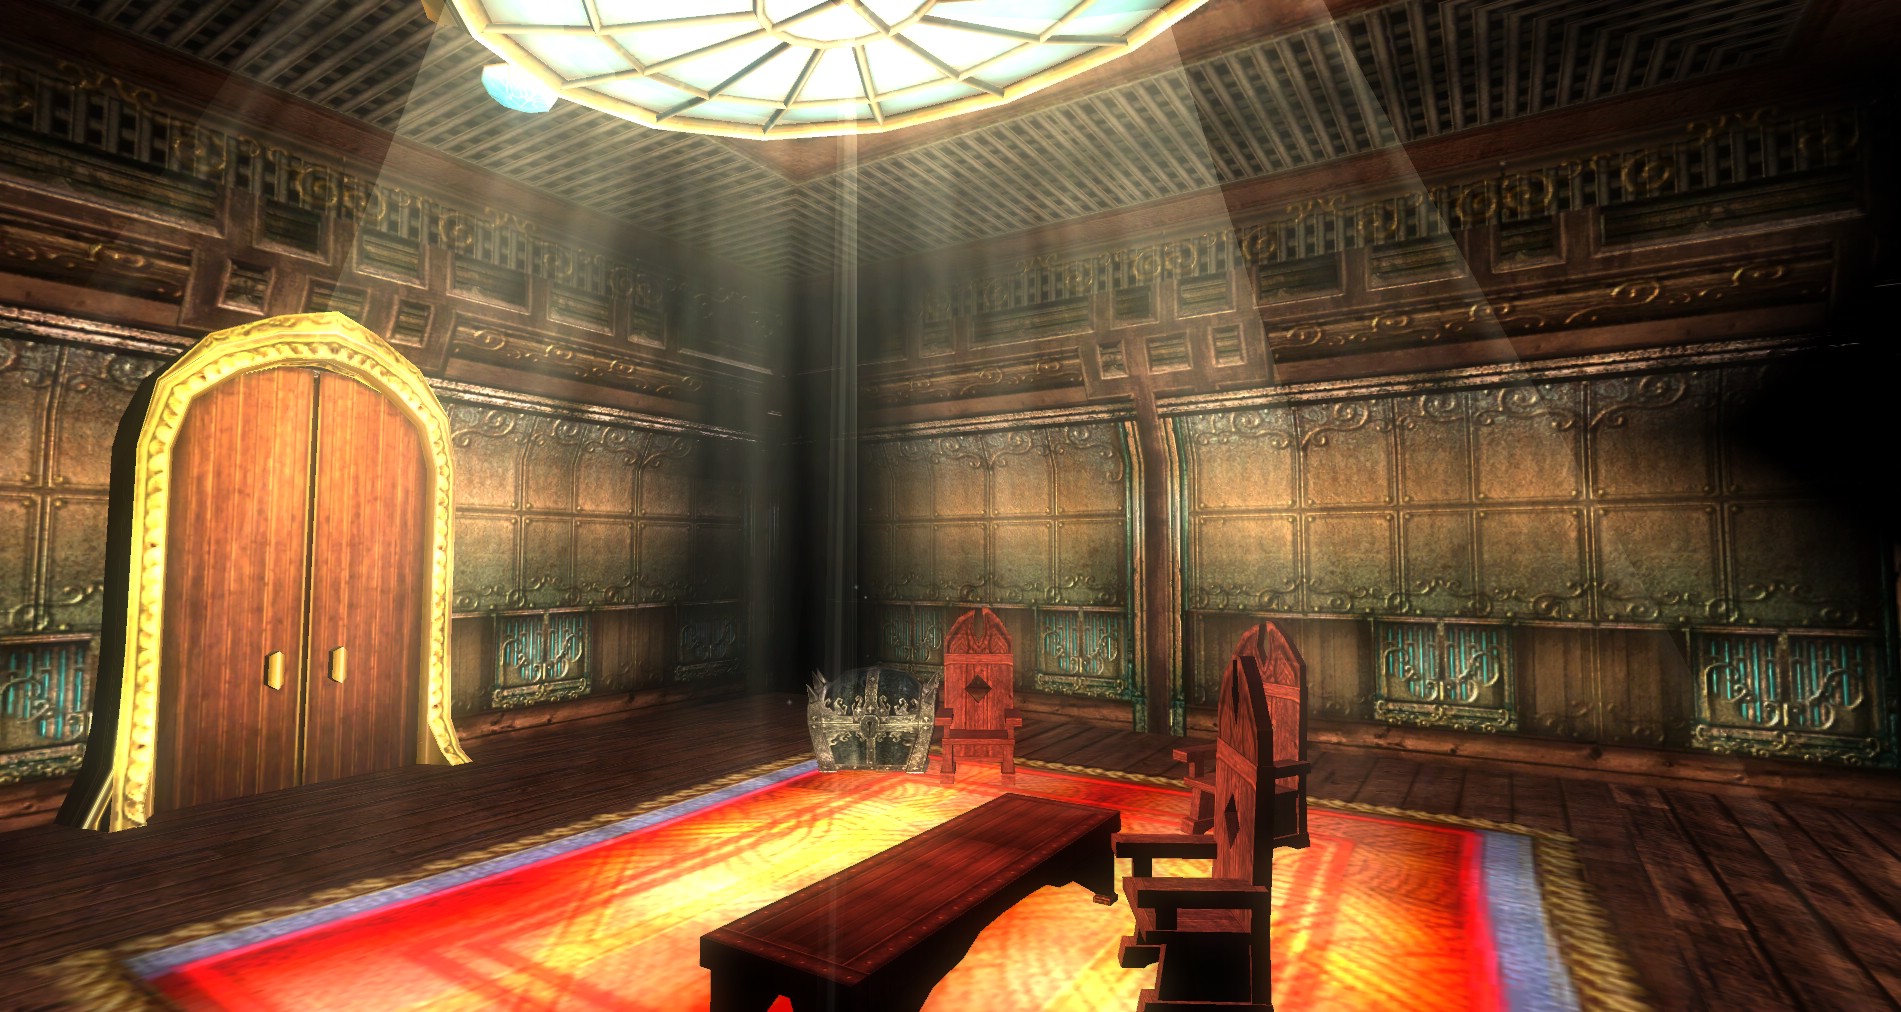
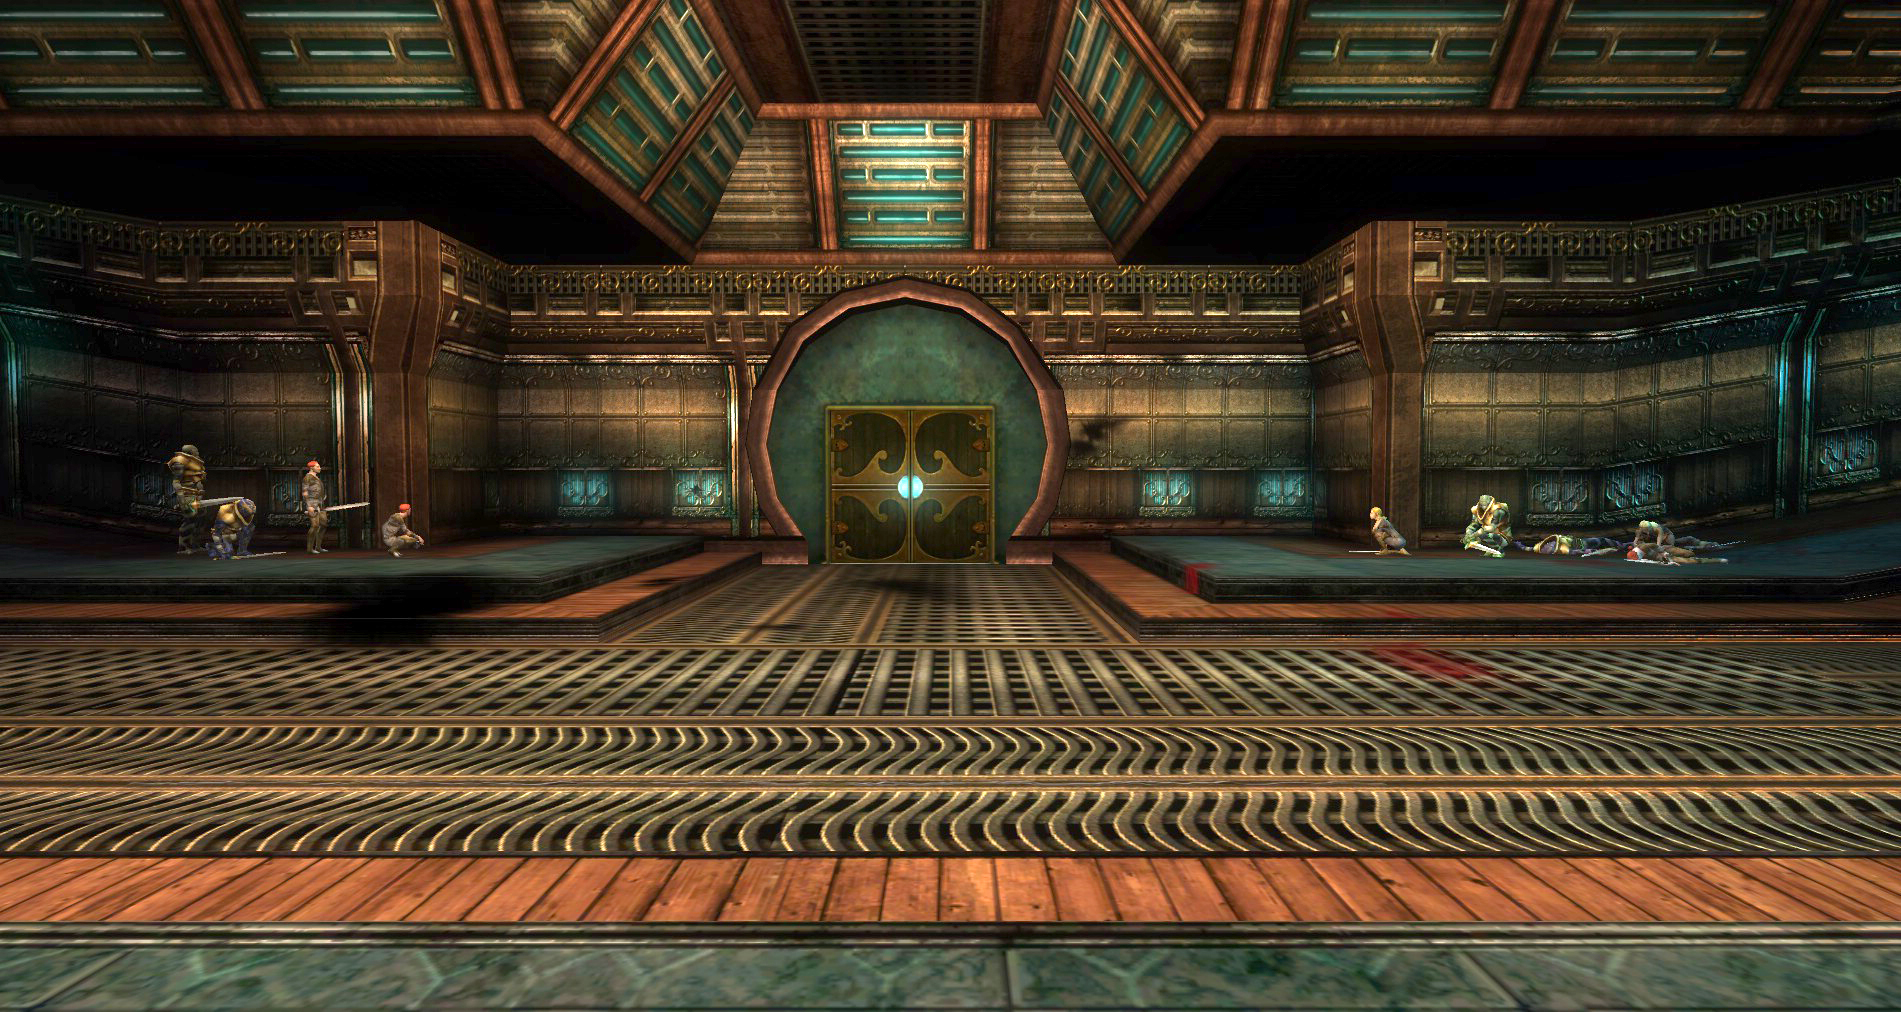
 Just inside the quest there will be a group of Cannith warriors that have some Bladesworn trapped in the Main Entrance Hall. Talk to the lieutenant to get more information.
Options when talking to the Cannith Leutenant:
- Normal Dialog ->Diplomacy, Bluff (43 Bluff was not enough) or Fight!
- Mark of Making
- Cannith Patron Rank 2
- Fight!
Options when talking to the Bladesworn Paladin inside the Main Entrance Hall:
- Diplomacy
- Bluff
- Fight!
Optional Paths
- Stealth: Ignore the Cannith Strike Team and move on past them.
- Smarts: Run past them for now.
- Smash: Ignore them and head into the Main Entrance Chamber. The Cannith Strike Team will agro on you but that is OK. Just pull them into the big room and drag them by the Bladesworn. They will agro on each other then let each side duke it out. Clean up those that are left. Now, skip down past all this “story” and “questing” and move down to the Main Entrance Hall and Security Door.
Maintenance Corridors
 Smash everything on your way to the maintenance room at the end of the corridor. Just inside to your left there will be an air conditioning and heating control unit (HVAC). You can turn this to hot or cold and it will change the jet in the ventilation to that type of damage. Preferably have a rogue disable it and it will shut it down completely.
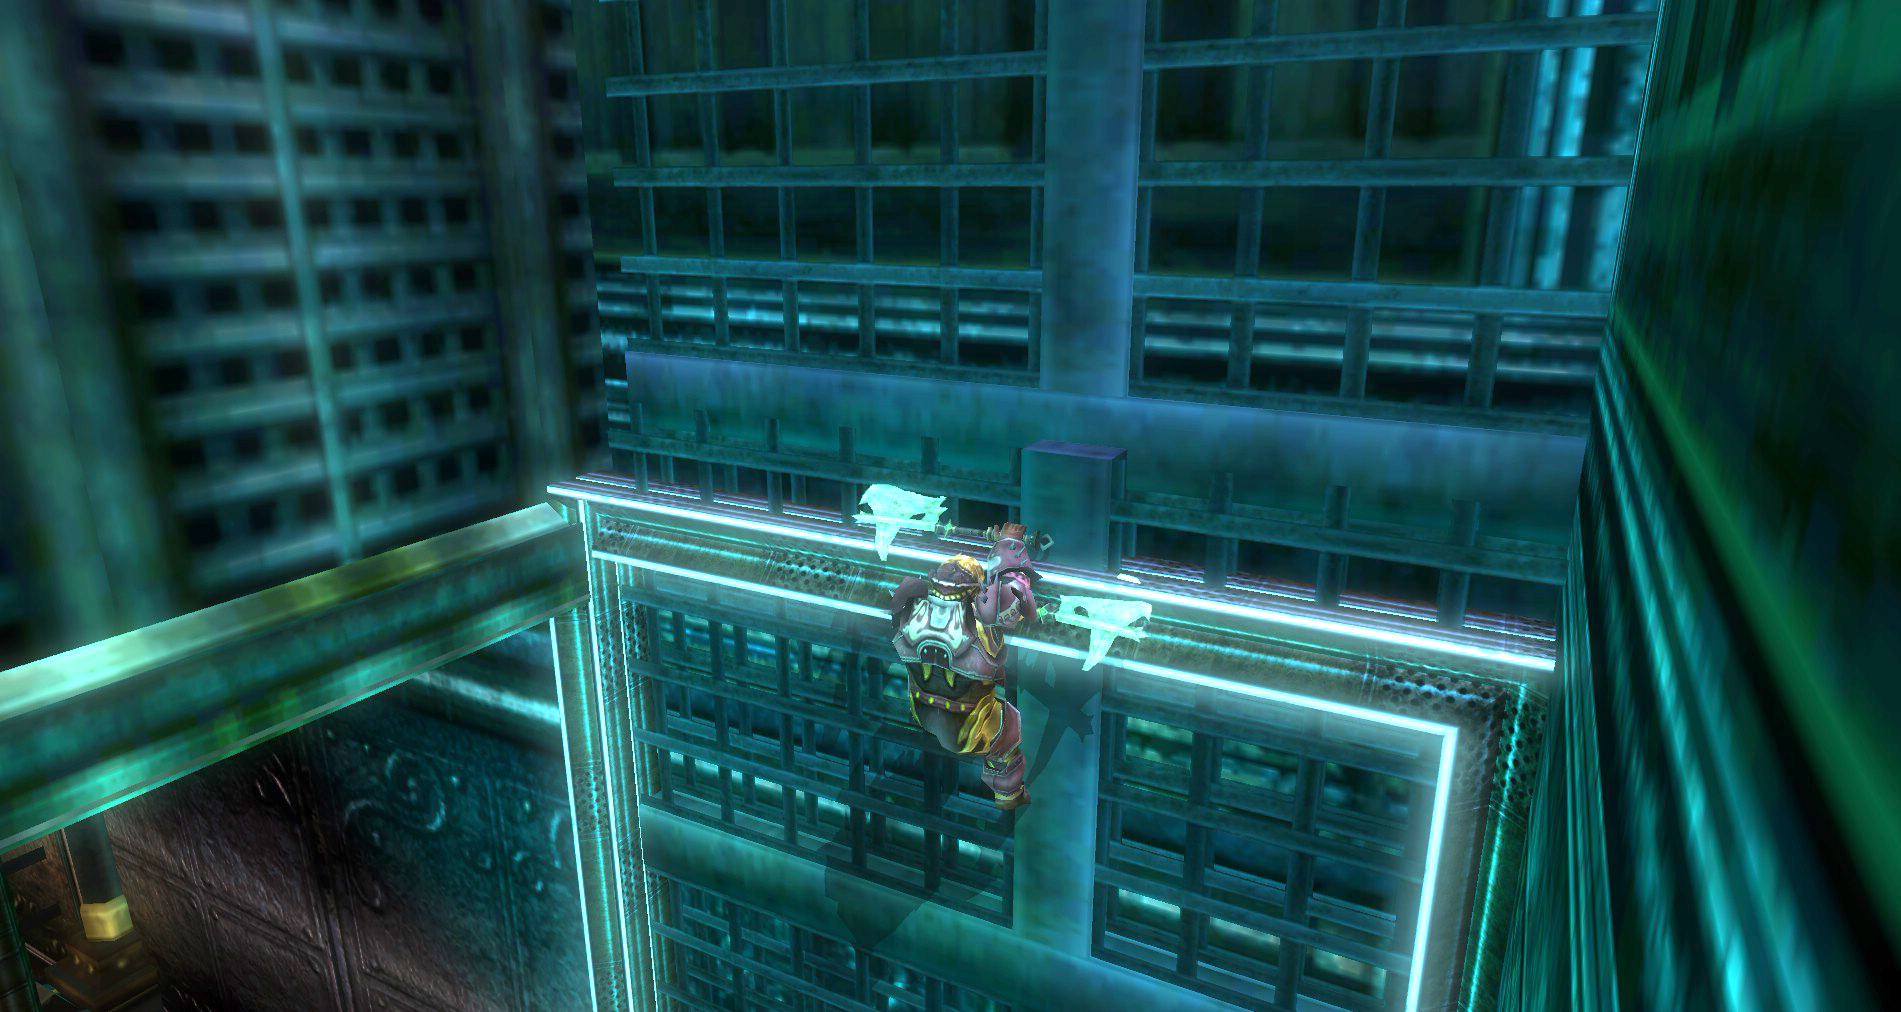
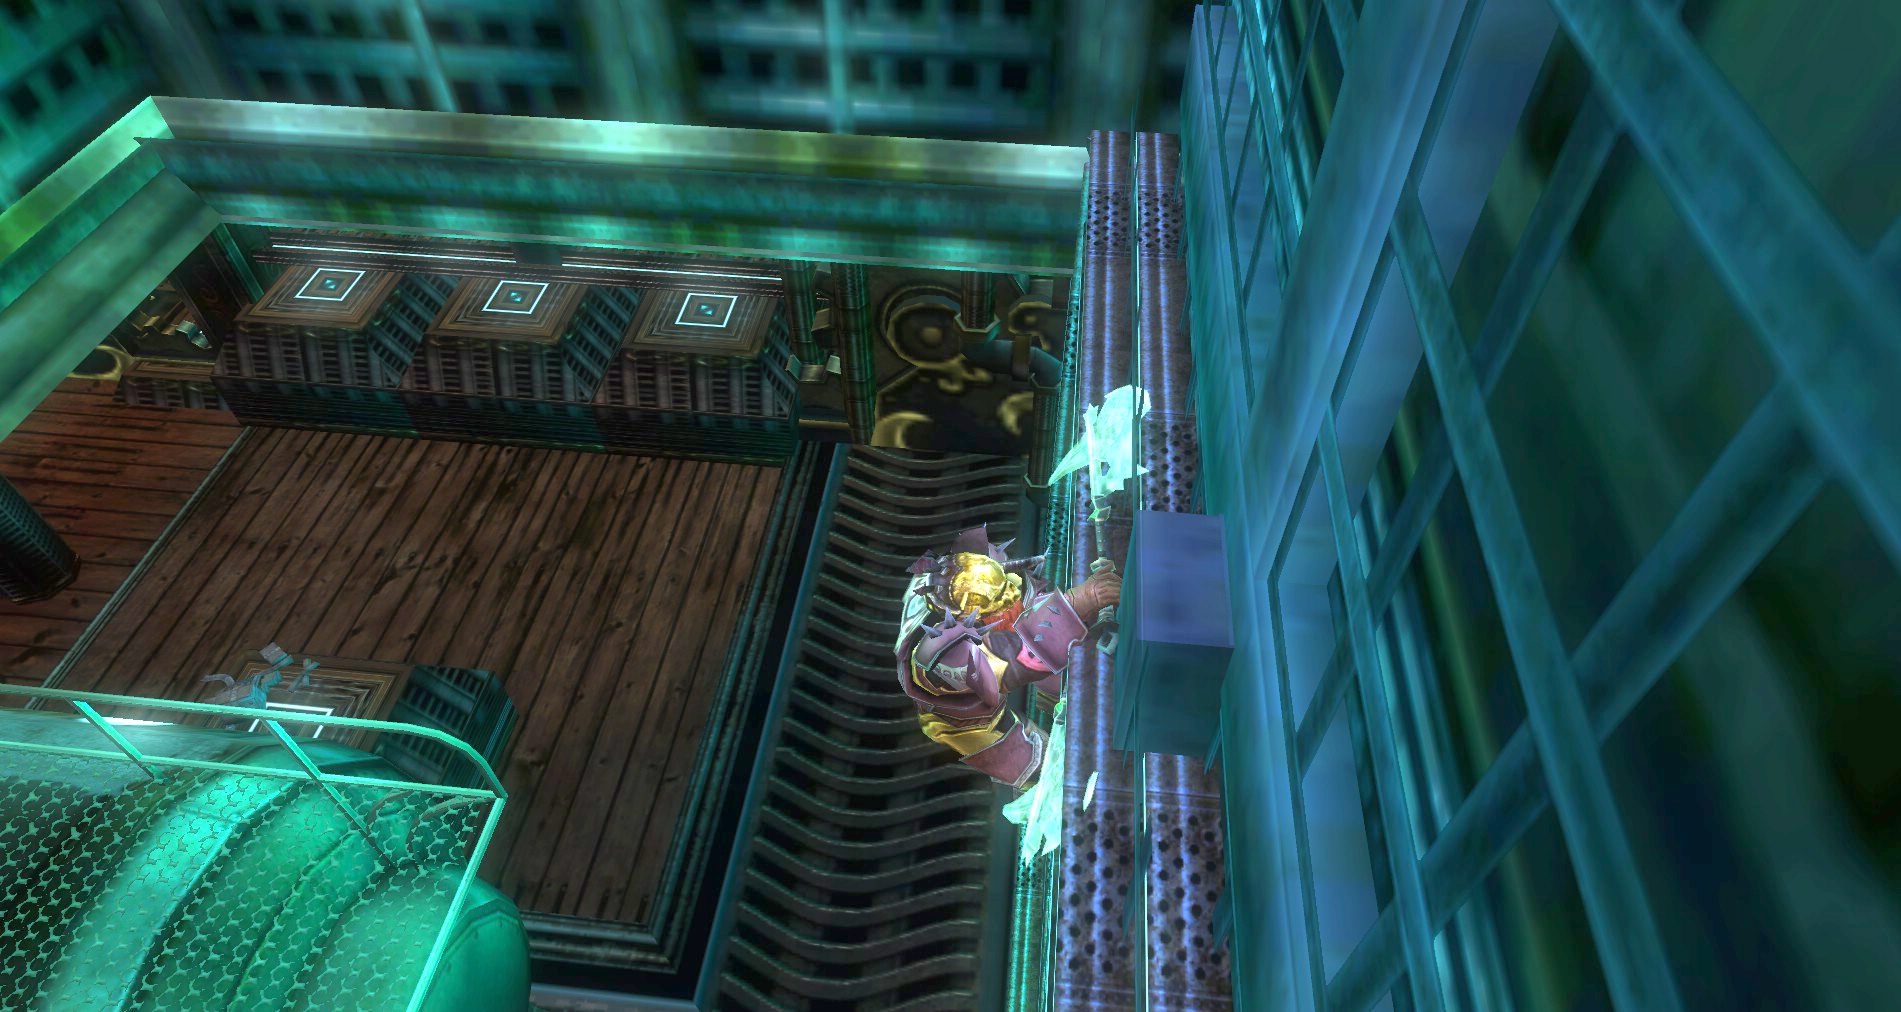
Then move around to the back side of the room. Climb on top of the storage tanks and jump over to the grate on the wall. This is a ladder that lets you head up into the ventilation. You will need a decent jump skill or the spell to get up on top of the shelves and containers here.
Optional Paths
- Stealth: Sneak through here and disable the HVAC.
- Smarts: Run through here and make your way up.
- Smash: Skip this completely unless you are going to try to get the Master of the Hunt.
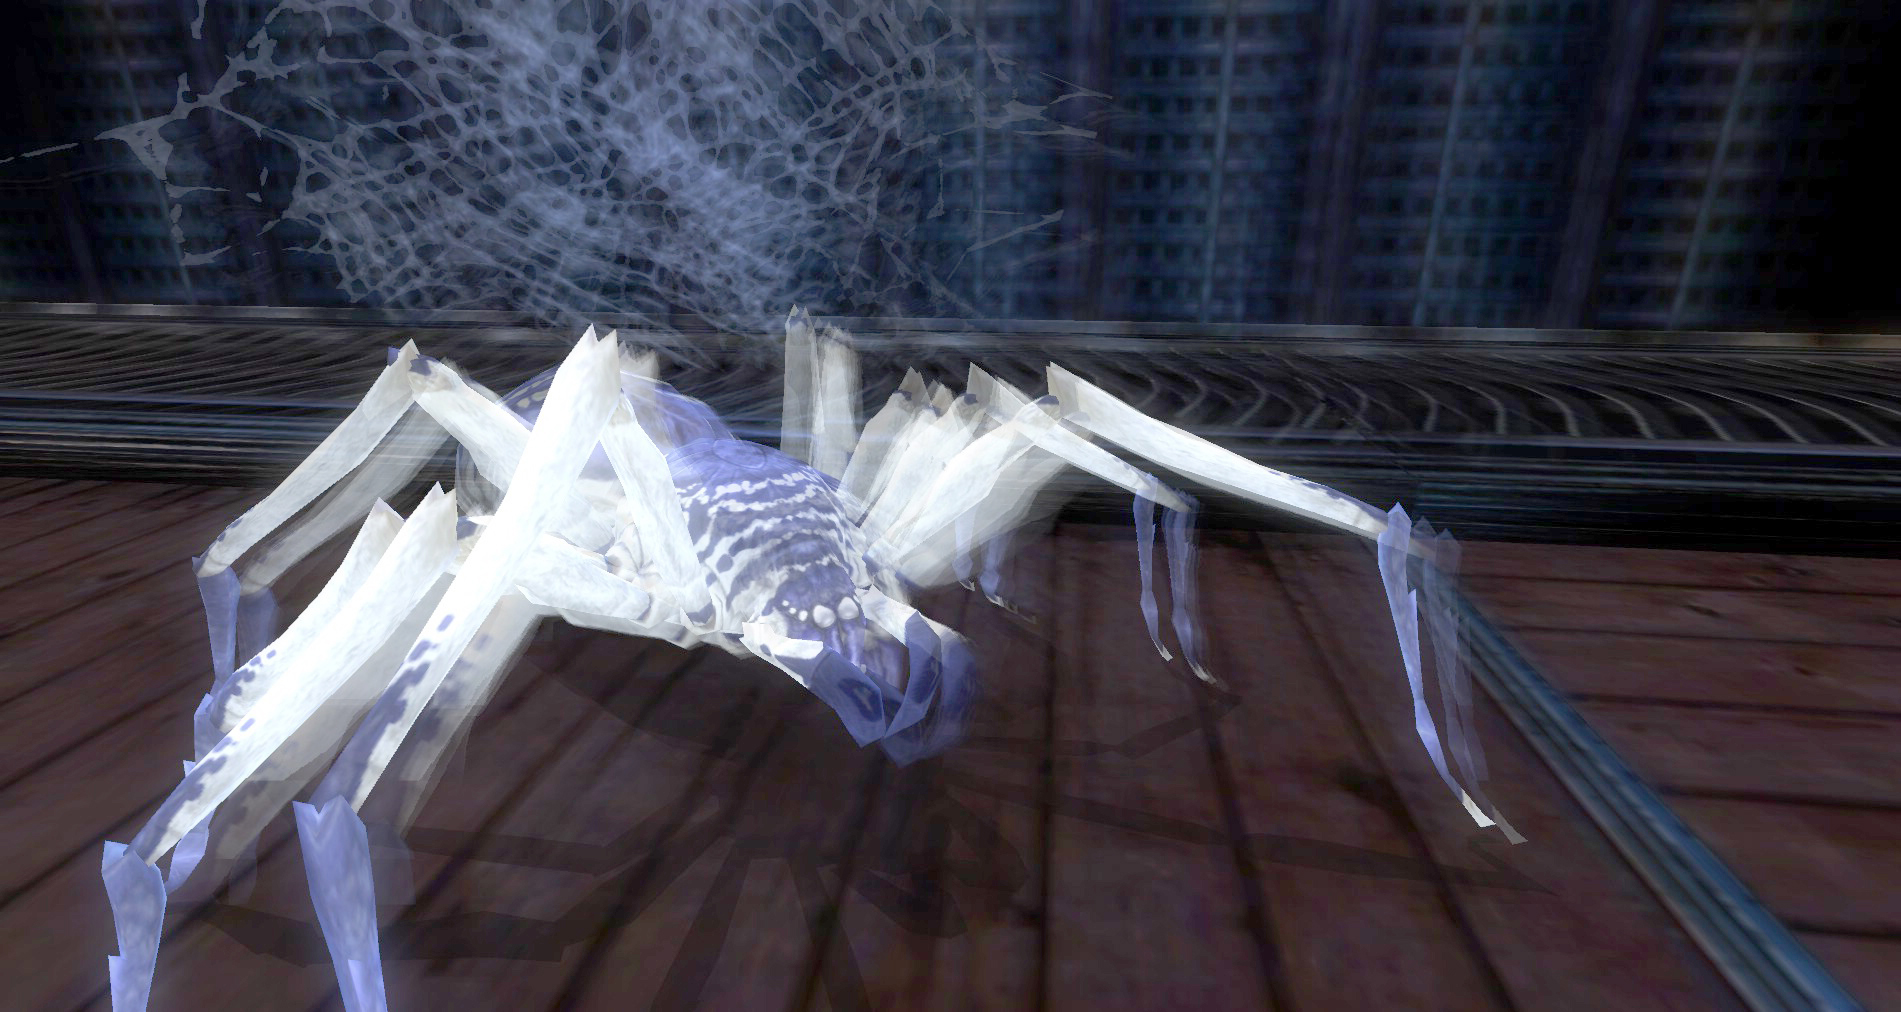
The Ventilation
 Once you get up into the ventilation turn to the north and check the dark area full of cobwebs. This is where Whitefang may spawn. Take care of the phase spider and good luck on some named loot!
There is a long corridor with a fan at the end. If you disabled it then it is safe for you to head through. If not then it either has fire or cold shooting down it. You can charge through this if you want to show how tough you are. Or you can loot up and to the left (east) and you will notice a dark hole. Jump into that and bypass the fire/ice corridor.
Once on the other side be mindful of the Watcher Constructs that roam the area. There is also a switch here. A Strength of 32 on Normal will be able to turn the valve and shut off the fire and ice. You will be coming back through here so turn it off if you can.
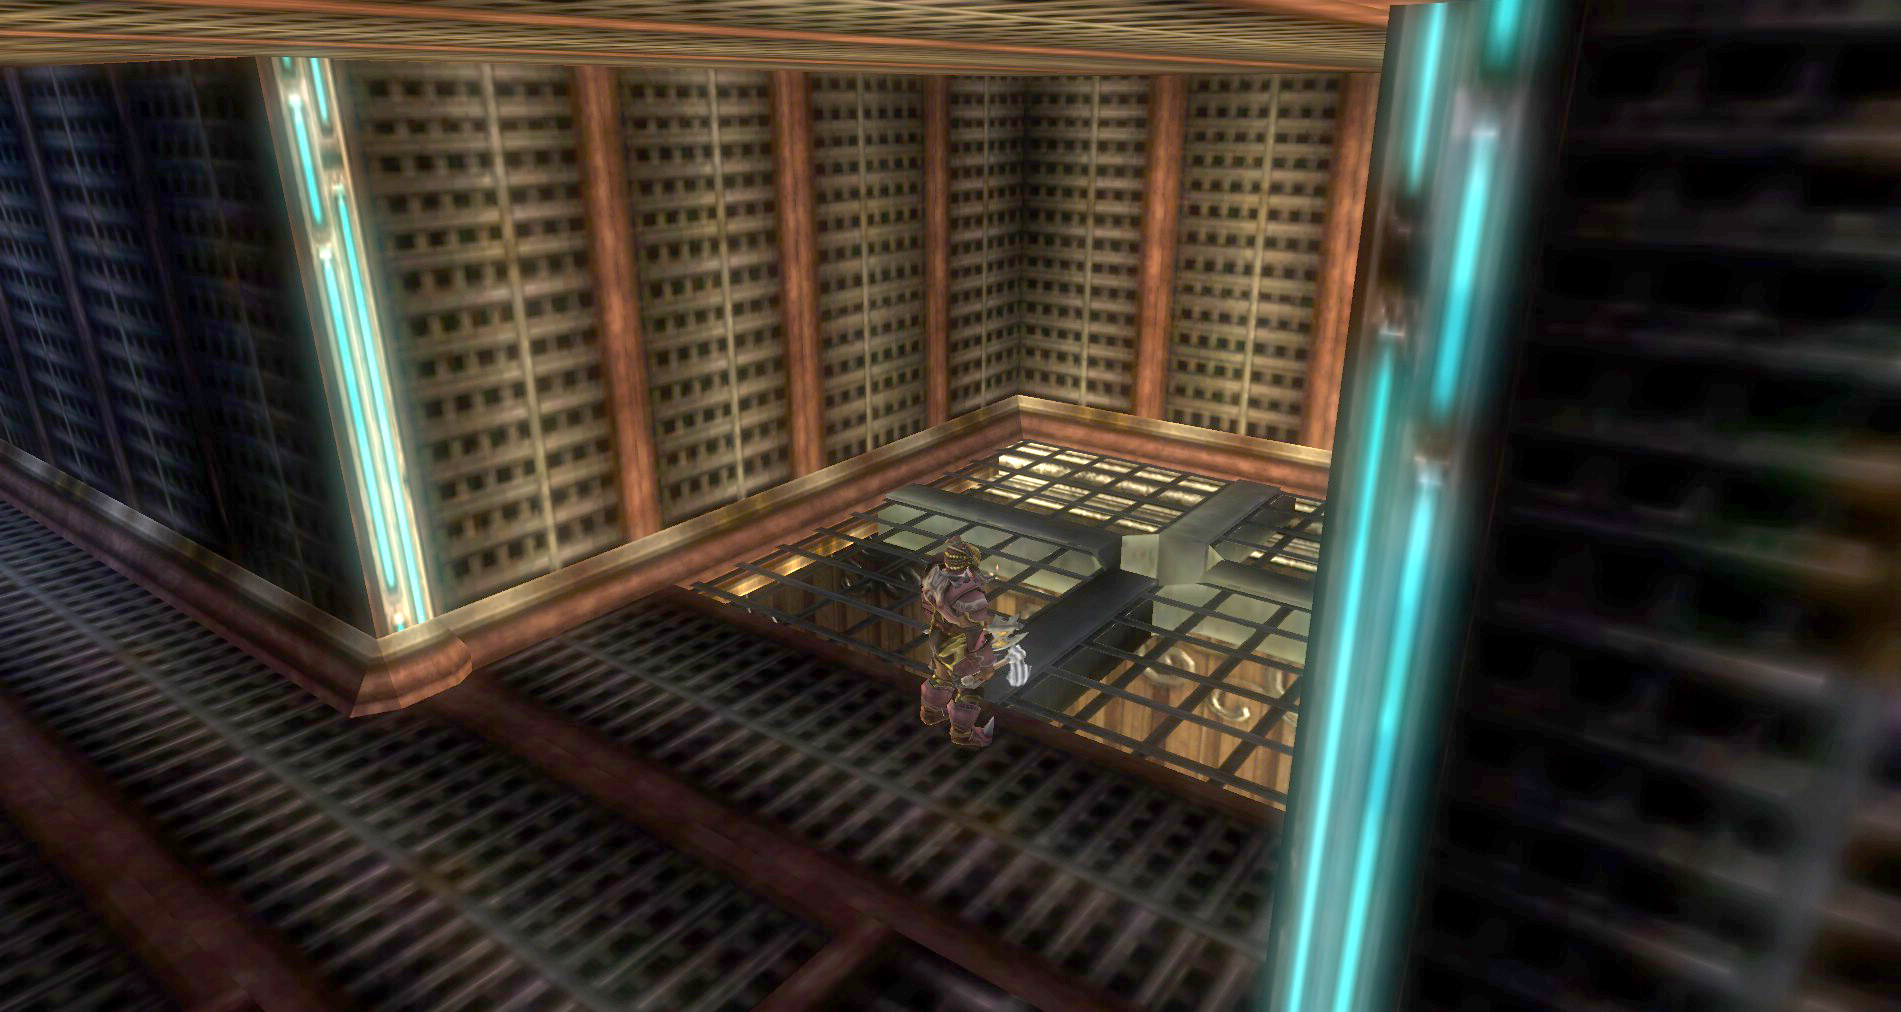
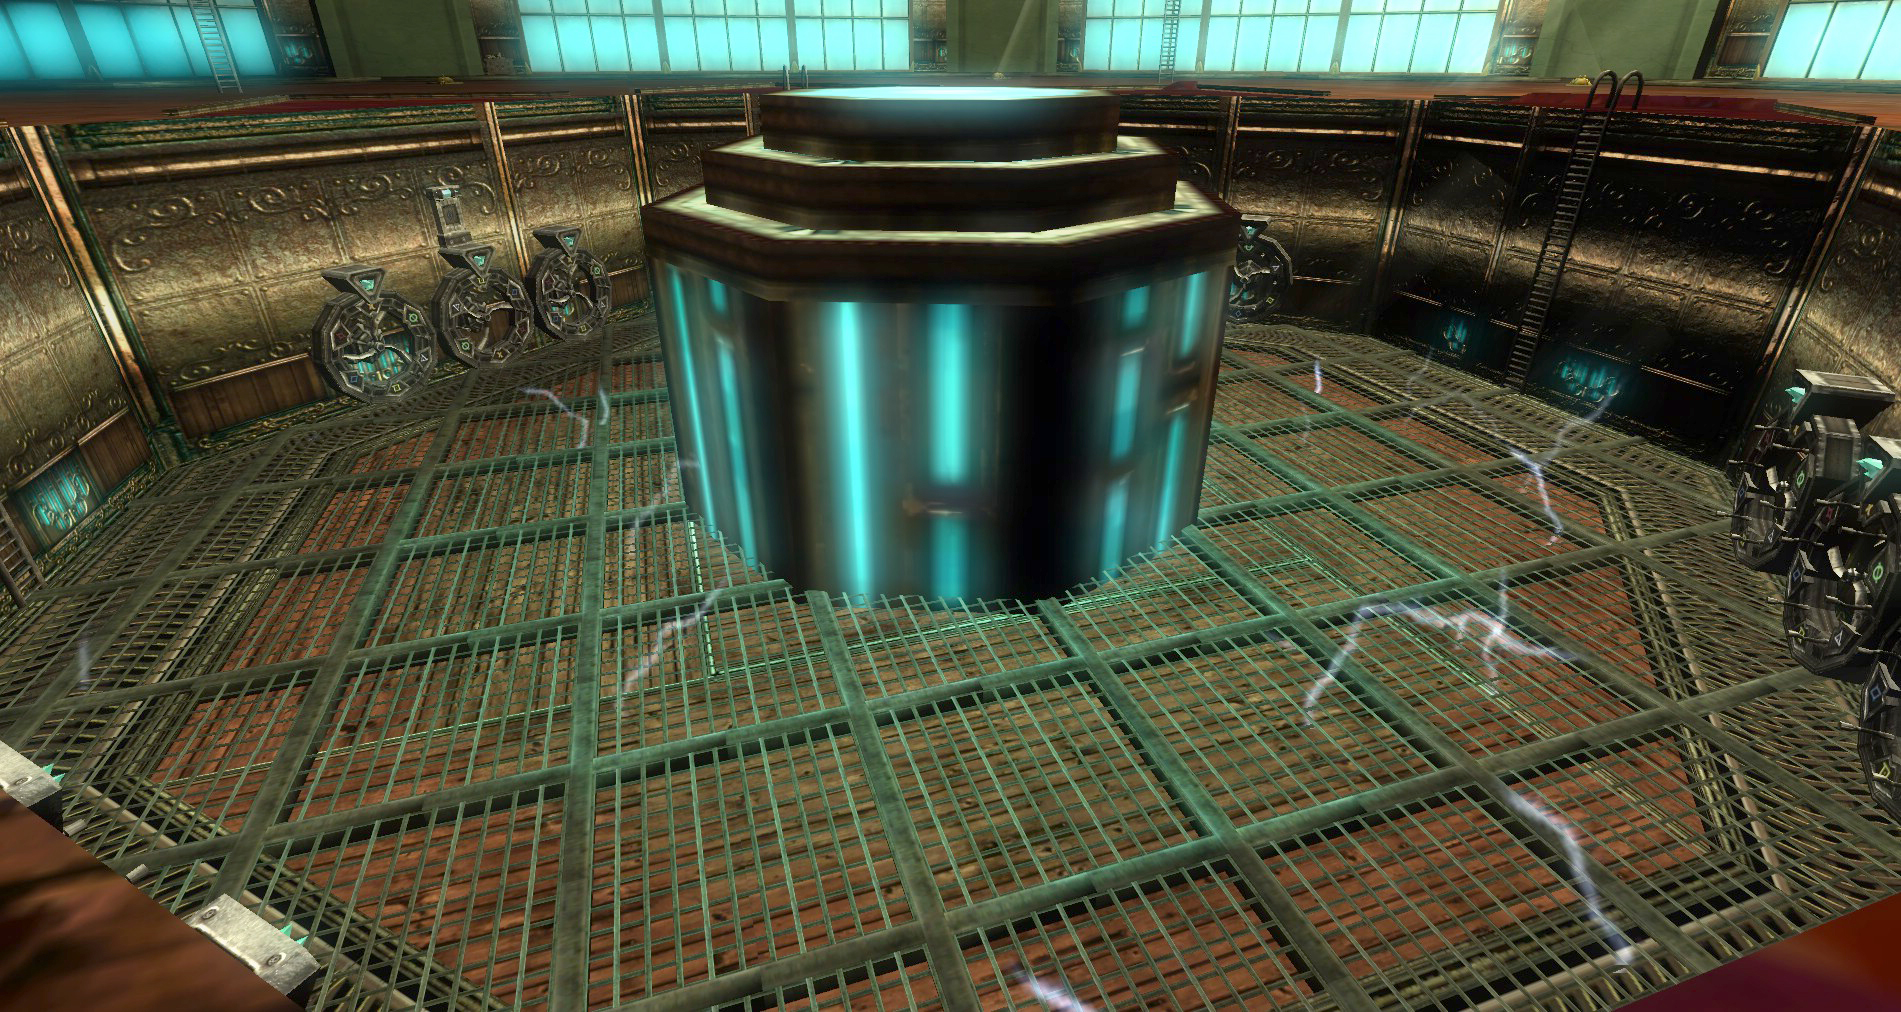
 Past this you will come to a grate on your right (south) that opens up into the main large room with the security door. You can attack it to break it. This will drop you into the room. If you have Feather Fall on, you can float down to the north onto the Main Security Door Locking Mechanism and open it from there with a good Open Locks check (58 Success).
Optional Paths
- Stealth: Bust open the grate and fall onto the Security Door Lock. Use Feather Fall and fall north of the grate, it is just underneath you. Pick Locks on the Locking Mechanism and then make sure to use the Locking Mechanism before you jump down or you will have to run around again. If you want the optional Master of the Hunt continue down the ventilation shaft.
- Smarts: Run through to the end.
- Smash: Charge! You’re wasting time on optionals here…
Security Door Control Room
 Dropping out of the ventilation puts you inside the Control Room and right by the exit.
Optional Paths
- Stealth: Ignore the Artificer and Codes and move on.
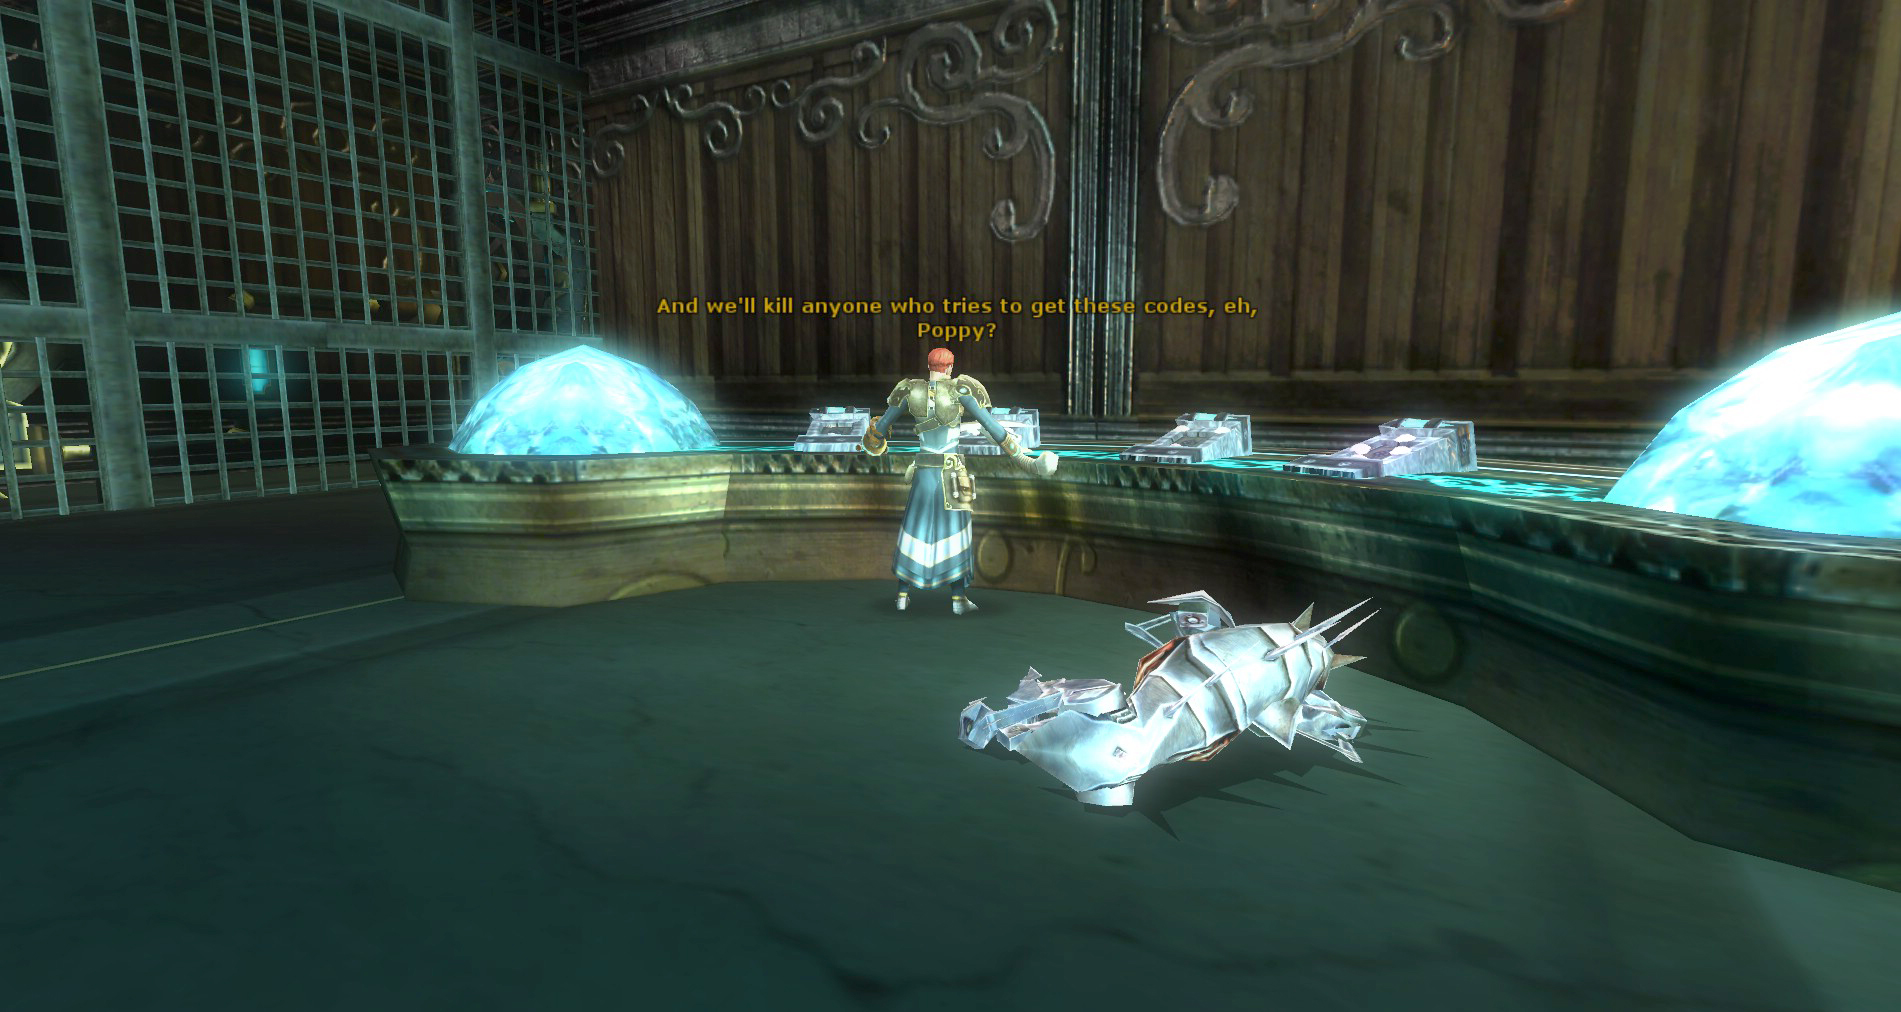
- Smarts: Take out the Artificer and then write down the codes from right to left.
- Smash: Open the door and go, if the Artificer and his dog chase you, they get to die.
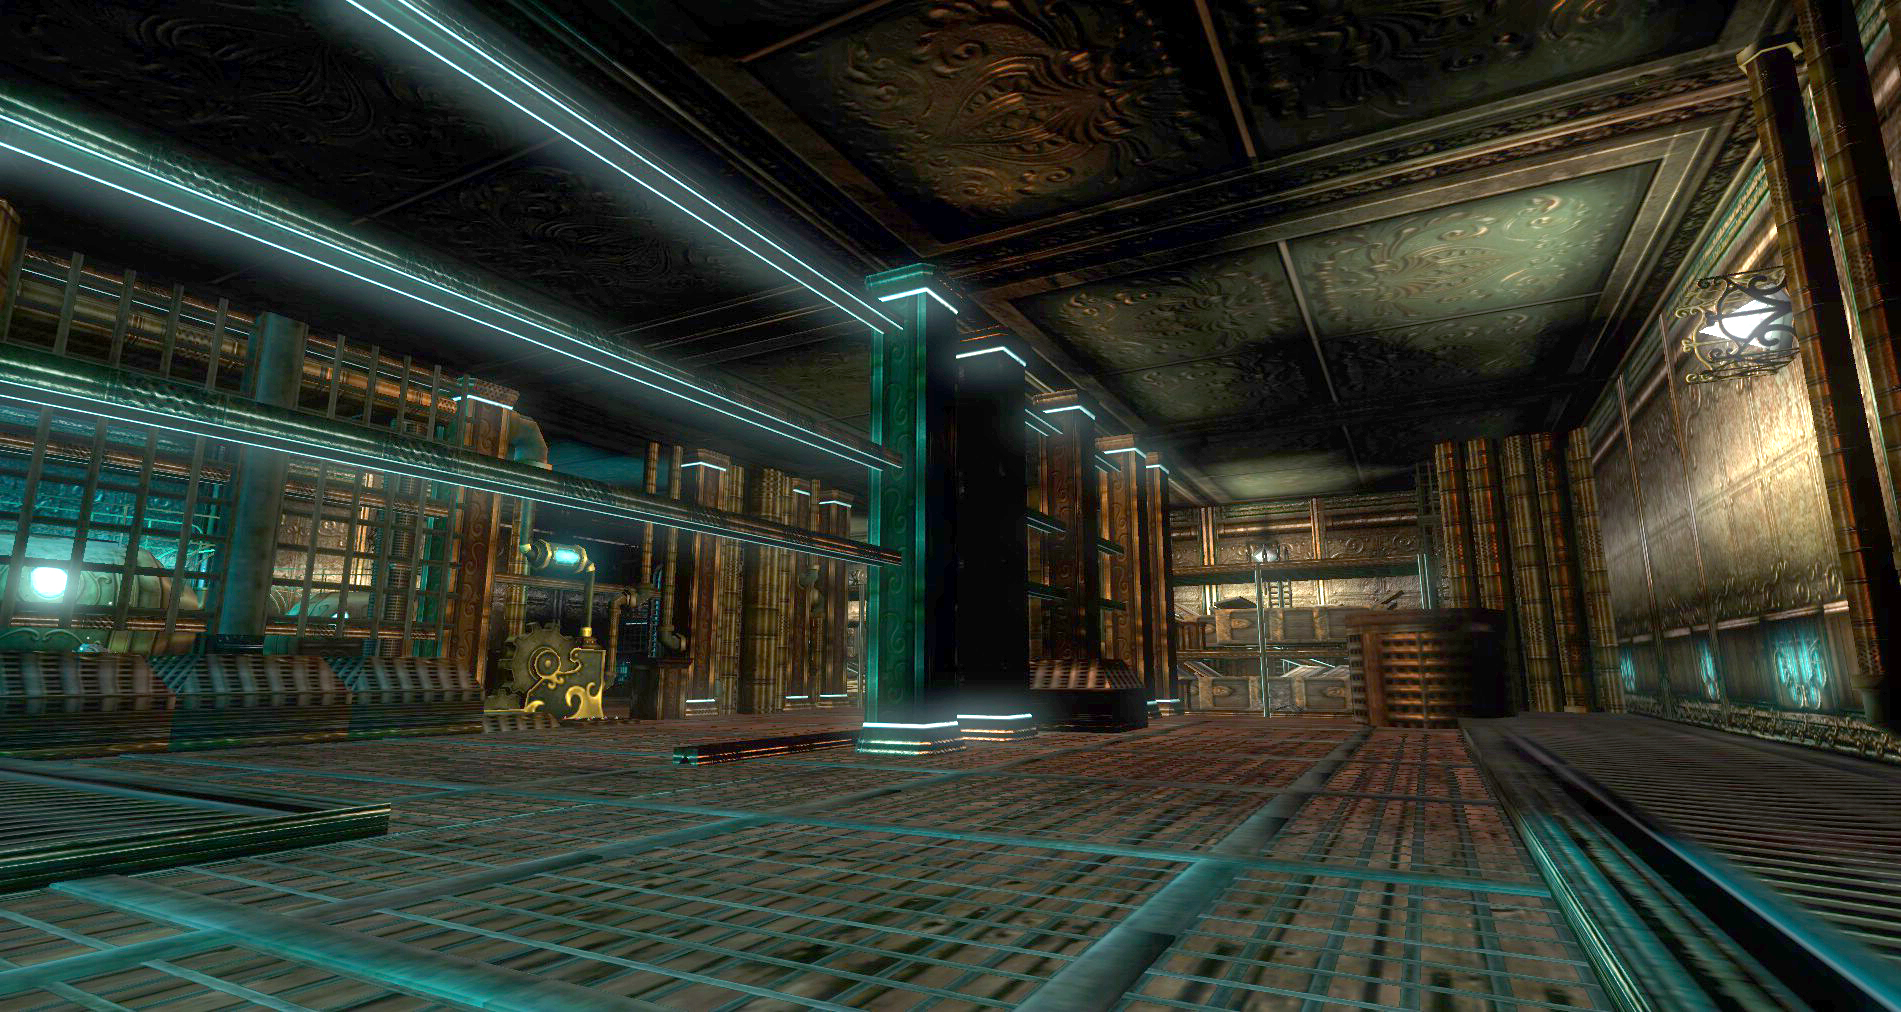
The Rogue Artificers Craft Room
 Just past the Security Control Room is the Rogue Artificers room. You enter on the top balcony. There are a handful of artificers in here along with a few of their constructs. They are working on more but luckily they are not active yet.
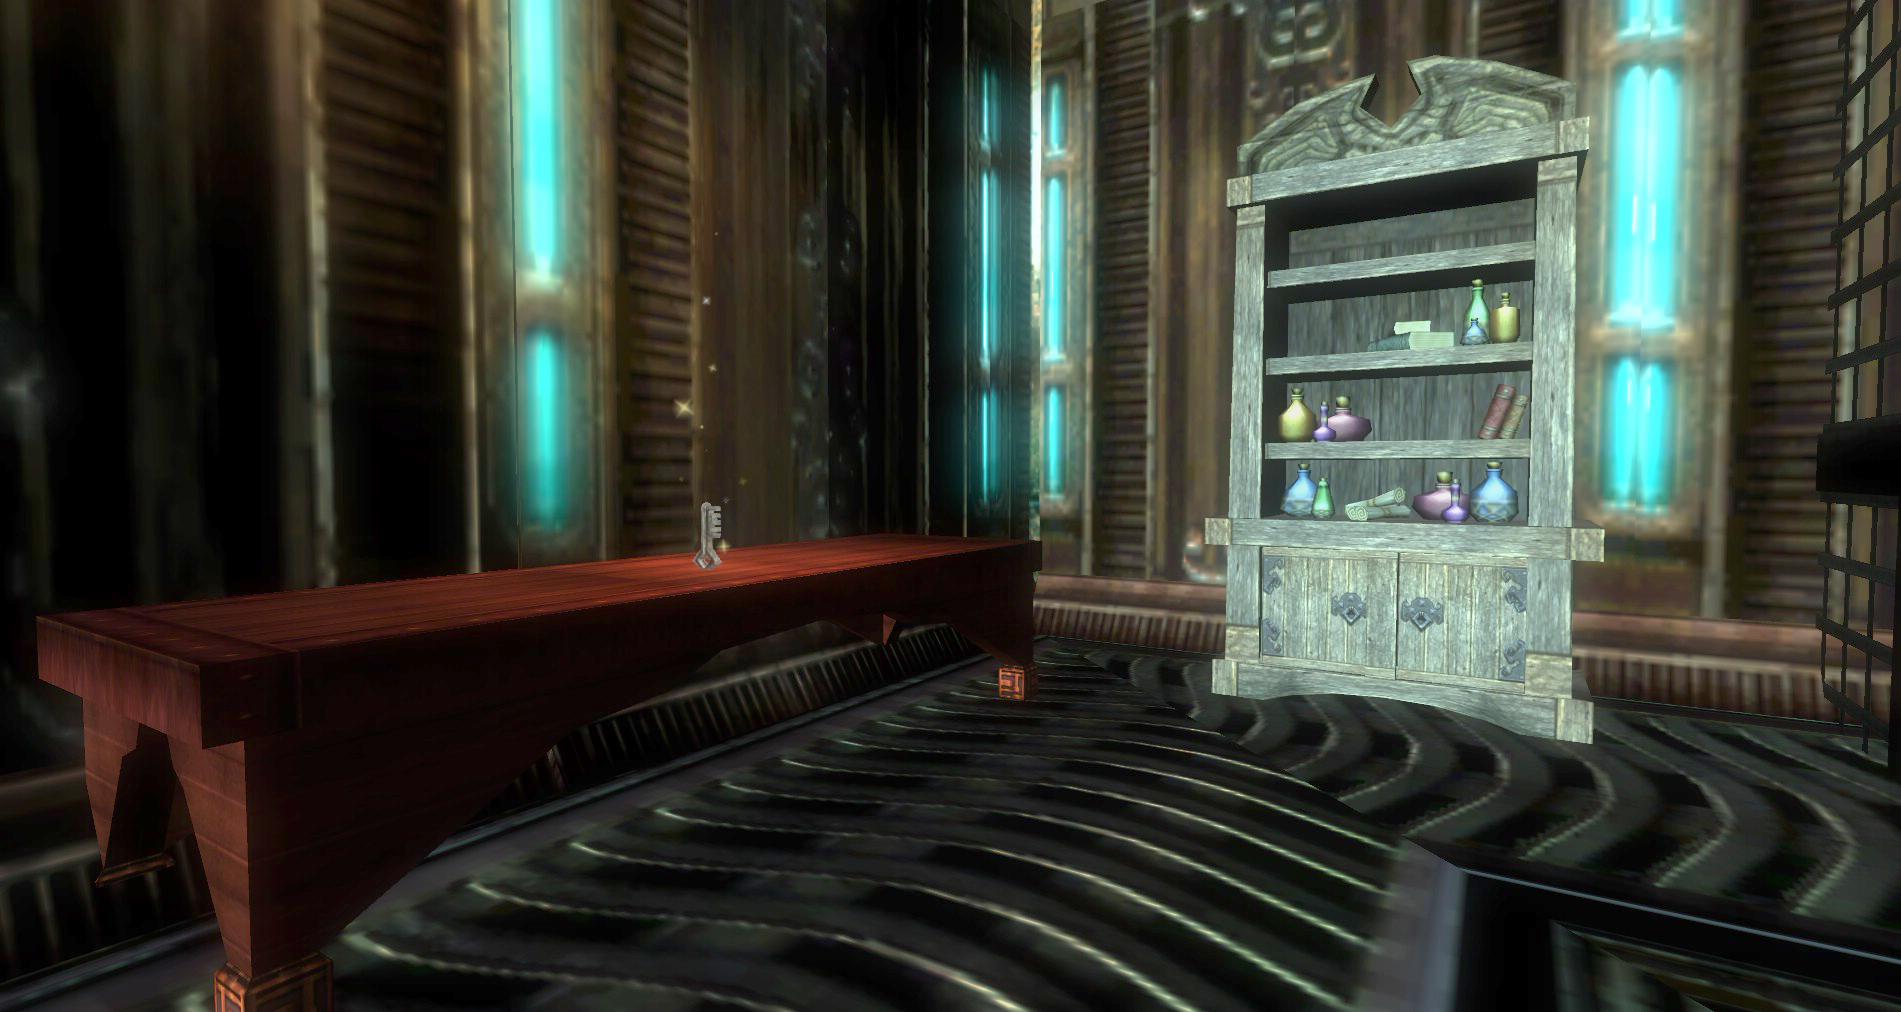
The door to leave this room is locked. You will need to pick the lock or grab the key that is on a table tucked around the east side by the machinery.
Optional Paths
- Stealth: Drop down and move to the door. Pick it, then open it when the patrolling dog is out of sight.
- Smarts: Clear the room and grab the key.
- Smash: Jump down and grab the key, keep moving and kill what follows at the Master of the Hunt’s secret room.
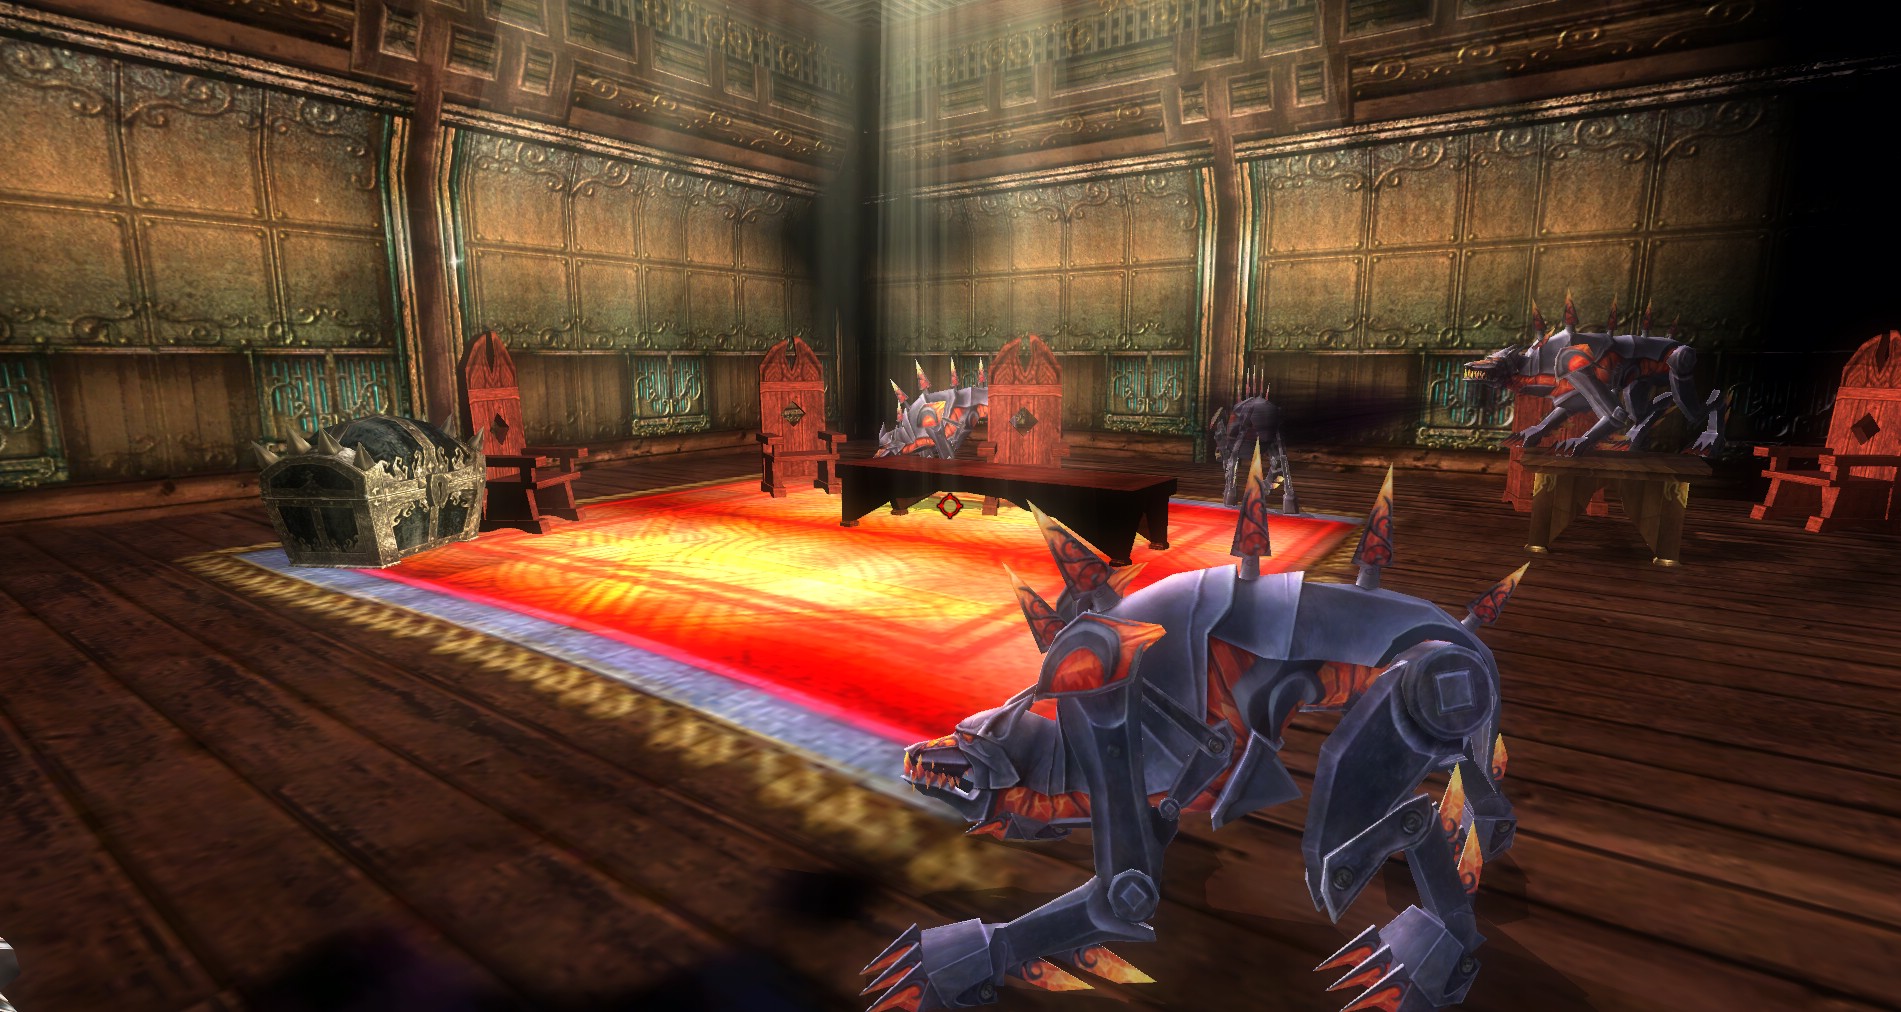
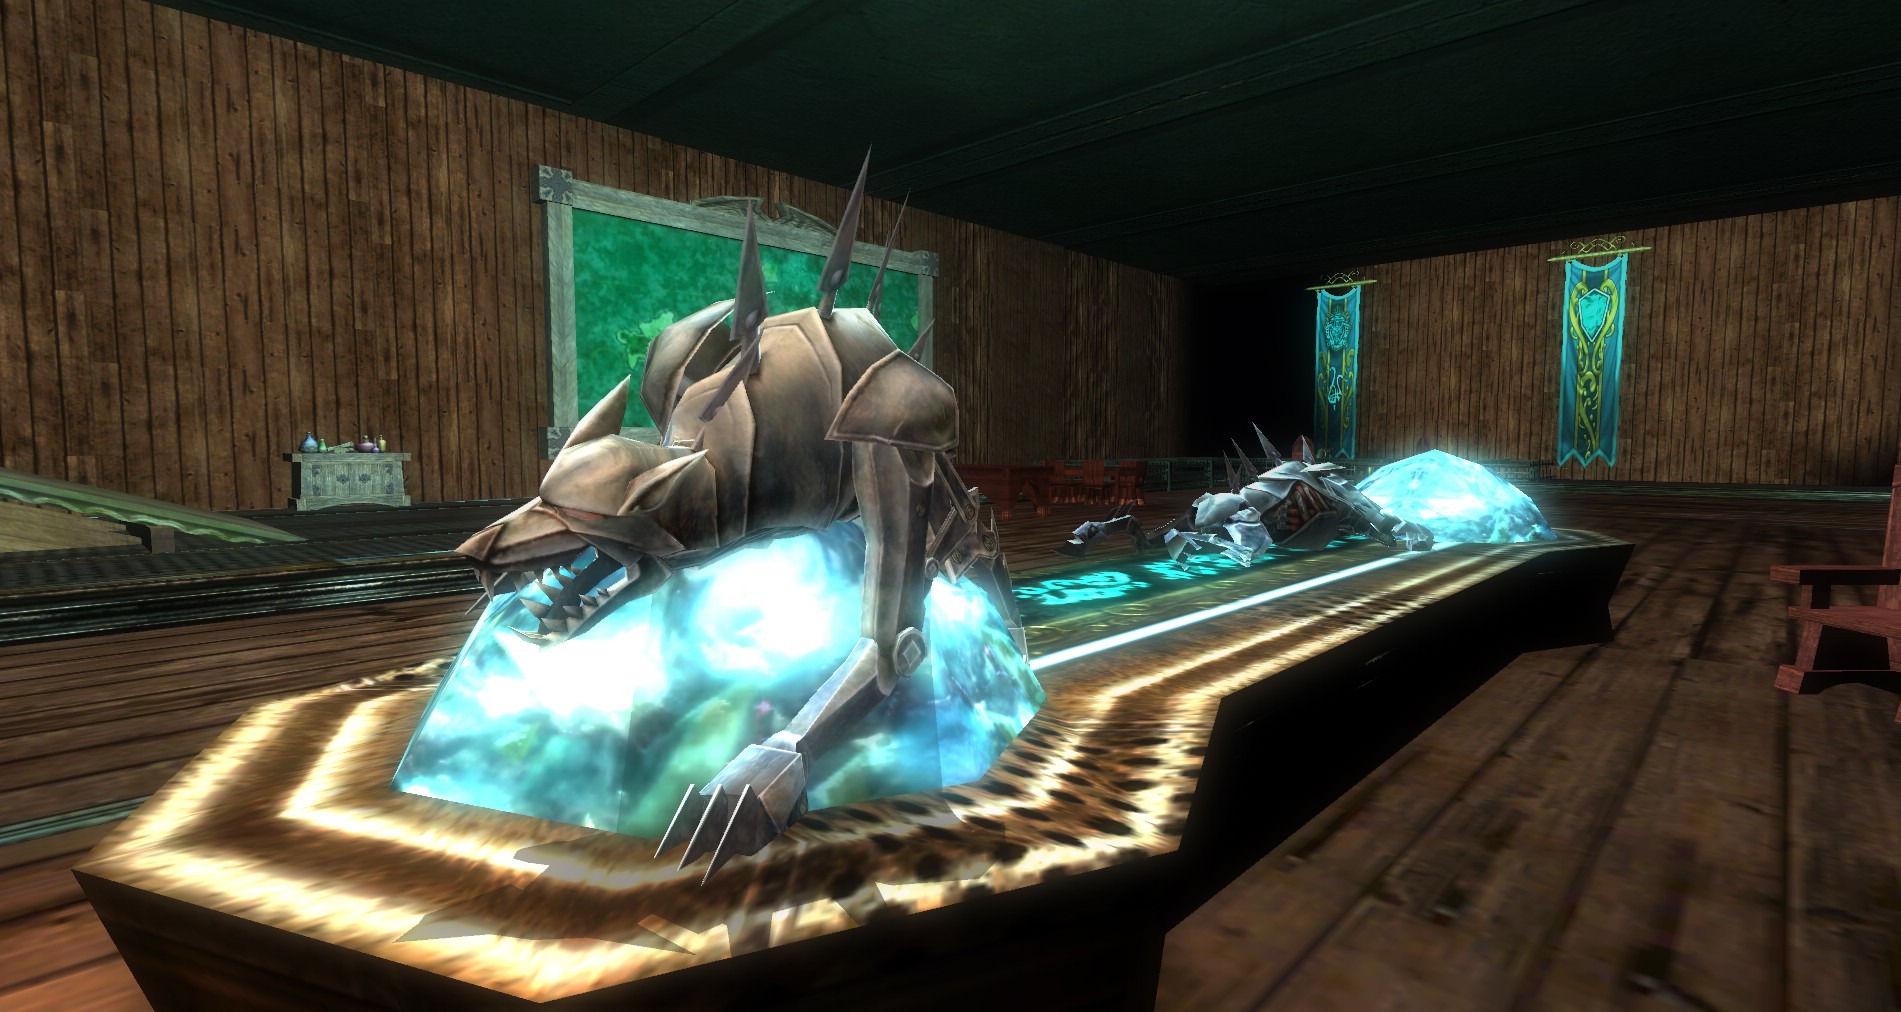
Secret Room with Master of the Hounds
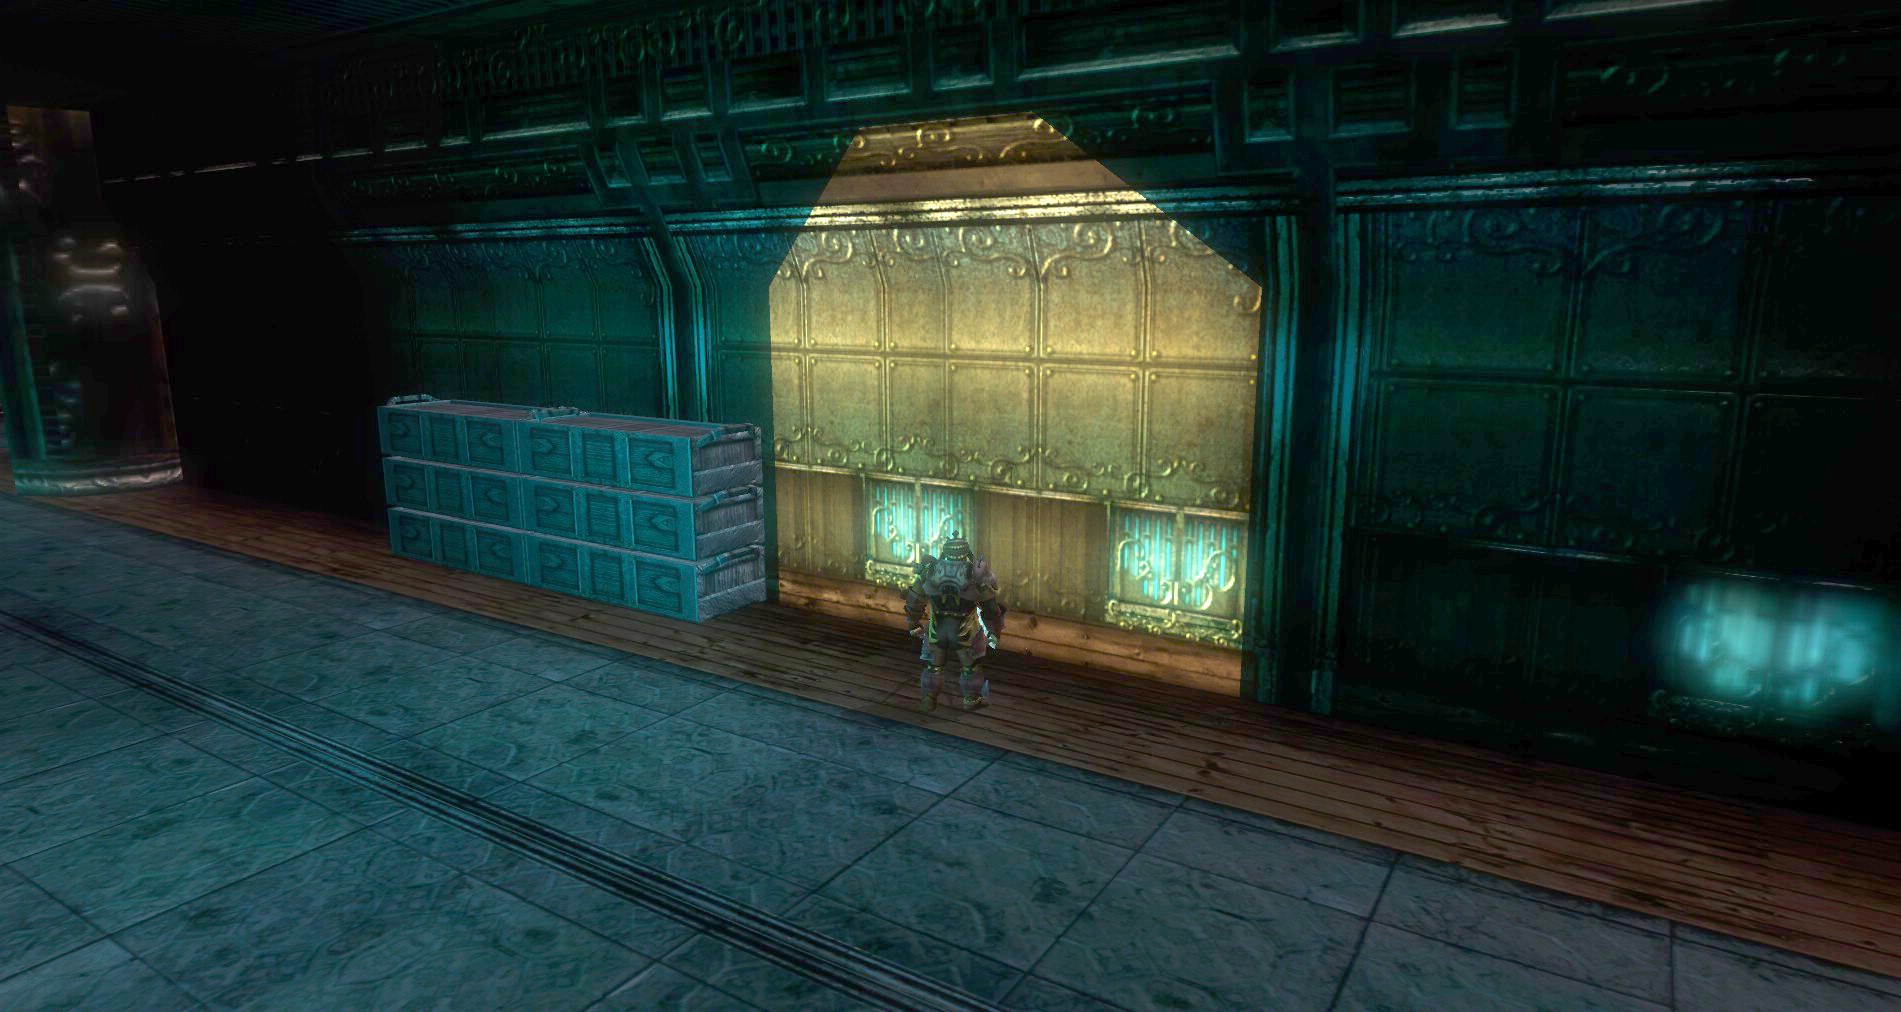
 Just down the hallway from the Rogue Artificers Craft Room you will see a pile of supply boxes. Search near here for a secret door. If you came this far, don’t miss this easy rare. Unless you are quiet and haven’t broken anything it is likely that the Master of the Hounds has agro’d on you through the wall so be ready for him and his hounds to attack you. All of them must die to open the chest so take care of business and loot up.
Shrine Room and Air Jet
At the end of the hallway from the Rogue Artificer’s Craft Room you will come to your first shrine. Use it now because it is not easy to get back to this one. You can get back to it but it will be quite out of your way.
Once you are done, jump into the air stream and it will blow you back near the beginning of the ventilation area. Break the grate and jump down into the room if you want or head all the way back and do what you will with the Cannith Strike Team.
Main Entrance Room and Security Door
 The first main obstacle that you will face is the main entry with the Security Door on it. Depending on how you decide to tackle the quest will determine how you get through this room and past the door.
Optional Paths
- Stealth: Open Locks on the Security Door Locking Mechanism and you’re in. No mess no fuss.
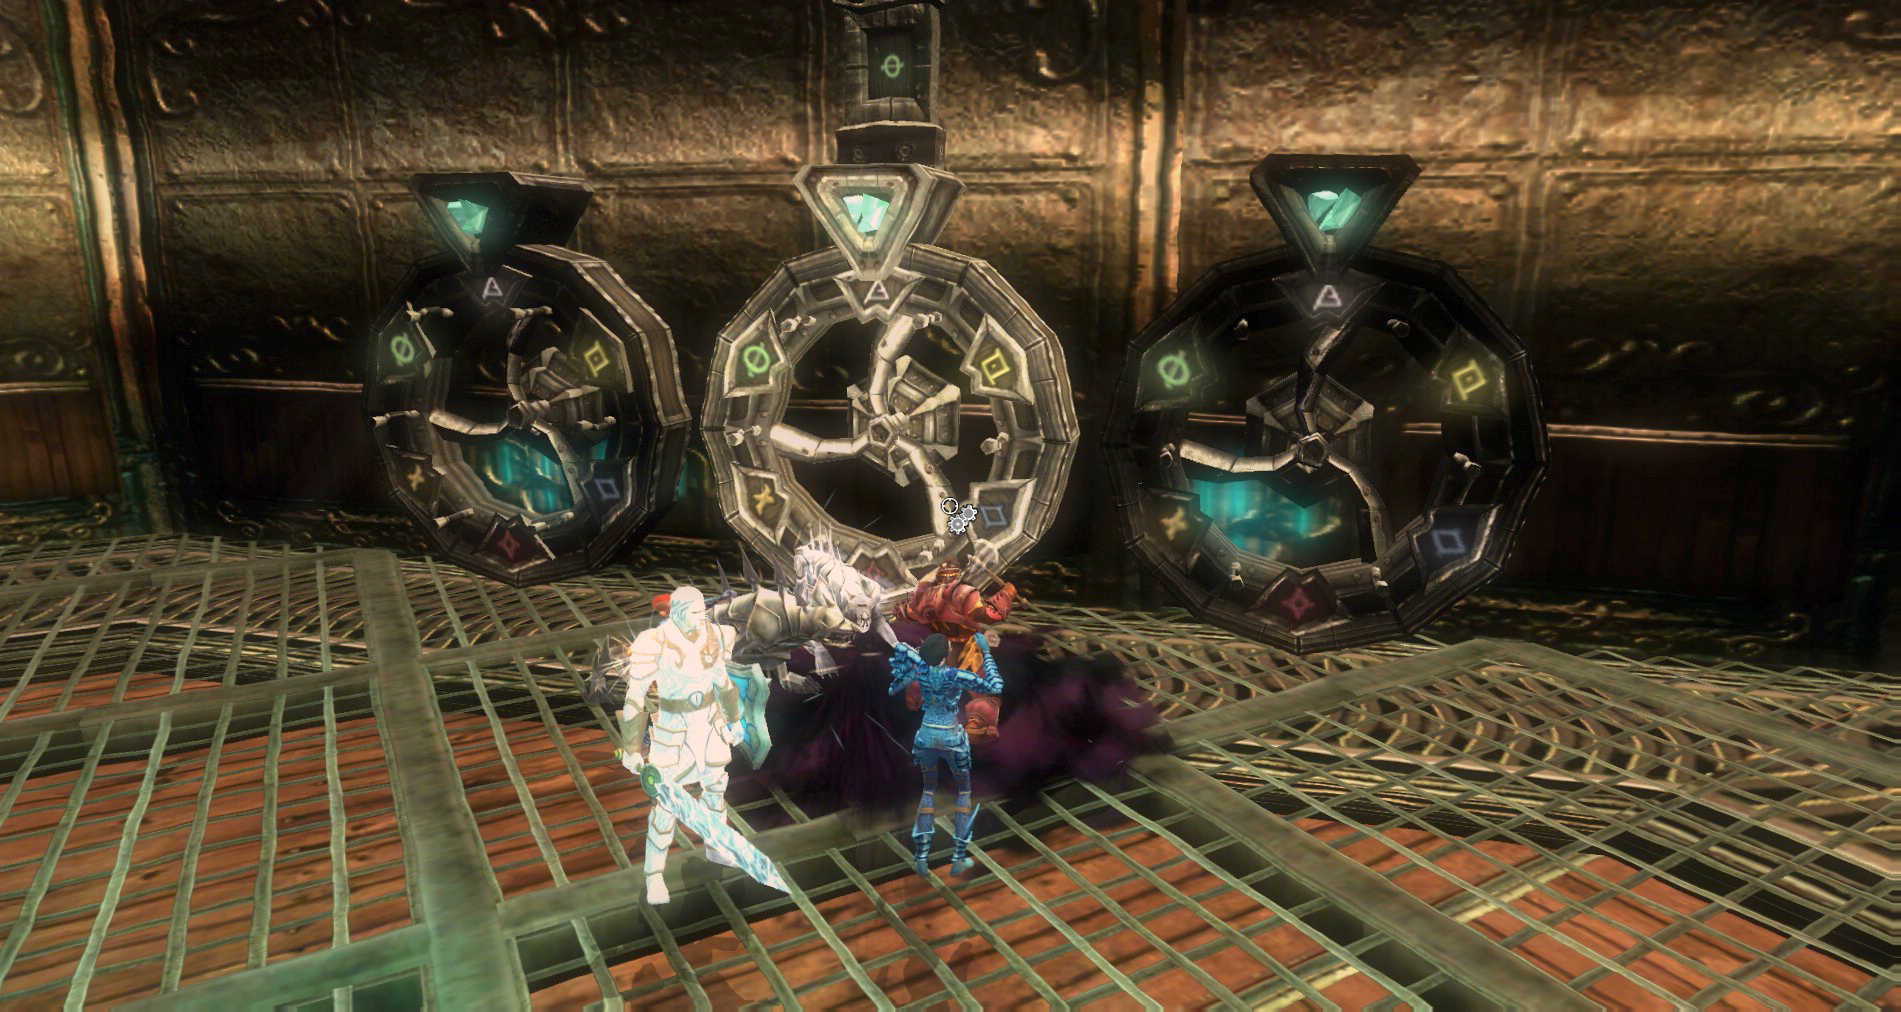
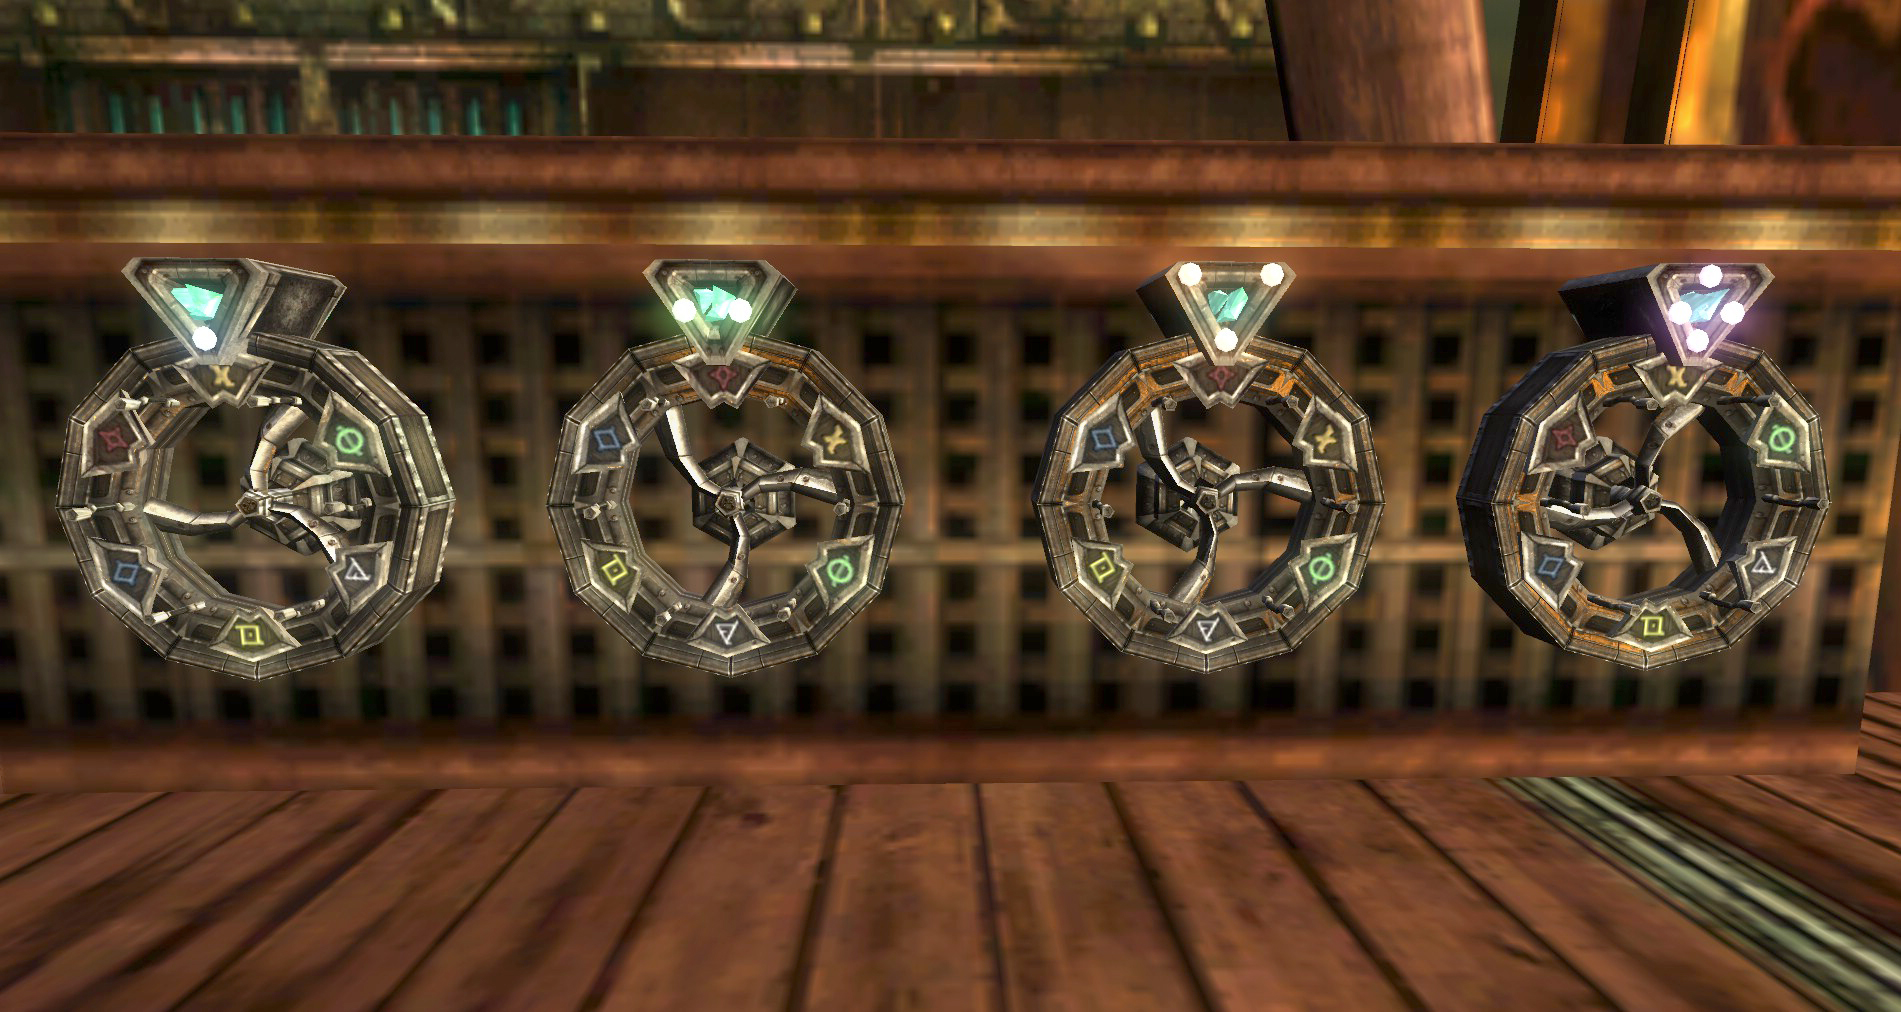
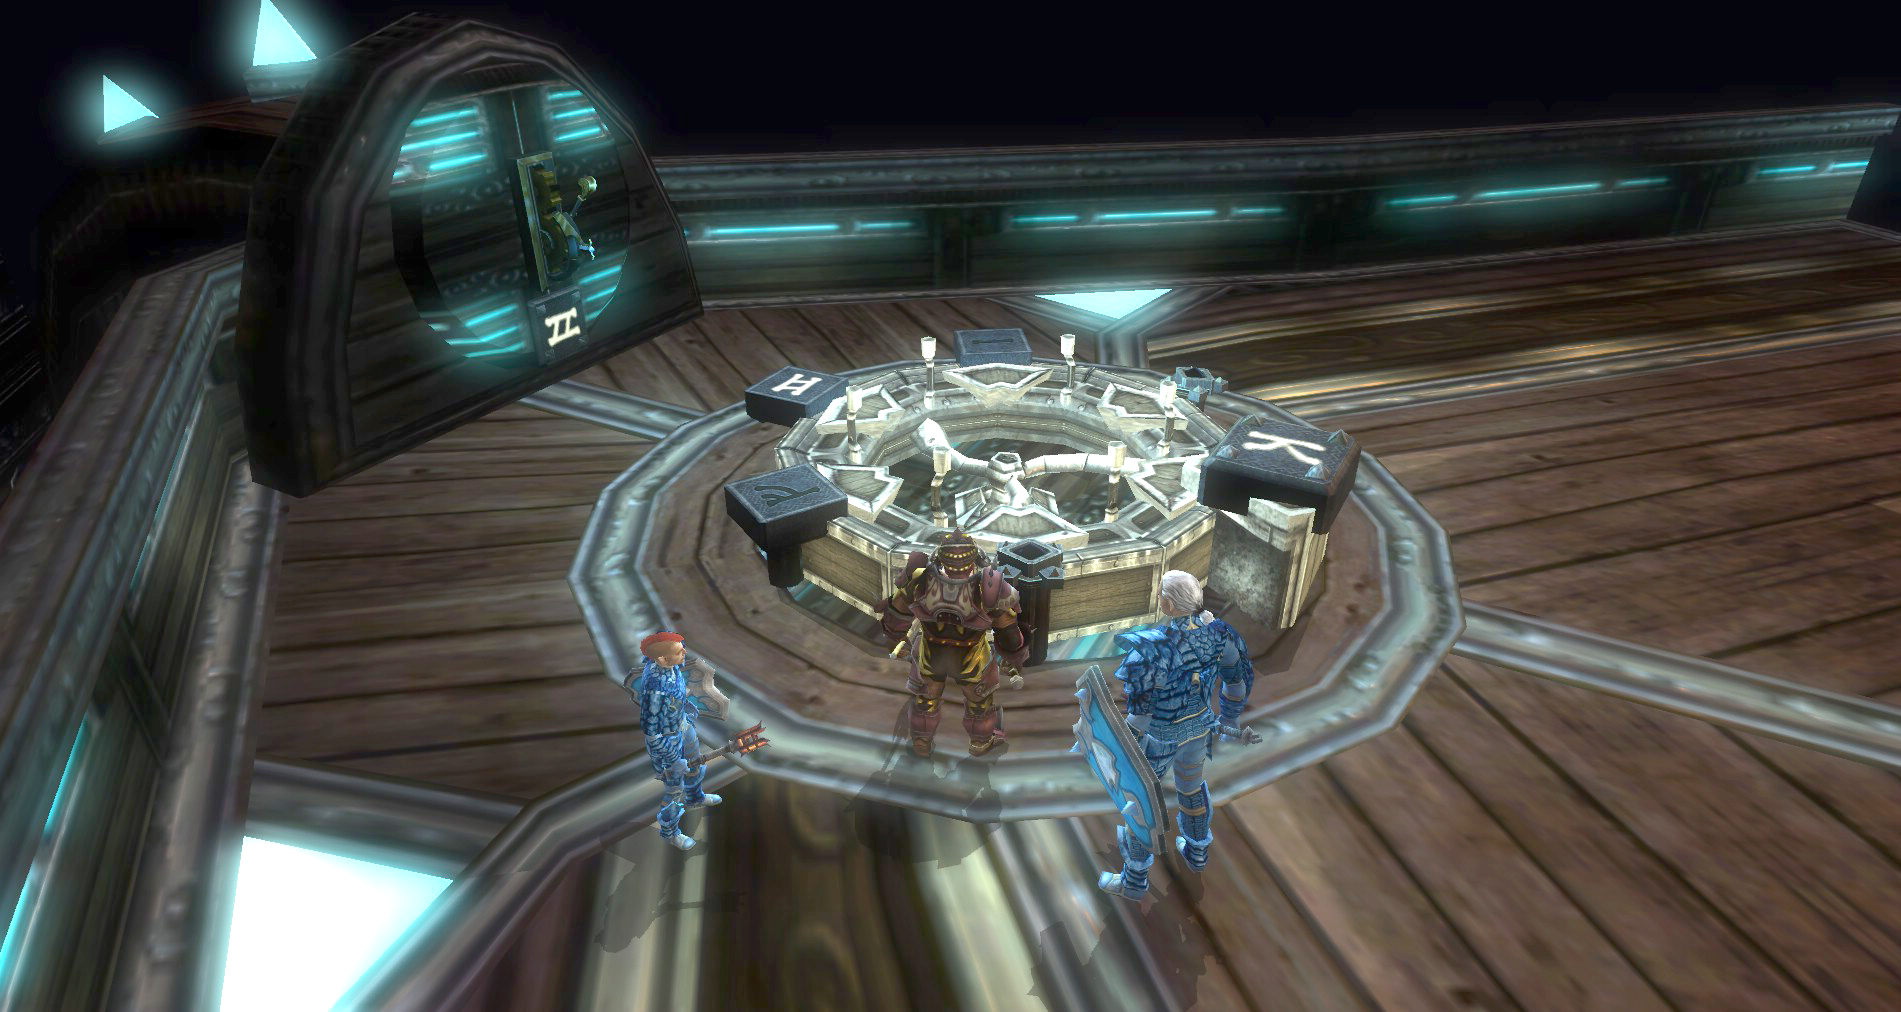
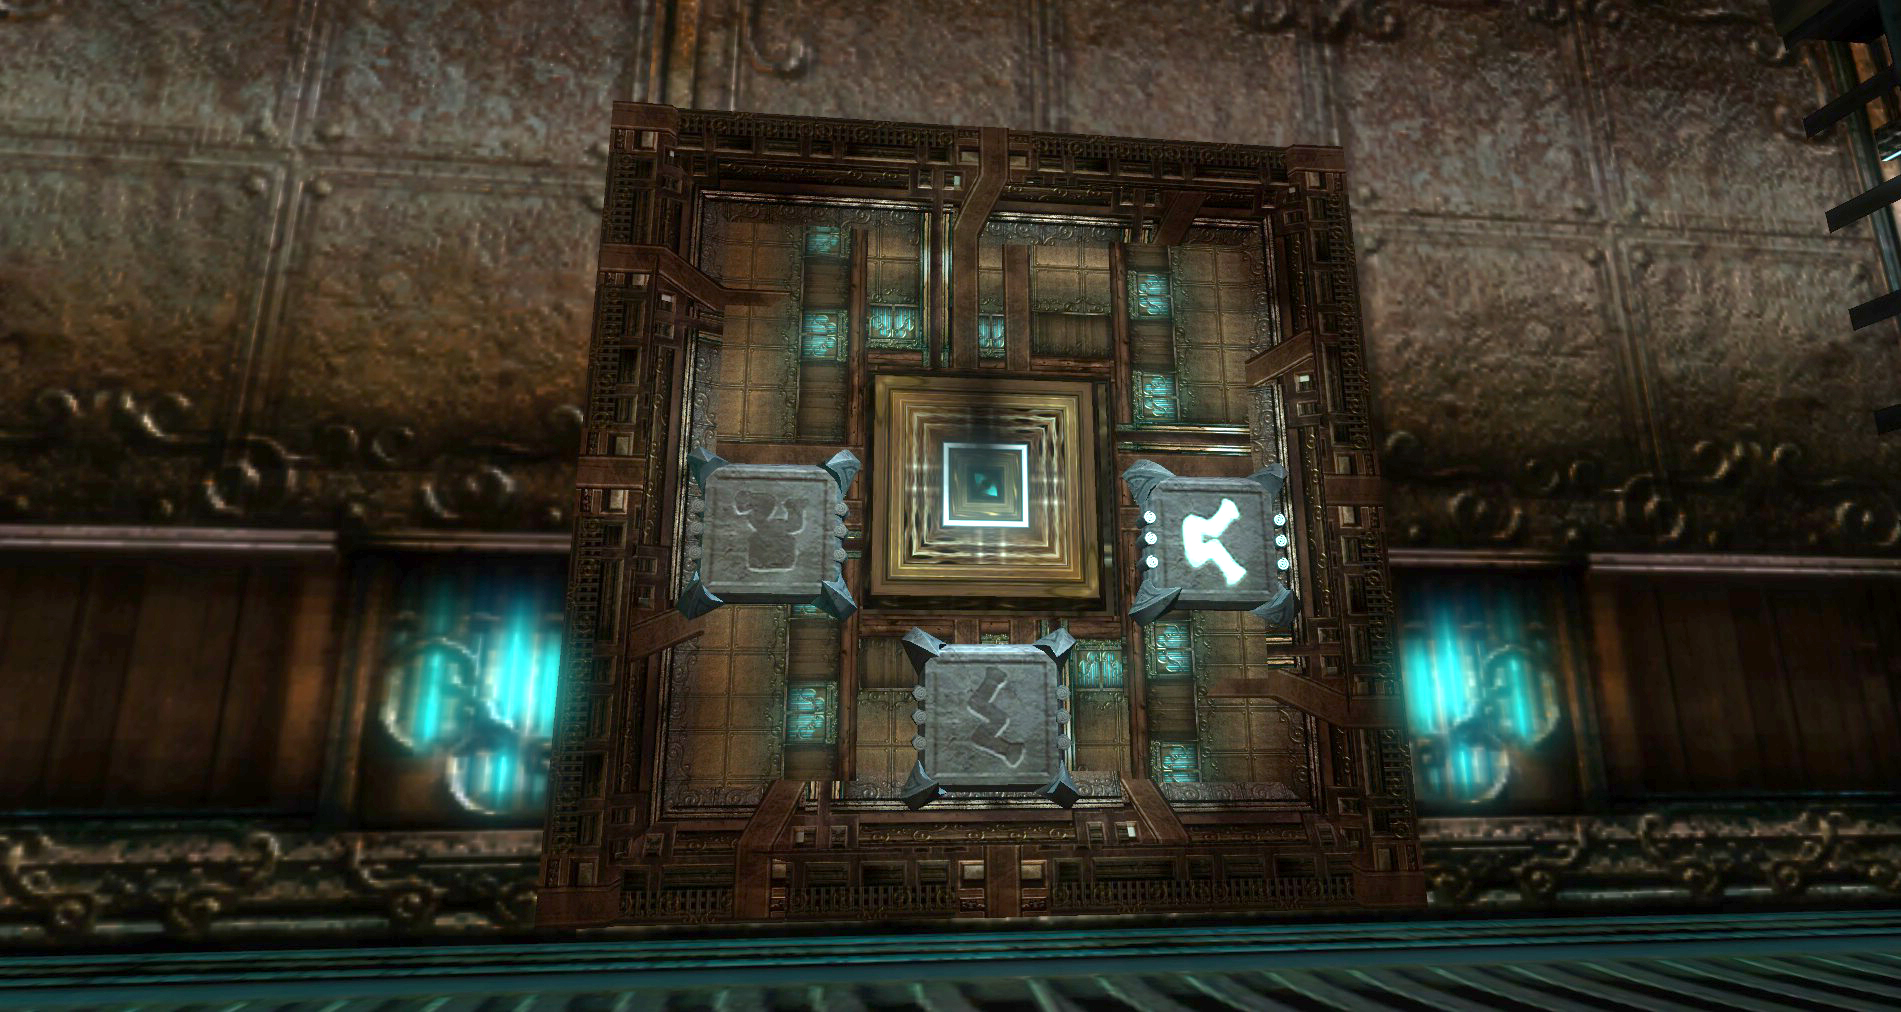
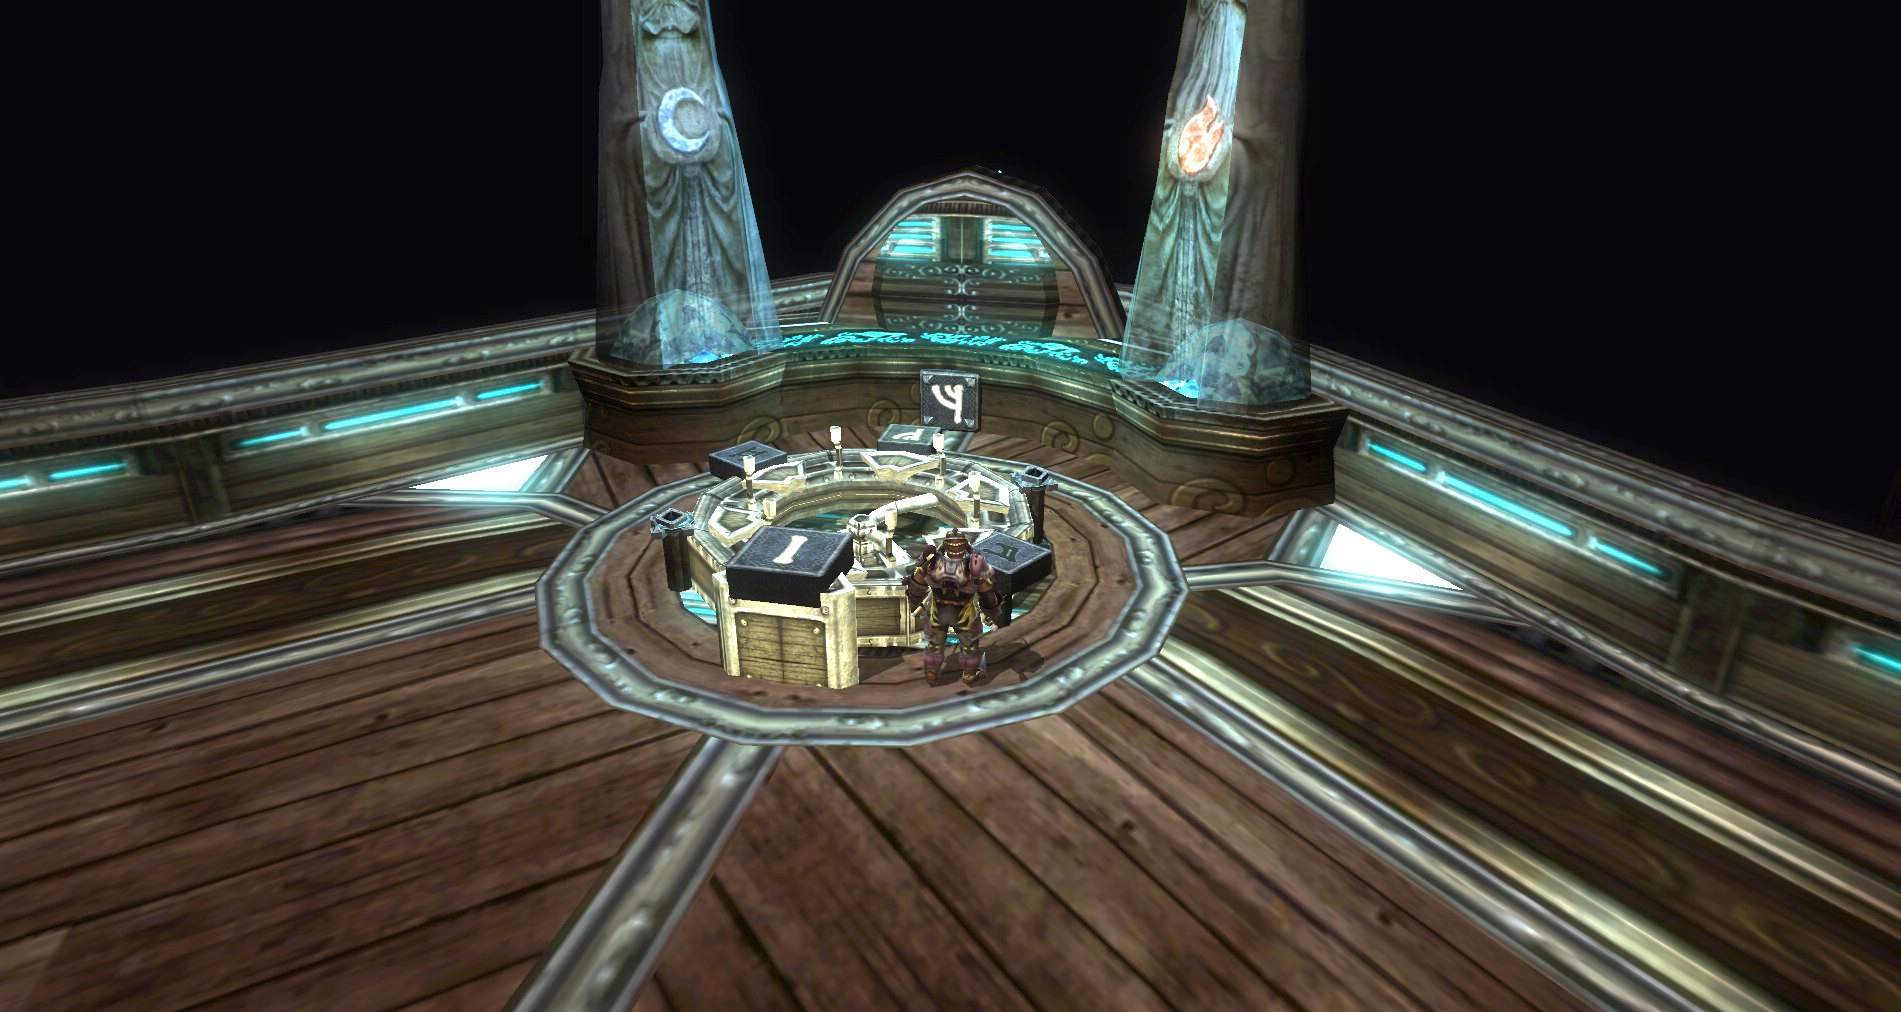
- Smarts: Clear the room and work on the puzzle. The rune wheels spin other wheels when they move in the row. This can be tricky, here’s how to solve it.
- Set the first wheel (blue one) to where you want it.
- Then look at the second (green) and third (orange) wheel. You will want to match these two wheels to the positions of the runes you will want on the top. They can be in any position but as long as each wheel matches and is in the same position.
- Move to the third wheel and spin it until both 2 and 3 line up on top with the symbols you want.
- Spin the 4th wheel (purple) until the rune you want is on top.
- Done!
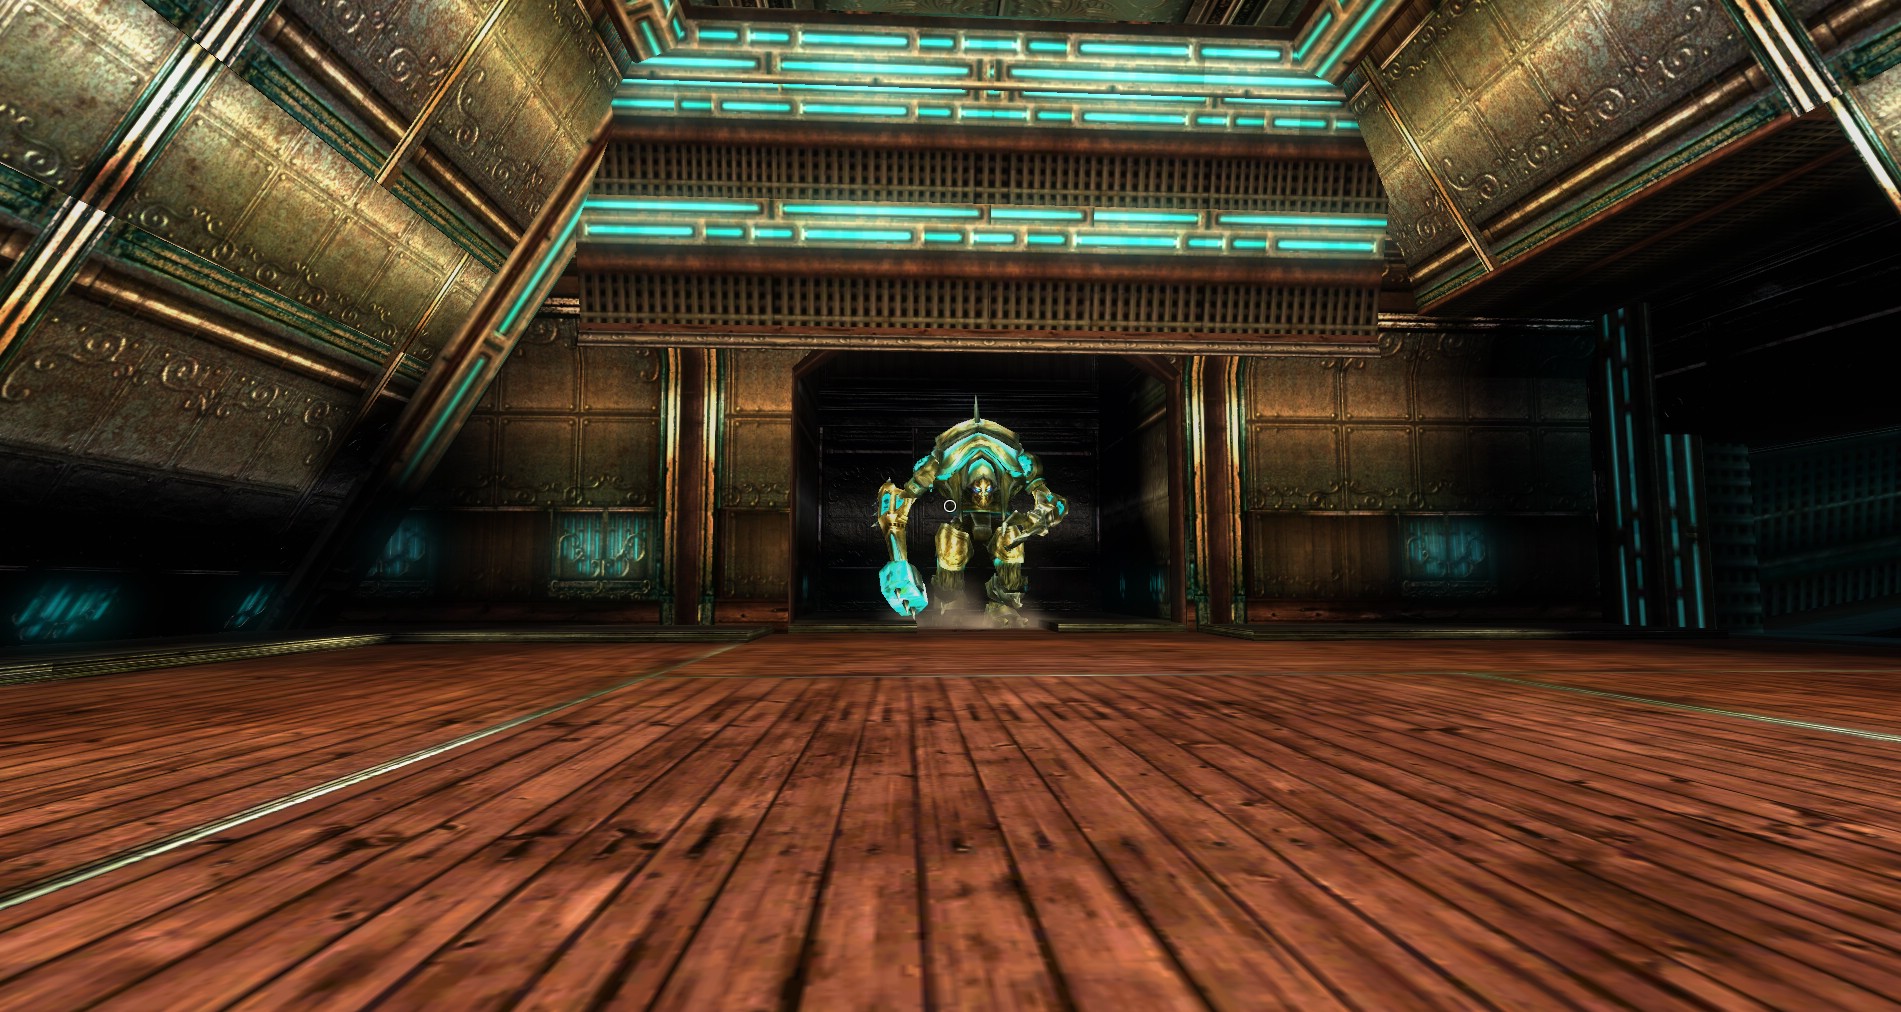
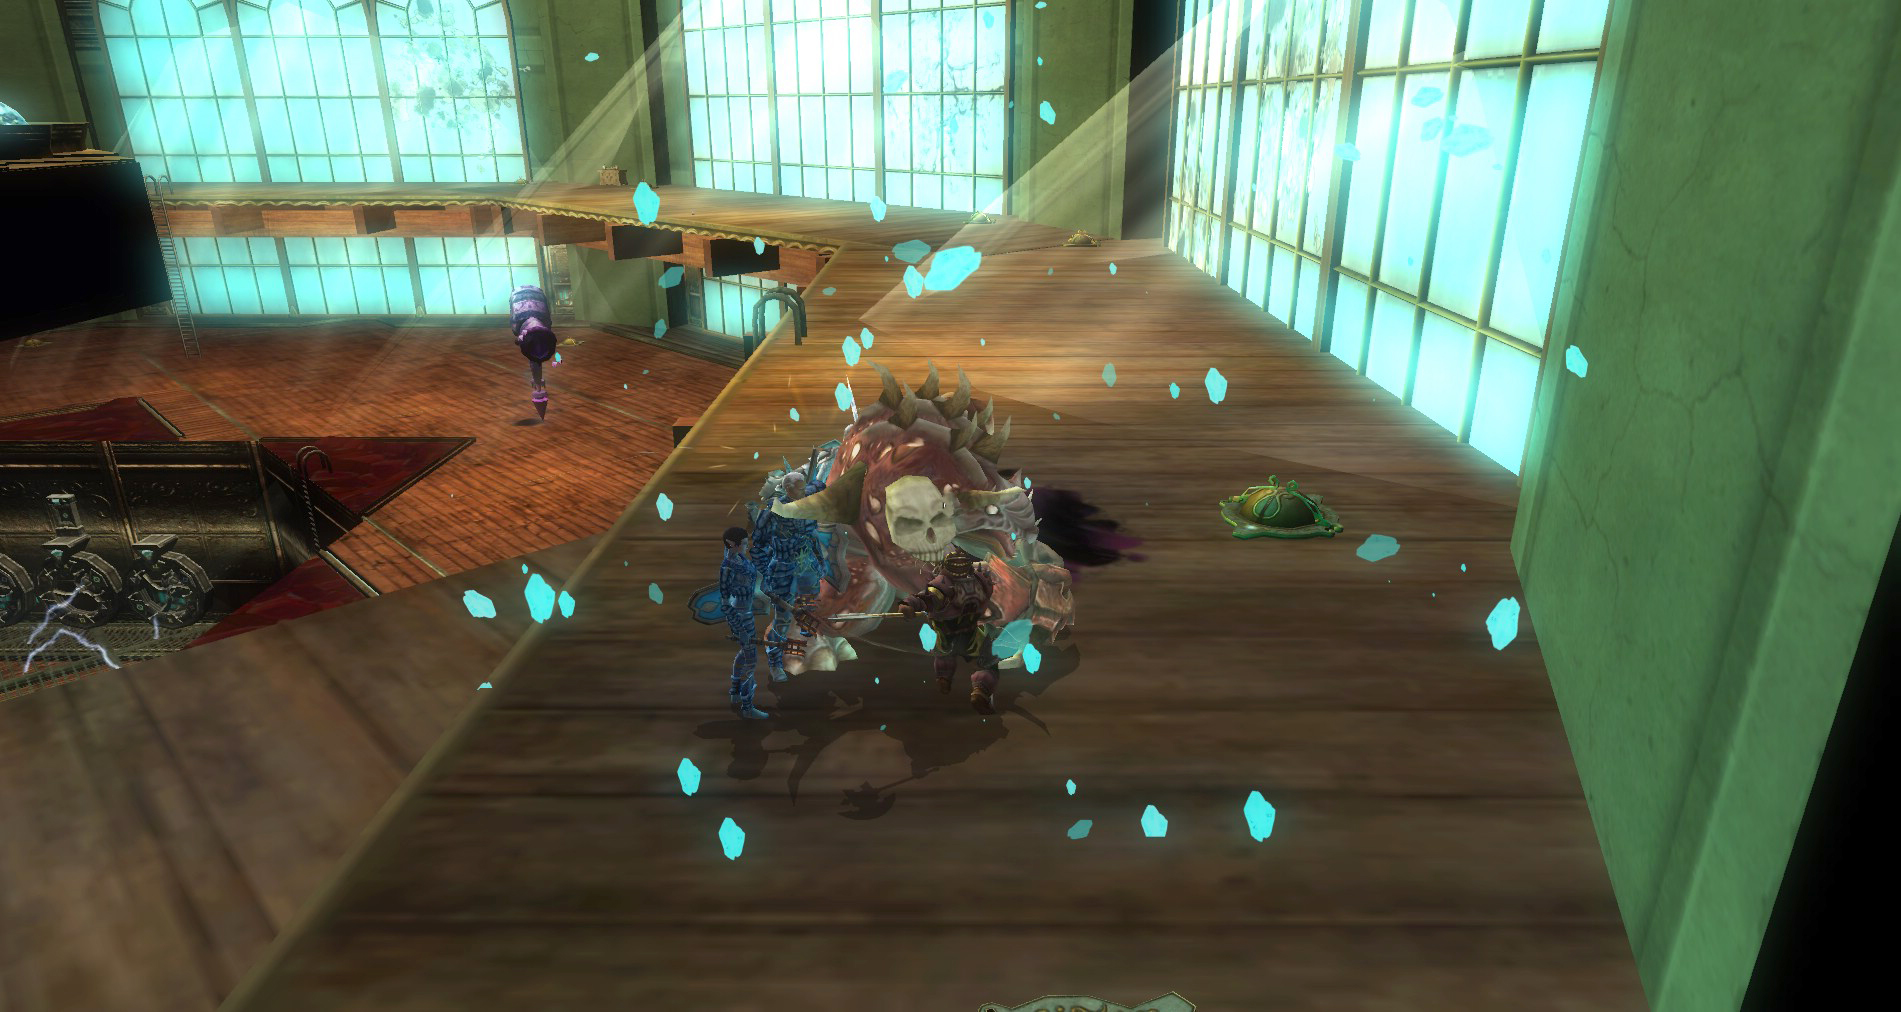
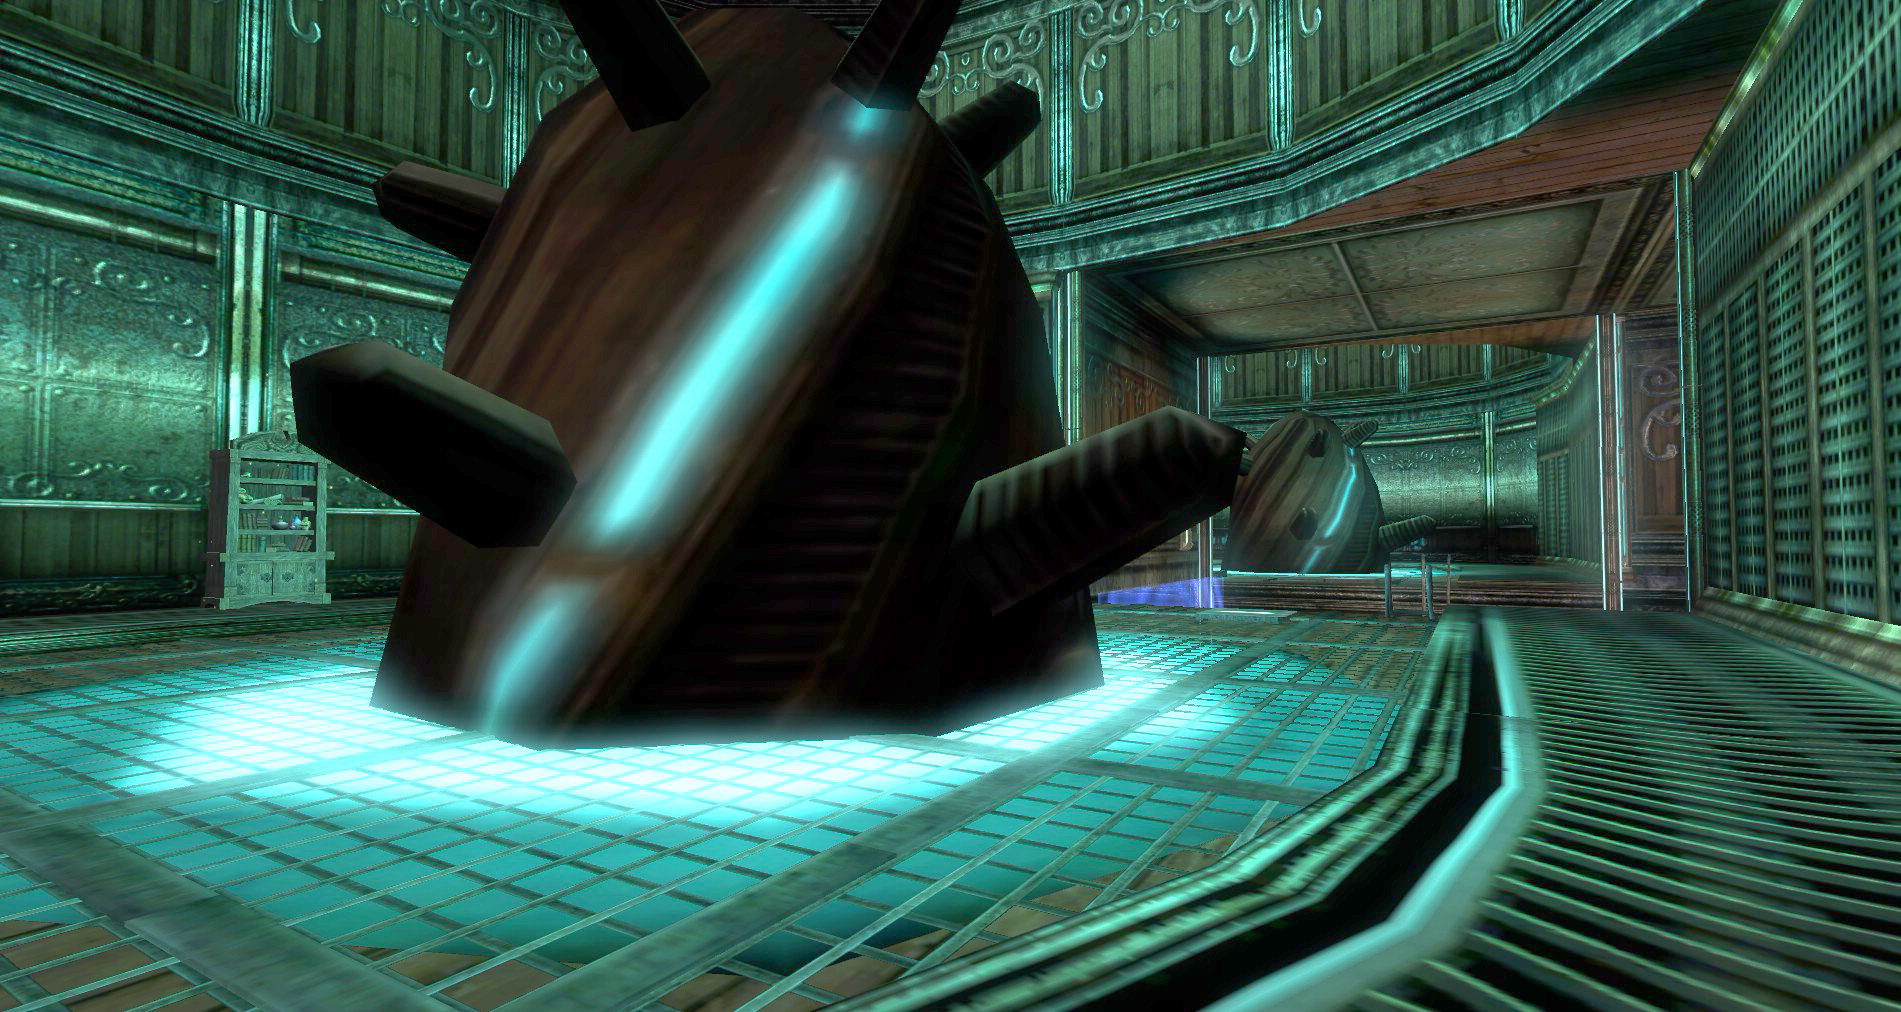
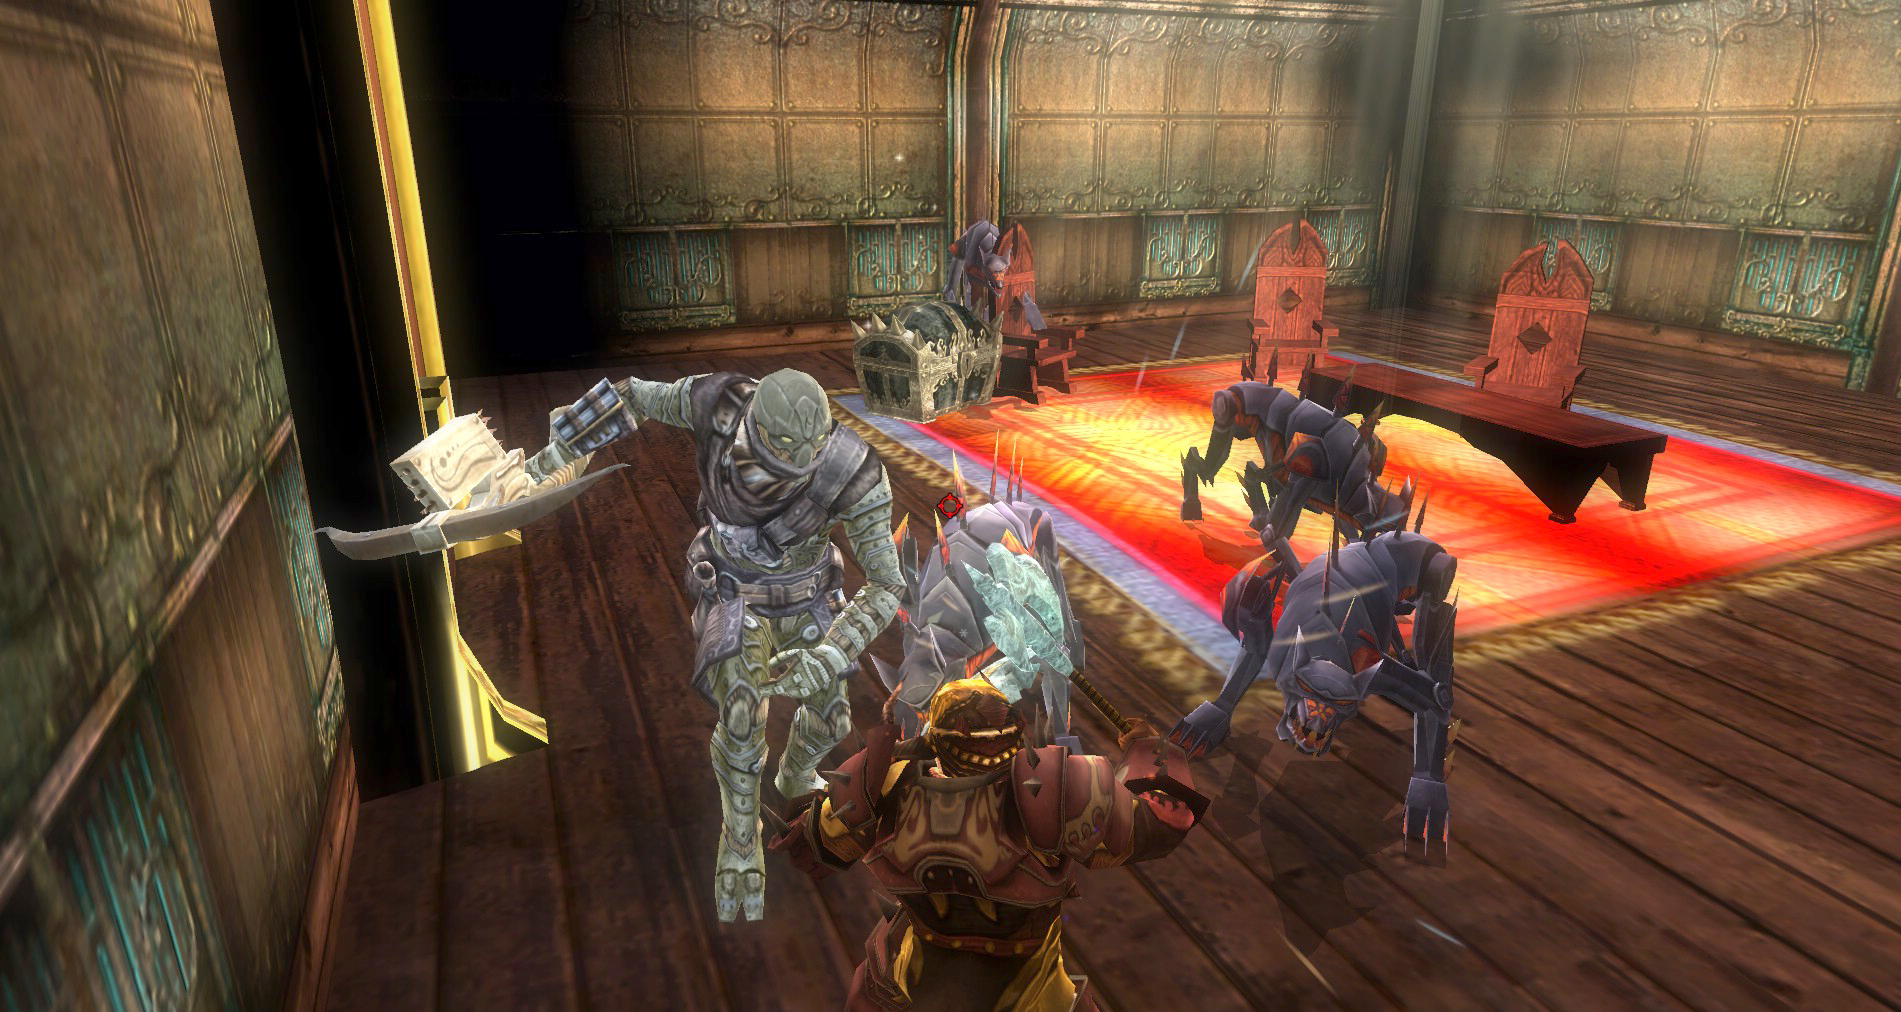
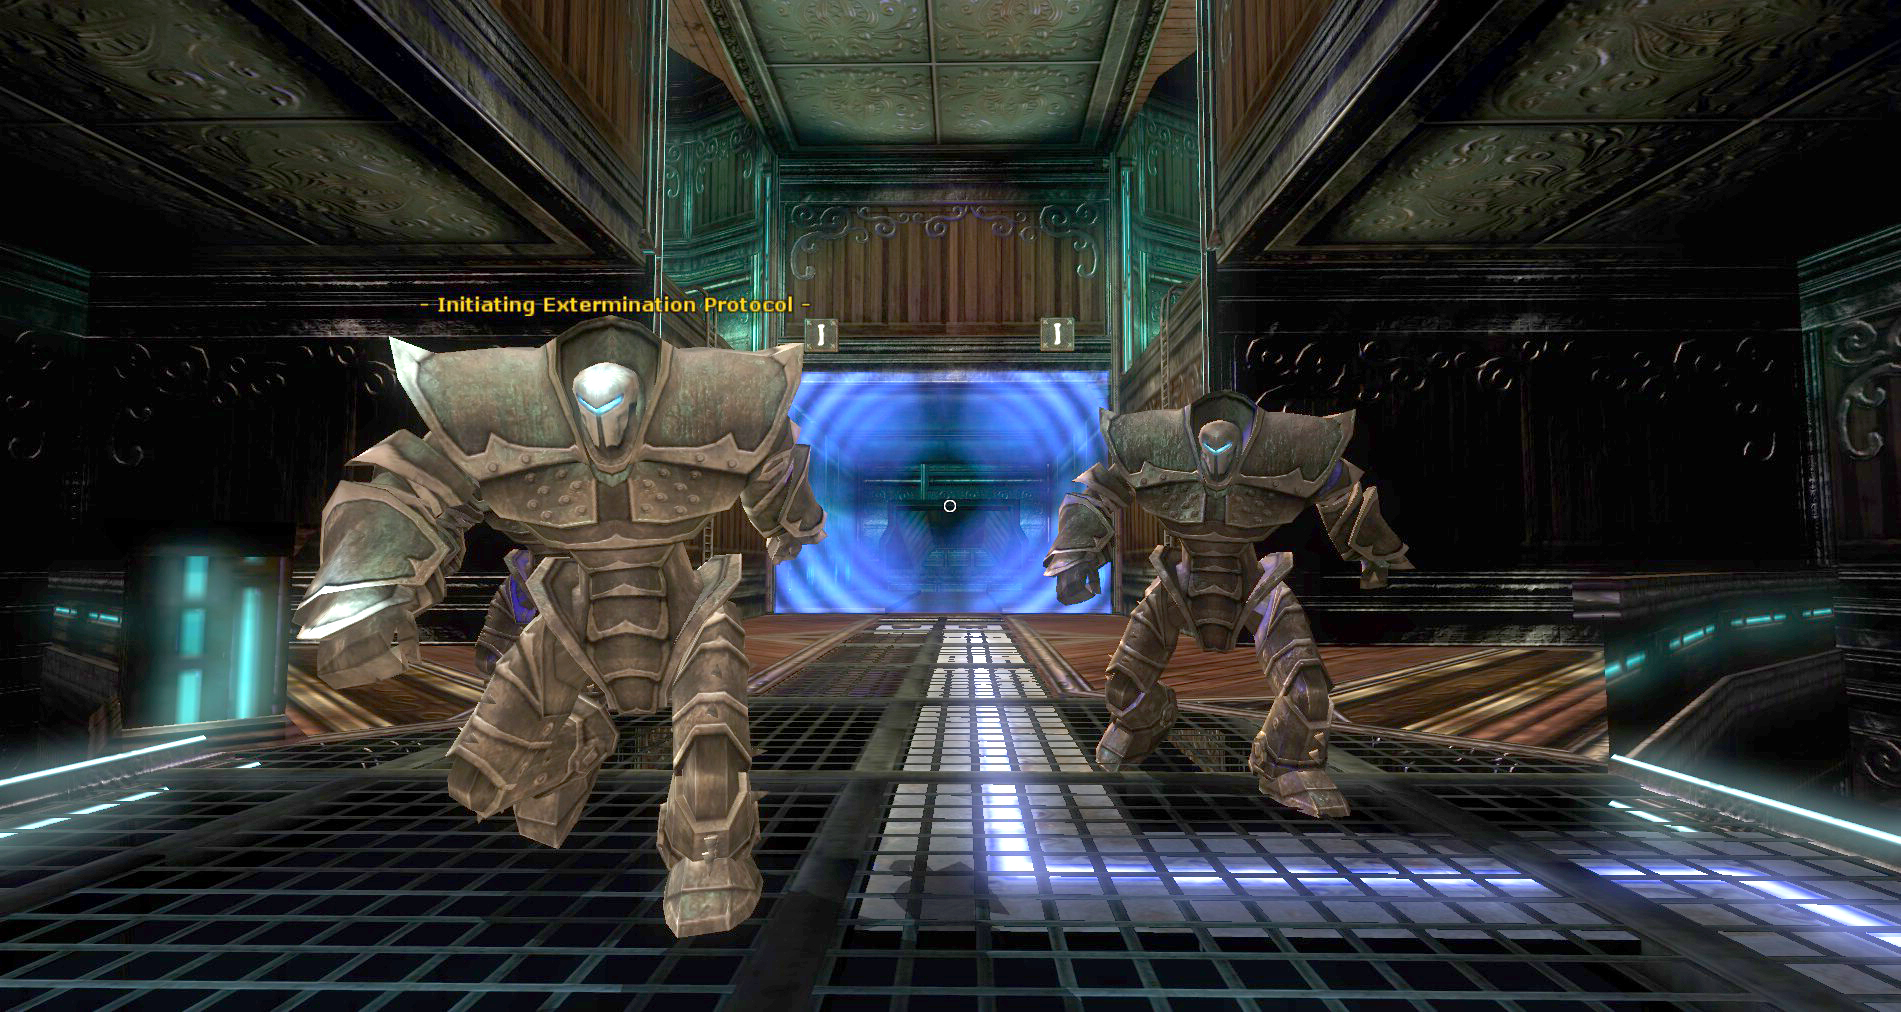
 Smash: Kill it all! Once everything that started in the room is dead begin beating on the door. Soon the Active Security Defenses will activate as Magefire Cannons spawn in the room along with a ton of Cannith Hounds and Watcher Constructs. Keep killing until you make the defenses really mad. When that happens a room to the south opens and out comes a Warforged Titan to put a stop to your meddling. Drag the Warforged Titan over to the security door and fight him there. Watch out for his area of effect force burst attack, it can really hurt! During the course of the fight you are bound to make the Titan break down the very door it was meant to defend. Nice work! Now finish it off and get a move on. No time to smell the oil!

Bridge and the Abyss
 You will go down a couple of ramps with some Watcher Constructs and some breakables. Do your thing and move onto the bridge over the abyss. Don’t fall in here or you are done for. However, your Soul Stone should appear at the Resurrection Shrine at the beginning of the bridge.
You will notice a rune wheel off to the east. Set this rune wheel to the double Y position to get an extra shrine. It will only appear when it is powered, so use this before you shut down the power.
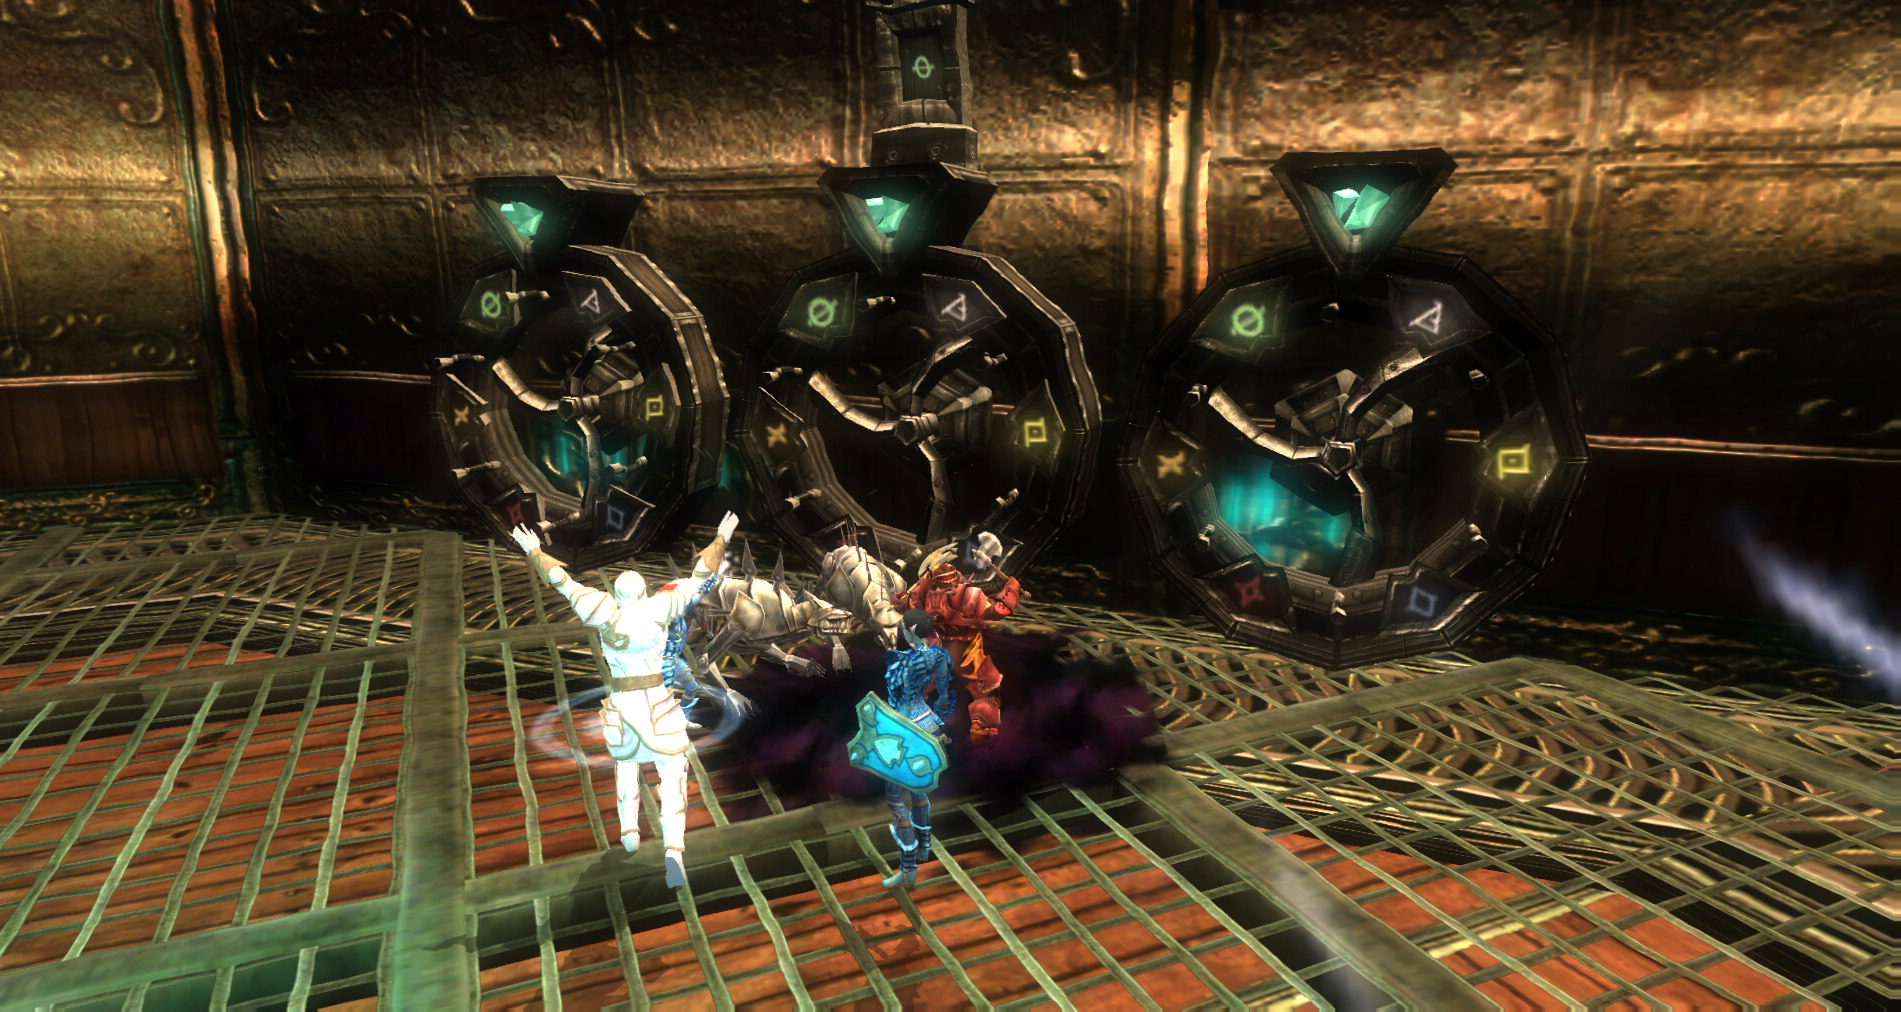
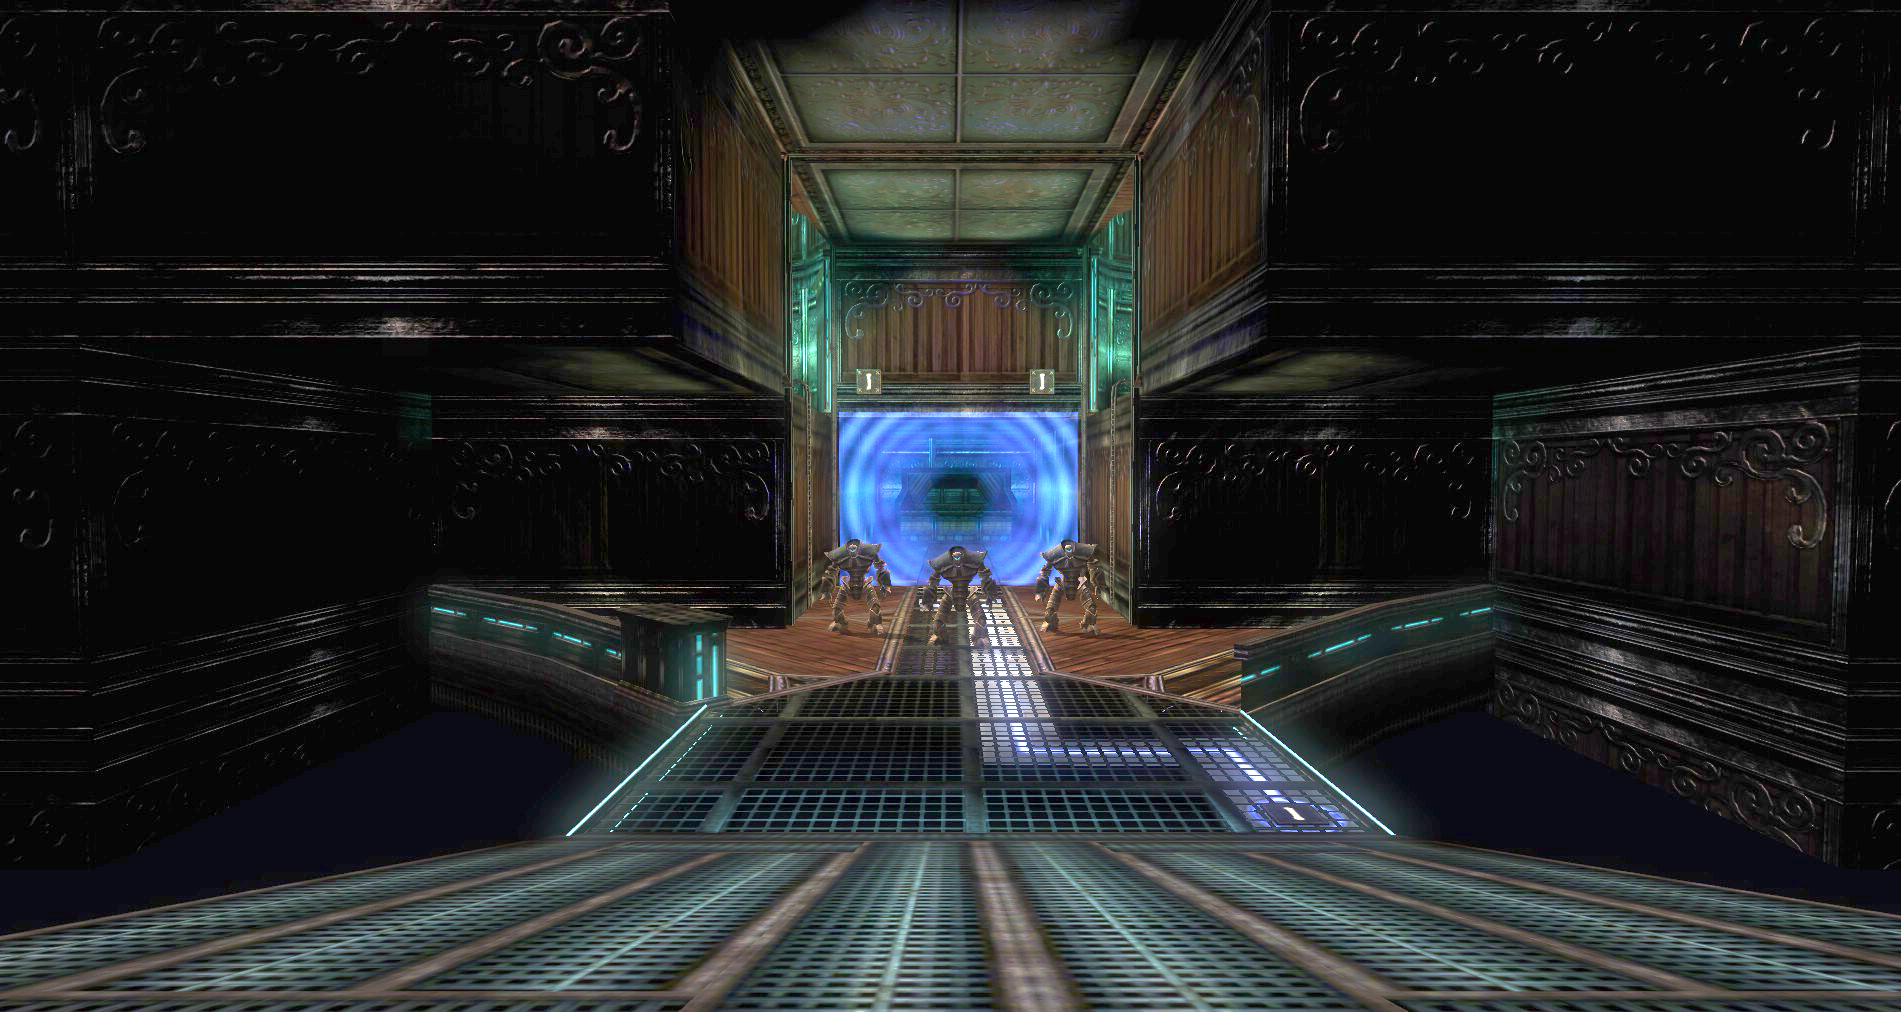
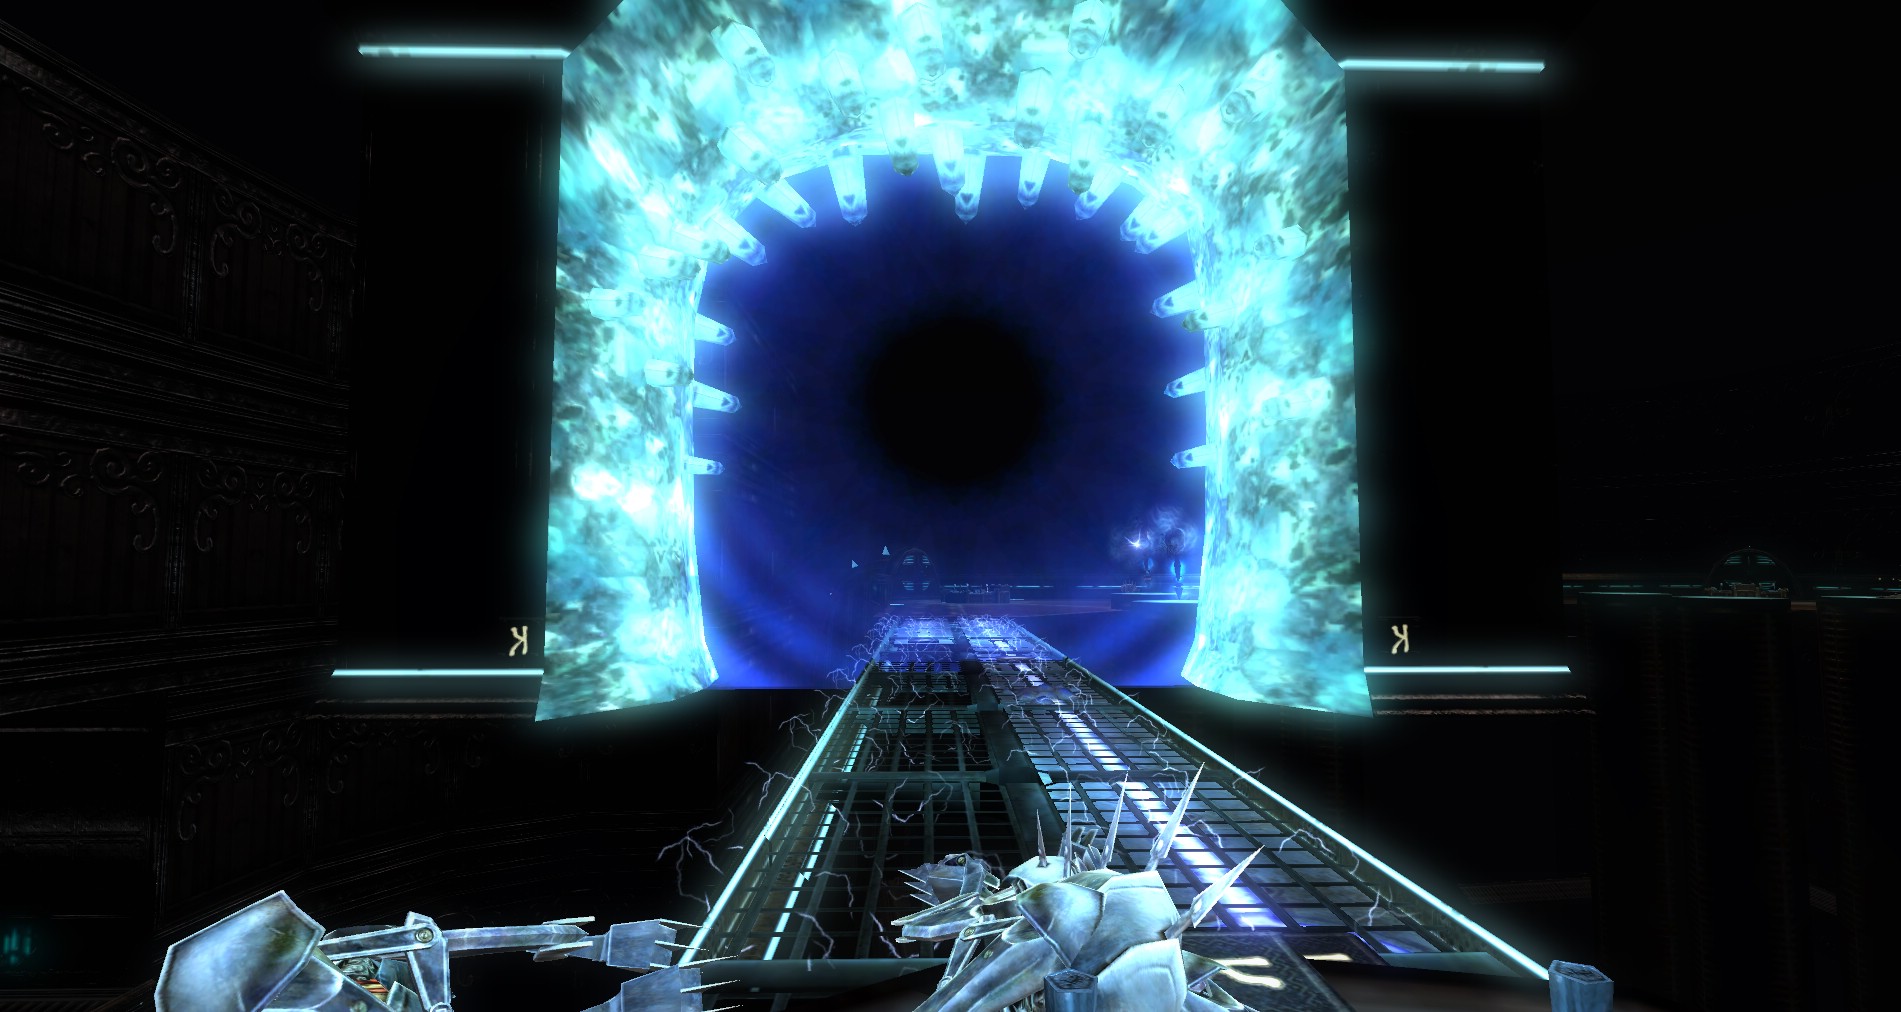
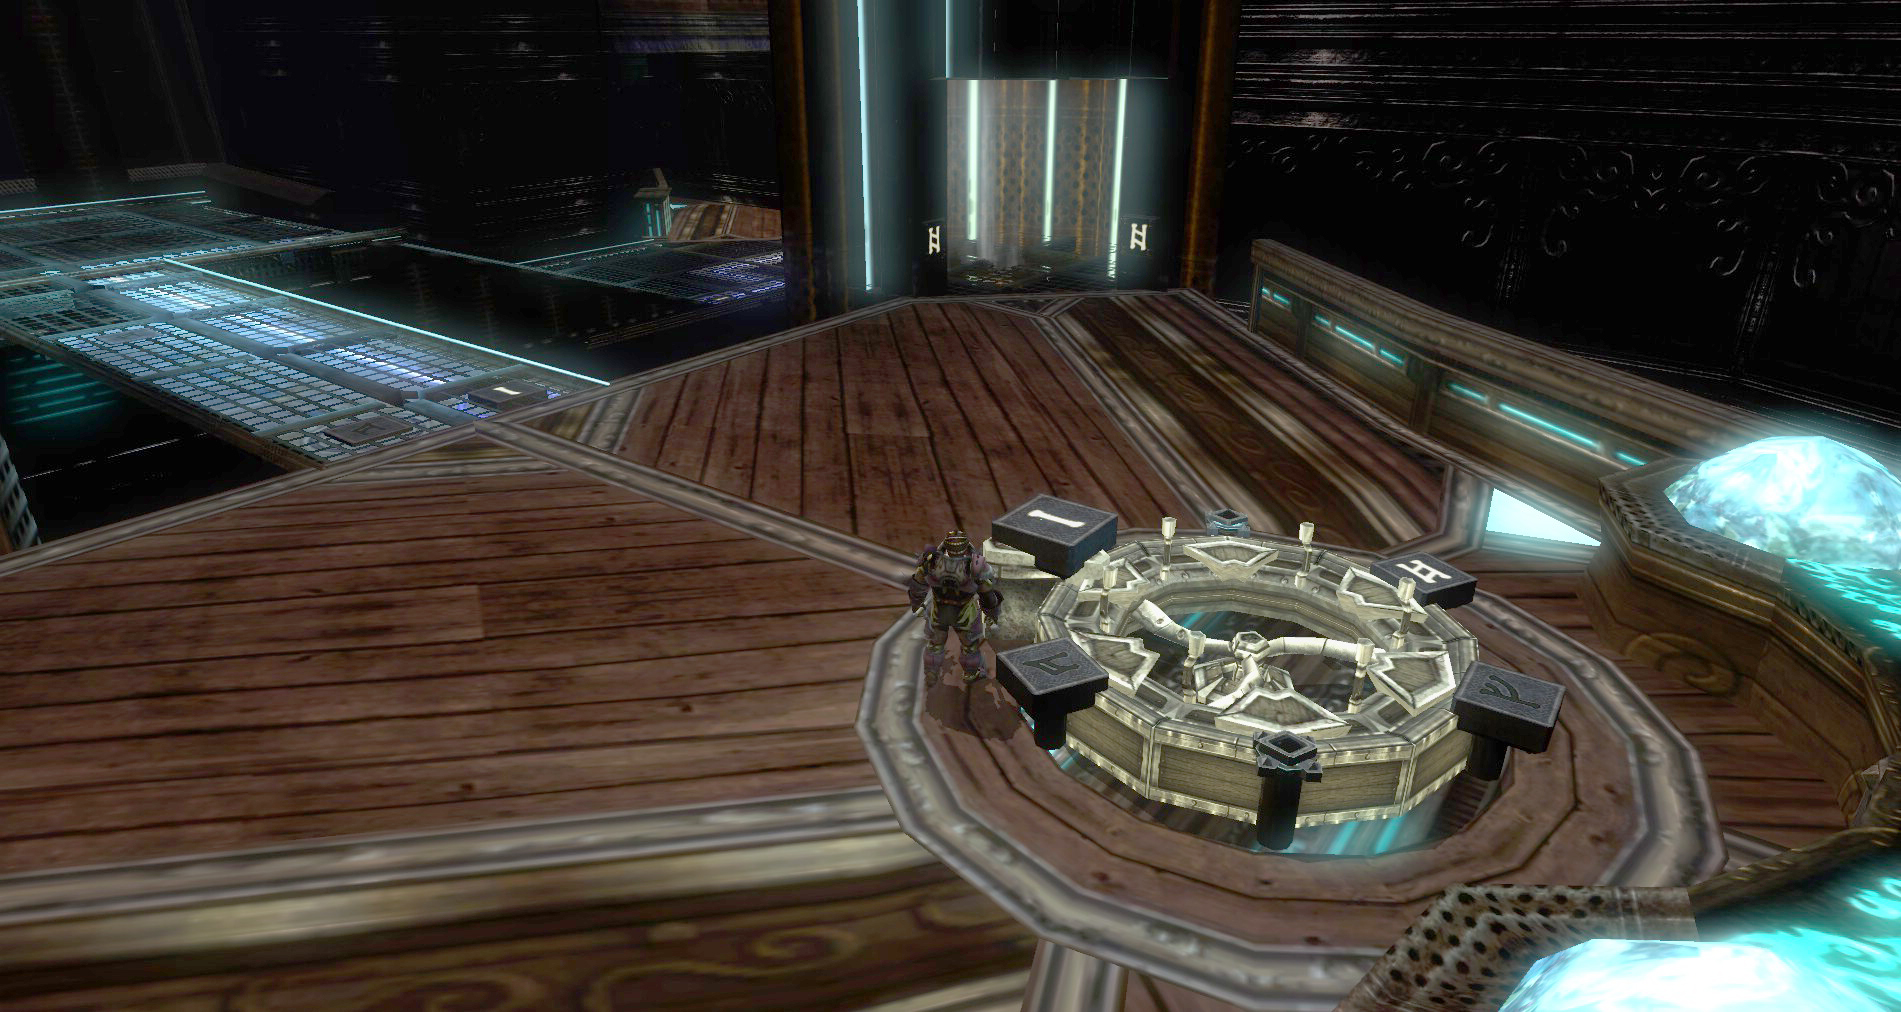
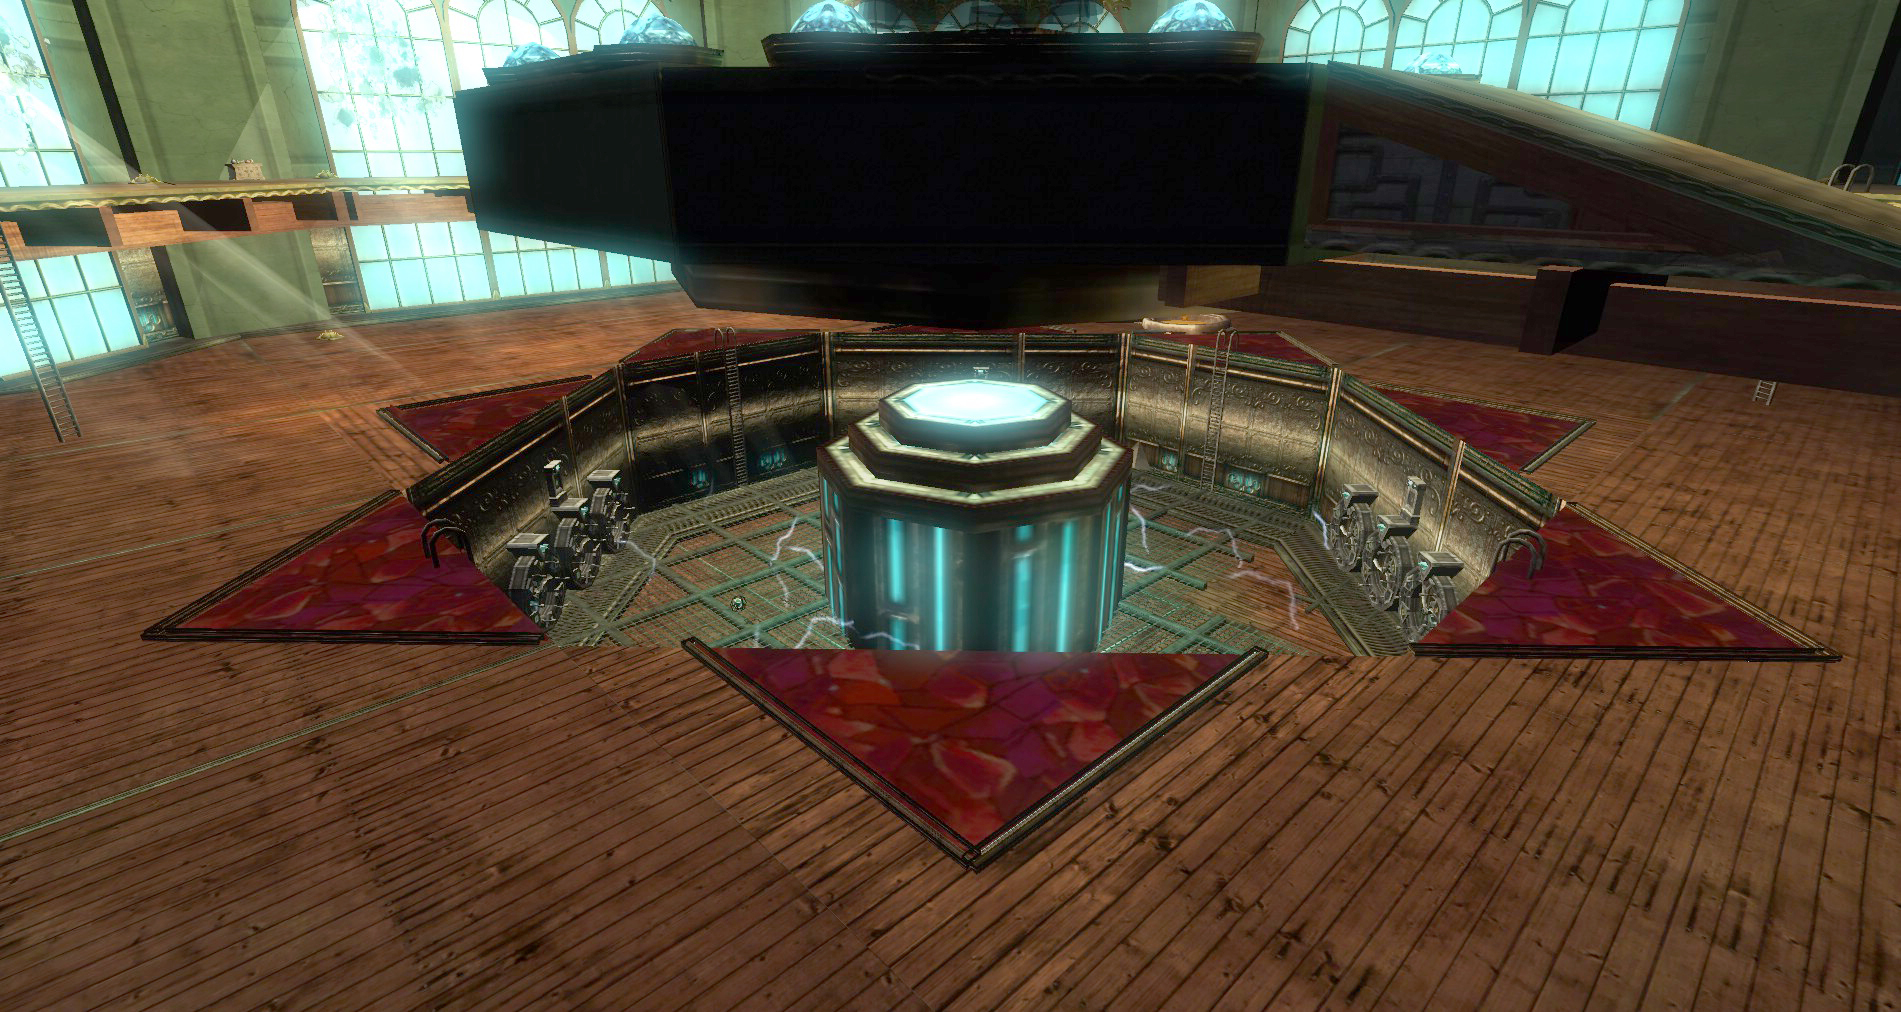
Near the end of the bridge, the final section of the dungeon is protected by three Iron Juggernauts and a force shield. You will need to take out the Power Relays to drop the shield. There are several ways to do this.
Optional Paths
- Stealth: Slip past the golems and up the ladders then beat down the Power Relays.
 Smarts: Have at least one person or hireling stay on the bottom relay switch. Then you will need to head up and set the power wheels to the right position to shut down the Power Relays with switches that are above them. Switch to double H to activate the air tube near the first Relay wheel on the bridge. Be careful on the catwalks as Magefire Cannons will spawn near each rune wheel and when the walkway is powered they will also be electrified.

1st Relay needs to be on NN.
2nd Relay needs to be on K.
3rd Relay needs to go to HH. Hit the lever then to I.
4th Relay needs to go to HH. Hit the lever and then jump down.
- Smash: Run down, smash the golems and then split up to destroy the Power Relays. Done.
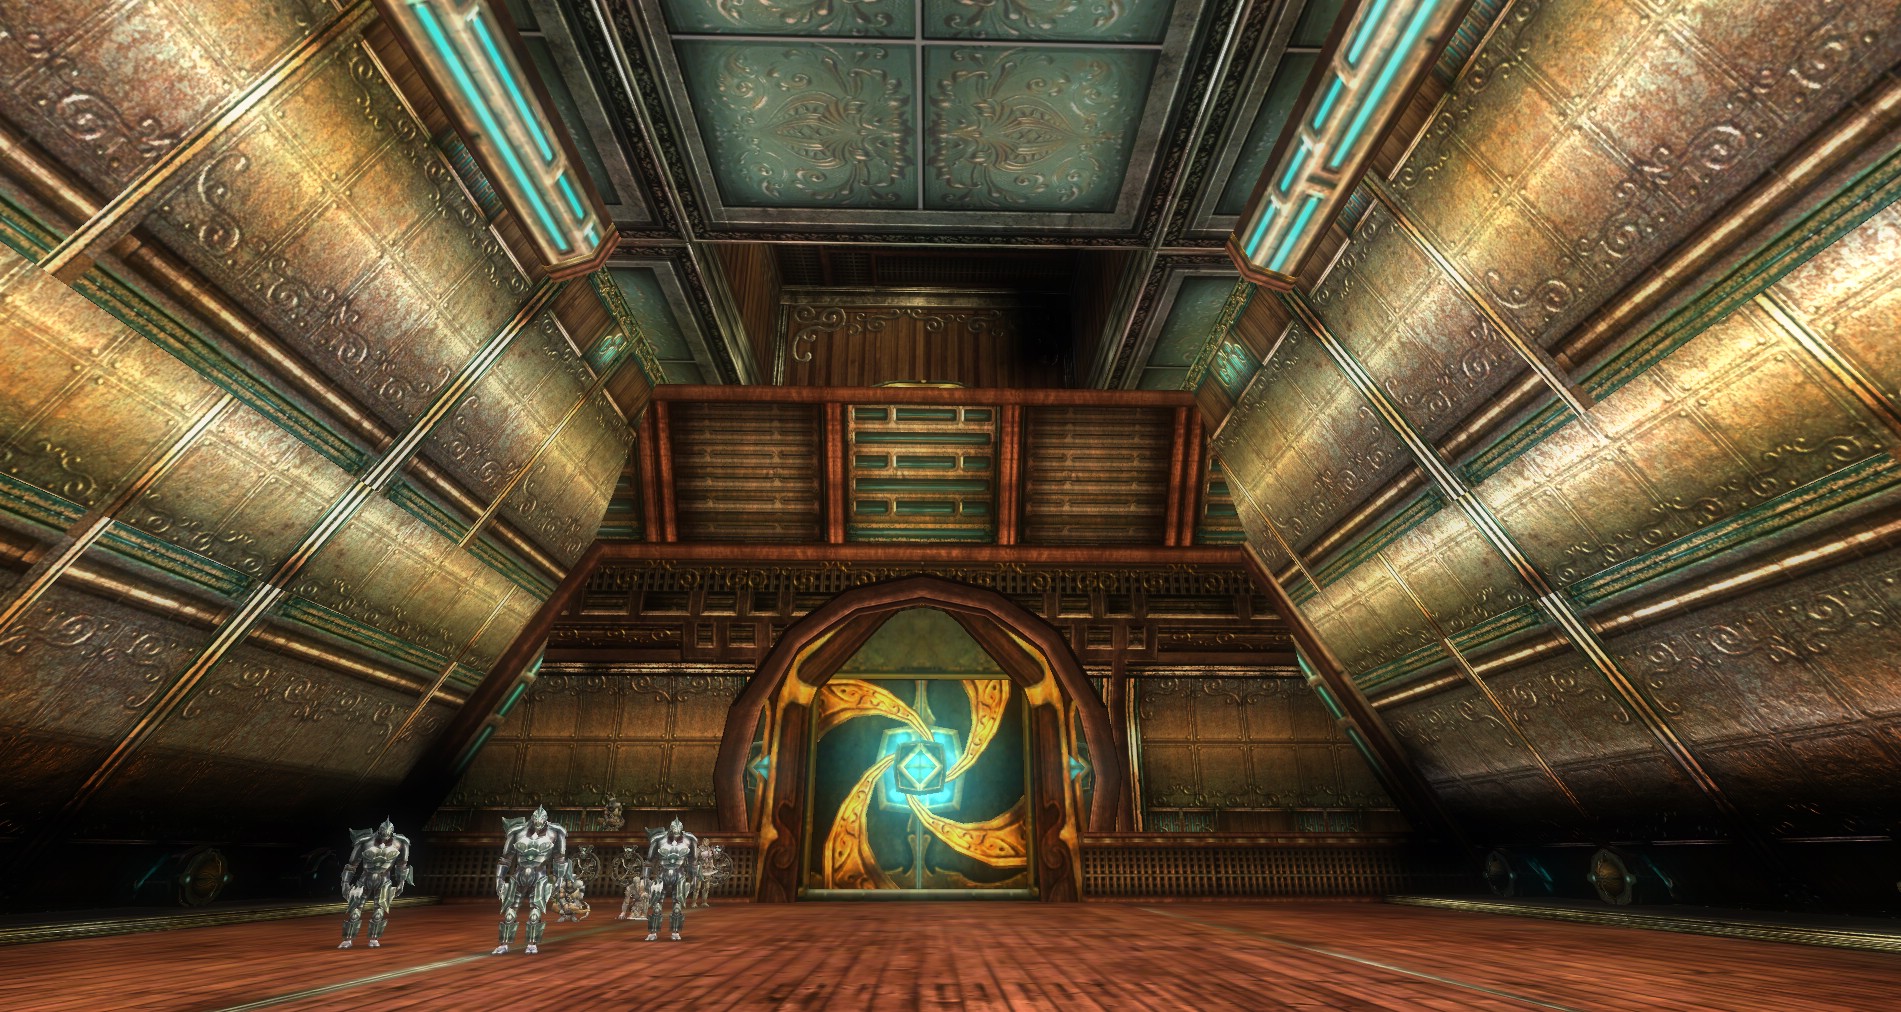
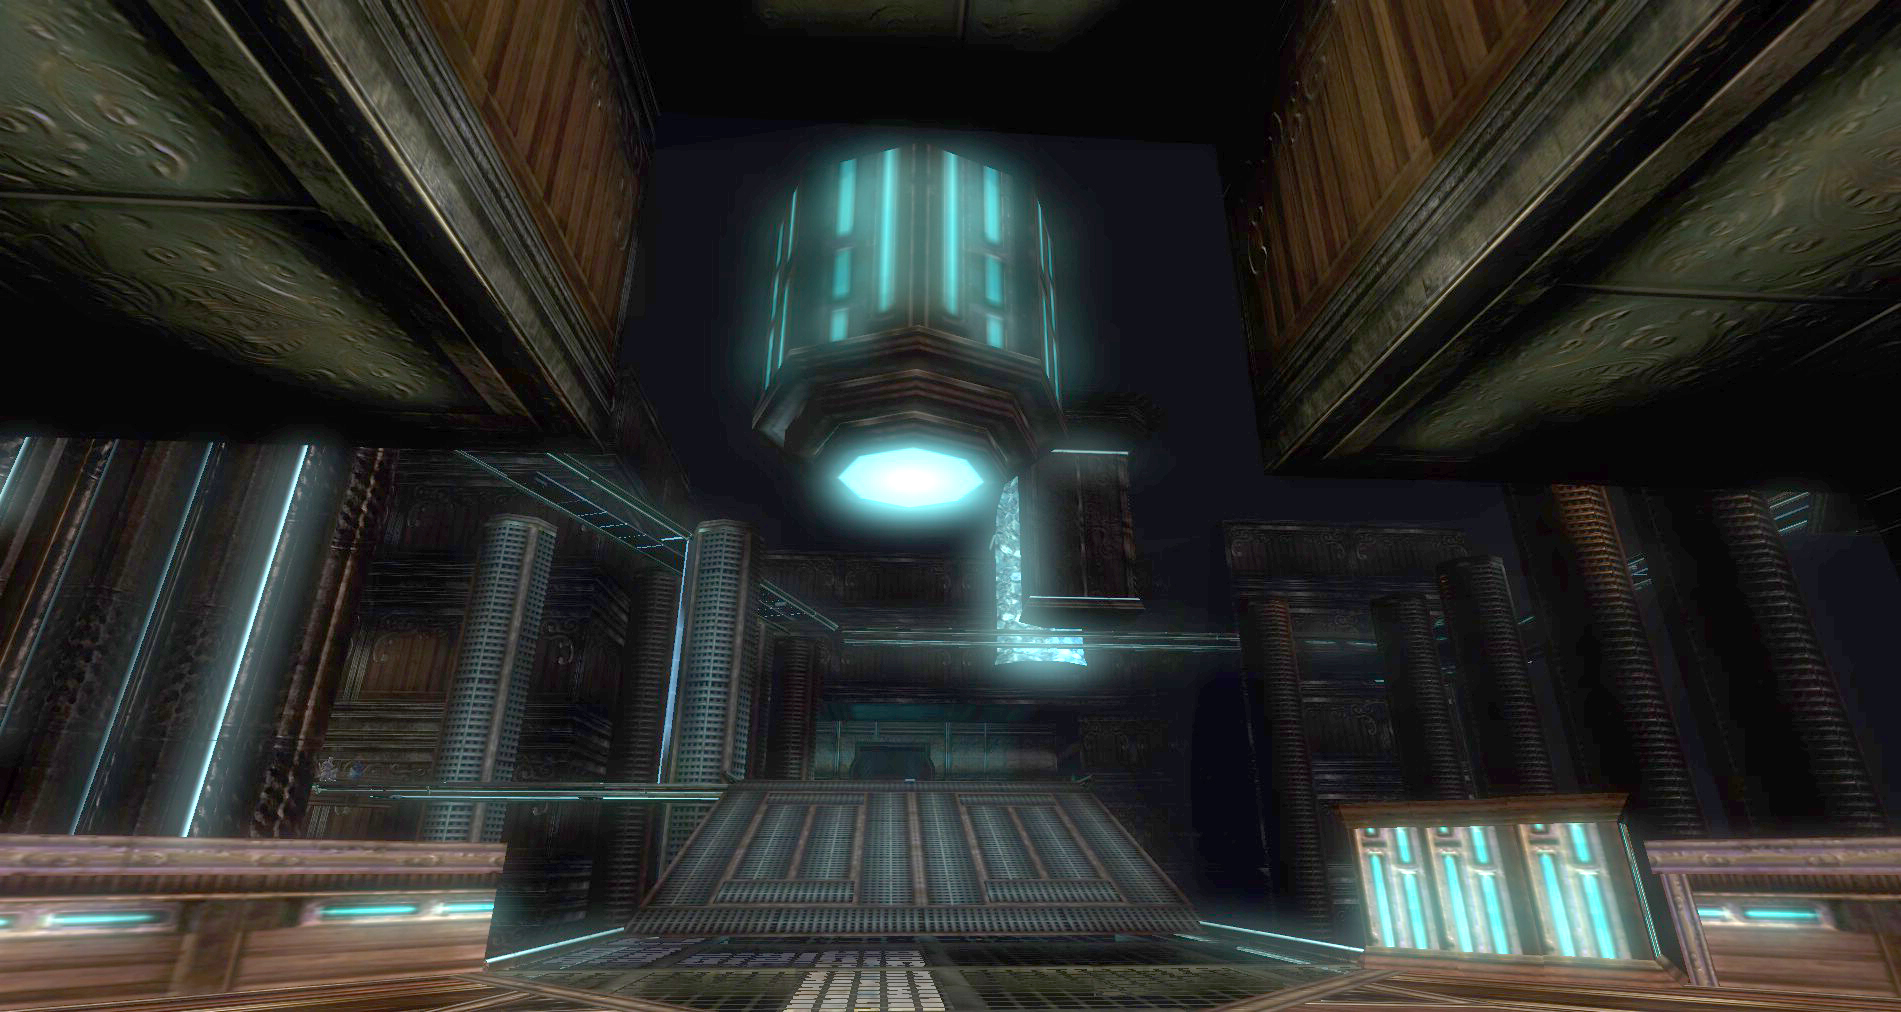
Final Hallway and Shrine
Head up both sides of the hallway and smash all the crates, you should get Ransack before you head into the Schematics Room, if you’re in to that kind of thing…
There is a shrine right before you head in. Use it and get all buffed up for the final fight. You will be fighting Peacemaker, a buffed up Magefire Cannon along with a ton of Cannith Hounds and Watcher Constructs. If you plan on messing with the puzzle in the bottom, make sure everyone has electricity resist and save boosts.
When you are done, head in. The door will close as soon as you activate the room.
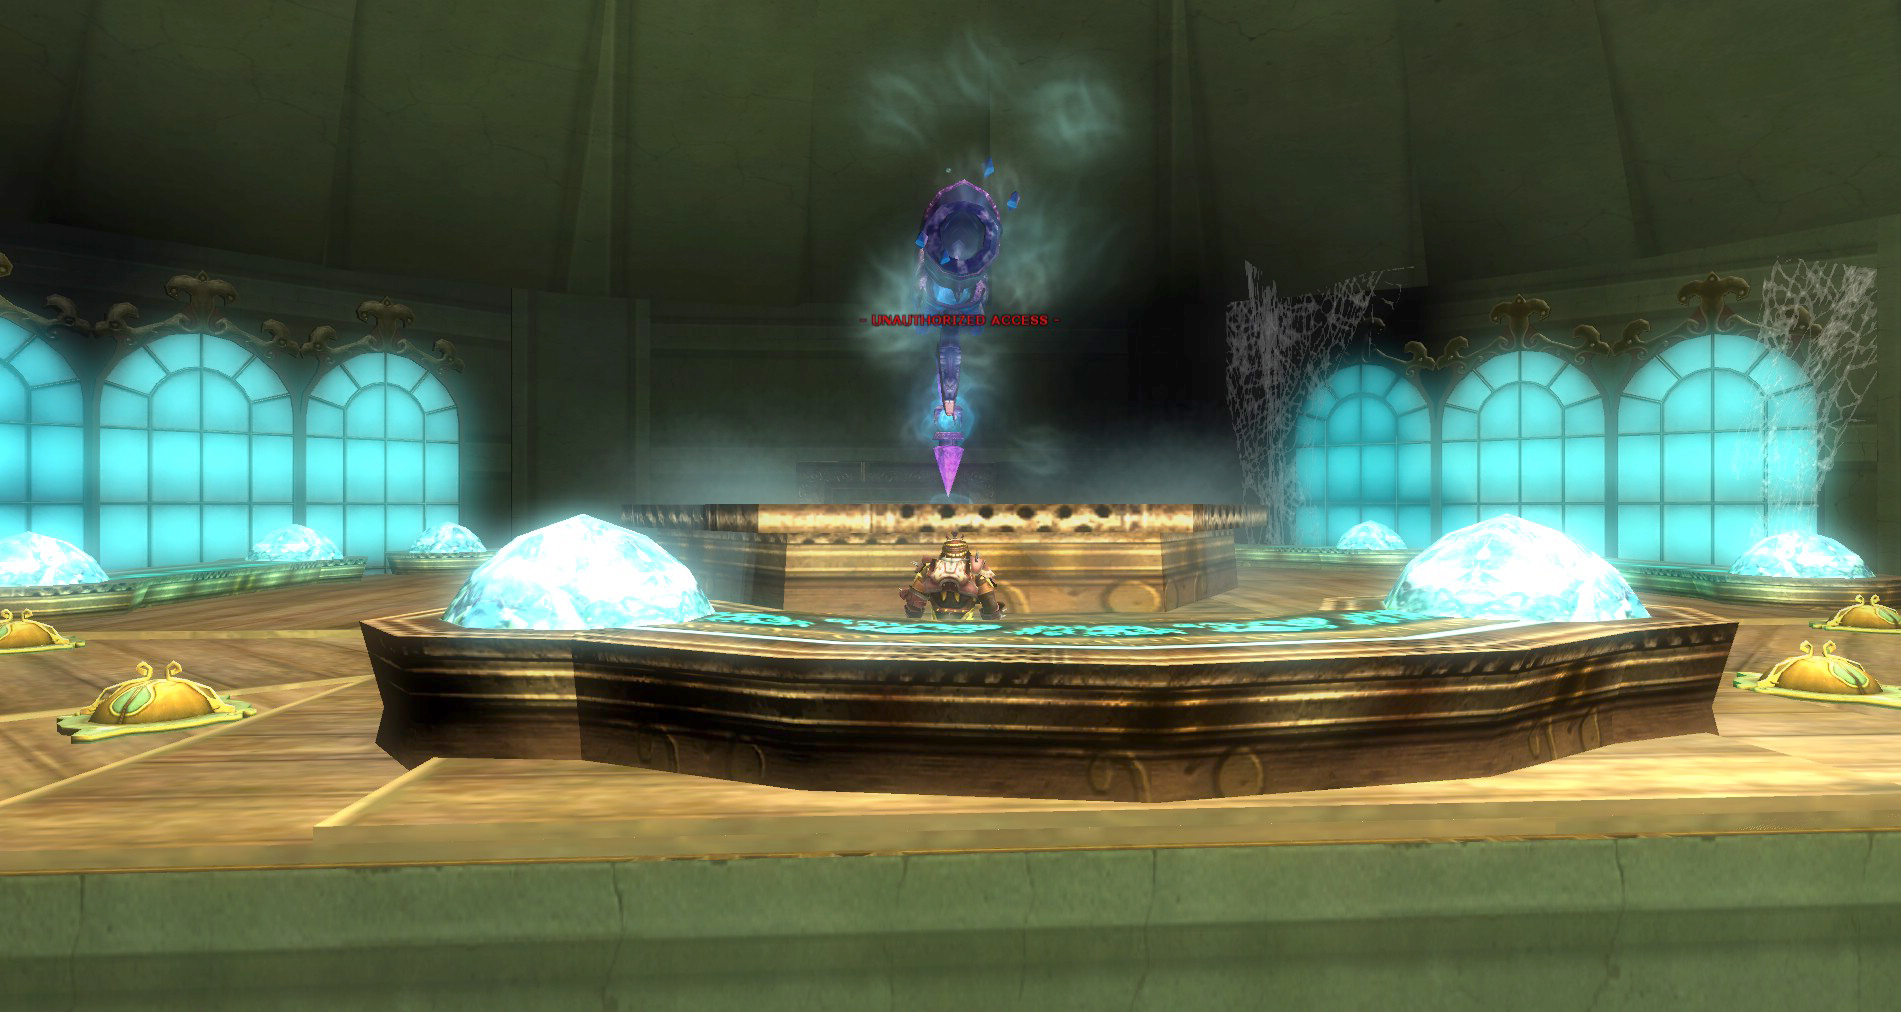
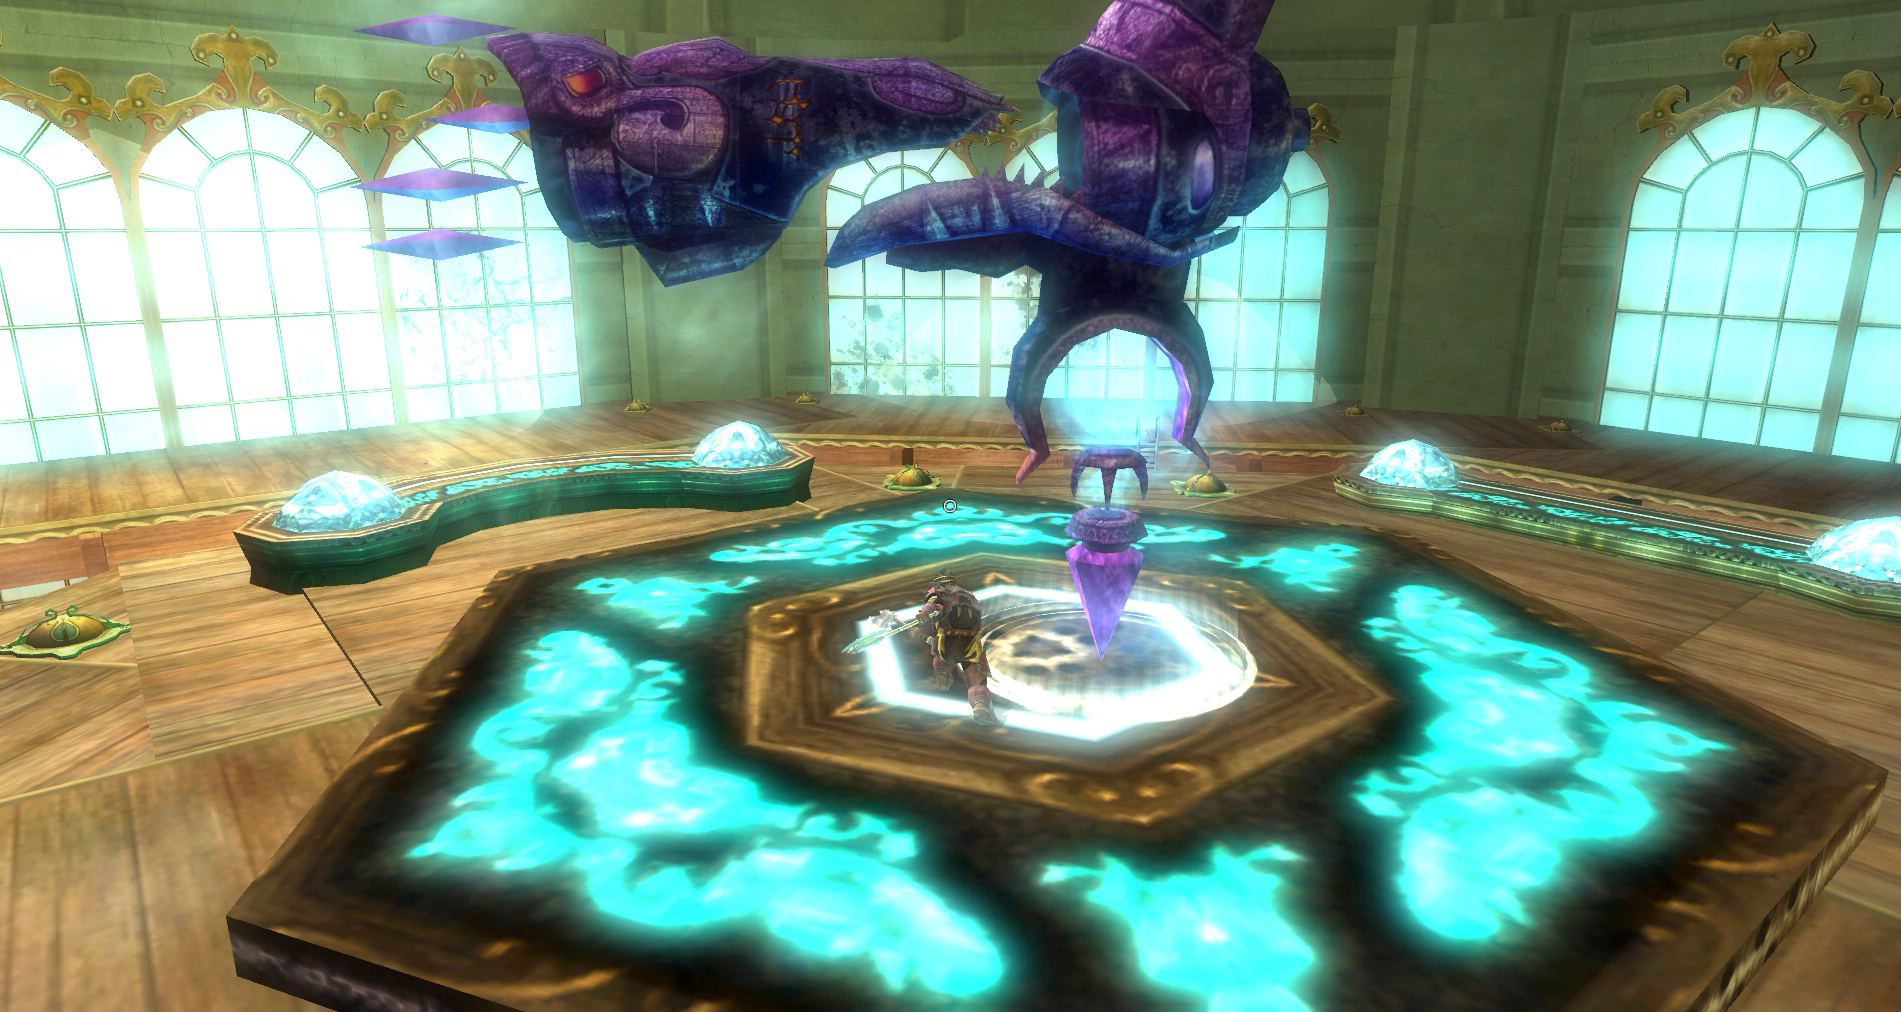
The Schematics Room
I t’s the final showdown. Up on the top platform there is a Control Panel to access the schematics. So all you need to do is grab the schematics, right? Wrong!
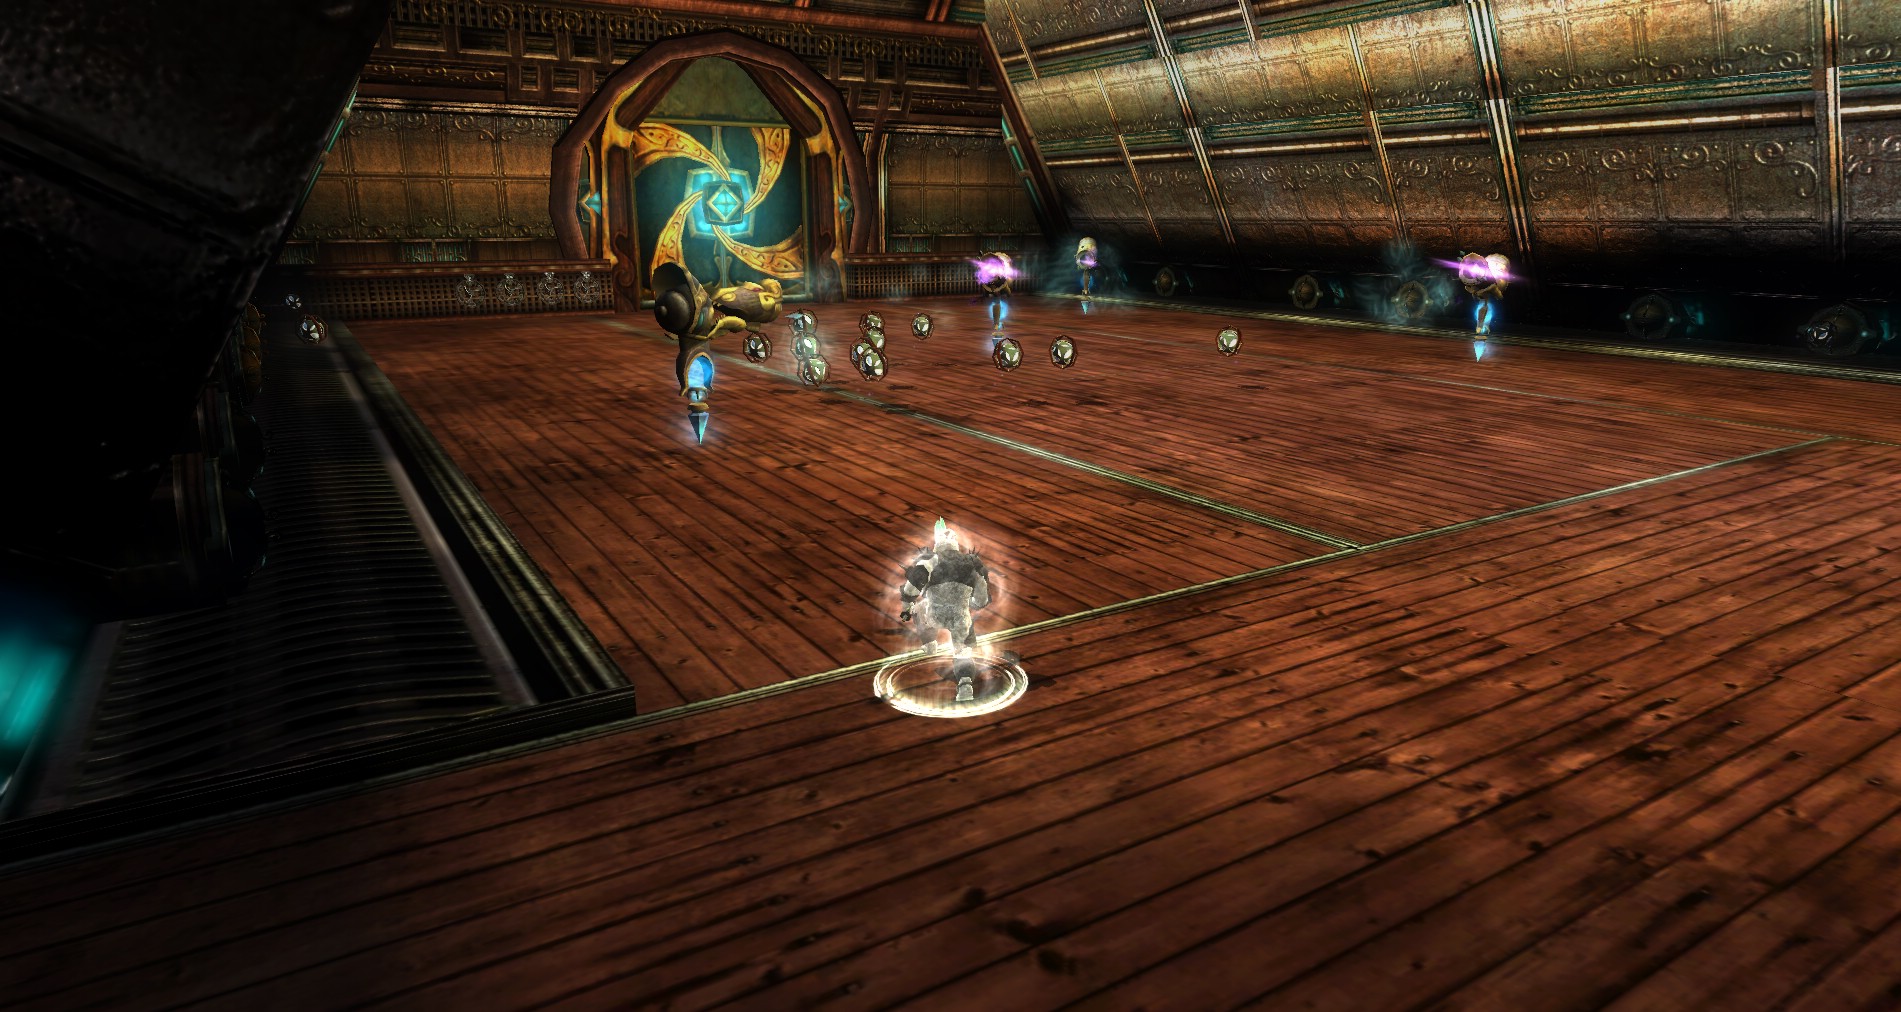
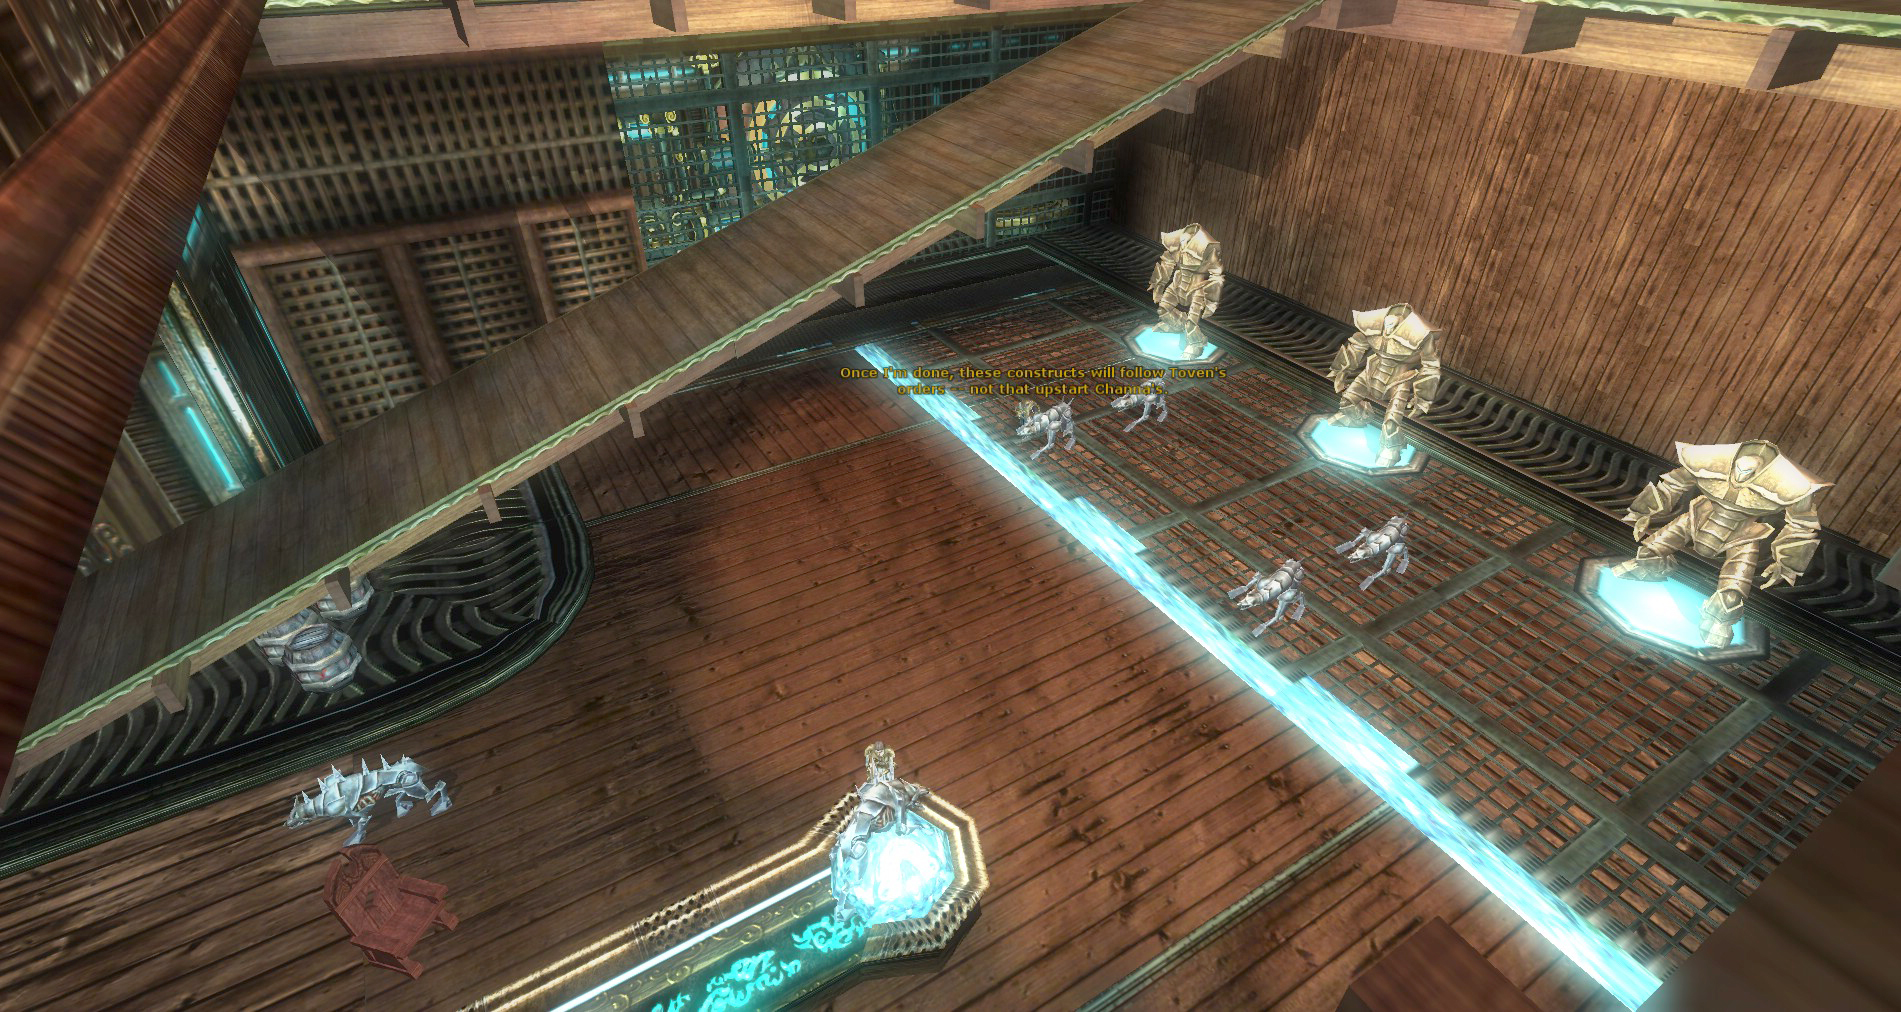
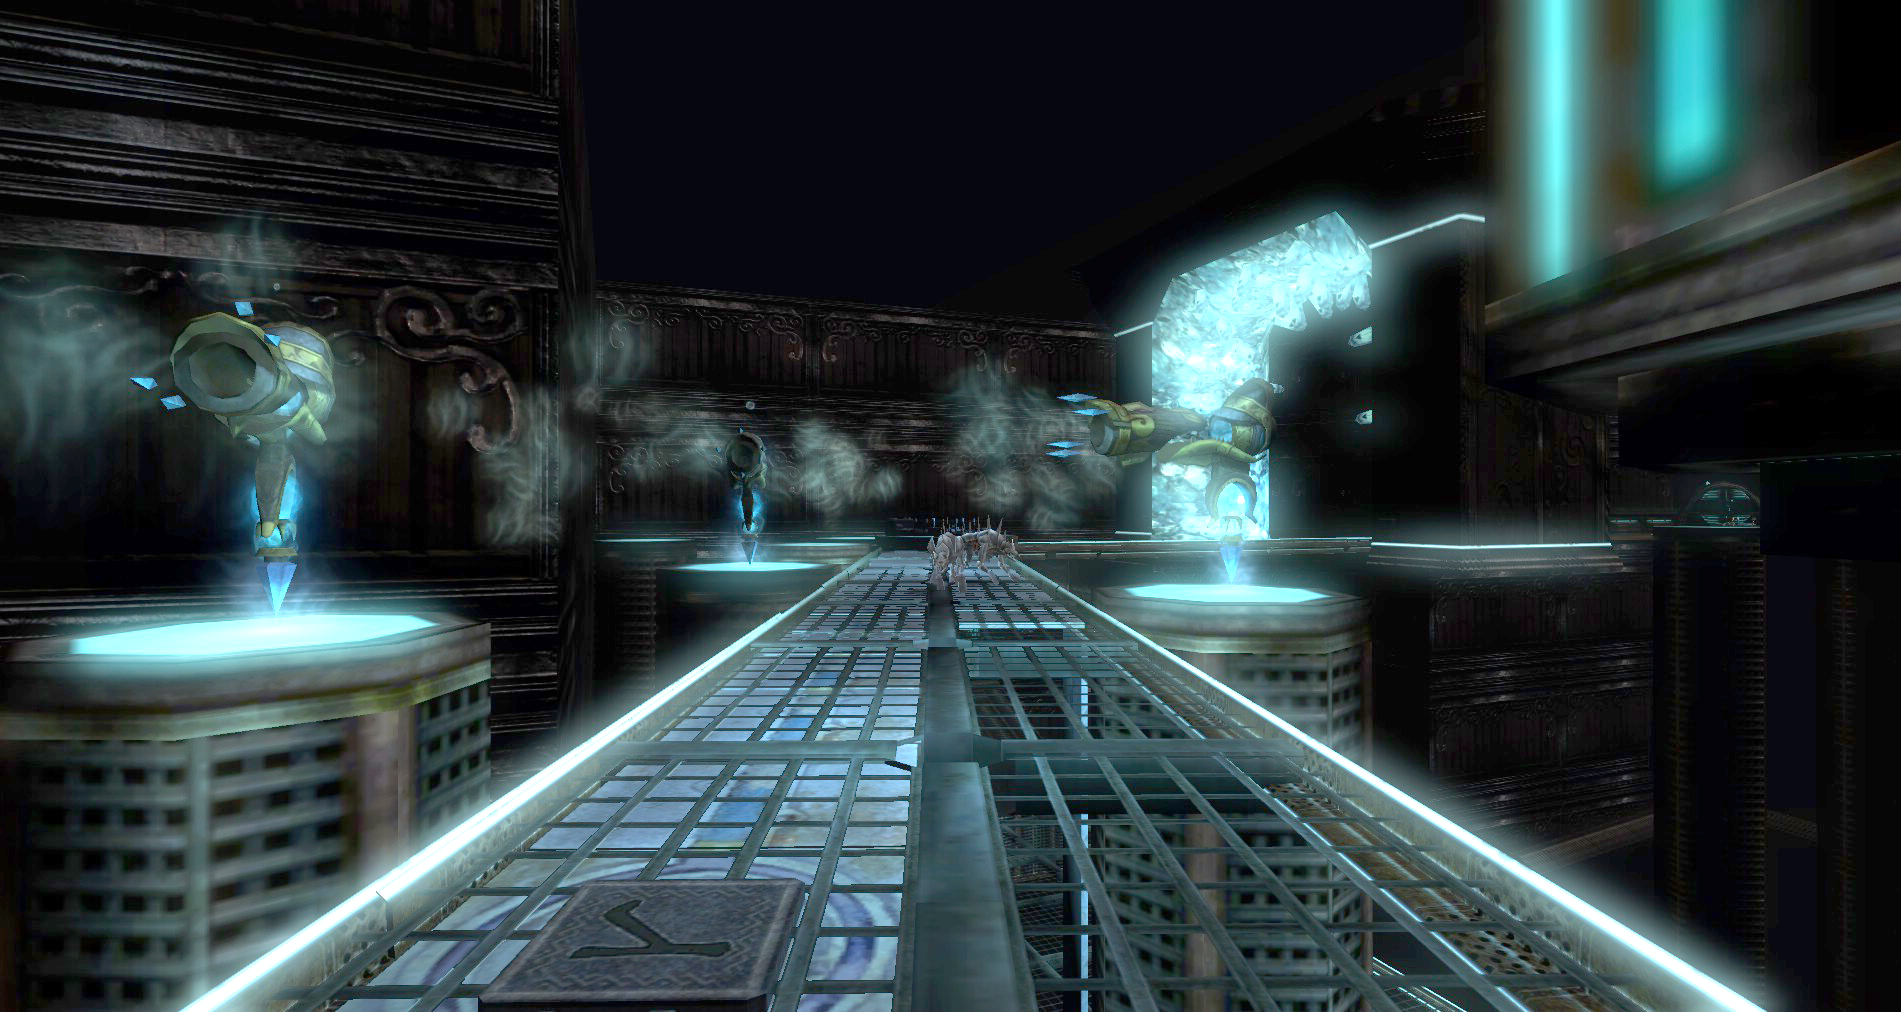
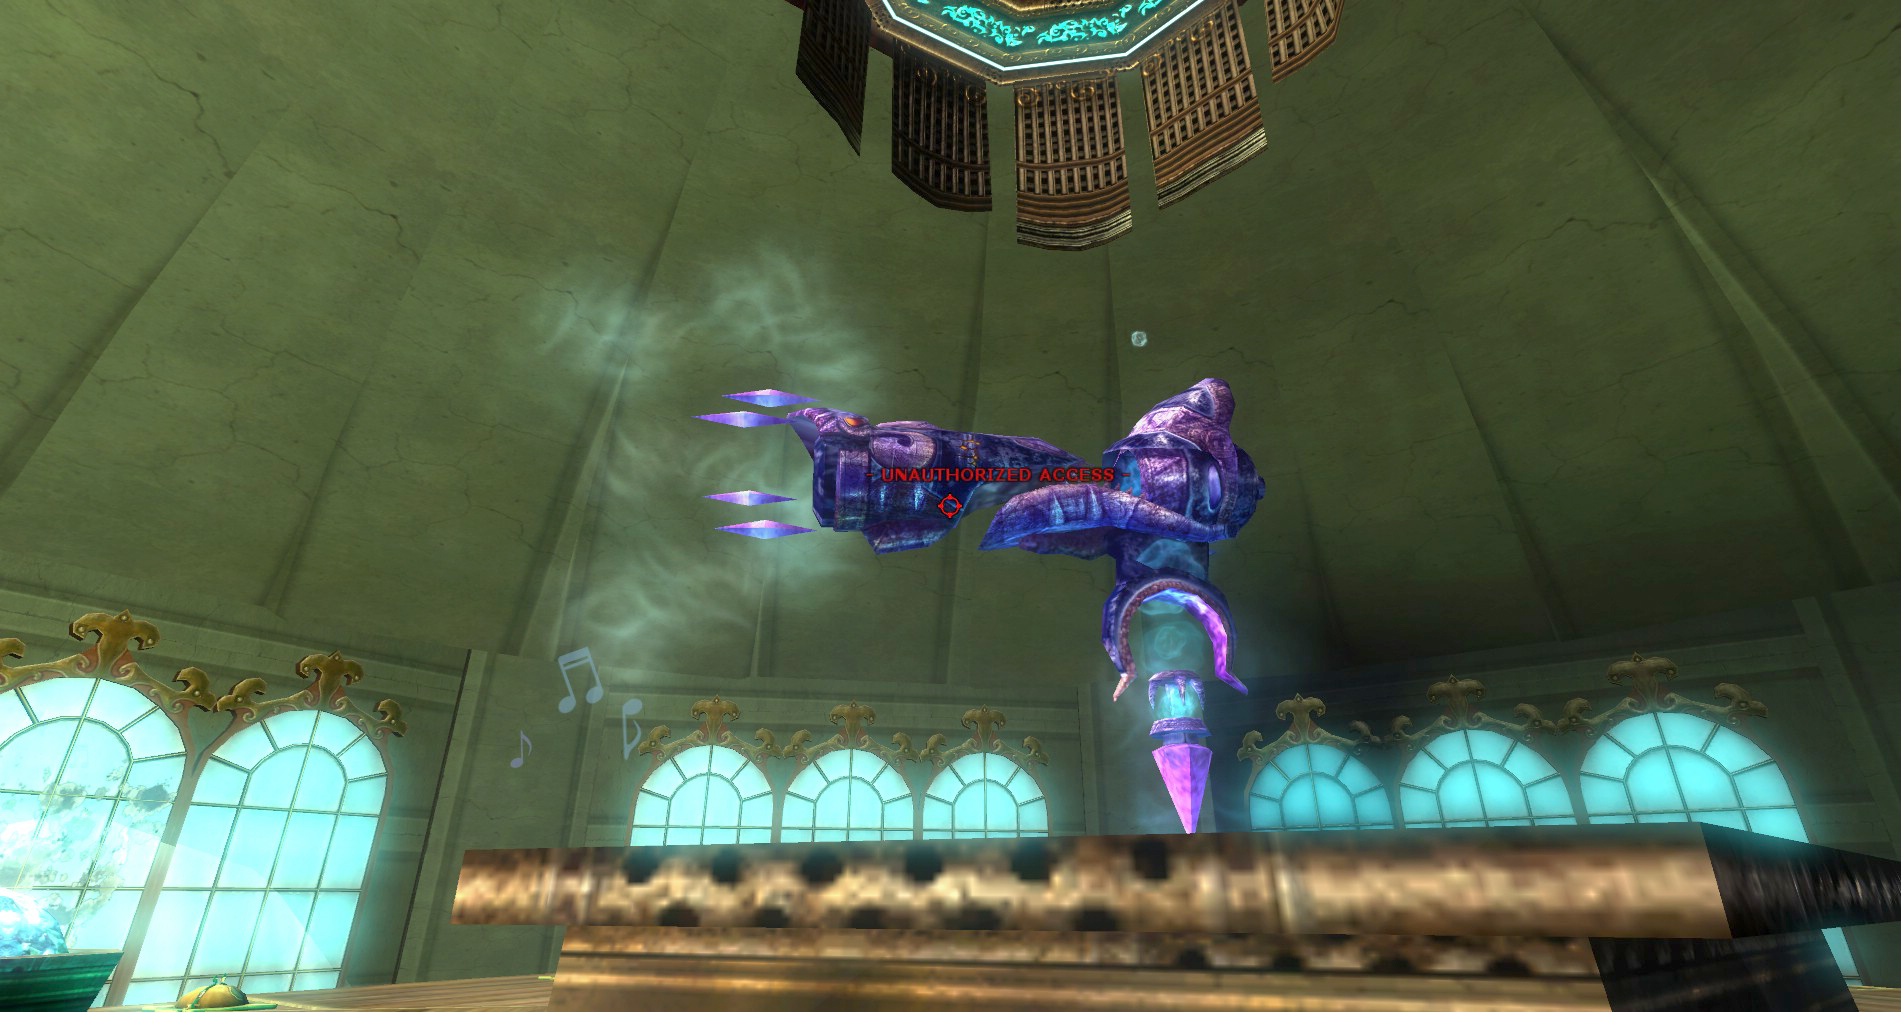
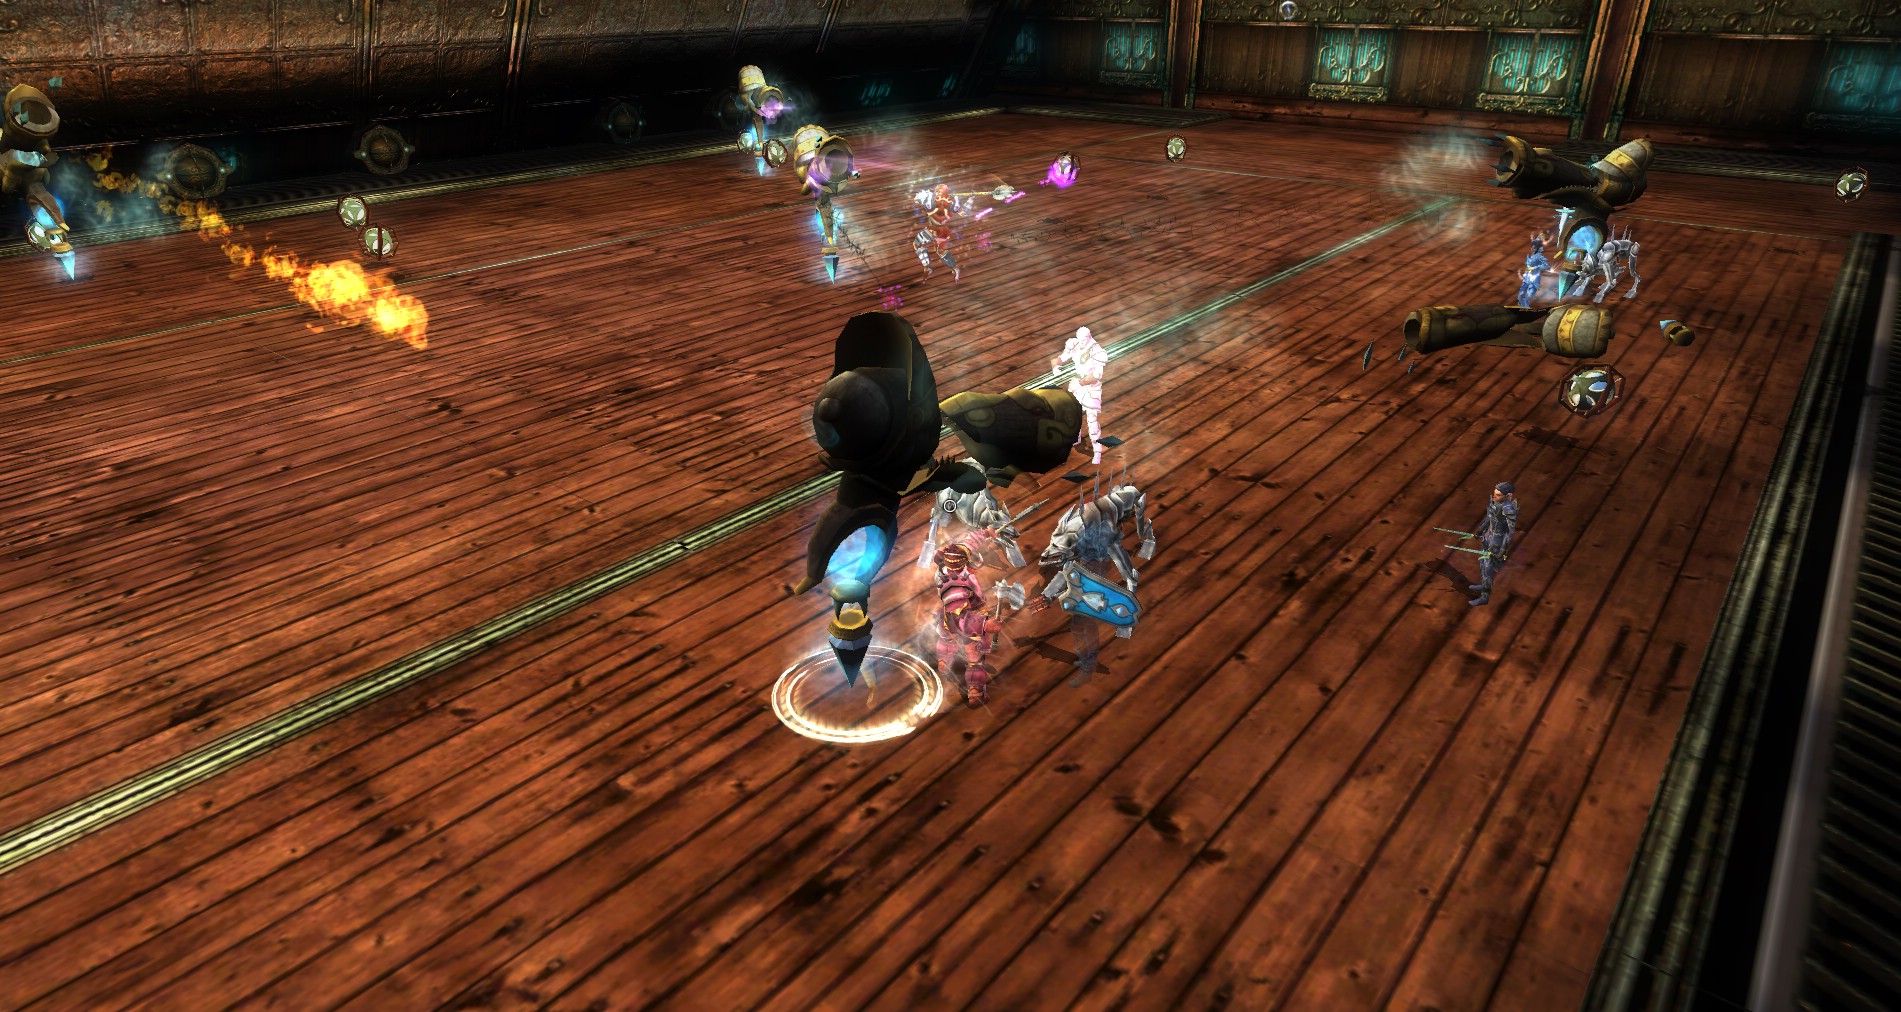
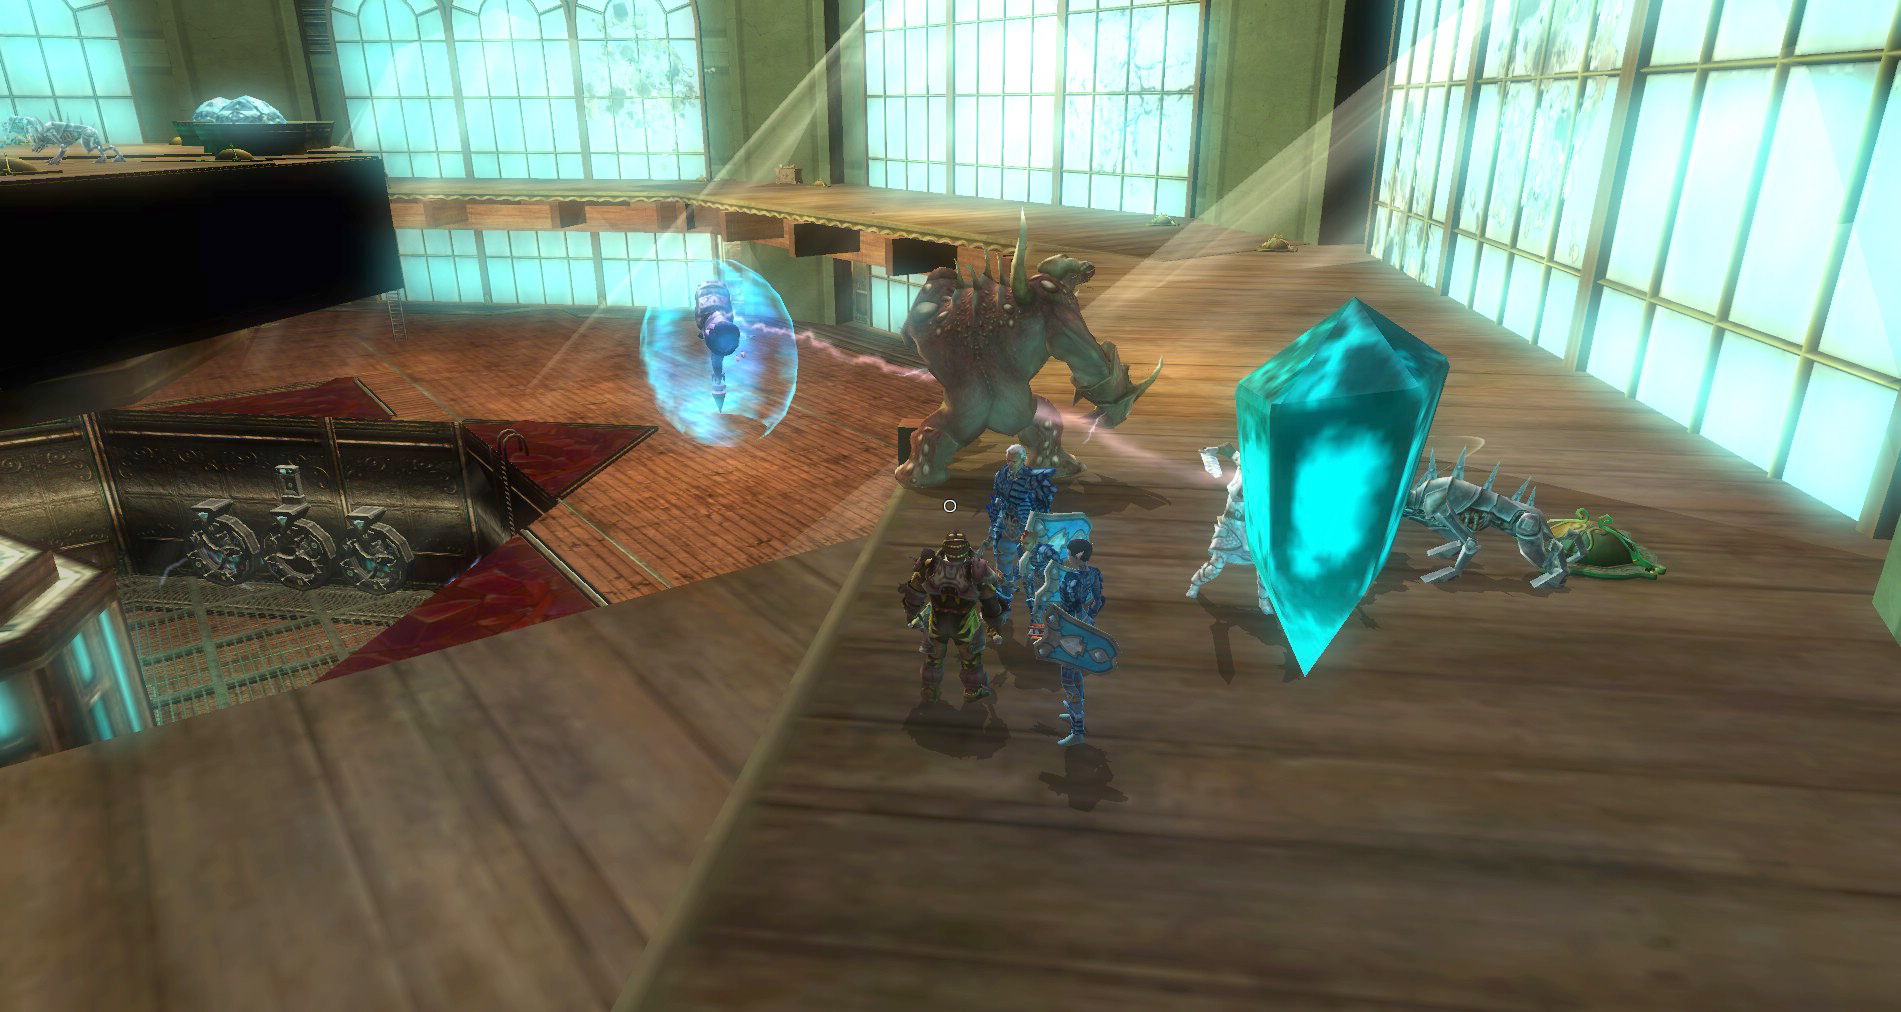
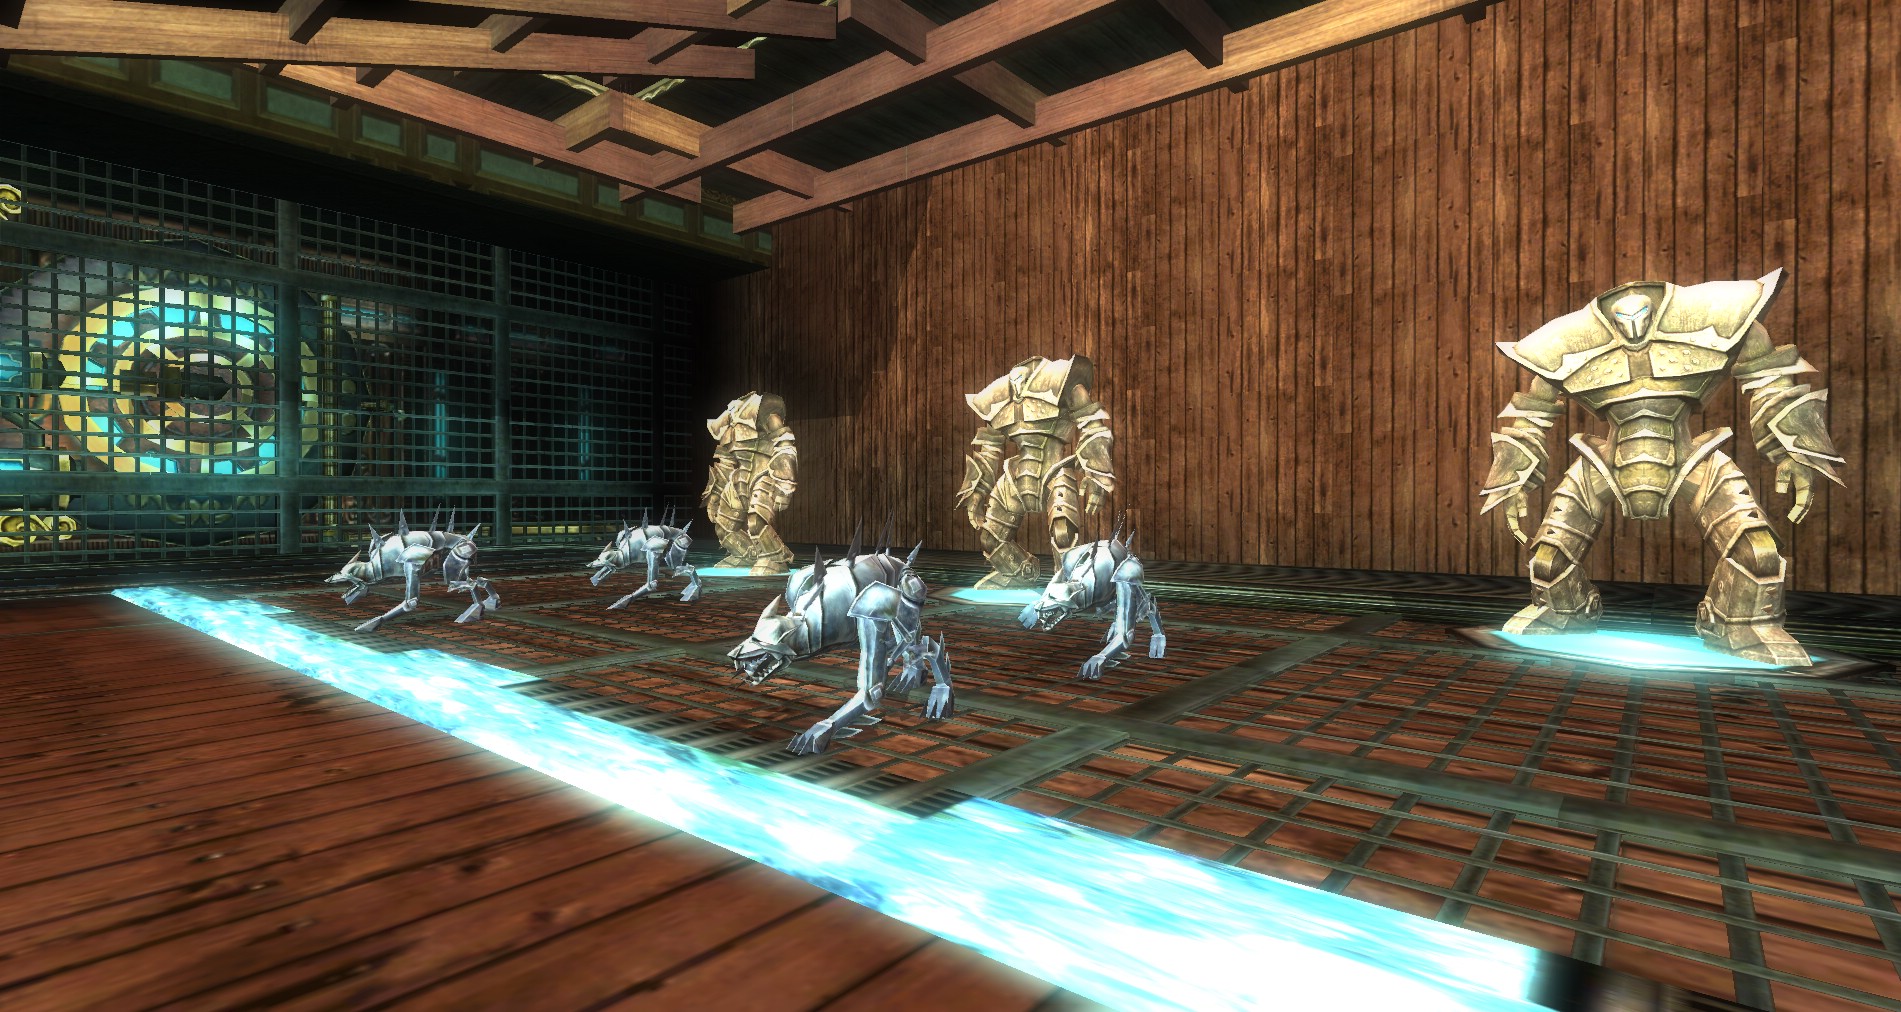
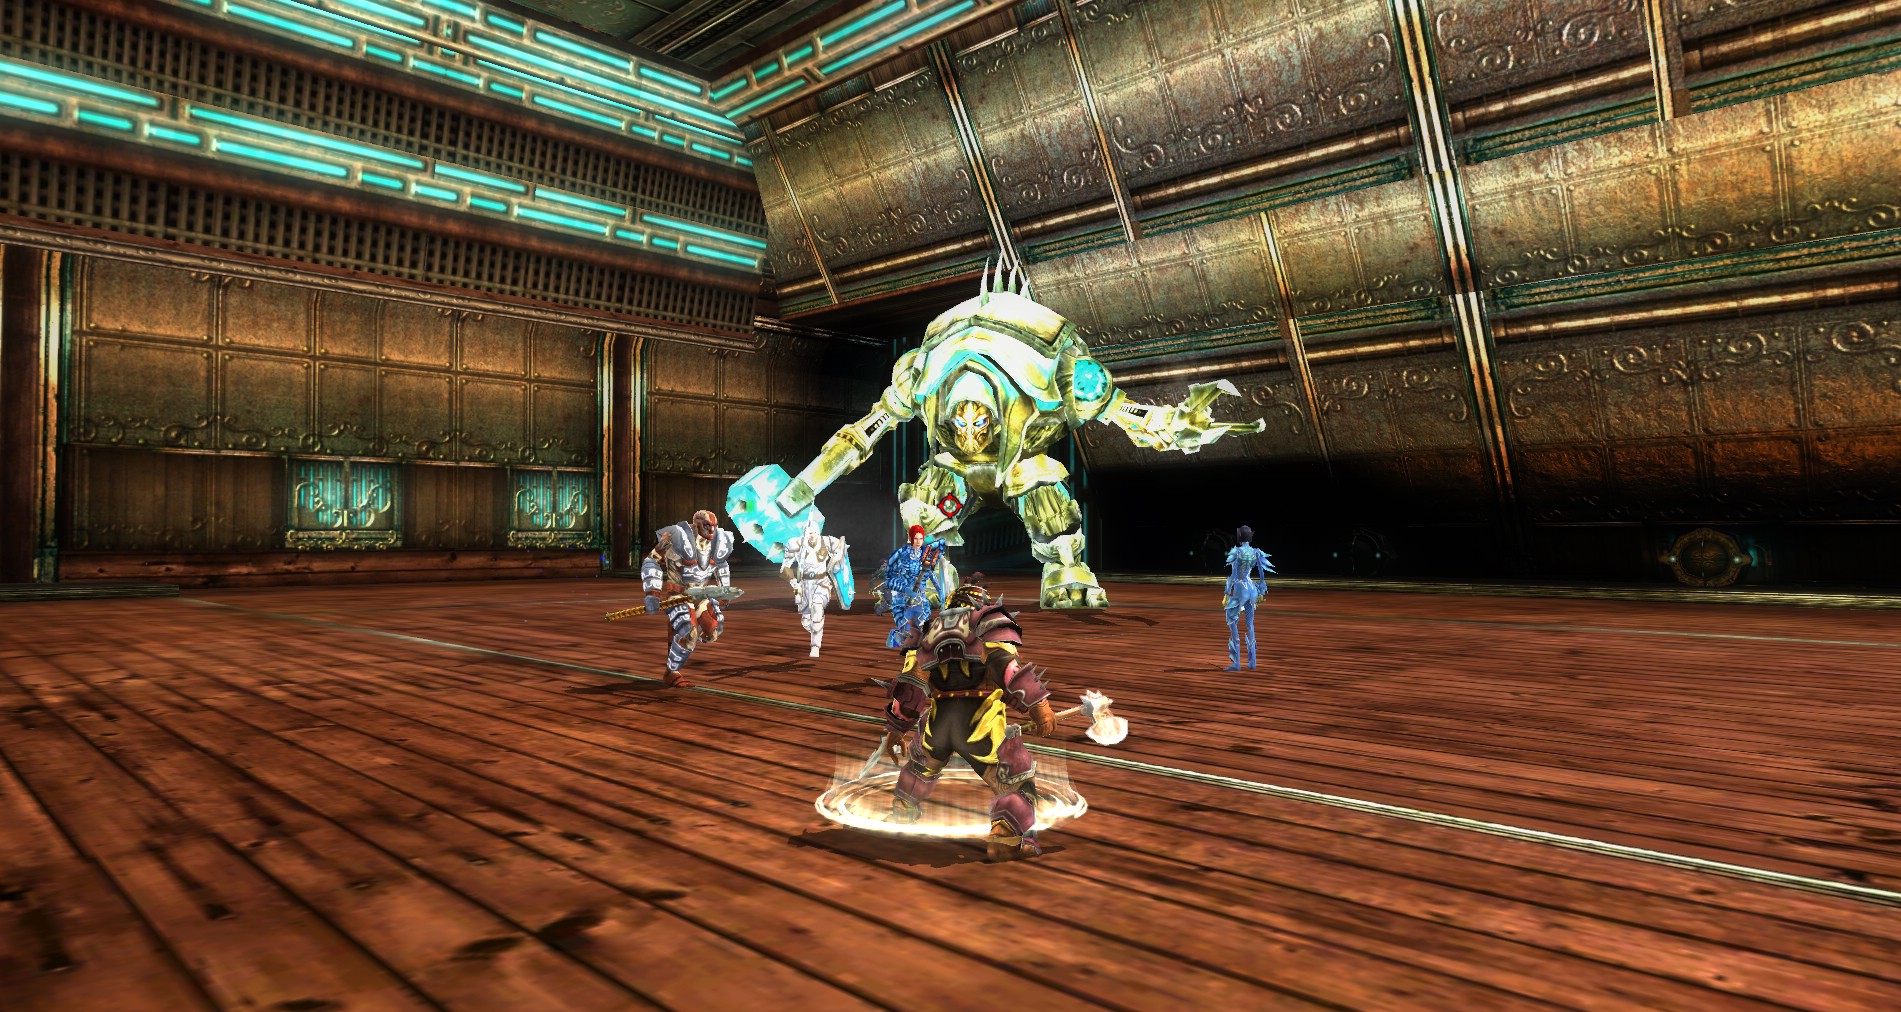
When you try to grab the schematics it really pisses the place off. Peacemaker, a buffed up Magefire Cannon, spawns and tries to defend the room along with a bunch of Cannith Warhounds and Watcher Constructs.
The door closes behind you and traps you in the room. The only way to stop the spawns is to defeat Peacemaker. It’s not too hard to defeat Peacemaker itself, what makes it difficult is that it moves around the room frequently. This forces you to chase it all over and makes sure that all of the spawns agro on you. At each 25% mark in health lost, Peacemaker will get a shield that pops up around it making it immune to damage. This is produced by a Cannith Power Crystal somewhere in the room. Destroy the Cannith Power Crystal and the shield will drop, allowing you to damage Peacemaker once more.
 It may be a good idea to have one or two people work on clearing the heavy and frequent respawns in here. This will leave rest of the group open to chasing and fighting Peacemaker. It’s best to have casters and other ranged damage dealers work on Peacemaker as they will not be as affected by the constant teleporting around.
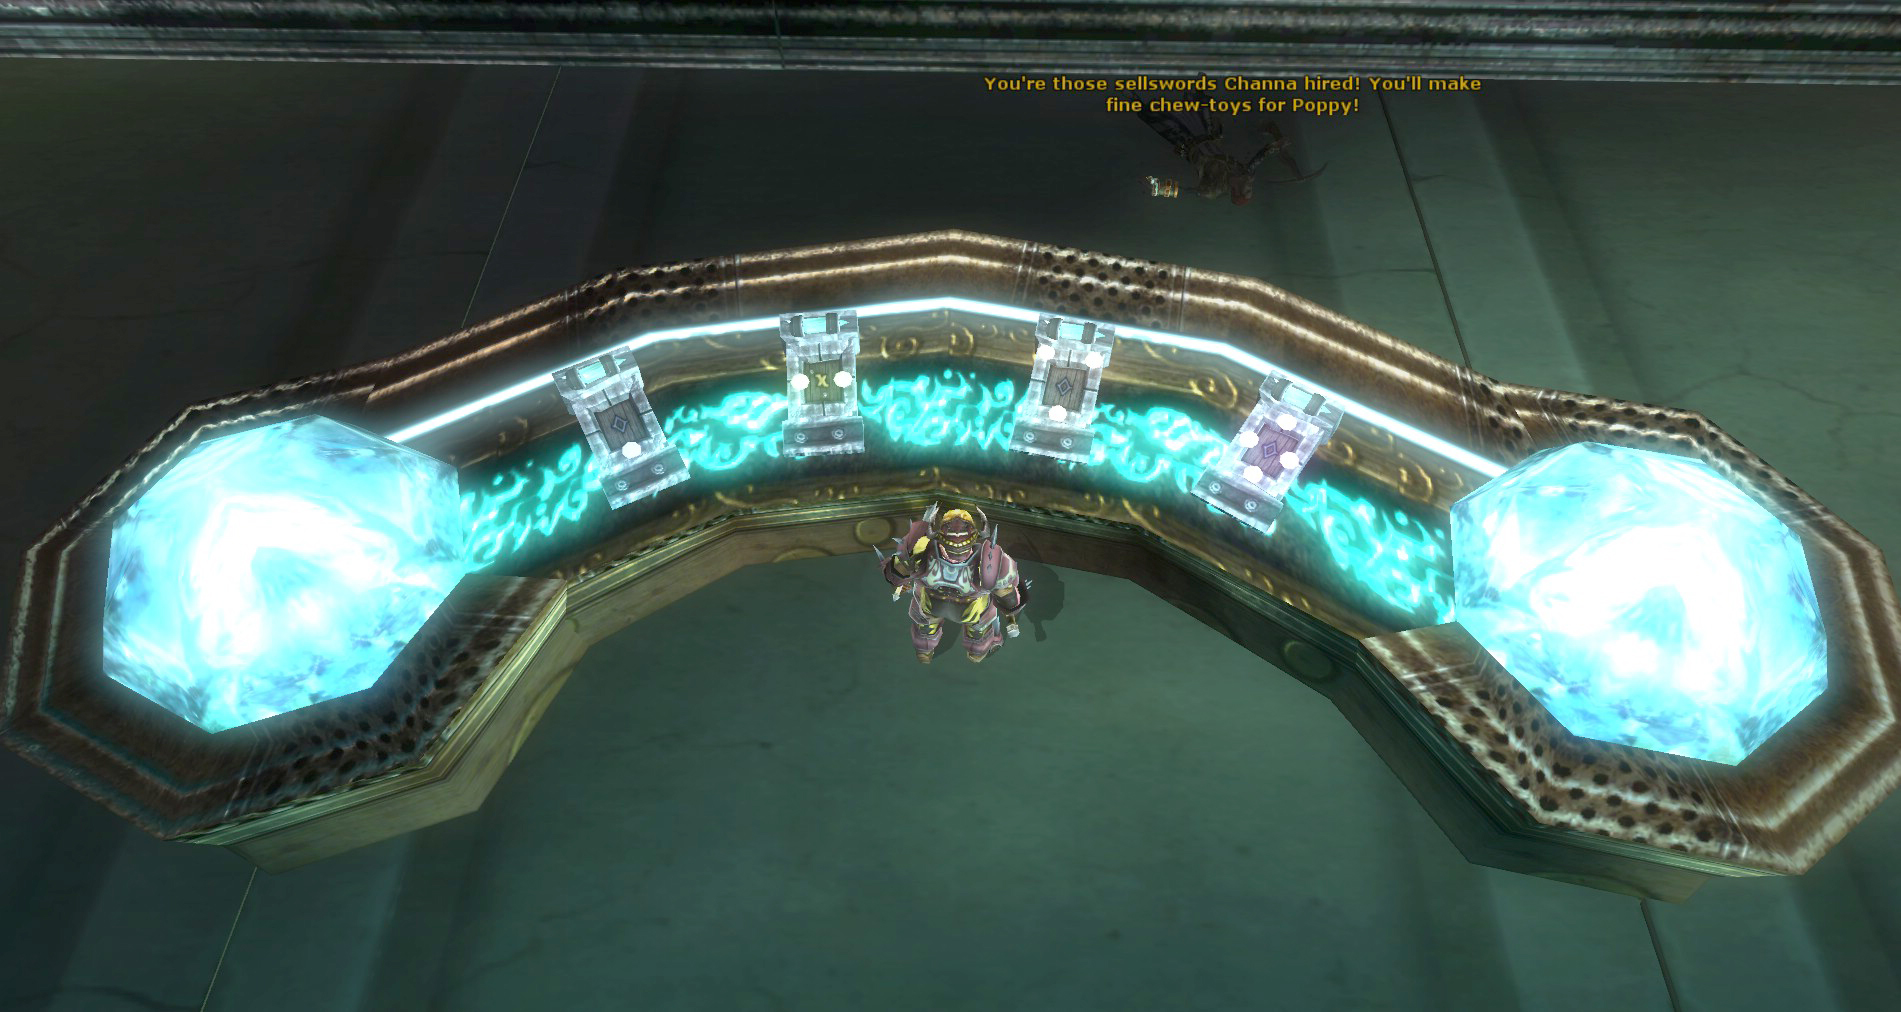
If you have someone with Evasion and a high Save, you may want to send them down to the bottom to work on the rune puzzles here. You want Evasion here because the floor is electrified and will chew through those without it very quickly. Make sure to boost Saves and have all forms of electricity protection on or up.
You will need to line up all the runes on the wheels at the top position. These should match whatever rune is on the sign above the rune wheel set. When all four puzzles are completed, the power will temporarily leave Peacemaker, leaving it totally vulnerable. It will not stay powered down for long but this reprieve can help to finish this battle a little more quickly. The puzzles reset about after 20 seconds and you will have to do it again. However, that is 20 seconds more you get to beat on Peacemaker before it teleports away.
Hints to Solving the Puzzles: When you get to the puzzle, spin each one and make a note of how each one spins. All puzzles have 1 wheel that moves on its own and the other two will spin two or three wheels at a time. Spin the wheels that move multiple wheels first to line them up. Then save the single wheel for last. This way you can easily line up 1 wheel to the rest instead of trying to “out think” the multi-wheel spins.
 Keep up the pace moving about the room and beating on Peacemaker. Make sure everyone has Freedom of Movement or Fire to get rid of the Grease Spells. There is nothing more maddening than fighting the Grease Spell only to finally make it to Peacemaker and it moves. Use ranged attacks and spells to bring down Peacemaker as fast as you can. Be aware of where you and rest of the party are as well. It is easy to get spread out in this room and then picked off one by one by Peacemaker and the trash mobs. When Peacemaker finally dies, the spawns will stop, but you will still have to clean up what is already out there. Head up to the top platform and loot your chests!

No Comments Yet