 There is trouble in The Twelve once again. It seems a drama from Xoriat is set to unfold and an unlikely apprentice has gotten himself caught up in the mess. He has taken Belashyyra’s Scepter from the Twelve to impress his new girlfriend. Unfortunately, he doesn’t know the true power of such a powerful artifact and unwittingly unleashes its madness within the Sleepy Spell Inn. Your quest is to head into the Sleepy Spell Inn and recover this powerful relic, Belashyyra’s Scepter.
- Series: Lord of Eyes
- Level: 17
- Patron: The Twelve
- Length: Medium
- Dungeon: The Sleeping Spell Inn
- Recommended Party: Standard
- MoBs: Taken, Evil Eyes, Xoriat Renders, Ice Beholder, Greater Evil Eye, Frost Beholder, Deranged Follower
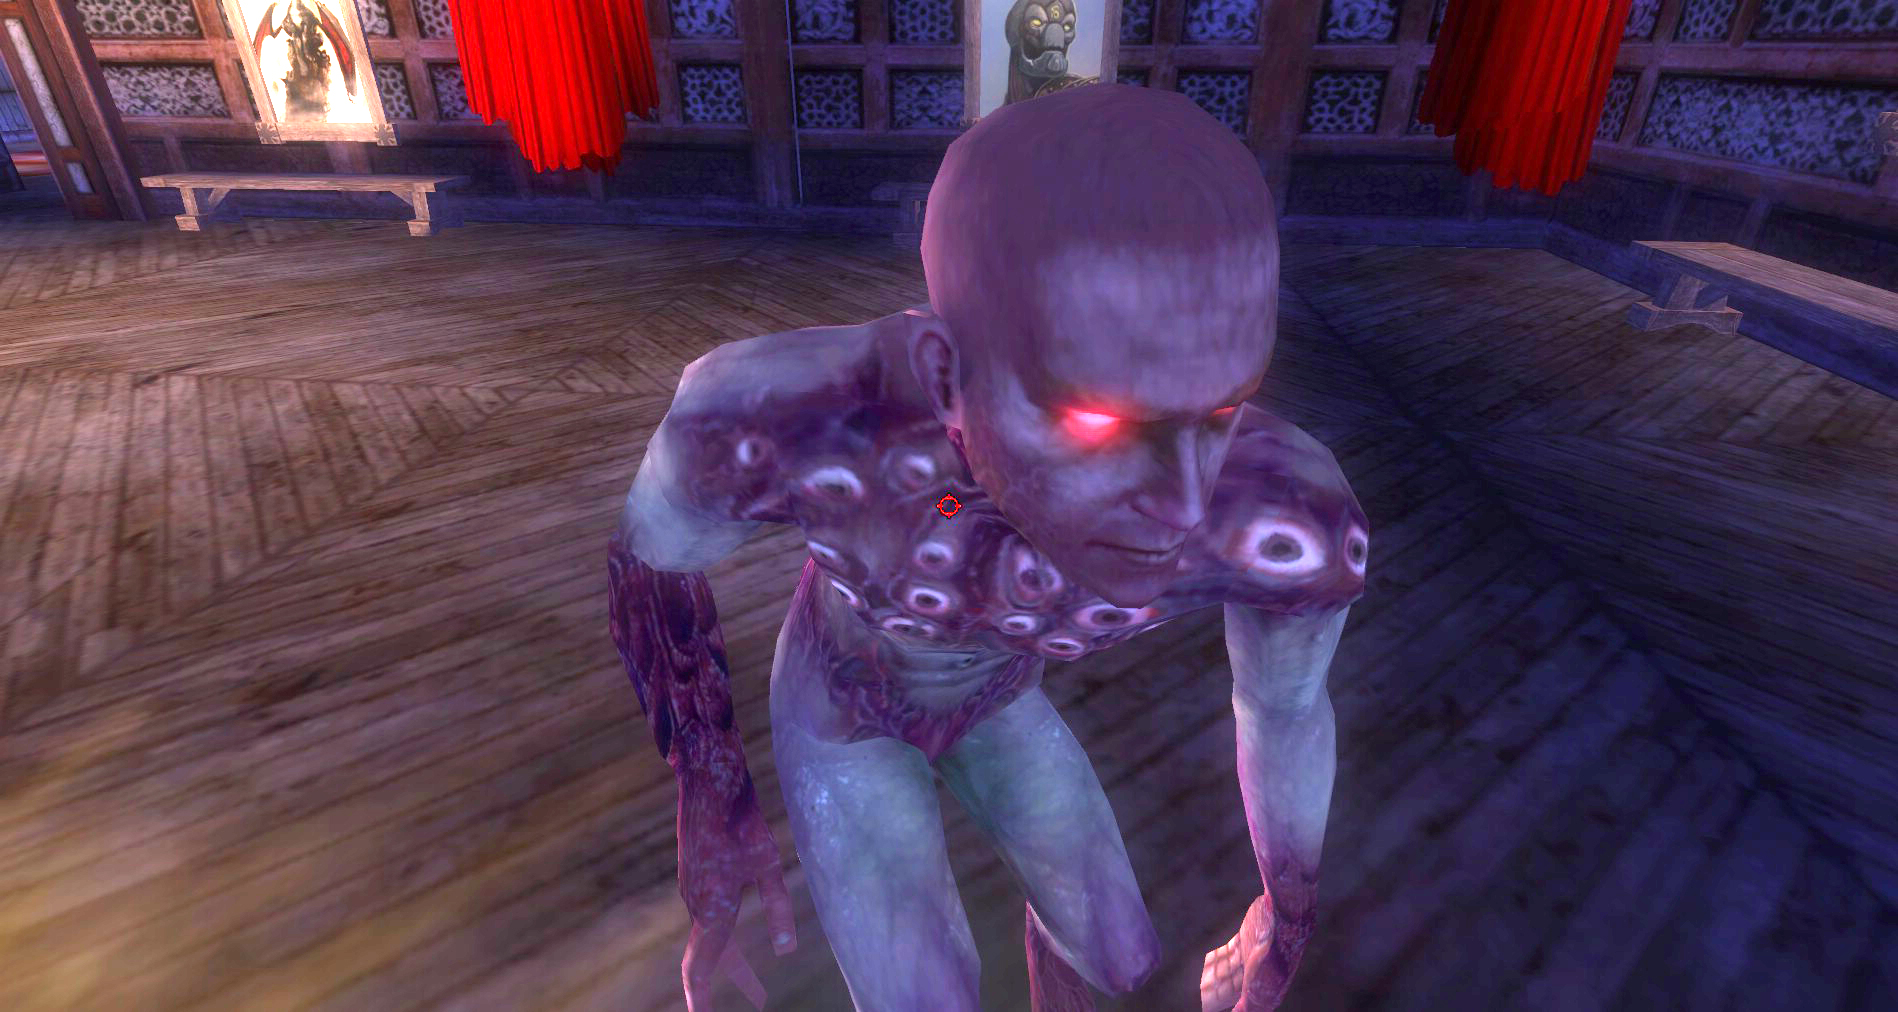
- Dangerous MoBs: Haxxorrax, Armored Beholder, Beholder Fleshmaker, Chaos Beholder, Chester, Quixxellops
- Buffs: Standard, Death Ward, Acid, Cold
- Special Note: Many things in this quest are only available for a limited time. Finish up everything in an area before you move on.
- Quest Stats: Detailed Quest Stats on DDMs Realm Here
 Before you head in make sure that you have spoken to Basmore Trask and you are on the right step of the Lord of Eyes quest arc.
When you see a shrine as soon as you walk into a quest, it’s usually a sign things might get rough. The shrine you see in this quest won’t last for the whole quest. If you want to use it, do it before you chase after Chester through the locked door to the storage and laundry areas.
You may want to just buff up the party (and pets/hirelings) to the hilt then use the shrine immediately.
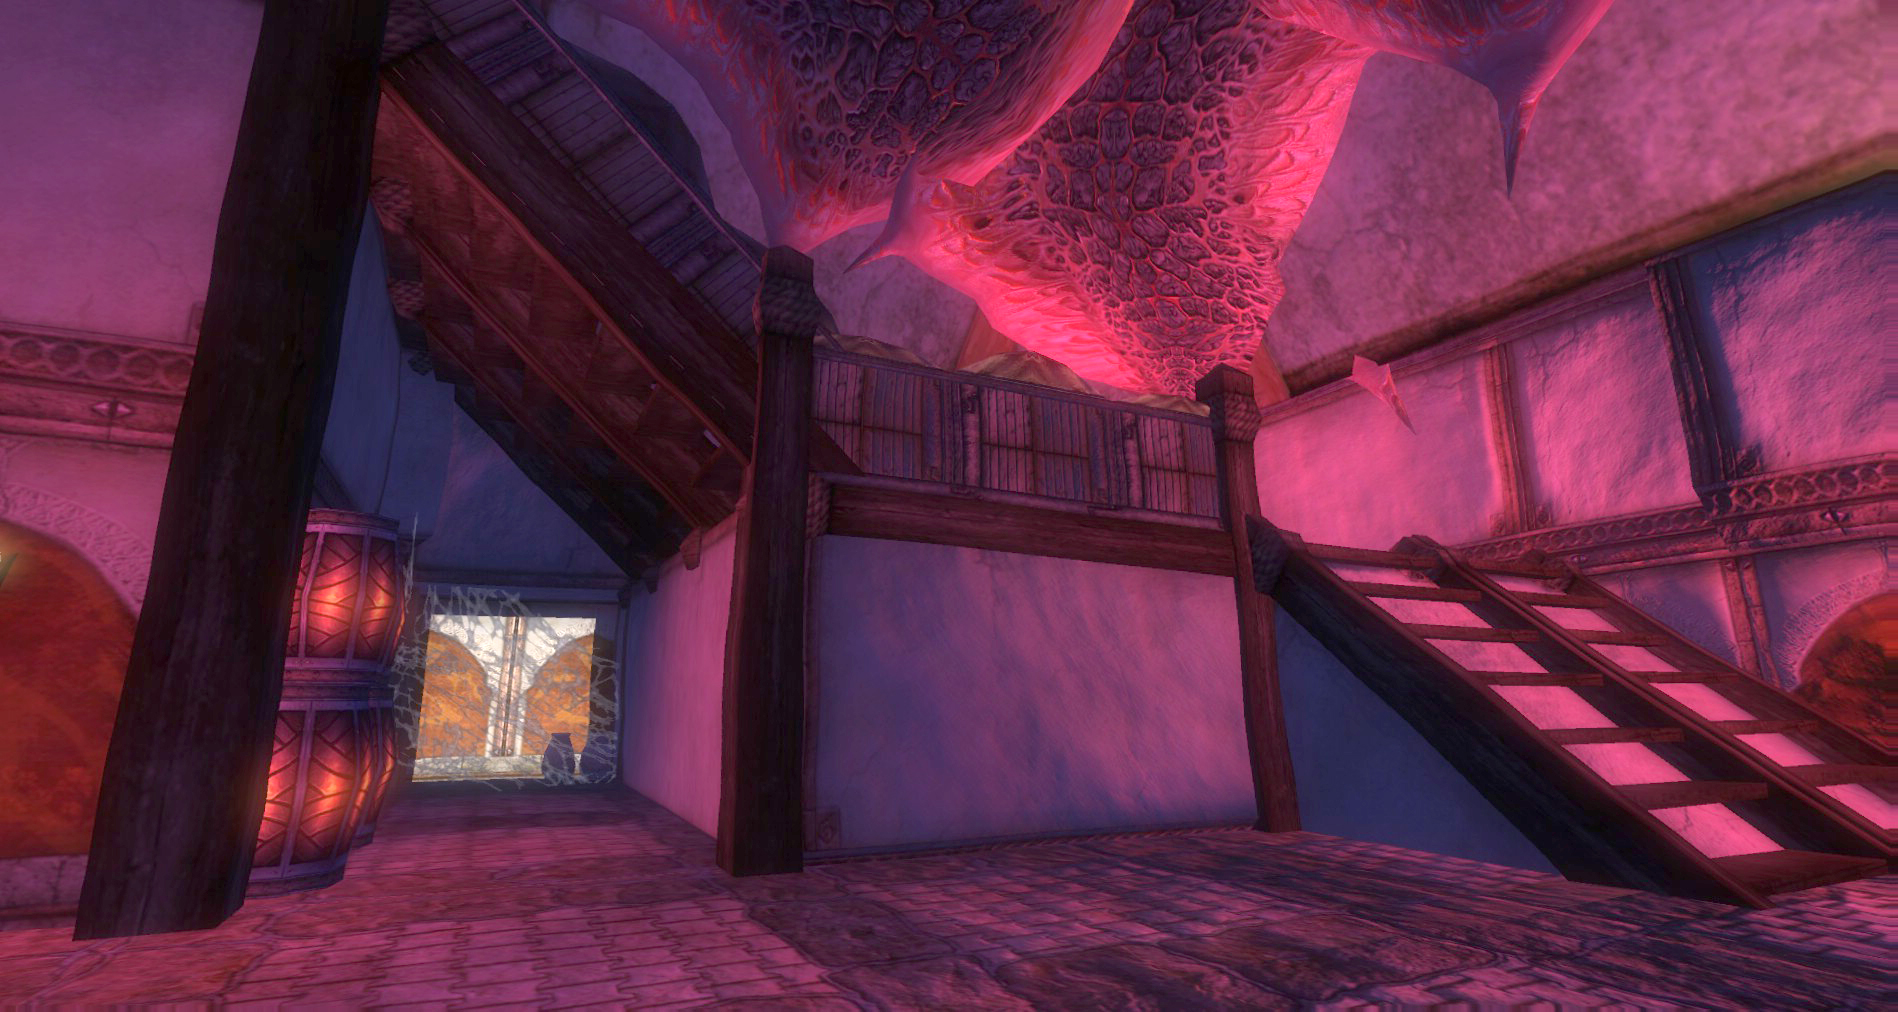
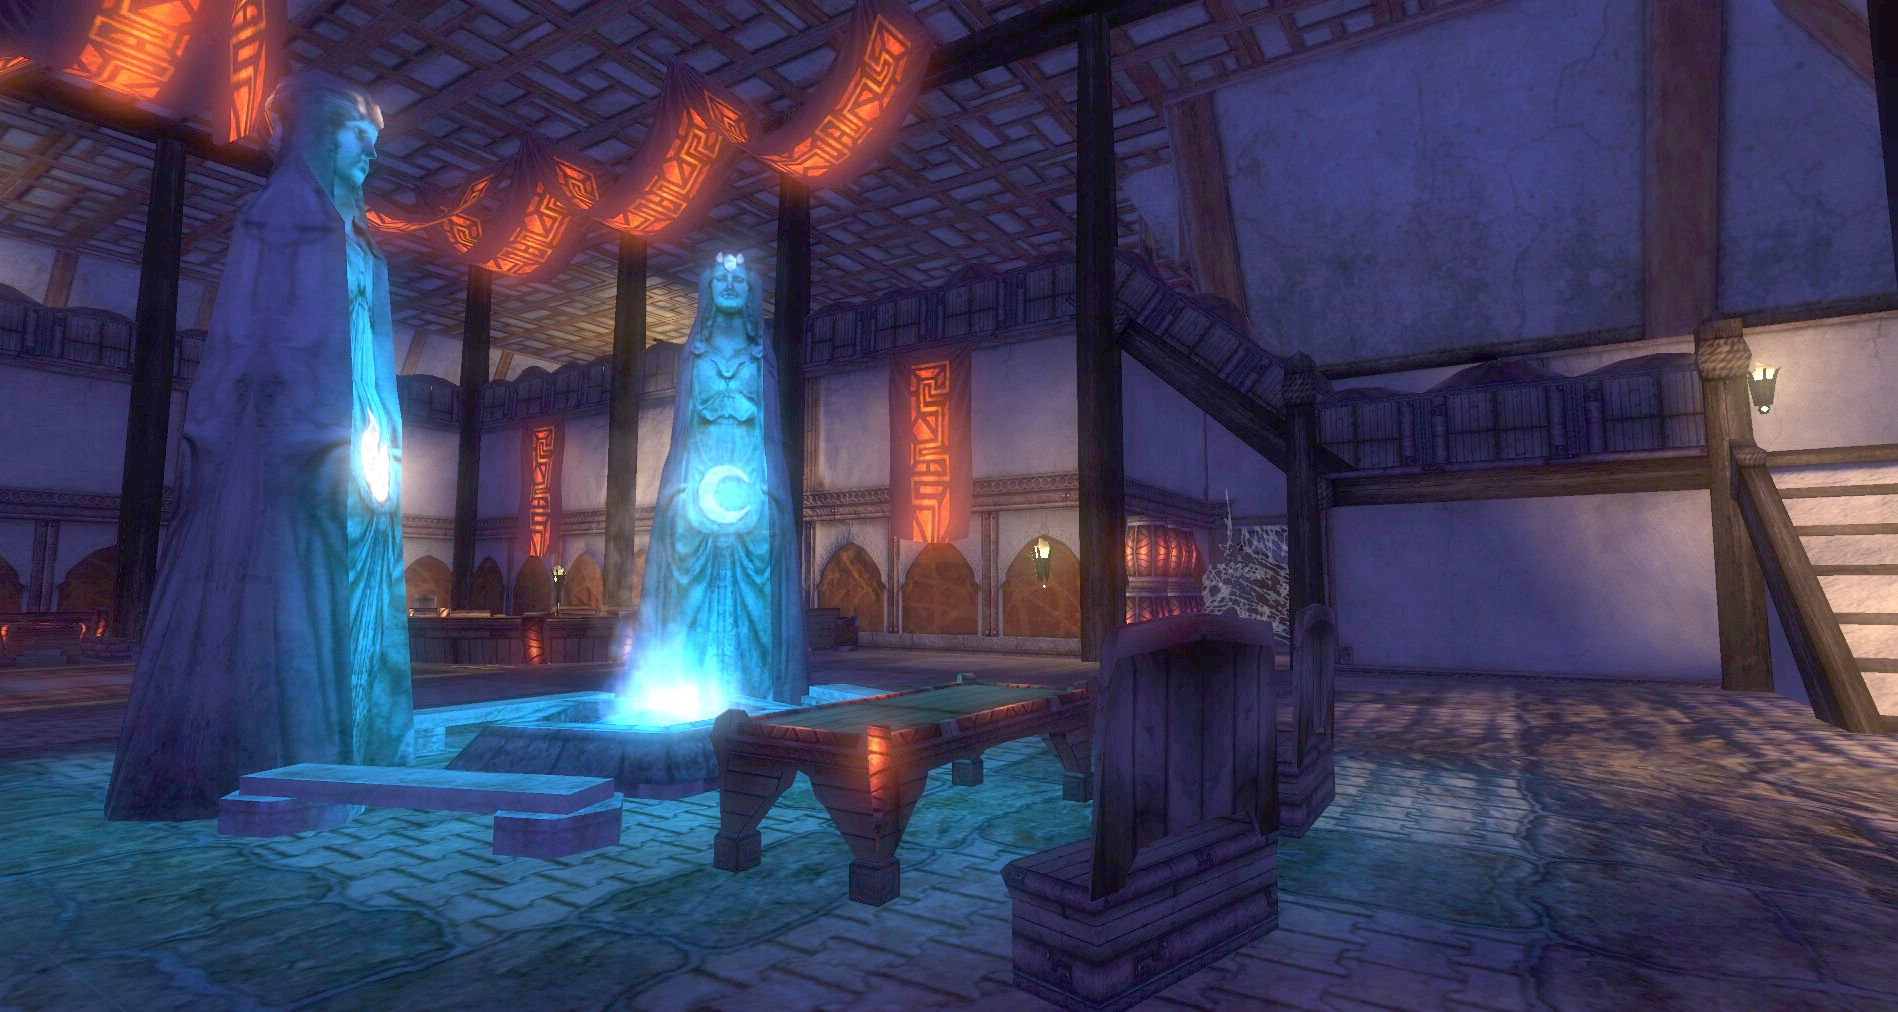
The Bar
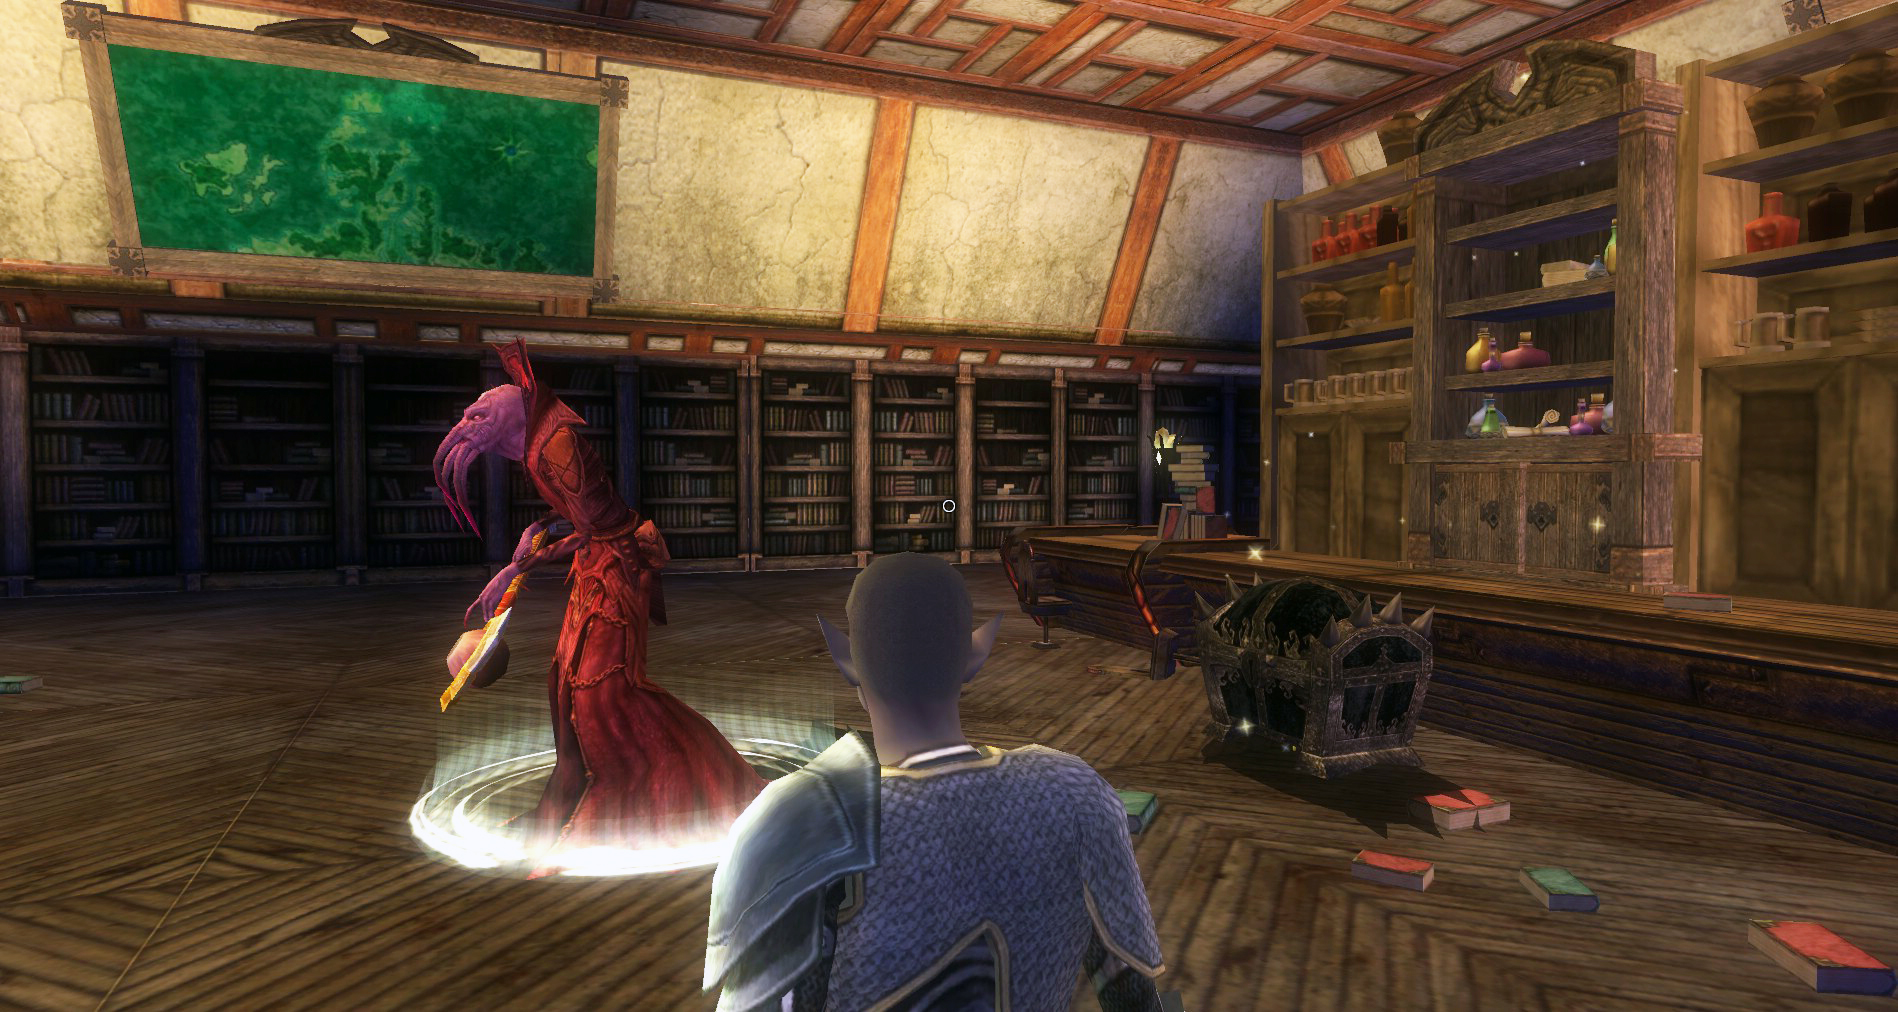
 Once you are buffed up and shrined up, go up the stairs to the bar and get ready to fight a named illithid and all his minions.
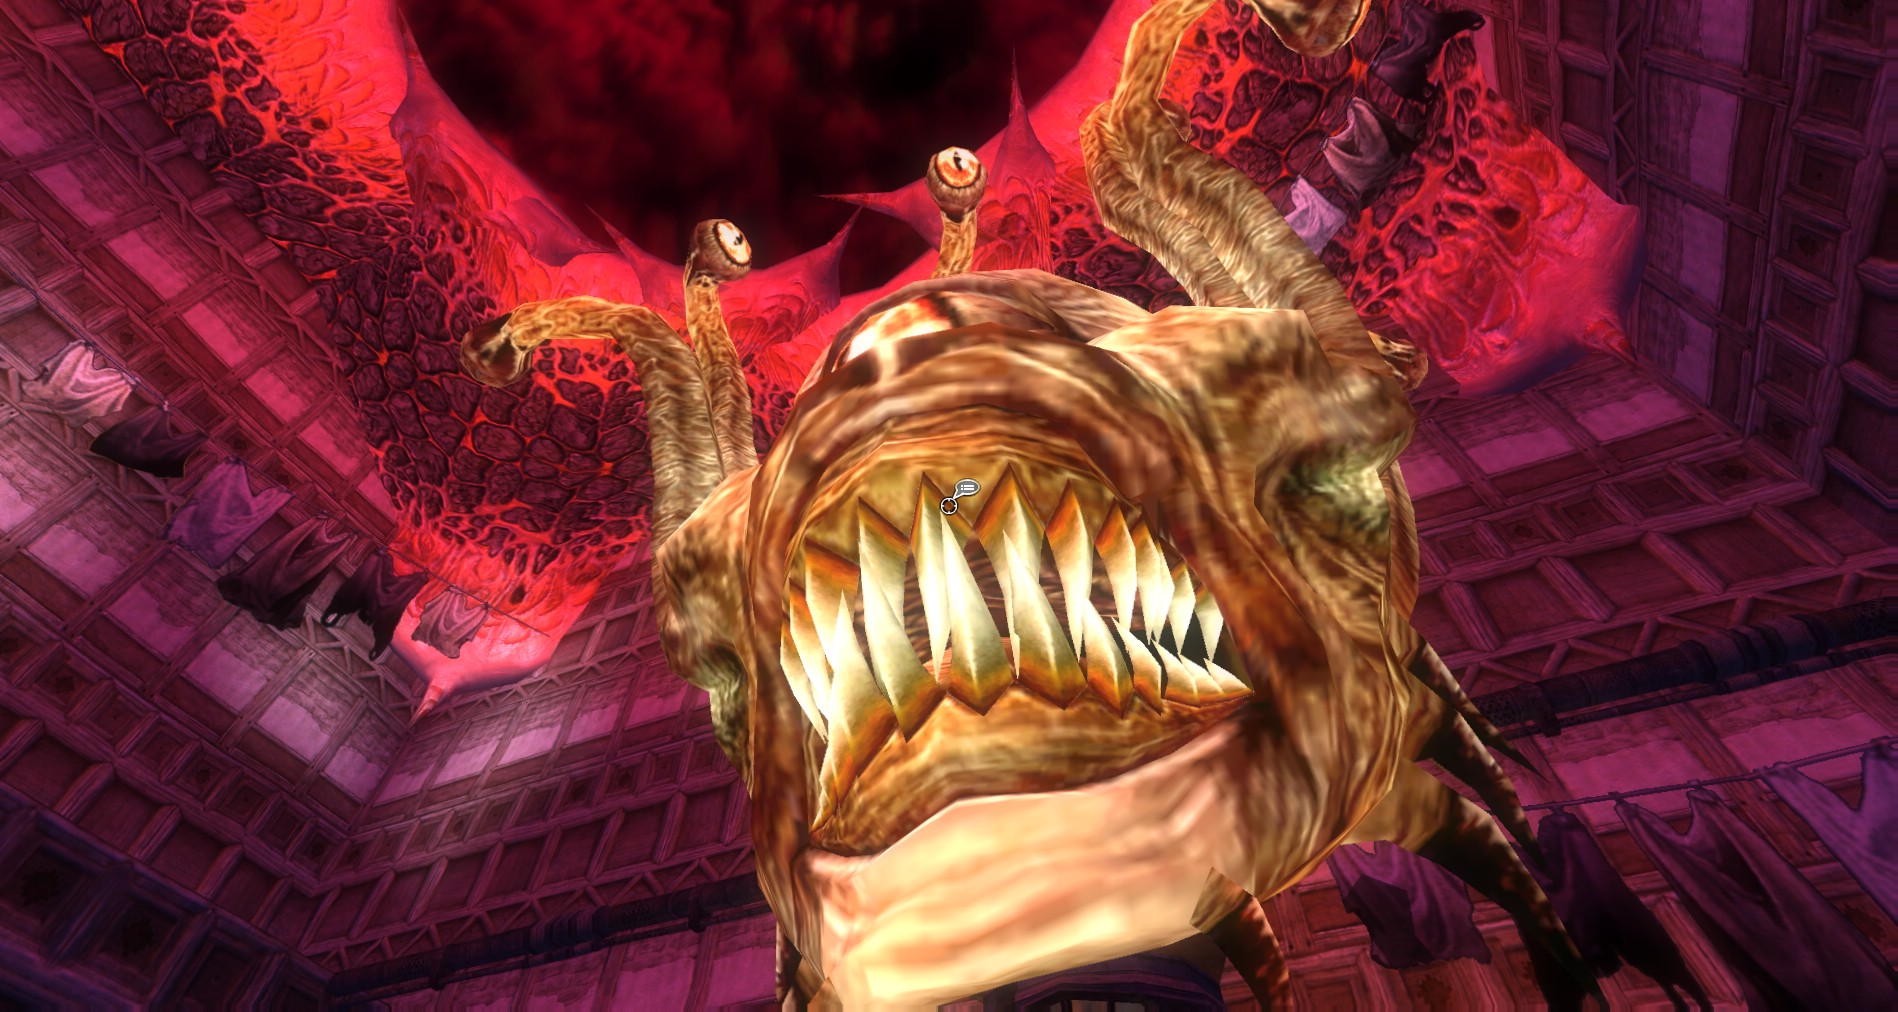
There you will find an illithid by the name of Haxxorrax who is in possession of Belashyyra’s Scepter. As you fight him, he retreats further and further back into the Inn. Keep on pushing him back and killing his minions until you get to the library. There he will stop and you will be able to finally kill him.
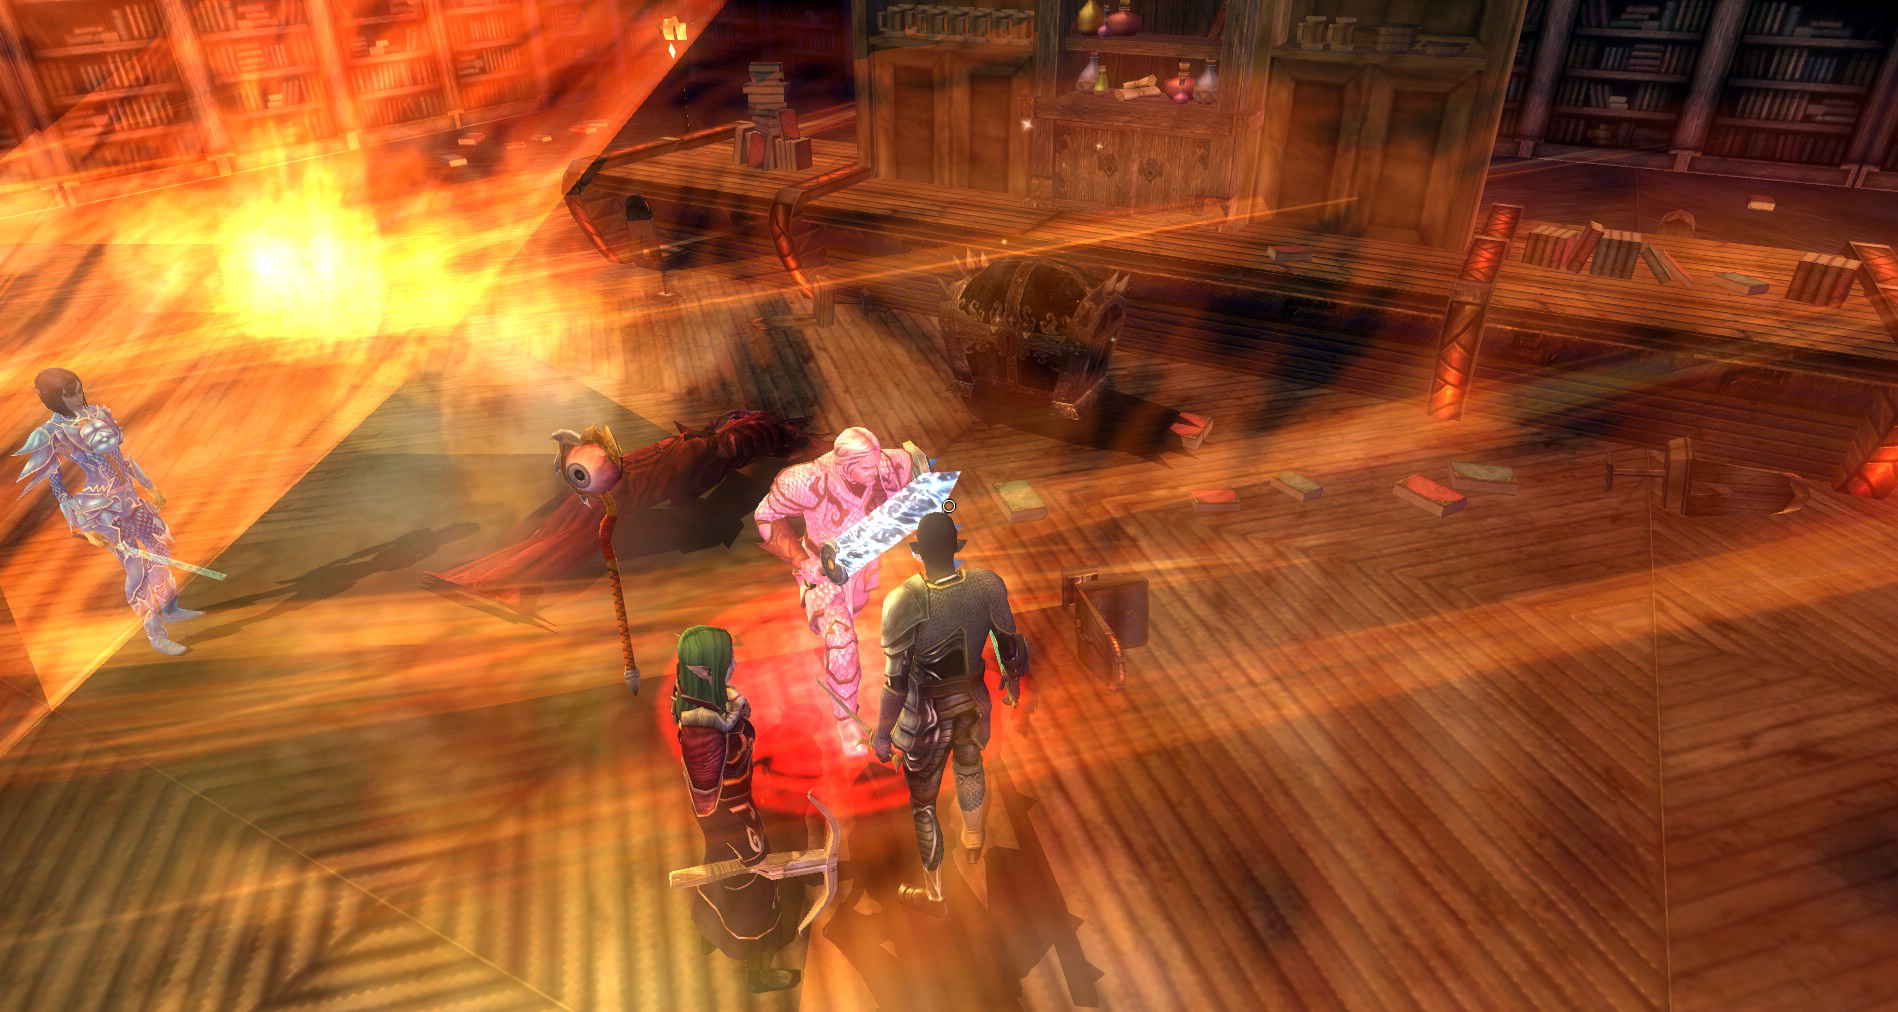
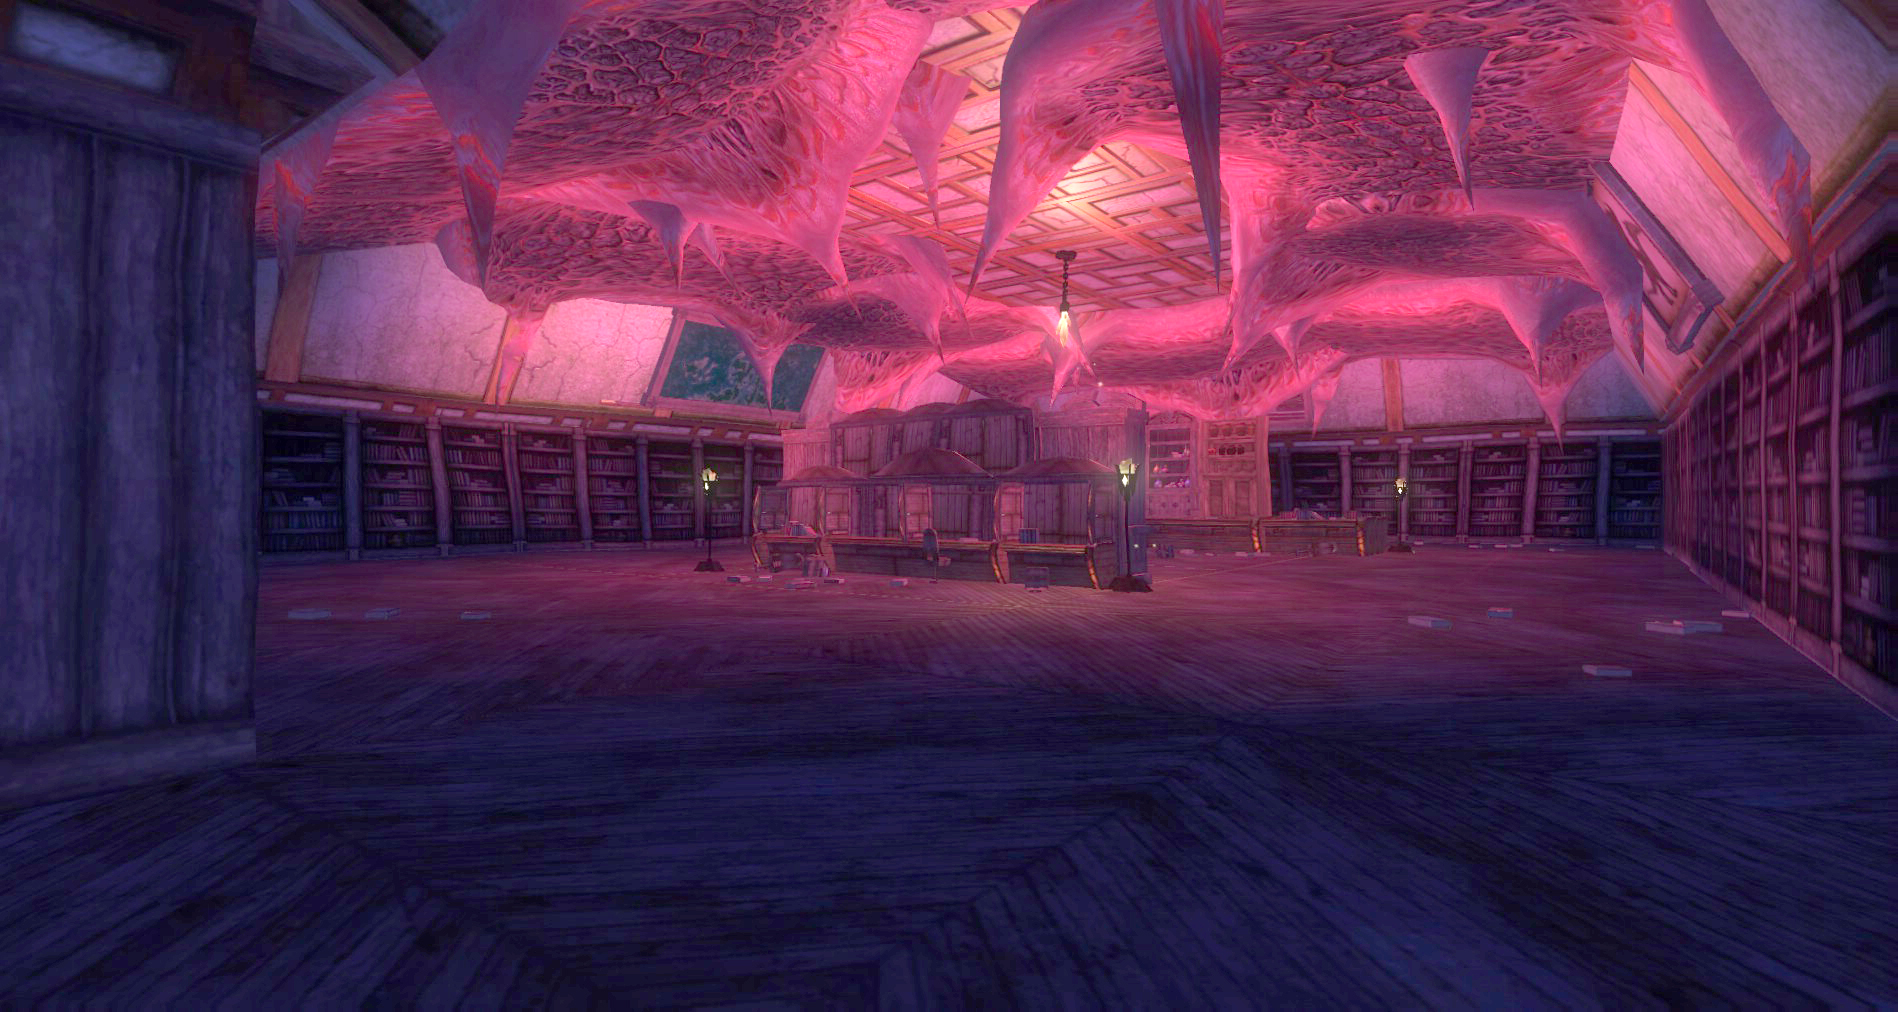
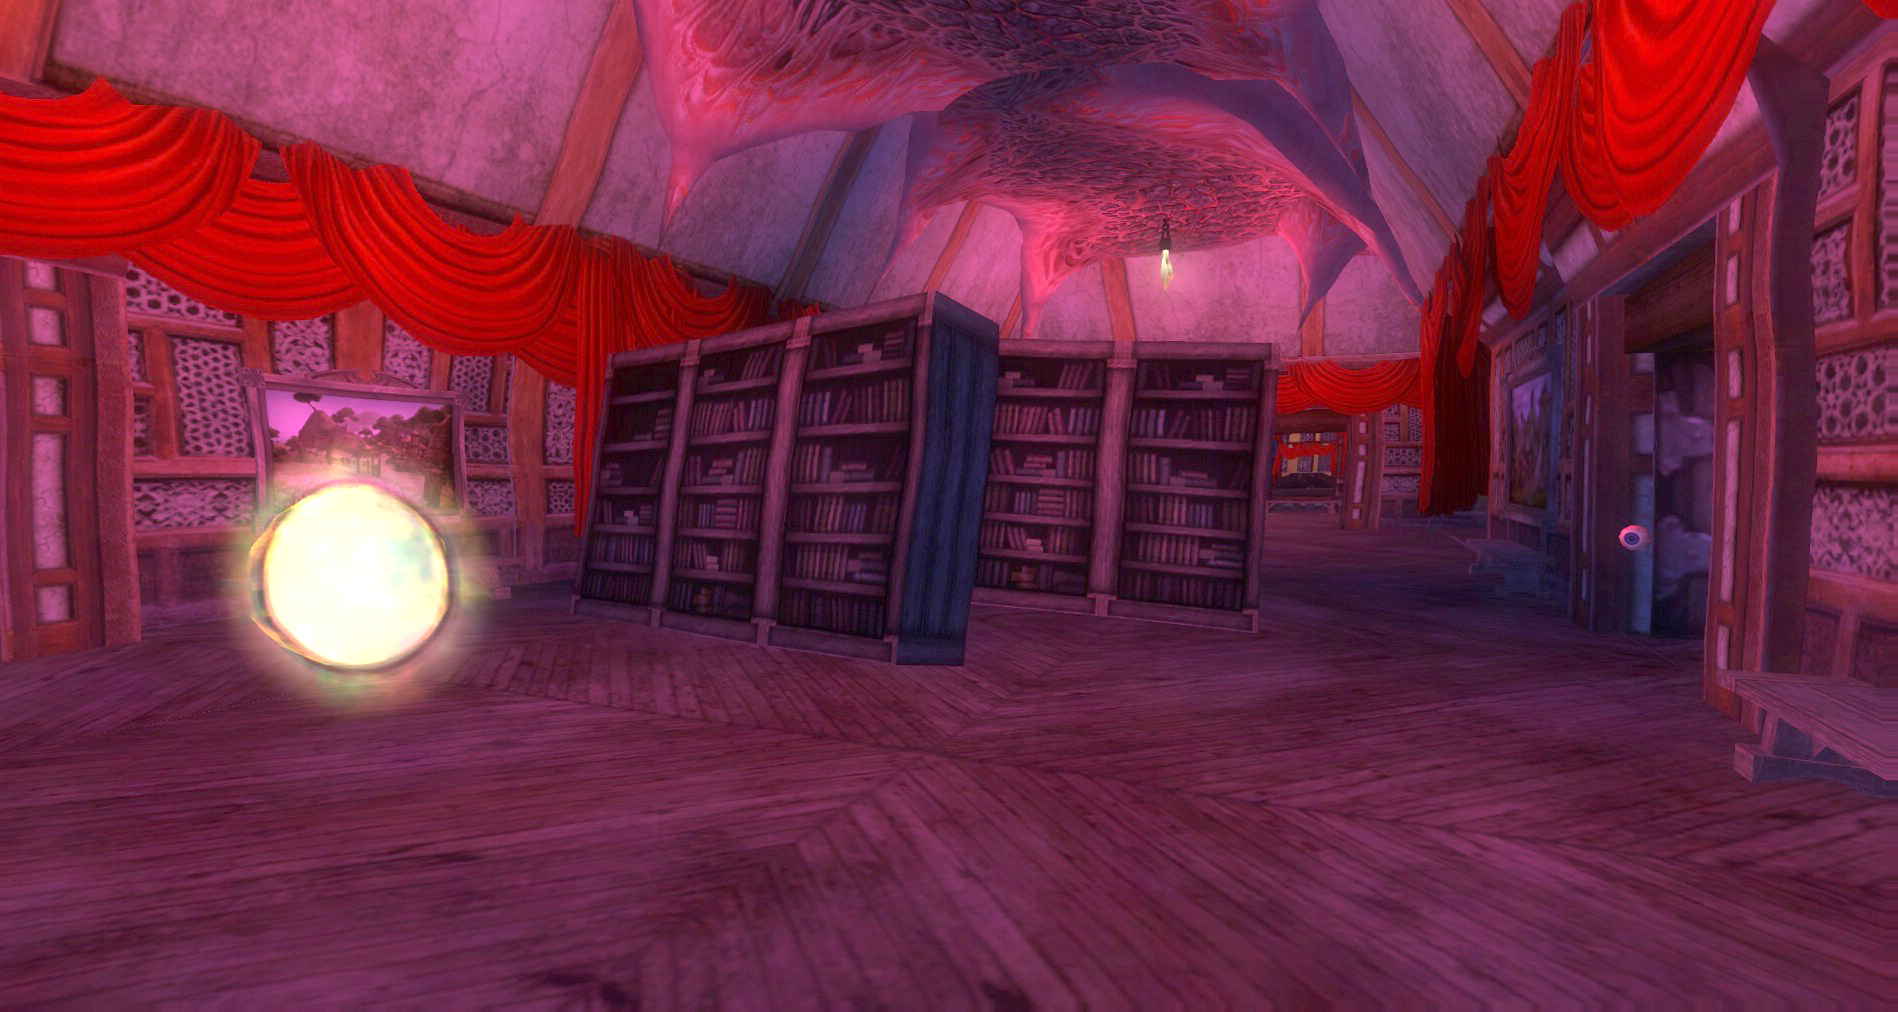
The Library
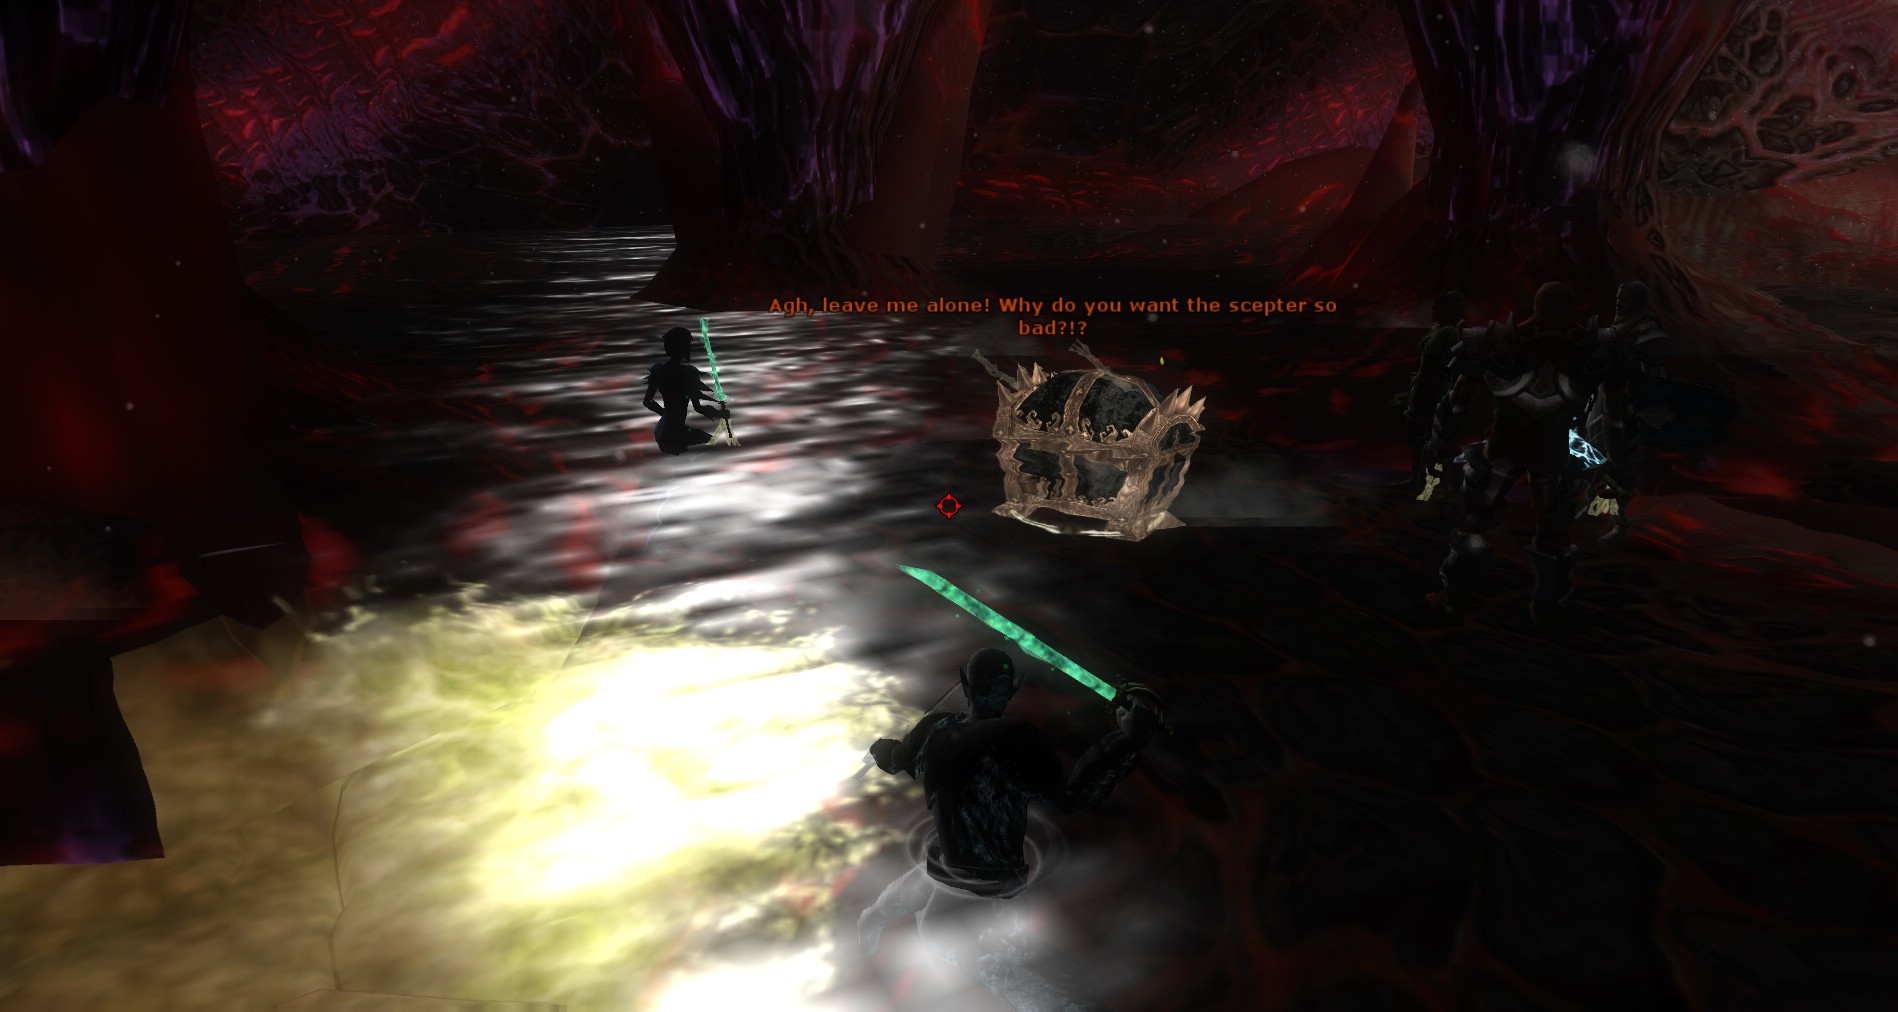
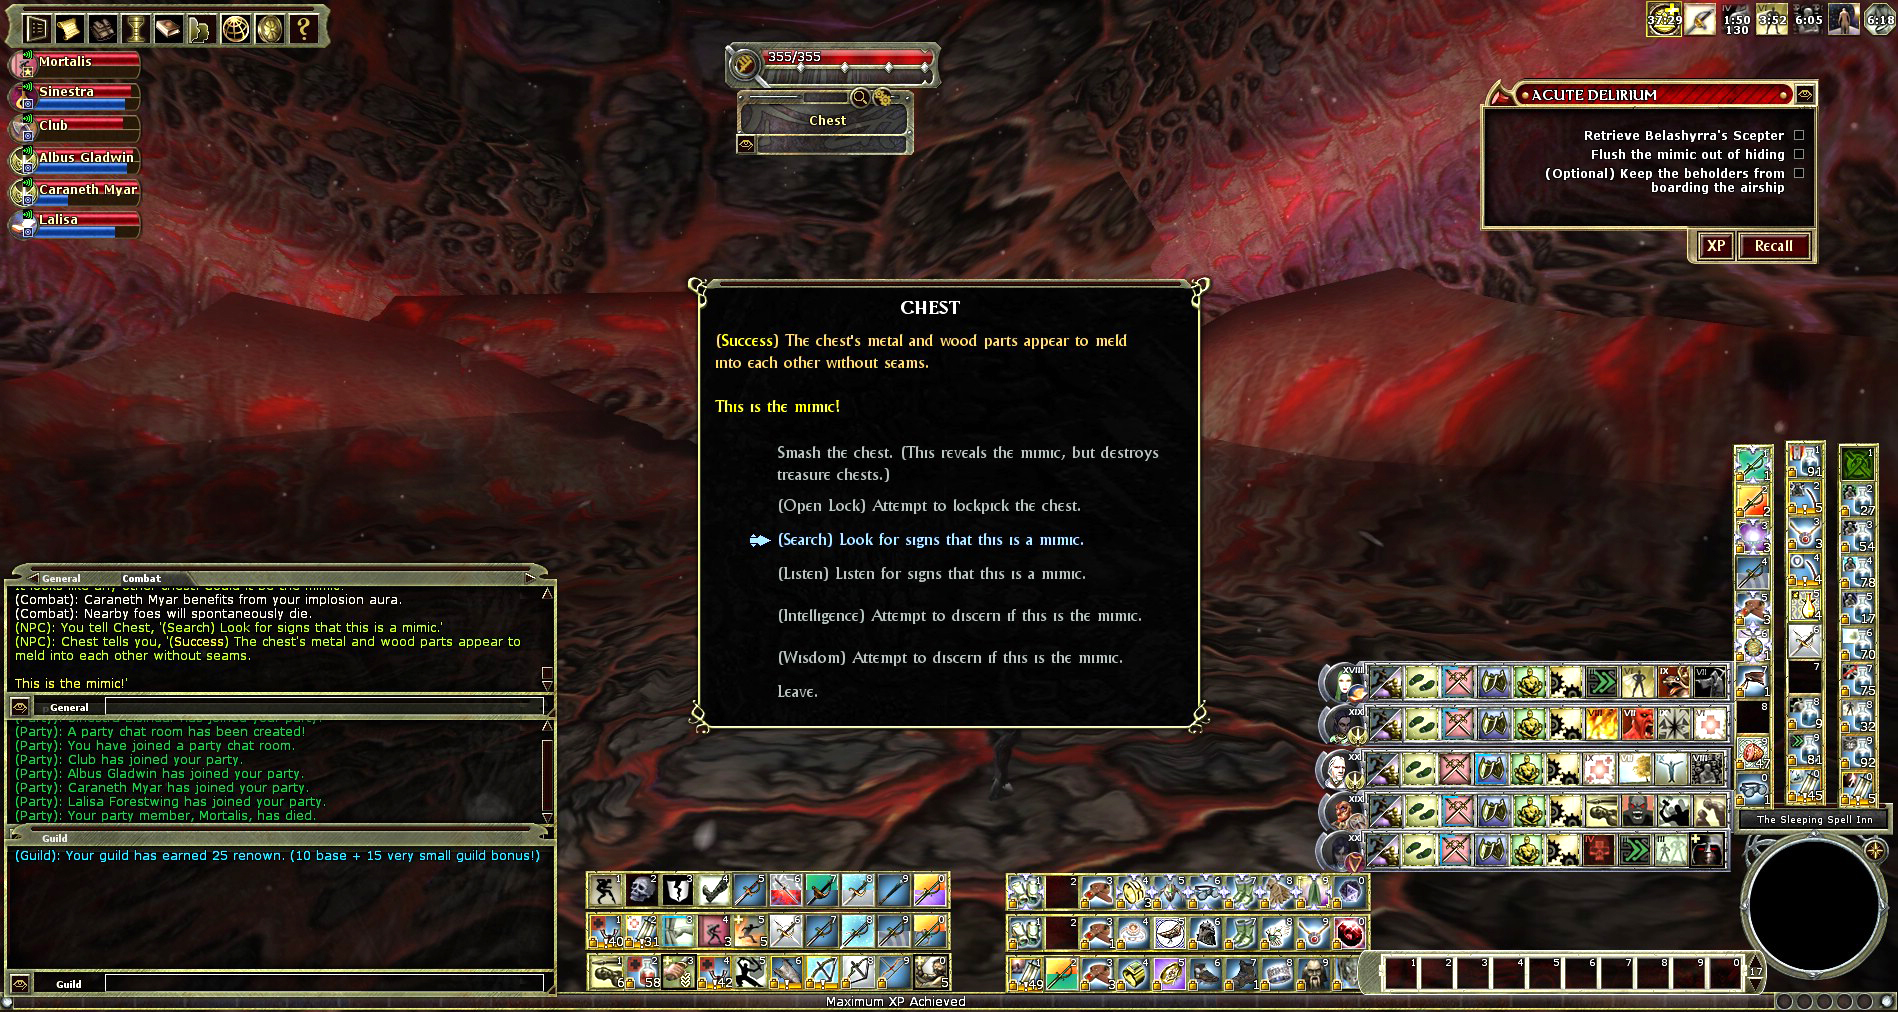
When Haxxorrax dies he will drop the scepter. Do not pick up Belashyyra’s Scepter until you are ready for another fight. Make sure that nobody touches the tempting chest there either. Head down and shrine if you need to and heal up.
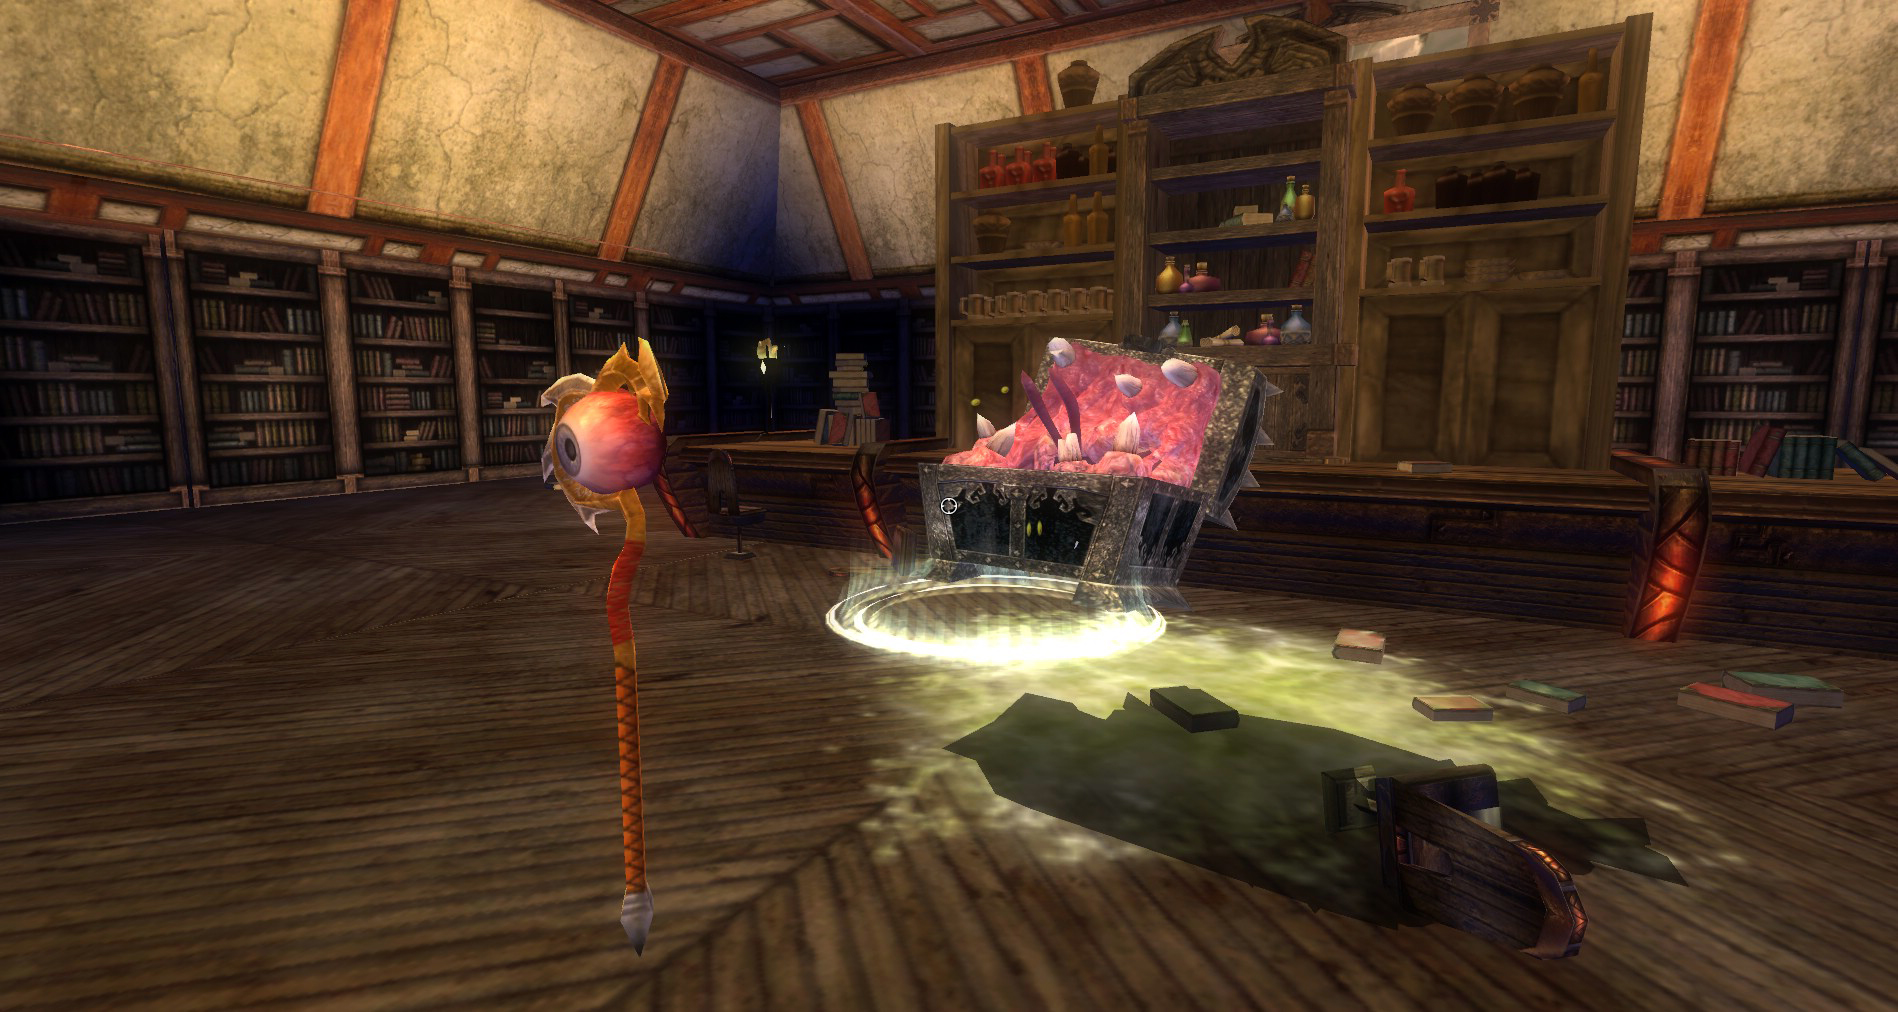
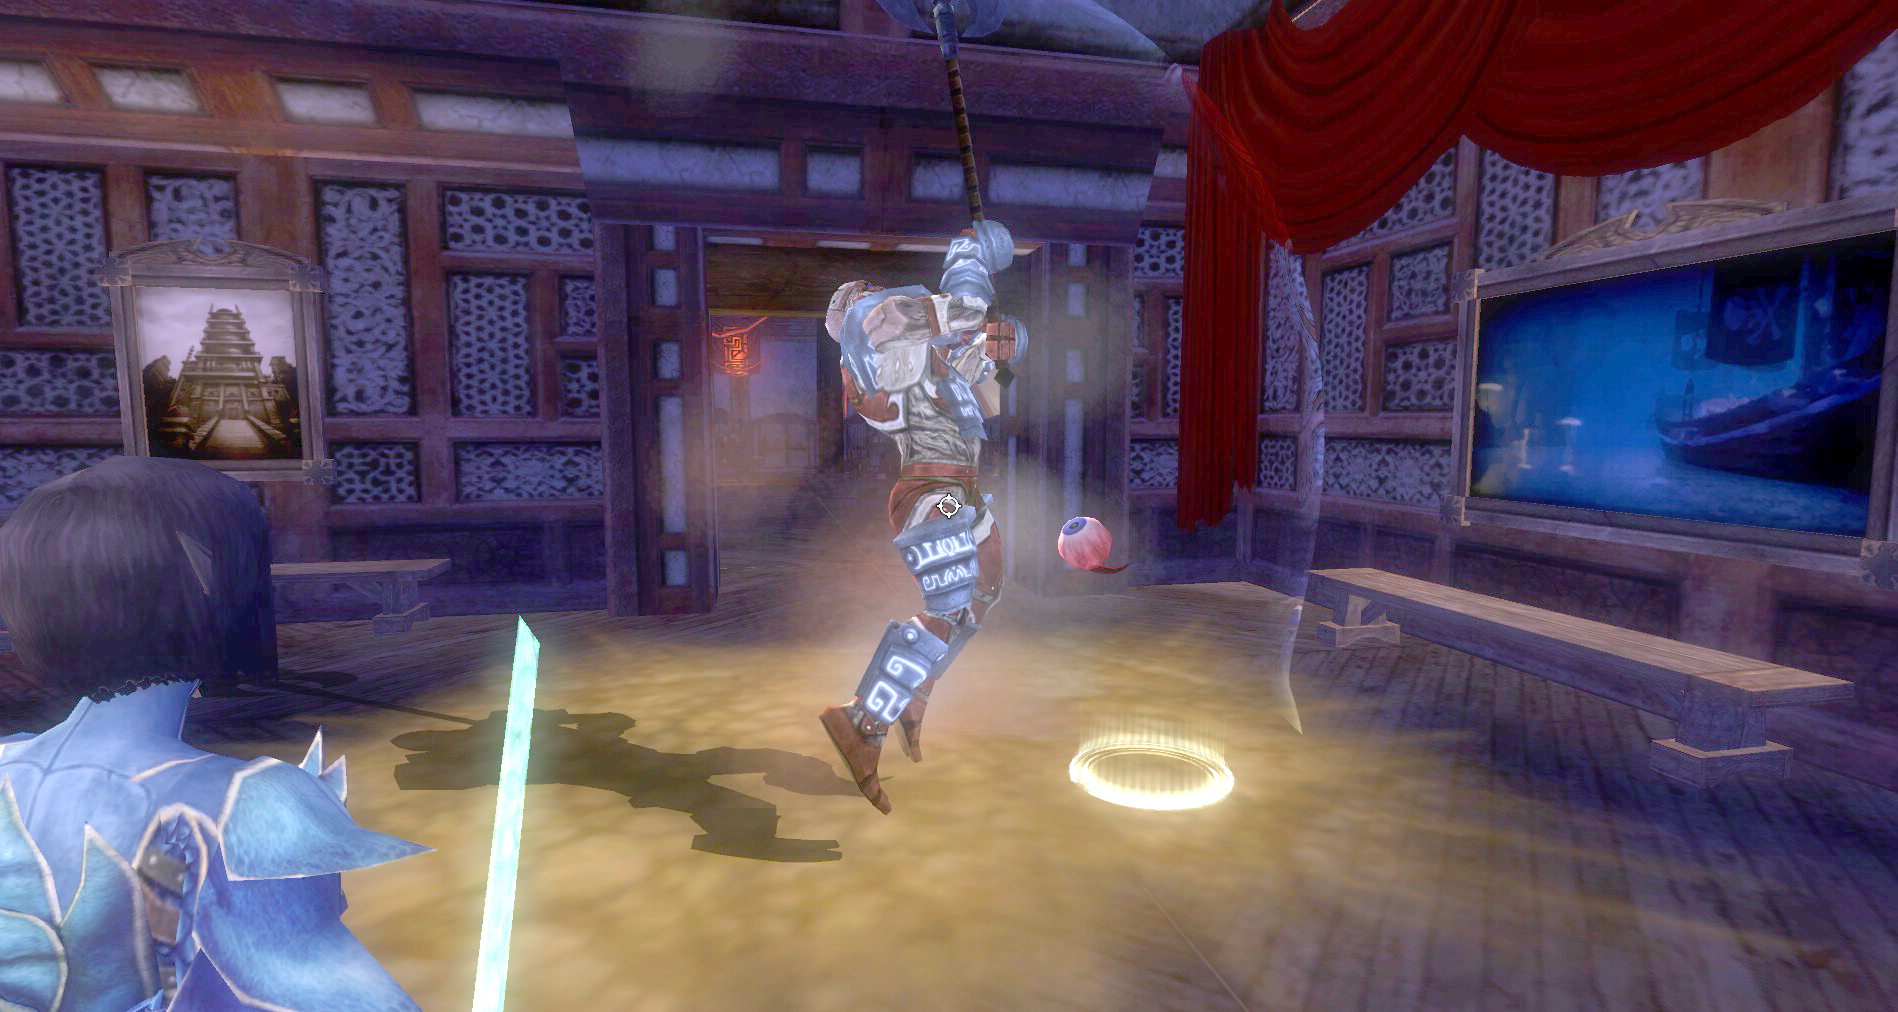
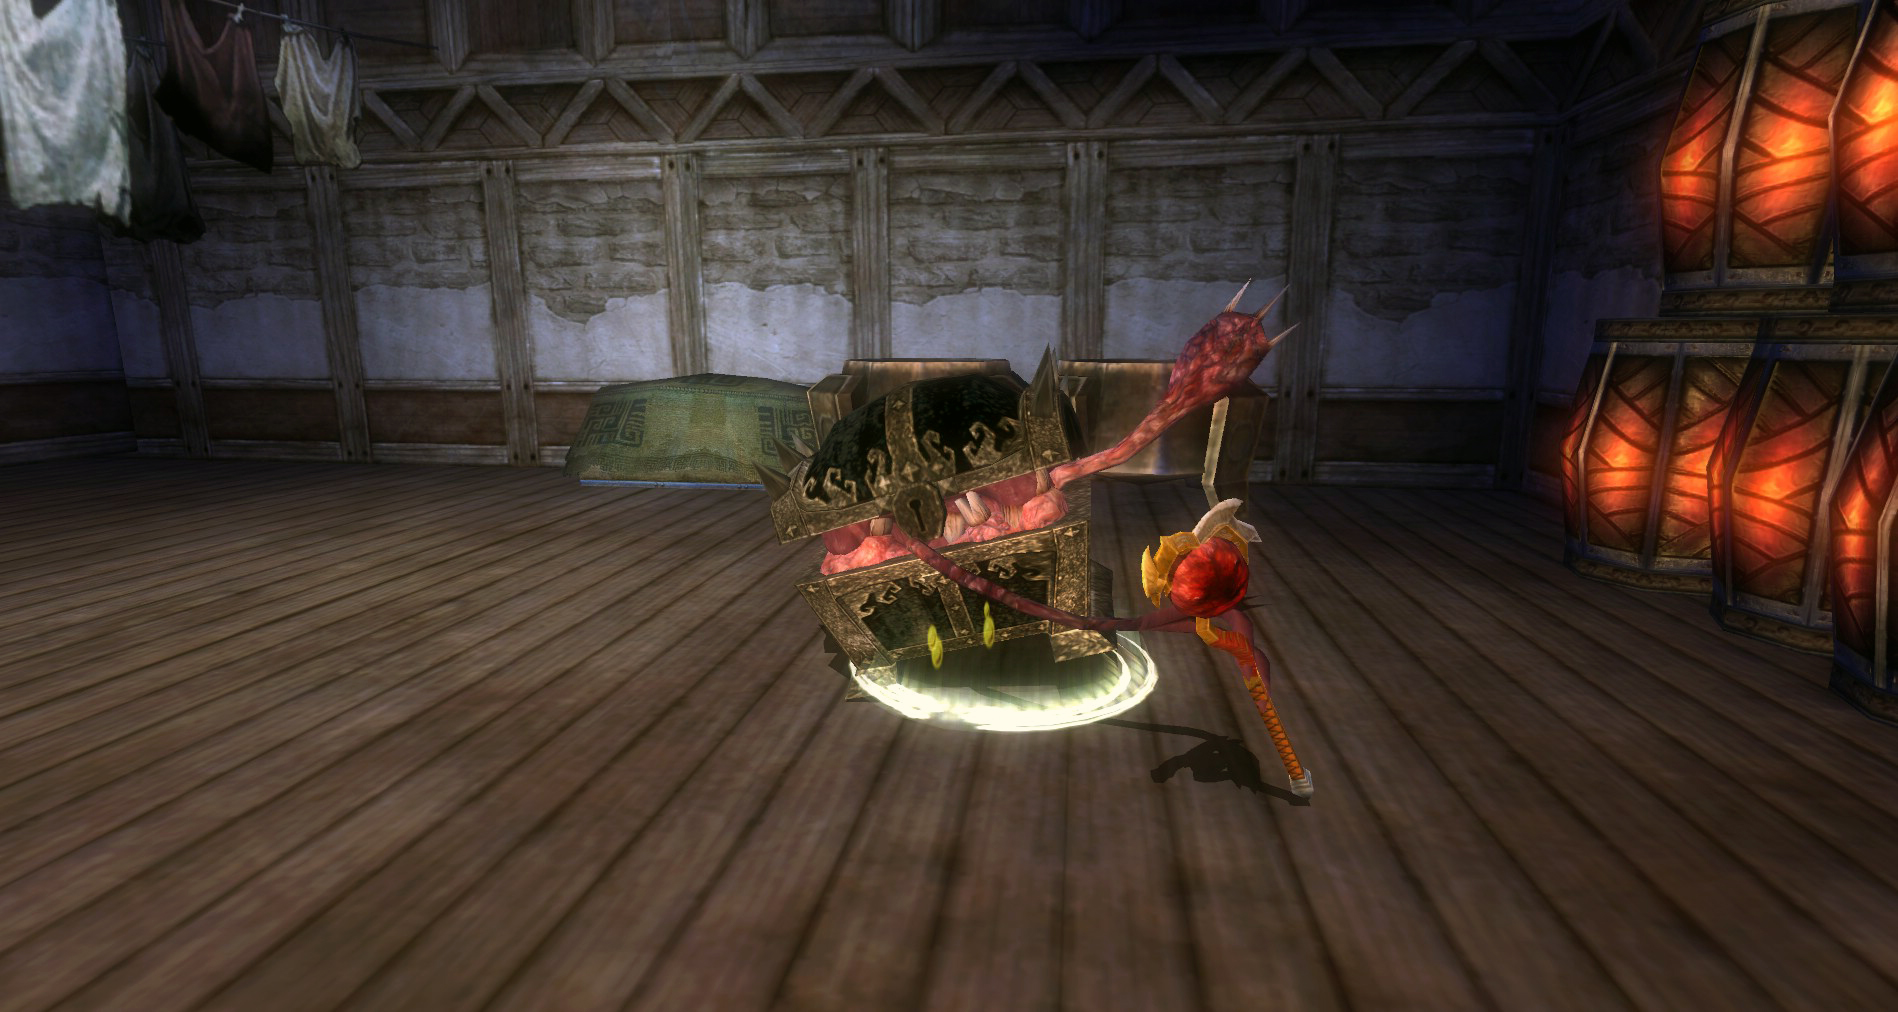
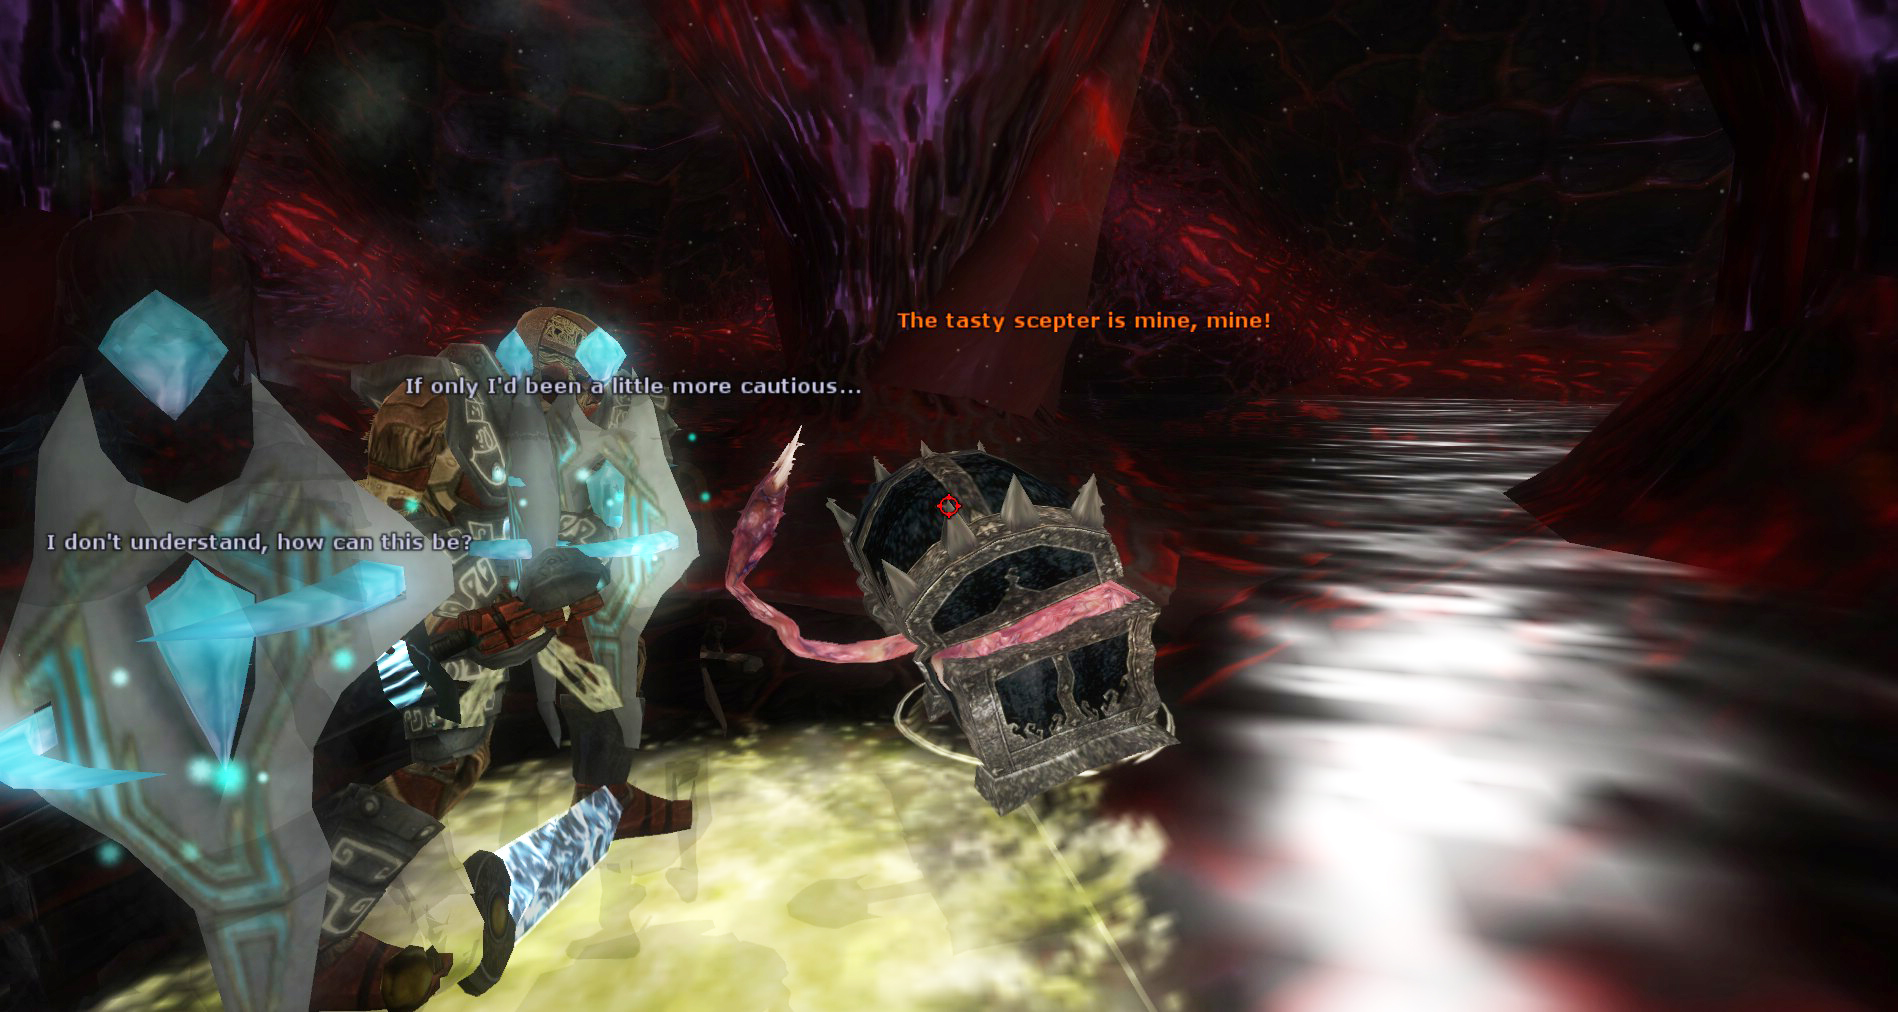
When you try to get Belashyyra’s Scepter, the chest (a mimic) animates and comes to life, quickly gobbling up Belashyyra’s Scepter!
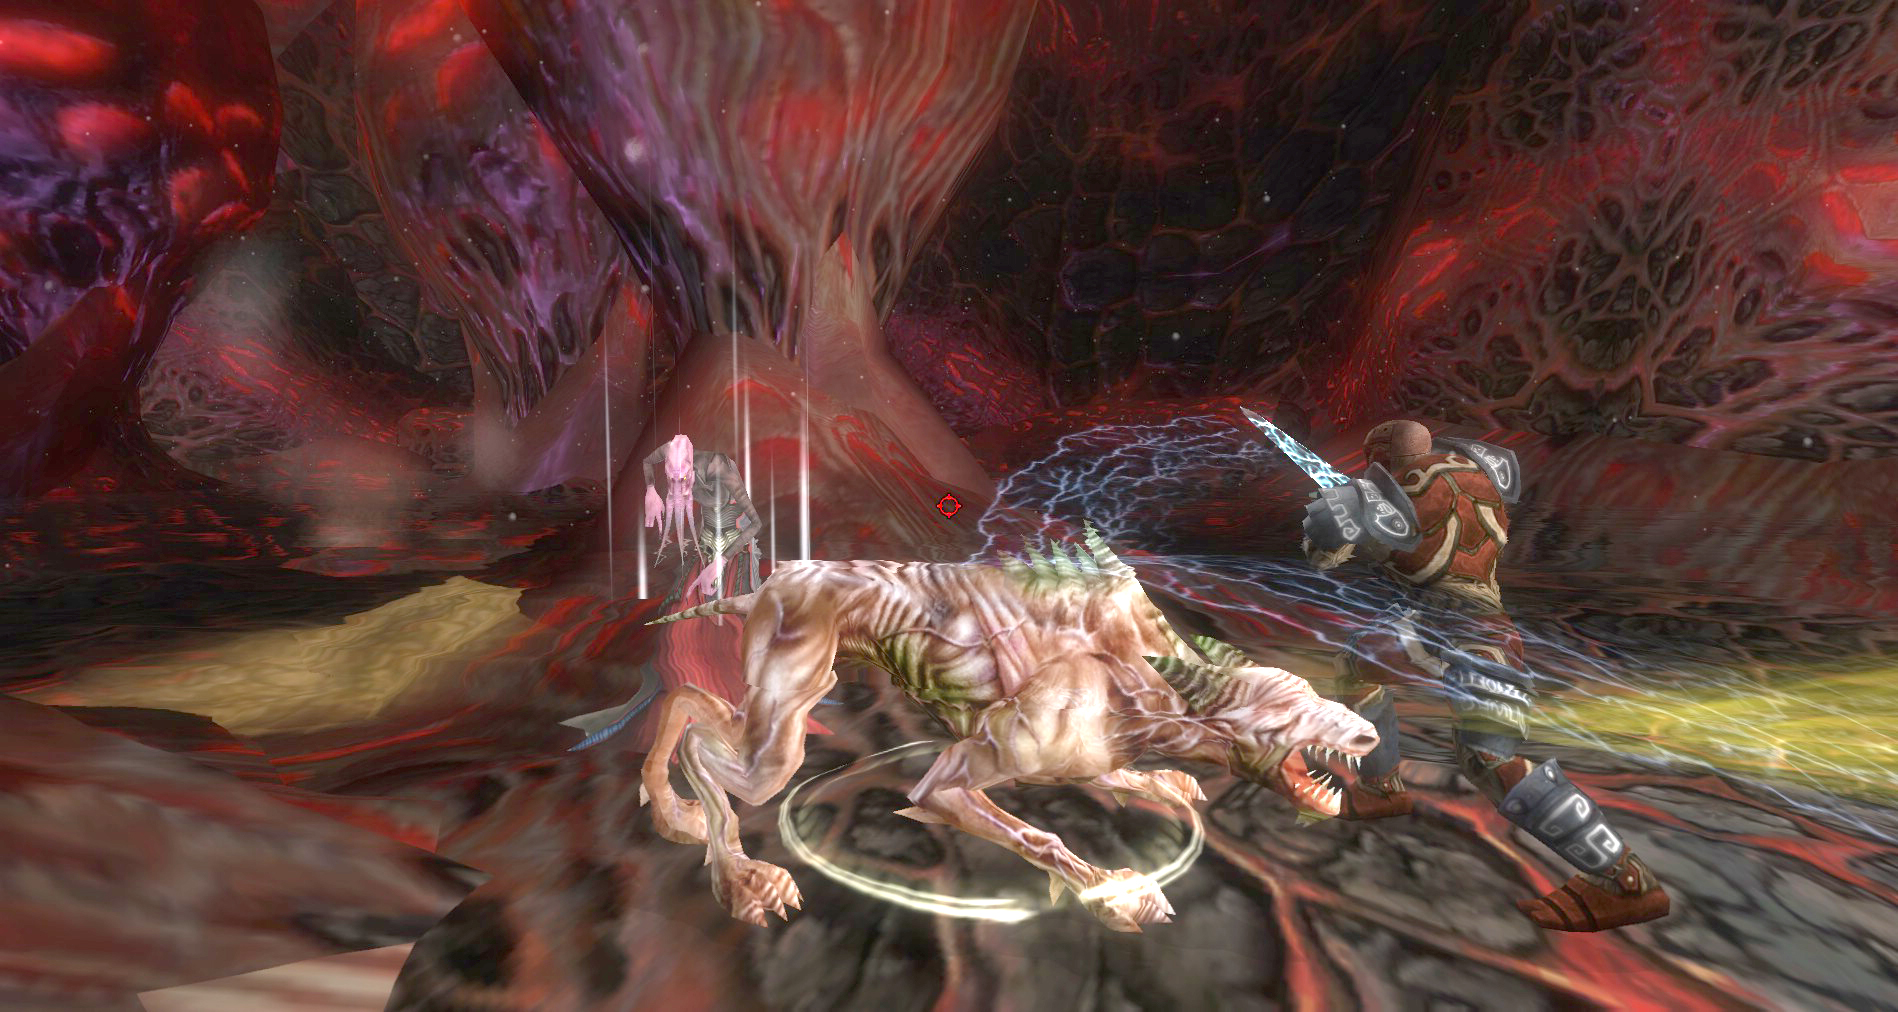
Chester, so aptly named, now taunts you incessantly with the scepter, flinging sticky goo at you to make it hard to chase him down. This is very similar to the previous chase scene but this time, you chase Chester down into the laundry room of the inn. If you still need to use the shrine, do not follow him down past the locked door. Chester’s mad scepter swinging is about to toss this poor inn back into madness, rendering the shrine unusable. So use the shrine now if you can or need to before it is too late!
When you are ready, finish chasing Chester the Chest down into the laundry room of the inn and corner him.
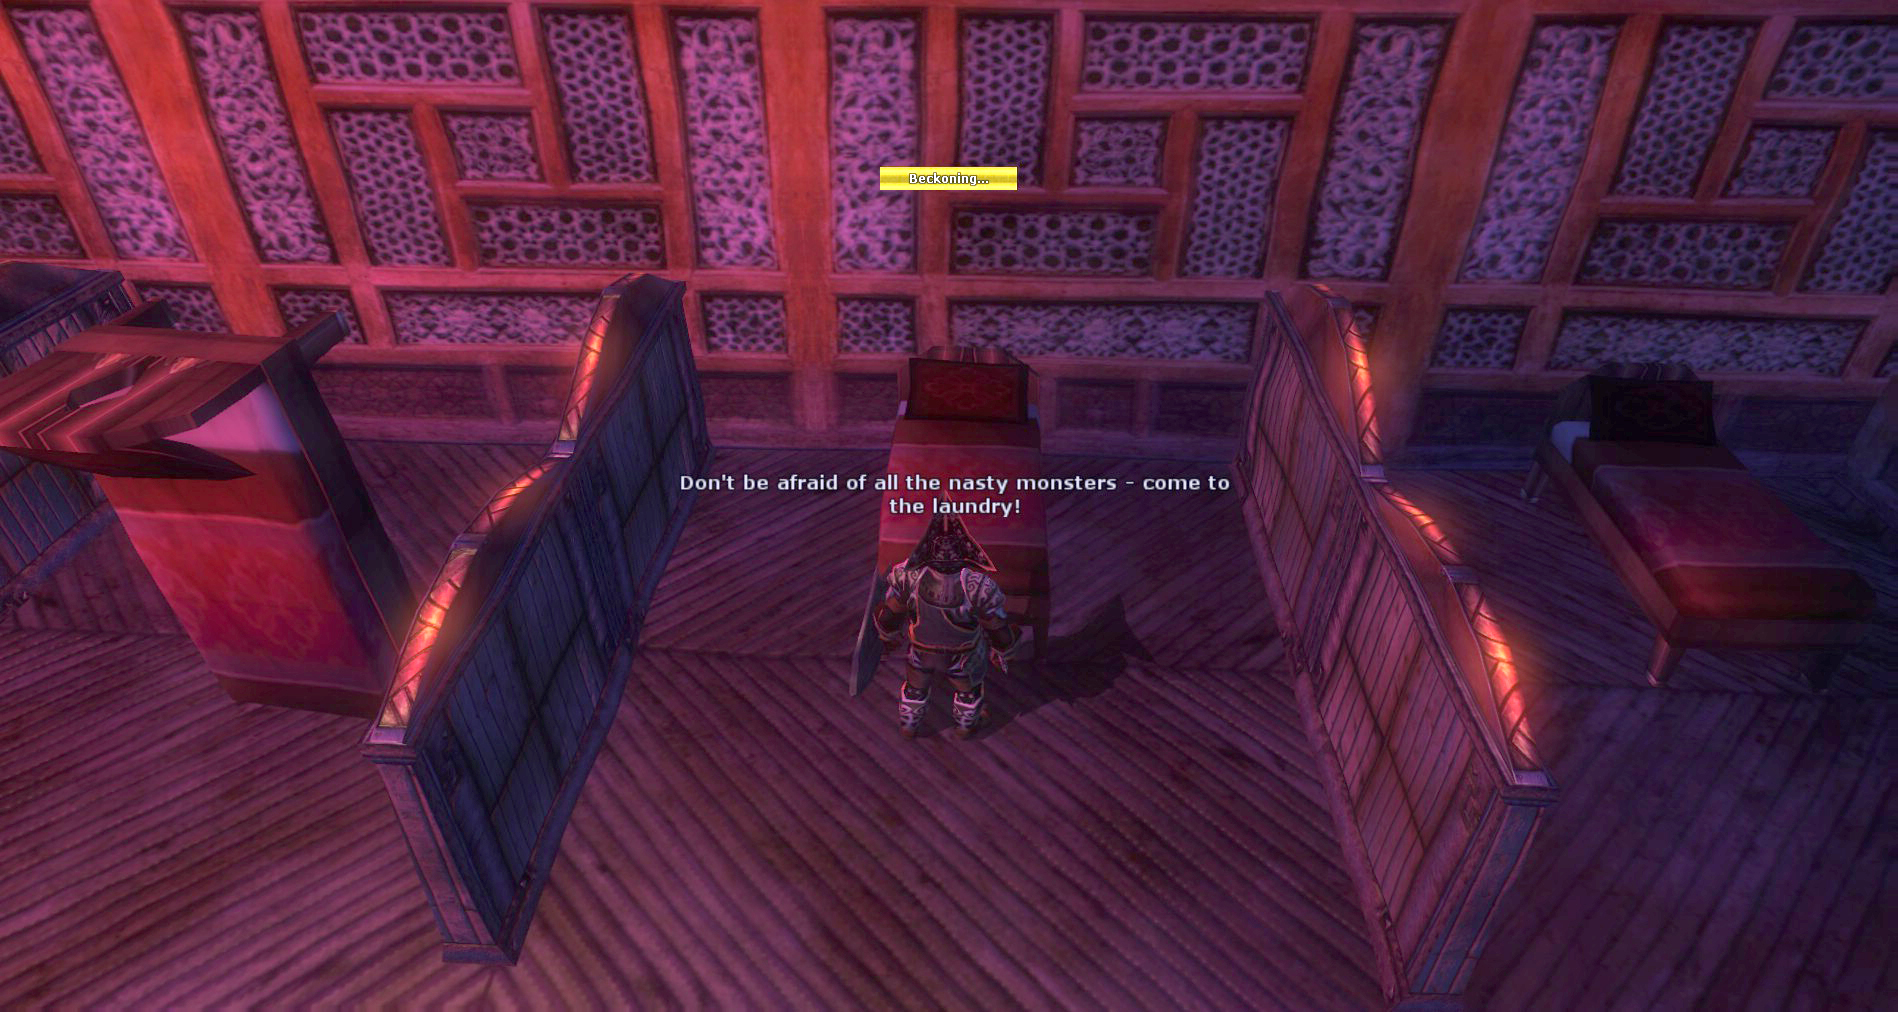
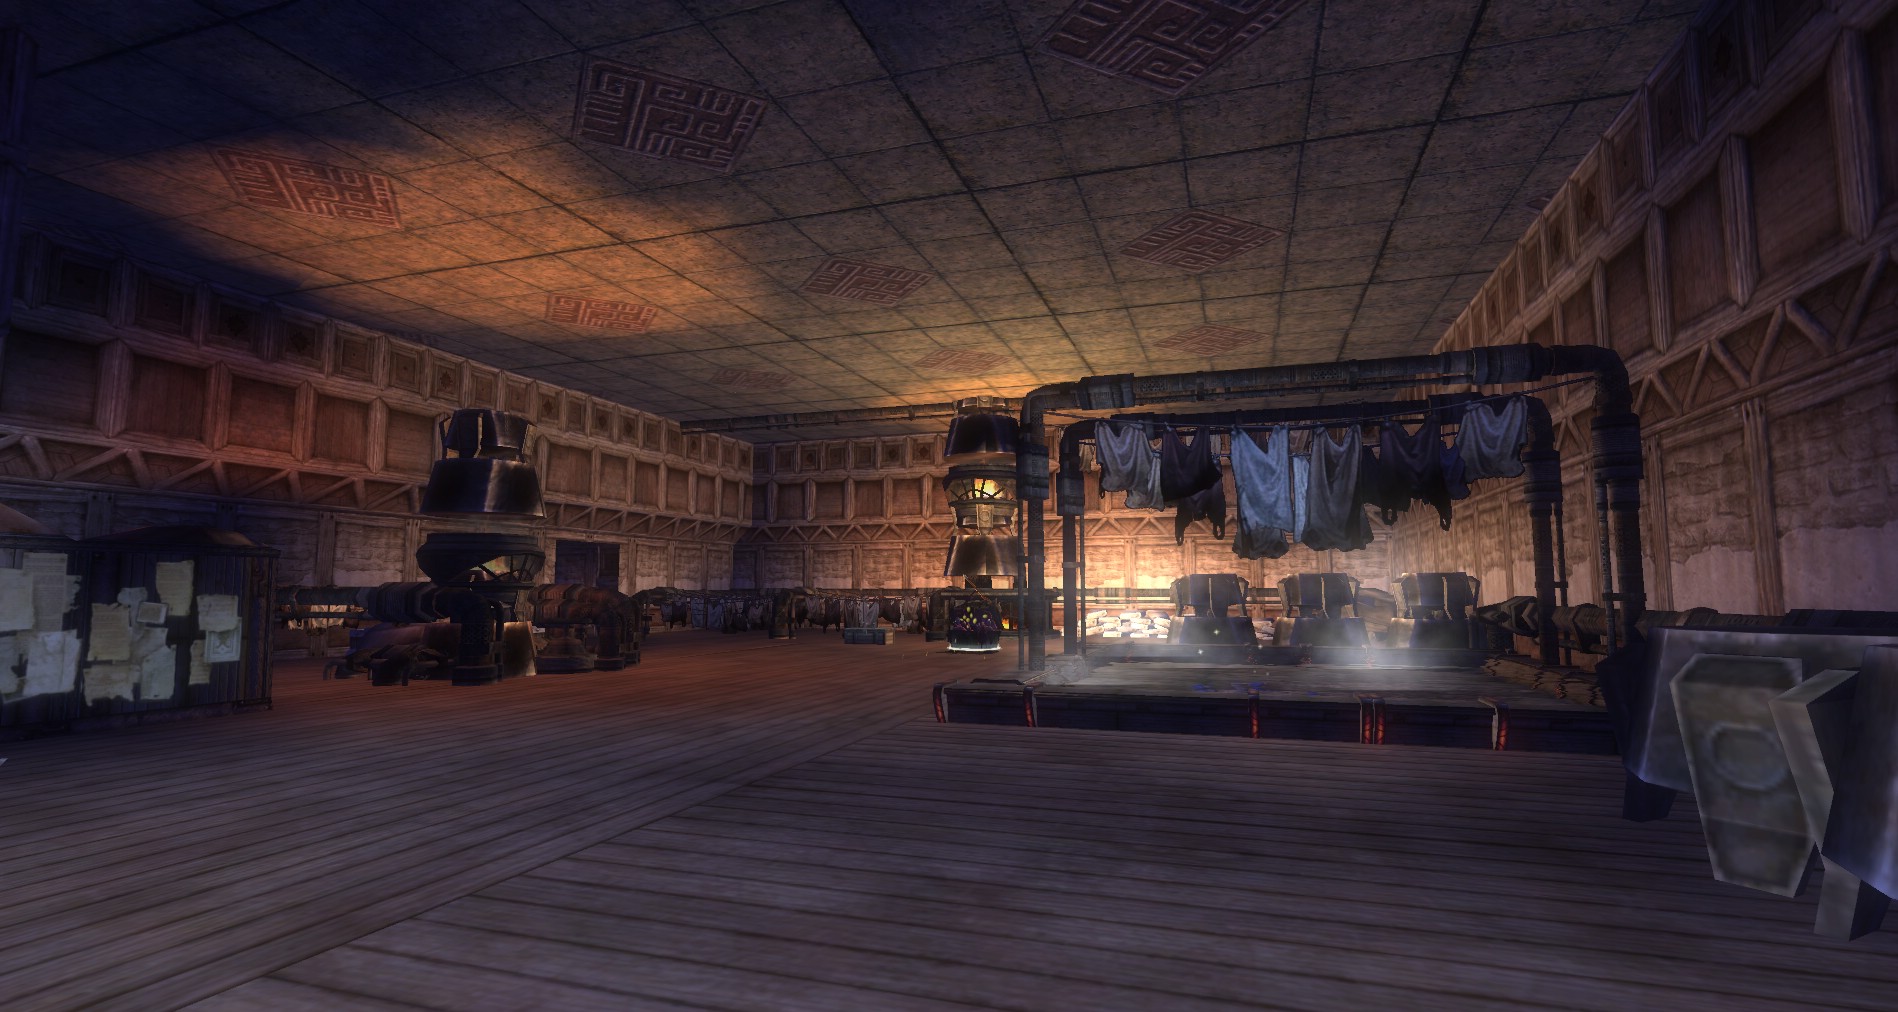
The Laundry Room
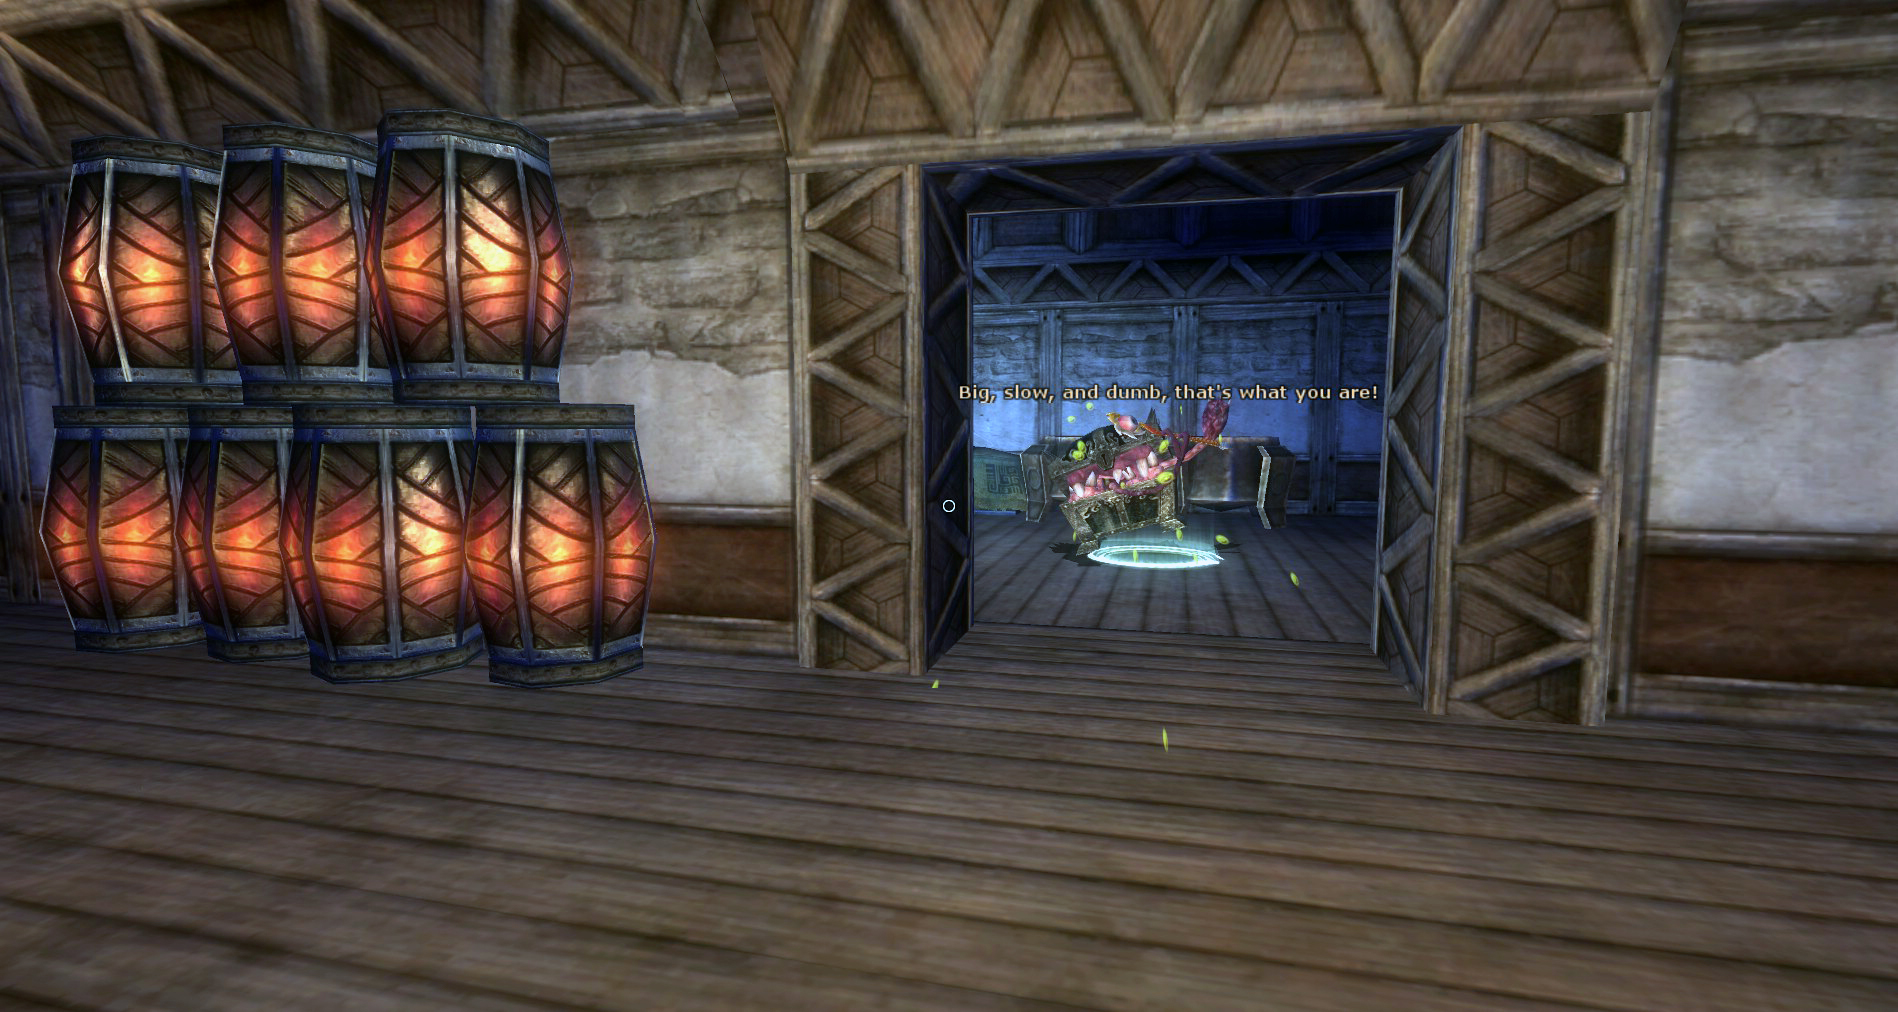
 Chester becomes desperate once his is cornered and uses the wand again, trying to be rid of you once and for all. The chaotic magic of Belashyyra’s Scepter opens a massive portal to the Plane of Madness itself! Through the portal comes a massive beholder, Quixxellops, who sees Chester with the scepter and consumes Belashyyra’s Scepter along with Chester! It then lazily floats back to Xoriat.
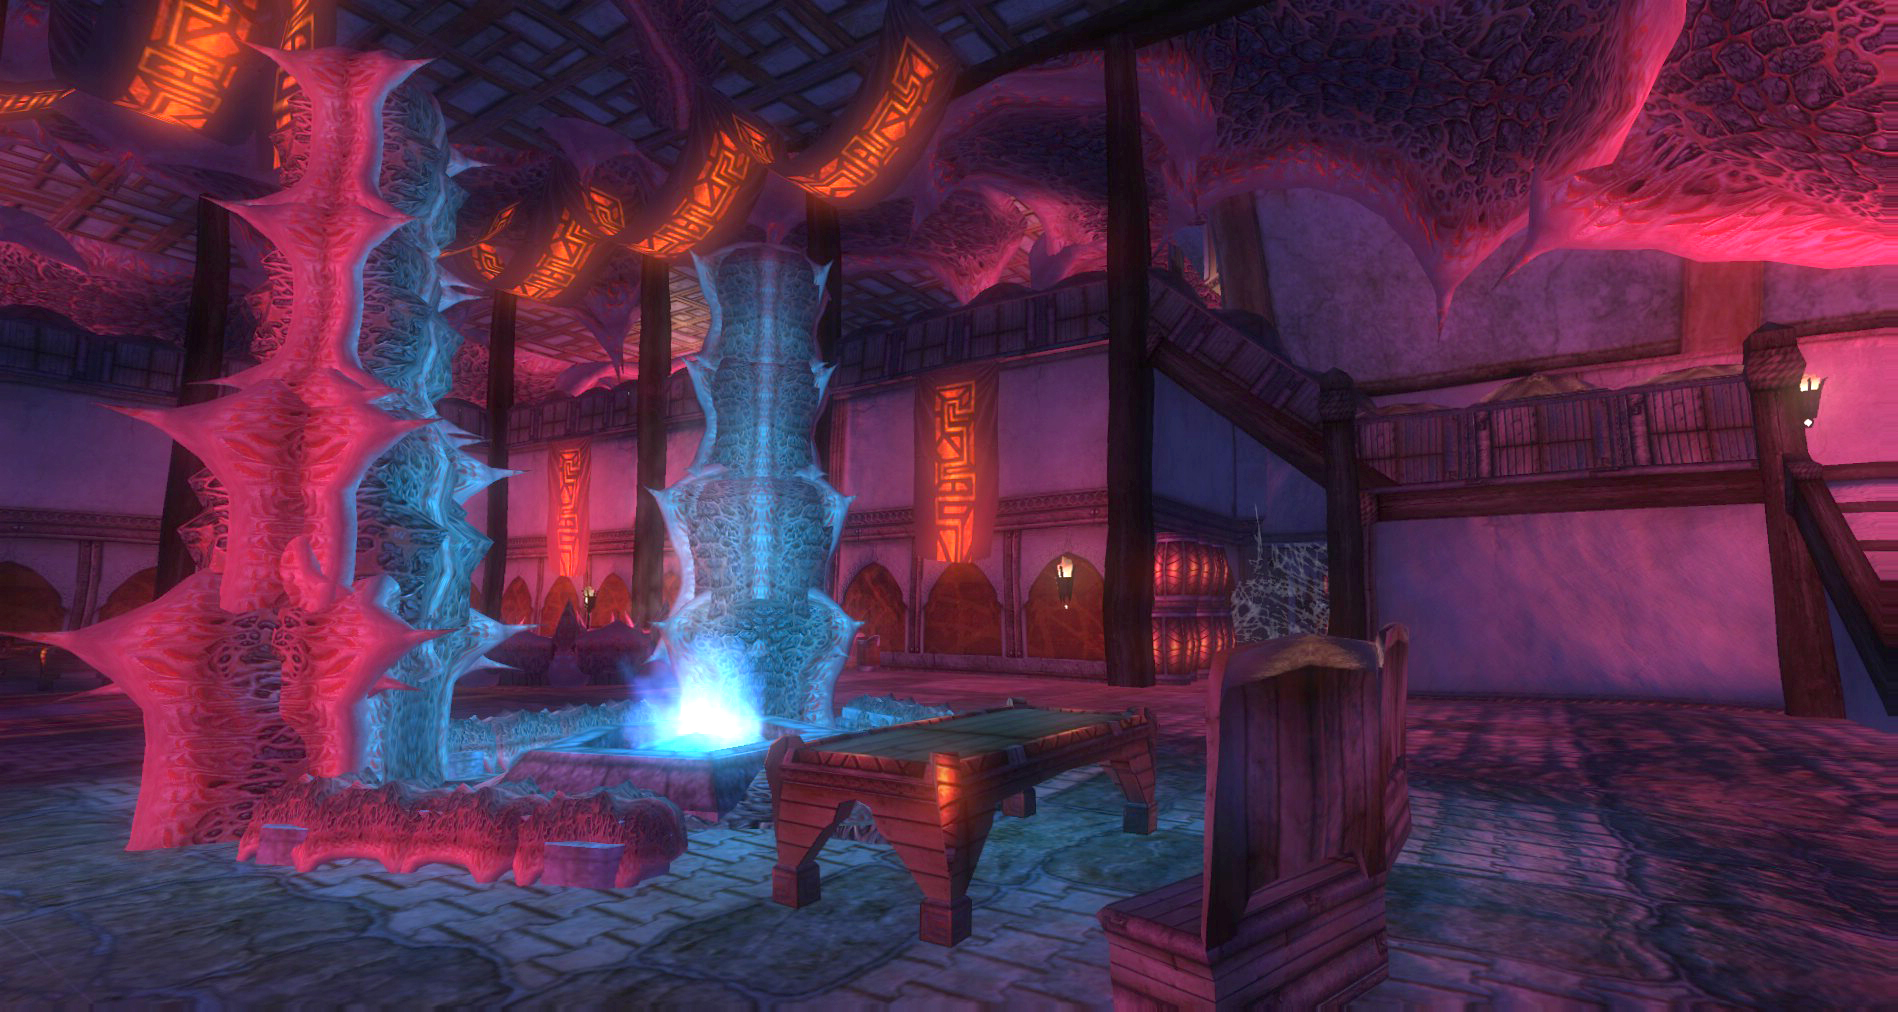
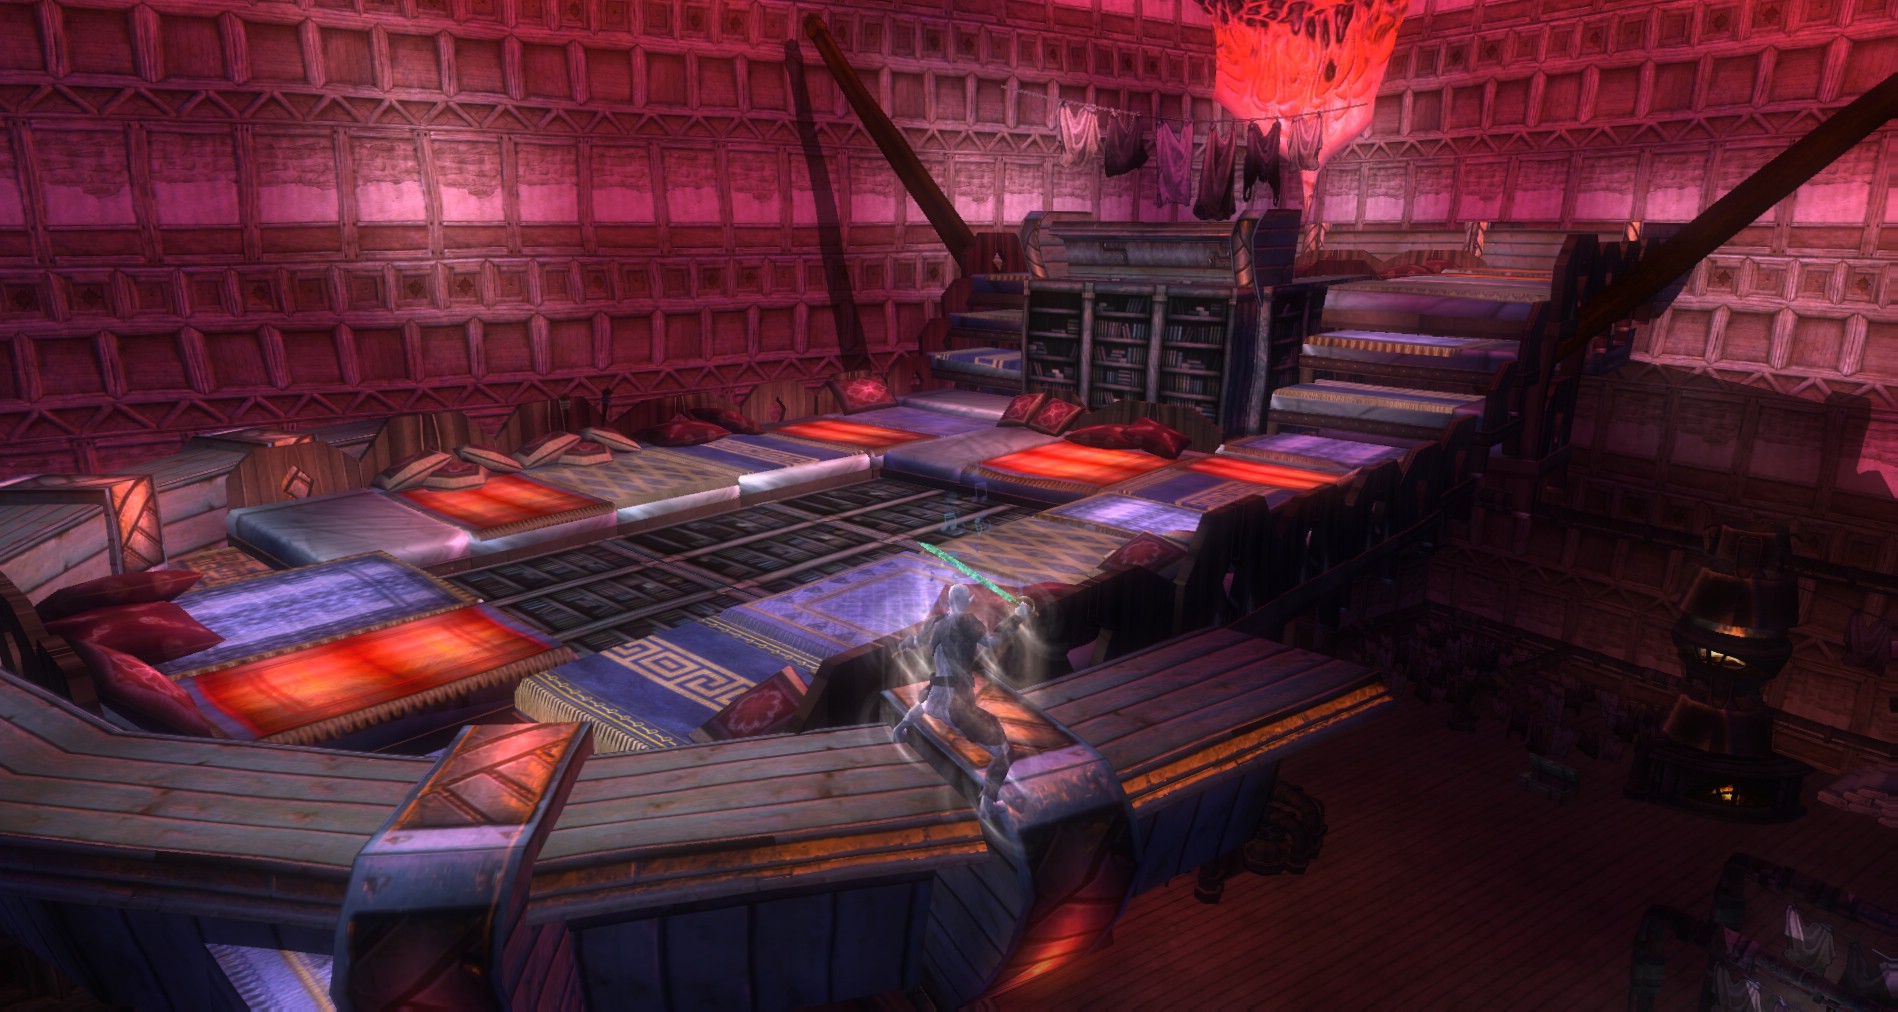
In order to follow after Quixxellops, you decide you need an airship. Instead of heading right outside to your guild air ship it seems best in your insane state to stay inside the inn and convince the bookshelves and beds to make one for you.
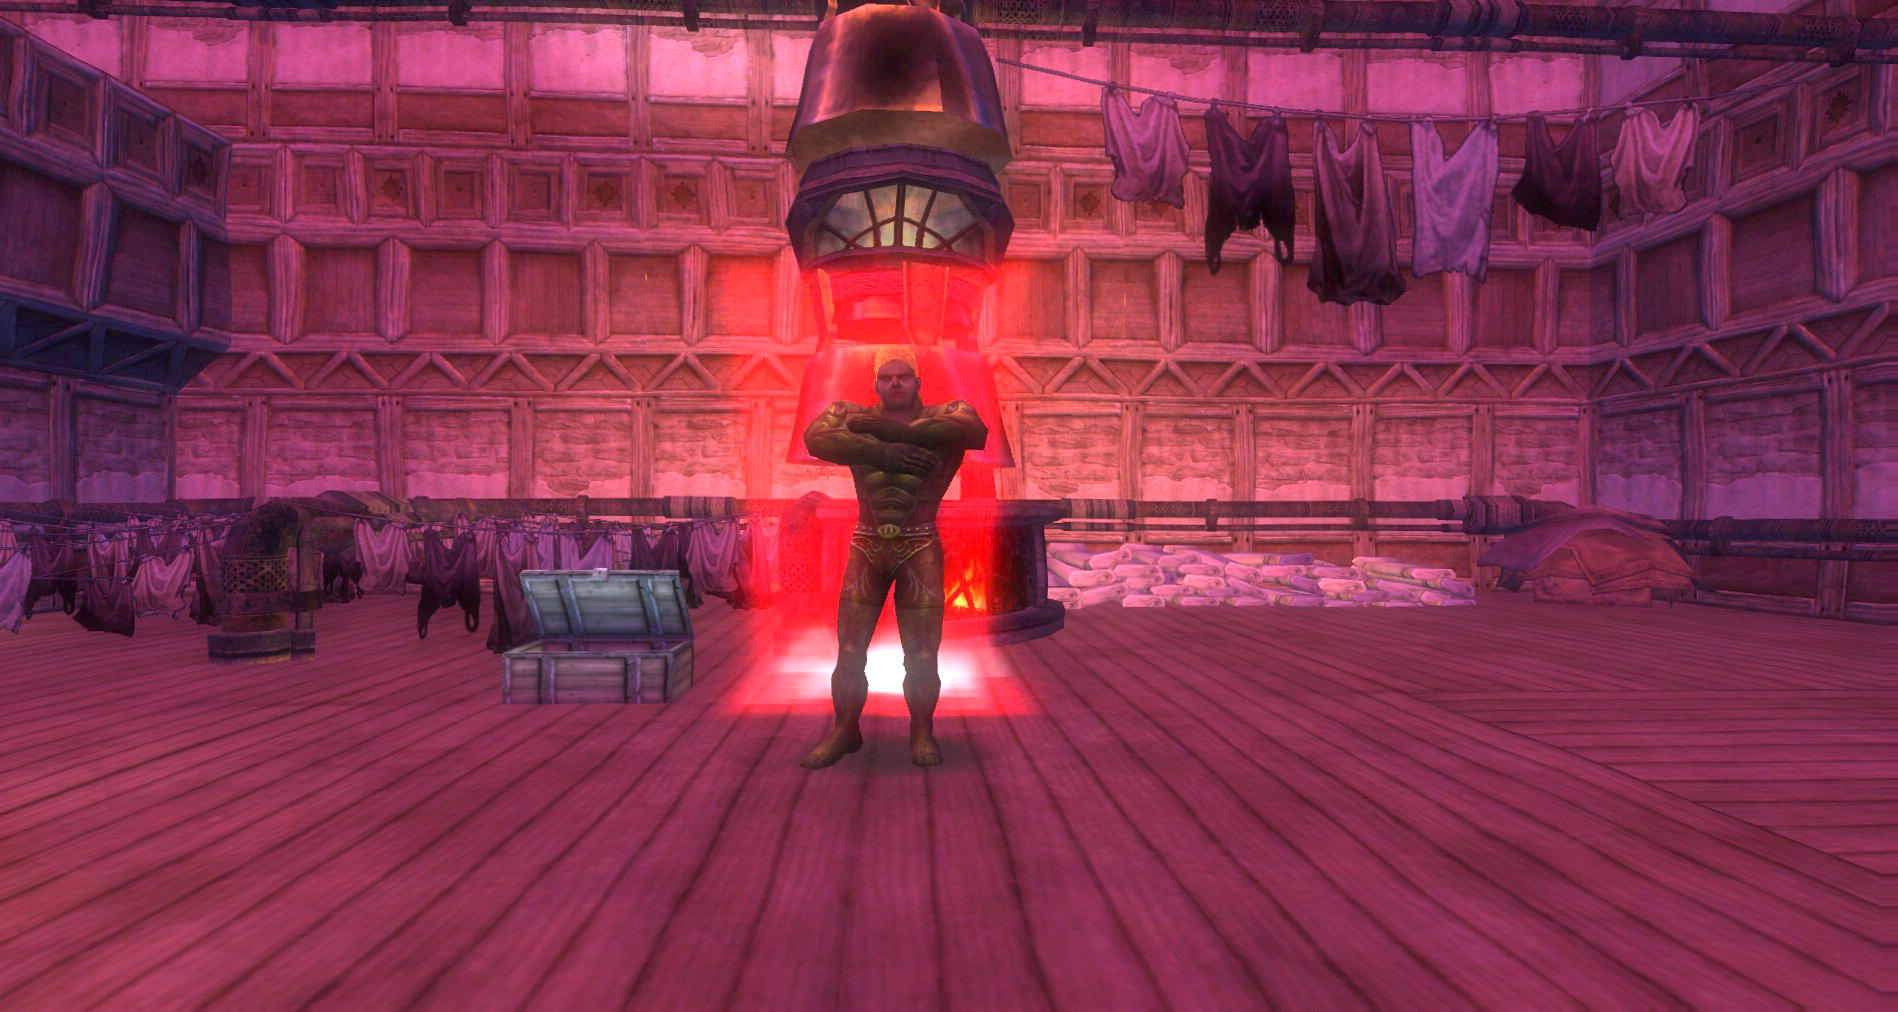
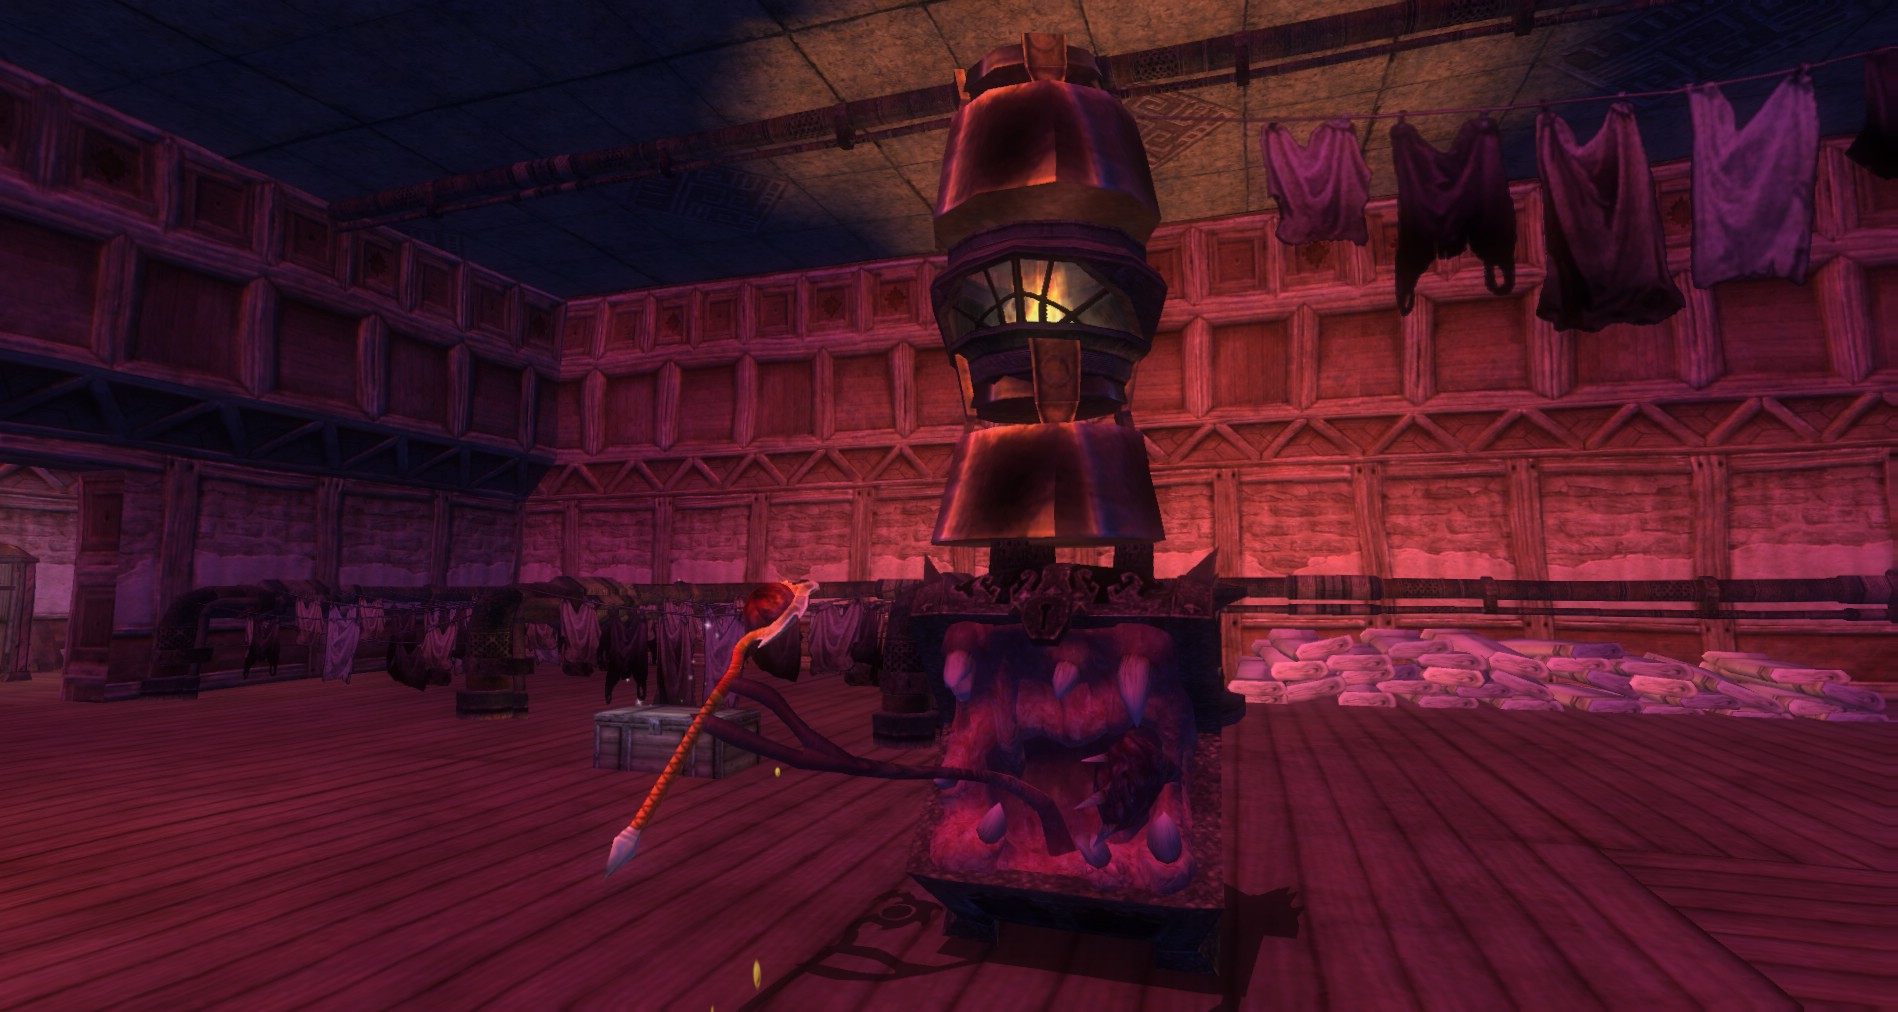
There is chest next to where Chester was taken. This one is real so make sure to loot it!
 In the corner of the Laundry room is a small room with two beds in it and a shrine. Save the shrine for when you need it, collecting the bookshelves and the beds.
Buff up and head back toward the library. Keep an eye out for spawns along the way. They will also keep respawning until the airship is assembled.
Furniture Collection
Now you need to head back into the Sleepy Spell Inn and convince the furniture of the inn to help you. First head all the way back to the library.
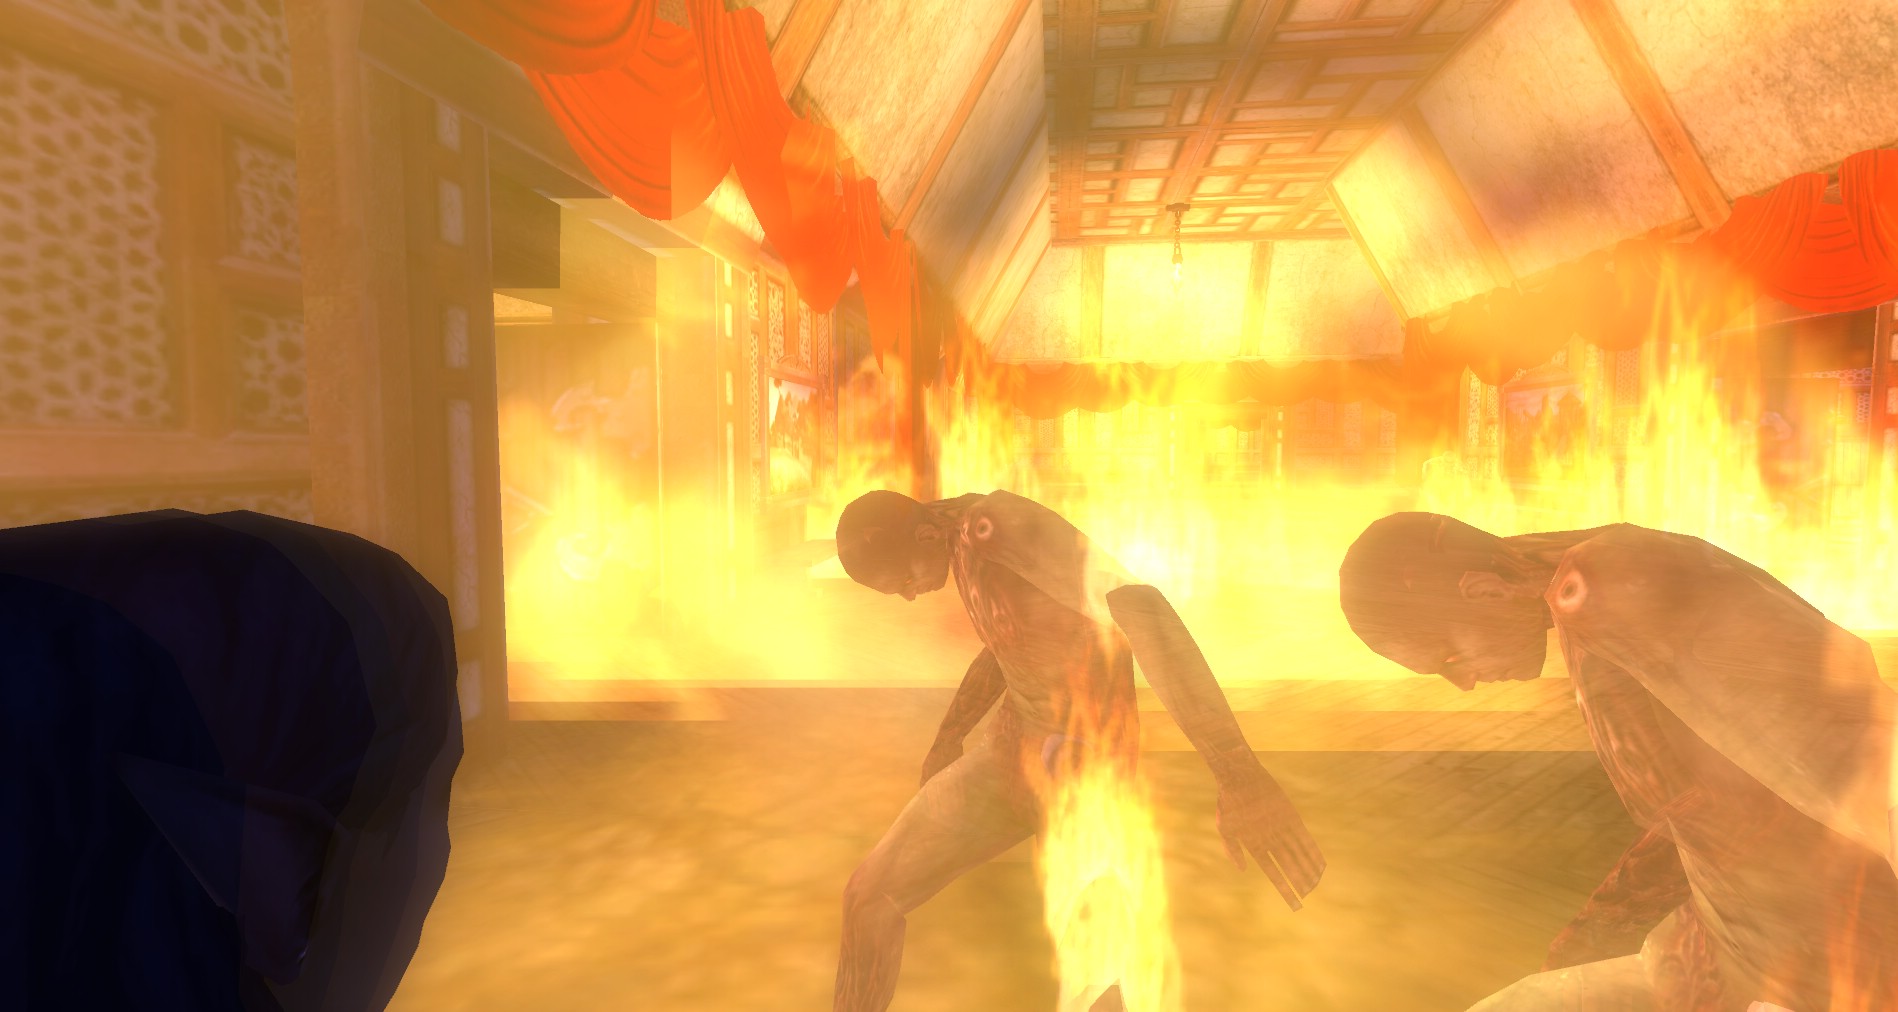
 The furniture is a bit fragile and the creatures of Xoriat are awfully grumpy about cute Fantasia furniture floating and dancing about, so they are eager to destroy it. Hirelings and summoned pets work great to agro onto the respawns that try to take out the furniture. AE spells also work great as well to keep the would-be furniture wreckers at bay. Figure out the best method that works for your group and go with it. Bottom line is, stay with the furniture, keep their path clear, and jump on any monster that even thinks about smashing them. Should a piece get destroyed, it will respawn in its original location so you can try again.
Bookshelves
 Your first order of business should be to grab the bookcases in the library. Head to the west side and pull all those bookshelves off the wall. Start with the furthest one to the north first, working your way down. You will need one extra but if you use this method they will stay nice and close together so they are easier to protect.
Behind one of the bookshelves in the library you will notice a secret room when the bookshelf moves away with a chest of flesh inside. It seems to be randomly placed on one of the outer walls of the library. Keep beckoning bookshelves until you find it. You can only beckon the ones you still need to so let the mobs destroy them until you find the secret room. Loot this optional chest immediately in case this bookcase is killed and covers the hole. Once the airship is built, all the furniture will return as well so do not leave this chest unlooted.
With any luck you can get the six bookshelves you need in a nice tight group. Keep them well protected because they are slow and this is the farthest place from the laundry room. It will really slow down the quest if you have to come back and get more bookshelves.
Beds
 If you want to try to summon beds along the path while the bookshelves are going getting close, feel free to do so. Just be careful to not get distracted and let them die which is really easy to do.
When you are collecting the beds, make sure to keep an eye out under the beds. One random bed will have a Lost Silver Key under it. This key opens another optional chest. This optional chest is under the stairs to the bar. Grab the beds from the hall and the one in the first room. Defend them until you get to the laundry room. There are two more beds near the shrine off the laundry room you can use if some of your other beds get destroyed. As with the bookshelves, let the beds get smashed until you find the key for this optional chest.
The lost chest under the stairs drops the named item, Lenses of Opportunity.
When all of the pieces for the airship are in place, all of the beds and book shelves will be back in place as well. This cuts off your access to the Chest of Flesh. Make sure to loot it before this happens.
Air Ship Ride
 Once the airship is assembled, shrine up and buff up. Head around to the office area and you will find the long ladder leading up to your new bizarre airship.
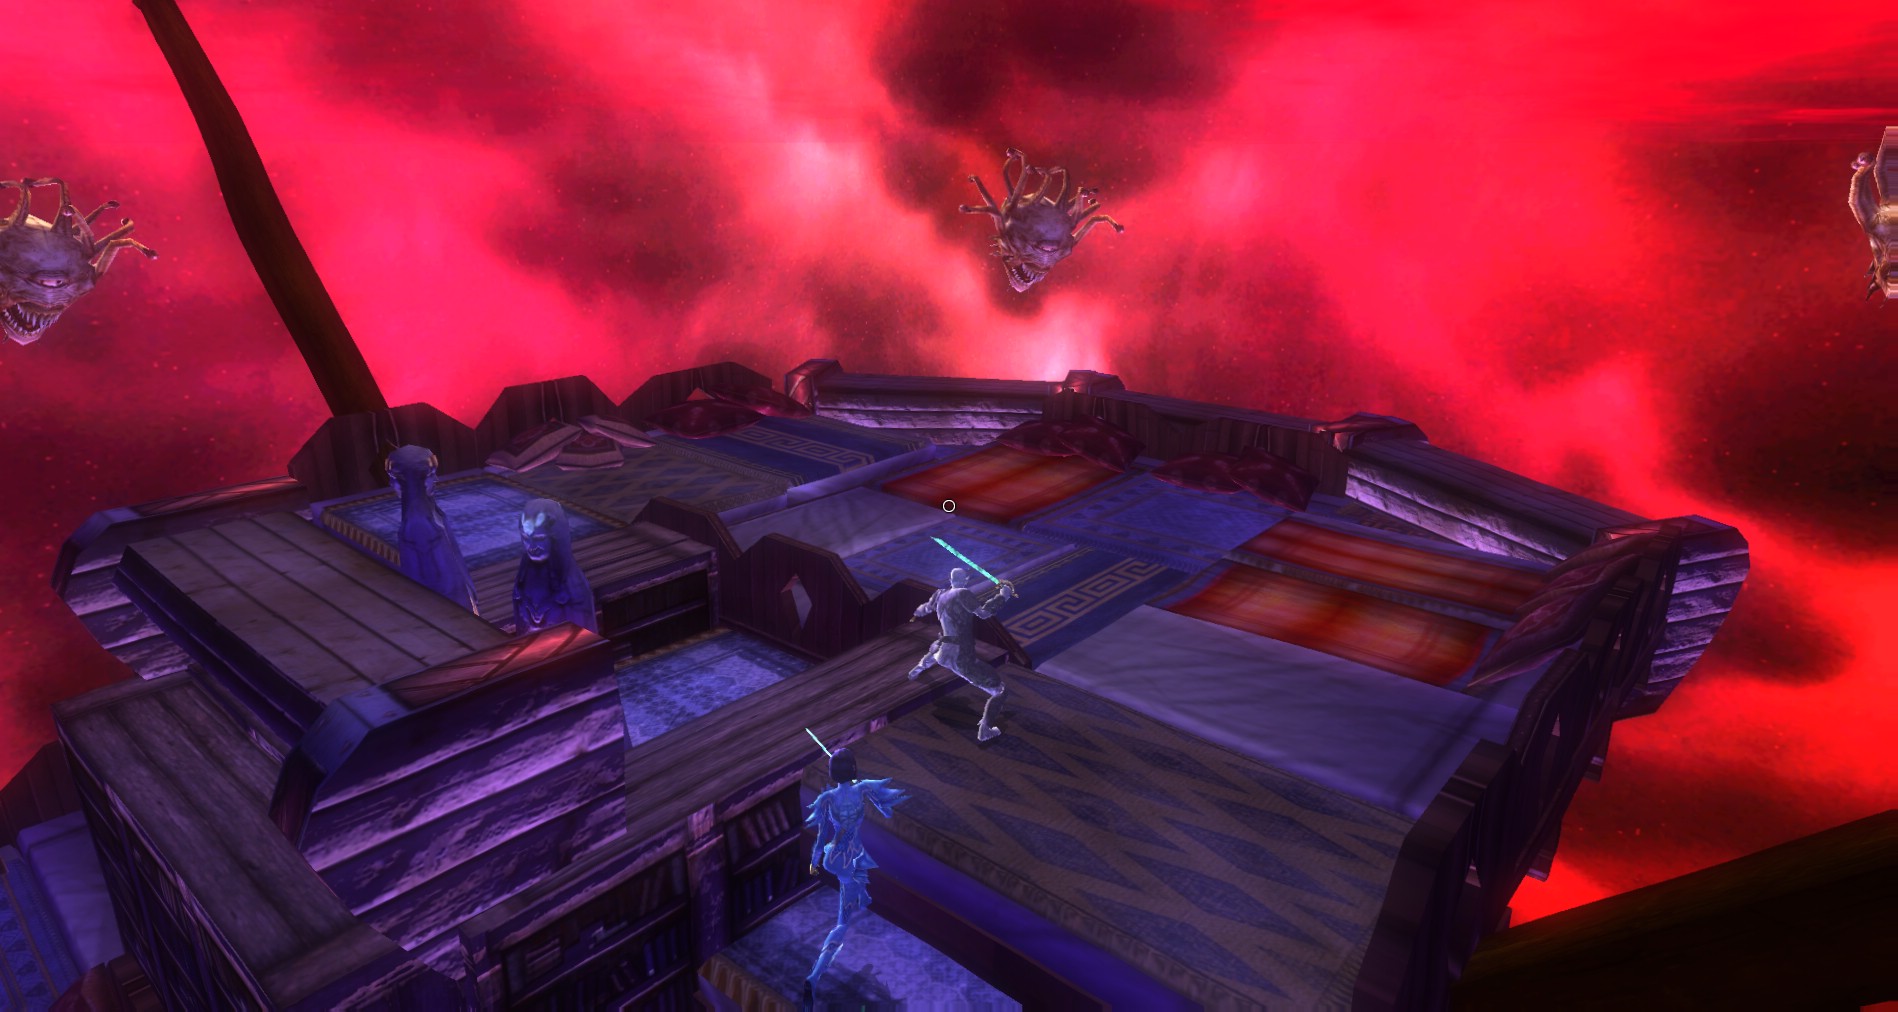
Climb up and then jump down on the top of the exposed walls. On the west side you will see a small room with water in it and an extra chest. Make sure that the whole party is not on the airship at once or it will take off. Take turns climbing up.
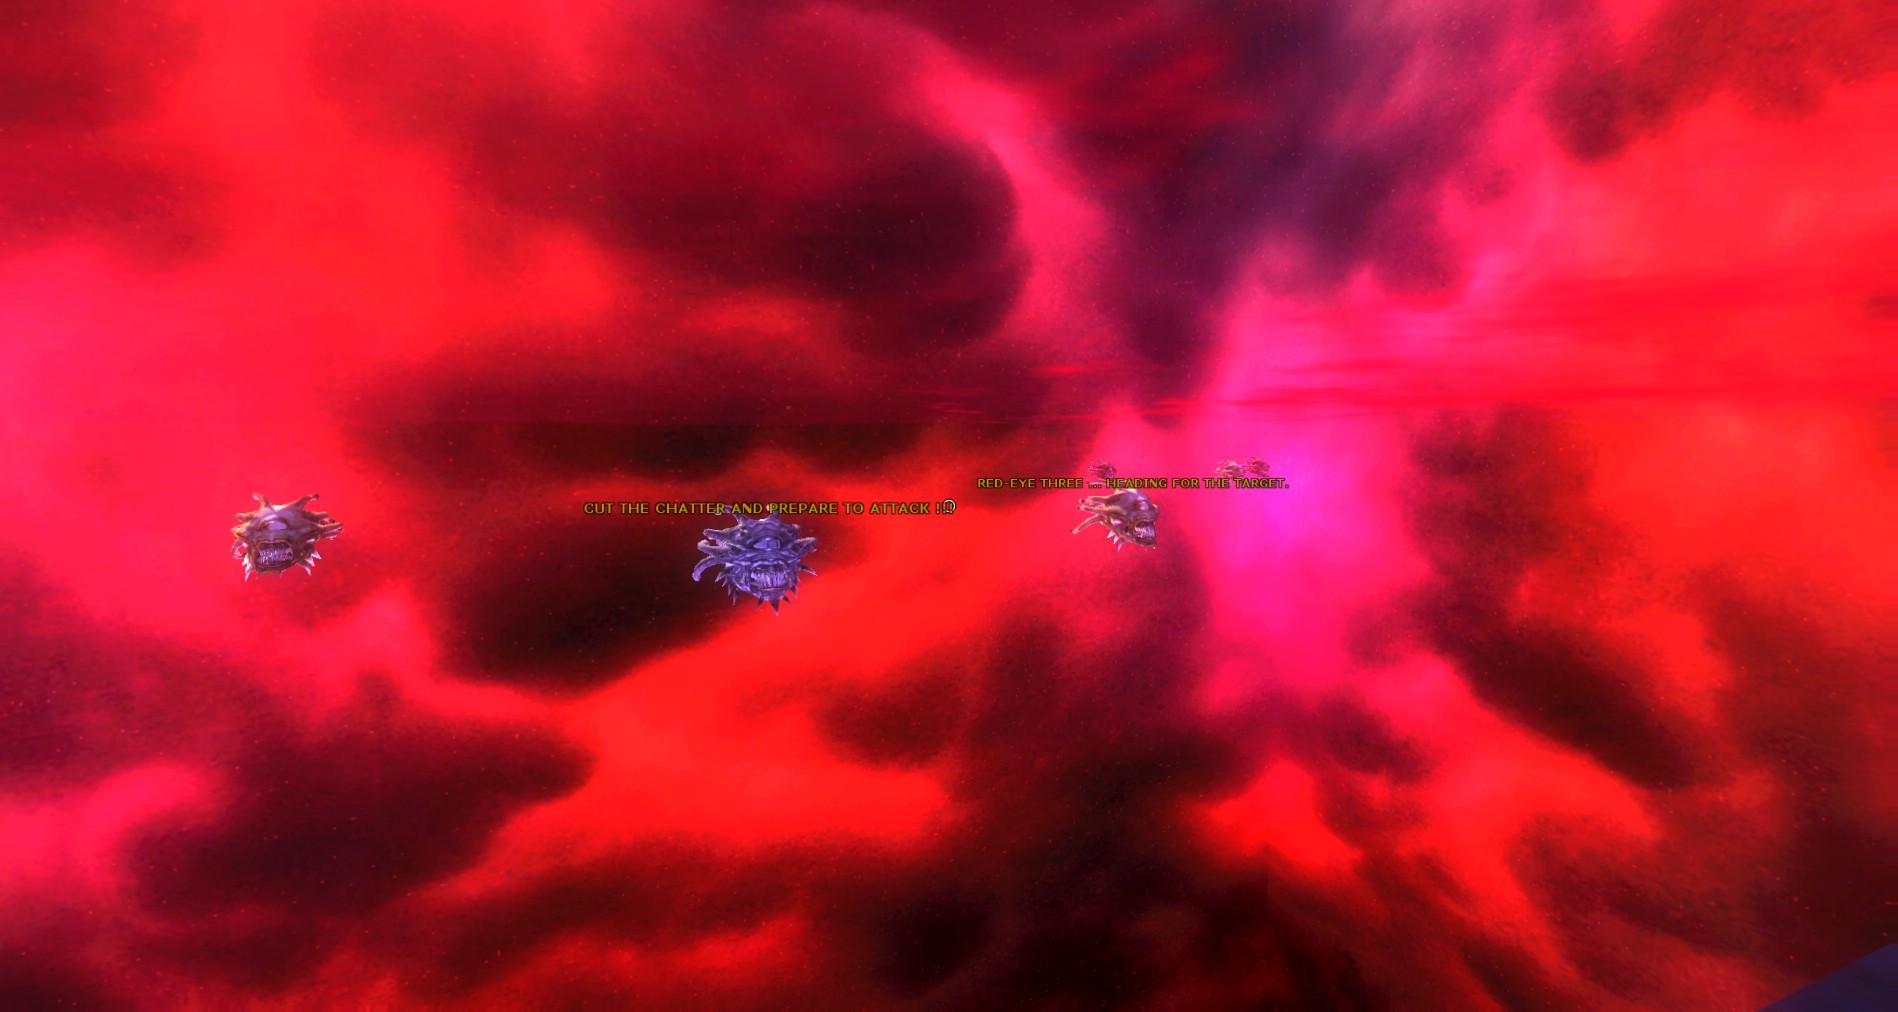
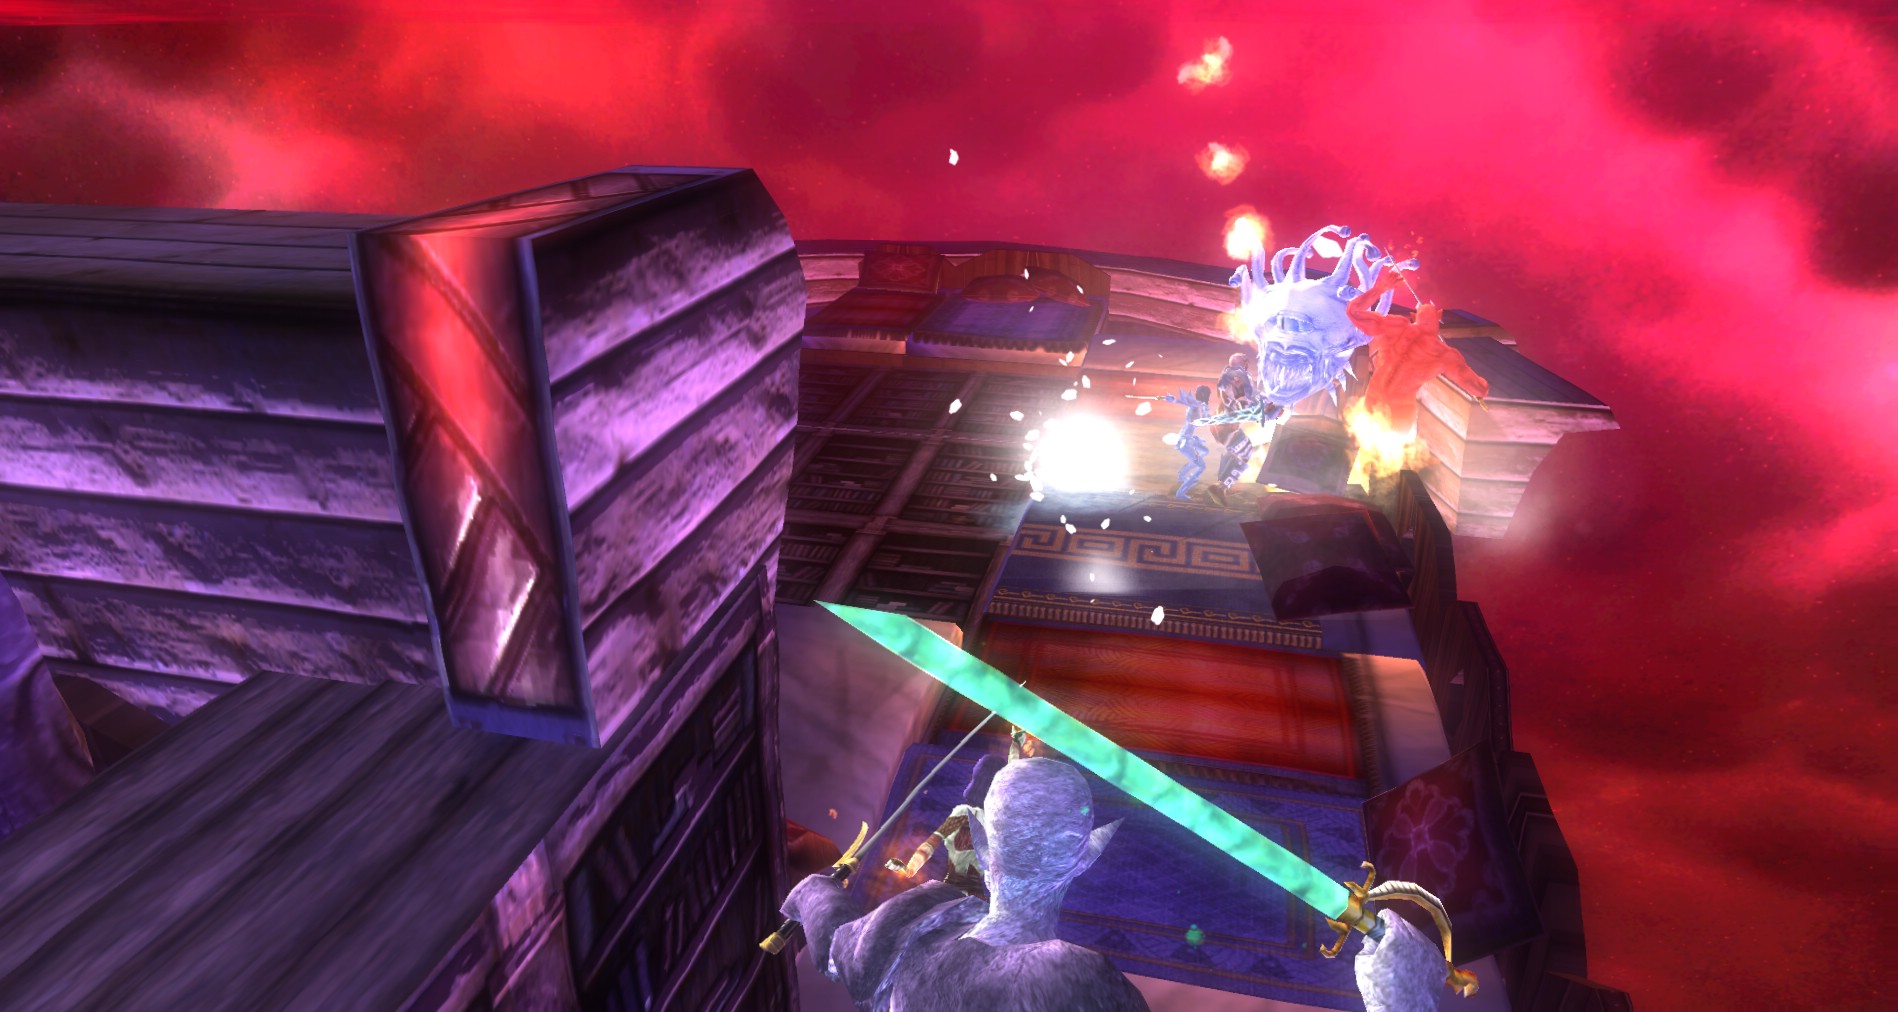
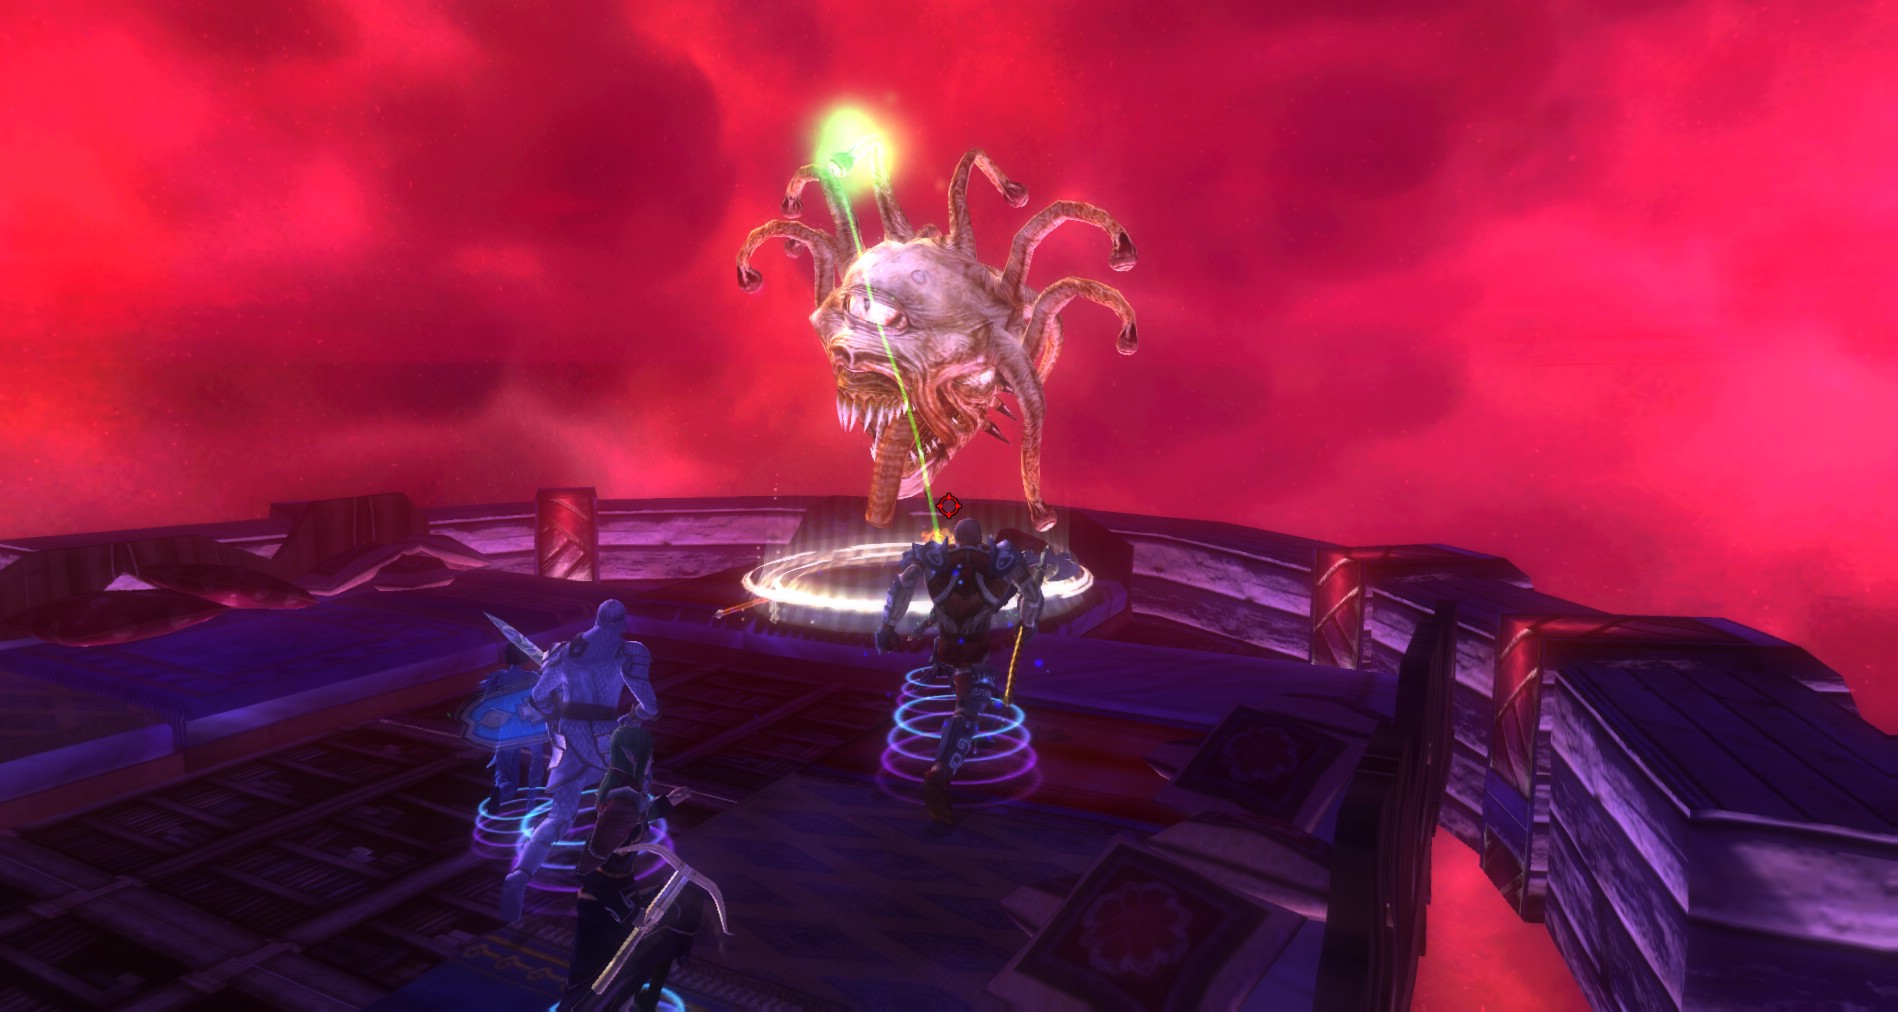
Pull out your ranged weapons and spells. The airship will kick into gear, but you will not outrun the beholders for long. Soon a flight of beholders is in hot pursuit of your airship. You’re on the dilapidated Deathstar and the Beholders are coming in to take care of the scum! Pull out all the stops using ranged weapons to keep the beholders from ever making it to the airship for the quest optional. Try not to get too distracted by the homage they pay to Star Wars.
Be very careful not to fall off your airship. It is a very, very long fall…
Into The Beholder
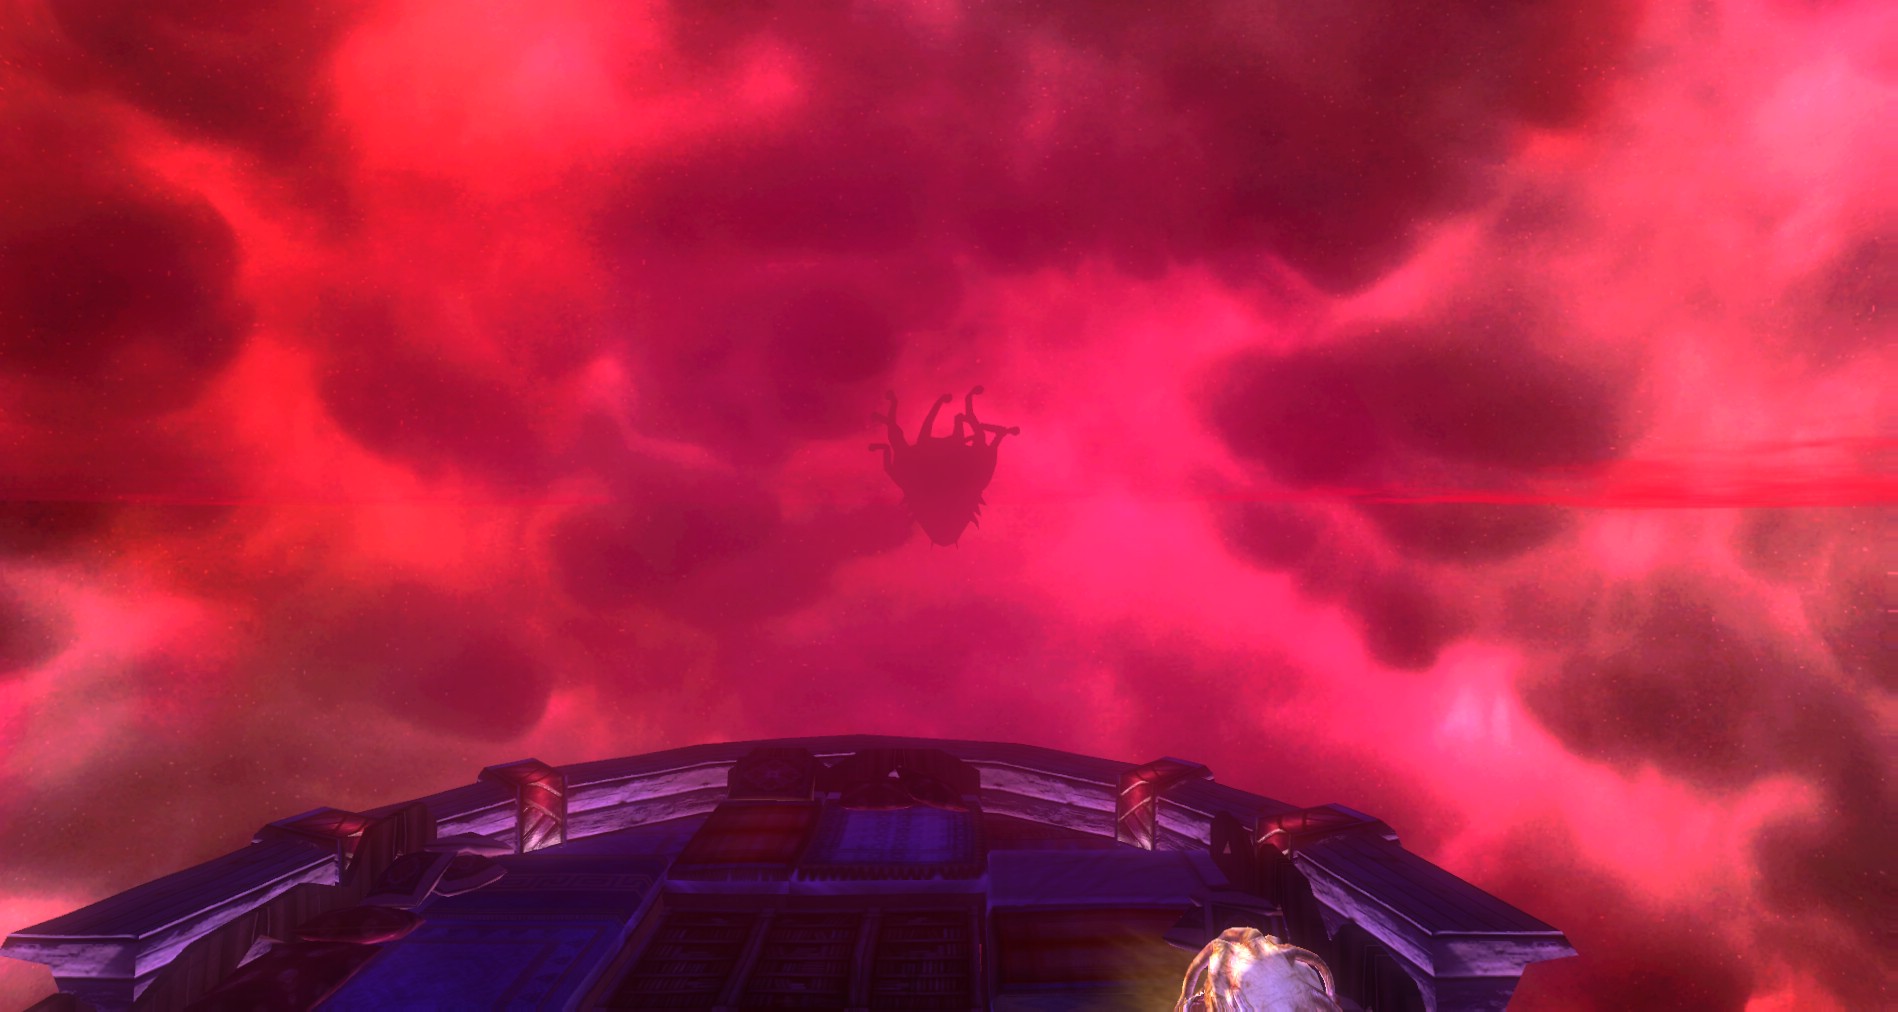
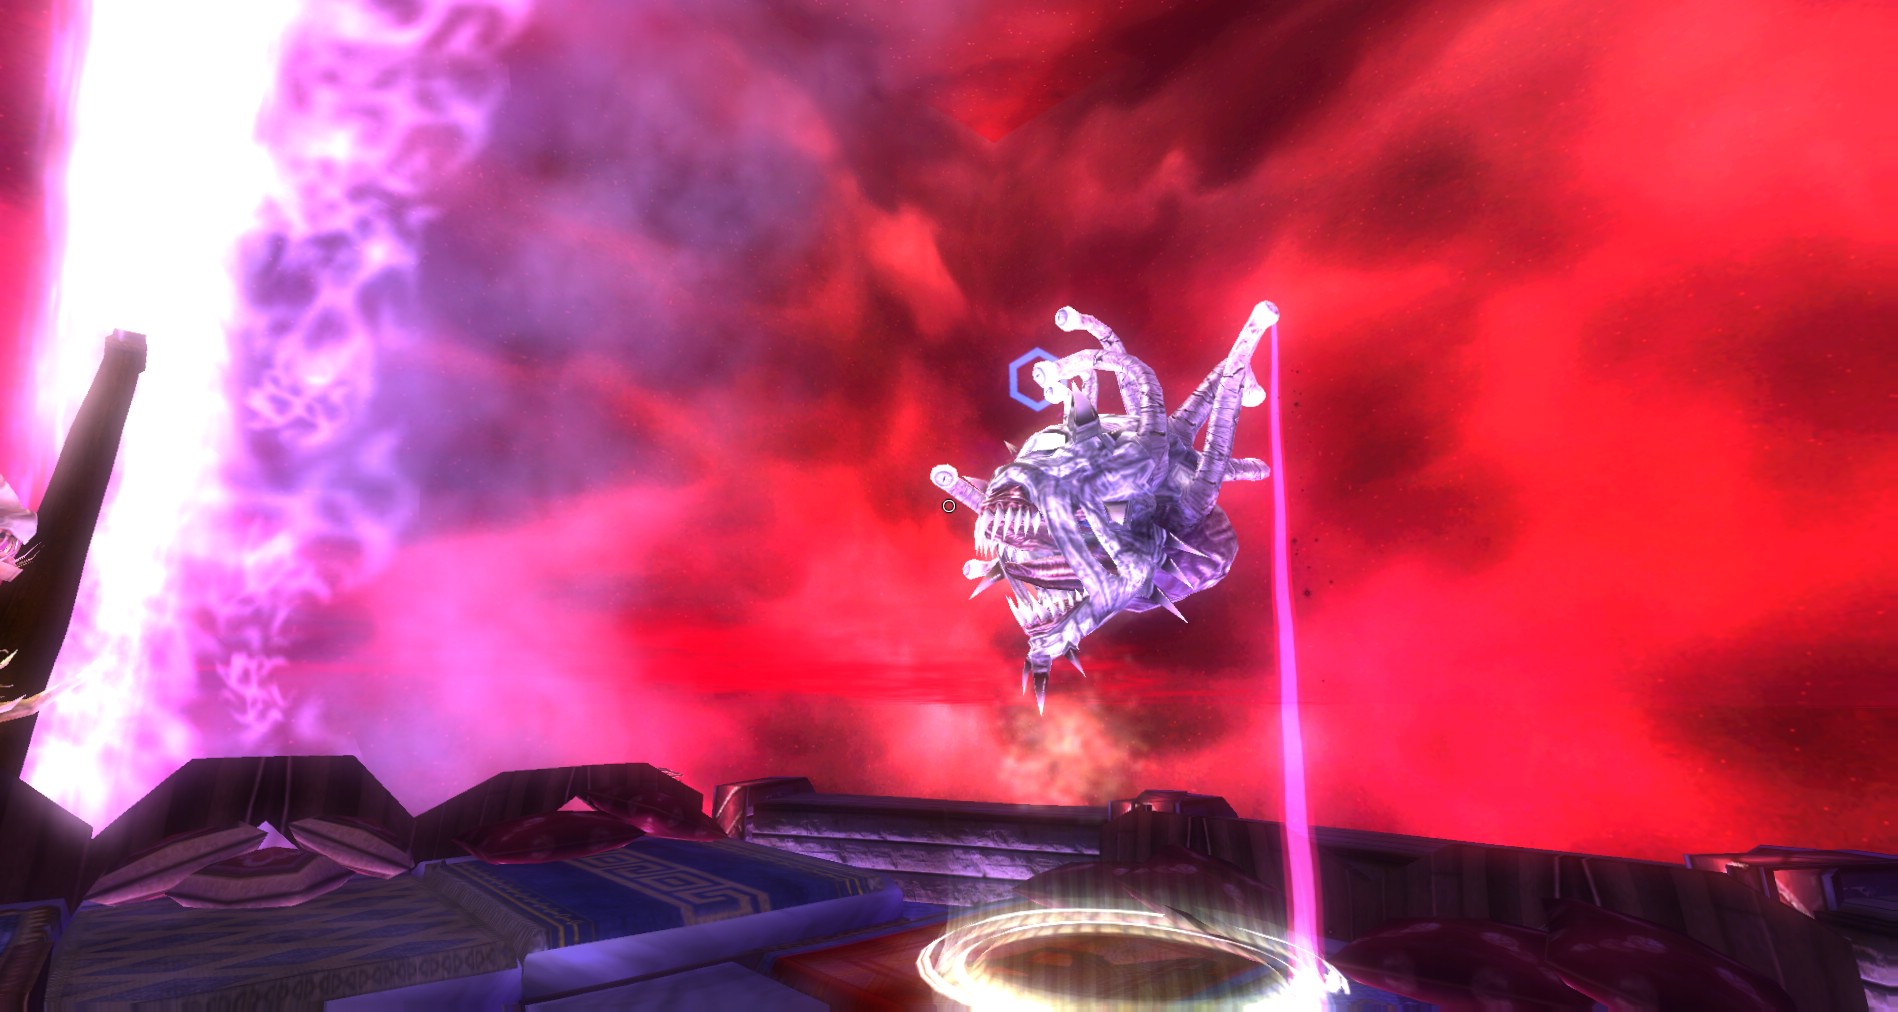
 Having taken care of the beholders, lick your wounds, shrine up and buff up. Soon you see a small planet through the thick fog… wait… that’s not a planet… that’s a beholder!
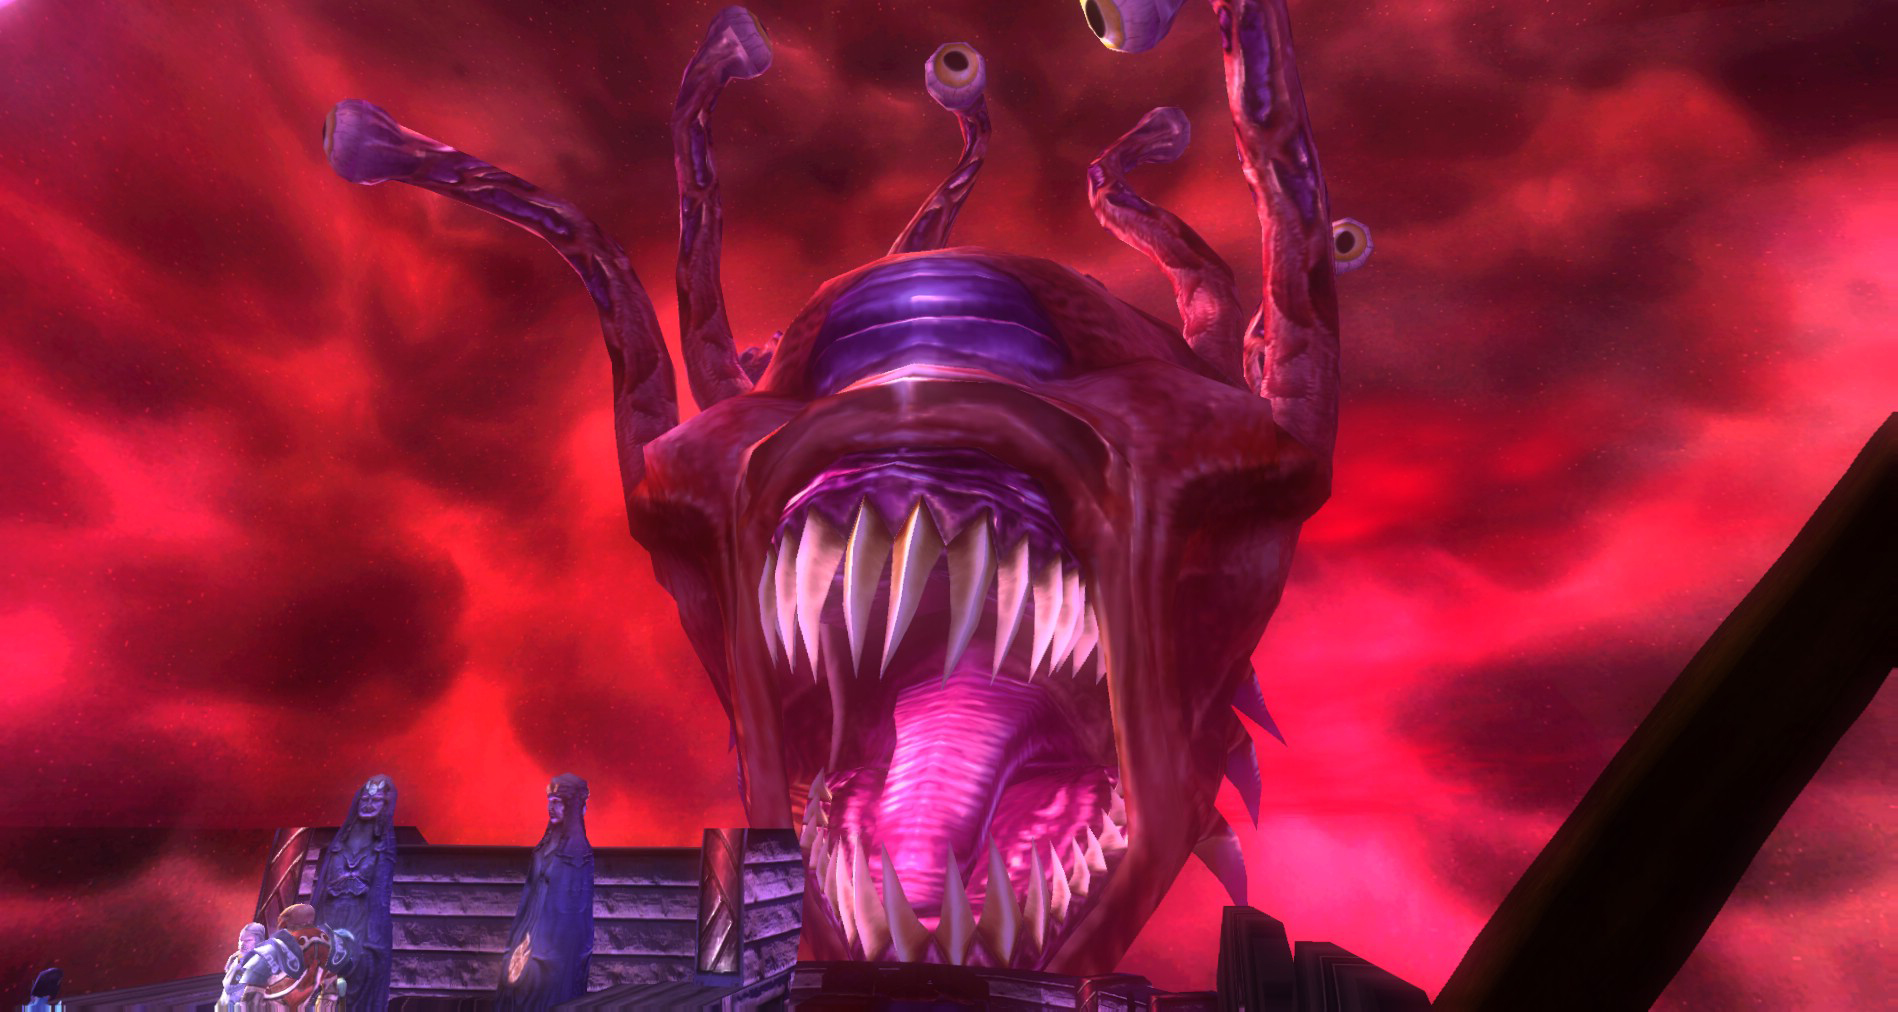
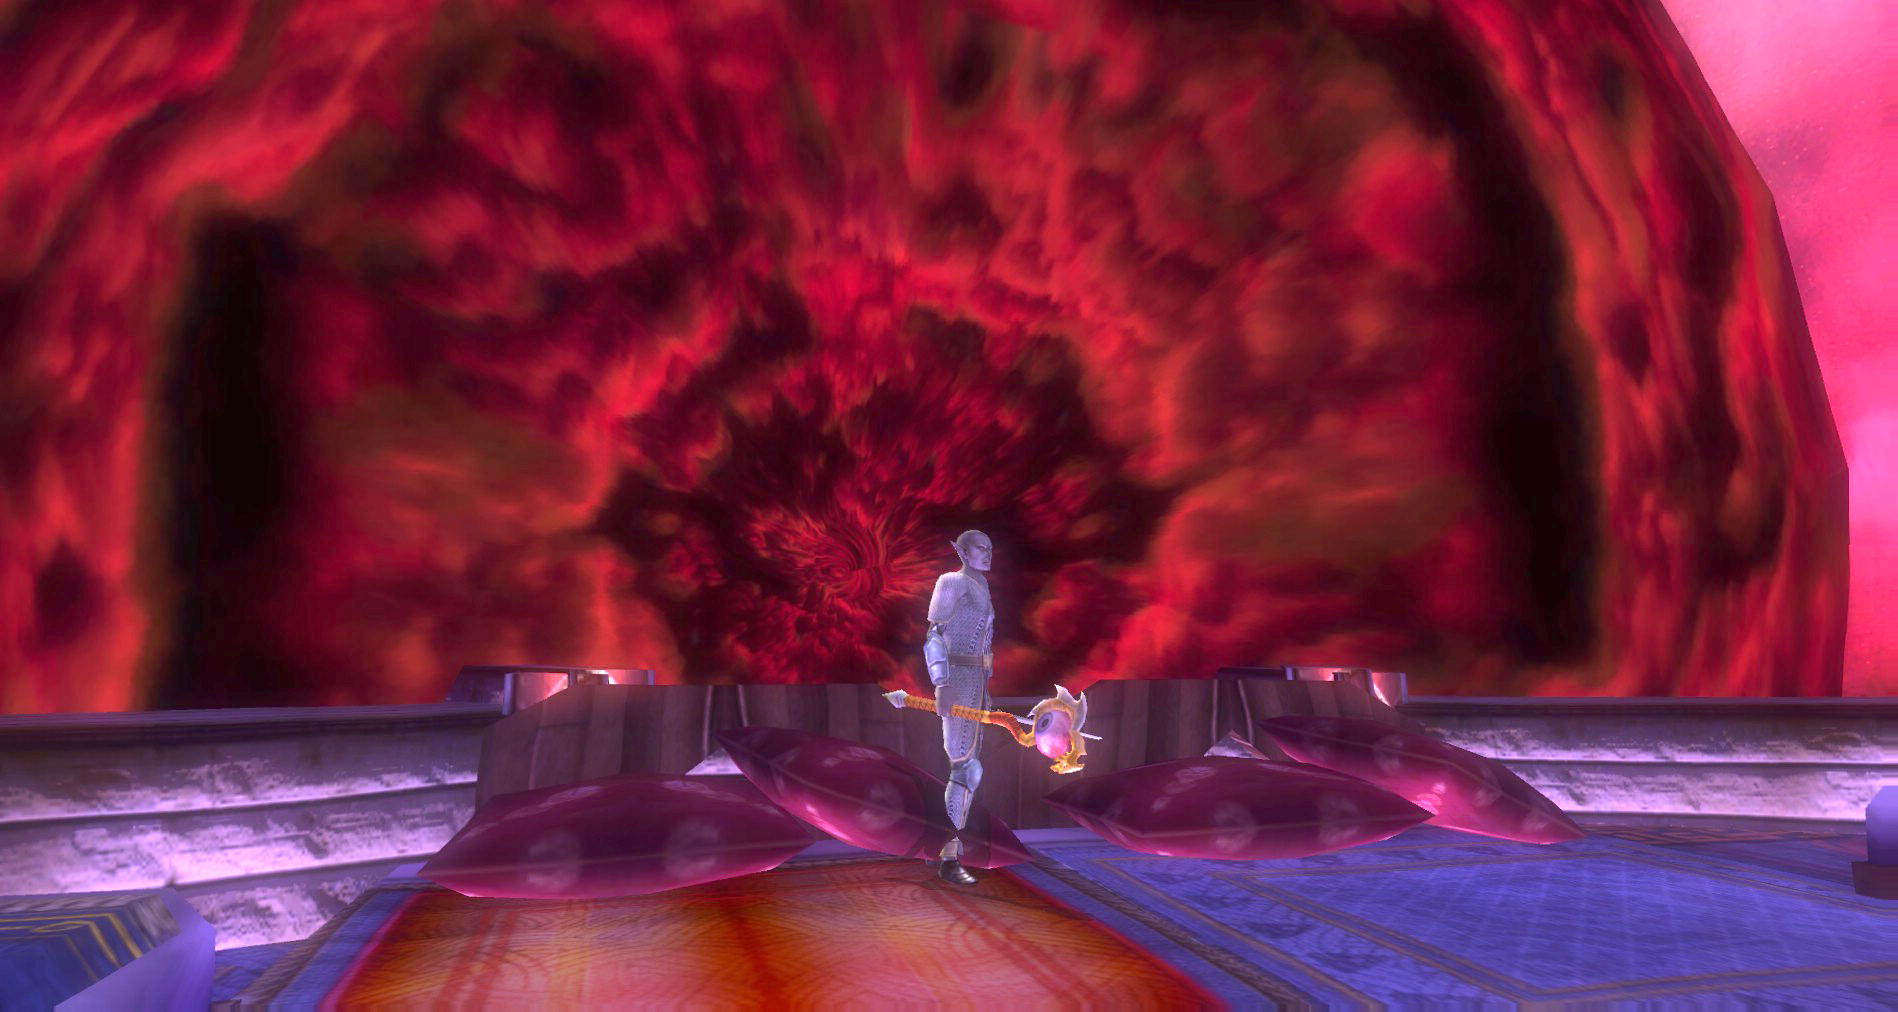
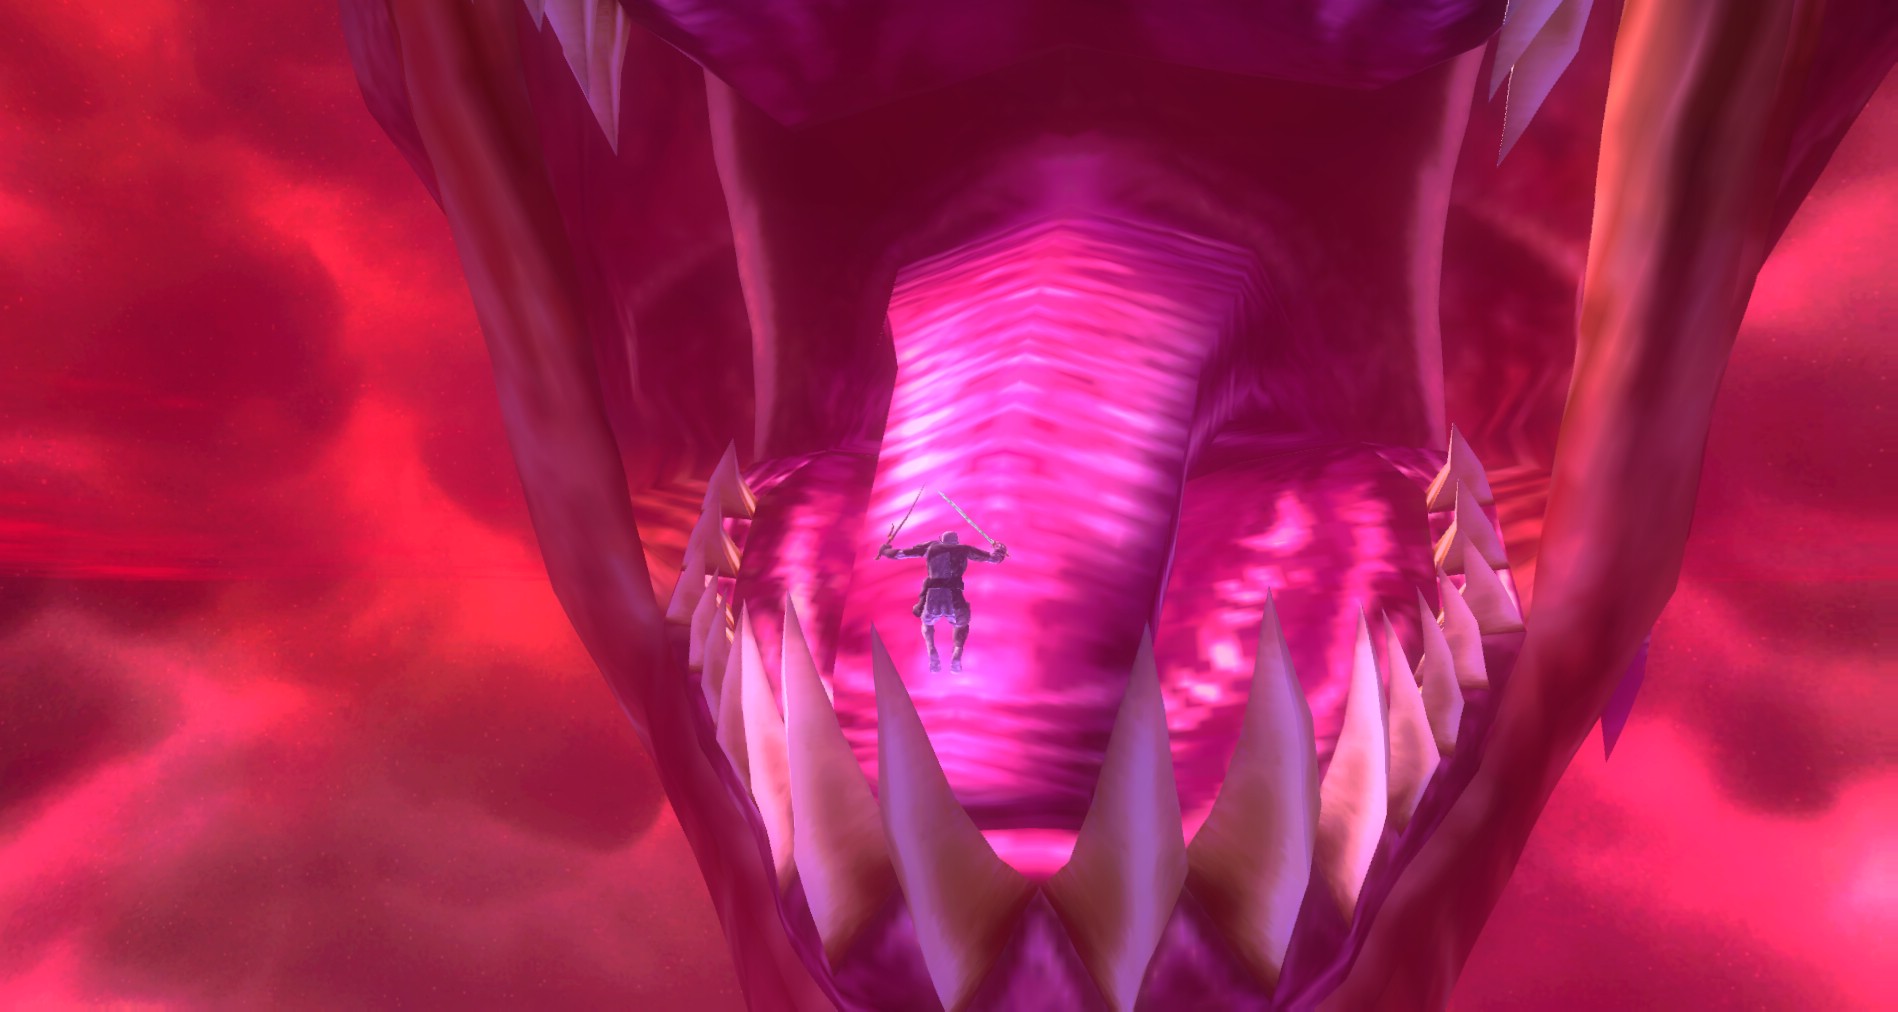
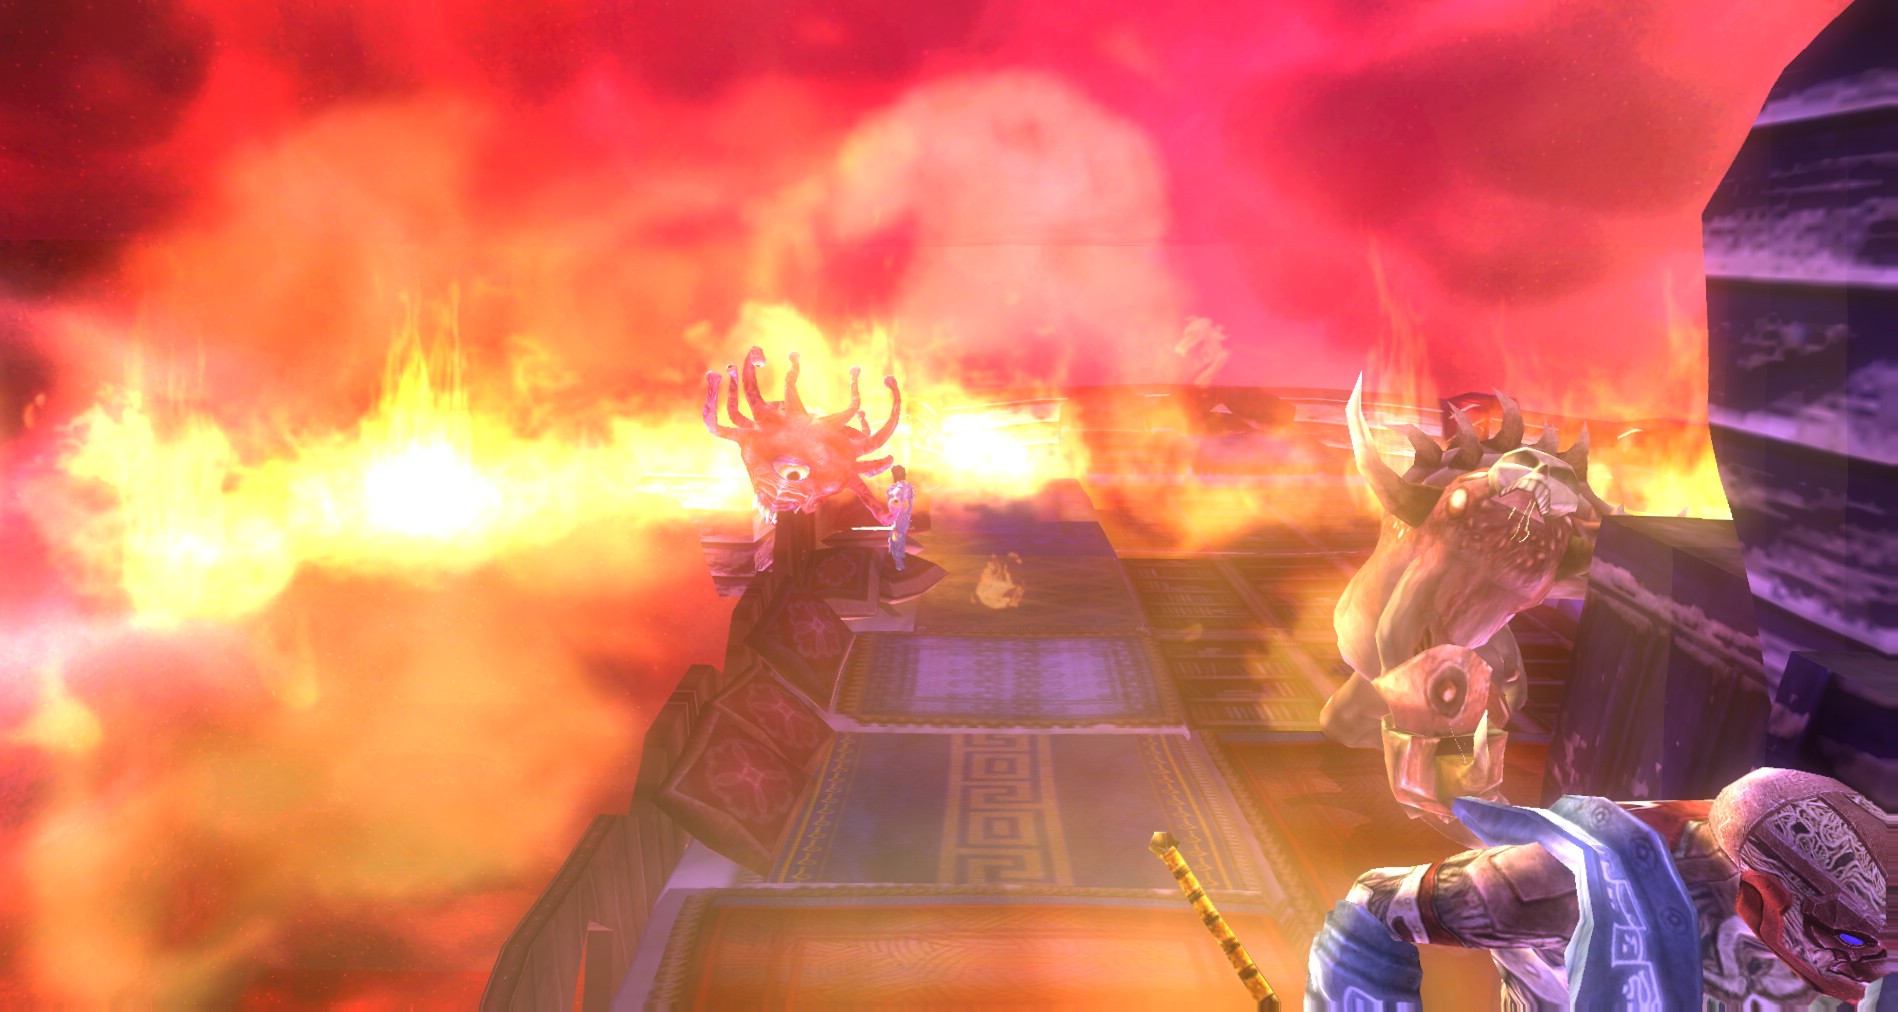
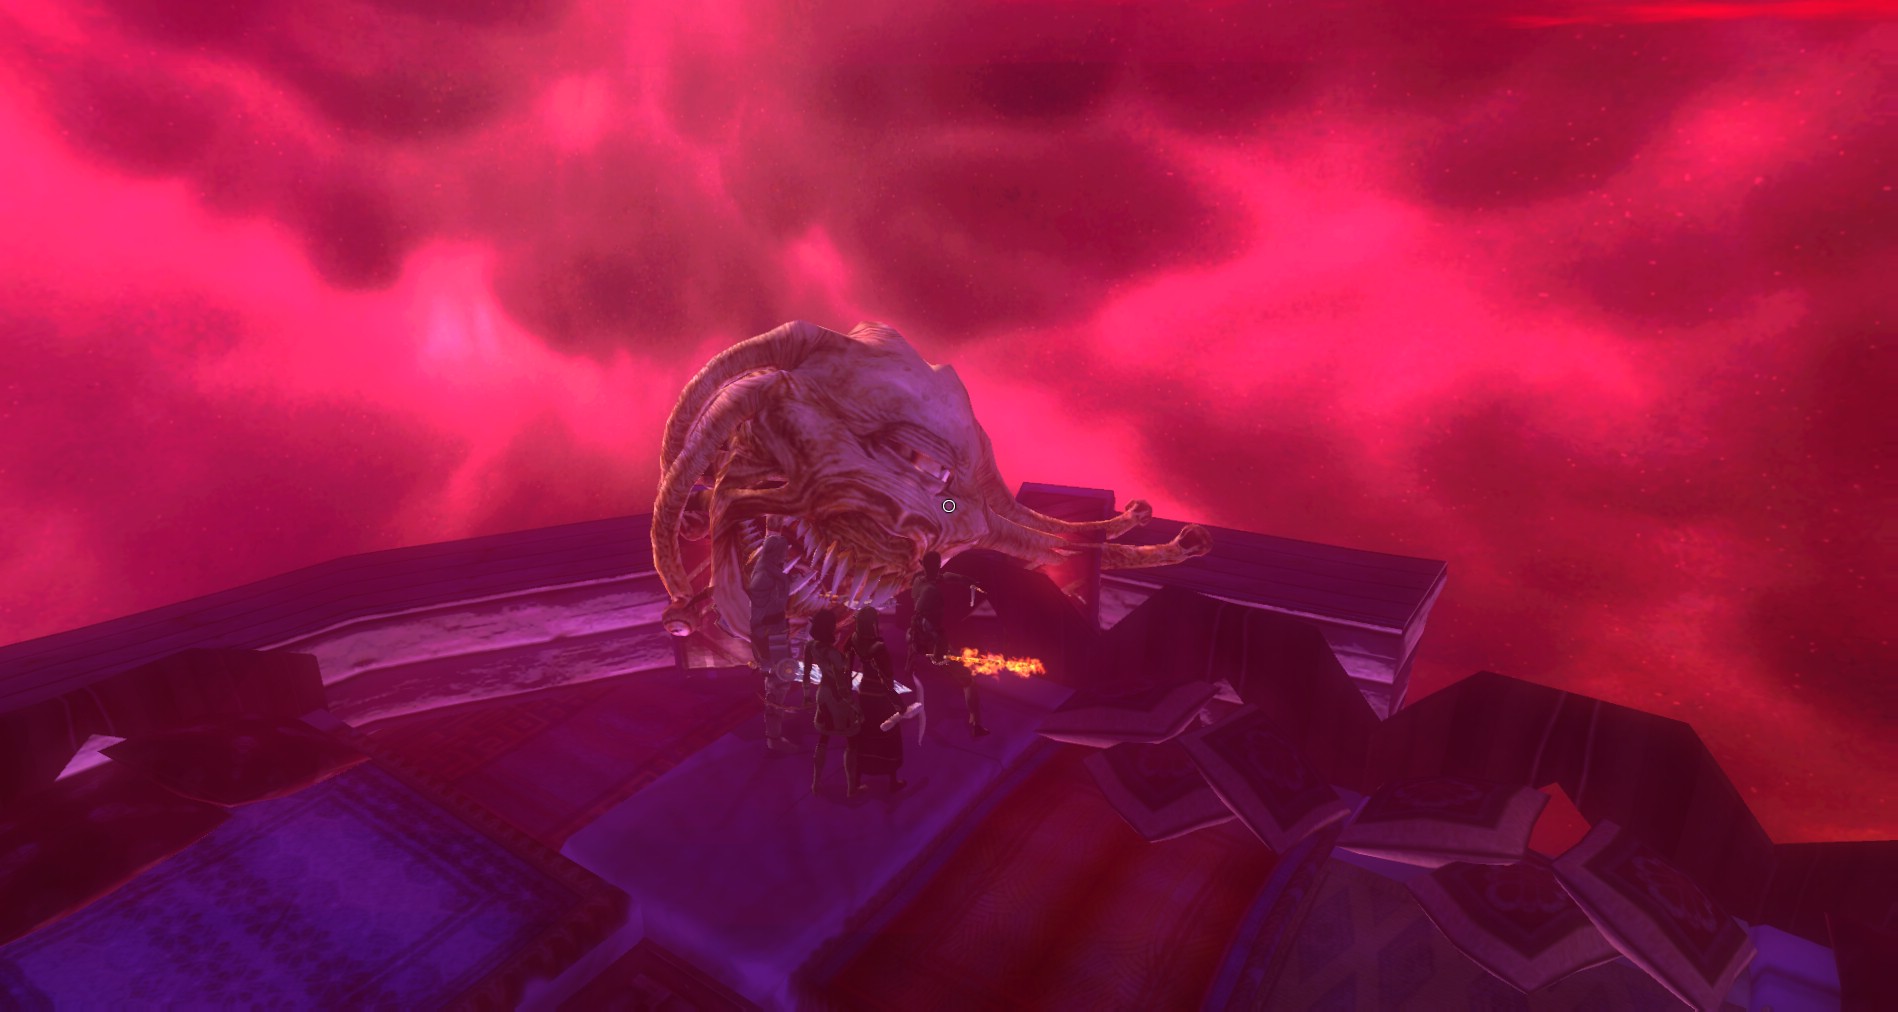
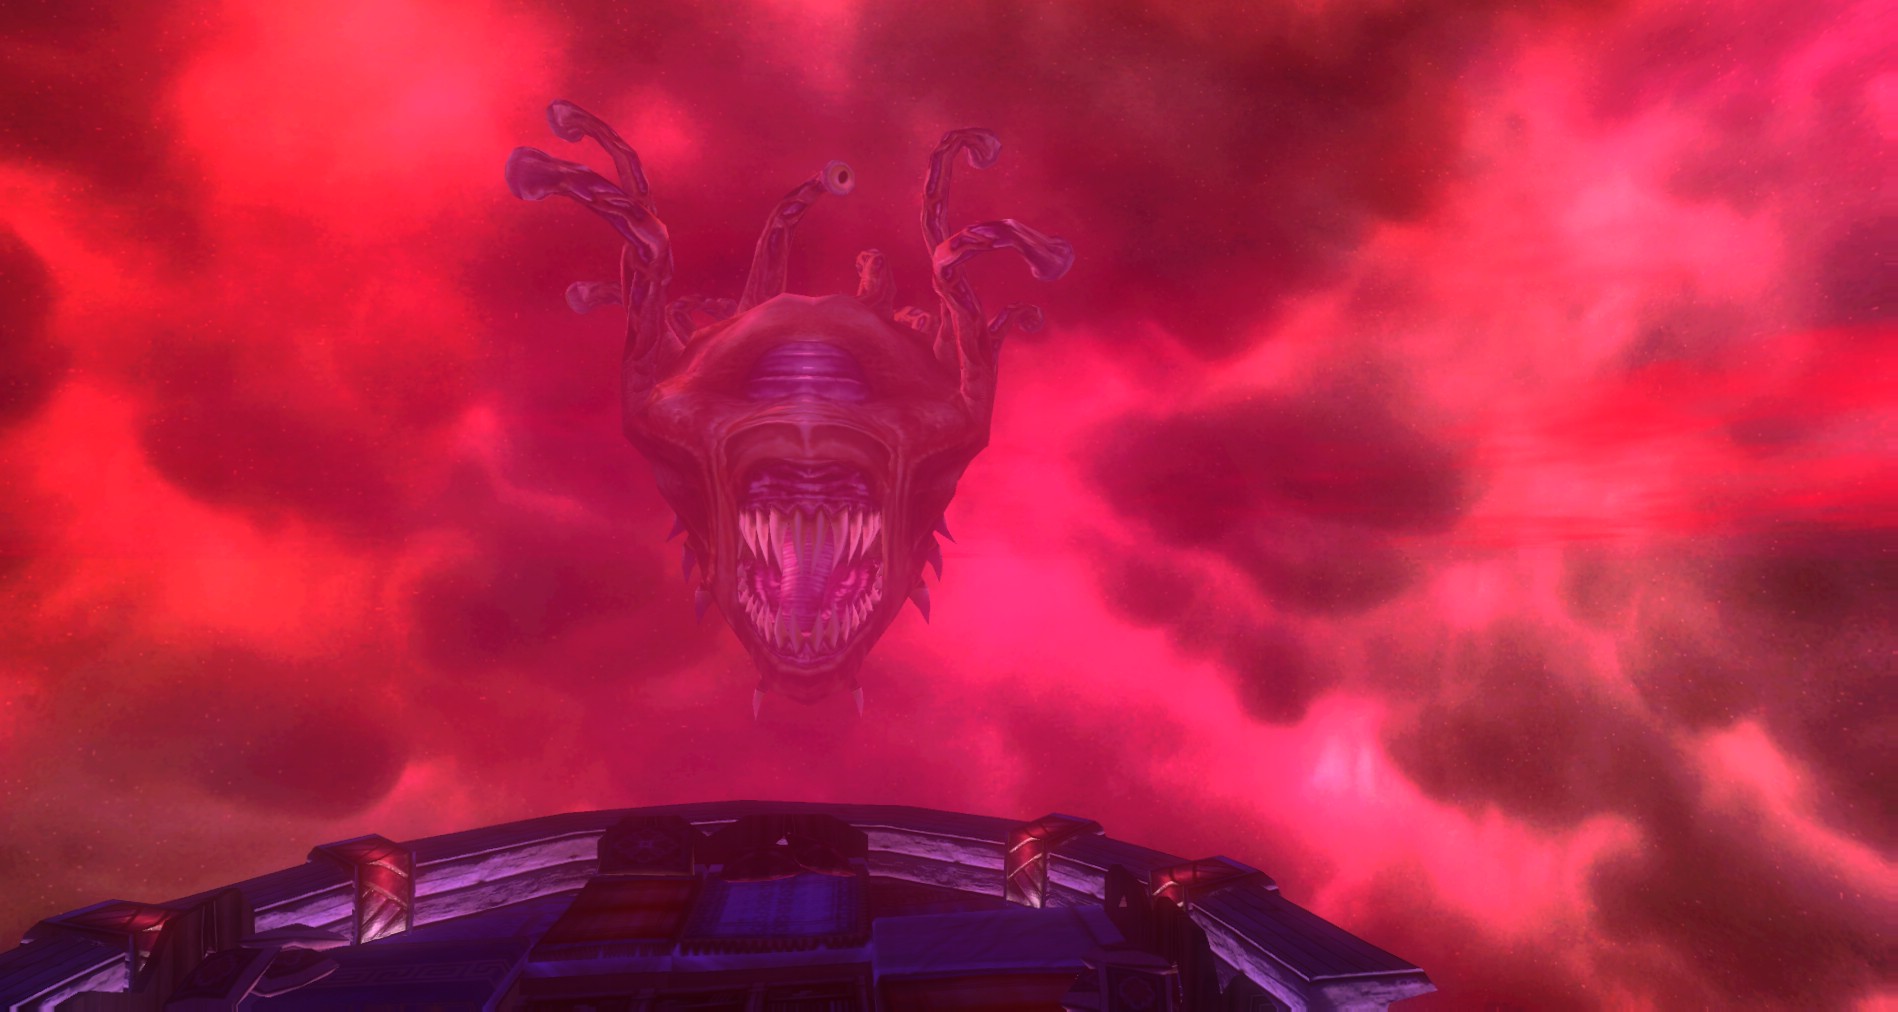
You slowly drift up to the truly gigantic beholder, Quixxellops, who is snoozing off some kind of epic binge which caused him to get even more massive than he was before. His wide open maw is just waiting for you, inviting you in. His massive tongue is like a bridge into the disgusting mess you are about to endure.
Once you have gathered your nerve go on across and head into the belly of the beast!
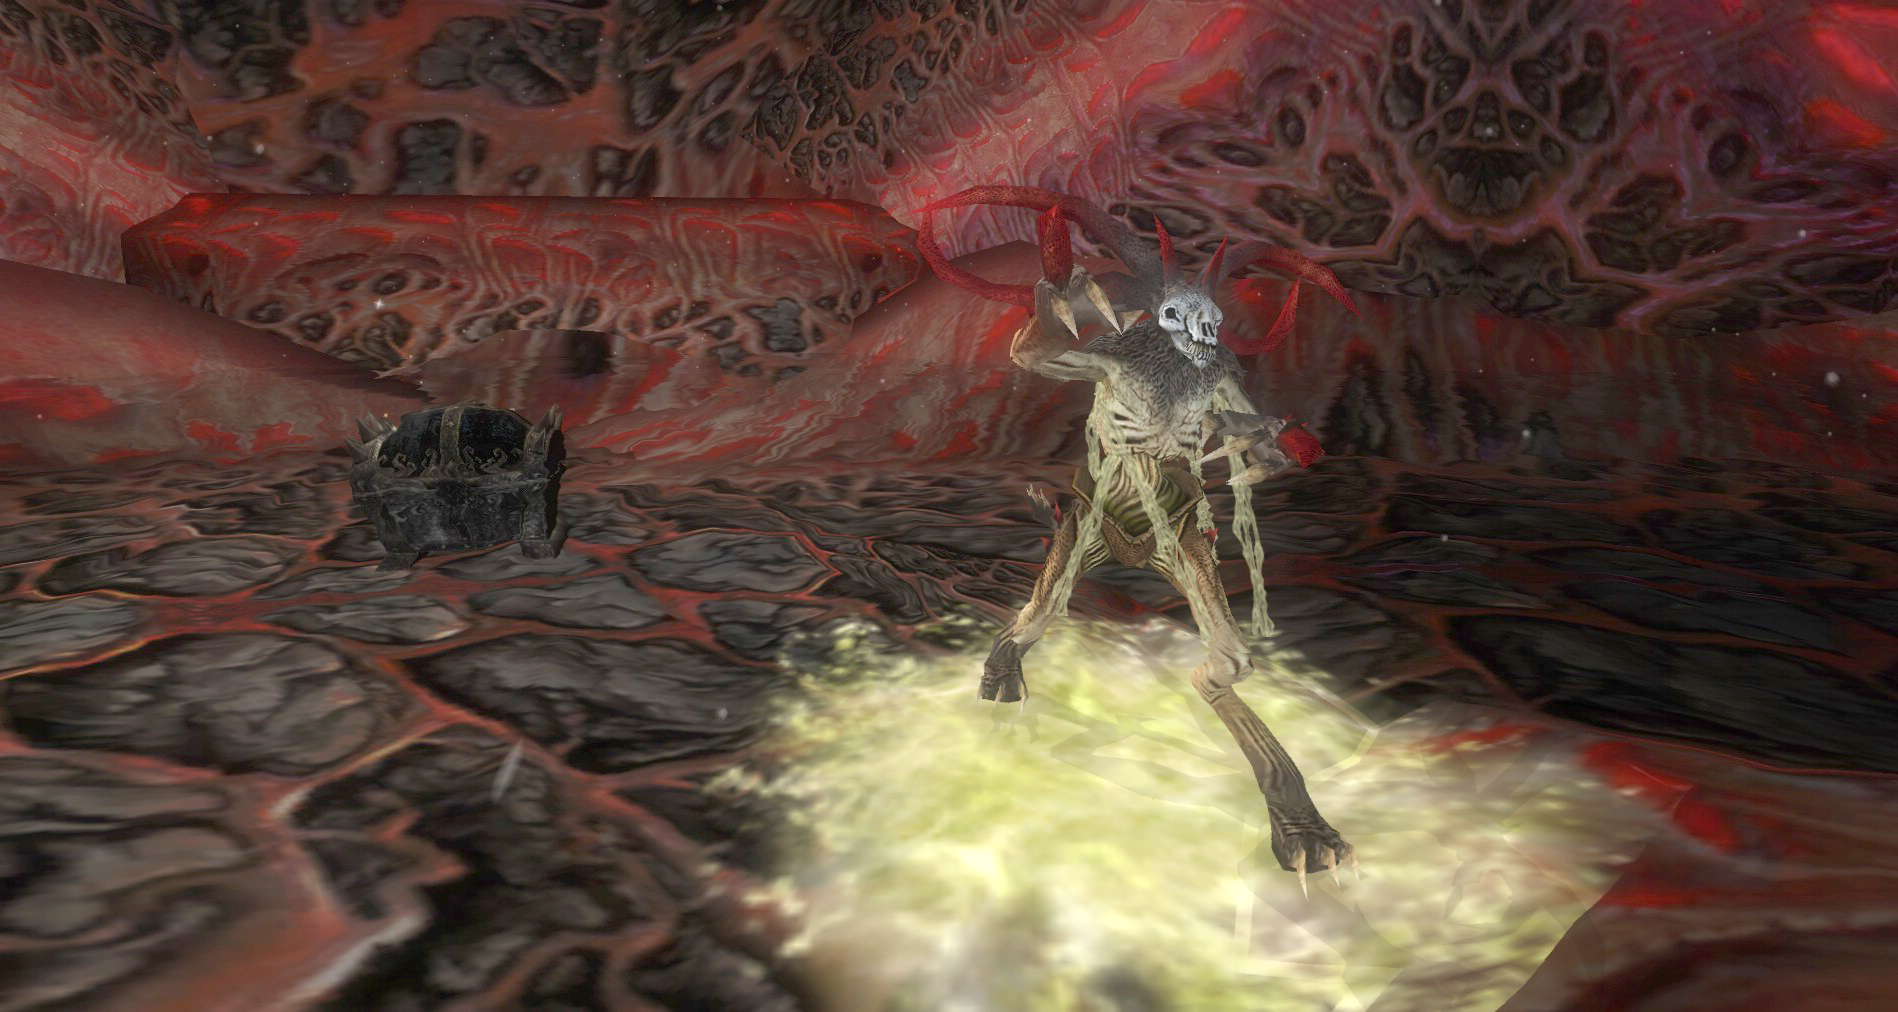
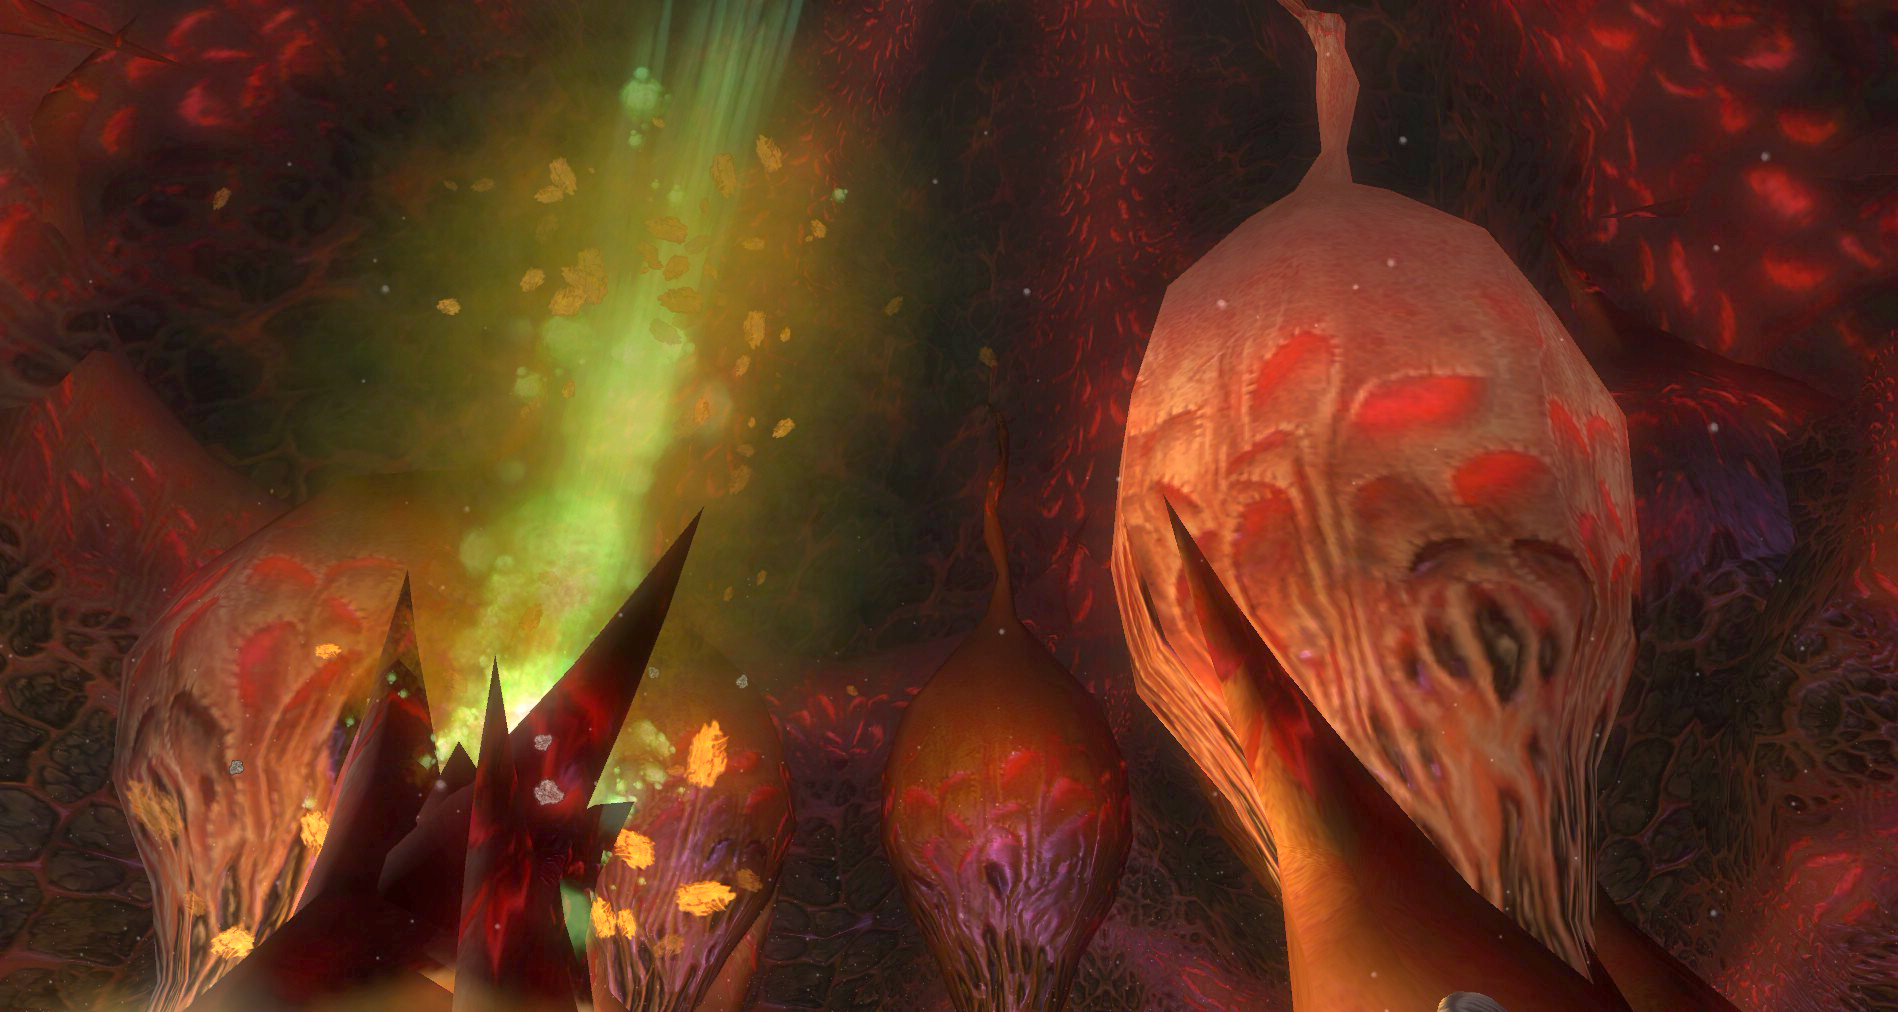
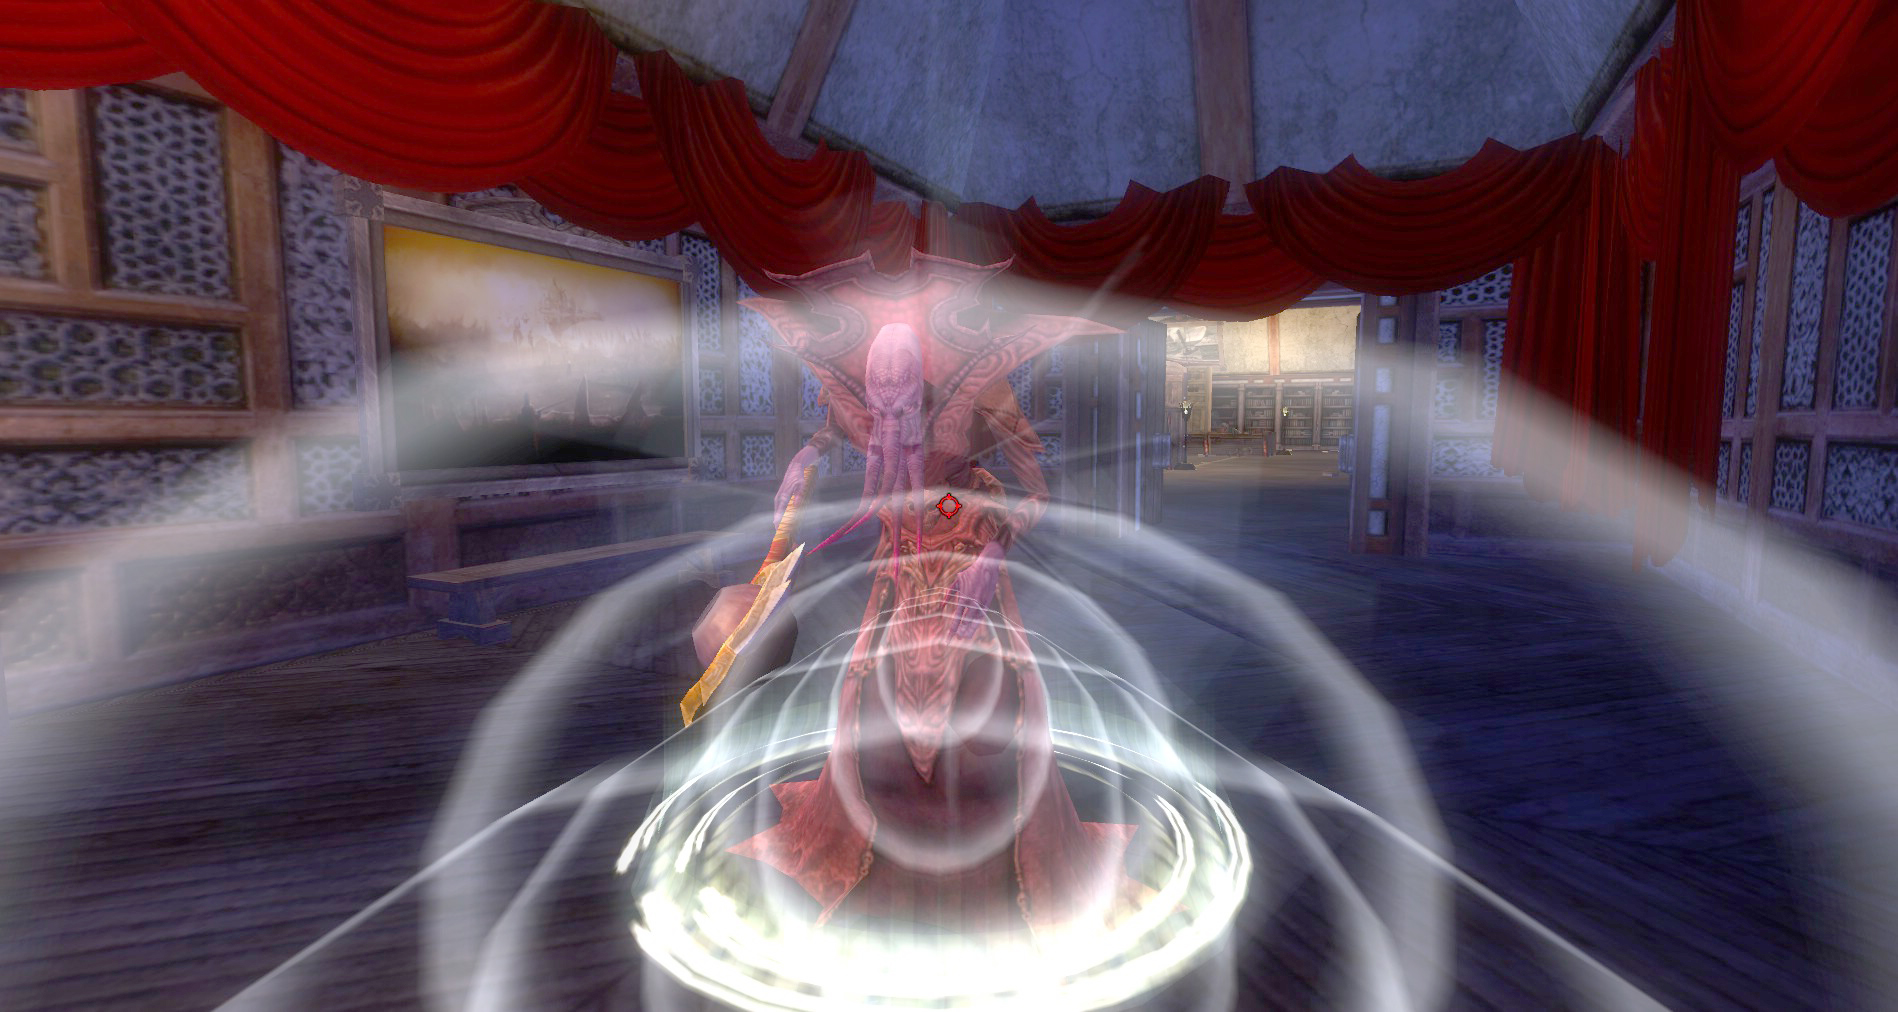
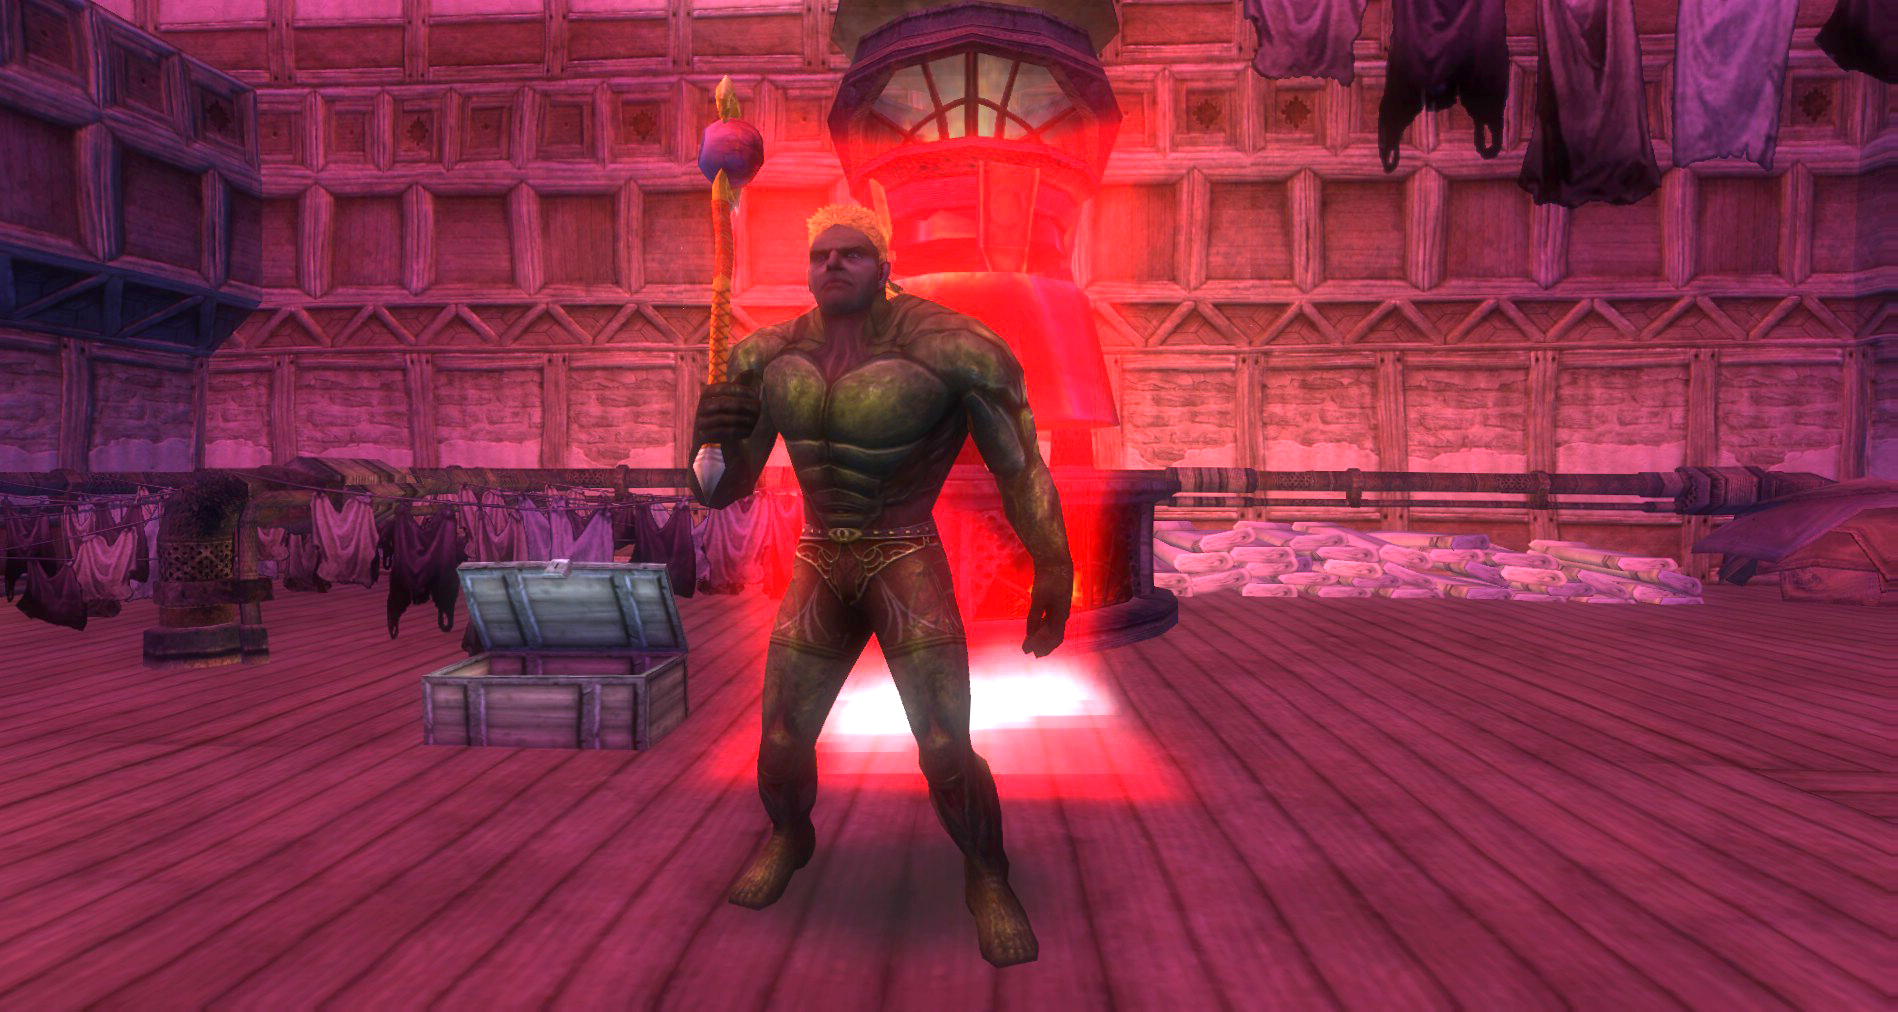
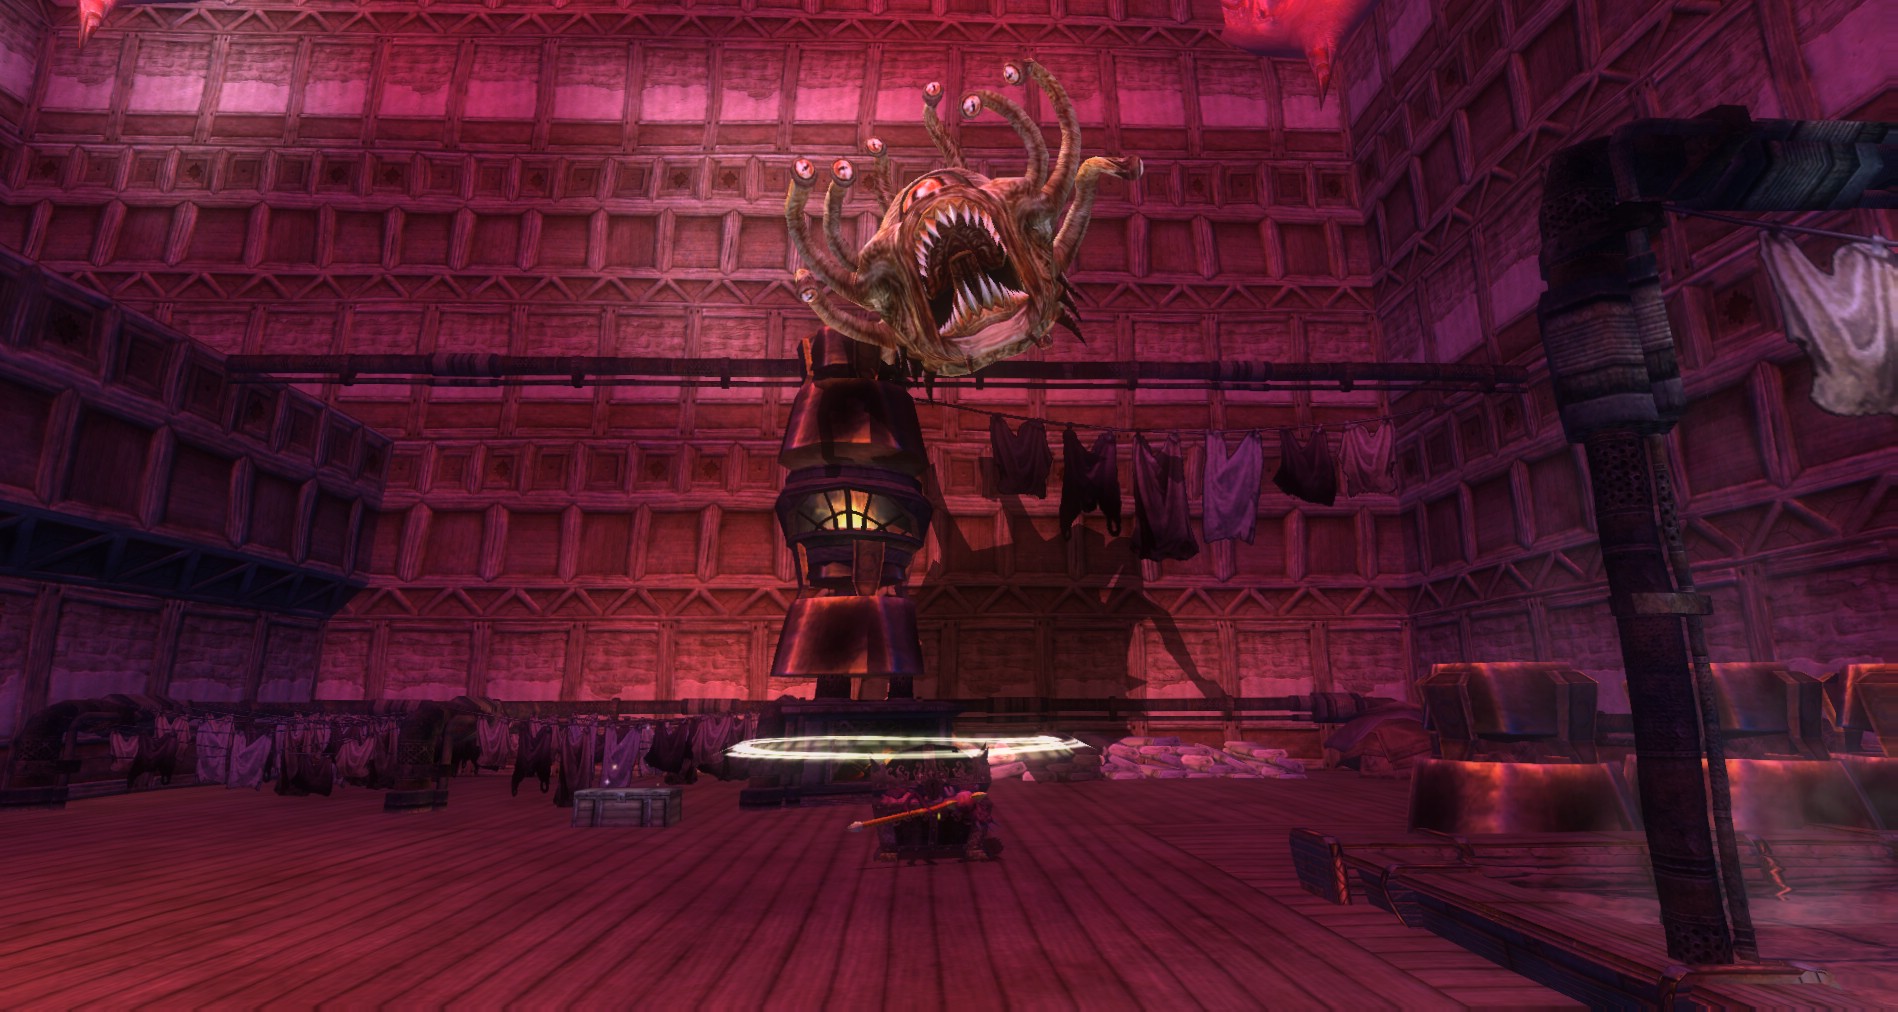
Now you find yourself in Quixxellops’s stomach. There are many other creatures within the beast’s stomach but they are stuck in place. Kill them if you need to, your hirelings or pets will surely jump on them.
 There are two chests in here. You are can investigate them to figure out which one is Chester. Have someone with high stats figure out which one is Chester so you do not ruin a perfectly good chest full of treasure.
Be careful, as Chester can be pretty tough. Make sure to have acid resistance up and running as he does tons of acid damage with his mimic slobber.
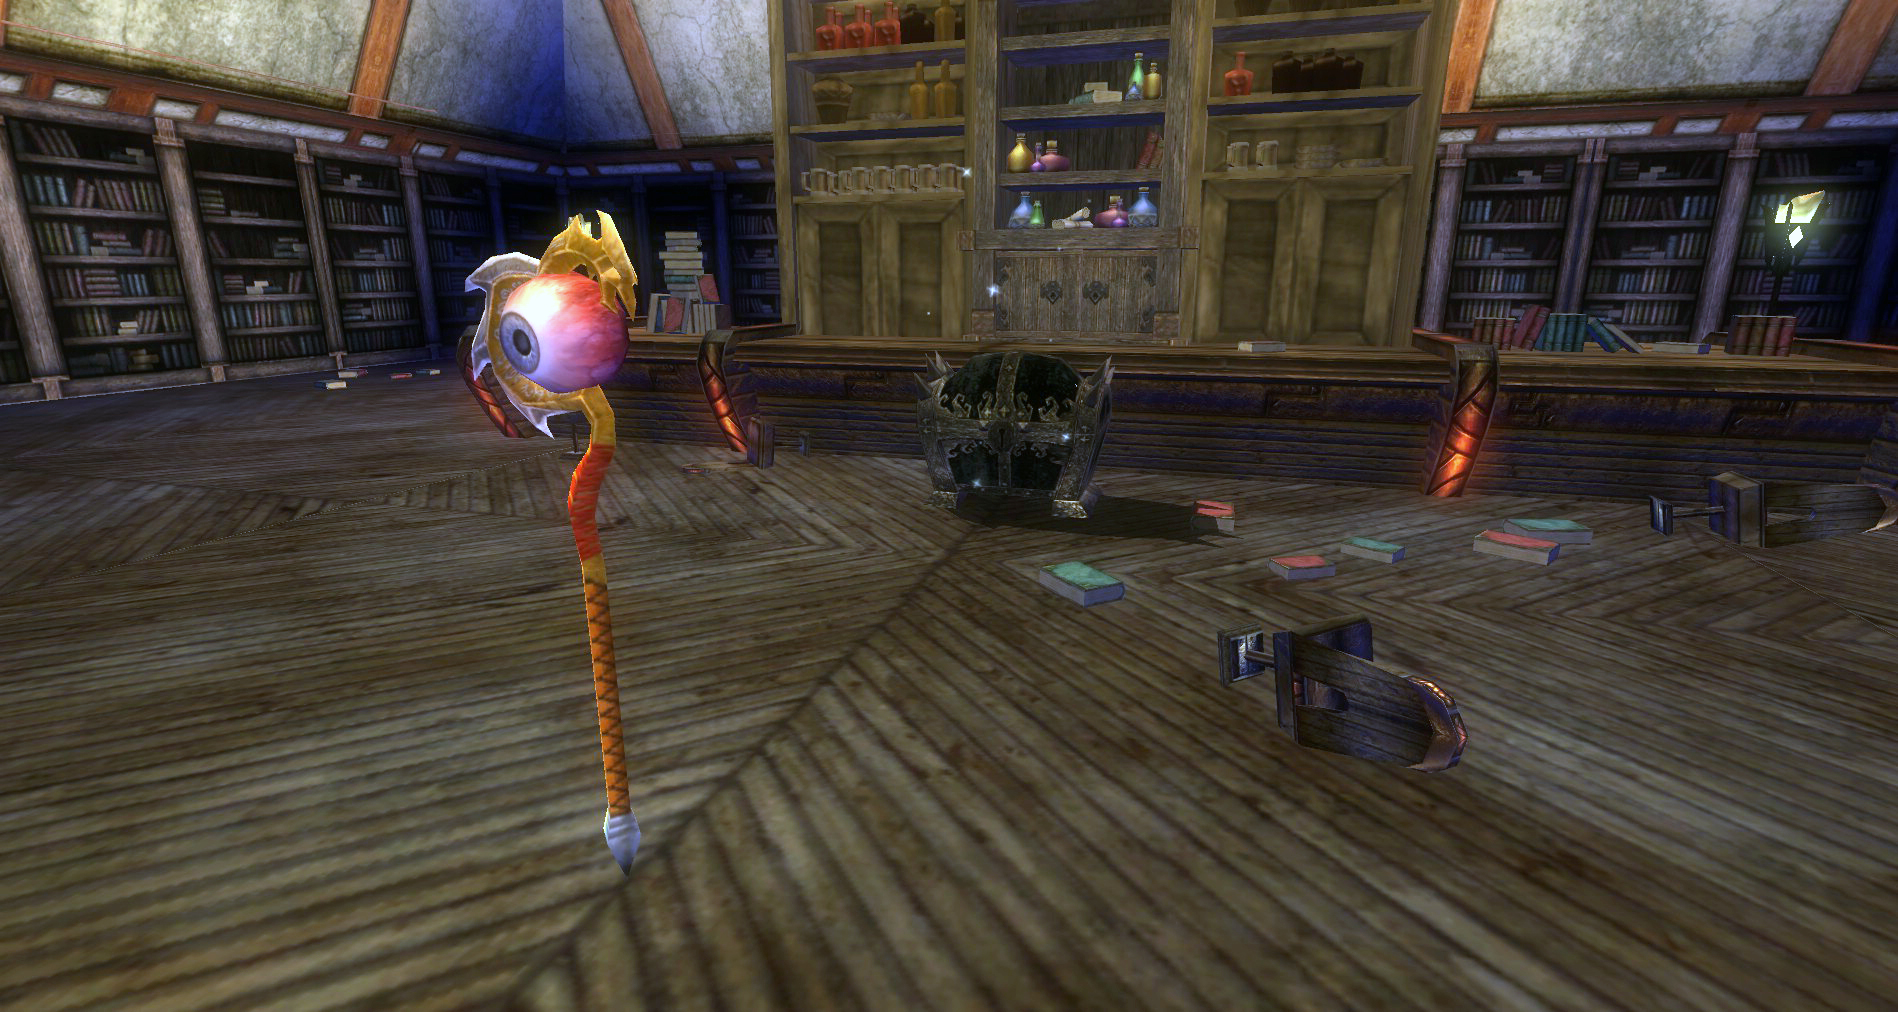
Once he dies, he drops Belashyyra’s Scepter and the keys to the other chests. Grab Belashyyra’s Scepter and the keys, and then loot up.
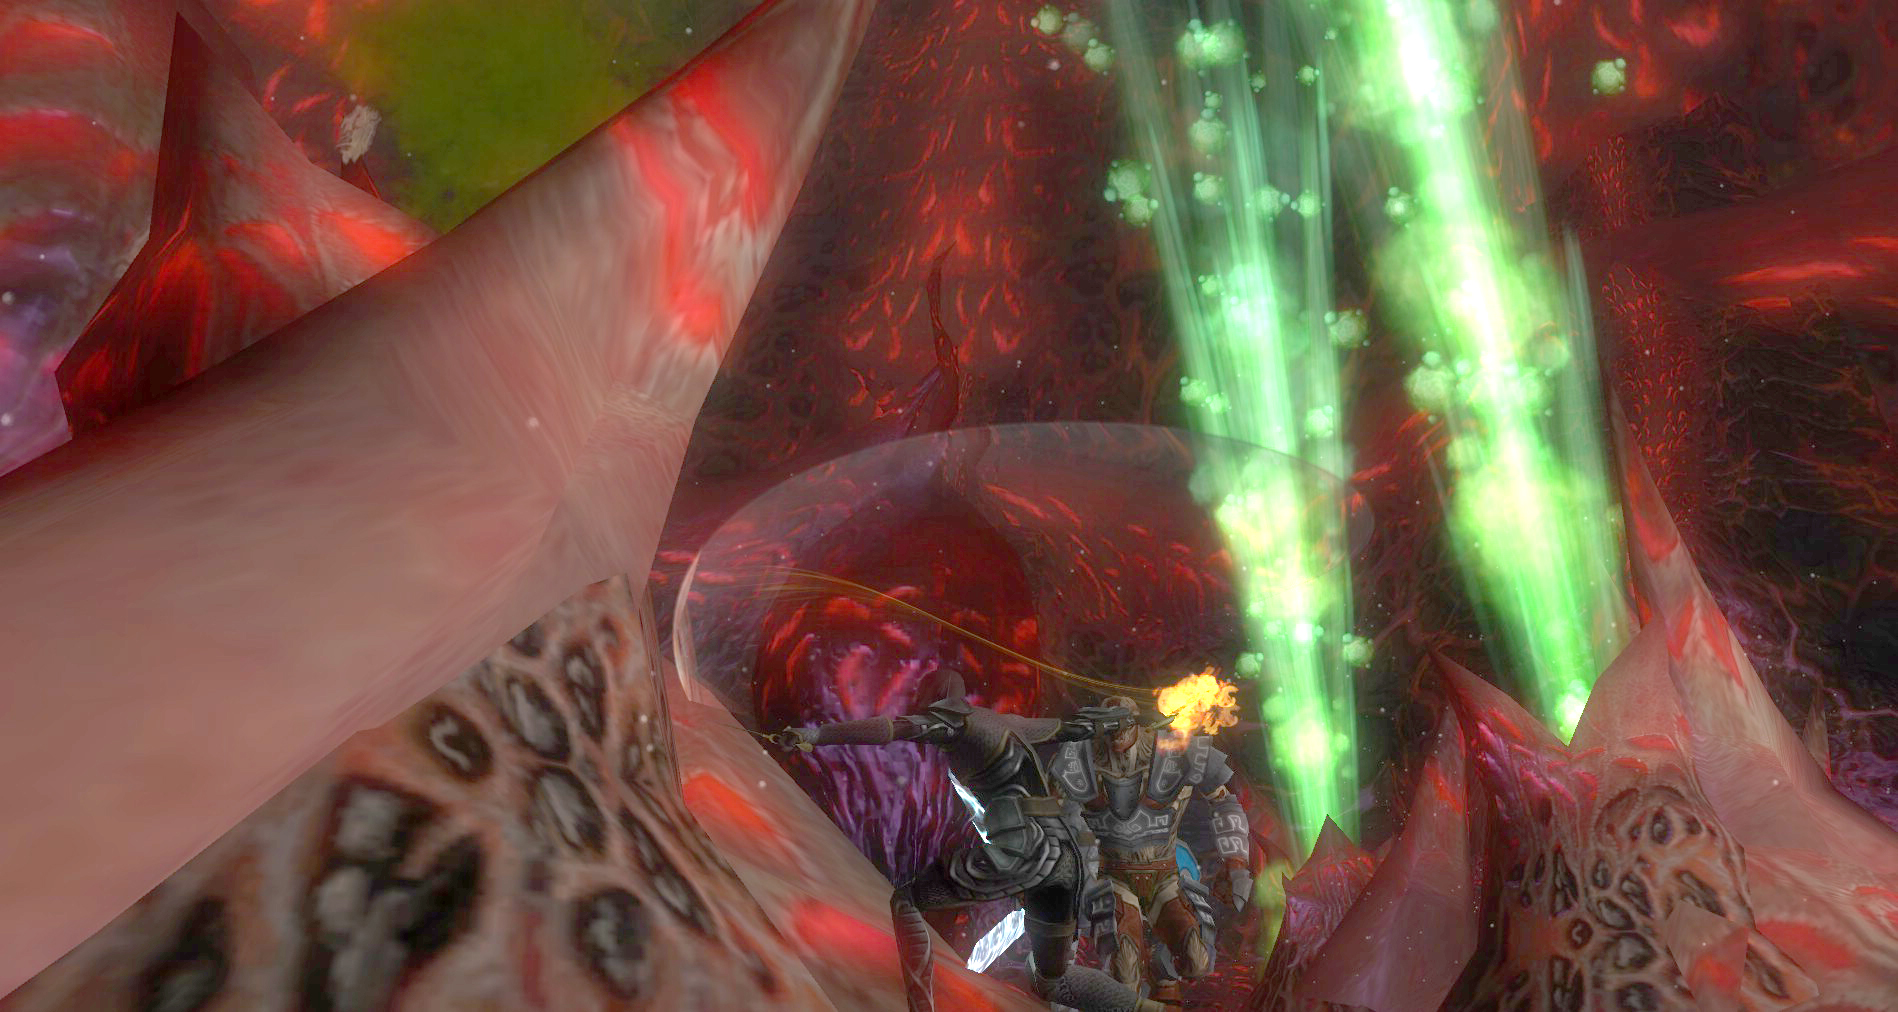
The only way out of Quixxellops’s innards are to get the massive beholder to vomit, tossing you and everything else back out. To get him to vomit, start chopping and blasting away at the large, exposed organs in his stomach. Watch out as they explode with nasty acid, evasion or ranged is great here. Keep going until you have upset Quixxellop’s stomach enough to be yakked back out onto your airship. Enjoy the ride!
Back on the Airship
 Once you get tossed back out onto your airship, Quixxellops continues to vomit, quickly deflating to a more manageable size. It’s time to put the poor beholder out of his never-ending vomiting misery, and to pay him back for the horrible trip you just took into his belly.
Equip Belashyyra’s Scepter and use it to open a portal back to the Sleepy Spell Inn. The airship is too big to fit but I am sure the denizens of Xorait will appreciate the dilapidated Deathstar.
Back in the Sleeping Spell Inn
 Back in the Sleepy Spell Inn everything seems back to normal, including the massive gate to Xoriat. With a little thought you realize the danger of leaving a portal to Xoriat open. It seems like a good idea at the time to use Belashyyra’s Scepter to try to close the portal. Nothing else can go wrong at this point in time, I’m sure…
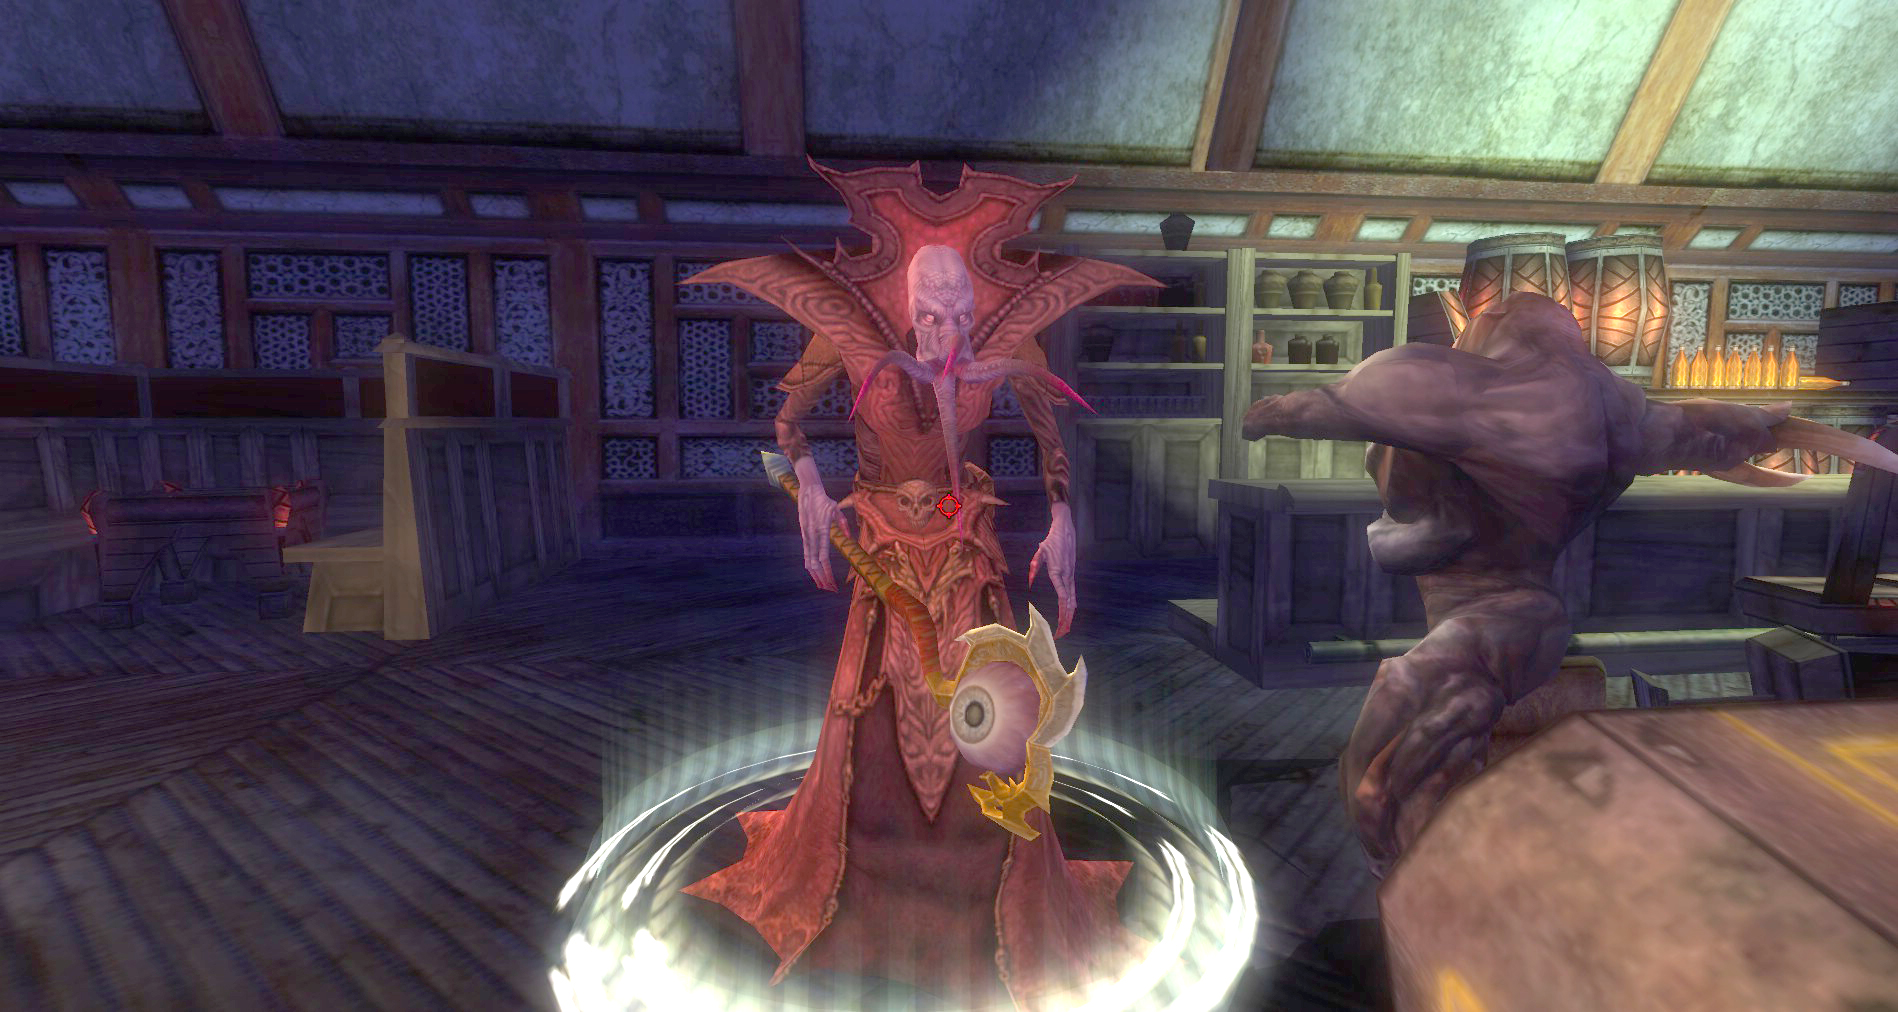
You end up opening up a portal releasing the Lord of Eyes from his imprisonment, instead. No big thing right? Hand over Belashyyra’s Scepter to Belashyyra, the Lord of the Eyes, and call it a quest. Go collect your end reward from Rorry and curse the developers for not letting us smite NPC quest givers.
If you are ready to see what kind of mess all of this has caused, move onto the second stage of the Lord of Eyes quest arc, Sane Asylum.


Great walk through, lots of helpful information and great pics! Our guild site will definately add this one to the blog roles!
Thanks! I am going back and editing these when I find new rares or other other good info missed in the first version of the walkthroughs. It is hard to find out everything on Lam even with running them a bunch.
Two things. As your climbing the ladder to the airship. If you glace around, you will see places to walk on the wall tops. To the left is a room with no doors filled with water and a chest inside.
Second. When the quest is near over. You give the Scepter, get a chest in return. But, you still have a Iron key left over from inside the belly of the Beholder. Where does the iron key go. As you recall out, it says the iron key drops to the ground. What am I missing ?
just so you know don’t test game mechanics (i sometimes do) so in the final area where you need to hand over the scepter. don’t intentionally drop it , to see what happens. it makes the quest in-completable. (to flasksval) the key is one of either red or the iron key that will be left in your inventory pending on which chest the mimic was. the key as far as i know (since you have to bash the mimic to open it) is useless.
Thanks for the tip! Its always good to know things that will break a quest. It is no fun running through one of these only to find out some bug, or glitch makes the quest so you cannot complete it.