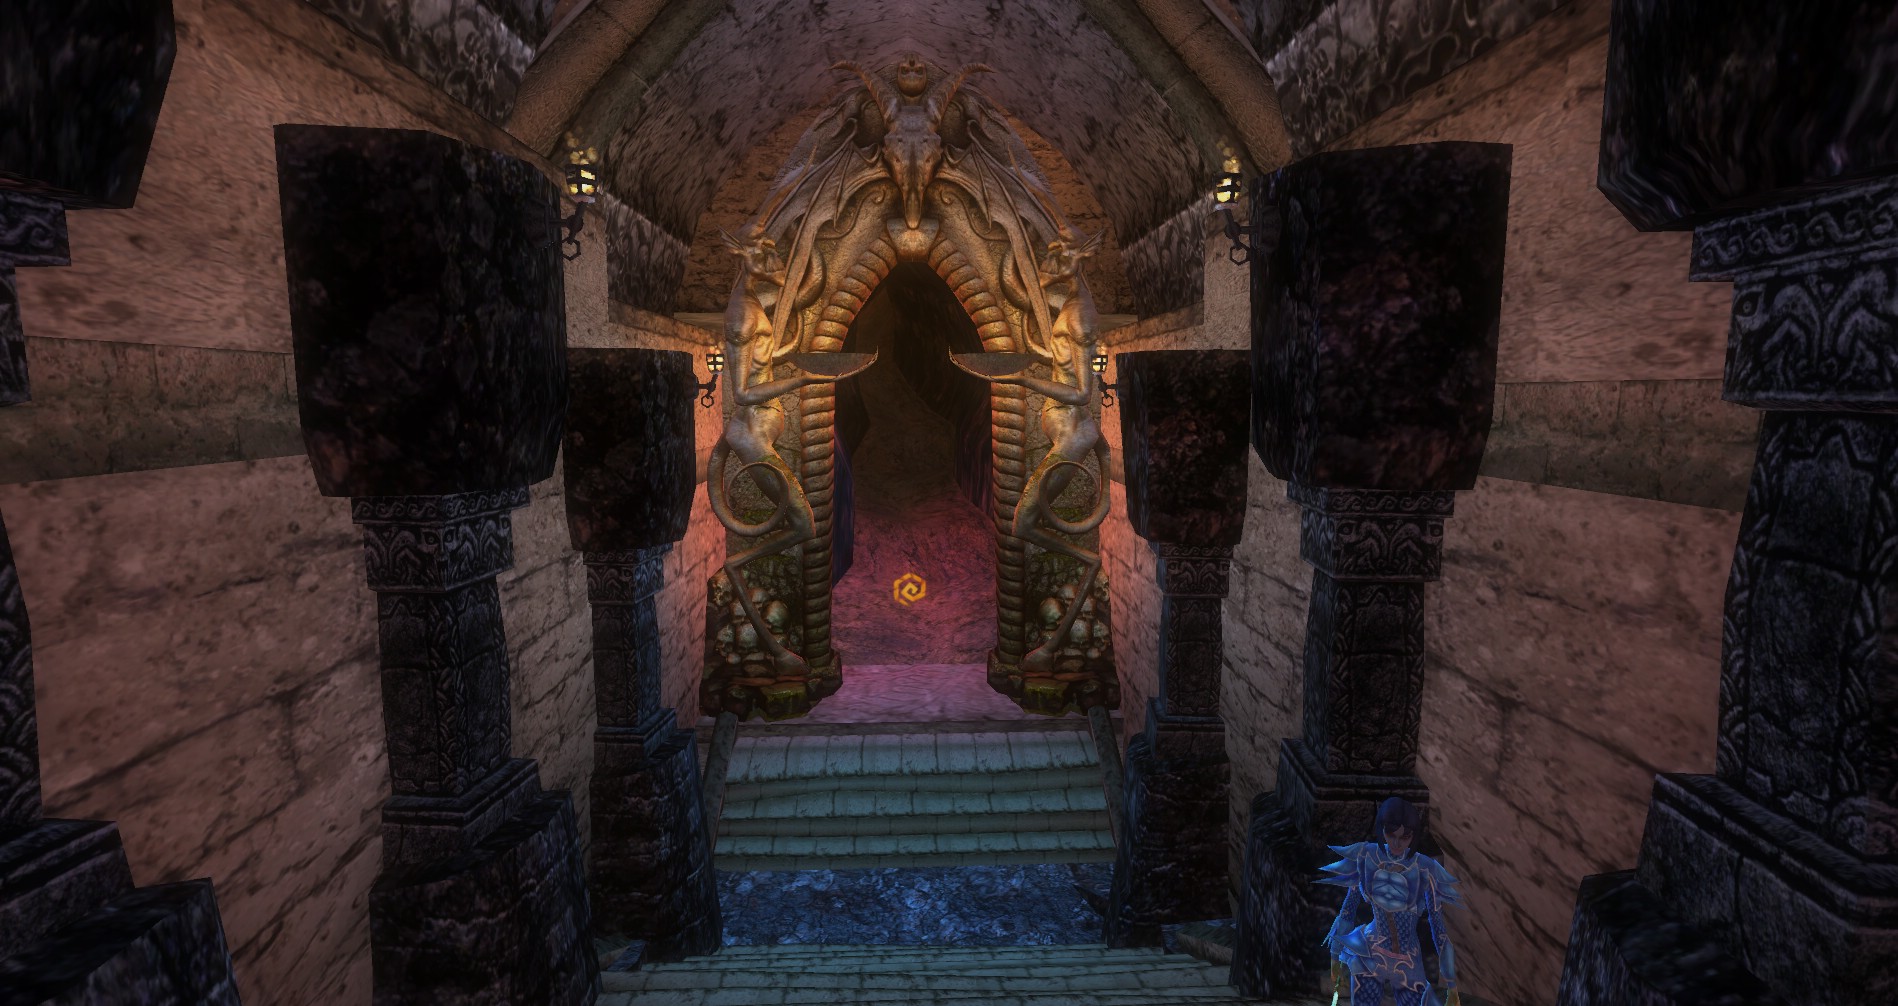
 The Lords of Dust have completed their ceremony and blasted a hole in the Harbor wall. Just as they created a huge hole in the Harbor wall, a horde of drow and rakshasa rushed through the opening. The Silver Flame asks you to head into the newly created hole after them and stop whatever it is they are up to. They tell you that a Silver Flame priest has already gone in ahead of you. Try to find out what has happened to him and aid him if possible. Uncover the plot of the Lords of Dust and stop whatever nefarious plans they may have.
- Series: Lords of Dust
- Level: 16
- Patron: The Silver Flame
- Length: Long
- Dungeon: The Road to Tarath Marad
- Recommended Party: Standard
- MoBs: Kyber Hell Hounds, Kyber Reavers, Cultists, Fiendish Spiders, Drow Warrior, Kyber Hezrou
- Dangerous MoBs: Rakshasa Lord, Drow Priestess, Kyber Lavapit Reaver, Flamefang, High Priestess Sabriz Rinzyn Kho
- Buffs: Freedom of Movement, Deathward, Fire Resistance, Standard Buffs
- Special Note: It’s easy to get turned around in this dungeon. Pay close attention to your map.
- Quest Stats: Detailed Quest Stats on DDMs Realm Here


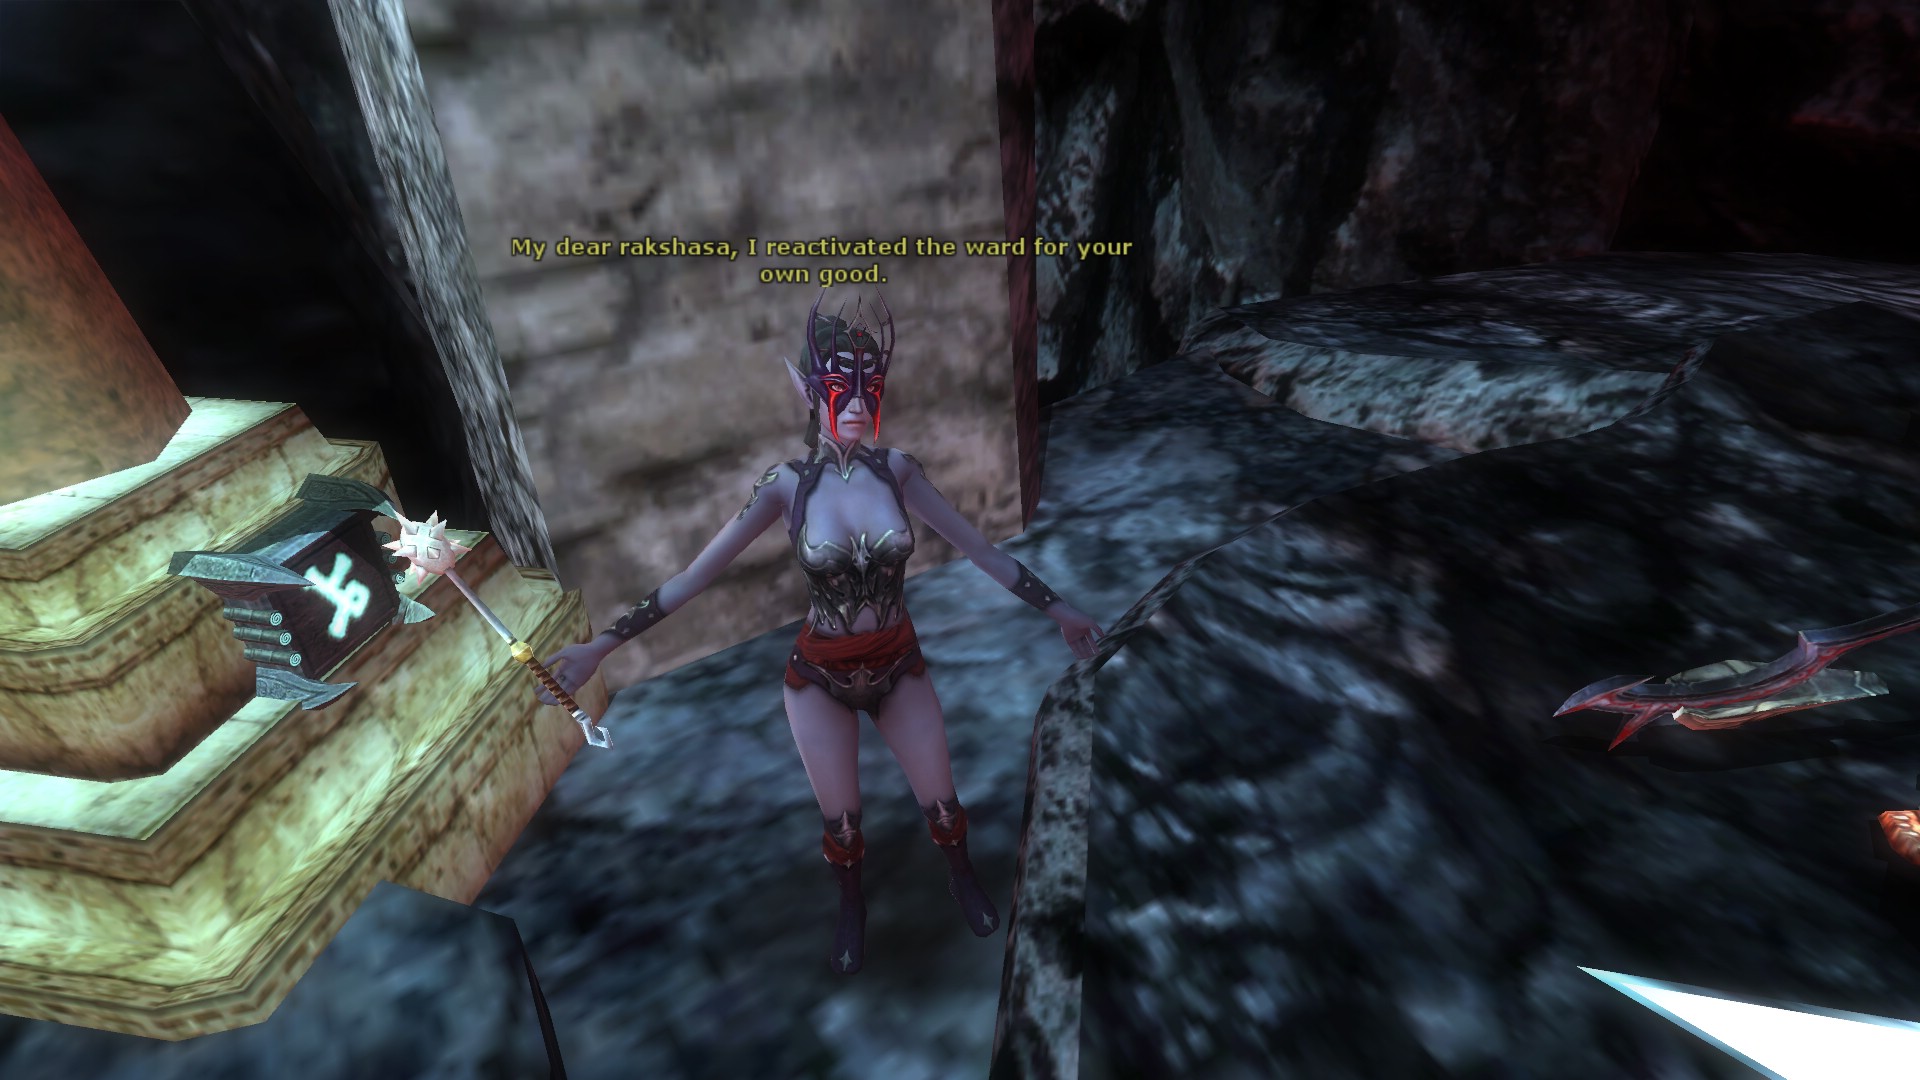

Once you zone in, summon pets or hirelings and buff them up. Just up ahead and around the corner is a drow priestess and rakshasa lord. They are easily dispatched but you will have to wait for them to finish their conversation before you attack. Pay attention so you can begin to figure out what they may be up to.
The first thing the casters do here is cast Deathward on themselves so if you want to insta-kill them, do it quick! There are a lot of casters in this quest so keep your eye out for them and take them out quickly.
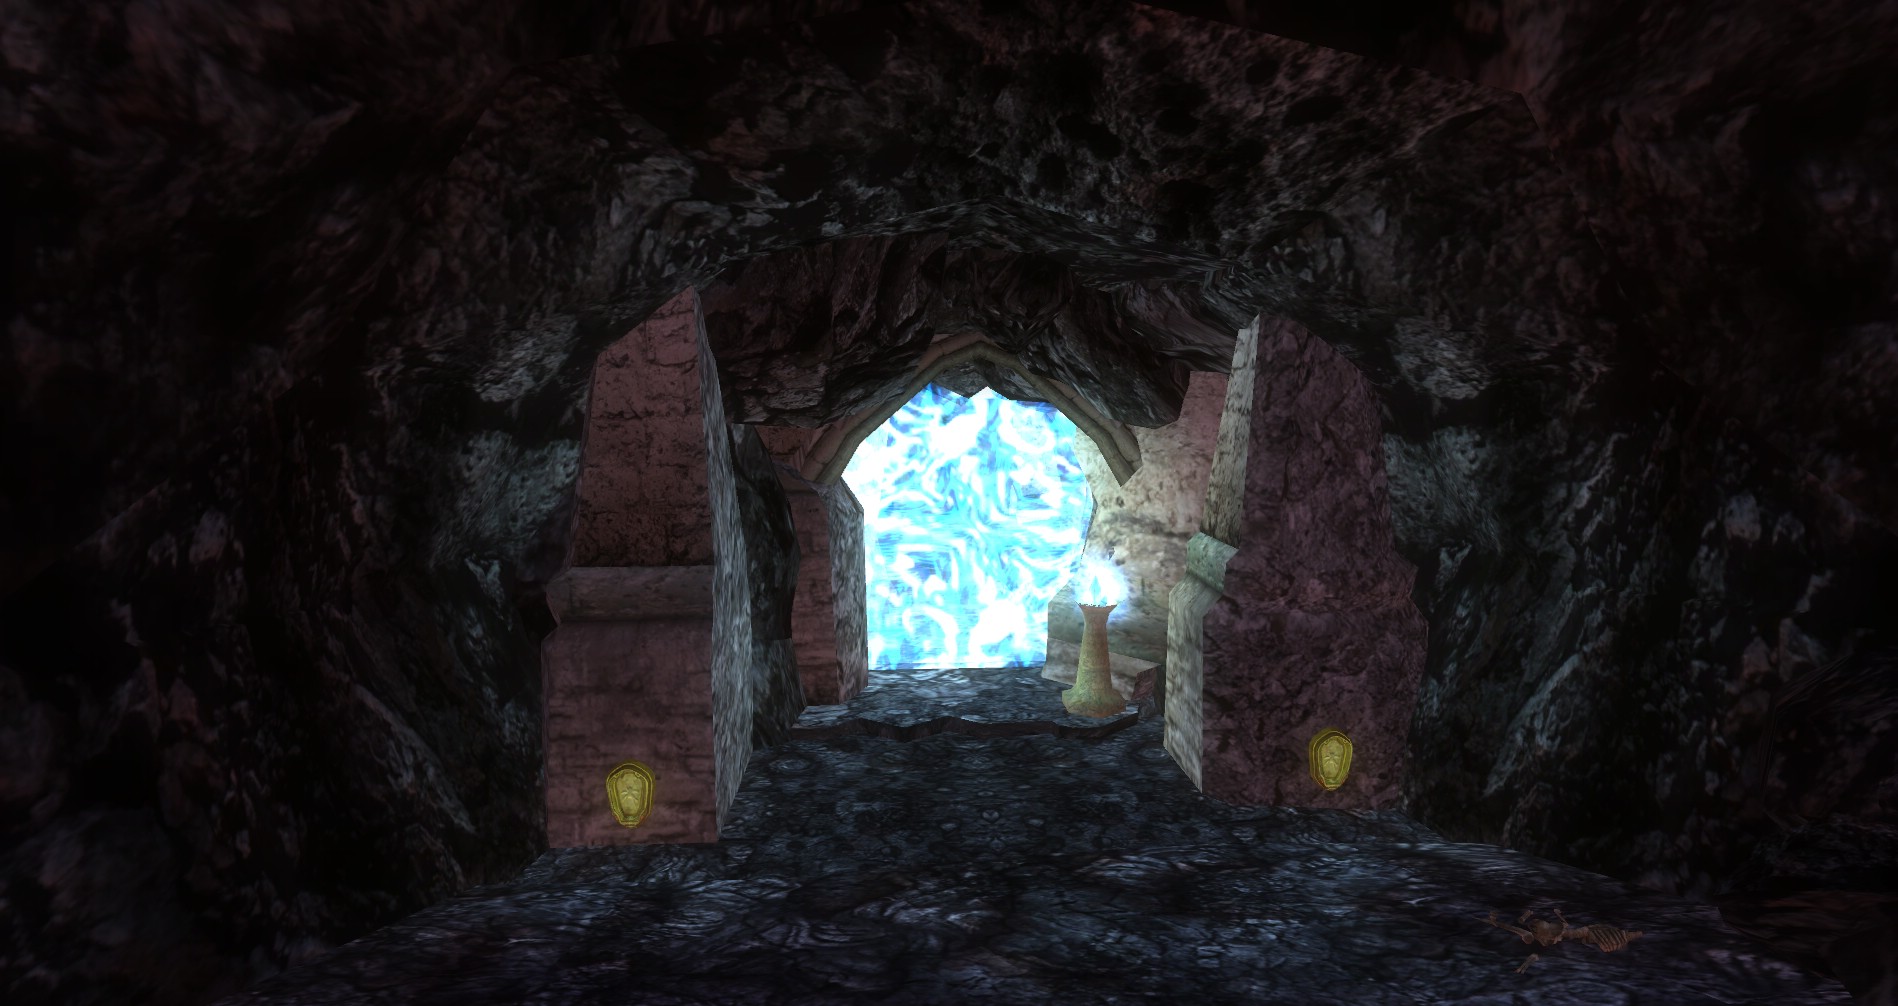
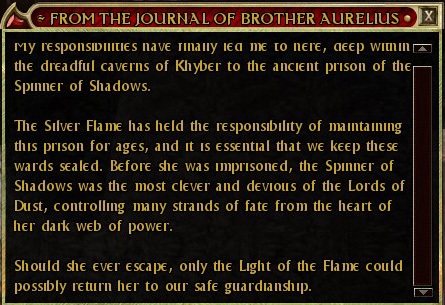
The First Silver Flame Ward
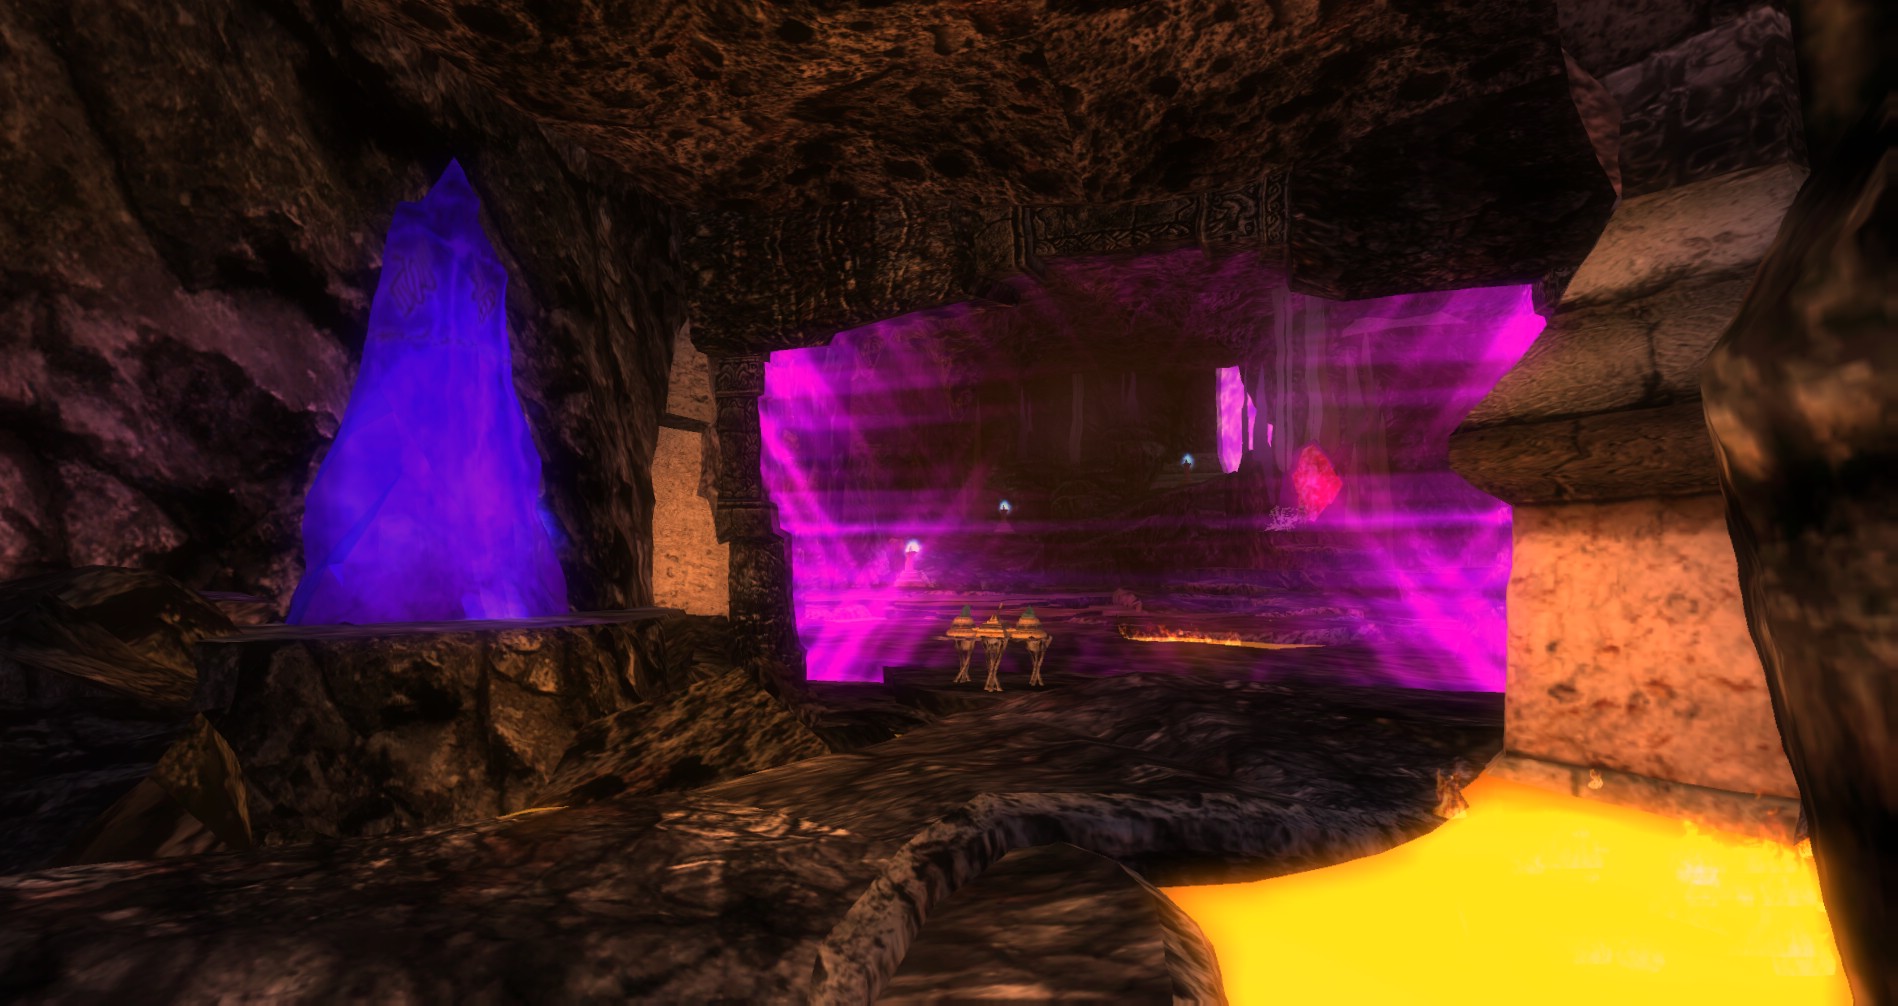
There will be a series of wards you will have to get through in order to get to the end of this quest. All but one of these magical warded barriers can be dropped by using the small rune next to the barrier. There is no particular requirement for these runes so anyone, including hirelings, should be able to open them.
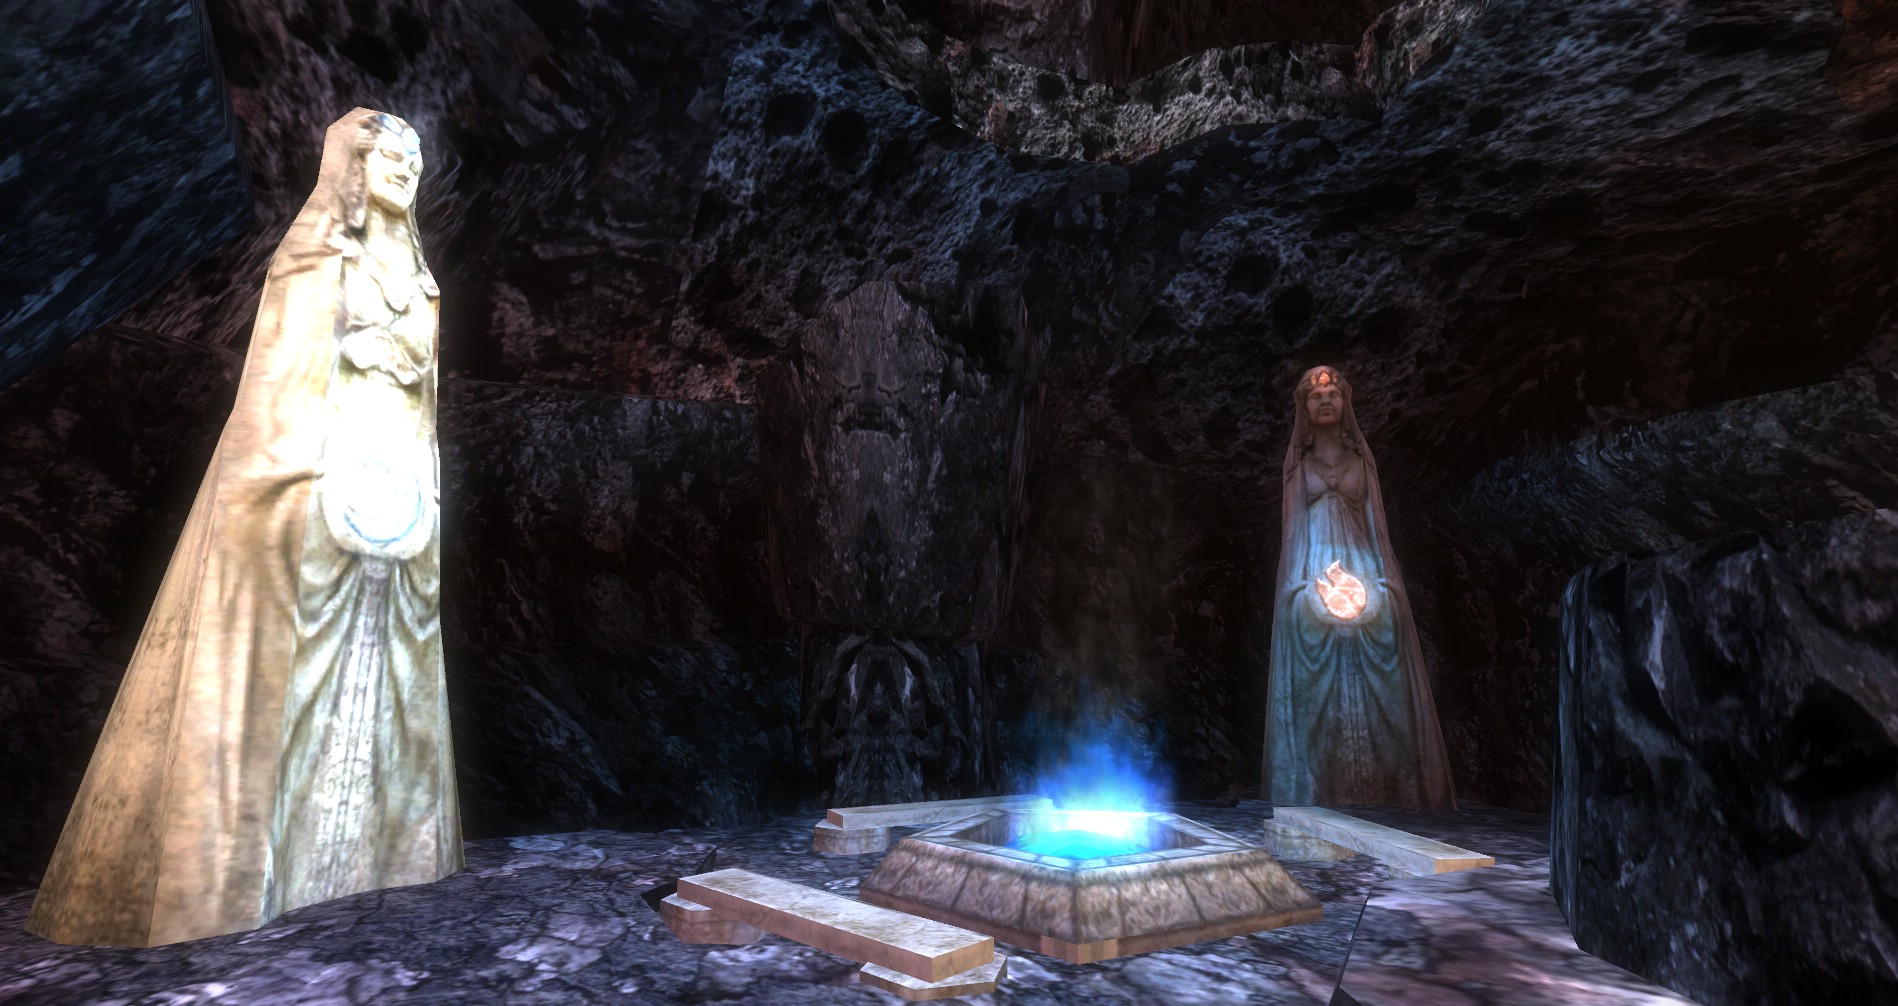
The Sealed Shrine
 Before your go through the second Silver Flame Ward, move off to the side and you will see a sealed door. Look around the smoke-filled chamber to find the two levers that will open the sealed door.
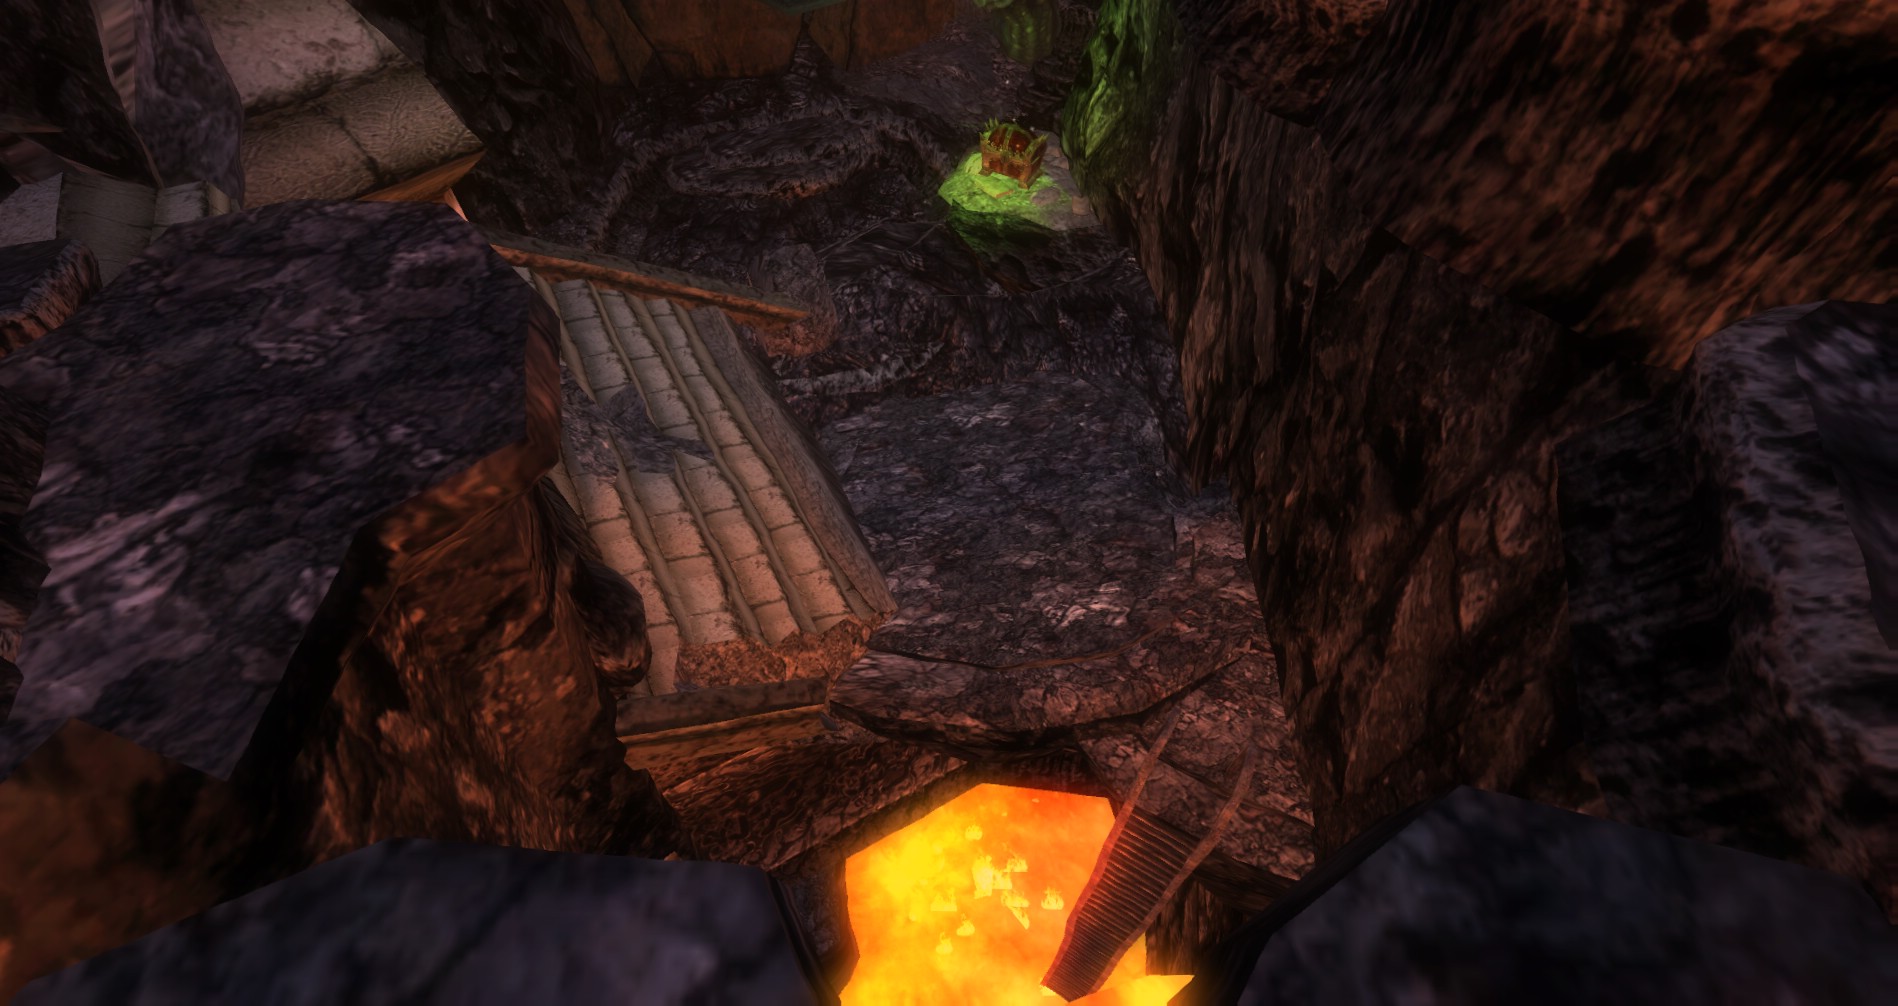
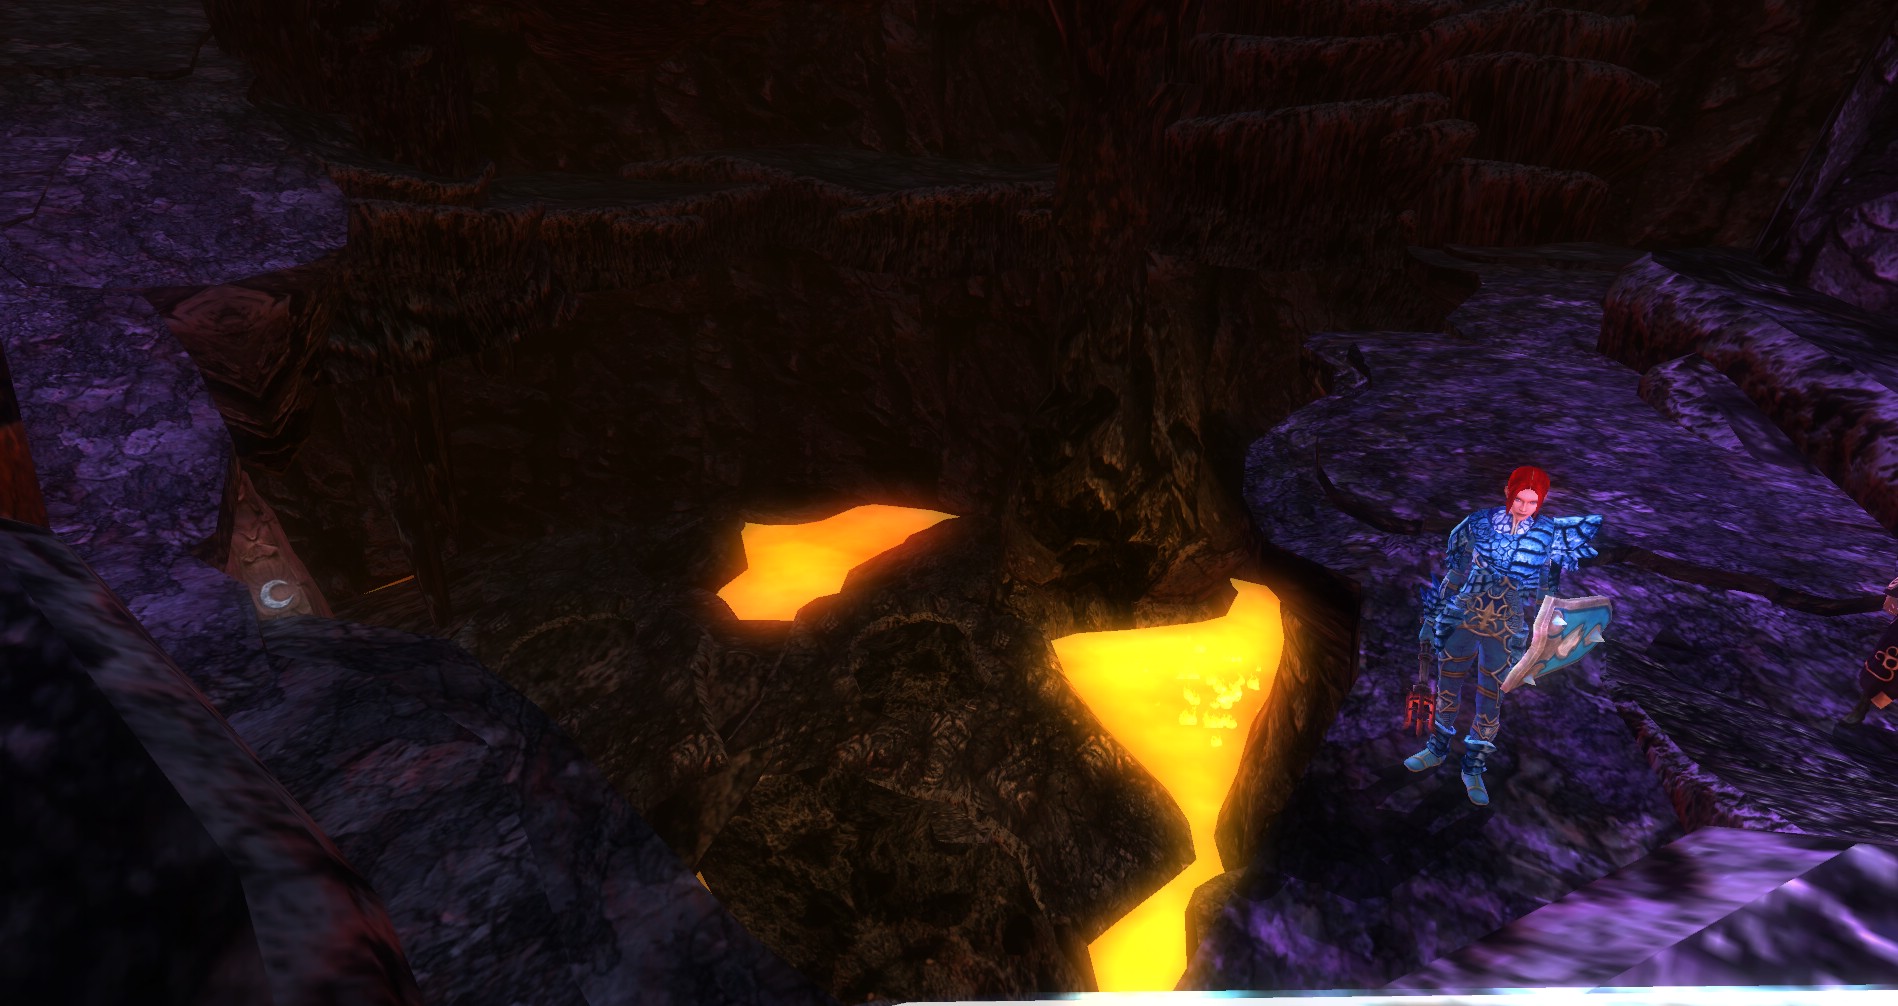
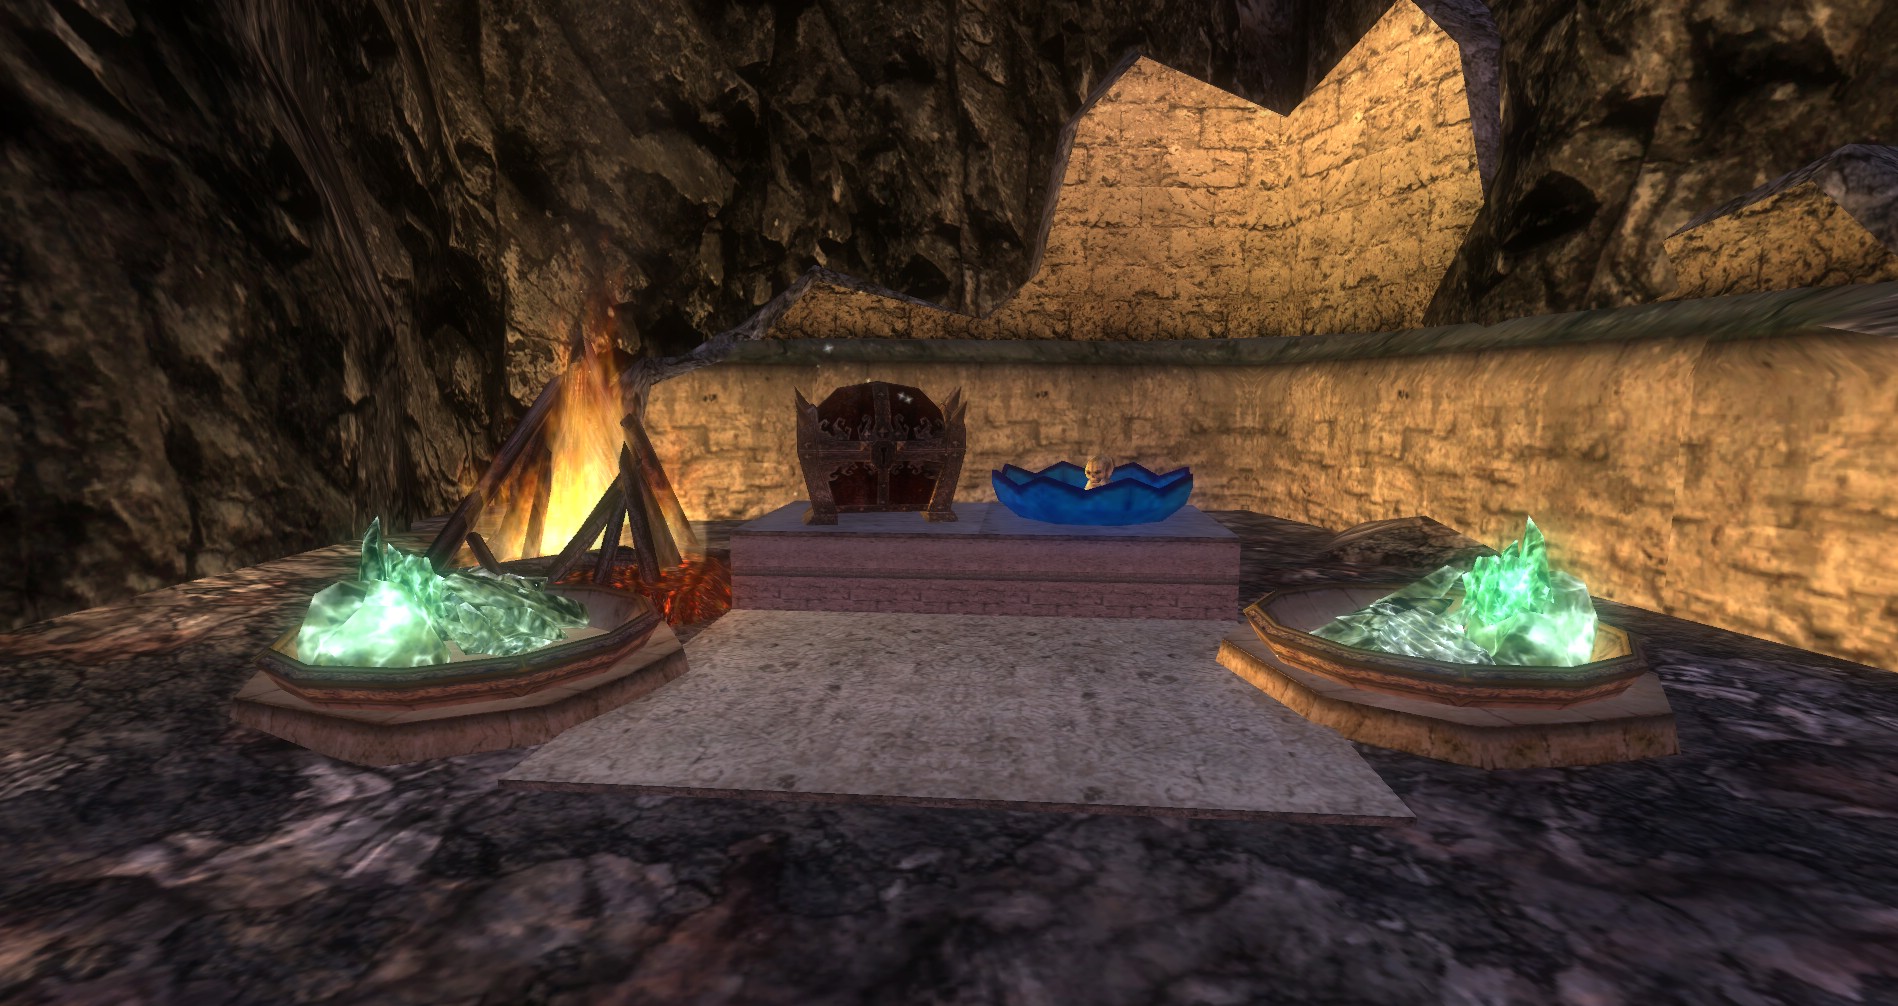
In here you’ll find an extra shrine as well as a chest down below. Be careful where you fall–there is a pretty good drop down into some lava if you are not paying attention.
The chest is locked, so bring a lock picker or someone with knock to get this extra loot. Named loot can come out of this chest, including the Silver Singer.
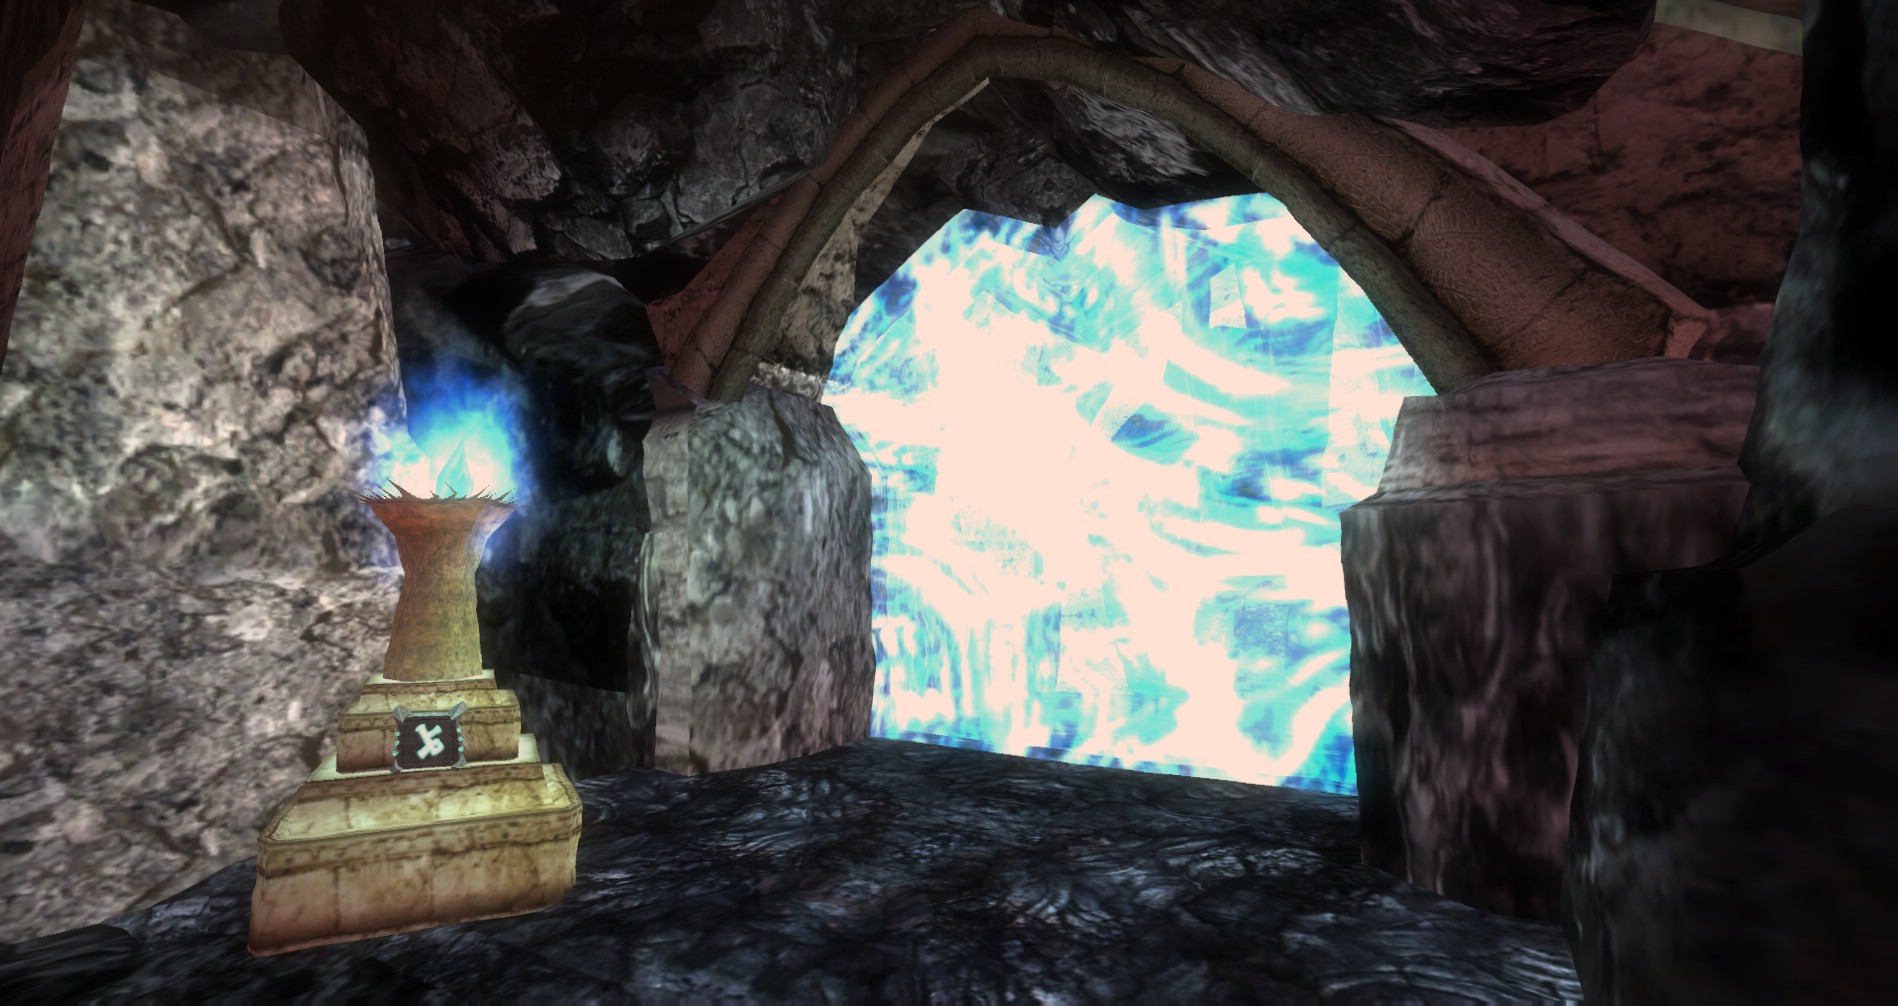
The Second Silver Flame Ward
In the second room is the second Silver Flame ward. Just hit the rune to go through. Across the lava there is a sealed door optional. Make sure you get that before you continue. You drop down through holes many times in this quest, making backtracking impossible unless you have Dimension Door or are OK with recalling and re-entering. So make sure you use shrines and explore all the areas you want to see before you drop down the holes.
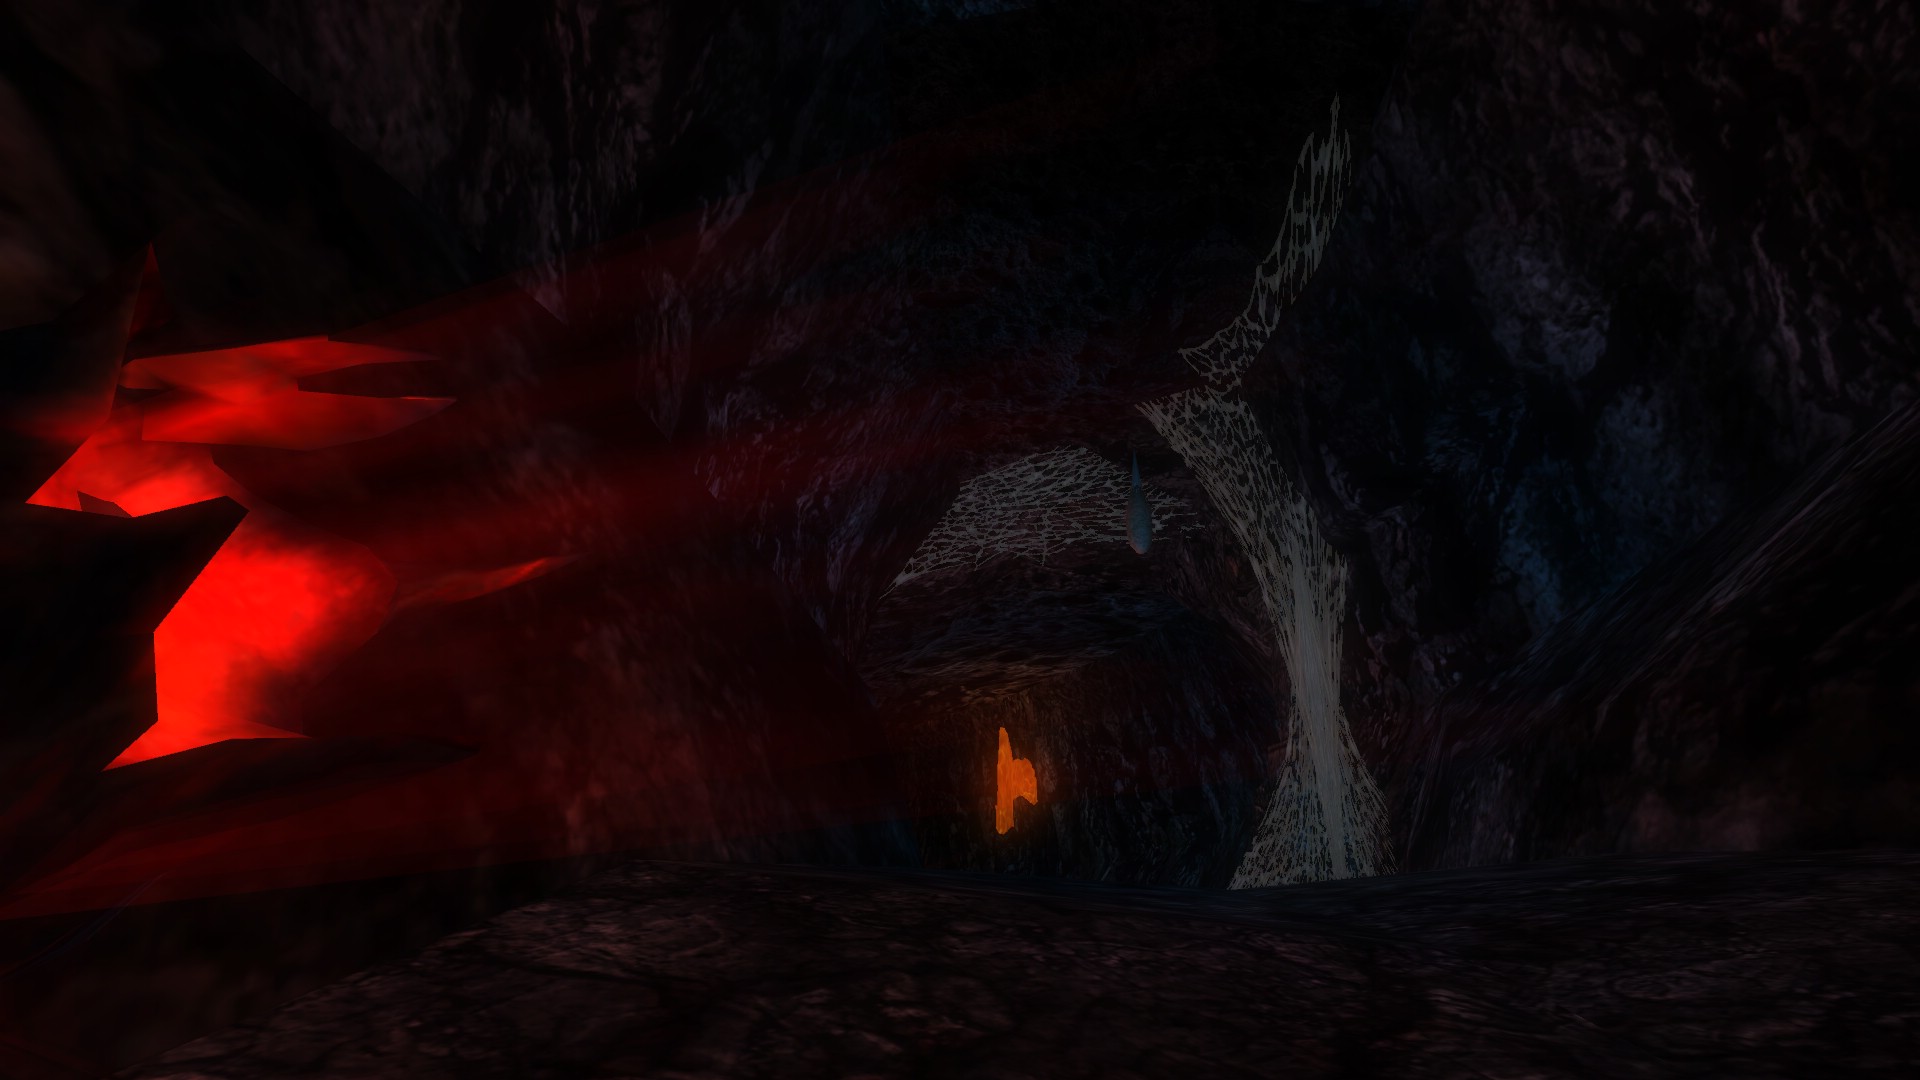
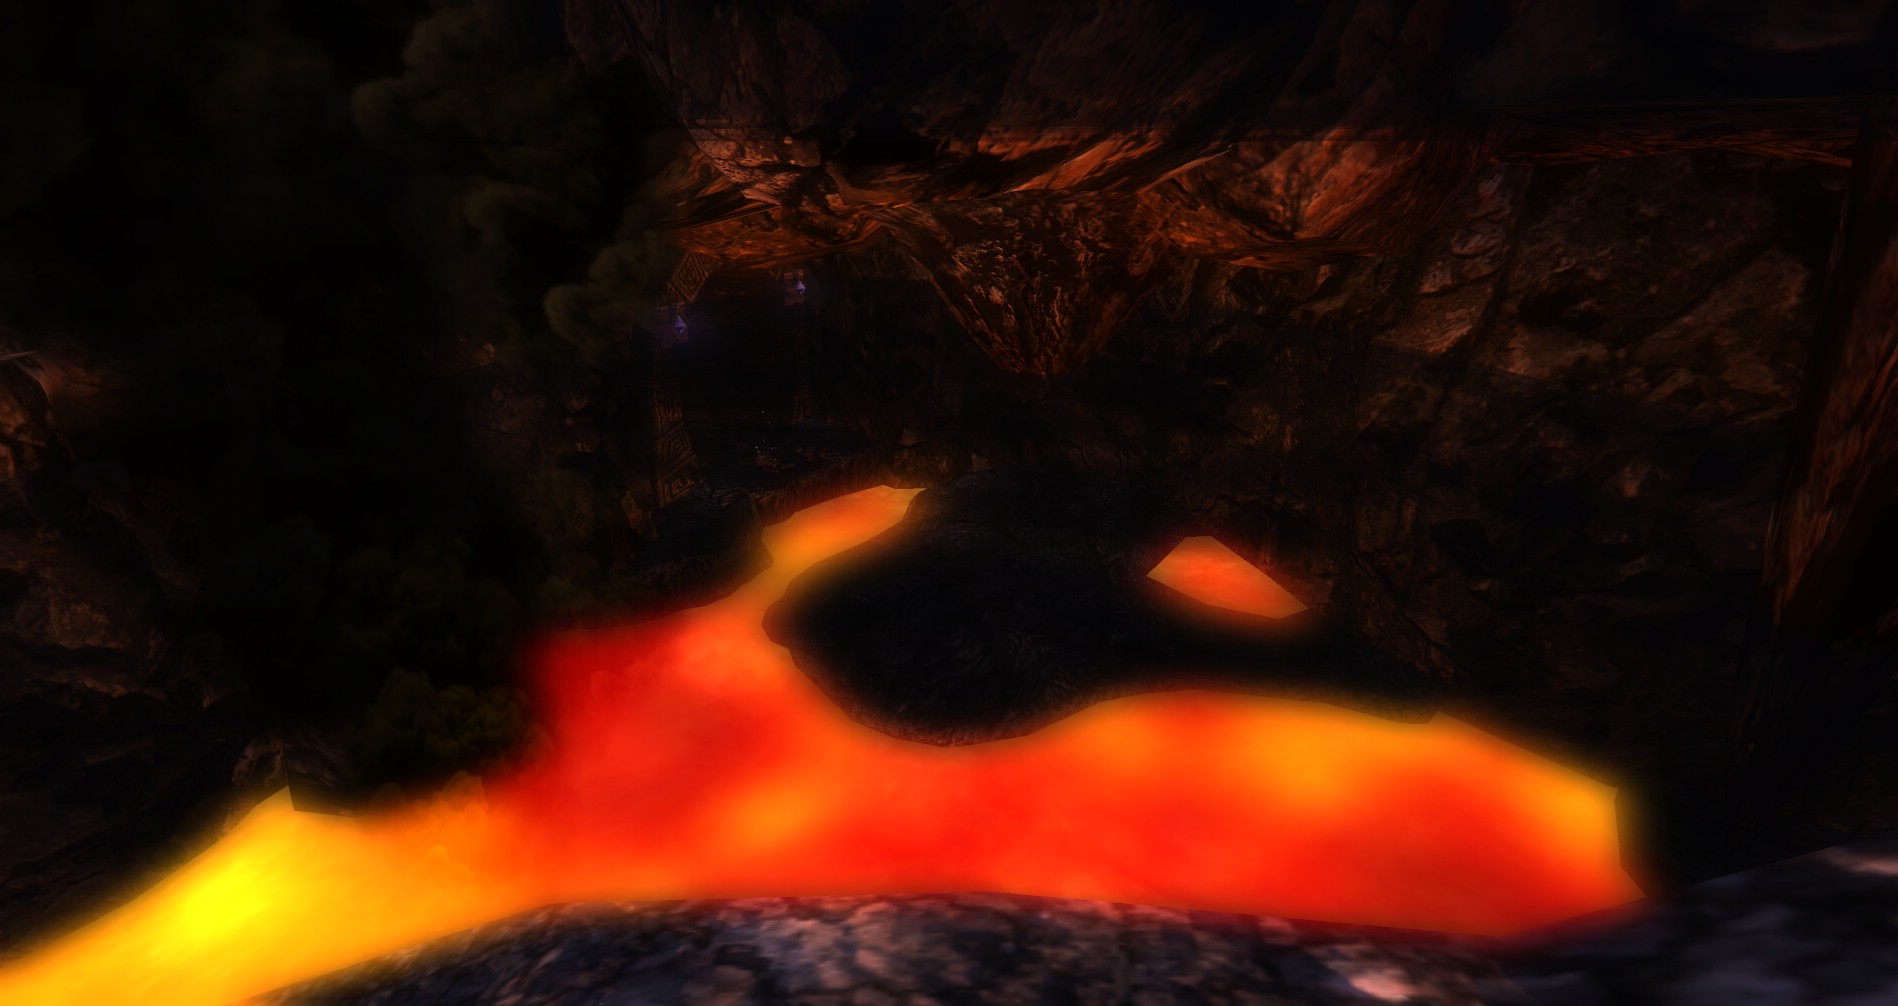
The Lava Trap
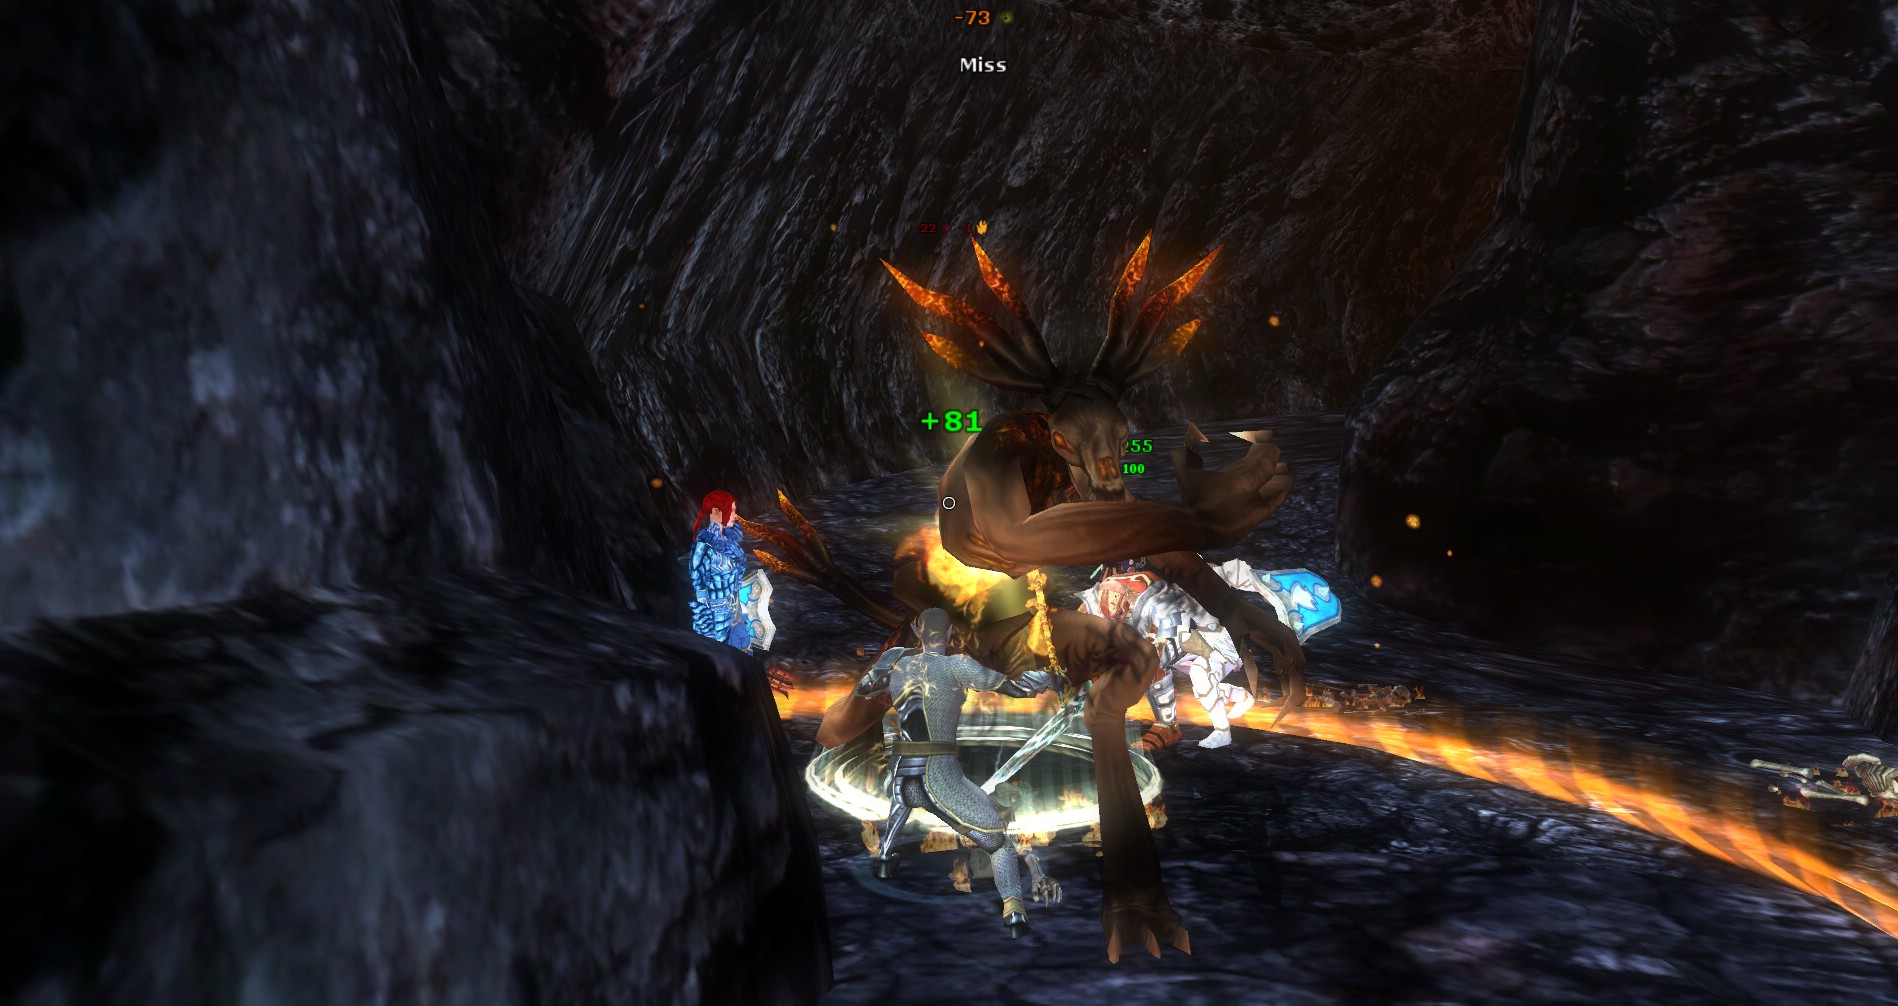
 Below, in the second room, there is an area that has a lava lake and Rakshasa Lord here. Once you approach, he throws up a barrier across the passage and summons some nasty Kyber Reavers (Fire Based) that will attack you from behind. This is your first taste of these; make sure you have Fire Resistance at the minimum as you will be fighting these throughout the entire quest.
Once they die, the Rakshasa Lord drops the barrier and tries to finish you off. Repay him for his hospitality.
The Hole of No Return
Jump down when you are ready to continue the quest. There is no way back up beside a Dimension Door or to recall and re-enter, and who wants that XP penalty?
Drop down to the shrine. Then shrine up and buff your party. When everyone is ready, toss out your short term buffs and continue deeper into this dungeon in Kyber after the Drow and Rakshash.
The Lower Section
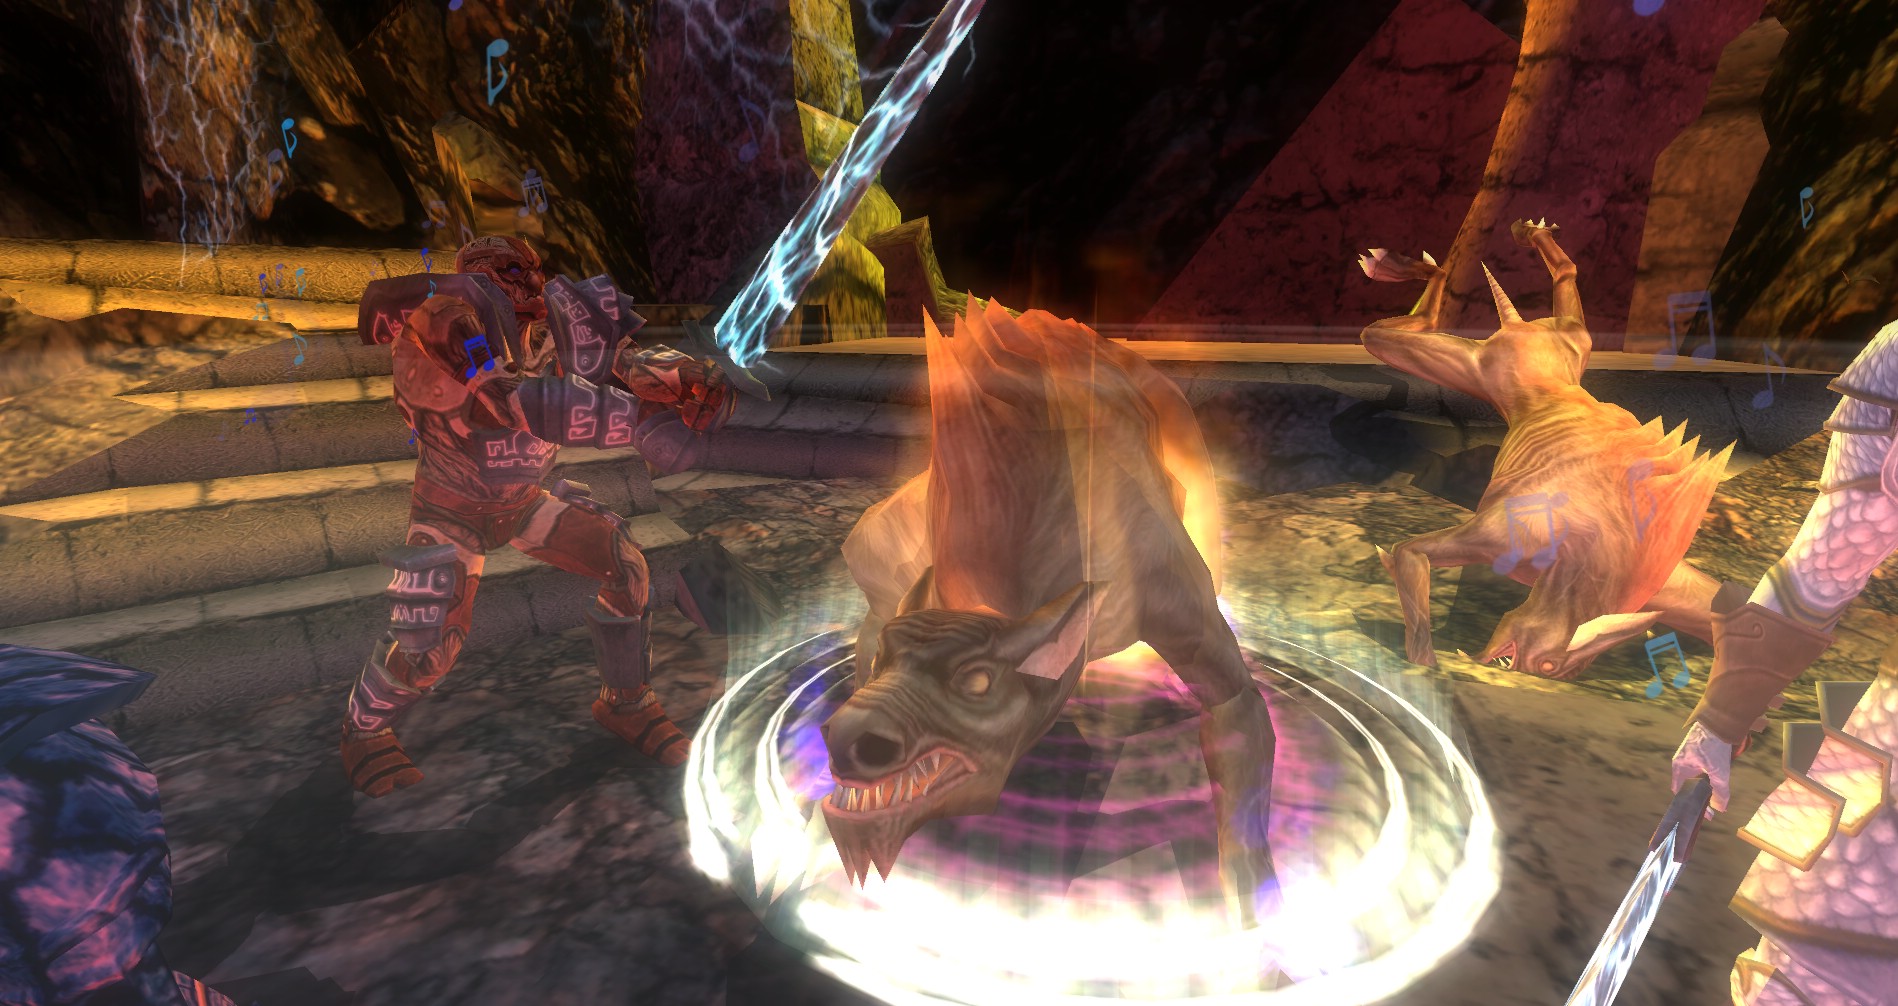
 As soon as you jump down into the room past the first regular shine, be ready for a fight as there are more enemies down there waiting for you.
The Raksasha Lord is ready for a brawl. Drop him and his friends to continue.
The Third Silver Flame Ward
Passing beyond the third Silver Flame Ward opens you up into an area where you can head off in a couple different directions.
Socketed Silver Flame Ward
To the south of the intersection, is the final passage to the end of the quest. You will see there are two spider sockets that are missing their crests. These crests can be found down the other passage ways.
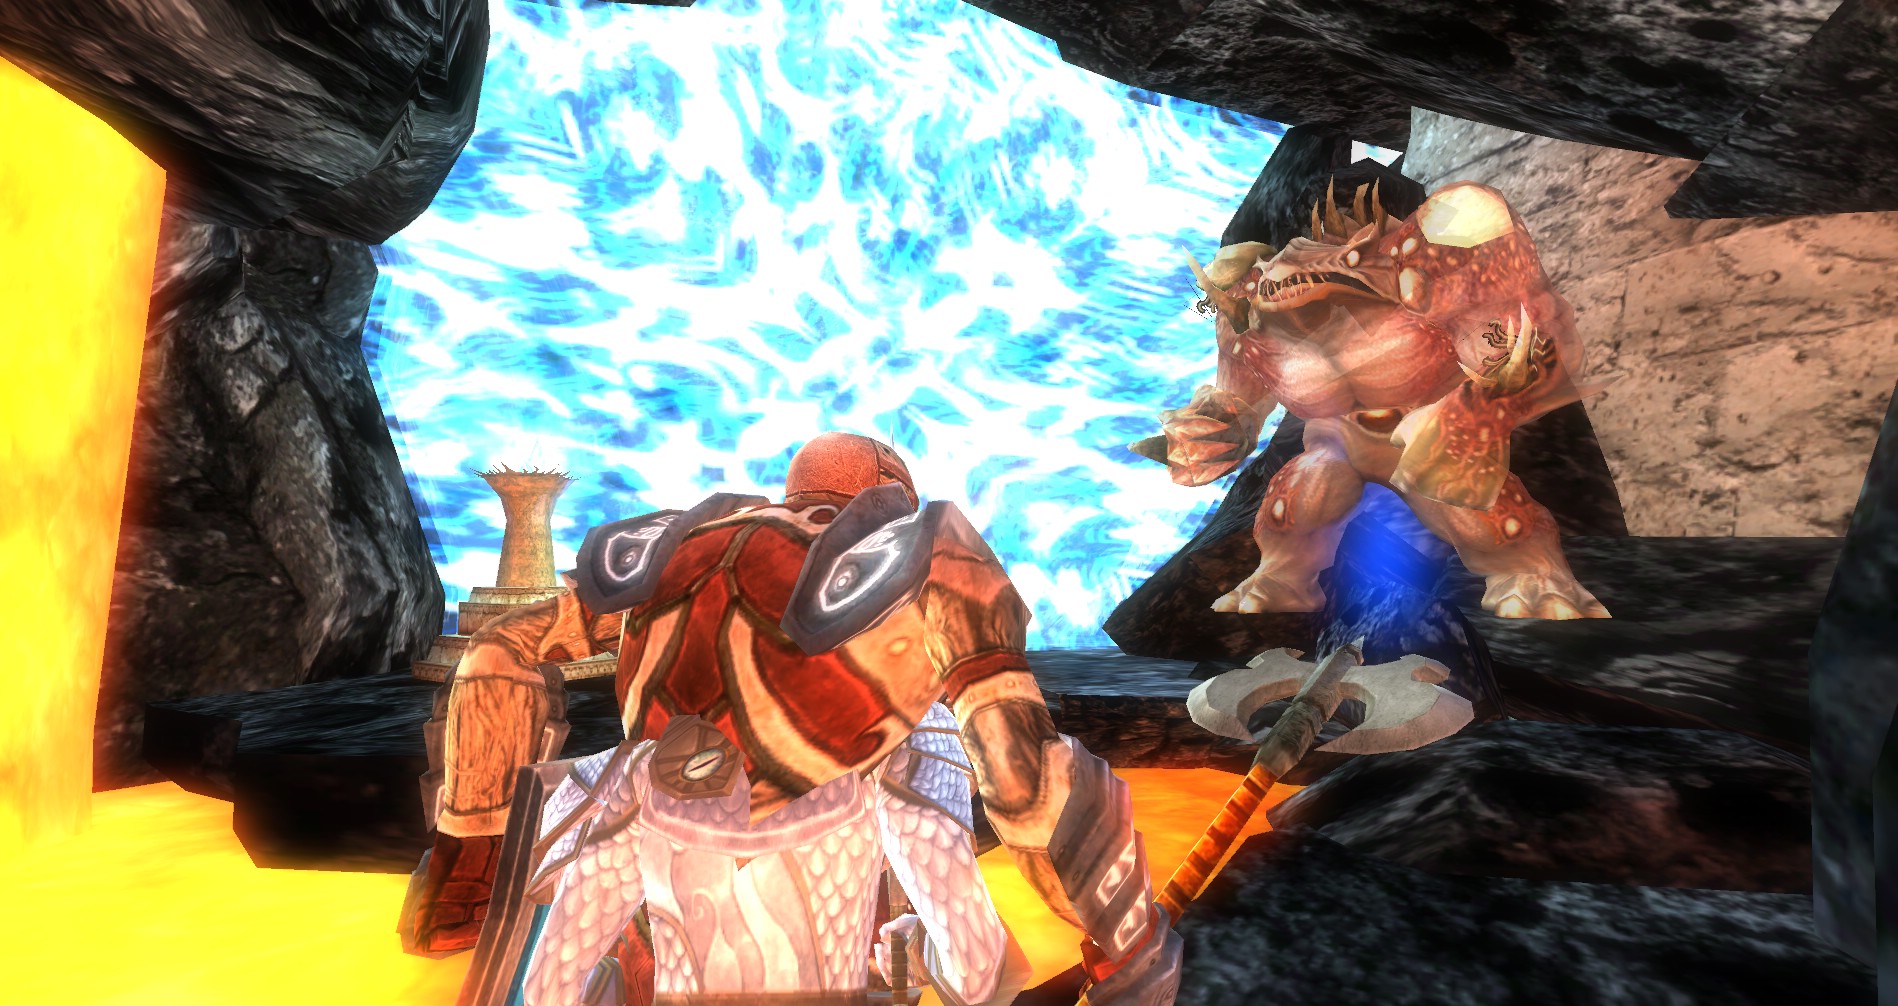
To The East – Optional Reaver Lord
 Be careful of the nasty pit trap below the walkway. Make your way in slowly if you’re not sure where the trap is located. .
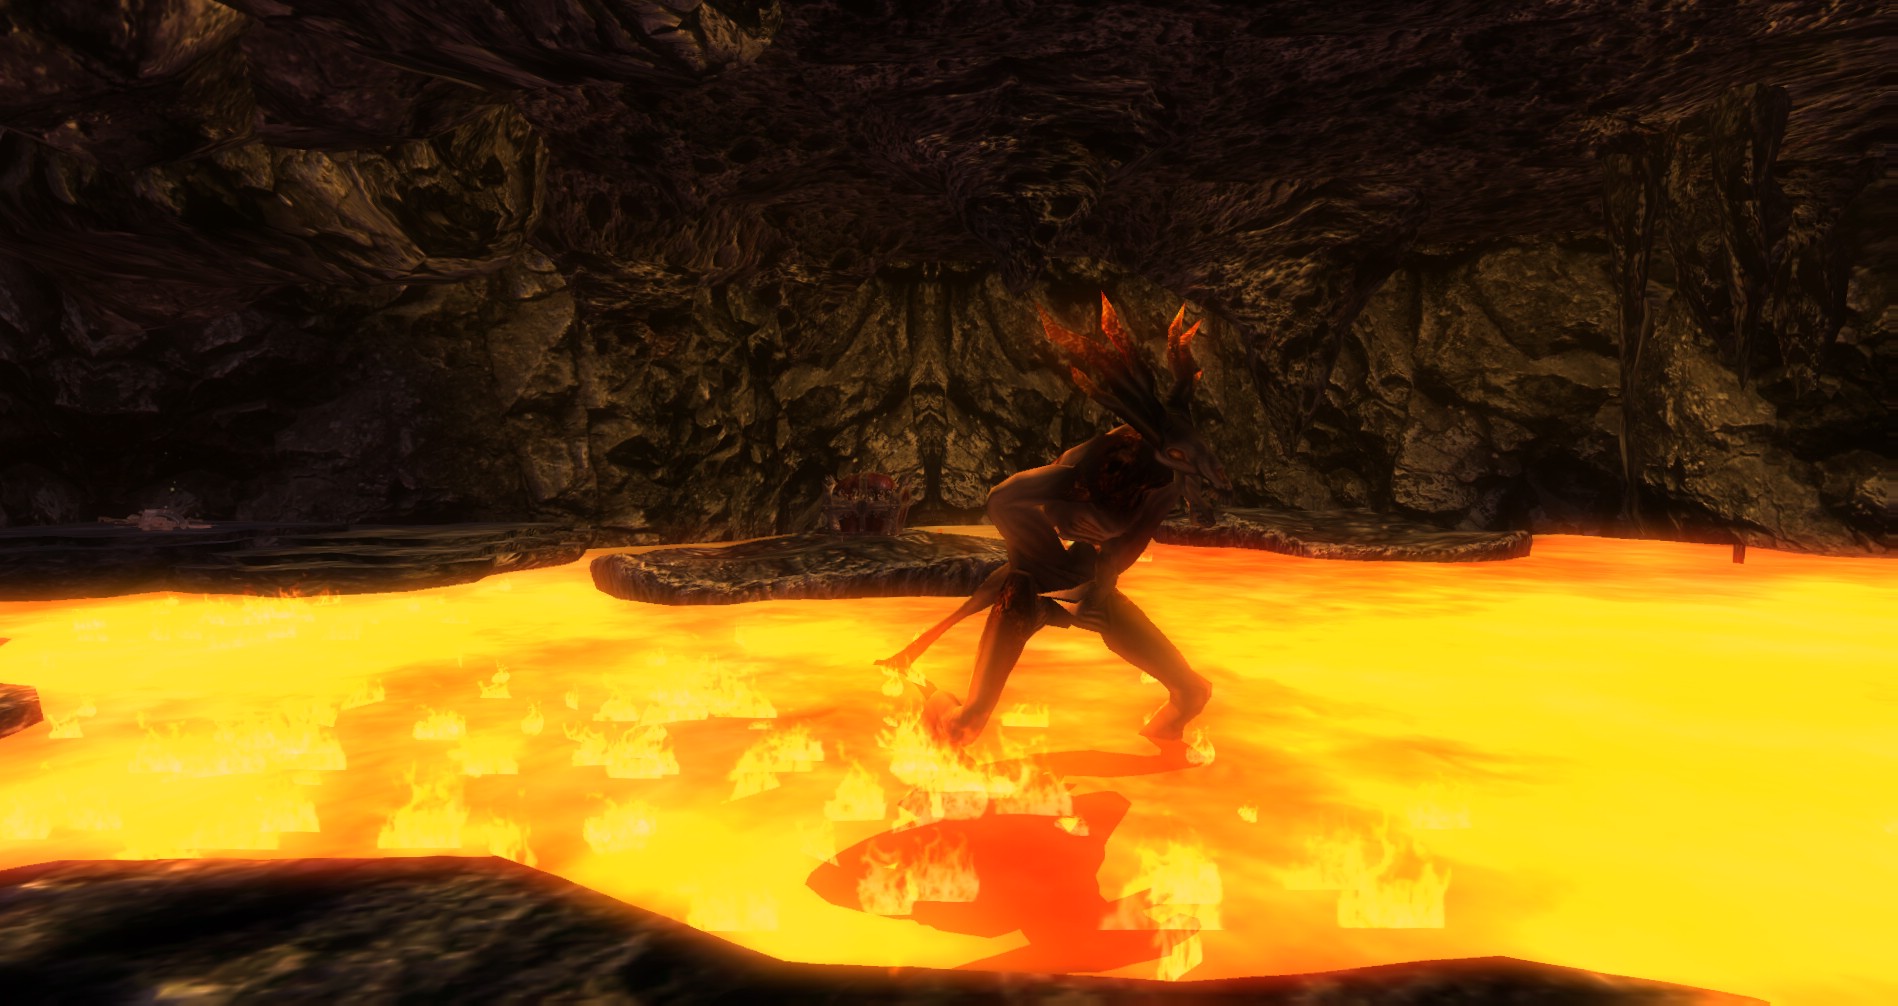
Head in and to the left (south) at the pit trap and make your way down to the Reaver Lord.
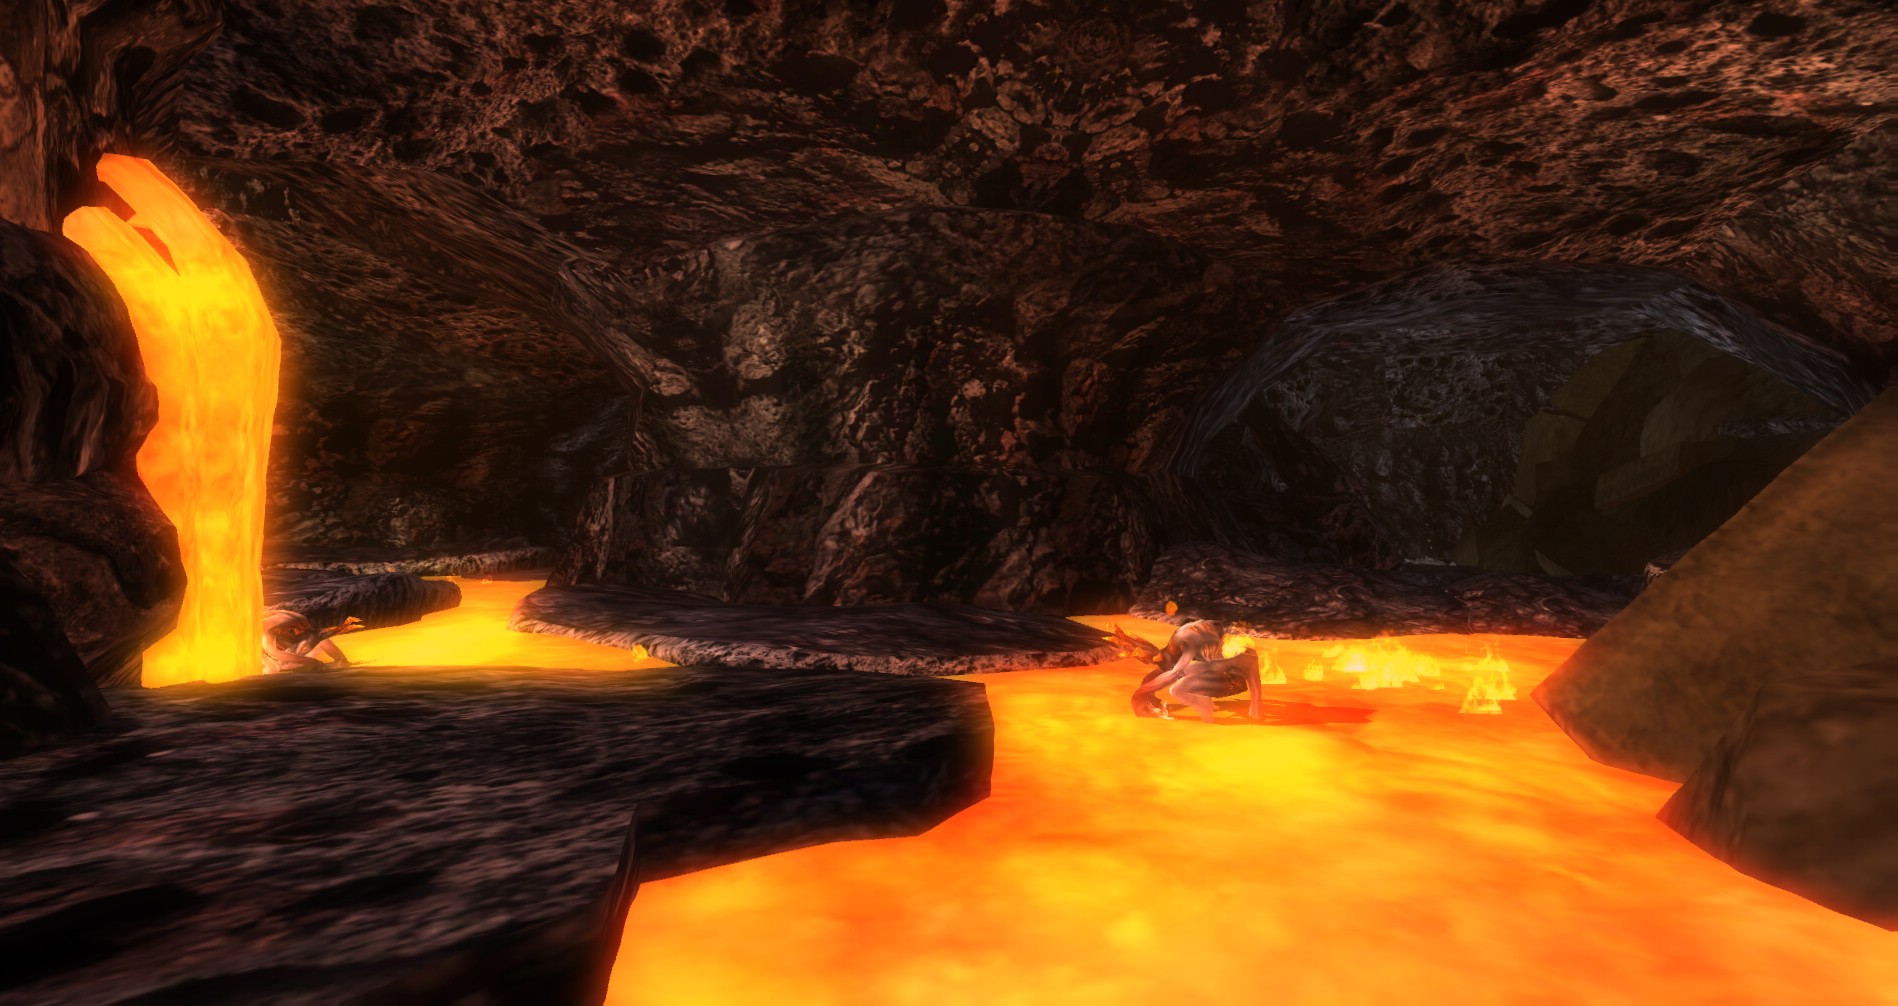
Fight past the Kyber Reavers and the room full of lava with the small islands of safety. Once you are past this room, you’ll come across a drow party that has been incinerated. Park your party at the burning corpses. Have one person range pull the beastie back to this point and kill him there. There is no reason to fight a fire reaver lord in a pool of lava.
 Once he is dead, run in there and get your loot. There is also a collectible on one side if you want it.
On your way out, don’t forget the pit trap to avoid falling to your death.
To the West – Resurrection Shrine
To the west is a resurrection shrine in case things go poorly with the Kyber Reaver Lord or some of your party falls into the spiked pit trap.
There is also a note here to learn a bit more about what is going on.
To the North – The Second Intersection
Head this direction to find another intersection. In this area you will need to get the sockets.
The Second Intersection
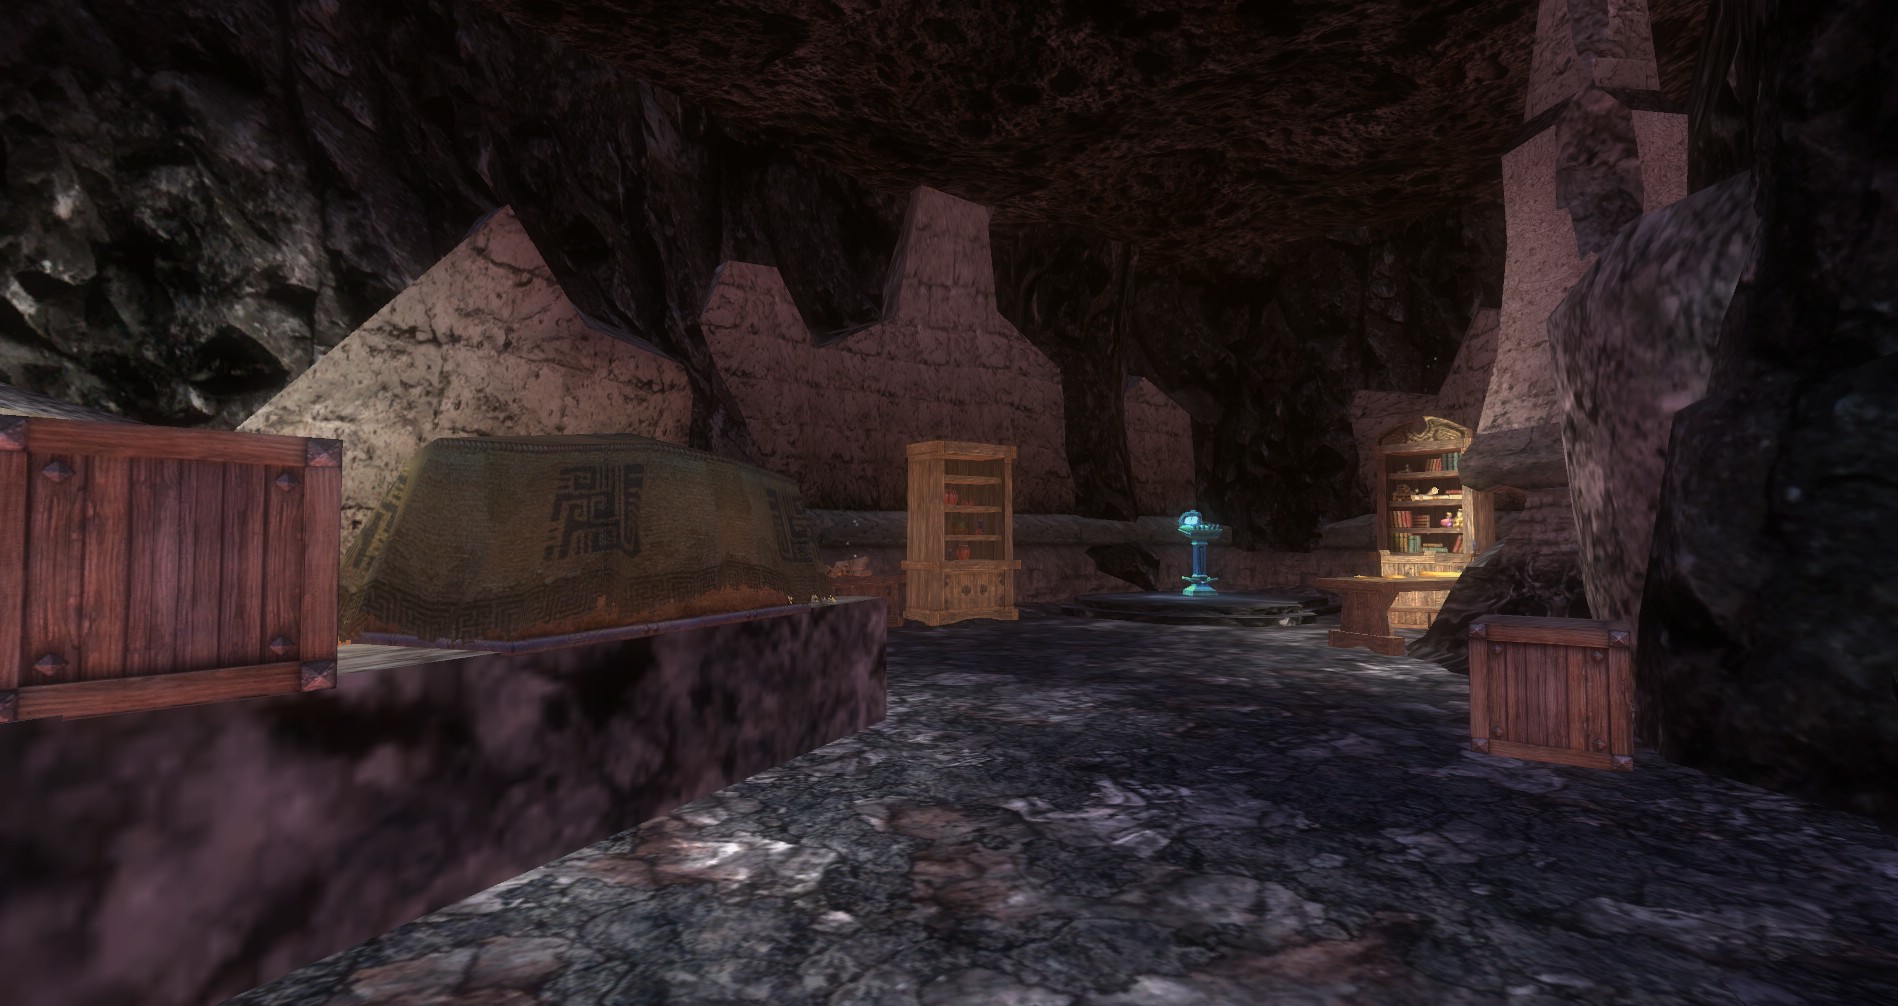
To the East – Silver Flame Sealed Study
 To the East of the second intersection is a Rakshasa Lord that is trying to break into a Silver Flame sanctuary. There are also a few Kyber Hell Hounds that will agro from below, so be ready for them to sneak up on you. If you are interested, there are also a few collectibles down below where the Kyber Hell Hounds come from.
Hit the rune to drop the ward. Inside are some more collectibles and breakables, as well as some Transcriptions from the Book of Flame to help give you some insight on what is going on here.
To the North – Spider Crest Ward
 To the north of the second intersection is another lava area filled with Kyber Reavers.
Just past this area you should see a hole with a ladder in it. Jump down here to get one of the spider crests. There is a Kyber Hezrou at the Silver Flame Ward protecting it, but it is easily dispatched. You can send one or two down this hole while the rest of the group continues.
Go further to another barrier for the second spider crest. Climb the ladder past the barrier and you will find it on the far side of the outcropping.
To the West – Resurrection Shrine
To the west of the second intersection is a resurrection shrine if you need it and the Page from Brother Aurelius’ Journal. Read it to learn more of the plot that is being uncovered.
Once you are done in this are head back to the spider crest ward.
The Spider Crest Ward
 Once you have the two spider crests, you can place them in the socket next to the ward. A door is found at the first intersection to the south. Open this door to head up to the last part of this quest and the last section of this dungeon in Kyber.
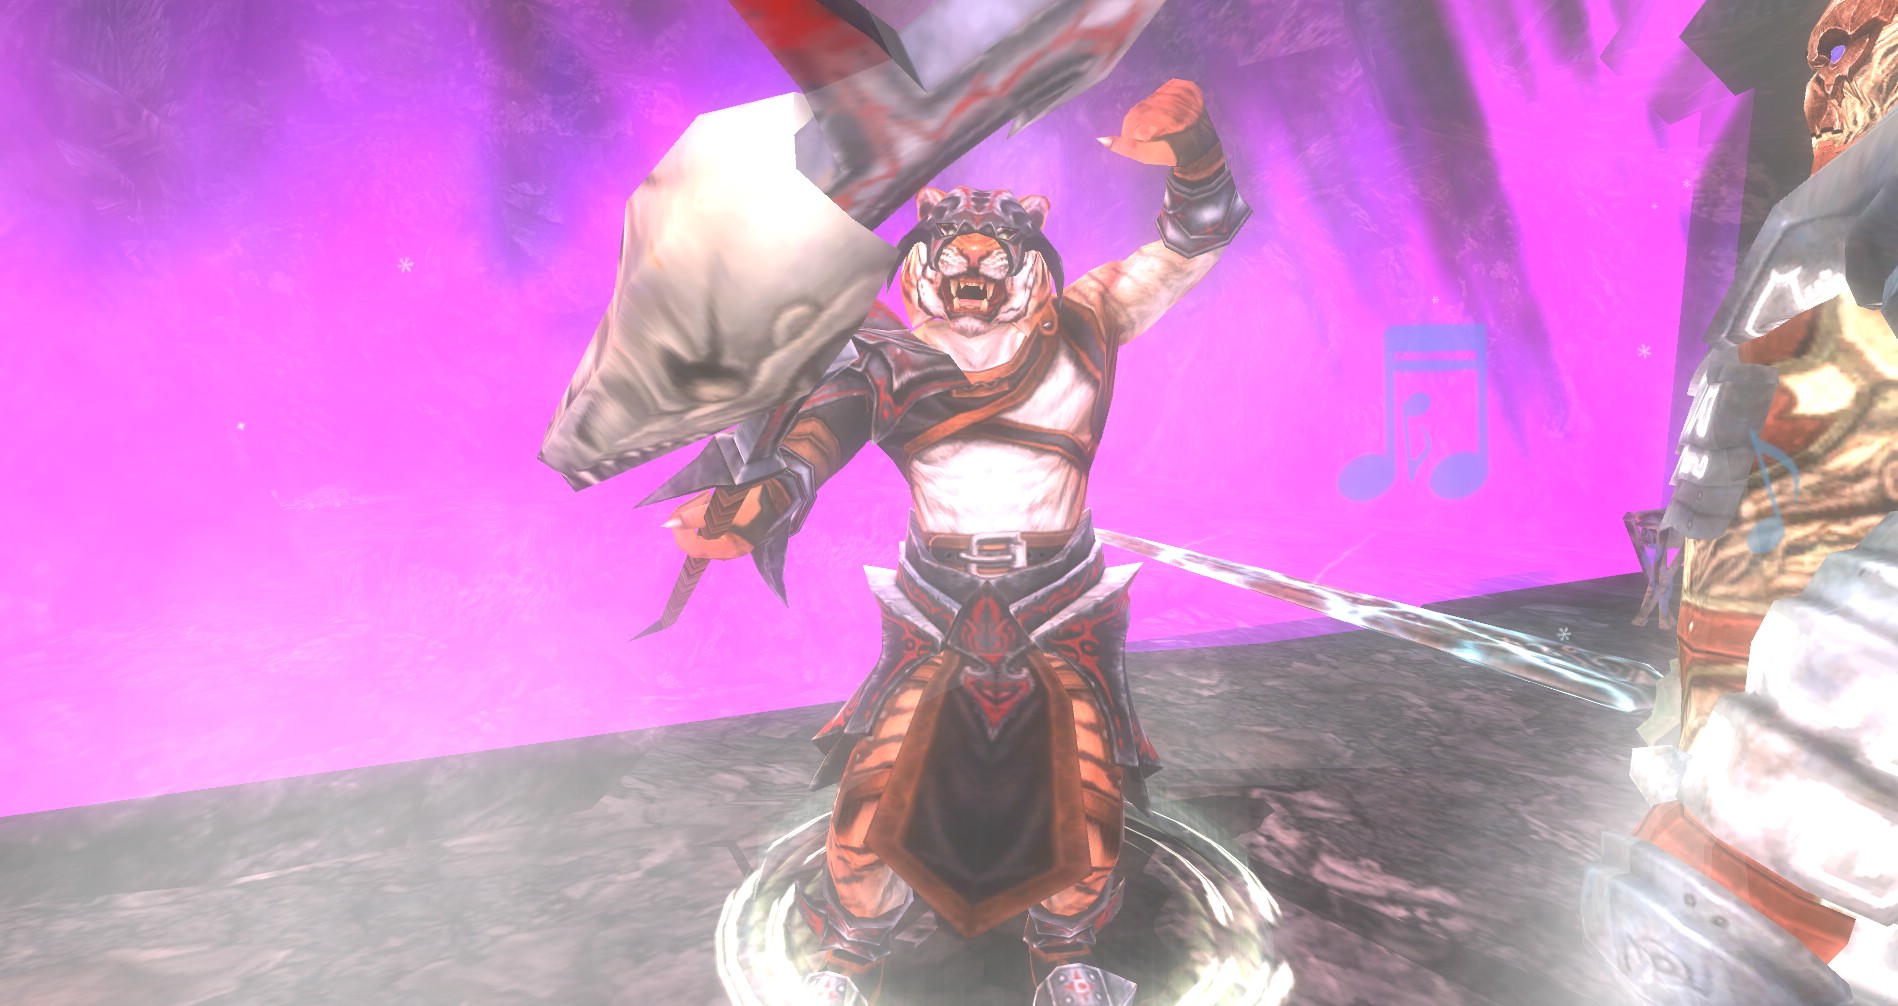
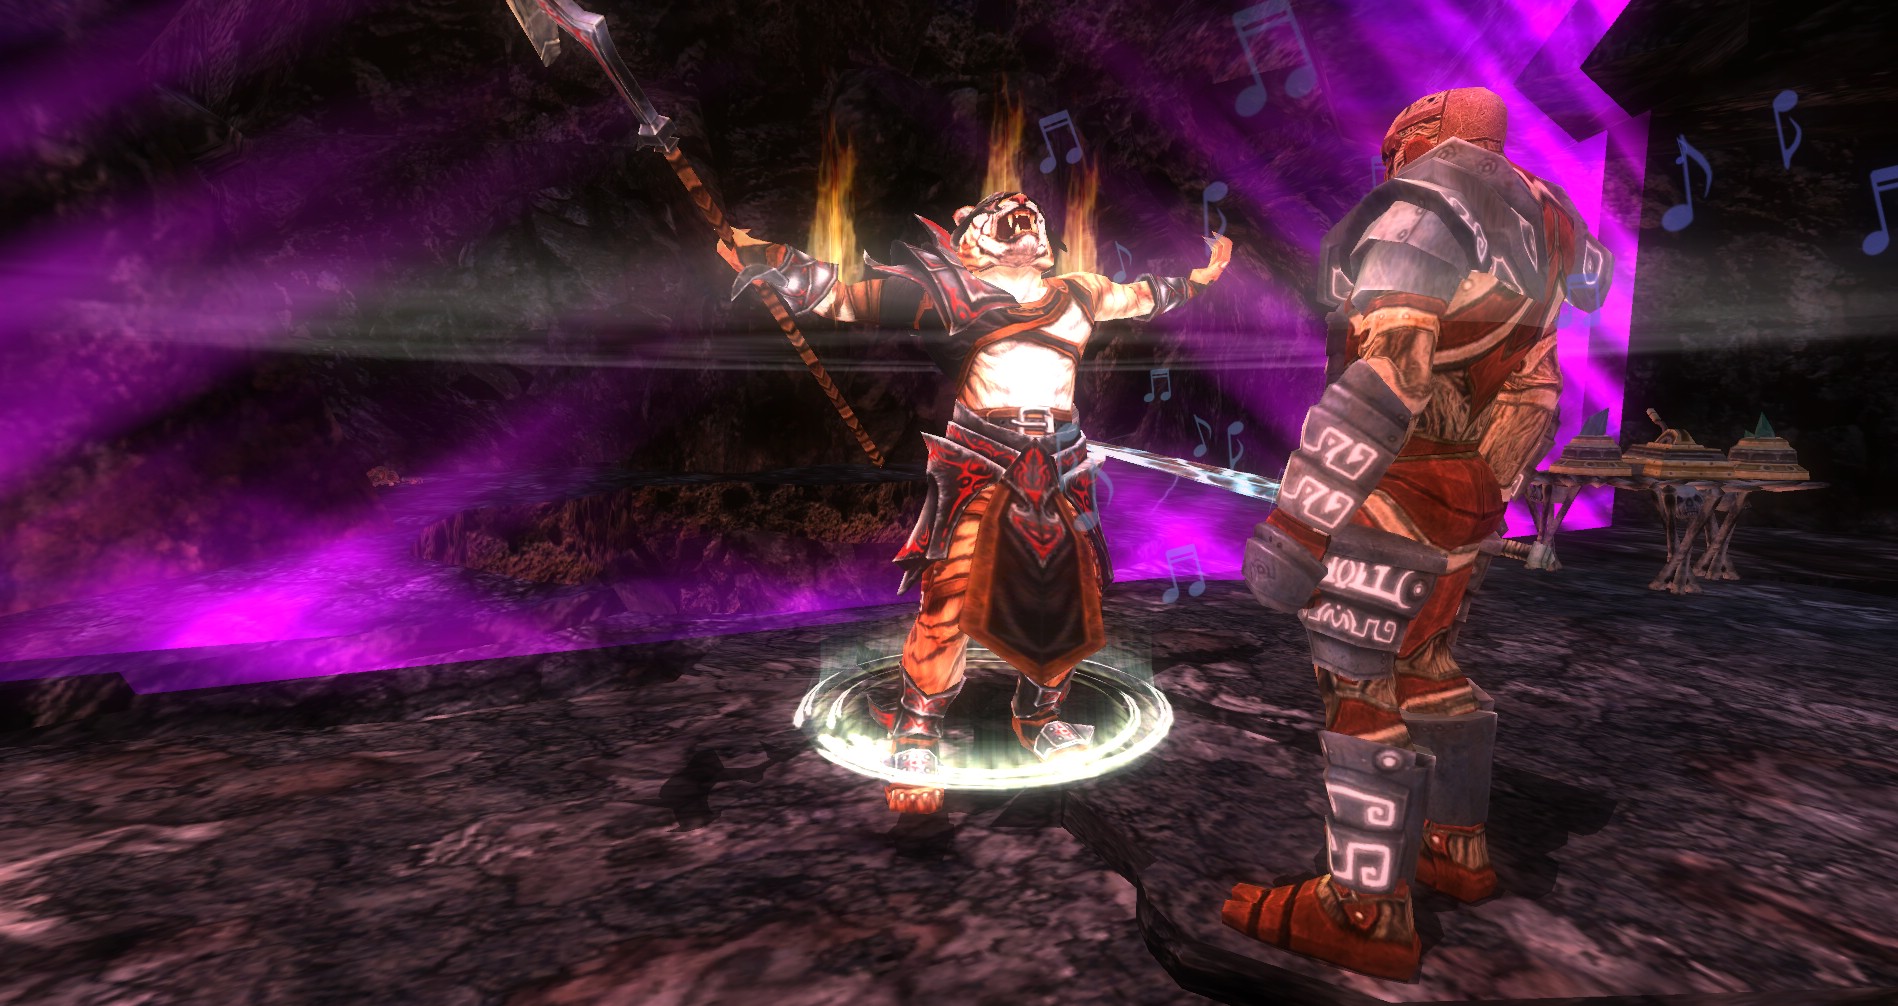
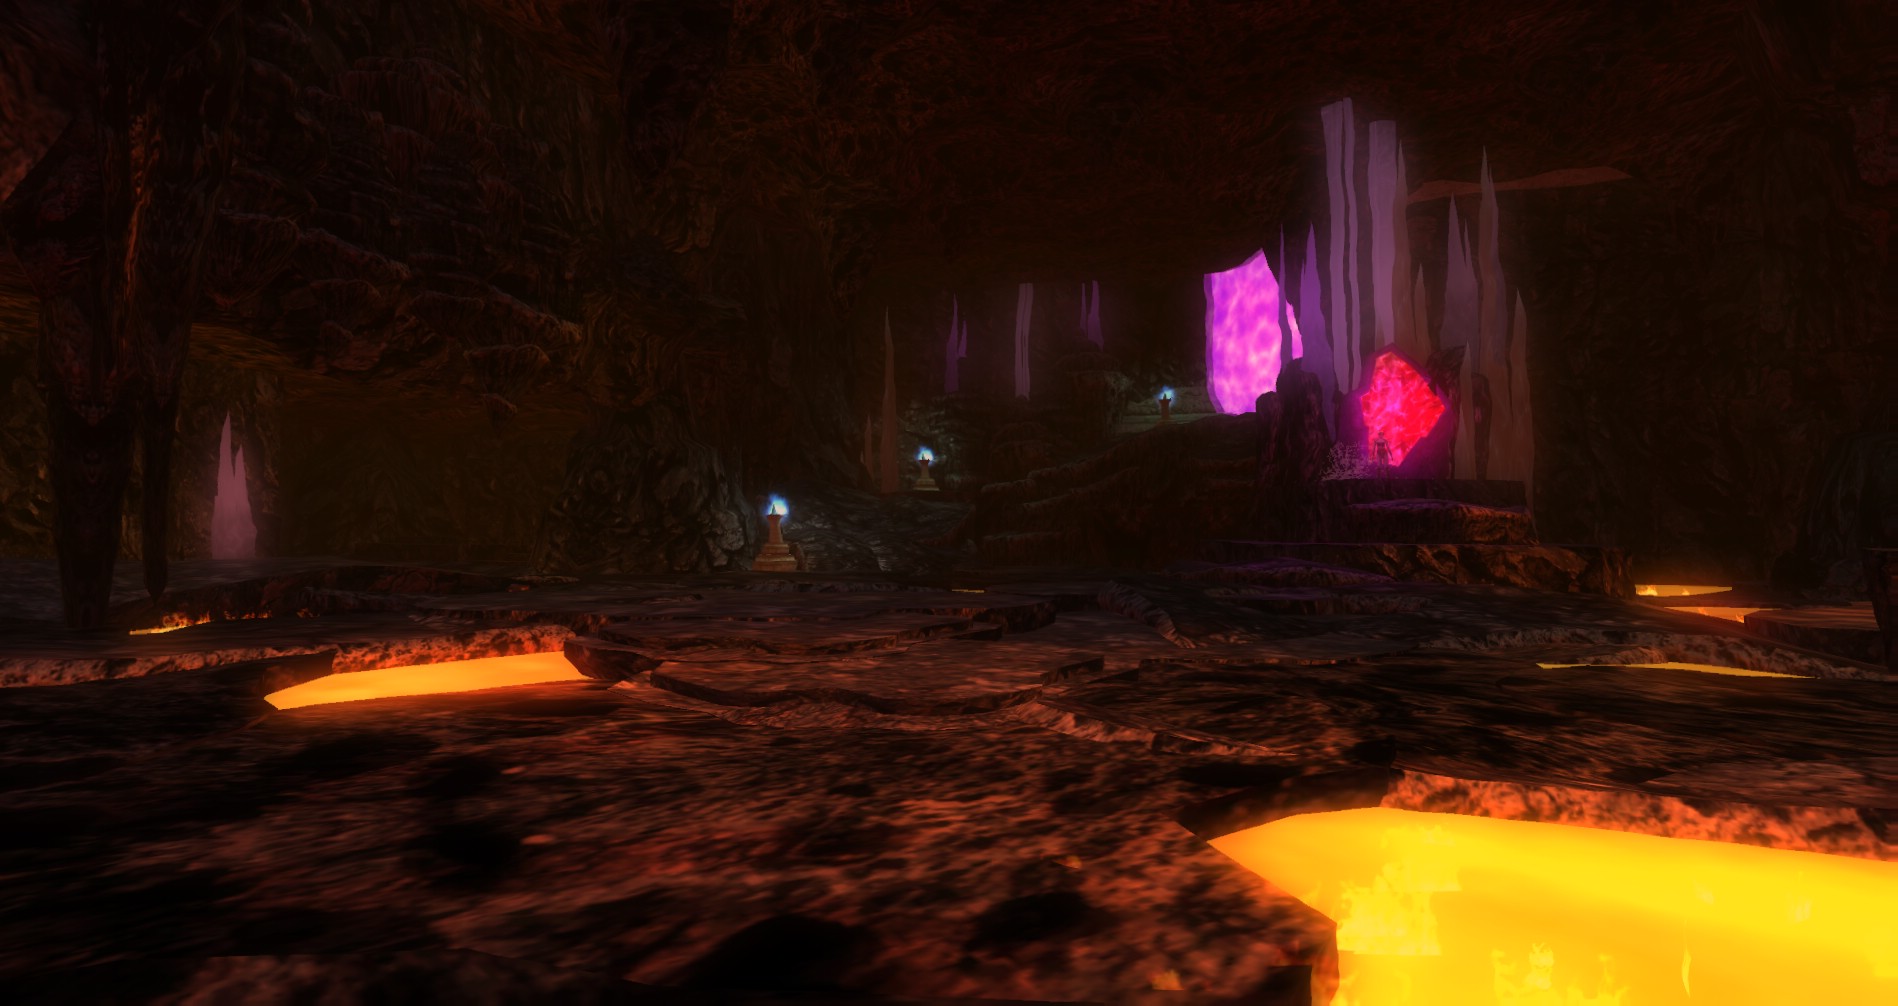
Drow Dragonshard Ritual
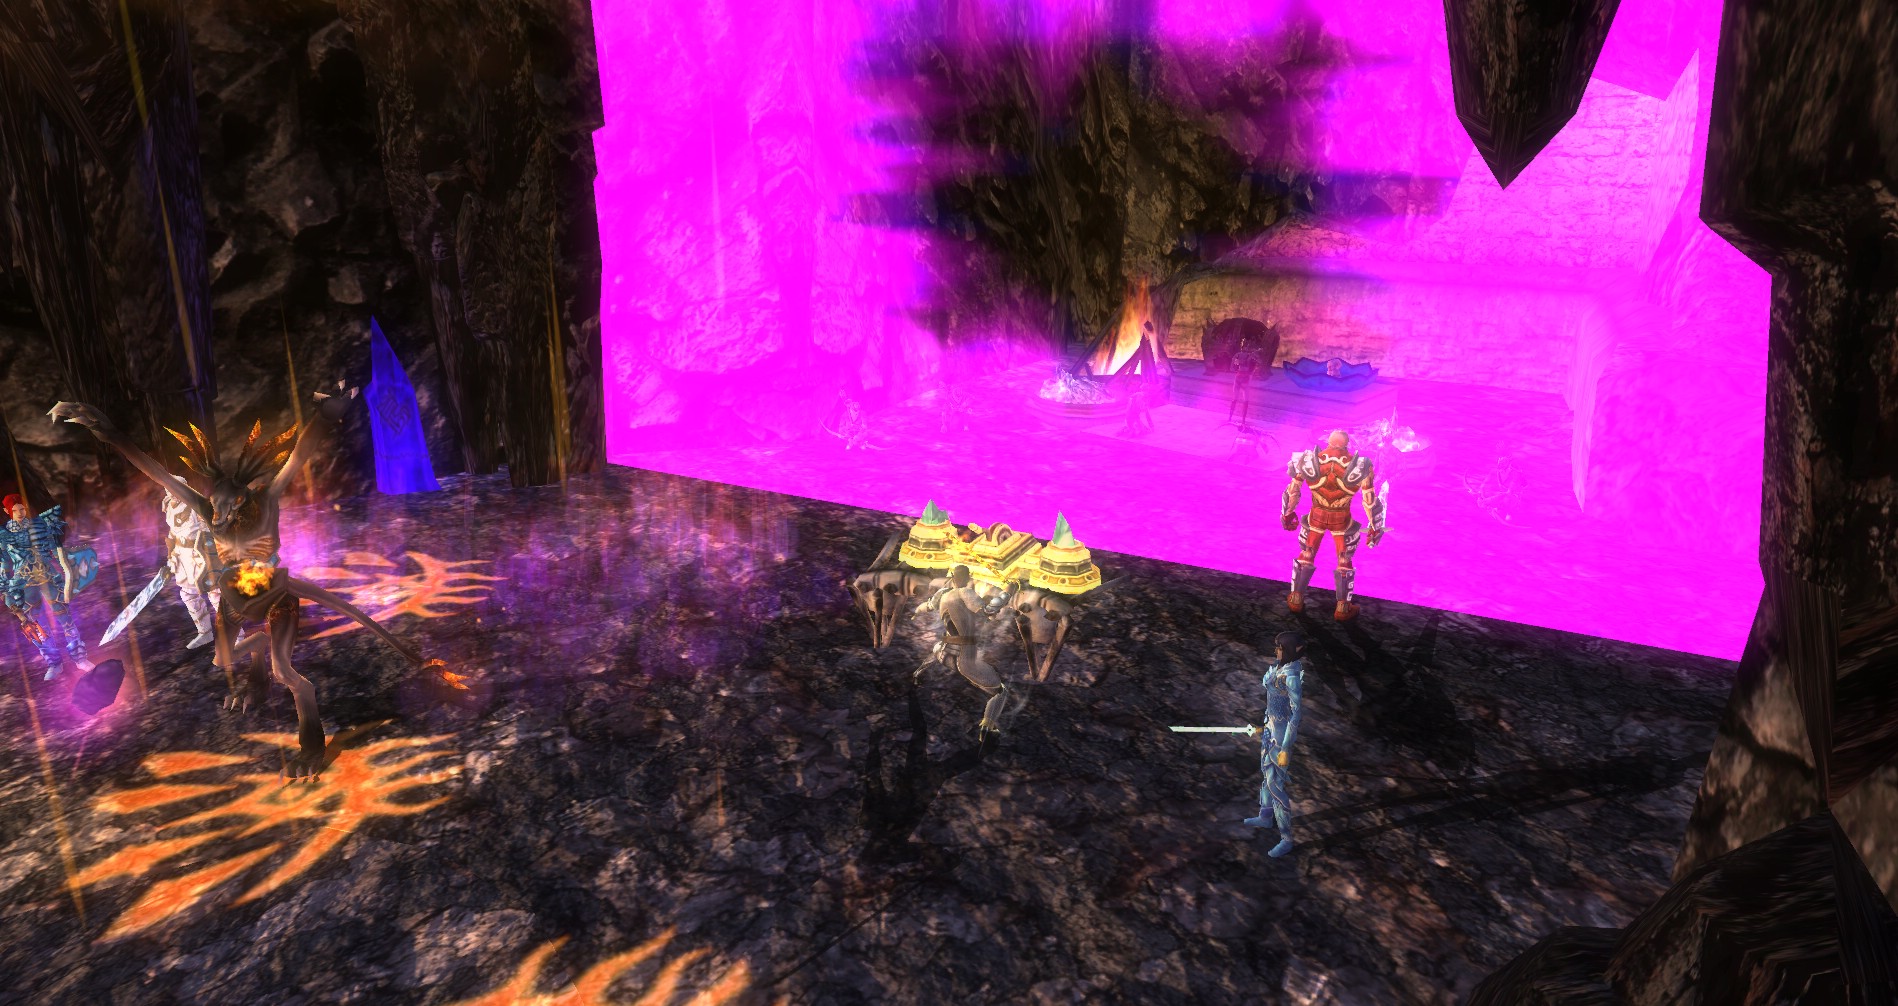
The next room you will come to is a big open room. There is a purple barrier to the left that a drow party has used to seal themselves inside the room while they perform some dark ritual.
 This is an optional here and can be quite hard to solo. Head straight and under the stairs to avoid this encounter or you can move around and up the stairs to activate. Know as soon as this encounter is activated it will start to continually respawn mobs until it is completed.
The best method is to have a sneaky/evasion character sneak up once the rest of the group activates the encounter and fights the enemies that spawn in this encounter. Have the sneaky evasion person move to the barrier side of the lever and begin to open it. It takes quite a while for the switch to be pulled so make sure they are not interrupted. There will be lots of explosions from the Kyber Reavers so this is why you want to have an evader do it. Being hit by one of these Area of Effect spells will interrupt the opener and force them to start over. All the while enemies keep spawning to protect the area.
 Once the barrier is dropped the fight is not over! The drow will agro on you at this point. Make sure your party jumps on the spell casters right away as they are very deadly. Especially when you may very well still be engaged in the enemies that remained from the first part of this encounter.
Once everything is dead, loot your chest and move on. Named loot can also drop out of this chest as well.
Under the Arch and Down the Hole
 You will see a shrine down here but don’t use it until you clear out the spiders and the web they spun across the passage.
Then everyone should shrine and buff to continue. You will jump down another hole right after this area so this shrine is a “use it or lose it” shrine unless you happen to have a caster with Dimension Door or want to Recall out.
There are some mobs that you will fight as you head down. Keep heading down and killing the beasts of Kyber and the Drow and Rakshasa Lords. Drop the spider barriers until you get to another Silver Flame Ward.
There is a small area off to the left with some ruins that spawns Khyber Hellhouds. Head over there and fight the waves of Hell Hounds that will spawn. On the 5th wave, a rare Kyber Hell Hound will spawn, Flamefang. Kill him and take his chest.
Once that is done head through the Silver Flame Ward.
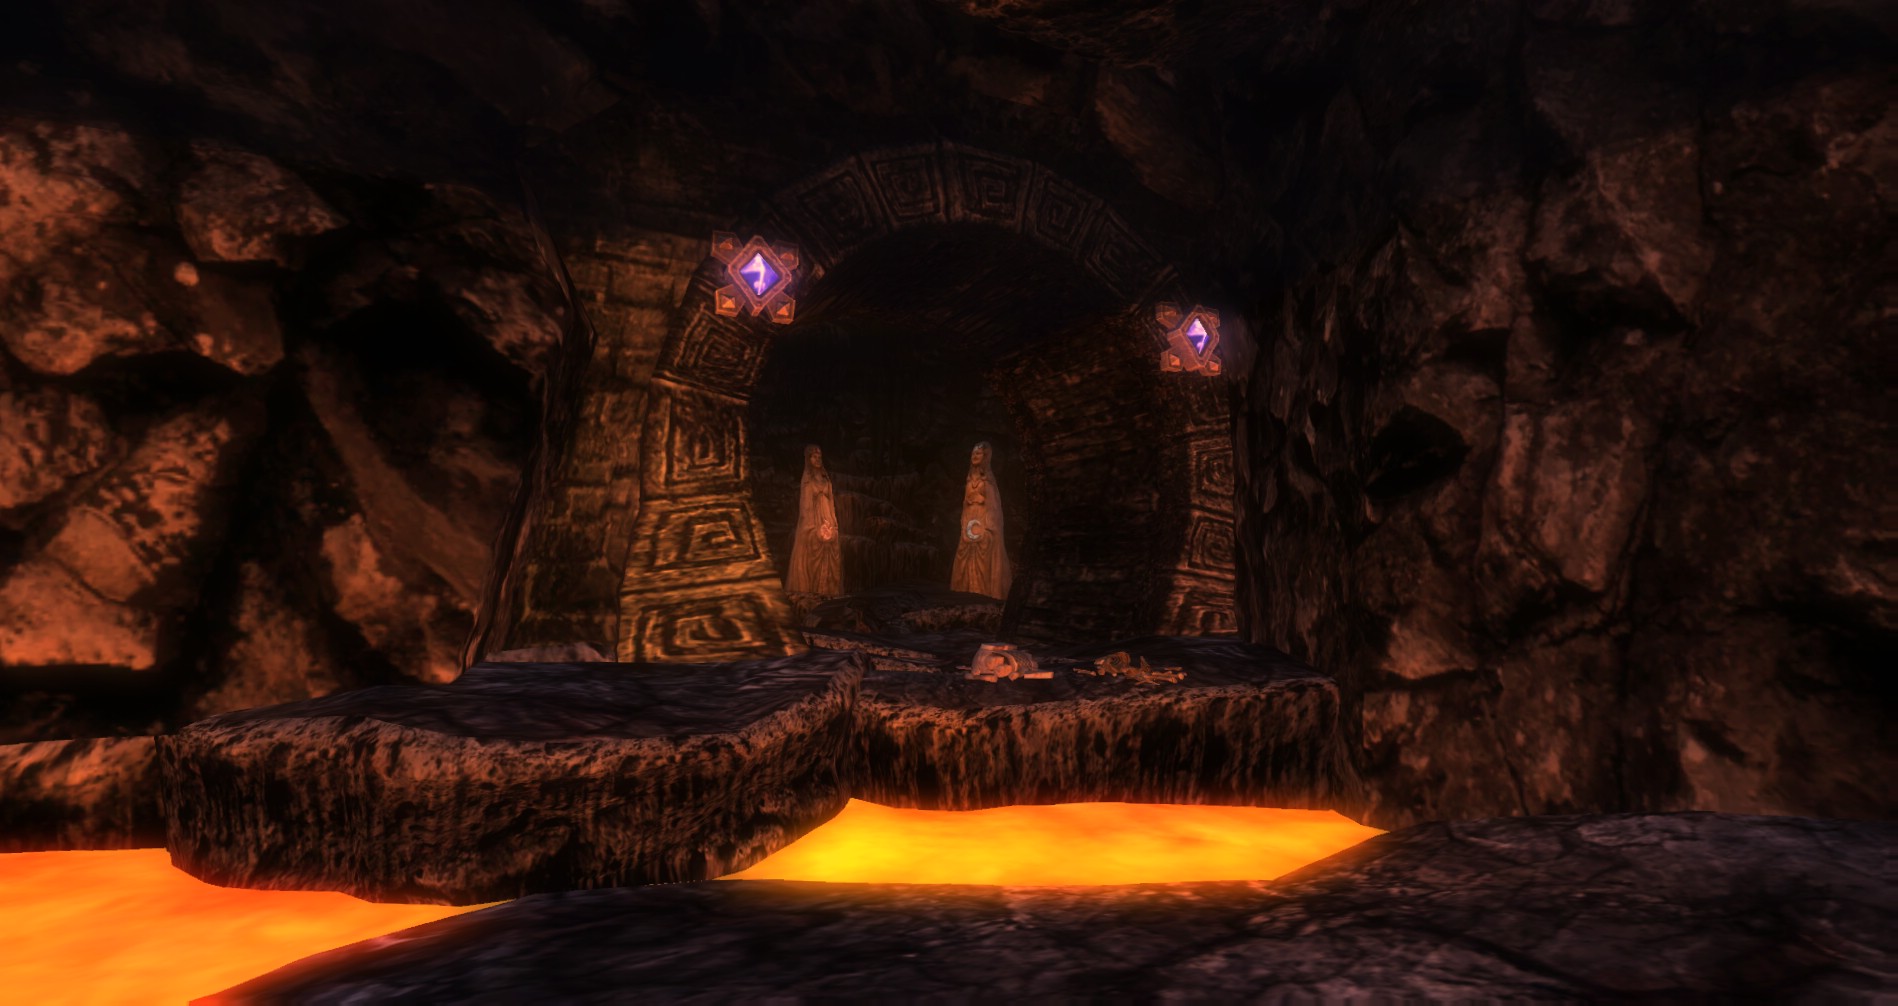
Dropping the Bottom Out
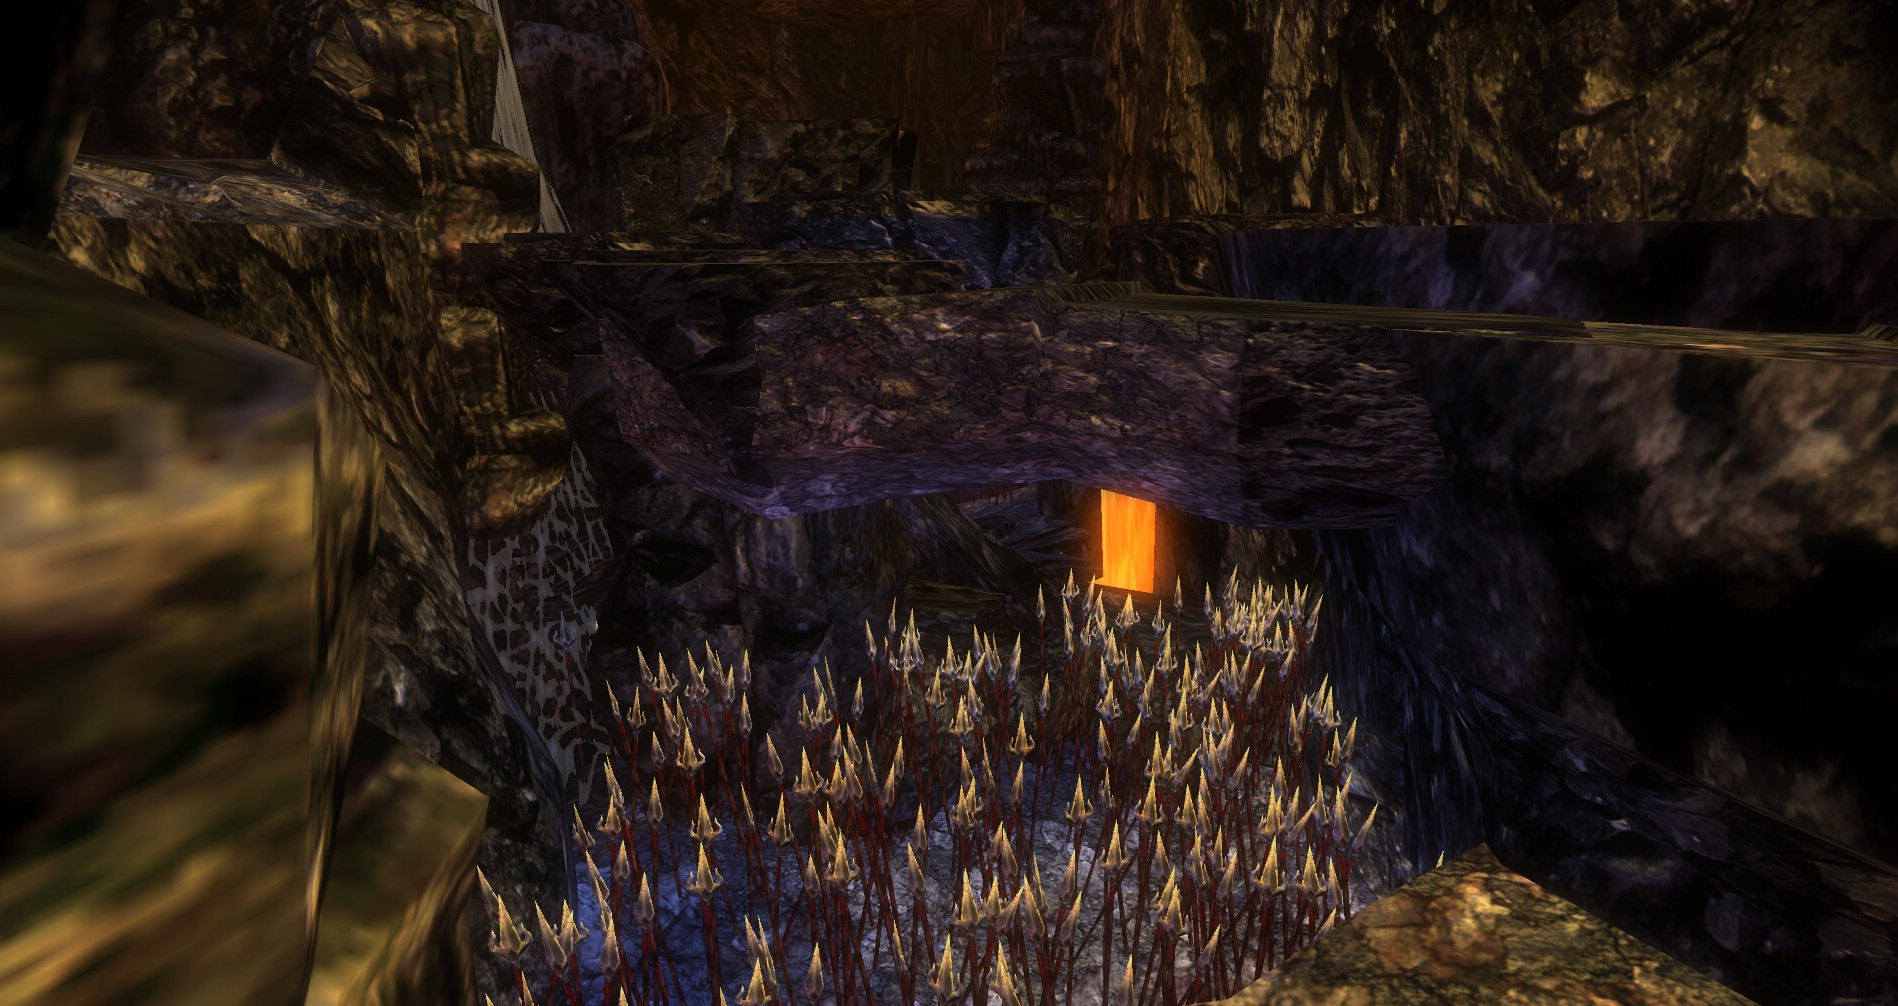
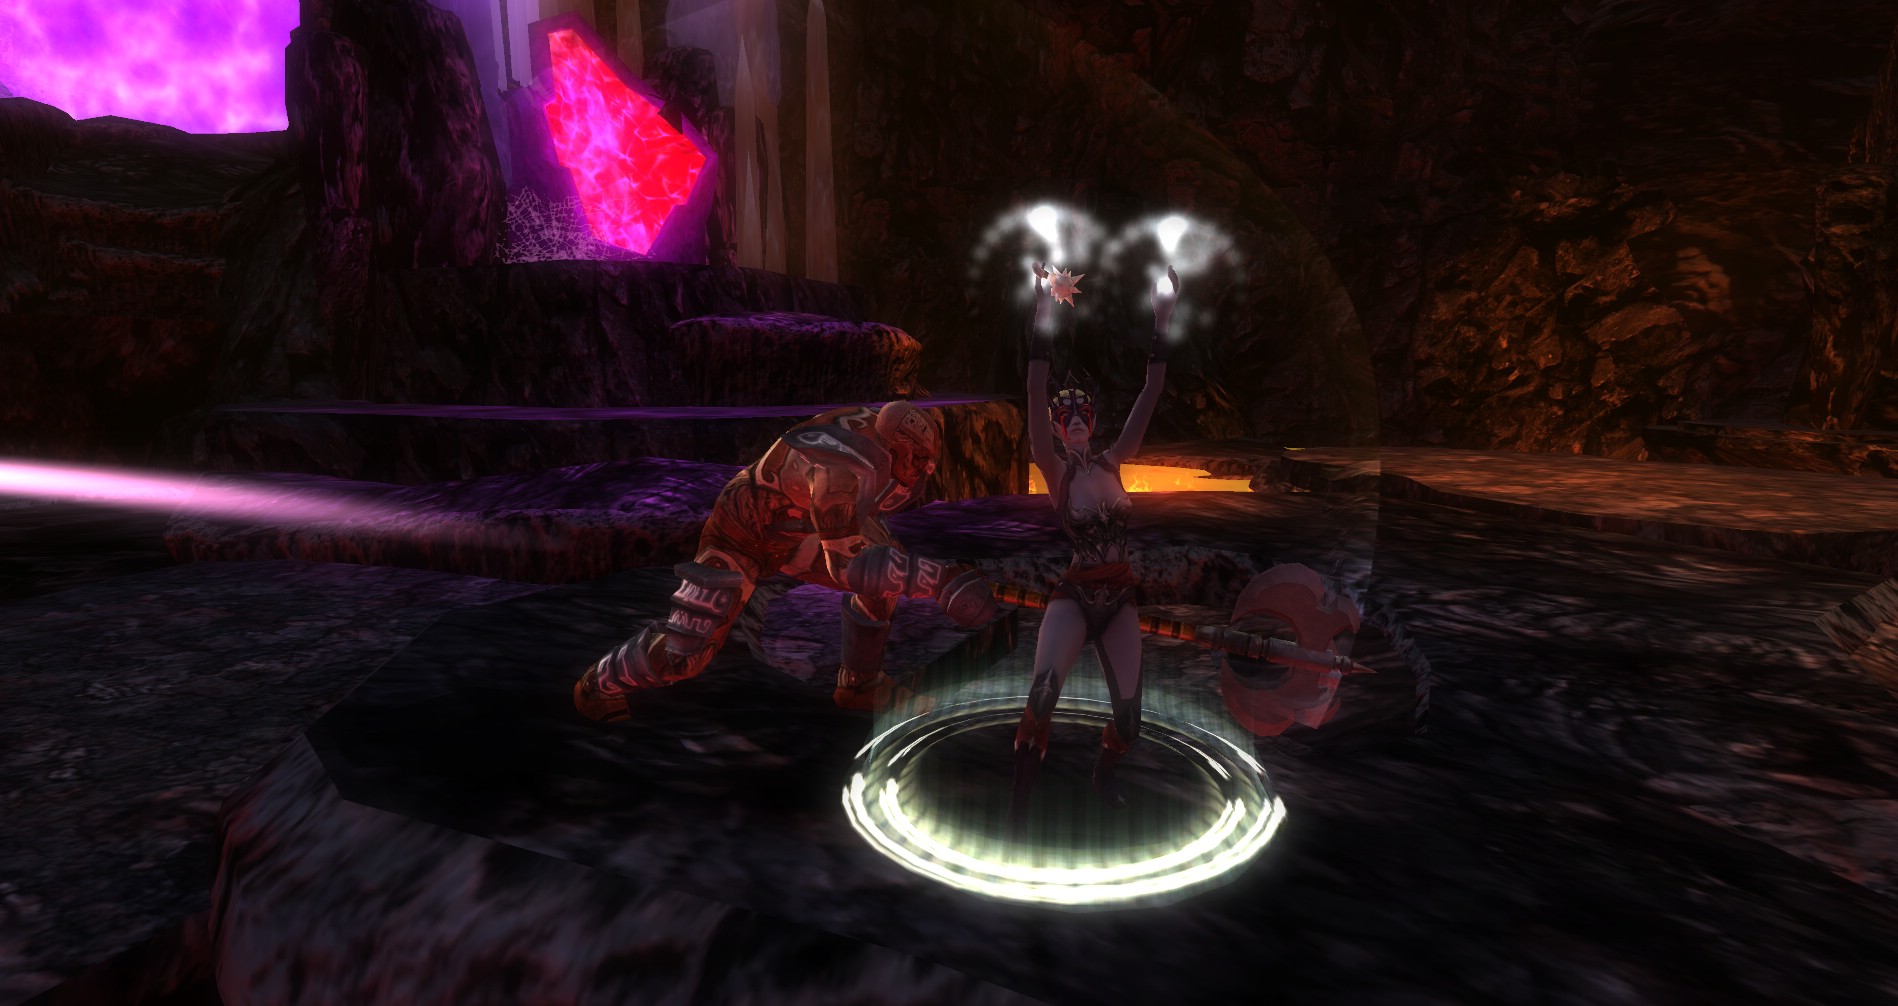
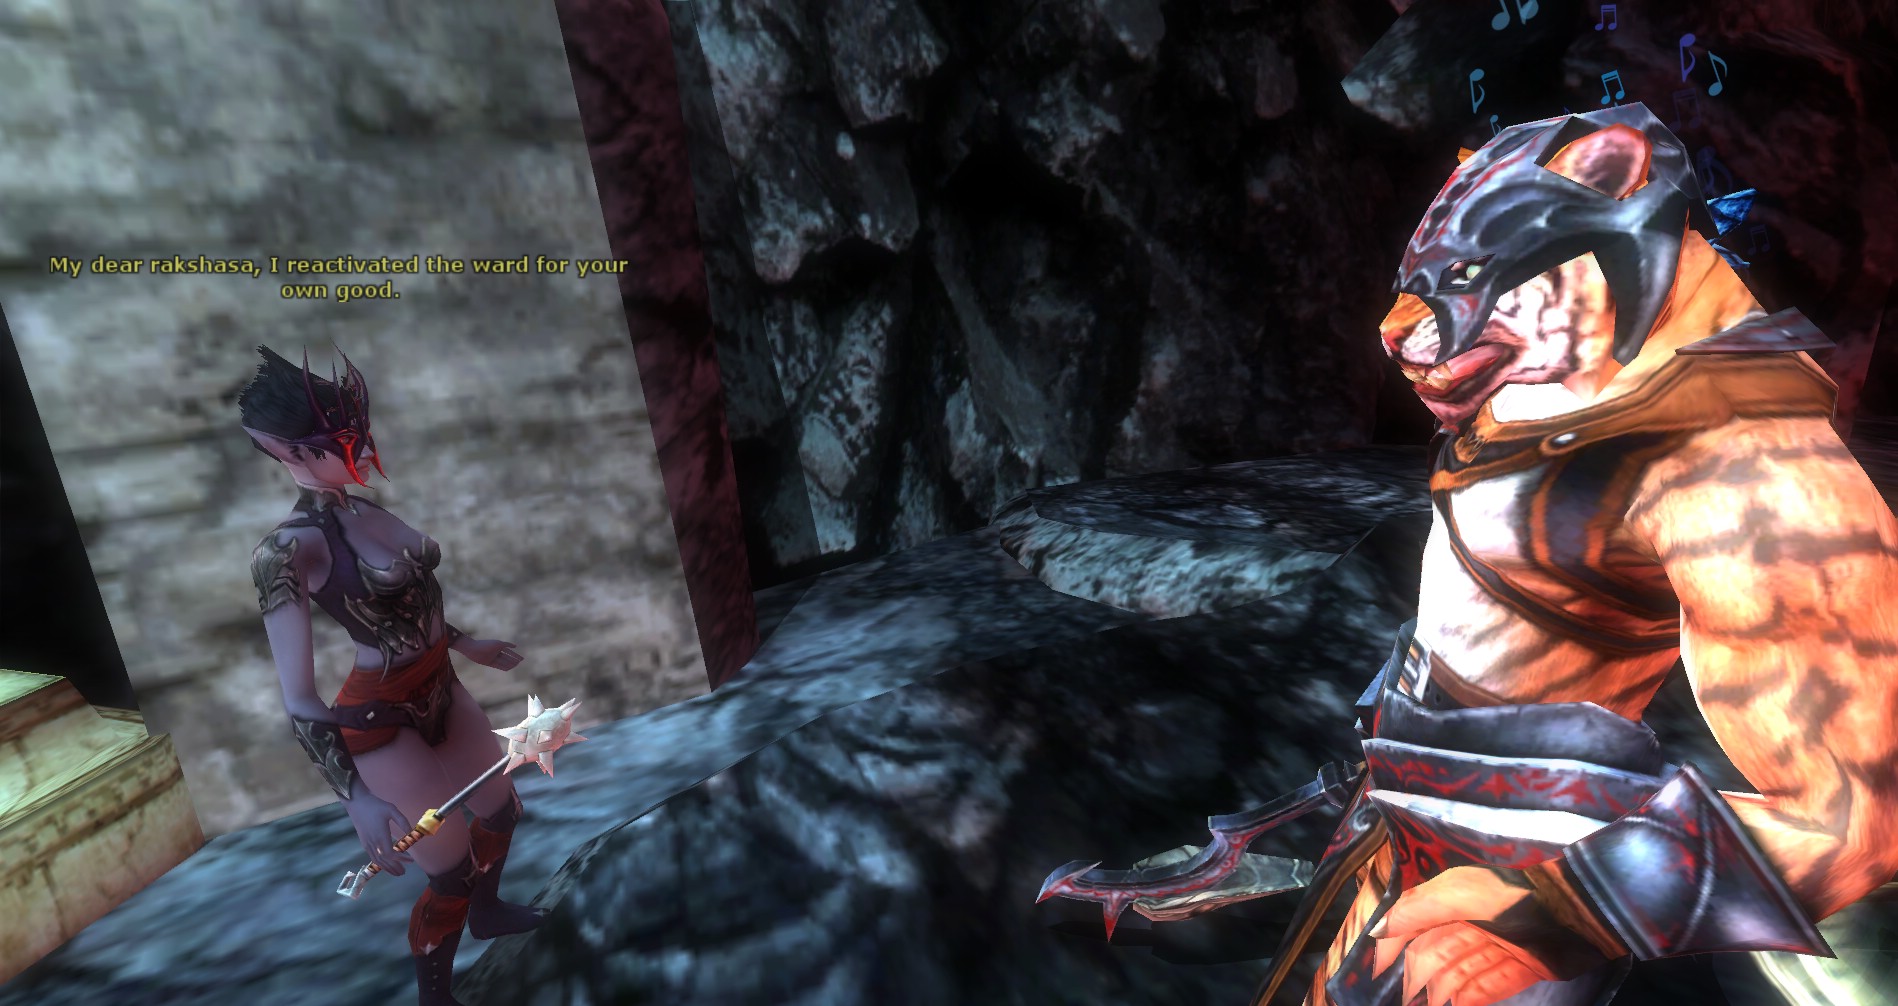
 You will come to another drow priestess quarreling with two Rakshasa Lords. She sends the two Rakshasa to attack you and then she will attack once they are dead. Make sure to pay attention to their conversation.
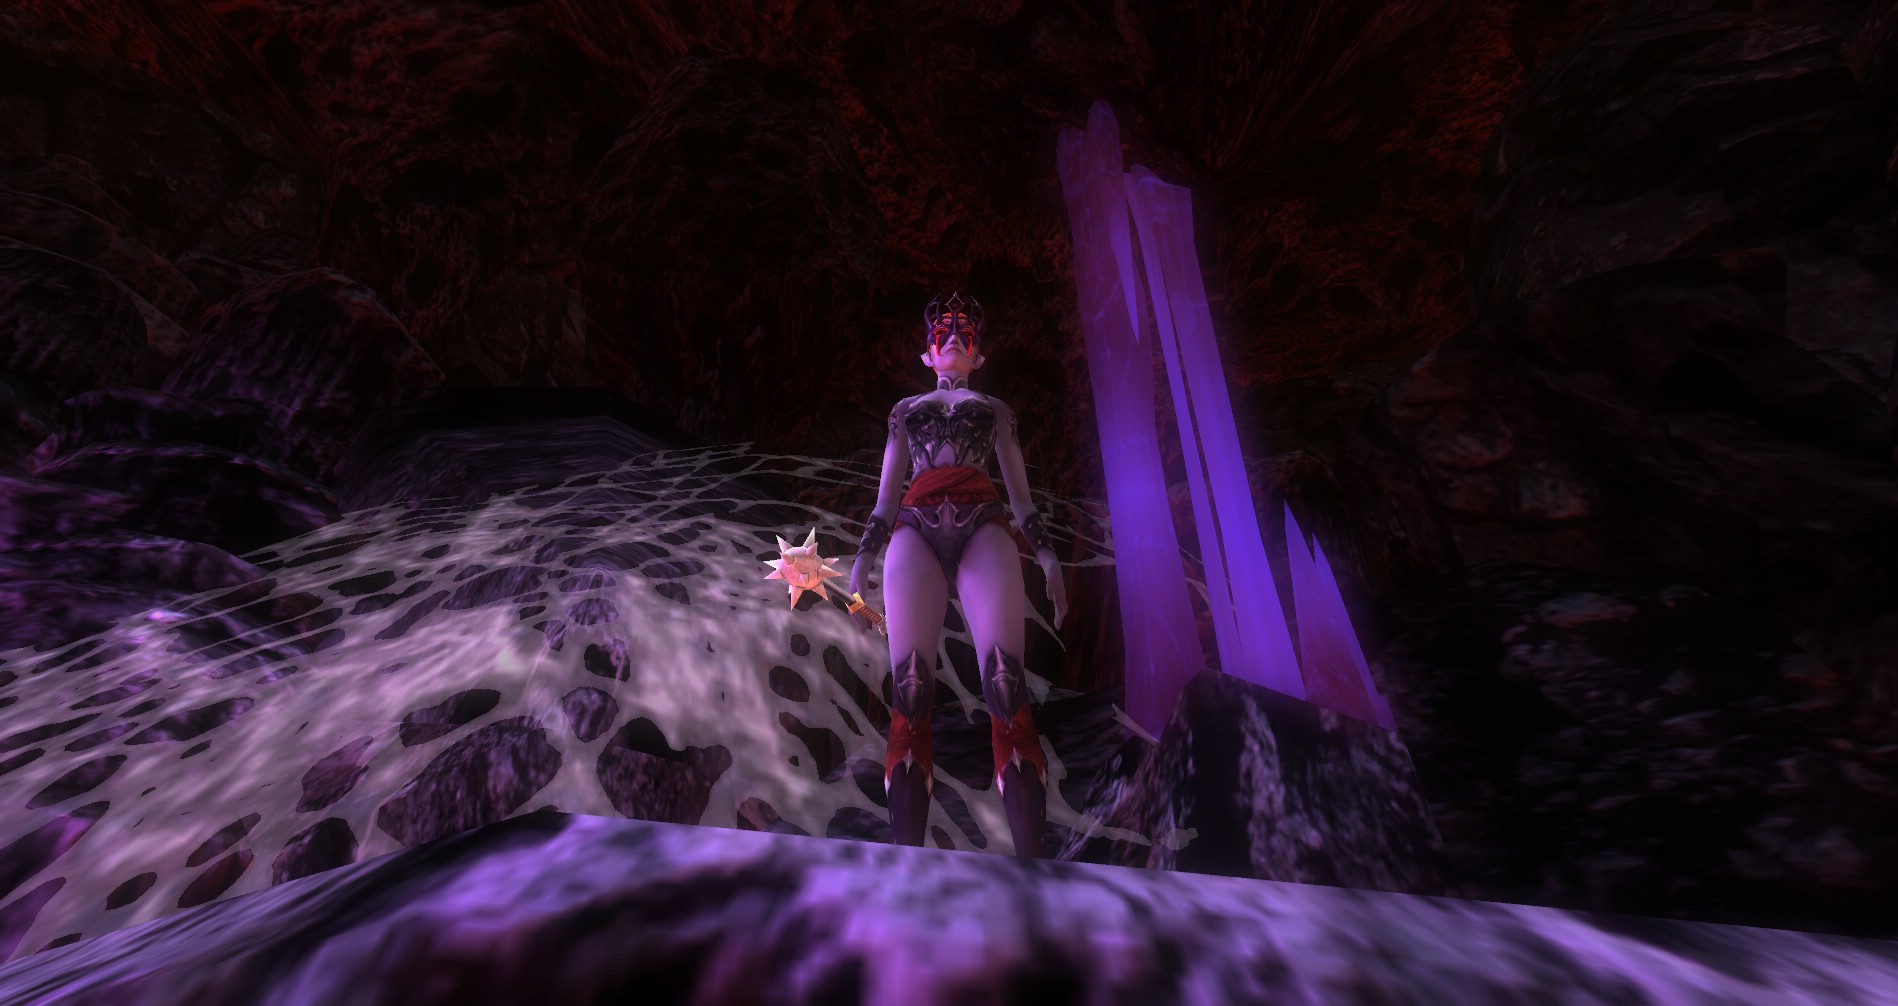
Be careful: as soon as the drow priestess dies, the floor will fall out of the cavern. You can stay above if you fight her up on the platform where she starts.
There is a shrine in the cavern below. Use it and buff up for the final fight.
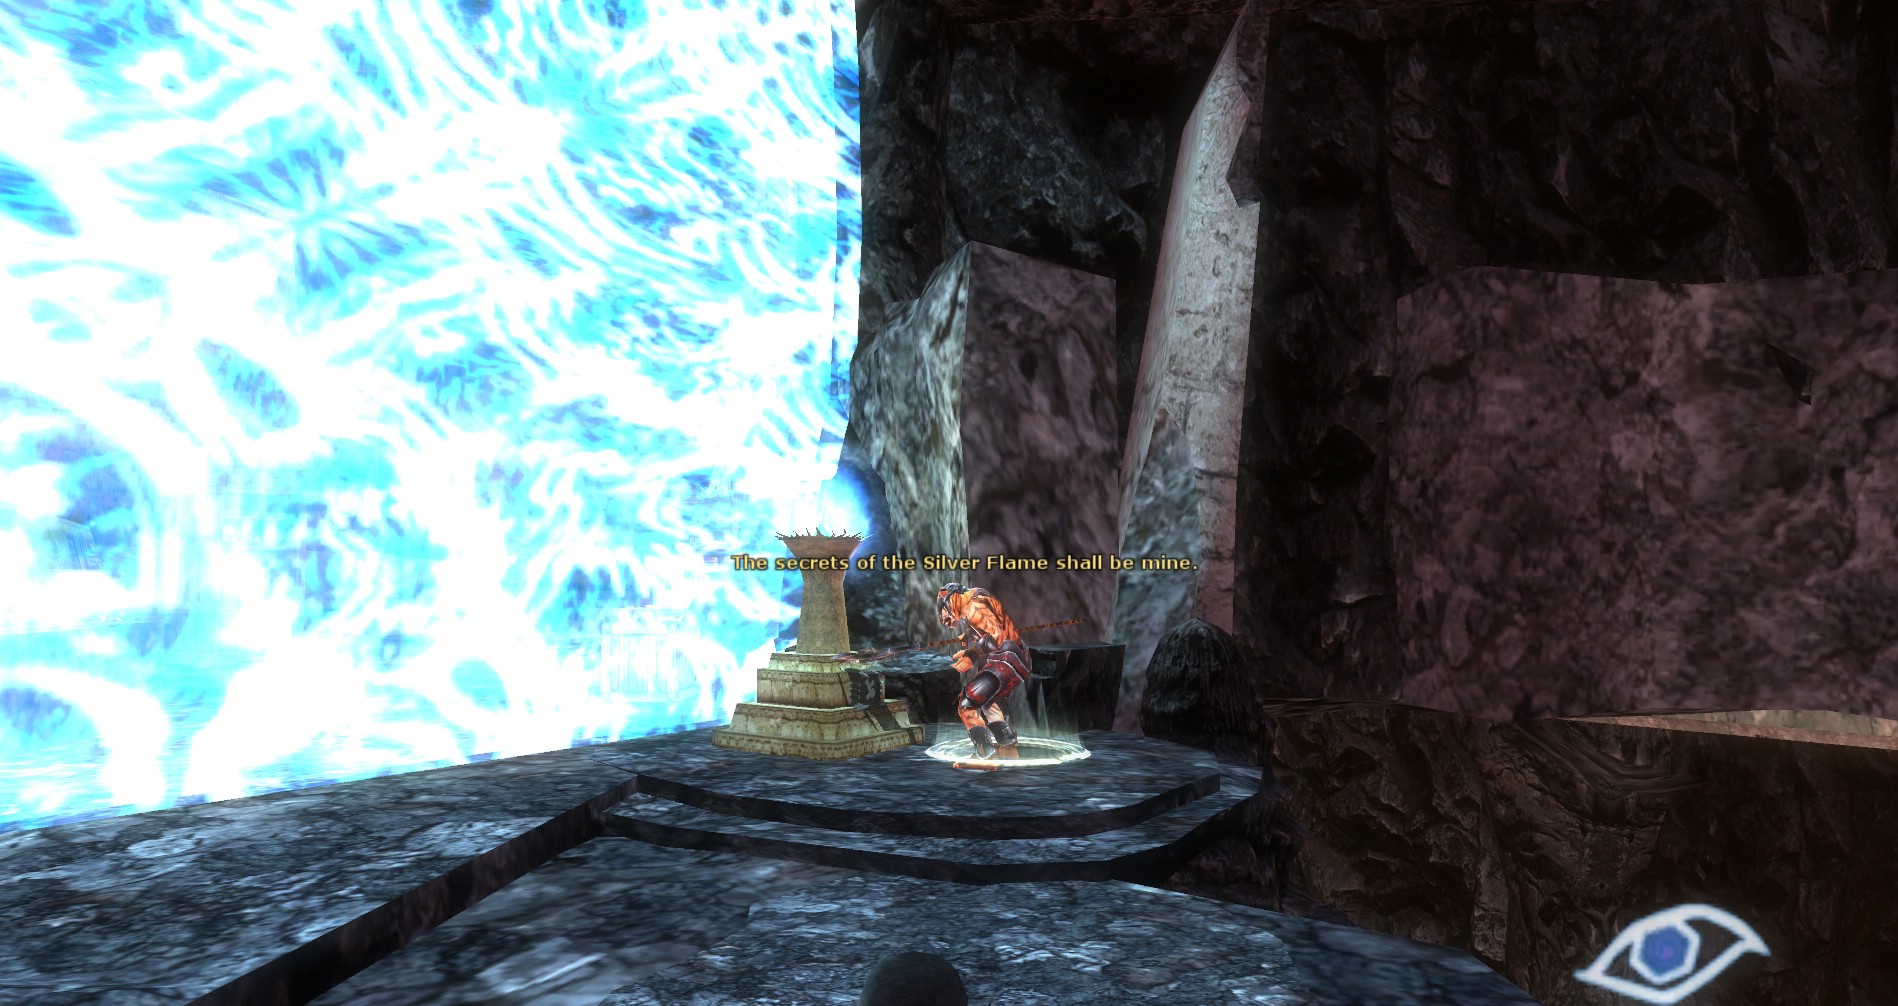
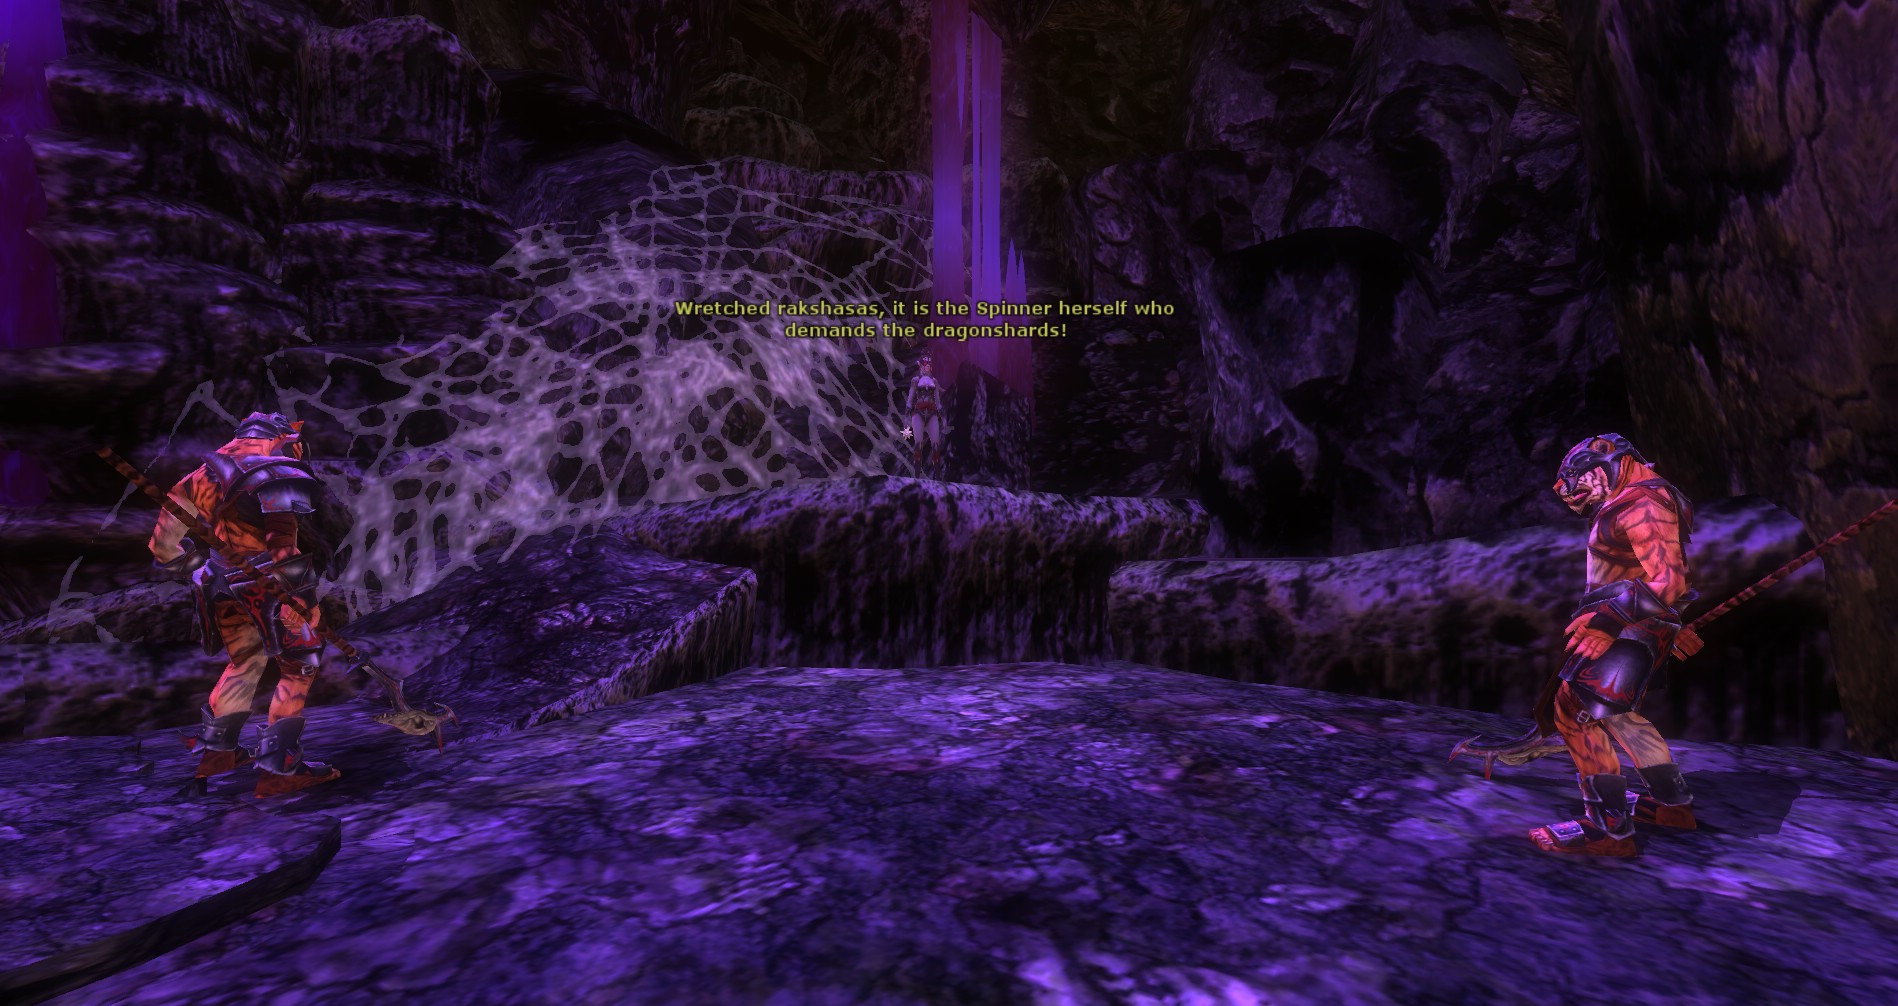
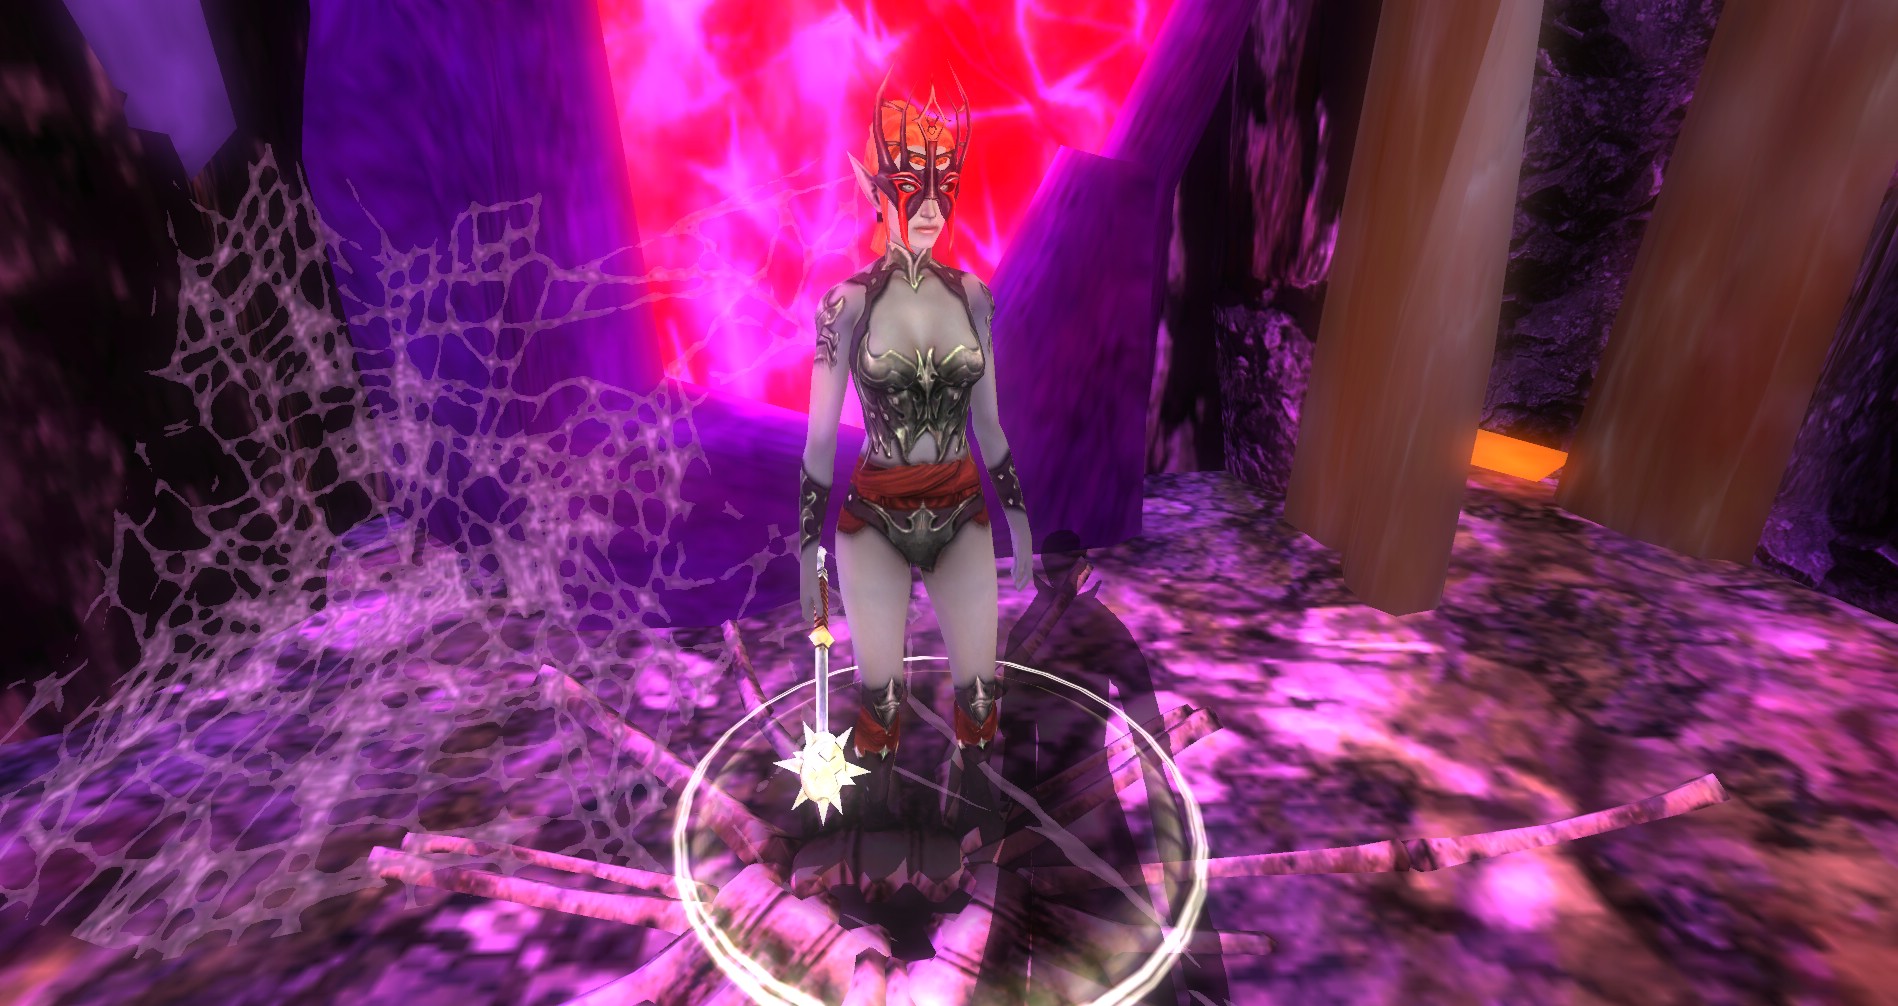
The Drow High Priestess Sabriz Rinzyn Kho
 When you are ready to tackle the final battle of this quest, drop the Silver Flame Ward and head into the large open chamber where you will find the Drow High Priestess Sabriz Rinzyn Kho. Head over and talk to her to start the final battle.
Be careful in this large open chamber. There are lots of small lava pools in here so it is important to watch where you walk. There is no reason to take a bunch of extra damage in this final battle.
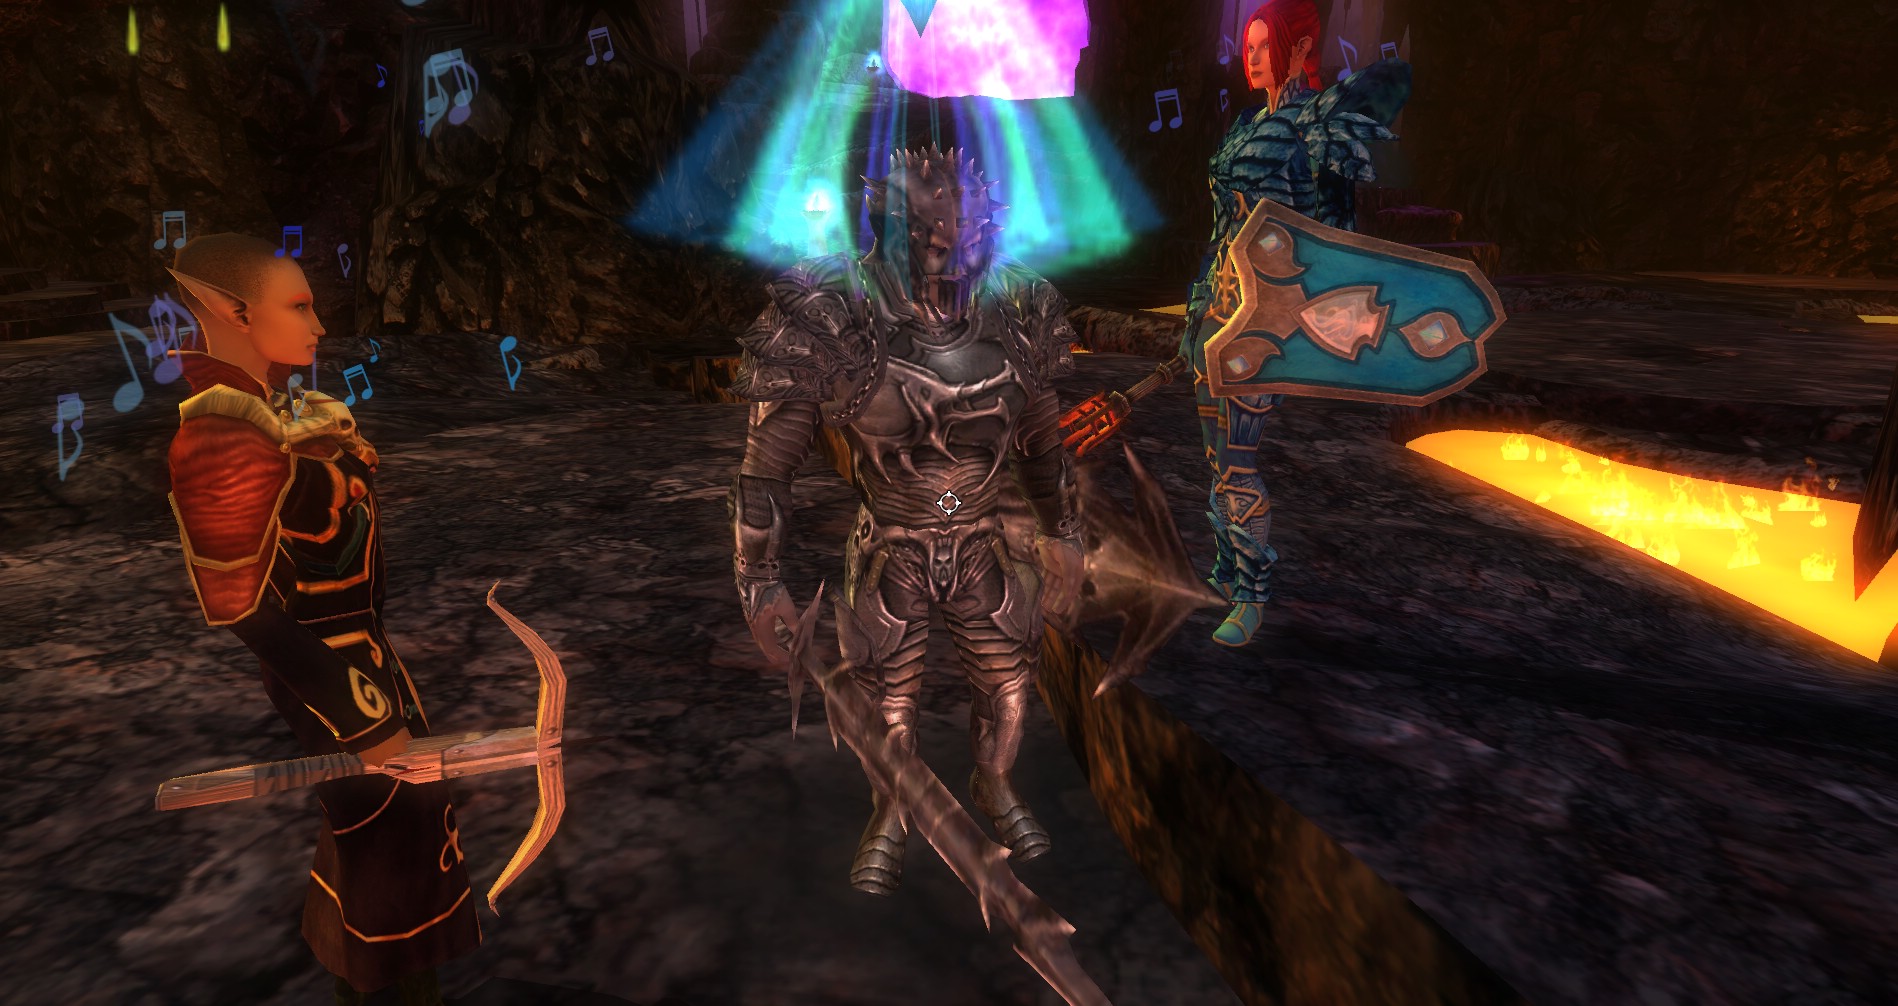
When you talk to High Priestess Sabriz, she will reveal the final part of their plan. As soon as her monologue is completed, she will erect a barrier around herself. High Priestess Sabriz will summon several waves of minions to protect her and kill you.
- Drow Warriors
- Spiders
- Death Knights
- Kyber Reaver
- Spiders, Warrior, Death Knights
- Jarilith & Hezrou
- Priestess
During the 6th wave, High Priestess Sabriz will join in. She will not wait for you to take out the beasts she summons, so be ready for her to start unloading on you before they are all dead. You may want to have one person dedicated to picking her up as soon as she agros.
 High Priestess Sabriz is a divine caster, so be ready for all the tricks enemy clerics throw at you. Other than the spells she casts, she is not too hard. Make sure to take out the minions she summons first. An easy fight can quickly go bad when your healer gets tripped up or a wizard can’t cast because they have a hezrou chewing on their head.
Once she is dead, head up the walkway behind her towards the barrier that fell when she died. Make sure you talk to Aurelius near the end for an end reward. You don’t want to miss out on that.
Shrine up and head into the next quest now if your party is up for it.
Otherwise you can recall out and then come back and complete the last and final quest of this series, The Spinner of Shadows.

No Comments Yet