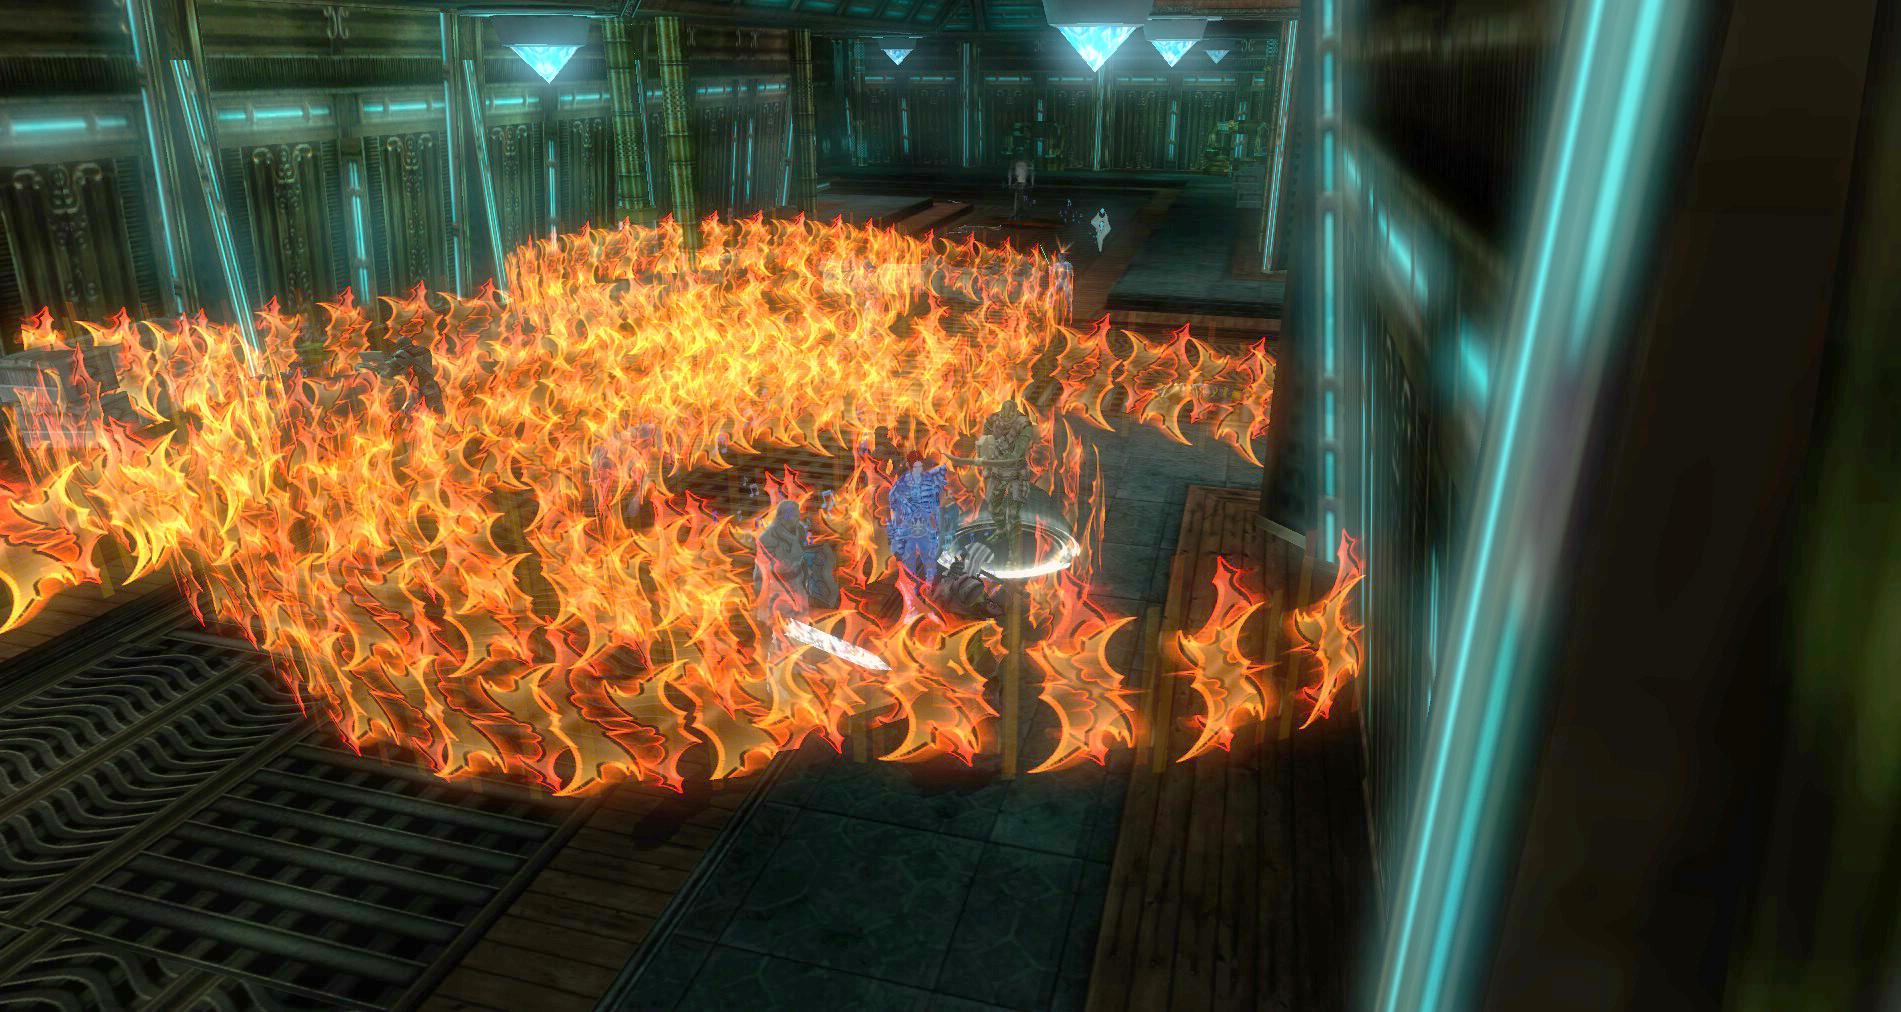
 The Lord of Blades has commanded his loyal troops and followers to enter the Cannith Armament Storage Facility and take everything there in order to aid their cause. The area is flooded with Bladesworn and they have turned everything in this storage facility to their cause. Enter the Armament Storage Facility and destroy everything within. It is better to destroy everything they have taken than to allow them to use the stockpile against Stormreach. The facility contains crates of high explosives. Use them to utterly destroy everything inside, striking a blow against the Lord of Blades and his play for power.
- Series: None
- Level: 19
- Patron: Cannith
- Length: Medium
- Dungeon: Armament Storage Facility
- Recommended Party: Standard, Rogue is good for extra XP
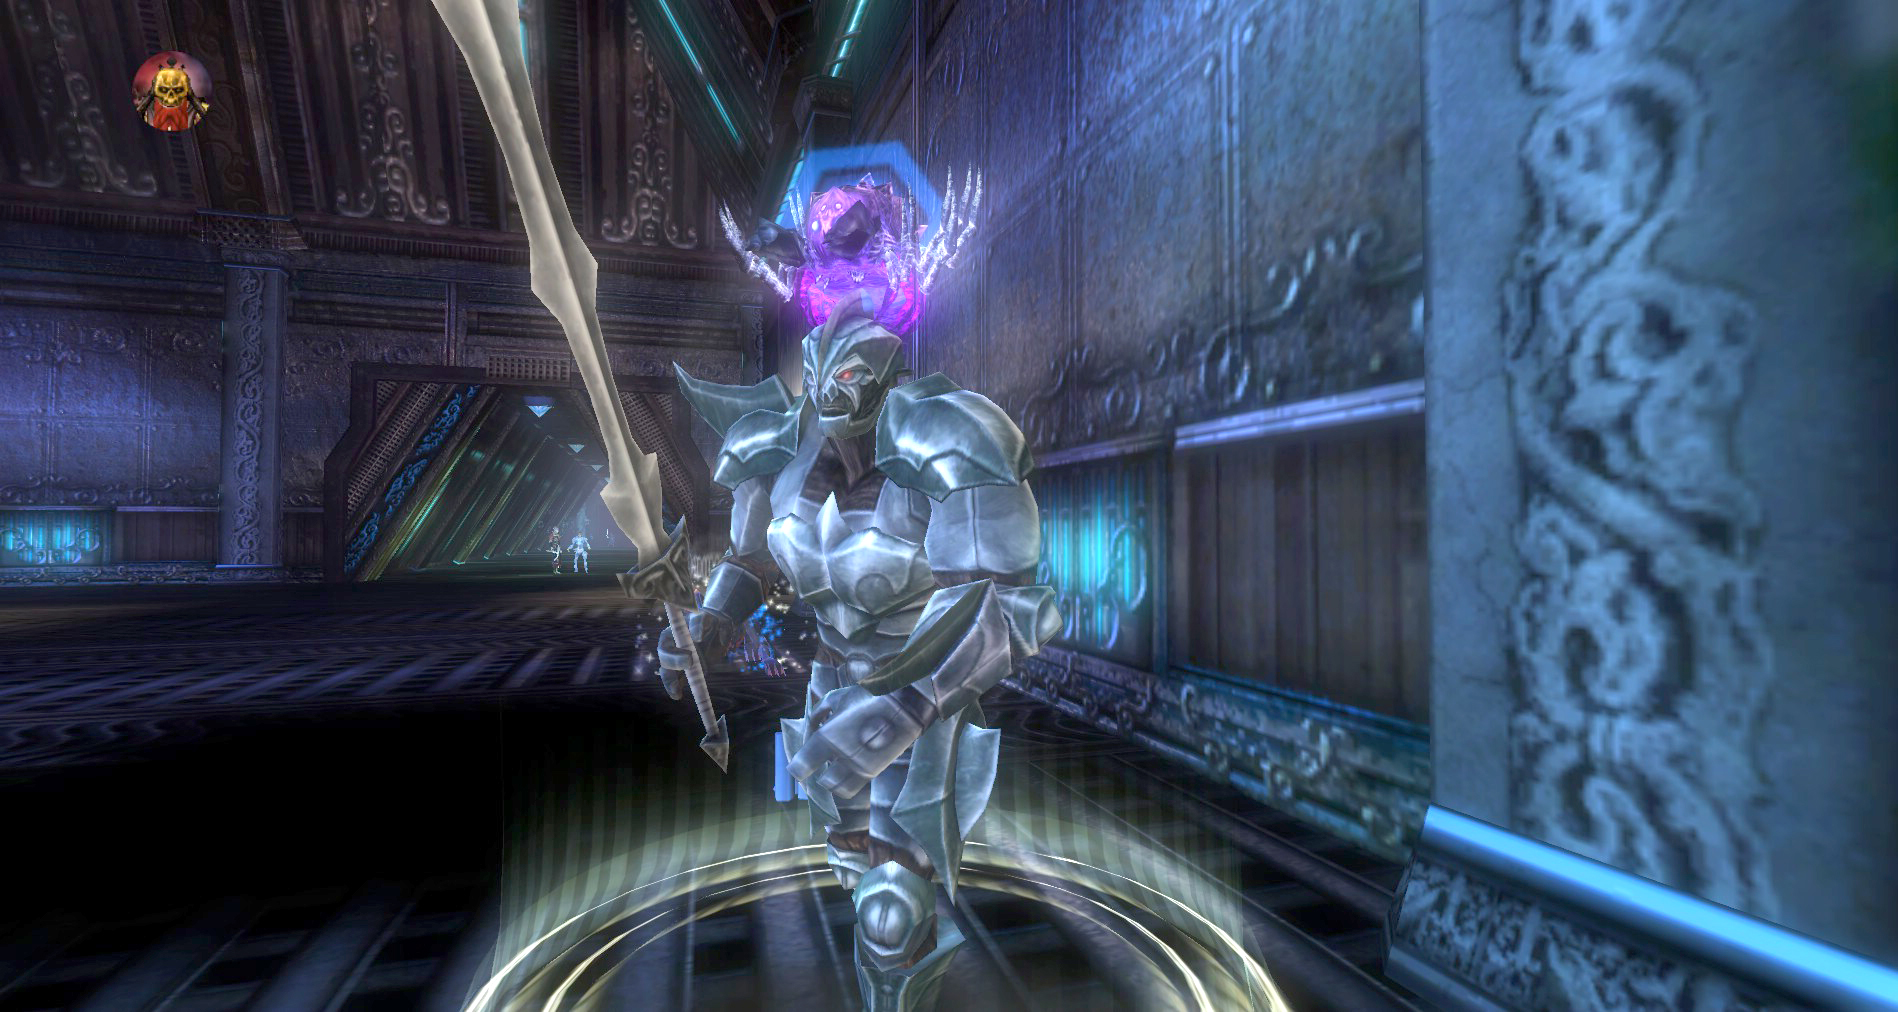
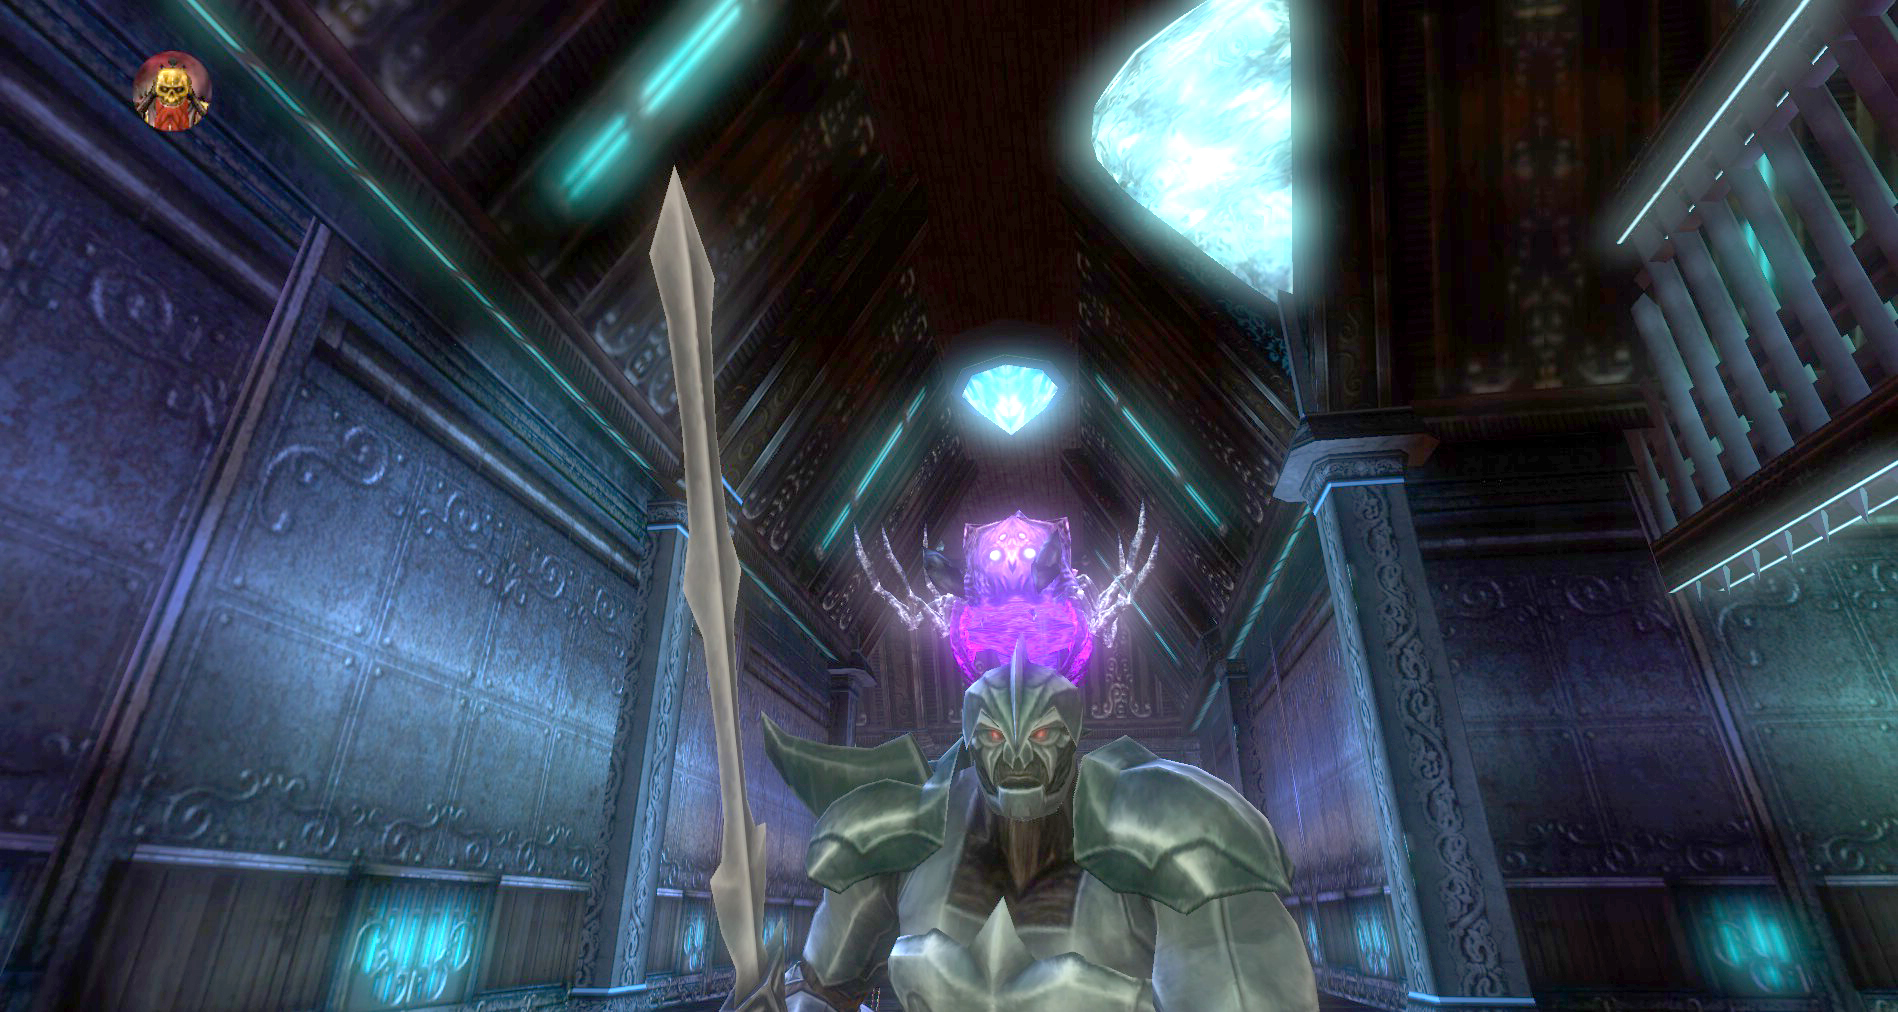
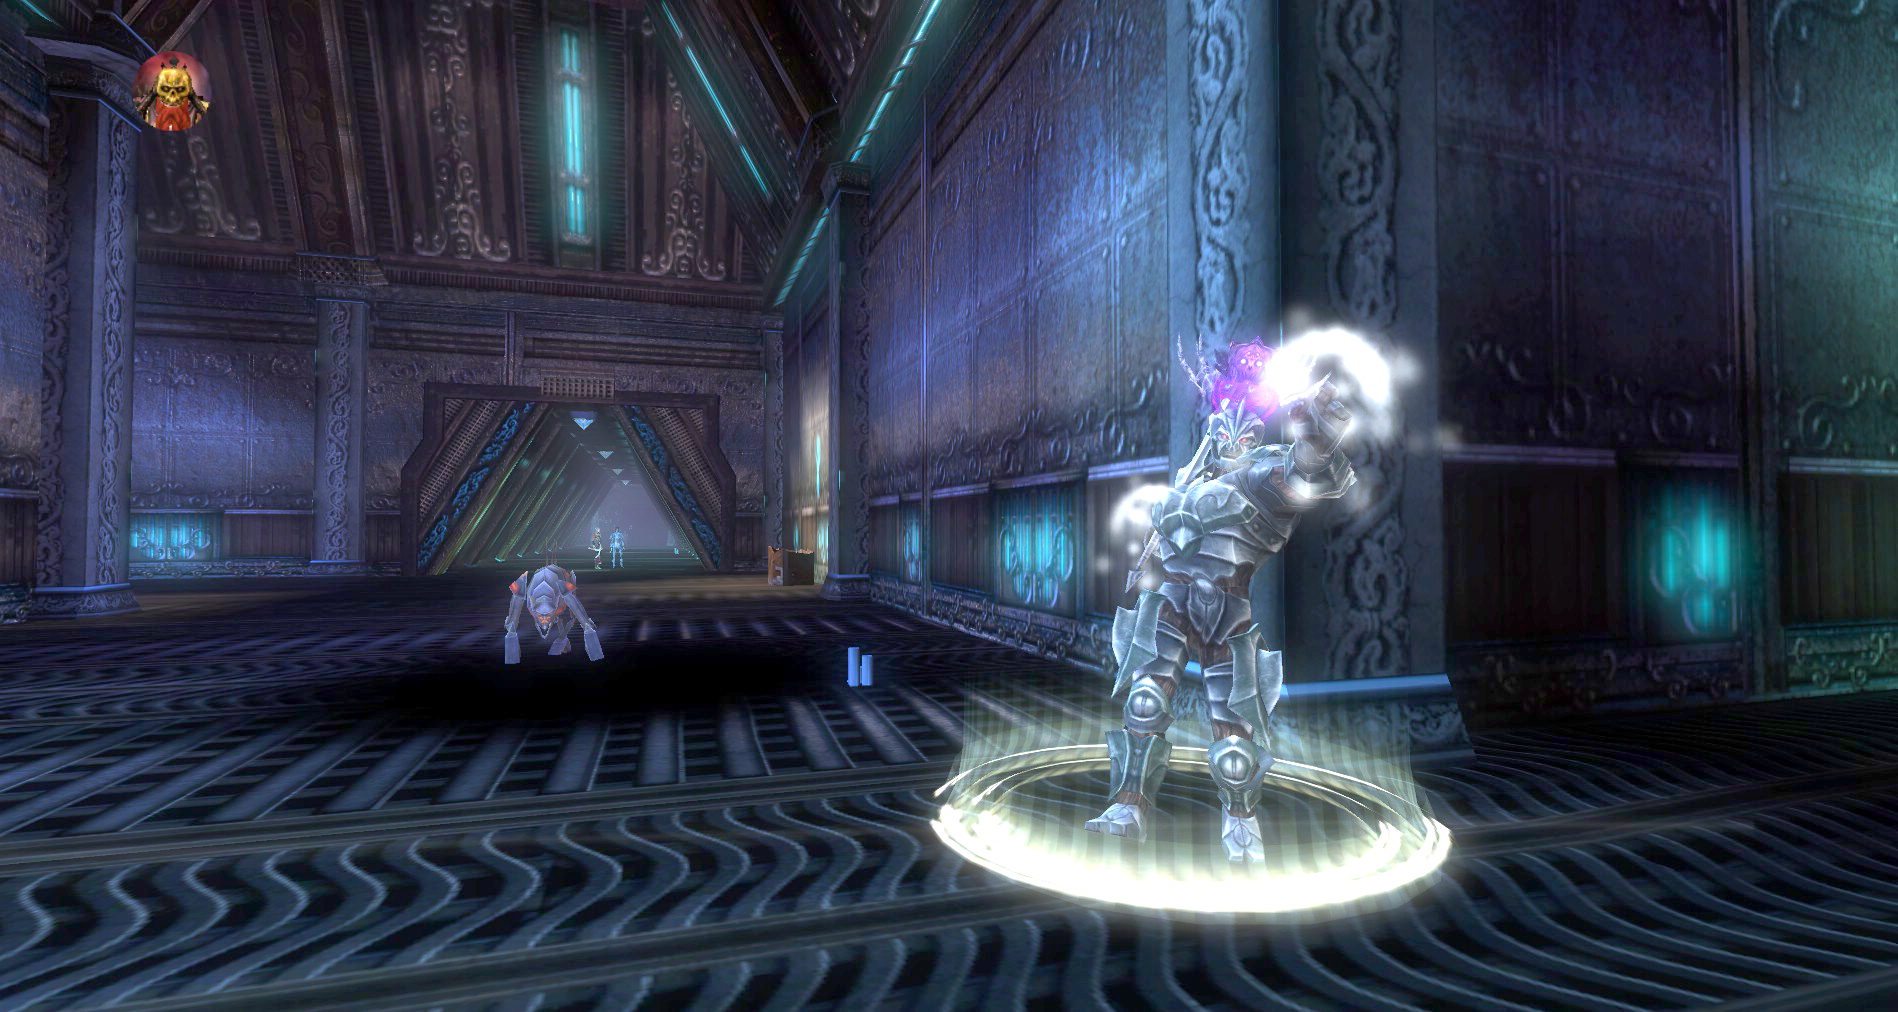
- MoBs: Bladesworn Paladin, Bladesworn Tempest, Bladesworn Assassin, Magefire Cannons, Bladehound
- Dangerous MoBs: Hunter, Gather, Corrupt Warforge Titan, The Iron Bomber, Bladesworn Artificers
- Buffs: Freedom of Movement, Standard Buffs (If you have pranksters it might not be worth even buffing)
- Special Note: The explosives here are very powerful and will easily kill most characters. Extreme caution is advised. Beware the temptation to abuse these explosives… You need to complete this quest before you can run the Master Artificer and Lord of Blades raids.
- Quest Stats: Detailed Quest Stats on DDMs Realm Here
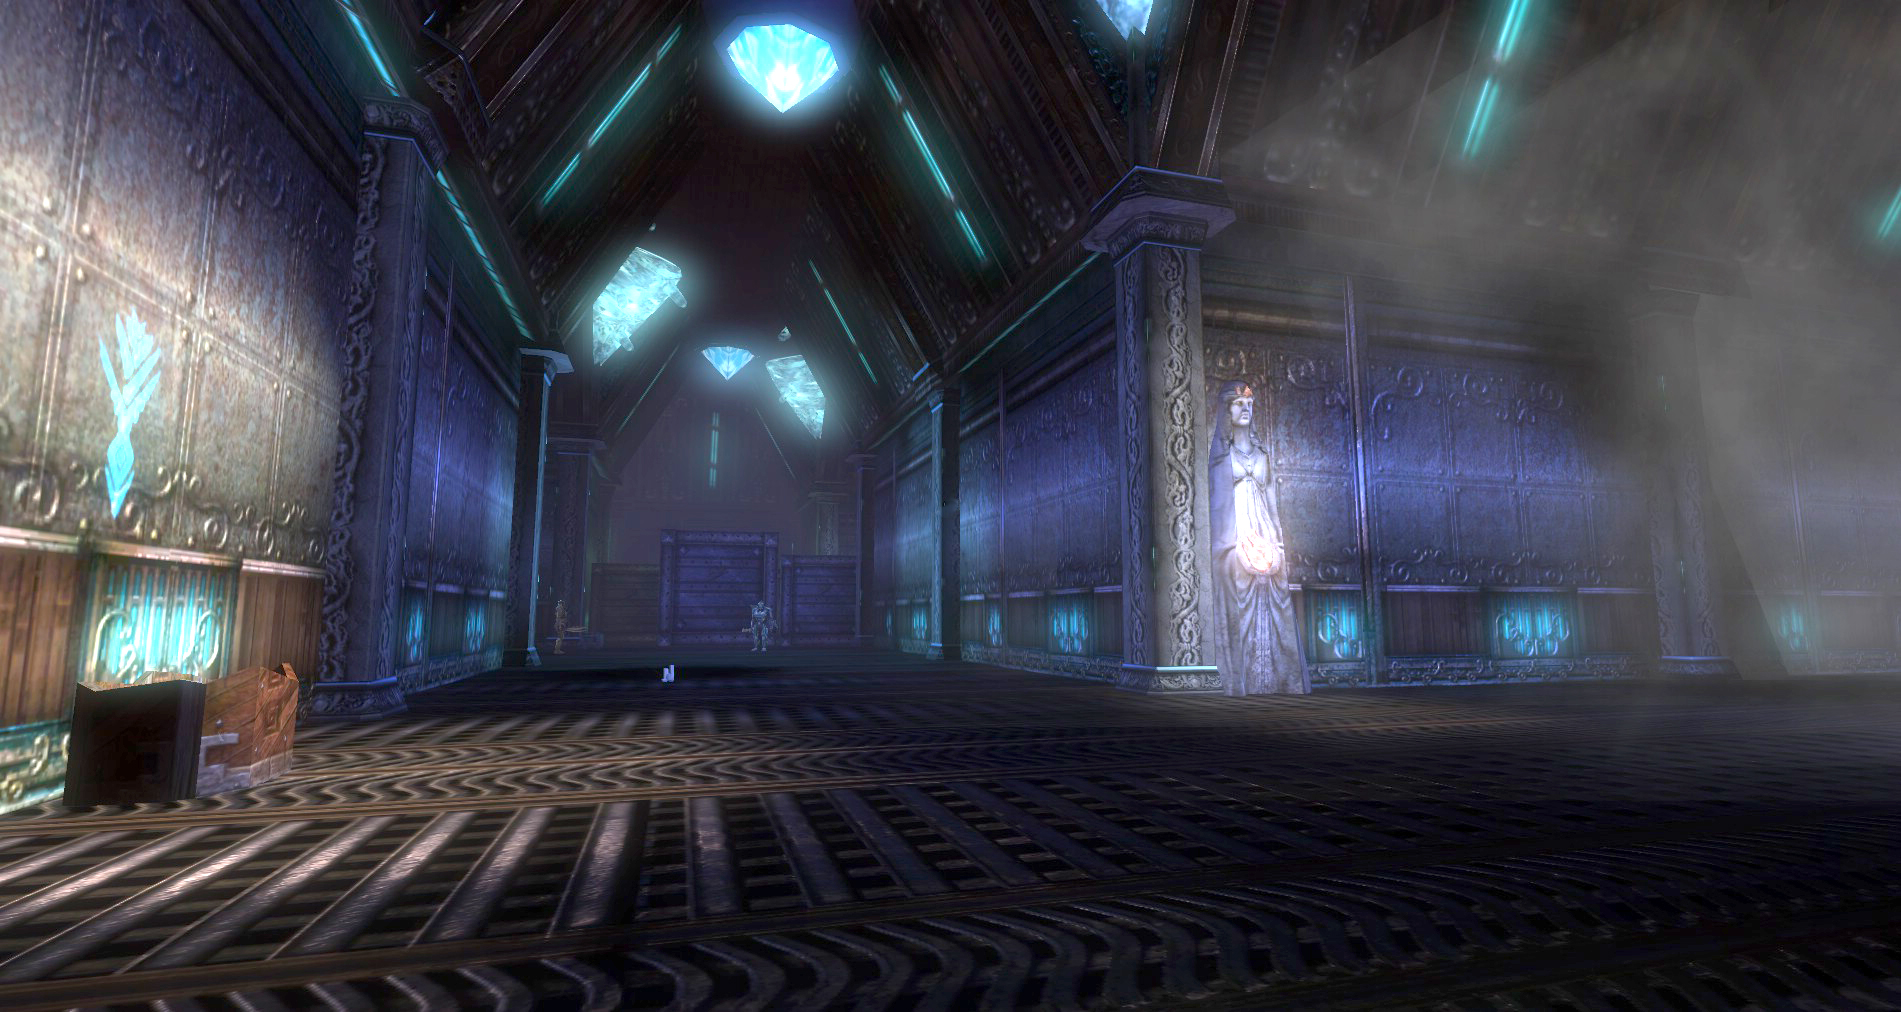


The Entry Hall
The first order of business is to discuss with your group how you are running the quest. Are you going to use some tactics or will everyone just rush in and blow everything up?
I like XP and Teamwork – The Tactics Route
 On harder difficulties or with groups that favor tactics over zerging, you should buff up with the standard buffs. Be sure to include Freedom of Movement to counter the Grease spell the Bladehounds cast.
Next you should decide who is going to be the Bomber and who is going to be the Puller. The rest of the party will be on the kill group. Using tactics, you might actually be able to enjoy the +10% XP Flawless Victory Bonus (no deaths in group).
Here’s how to proceed:
- The Bomber : The Bomber’s job is to, guess what, set off the bombs! This role is best filled by a rogue who can sneak past mobs to place bombs. They will also need to sneak up and disable all the Magefire Cannons. Remember, once you plant a bomb, hit Stealth again to move to your next target.
- The Puller : The puller can be anyone, preferably someone good with ranged spells. Your job as a Puller is to wait until the bombs go off and then pull whatever mobs this exposes back to the group. You also need to pull any agro that the bomber might have on them as well. Keep the Bomber free of agro and mobs so they can keep at it.
- The Kill Group : The Kill Group is the rest of the group, plus anyone with a pet or hireling. They should hang back a bit and kill anything they see or is brought to them by the Puller.
 Using a tactical method, you can work your way through this quest fairly quickly. The bomber usually has two routes they can blow up at a time. While one bomb is going off, the Bomber can set a second one. In the meantime the Puller pulls all exposed mobs back to the group. The Bomber and the Puller leapfrog each other through the dungeon quickly clearing and killing everything in the dungeon. Going this route may be a little slower, but you can get some extra XP and clear things efficiently. This method is suggested for running this quest over your level or on harder difficulties.
I’m 20 and like my Team in bits – The Zerg Route
Don’t bother buffing, you will die. Haste up so you can beat your teammates to the crate of high explosives and start setting bombs. Set them on the crates, set them by your enemies, set them when fighting your enemies, set them at the shrine when the wizard is getting SP, set them on your friends’ feet, set them just around the corner, set them everywhere! Watch the pandemonium ensue as this quest run turns into a quasi-PvP match of big boom blasting bombardiers. This is so much fun!
You will probably complete the dungeon and set a record for how many deaths you have ever seen in a quest. Hopefully your name is not marked with the most deaths.
The Warehouse of Arms
 This is a very open quest so feel free to head in the direction you want to. I prefer to head to the south west, immediately clearing that area, working my way north along the west side, going through where Hunter and Gather spawn. Then I swing across the north edge and finish clearing the east.
You will see that the quest is full of resurrection shrines. You should be able to reach one no matter where you die in the quest. You will also see that bombs will show up on the map as well, keep a close eye on this if you are all trying to blow each other up.
With all of the resurrection shrines, it can be tough to see where the Rest Shrines are. You will find three in this dungeon; one in the south west corner, one on your 1st right then 1st left near the center of the map, and one in the north east corner.
Hunter and Gather
This pair of named rares can spawn on the western side of the dungeon. They are a team of warforged and are easily dispatched. You can actually hit them both with a bomb if you place it on the opposite side of the crates that they stand on. This softens them up significantly and makes this fight a breeze.
If you do get this rare team make sure that you hunt around for their chest. They may agro on you from a distance so you want to be sure that you do not miss out on the loot you can get from them!
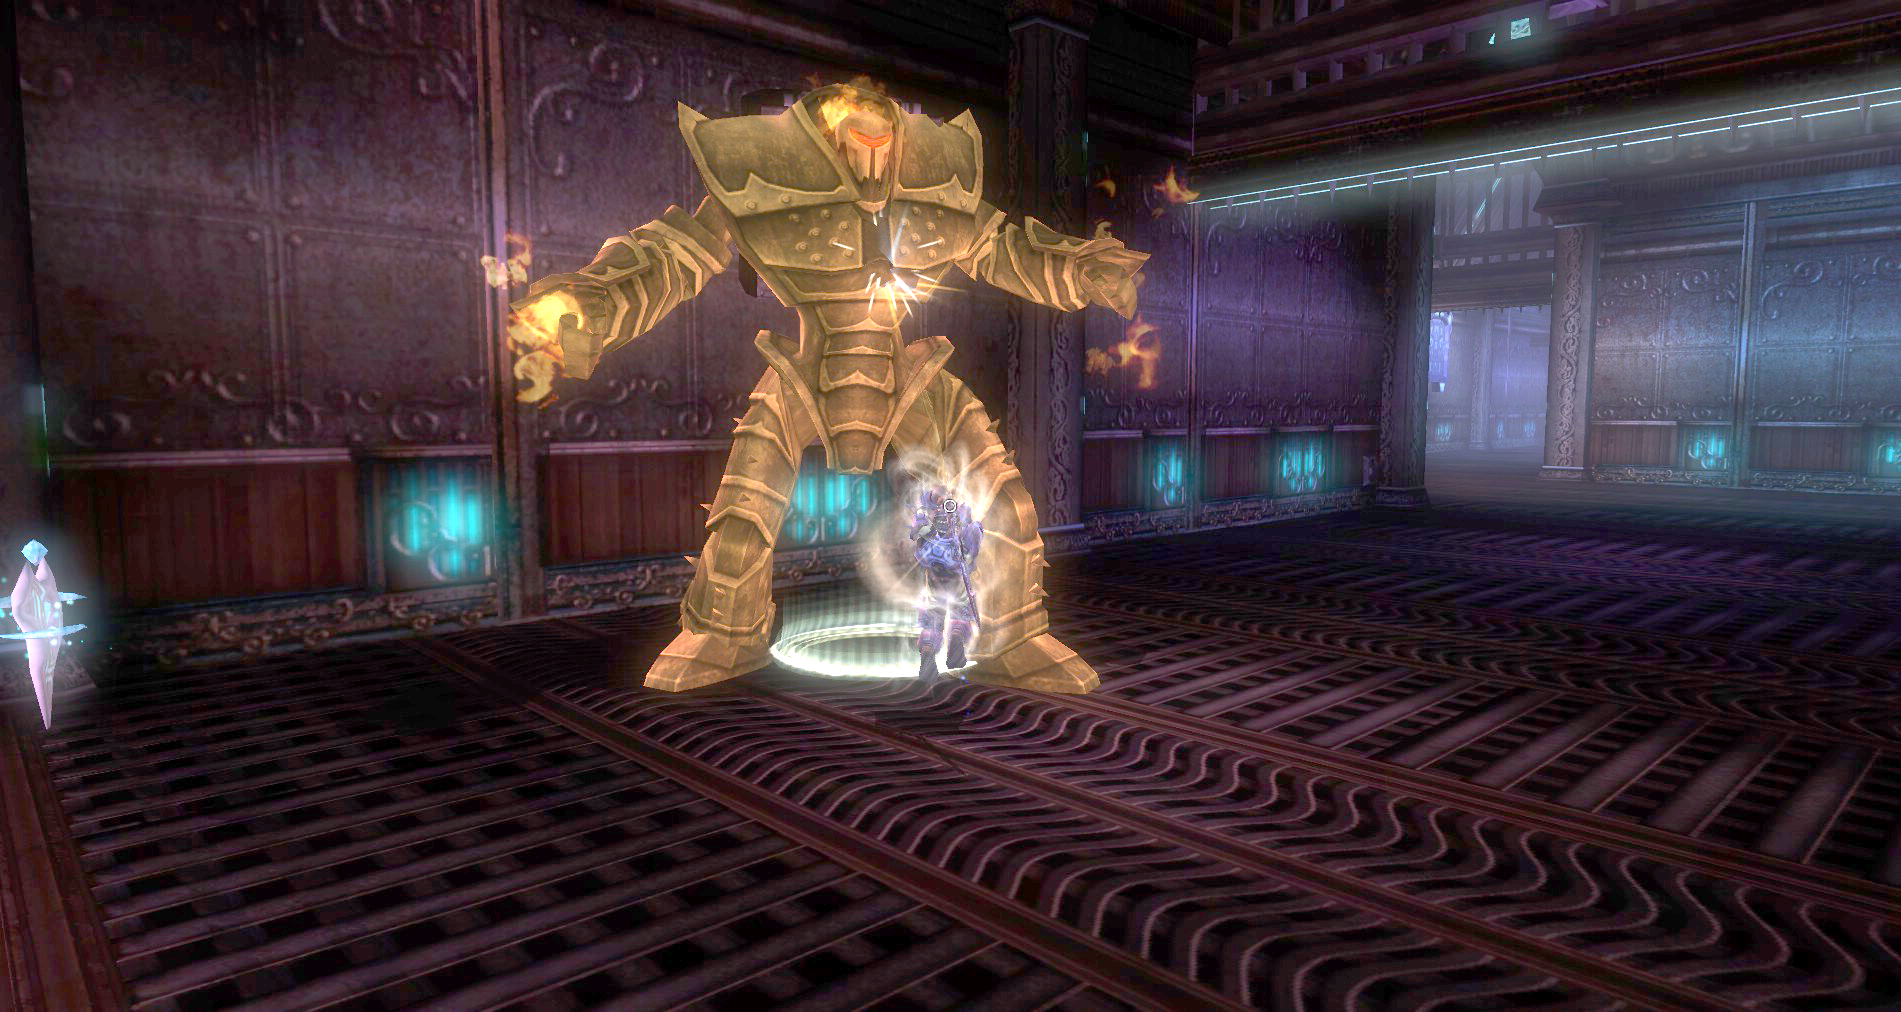
Dismantling the Corrupted Warforged Titan
 In the north west room of the dungeon is another rare that can spawn here. The room is full of Bladesworn Artificers that have corrupted it. This titan is not too difficult. Buff up if you need to then rush the room. I would highly recommend that you charge the Bladesworn Artificers first and take them out fast. If left to their own designs they will blanket the area in blade barriers, making the fight much harder than it should be.
The Corrupted Titan is not a difficult fight. The Titan seems a bit confused and slouchy, which is somewhat amusing. When damaged to about 60%, the Corrupted Titan will attack anything, even allies. This tidbit could be used to your advantage if you were so inclined.
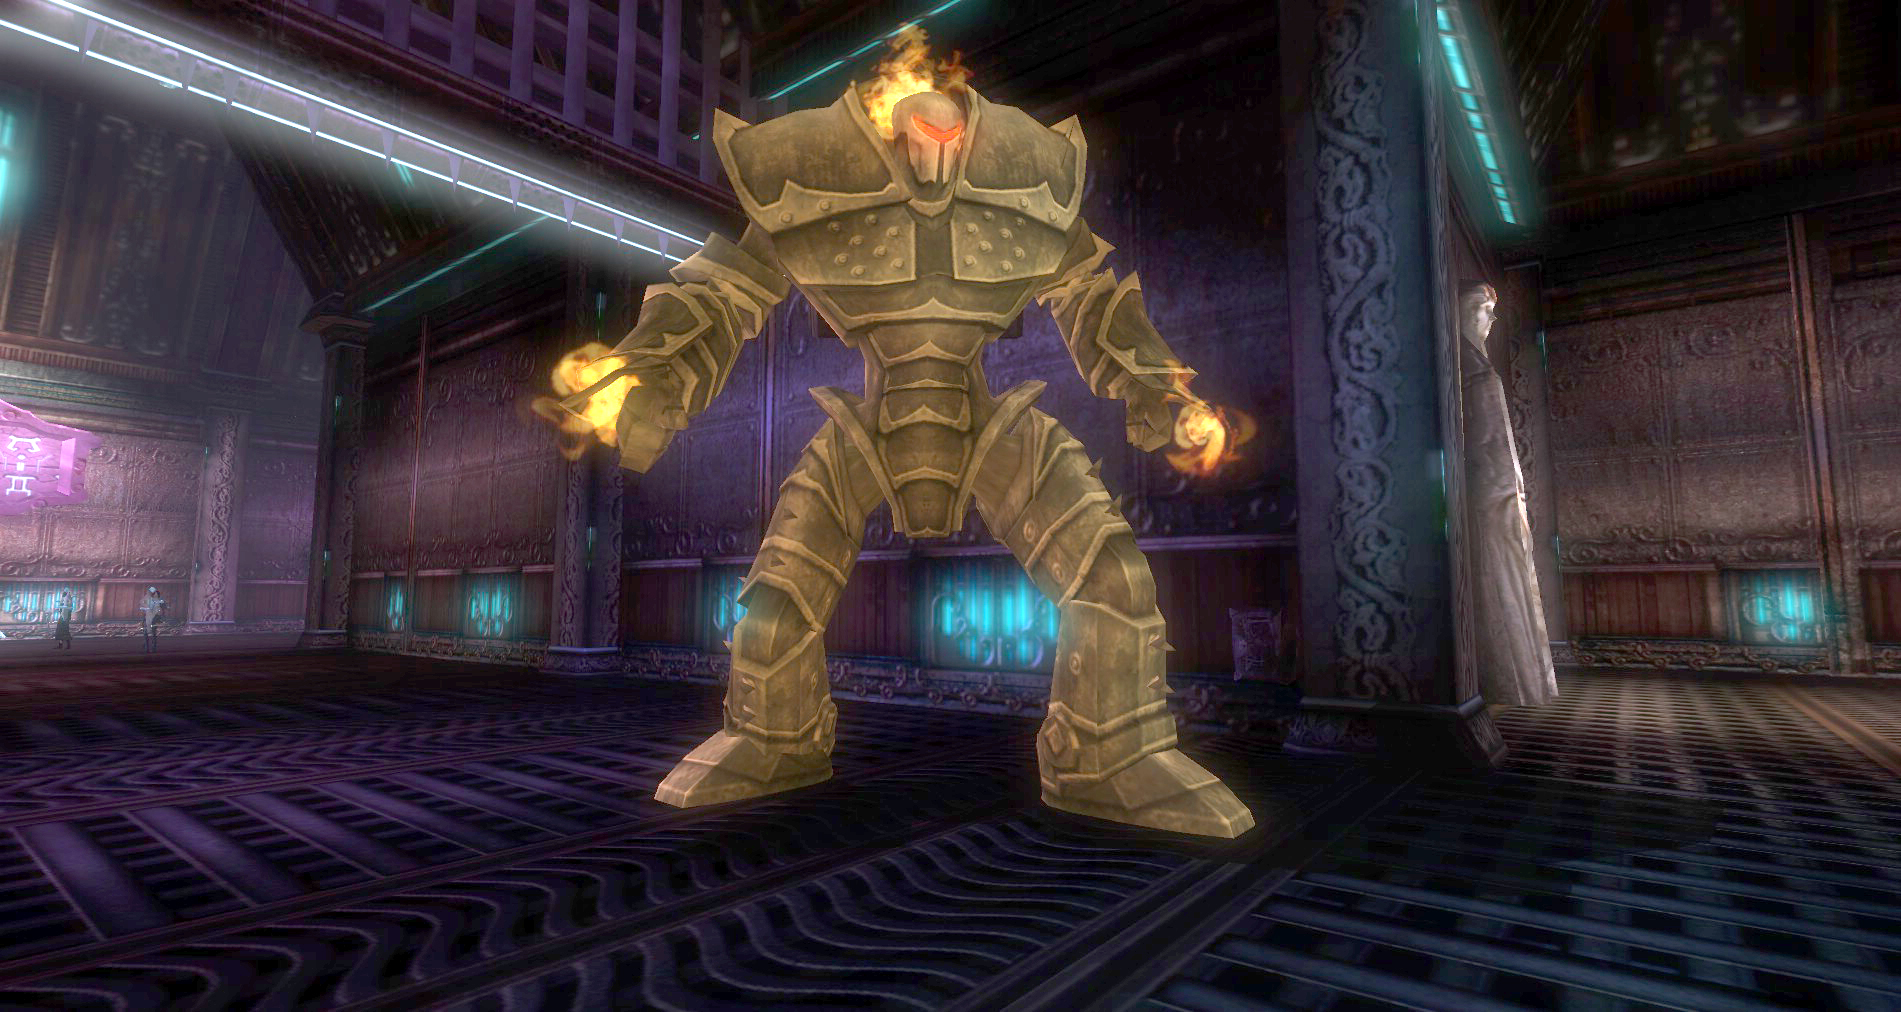
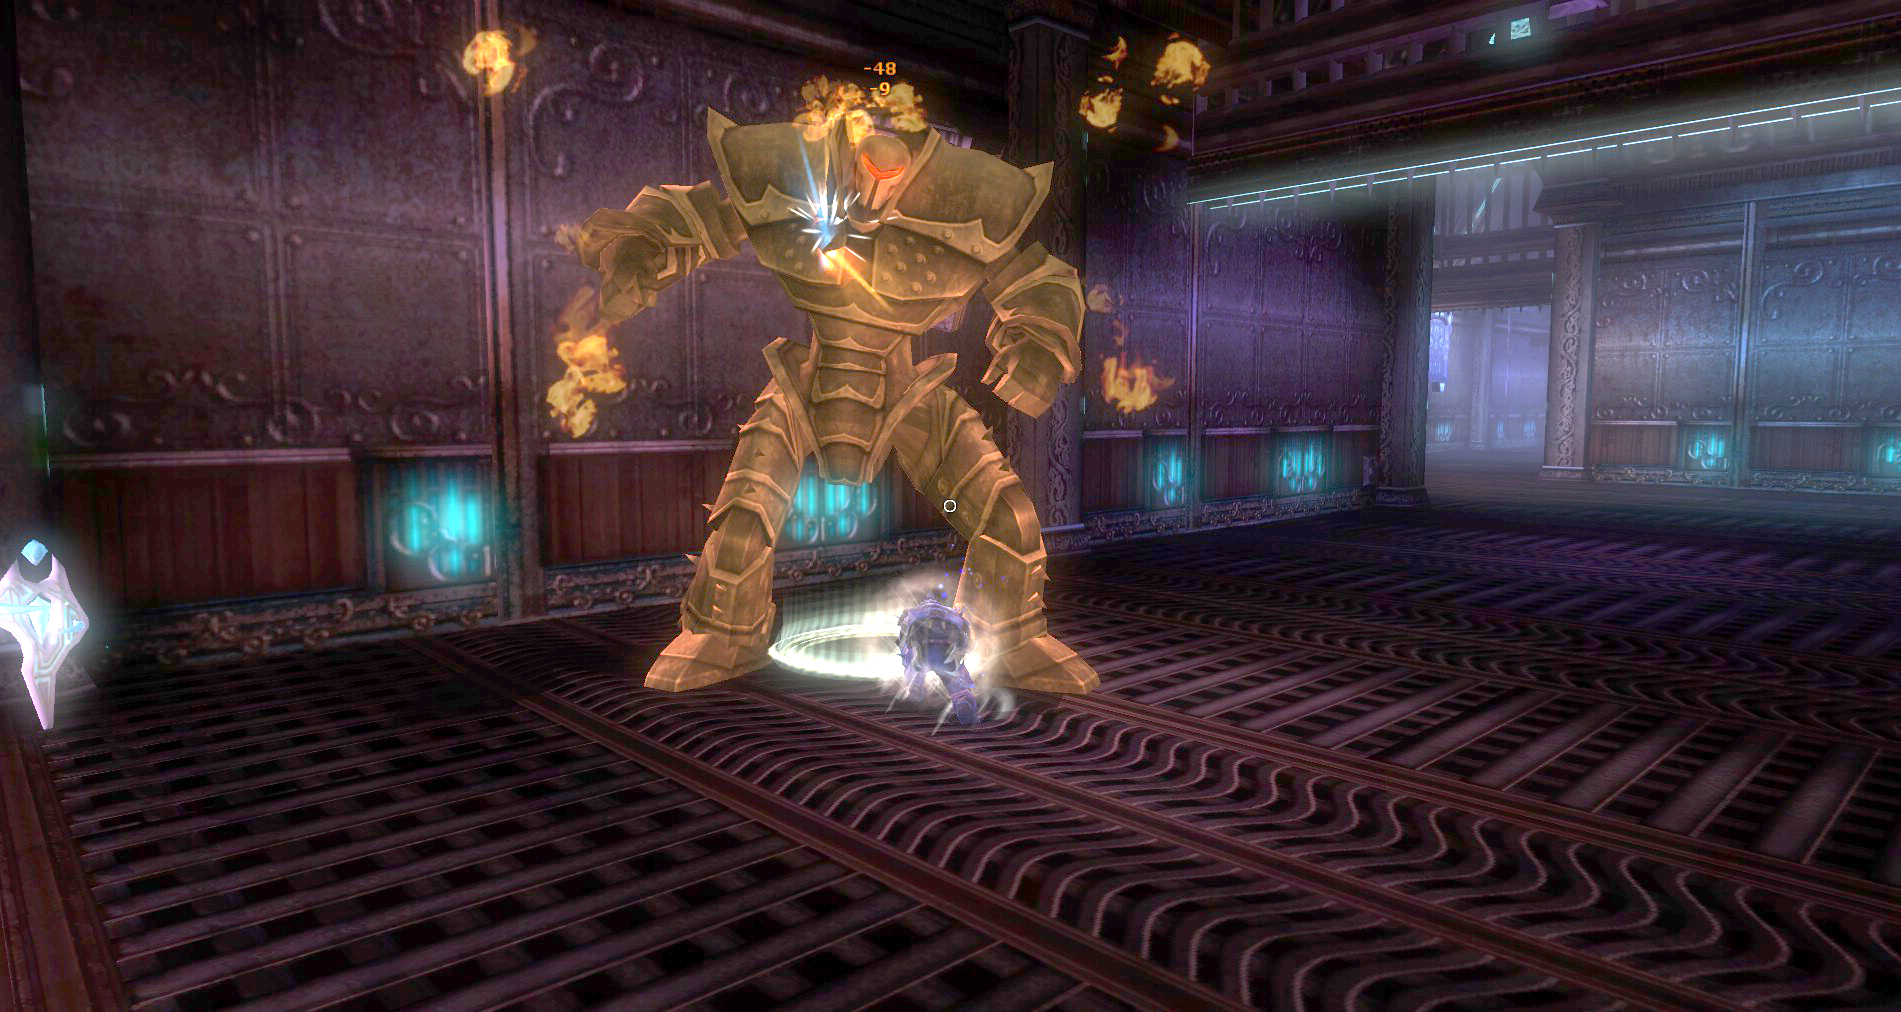
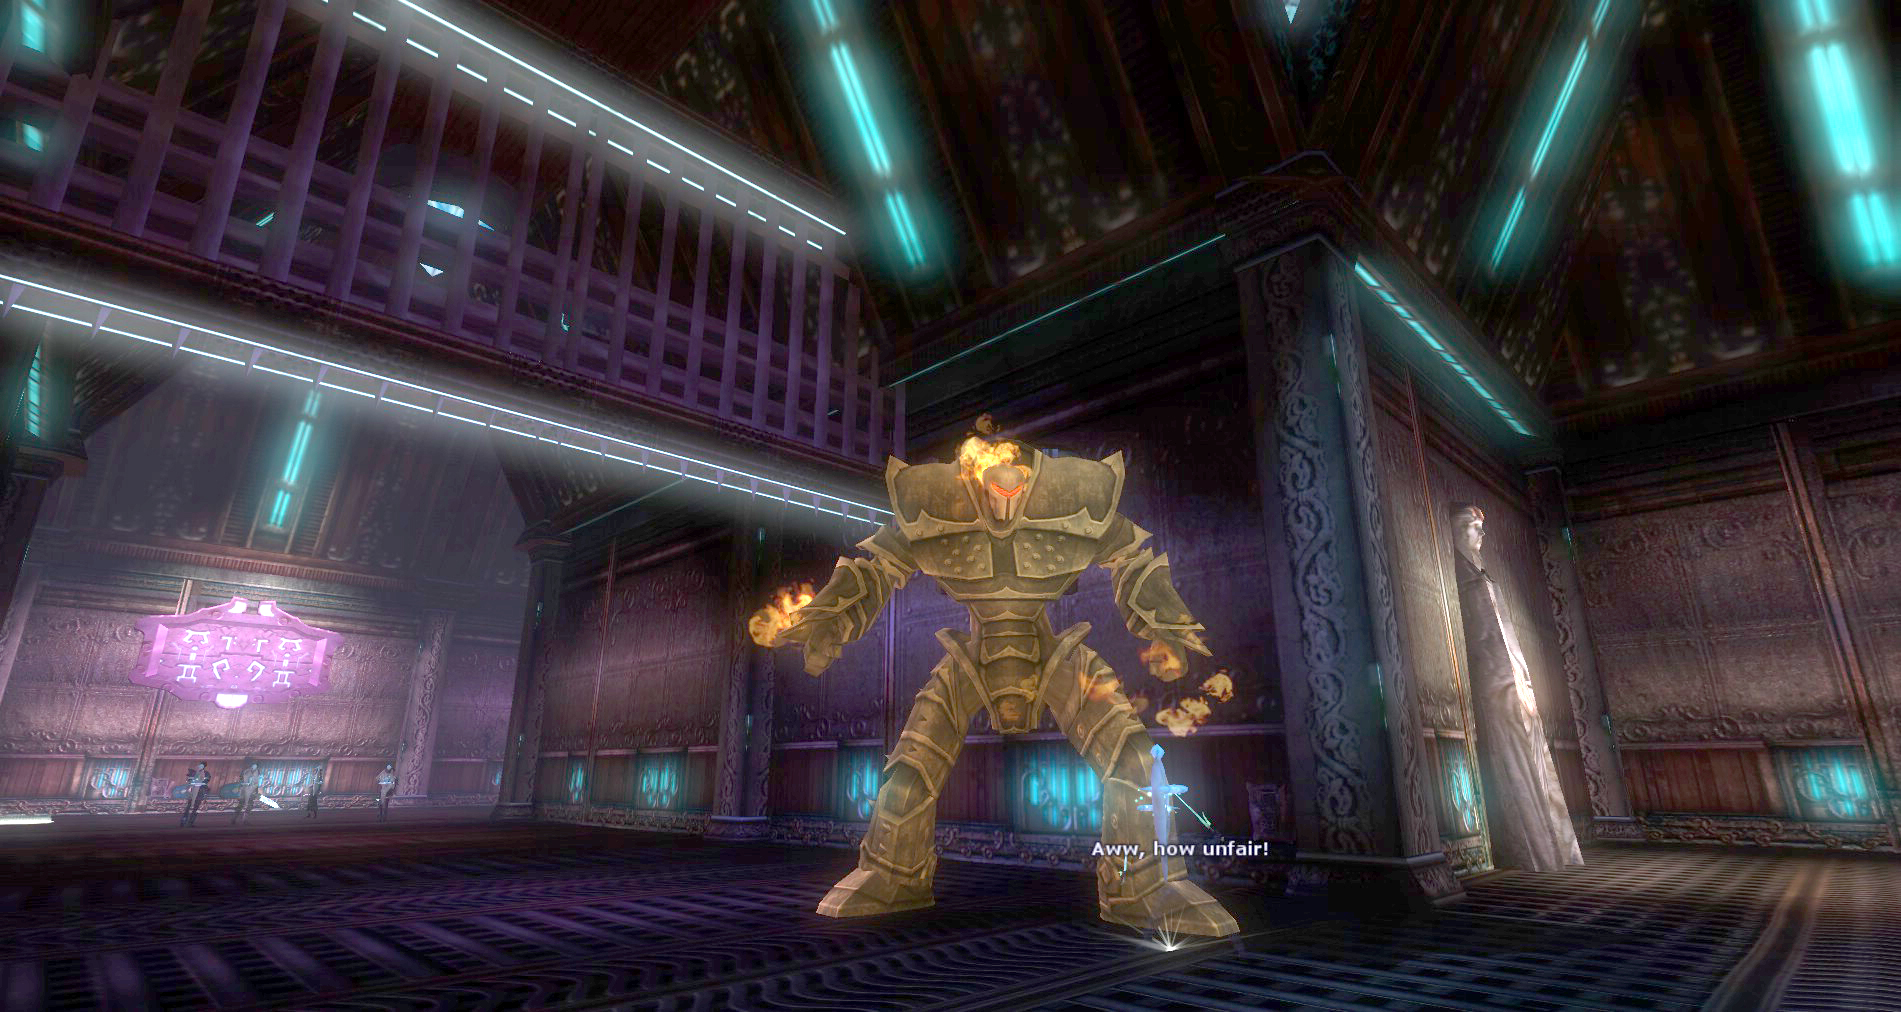
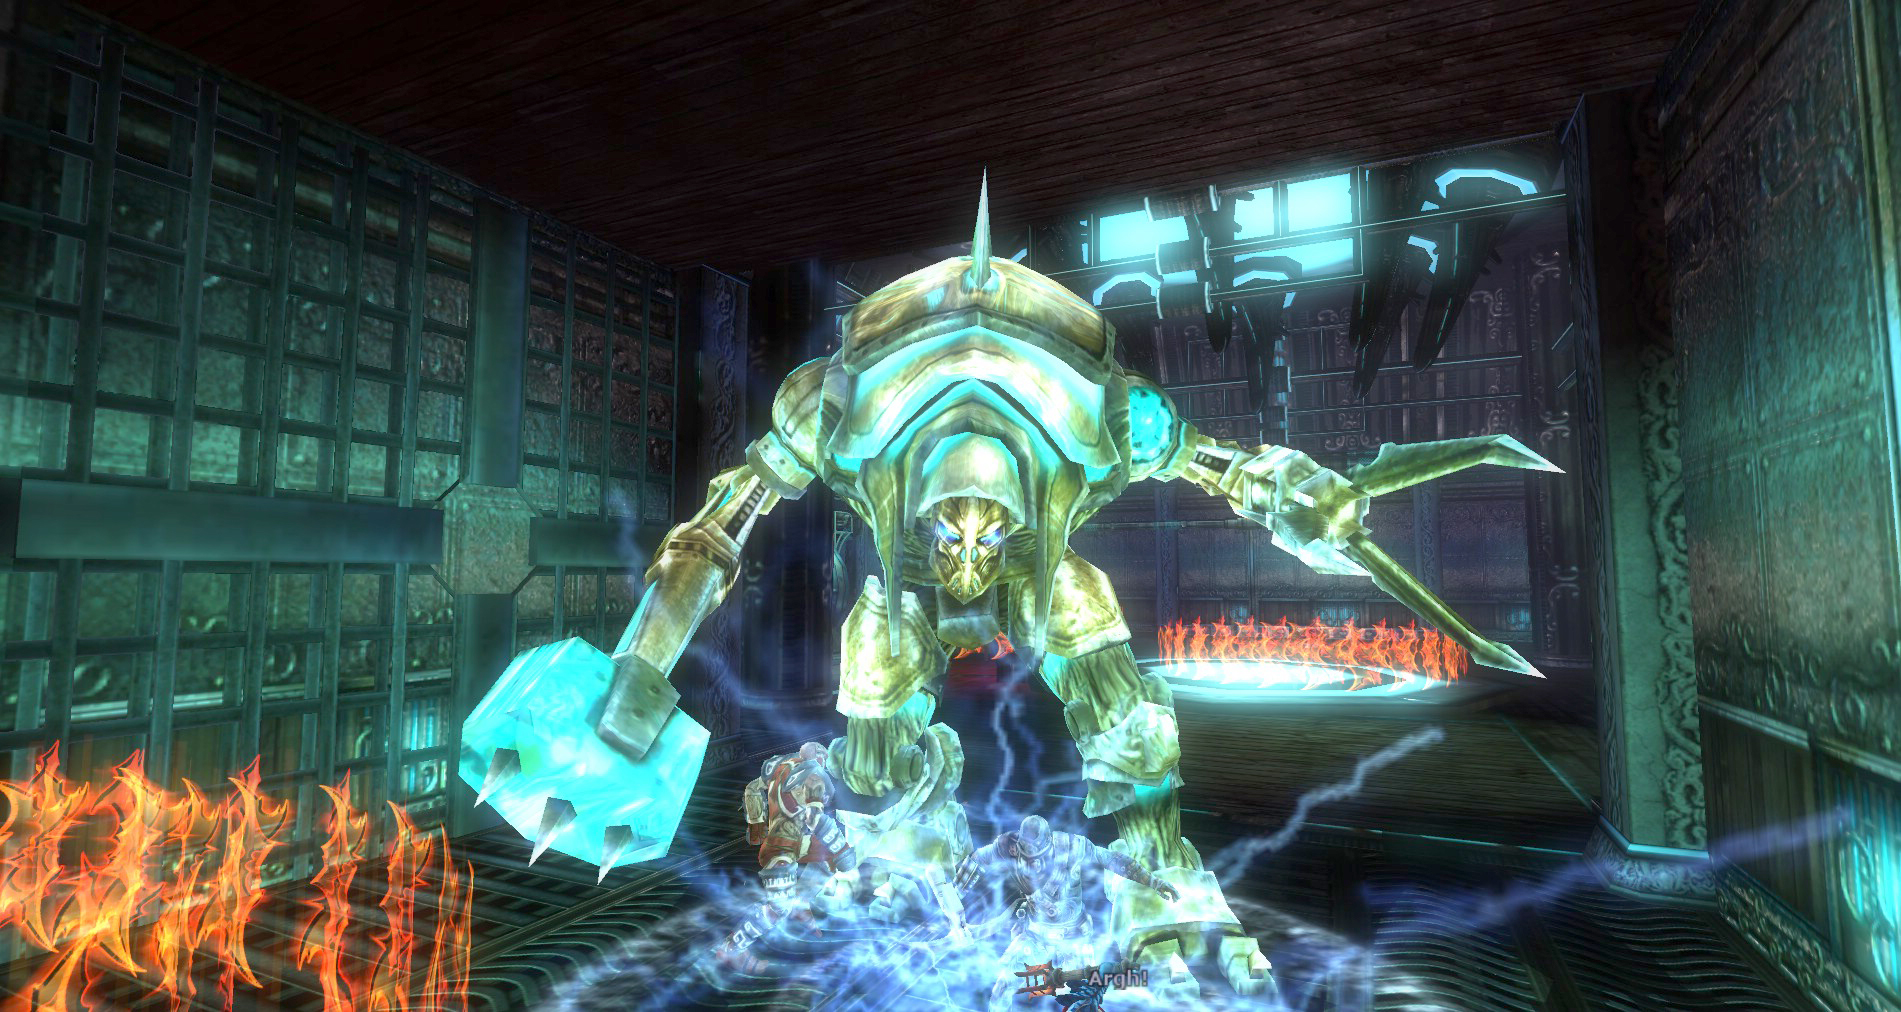
The Iron Bomber
 There is one heck of an optional here, the Iron Bomber. I would highly recommend finishing the quest and saving this for the last thing your group does, since there is a good chance you will go boom.
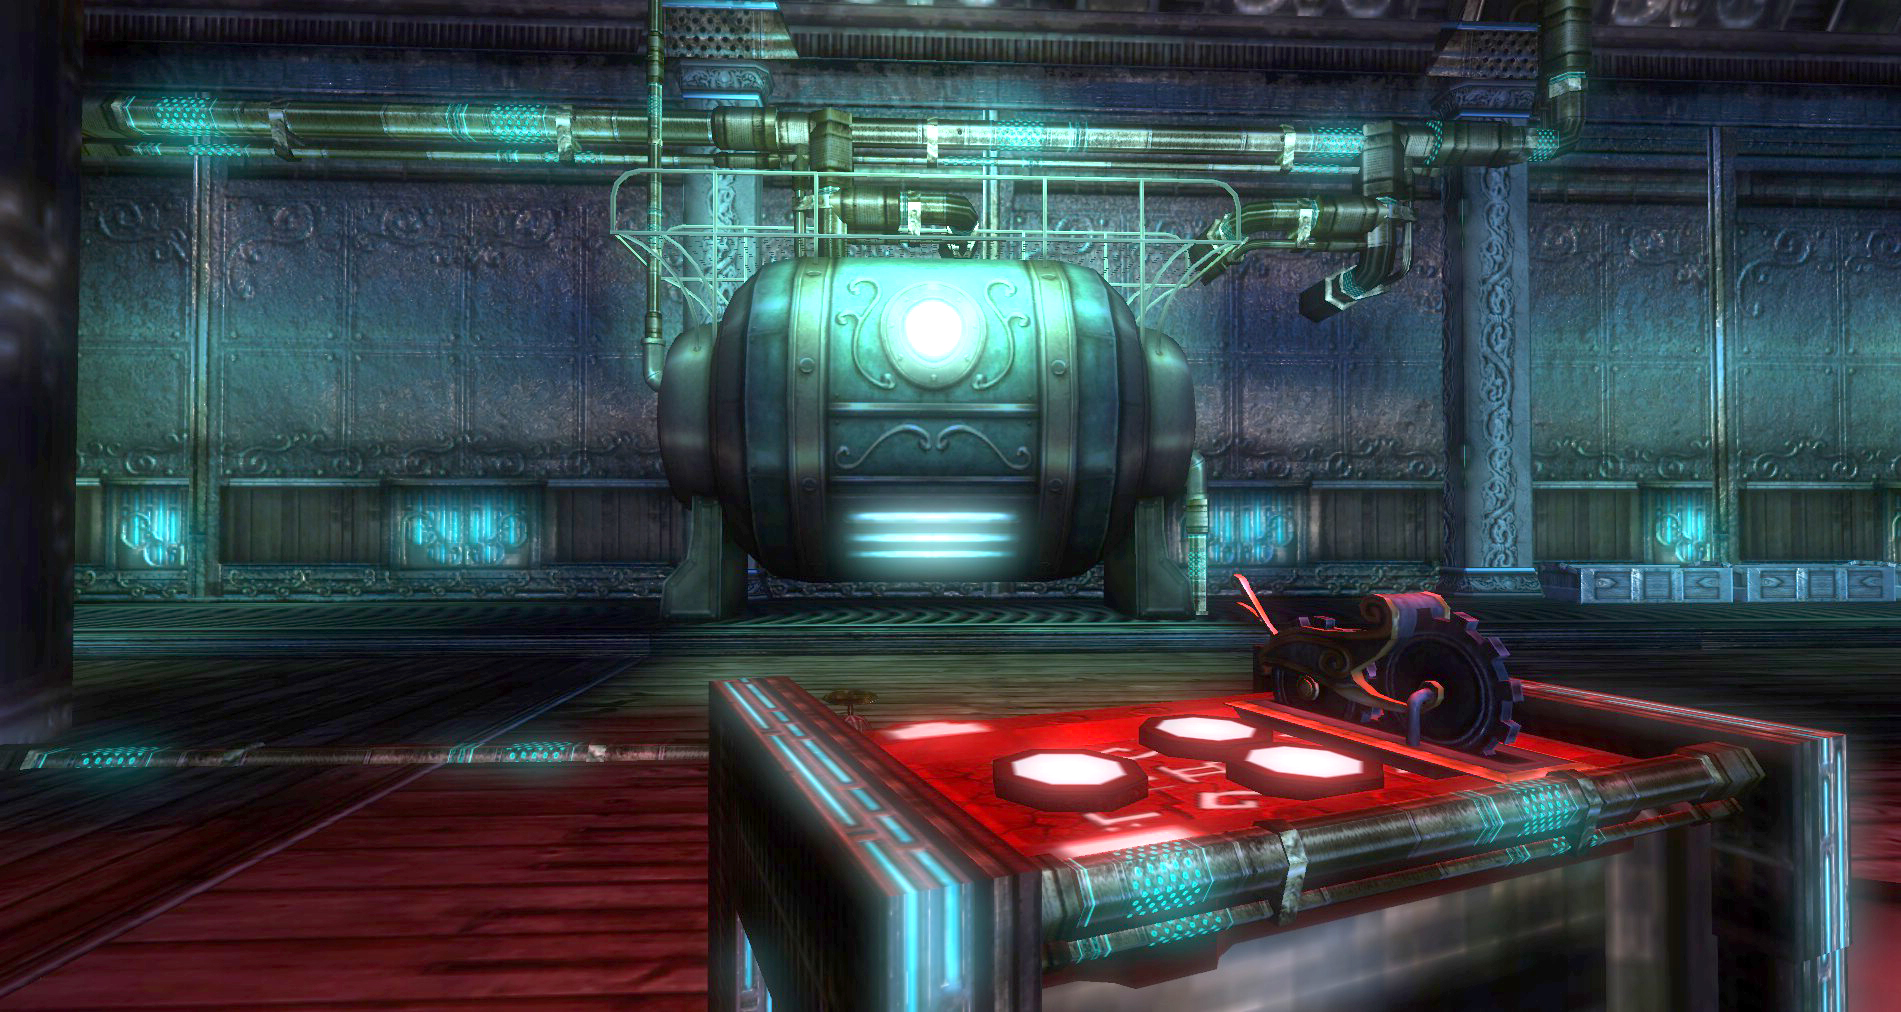
The Iron Bomber is contained in a crate in the North Eastern Room. There is an illusory sentry there warning you of a berserk golem and that only authorized personnel are allowed to handle it. Then the illusory figure gives a whole list of options to use to get to the crate. There should be someone in your group that can do one of the options. The options are Bluff, Diplomacy, Intimidate, Strength, Disable Device, House Cannith Favor, Dragonmark and being an Artificer.
Once the shield is down, blow up the crate to release this nasty, bombing, smashing, rampaging golem.
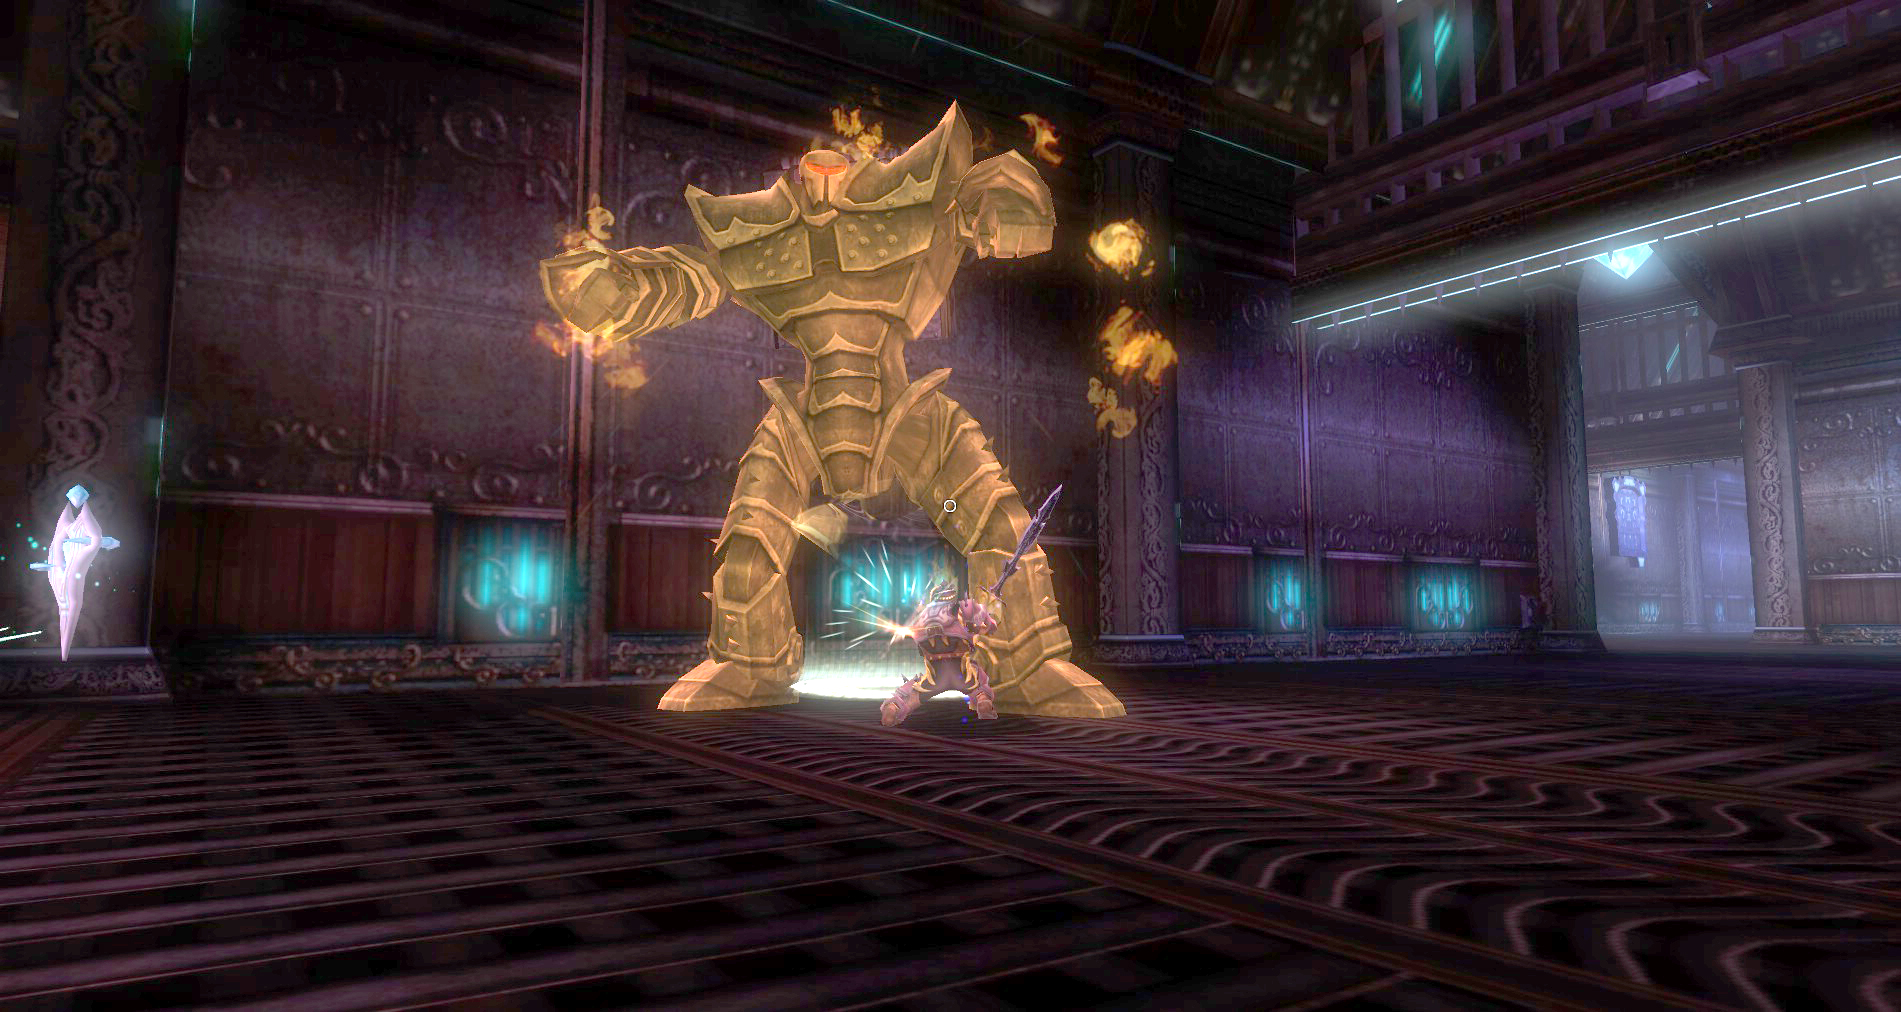
 The Iron Bomber is mean! He has high DR, hits decently hard and worst of all, drops bombs at his feet that do 1000 points of damage on normal. Avoid these big ole nasty bombs he leaves!
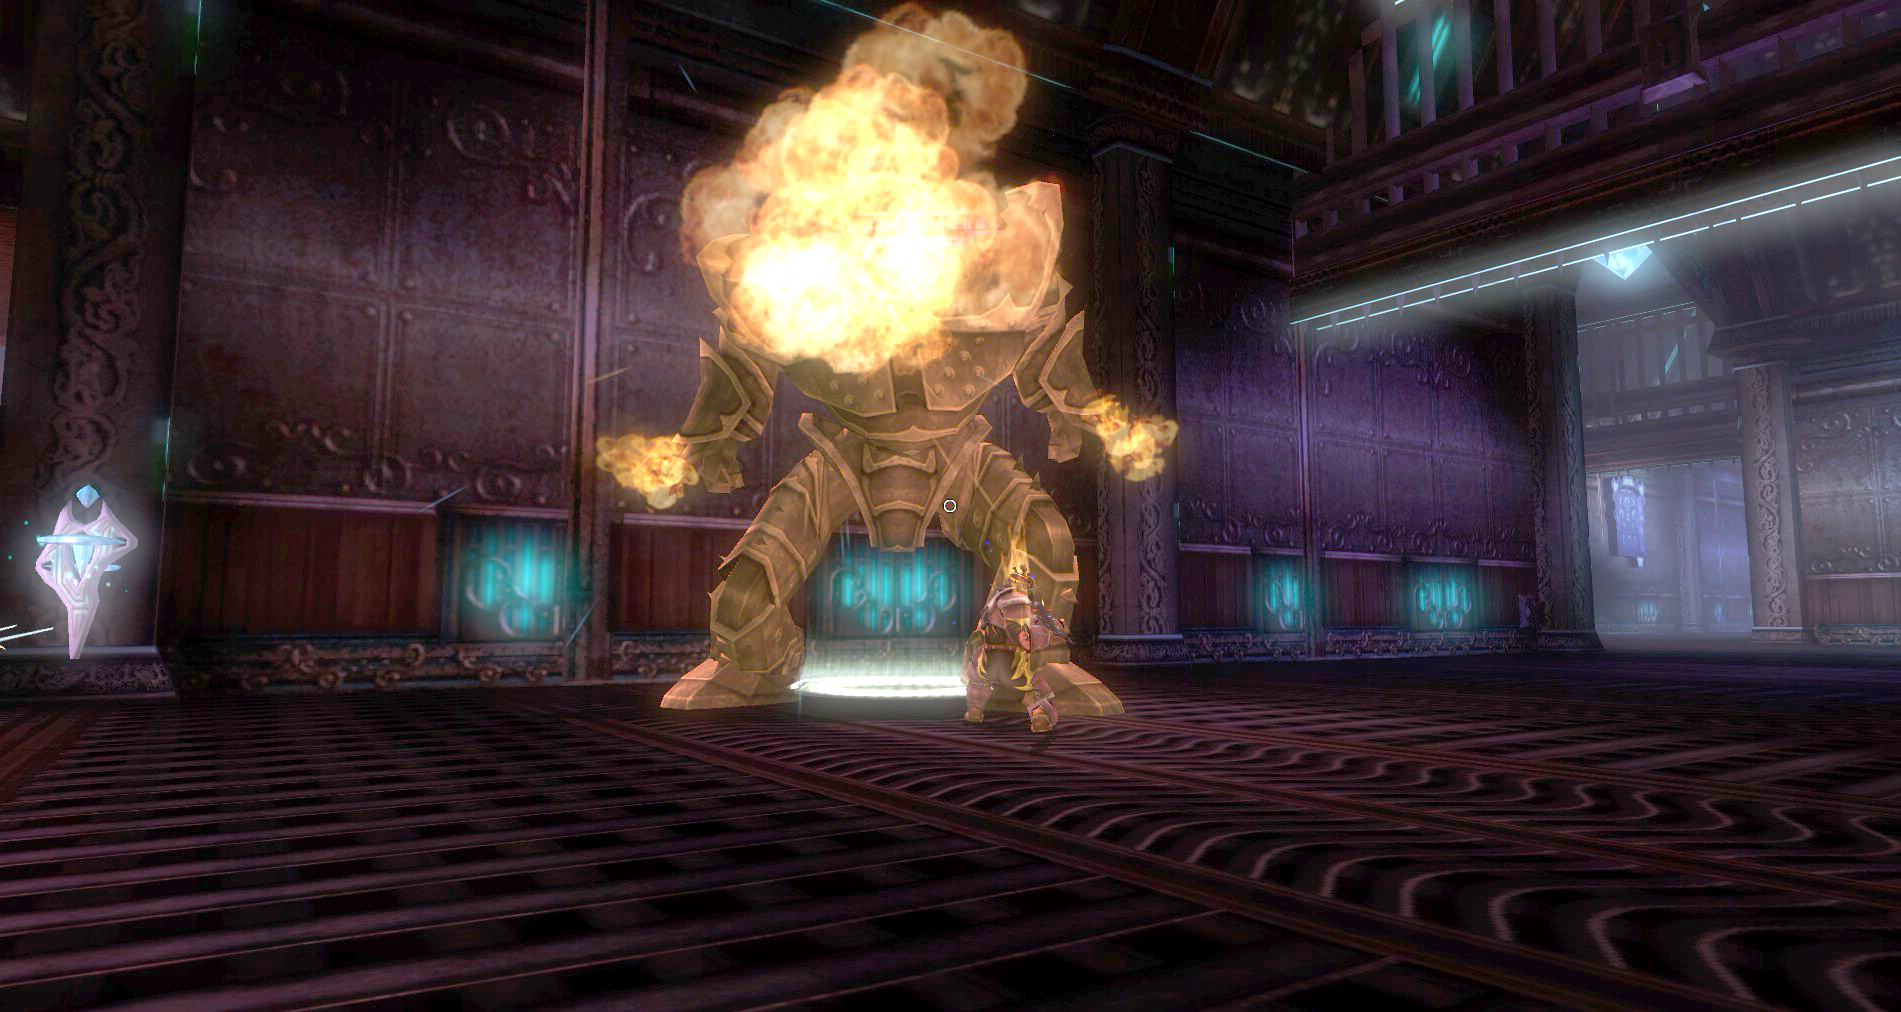
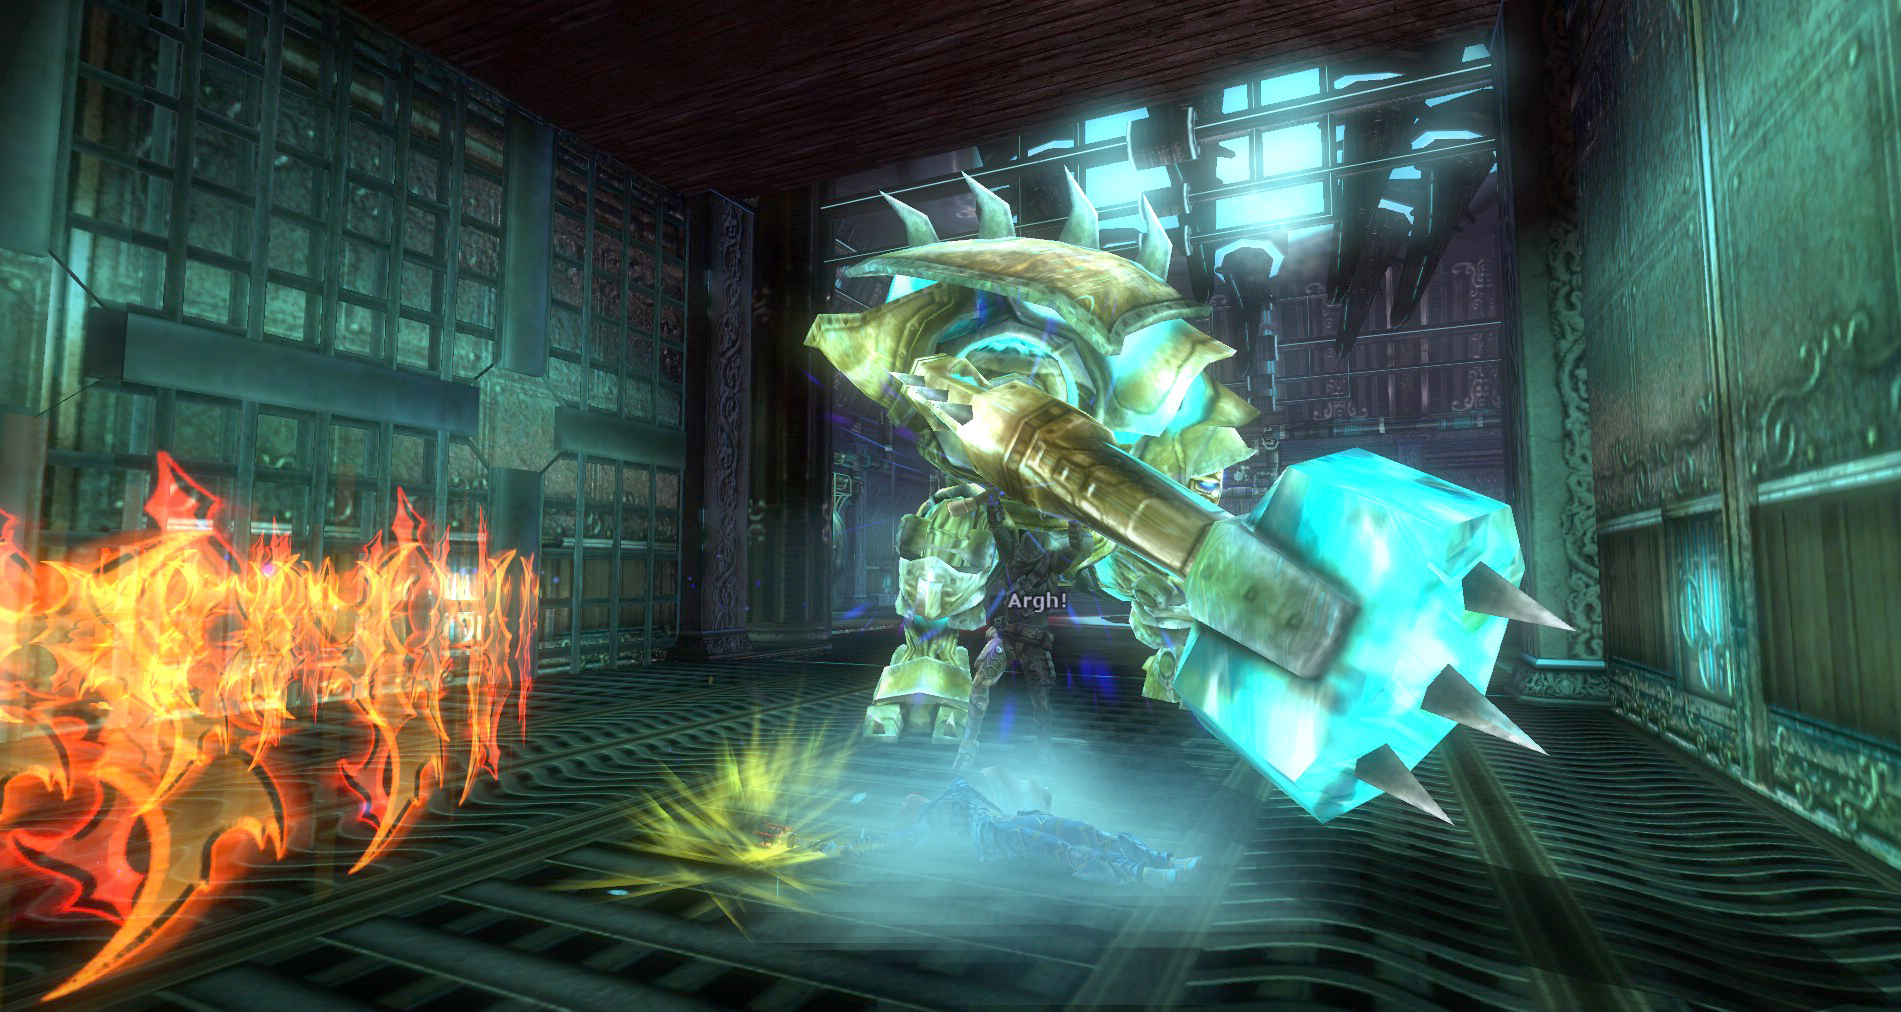
The best way to fight him is to pull him over to one of the corners with the pillars in it by the hallway that enters the room. Have your tanks beat on him here. Have your casters and healers out in the hallway around the corner. Have them pop out and heal if needed but then jump back out of line of sight. Line of Sight (LOS) is the key here! If you are out of LOS of the bombs he drops, you will be OK. Using the wall and the corner where the hallway meets the room is a great way to break LOS and avoid the bomb blast.
 While you are fighting The Iron Bomber, have everyone watch for it to say anything. He says several different things but they all indicate he has dropped a bomb and it is about to go BOOM. He will retreat himself but the bombs will not damage him even if he is stuck in them, so don’t bother with them. When he says something, have everyone in the group call out “BOOMER!” then flee ASAP around the corner into the hallway and be sure to break LOS. Once the bomb goes off, return to the corner and get back to beating on him. He drops bombs about every 30 seconds to a minute and these bombs go off 5 seconds after he drops them, so there is not a lot of time to dodge them.
Fighting him here allows you easy access to a shrine and room to work. This does work pretty well, but the group must be coordinated and work together or you will die. Should most of the party eat a bomb and you need to recover, have anyone that is still alive begin to kite the Iron Bomber around the hallway just outside of this room. There is a perfect racetrack to run him around while everyone else resurrects and rebuffs.
 The Iron Bomber has a ton of hit points and can wipe a whole party with one misstep so be careful! There is some named loot in the chest he has so it is definitely worth the risk and it is one fun fight. Good luck!
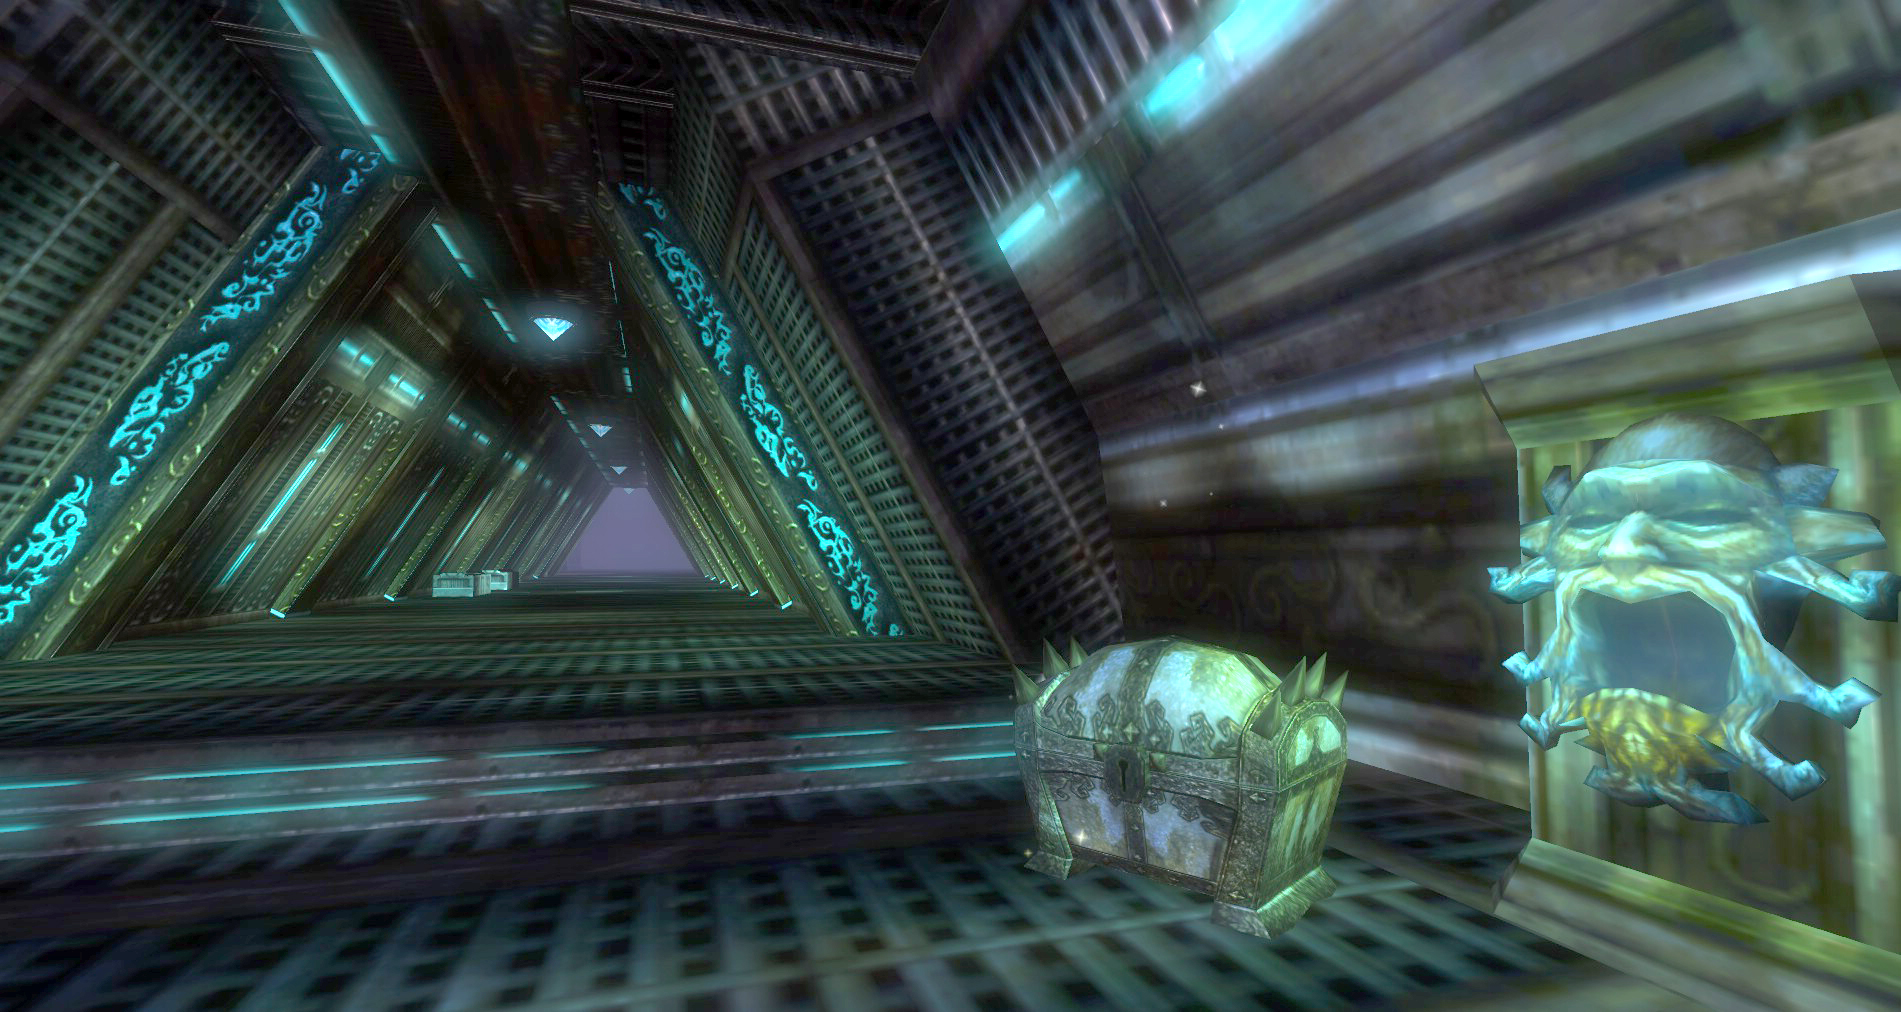
One last thing… don’t forget the chest at the beginning!

No Comments Yet