Lava Caves Quest Challenges Guide
 Mozro Ben is a Crystal Prospector and has made a grand discovery, the Lava Caves. These caves are filled with a great many crystals. There is a fortune to be made by those strong and brave enough to venture into them and help the Kobolds collect the crystals. If you are interested, head over to the Lava Caves and find one that you think will make you rich beyond your wildest dreams!
The Lava Caves are a challenge area that is suited to anyone over 4th level. Inside these caves you will find that there is a Kobold Foreman and his crew that are eager to mine the crystals. If you help them they will pay you handsomely.
You will be tasked with not only leading the kobolds to the best crystal fields with torches, but also for keeping them safe, clearing out areas of danger, and finding other valuables within the Lava Caves.
As with the other challenge areas within House Cannith, all of the challenge quests of the Lava Caves have a few things in common:
 This area works the same as the 5th Anniversary Event, Crystal Cove. You can look to the other guides in DDM’s Realm as well as the video, “Mastering the Torches”, to pick up tips and tricks to being successful with this quest.
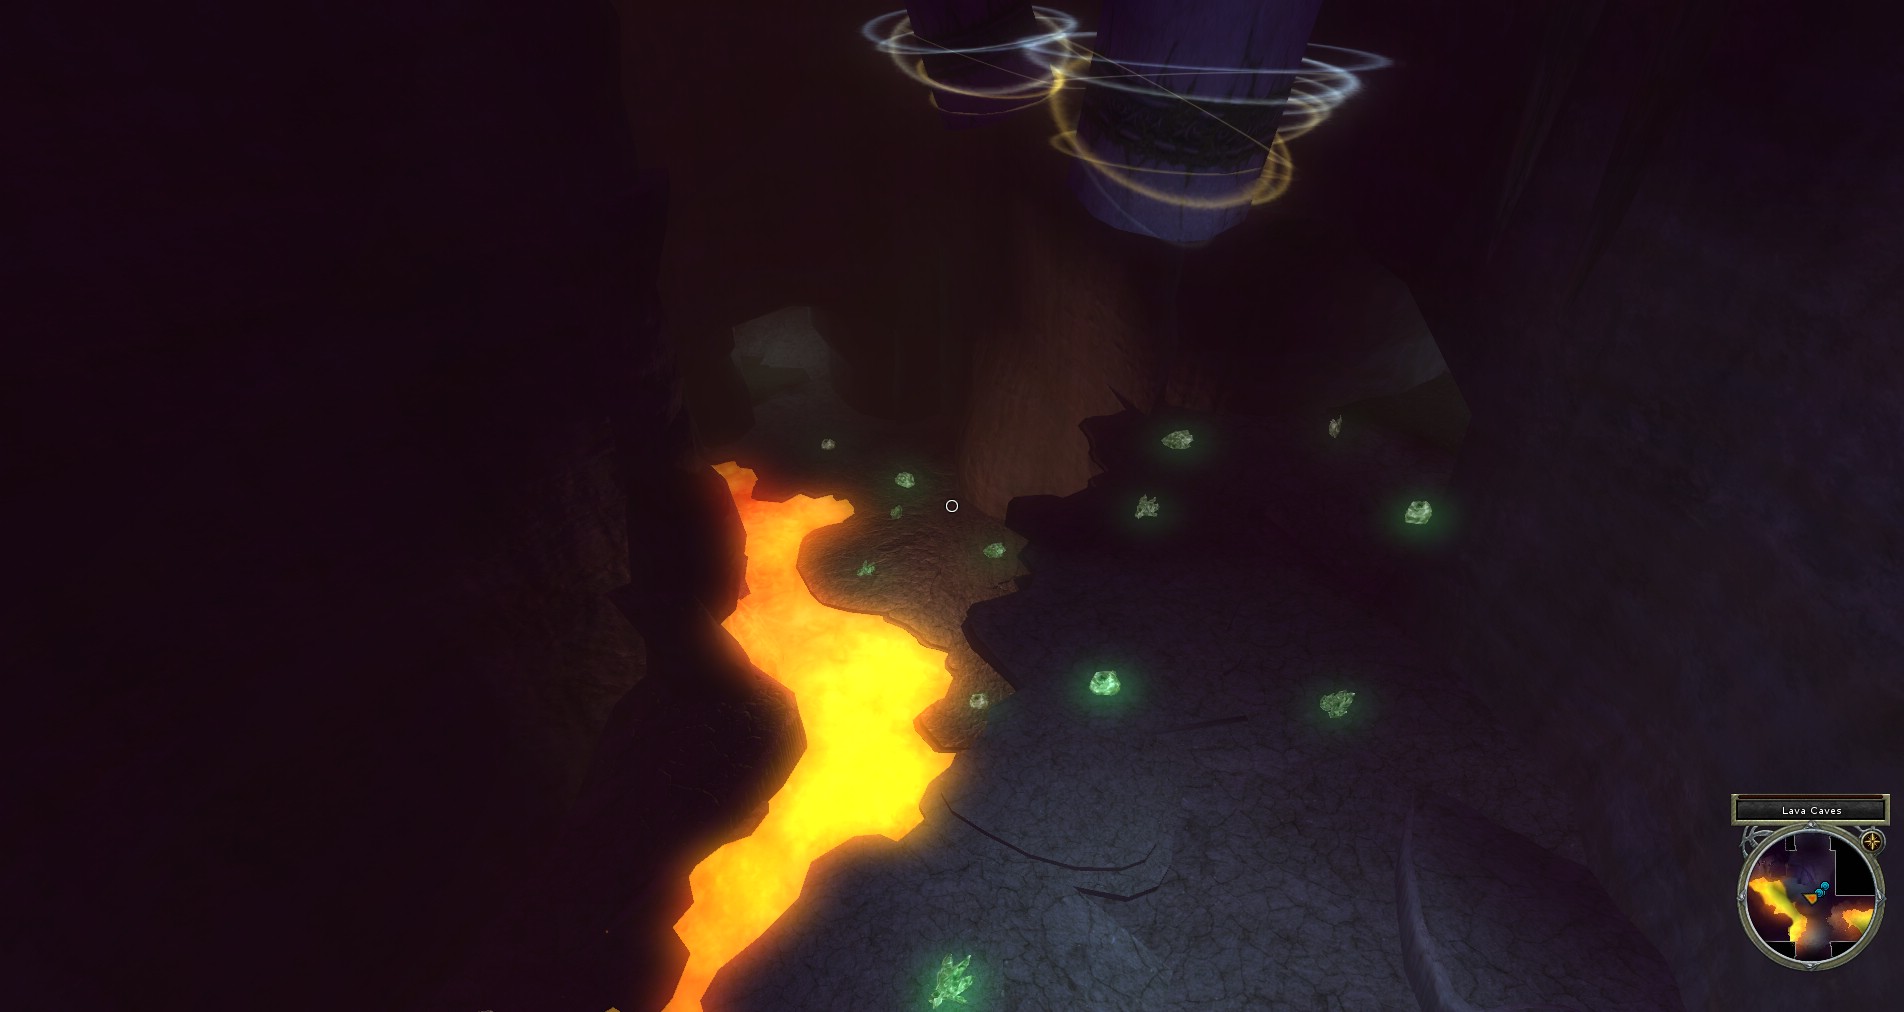
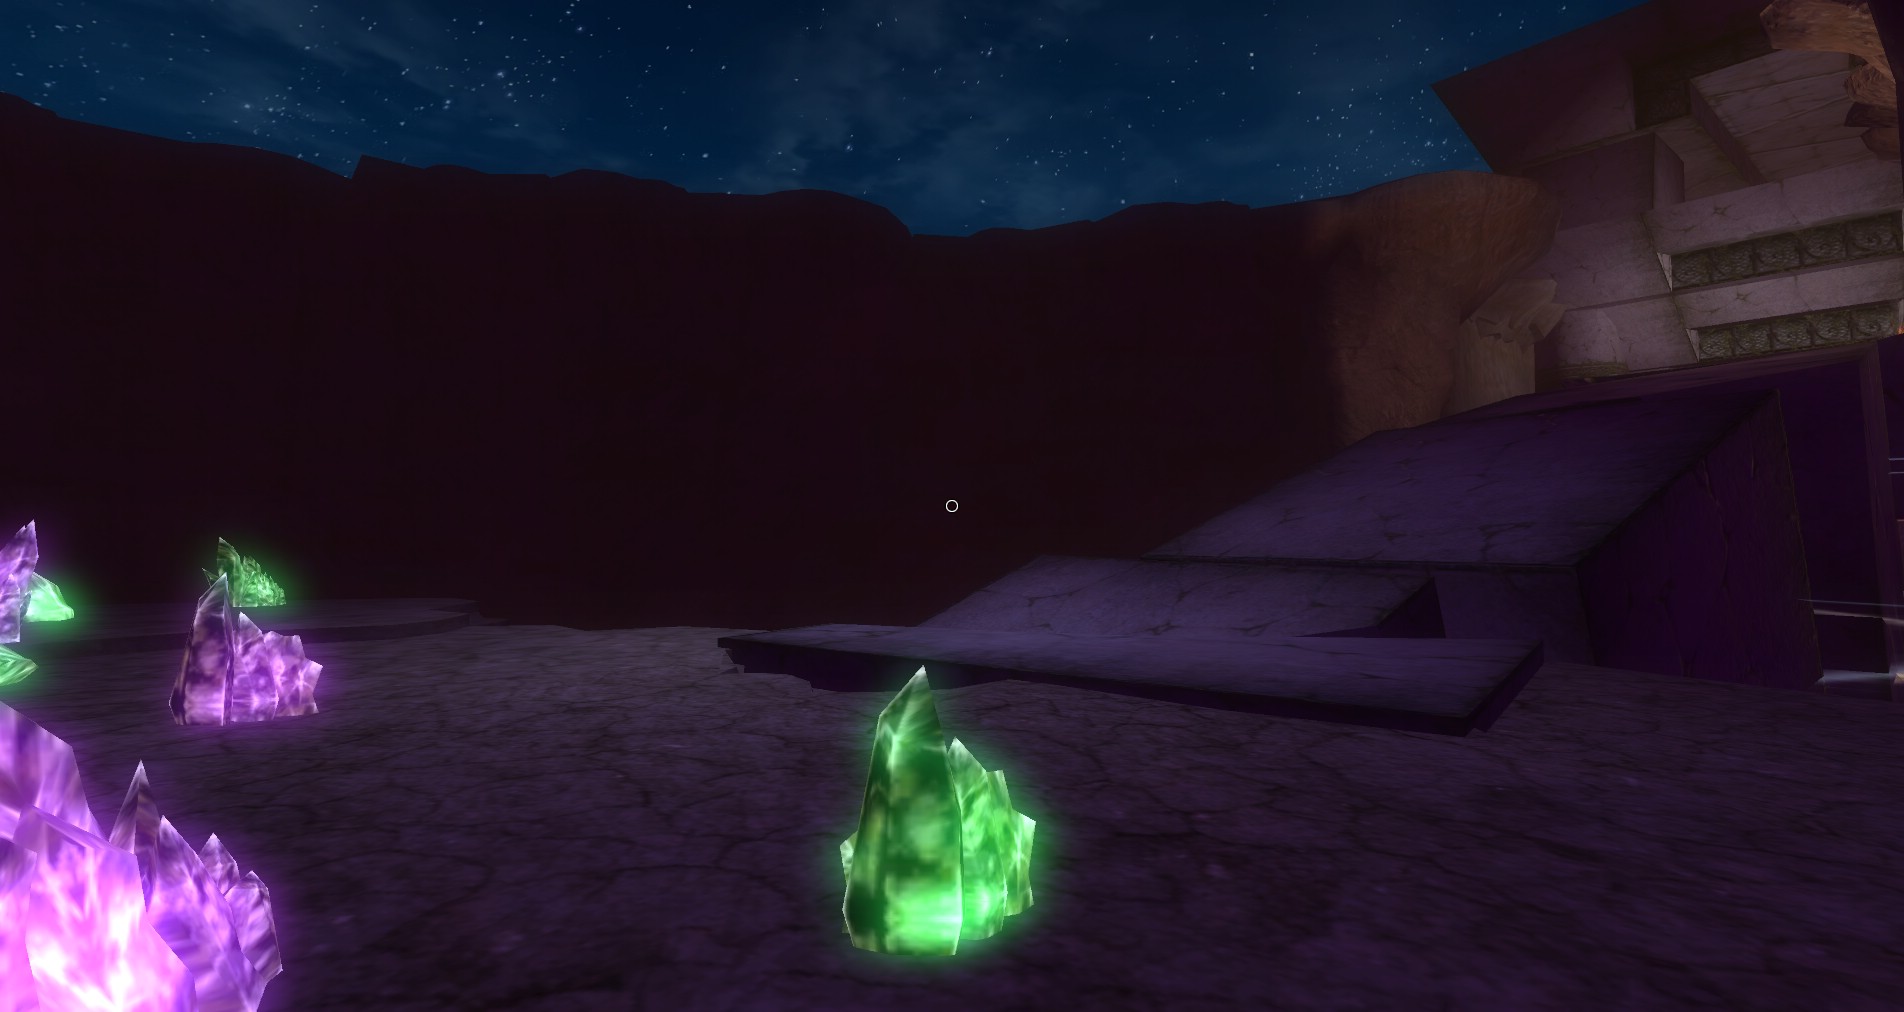
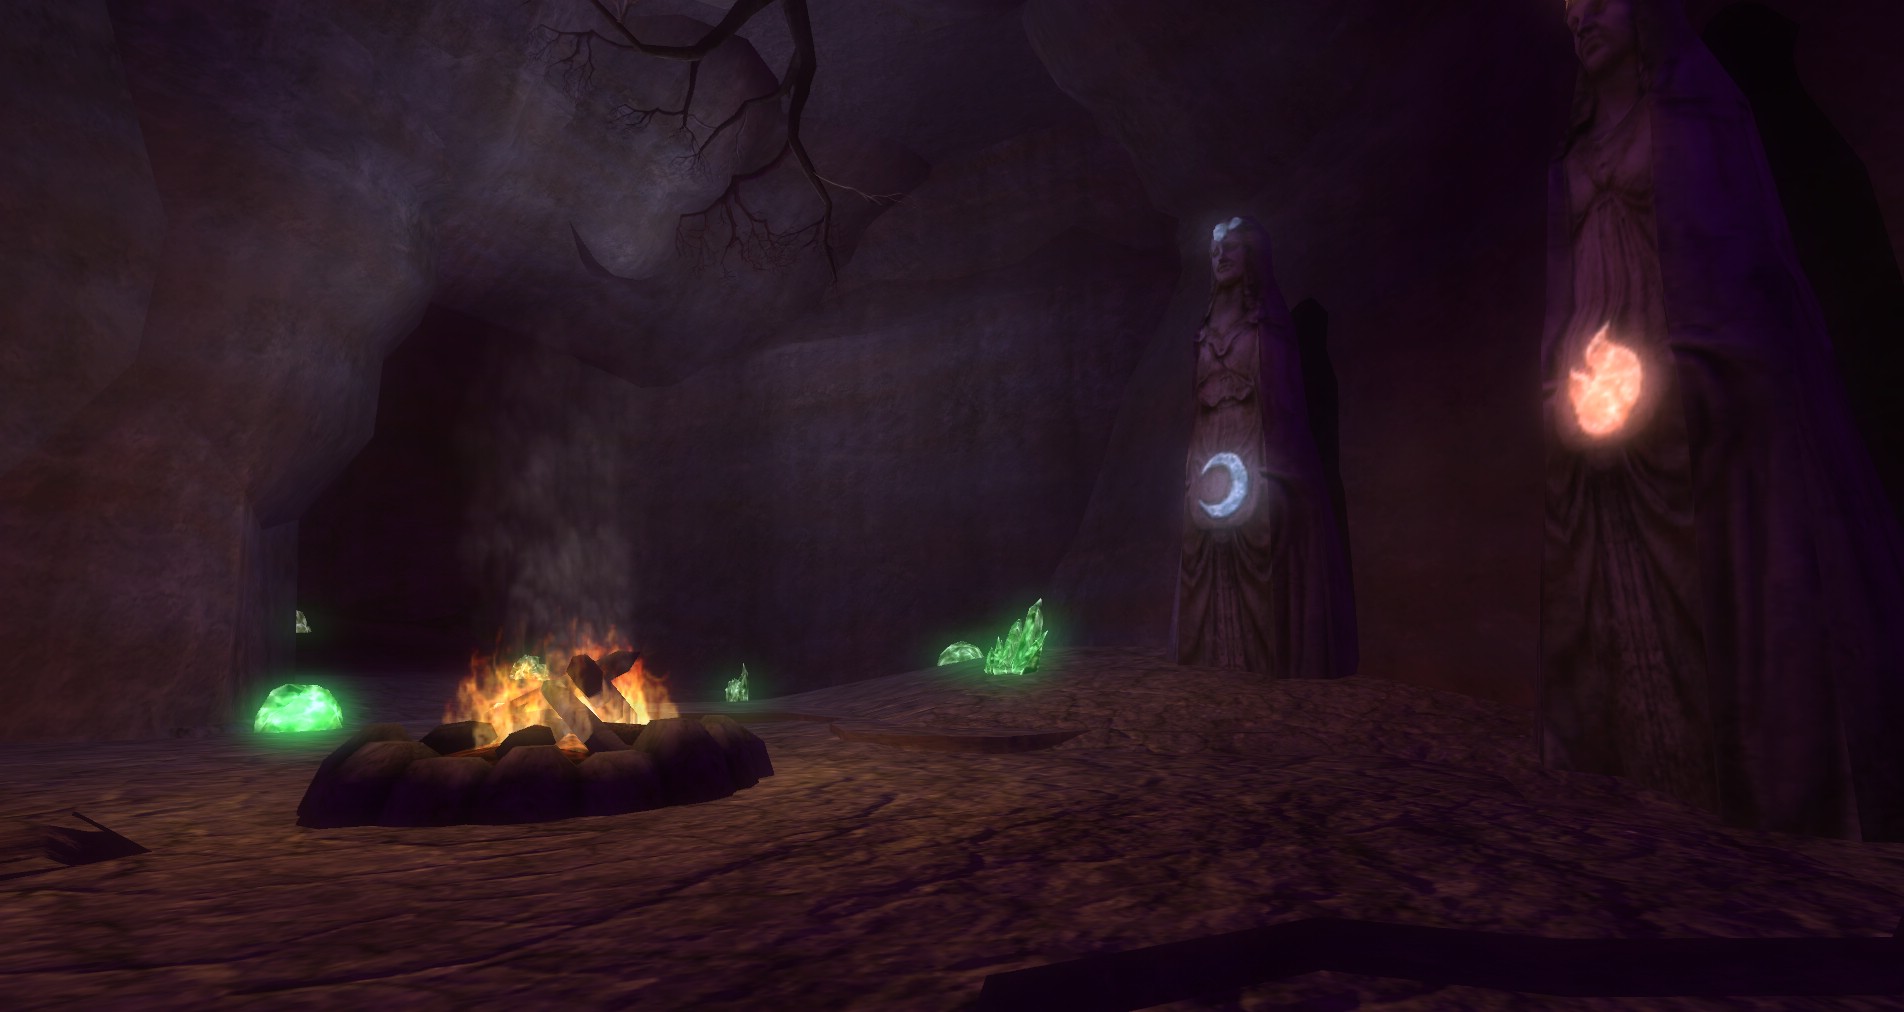
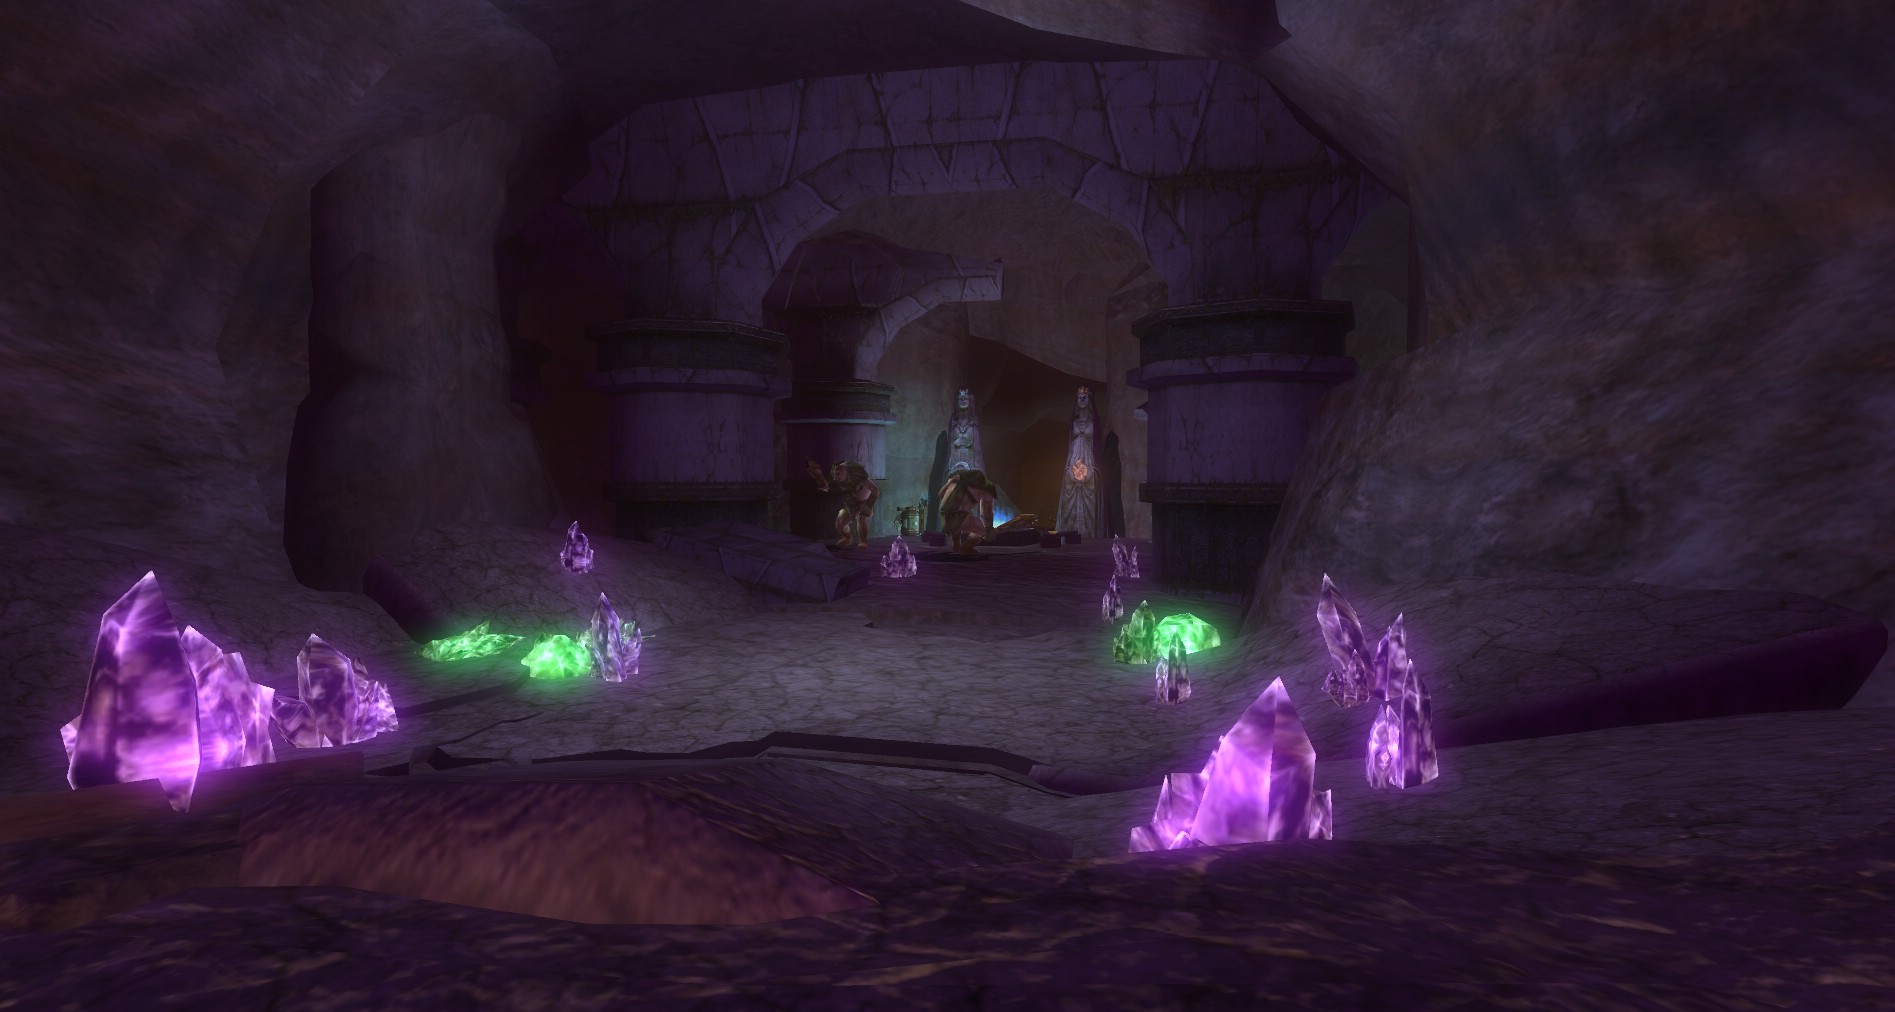
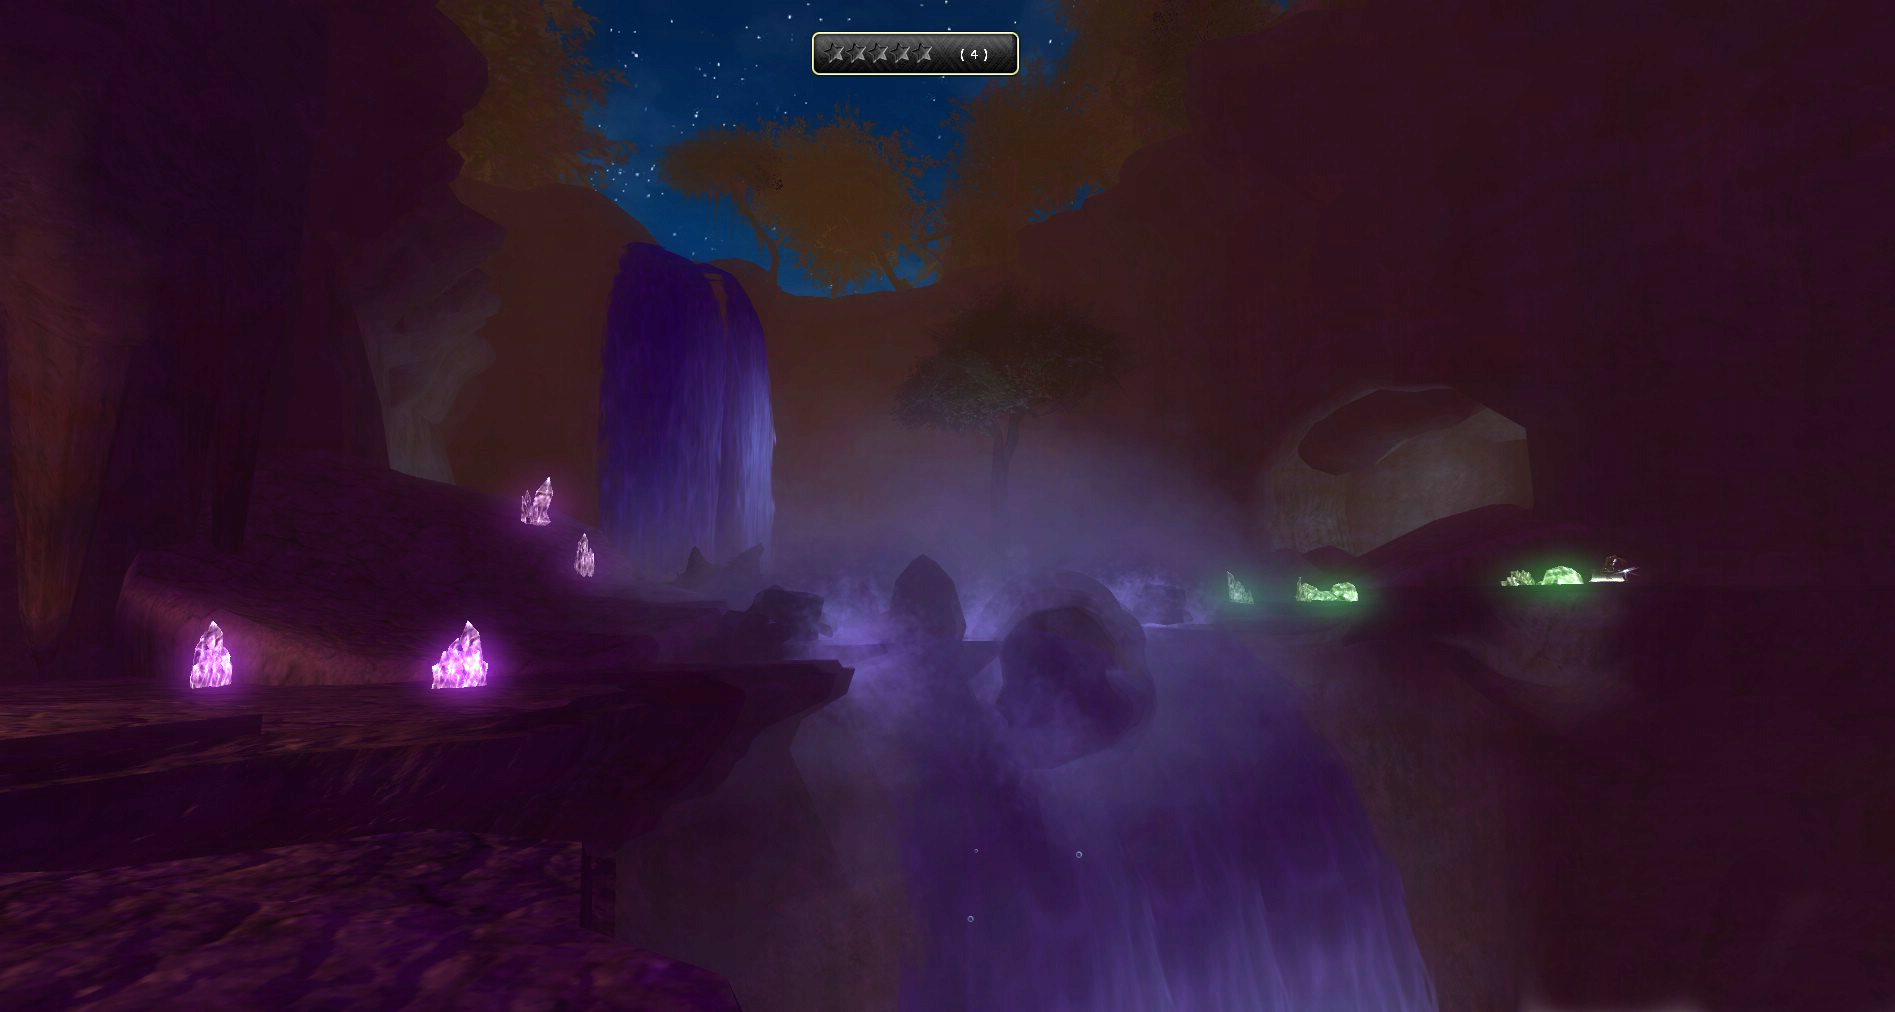
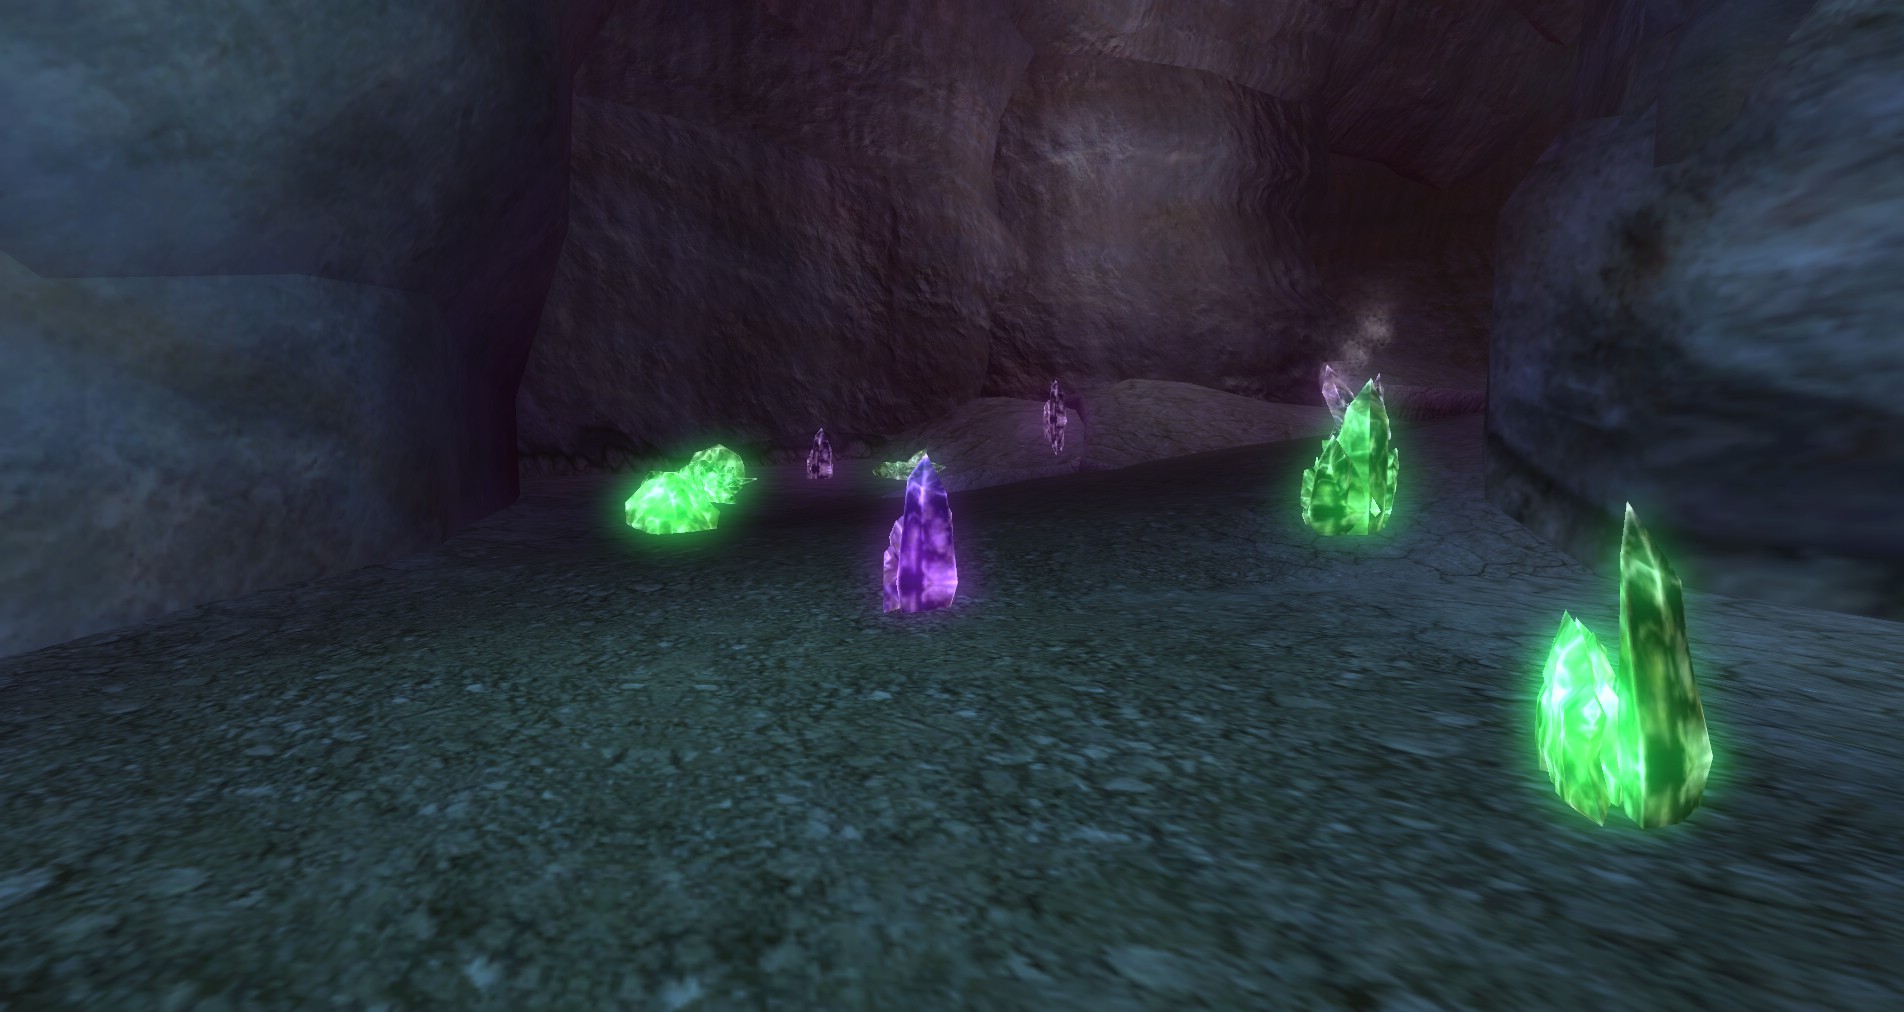
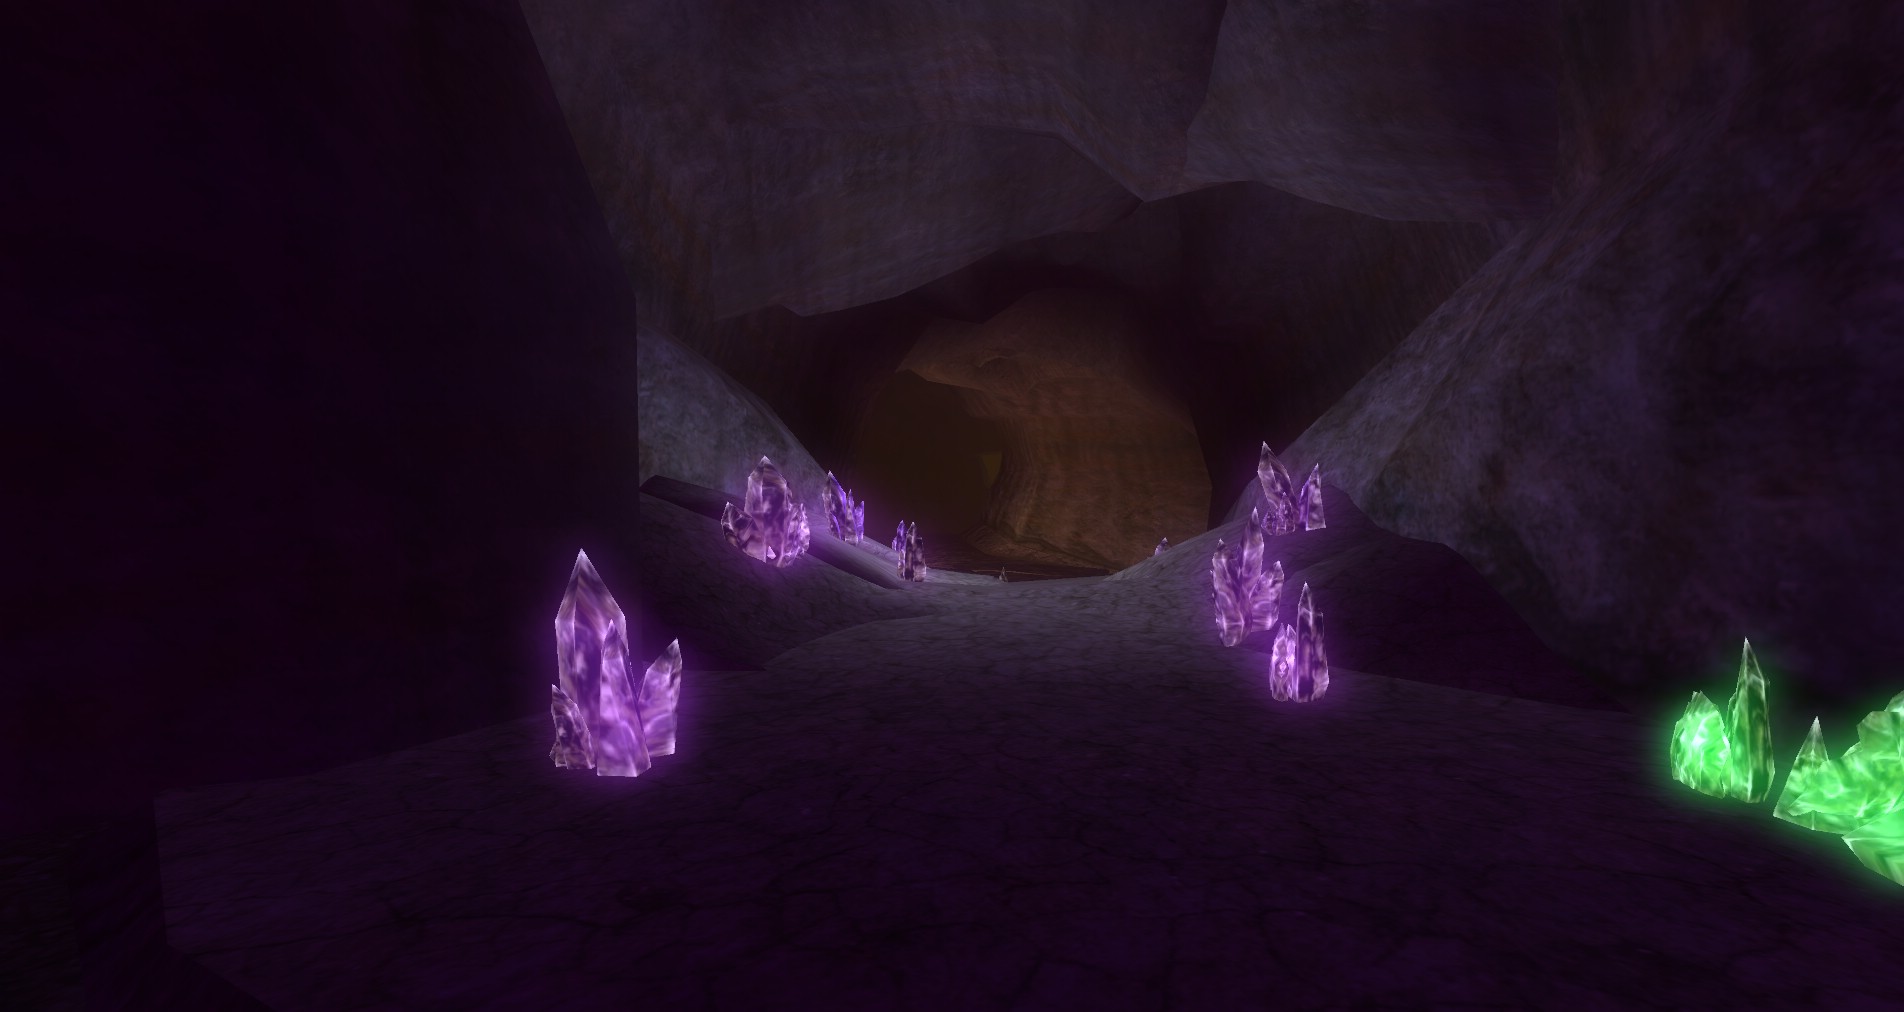
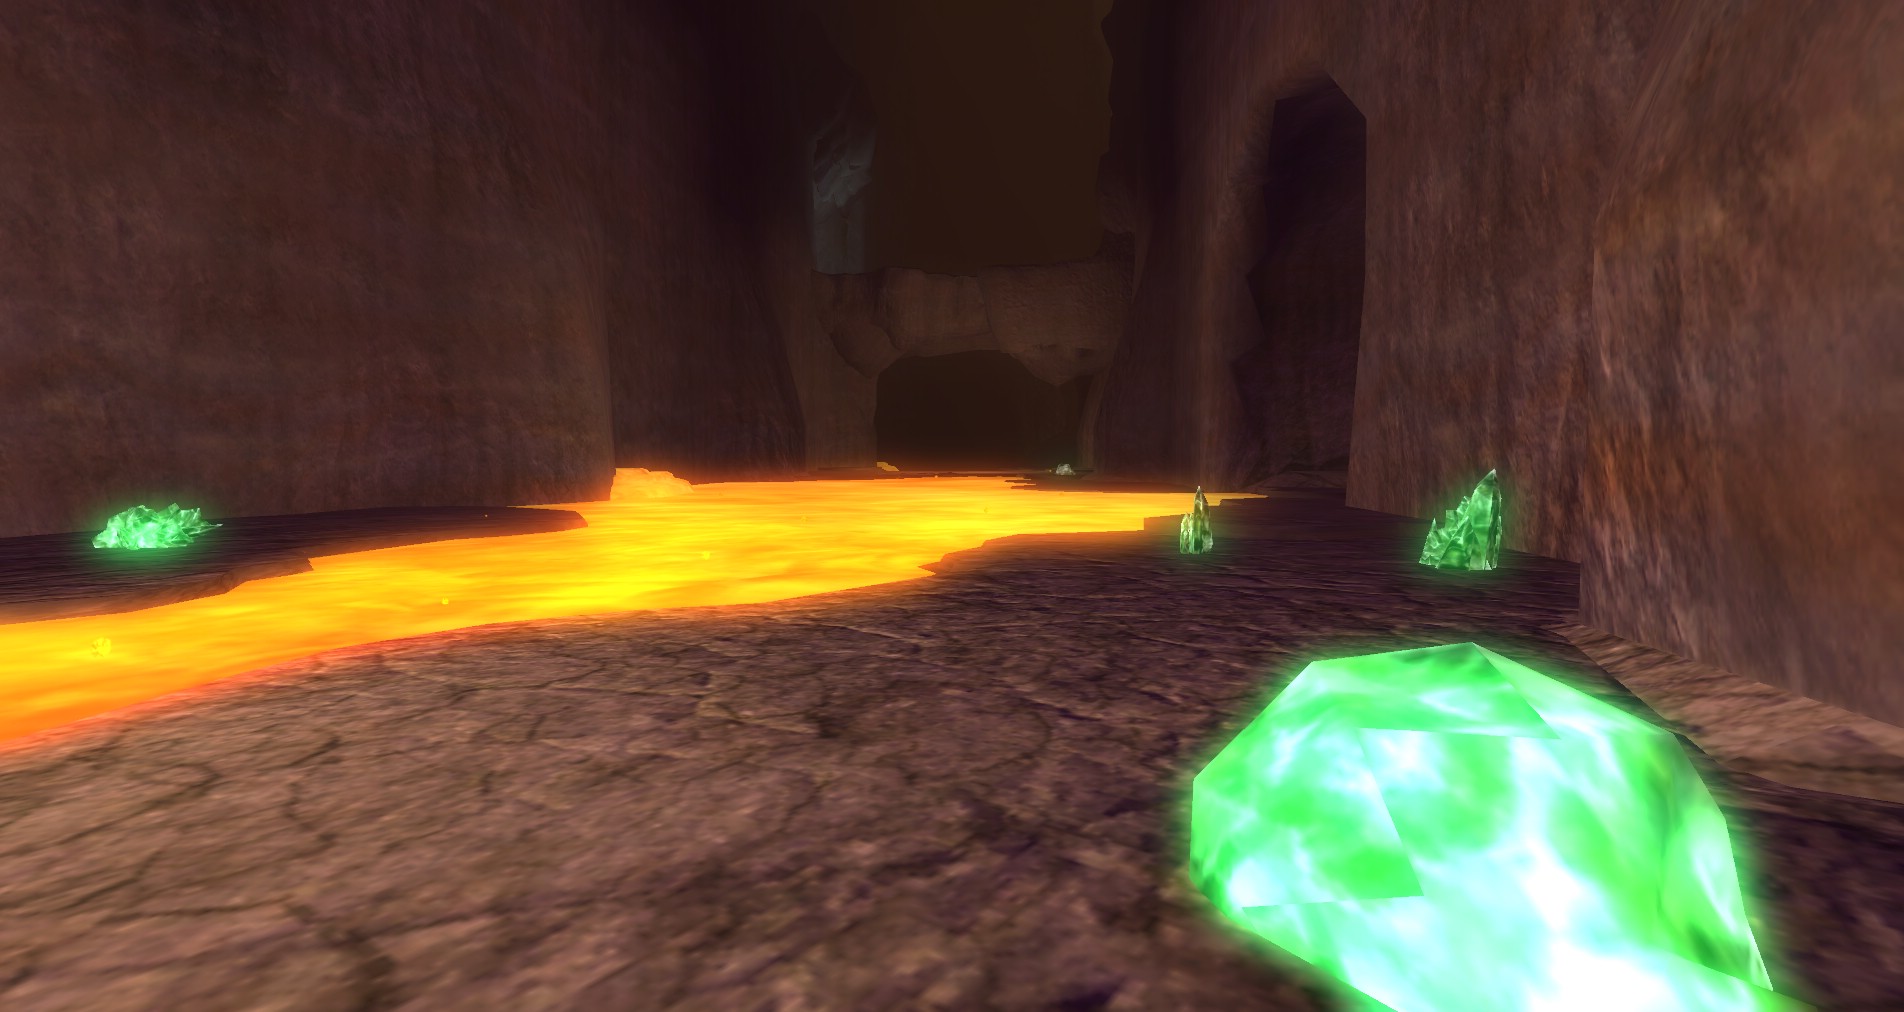
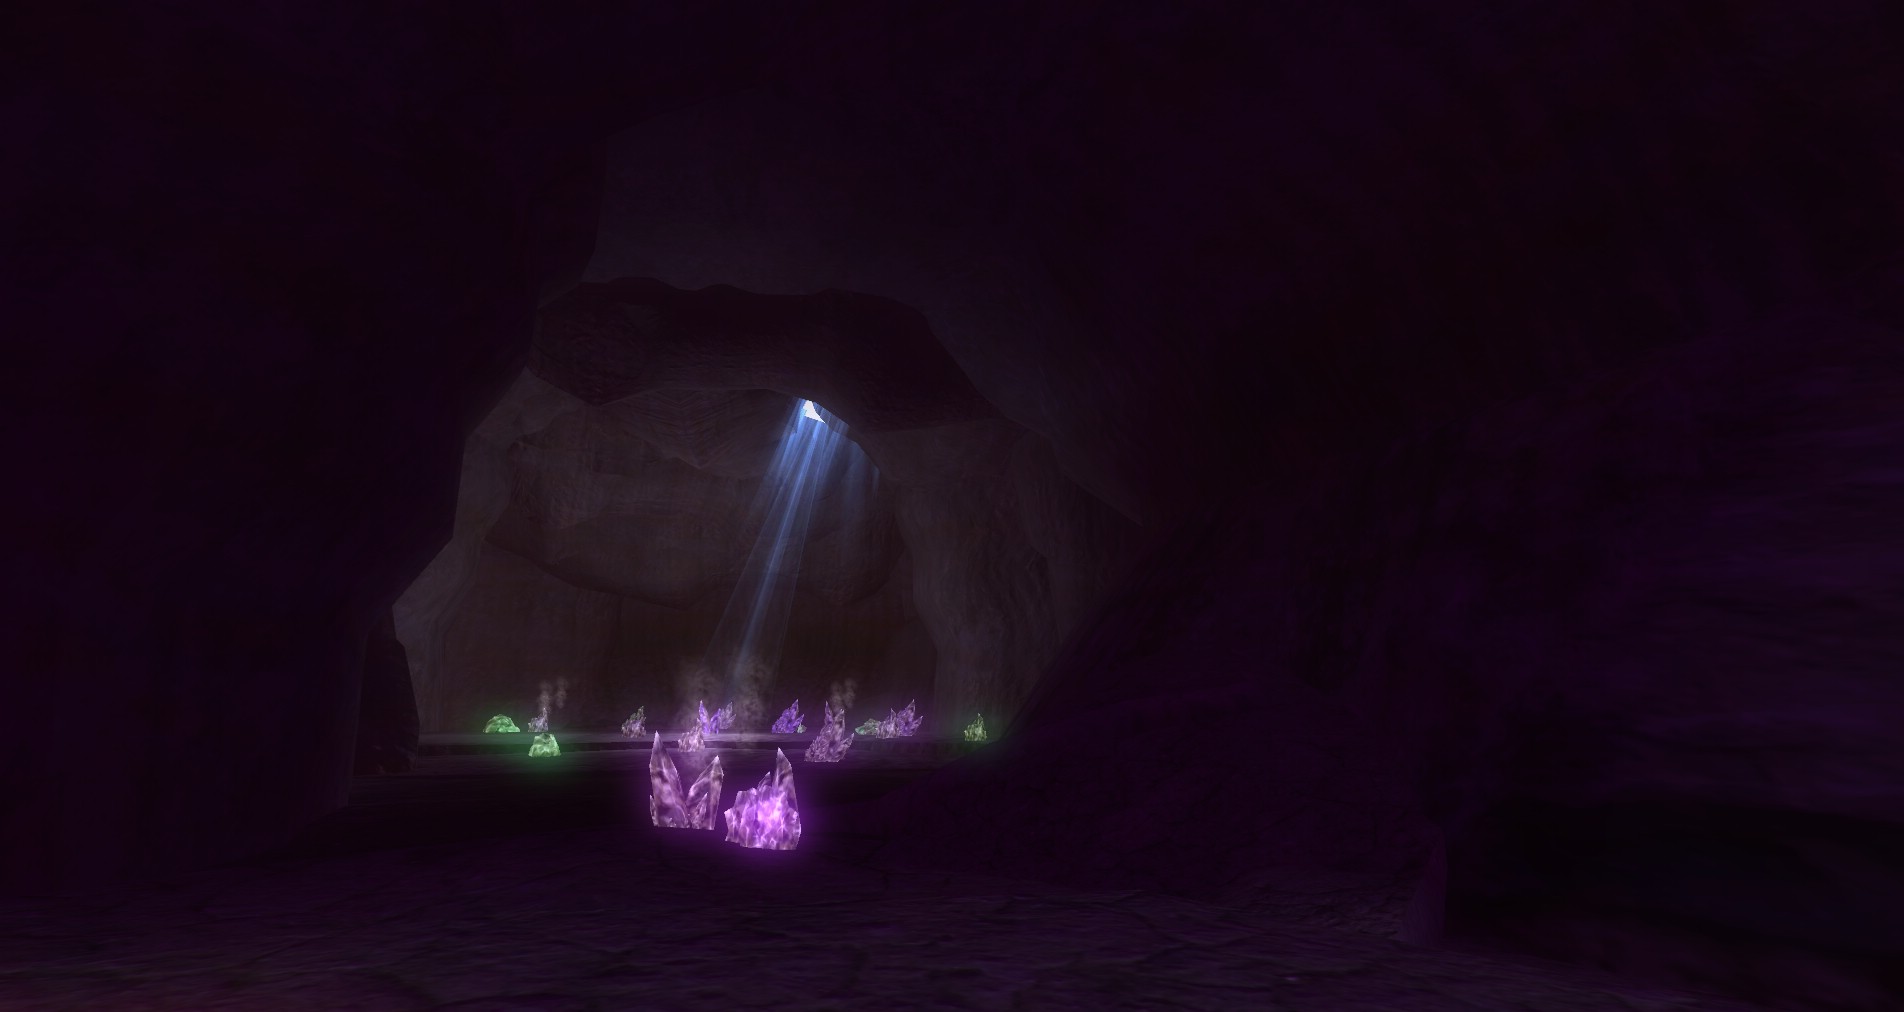
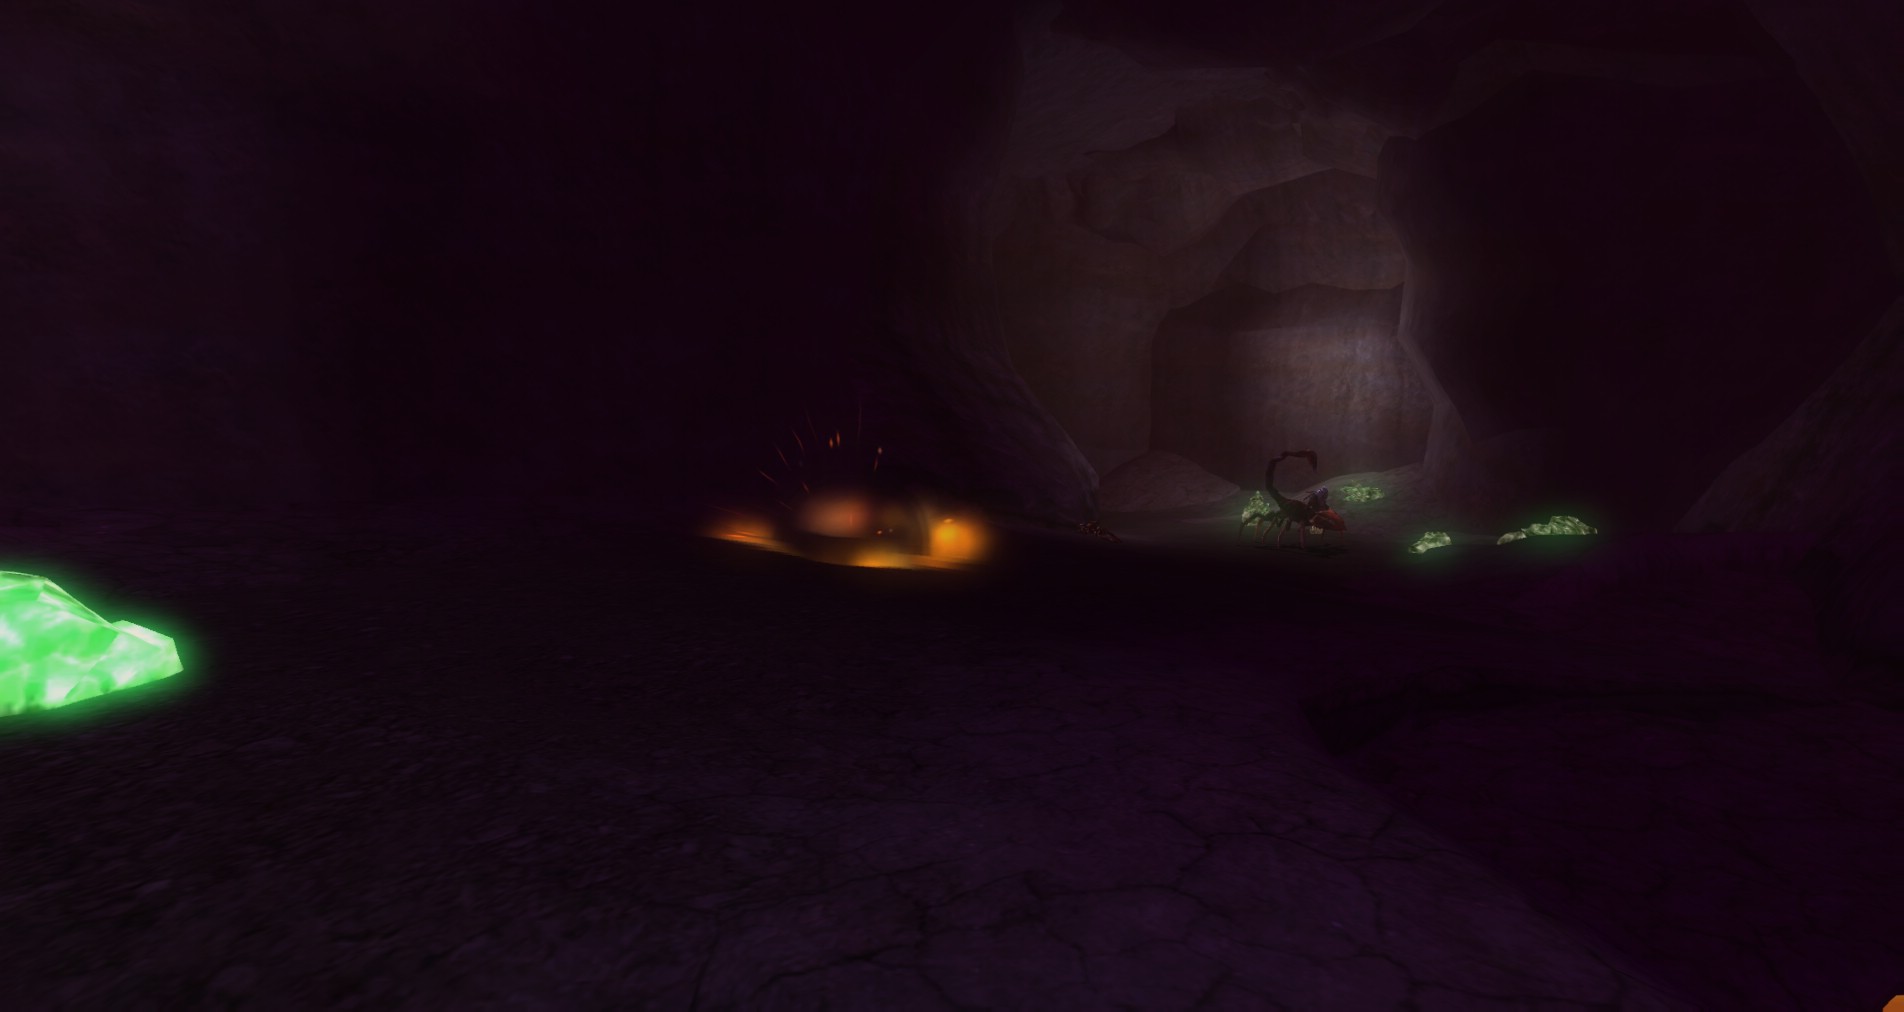
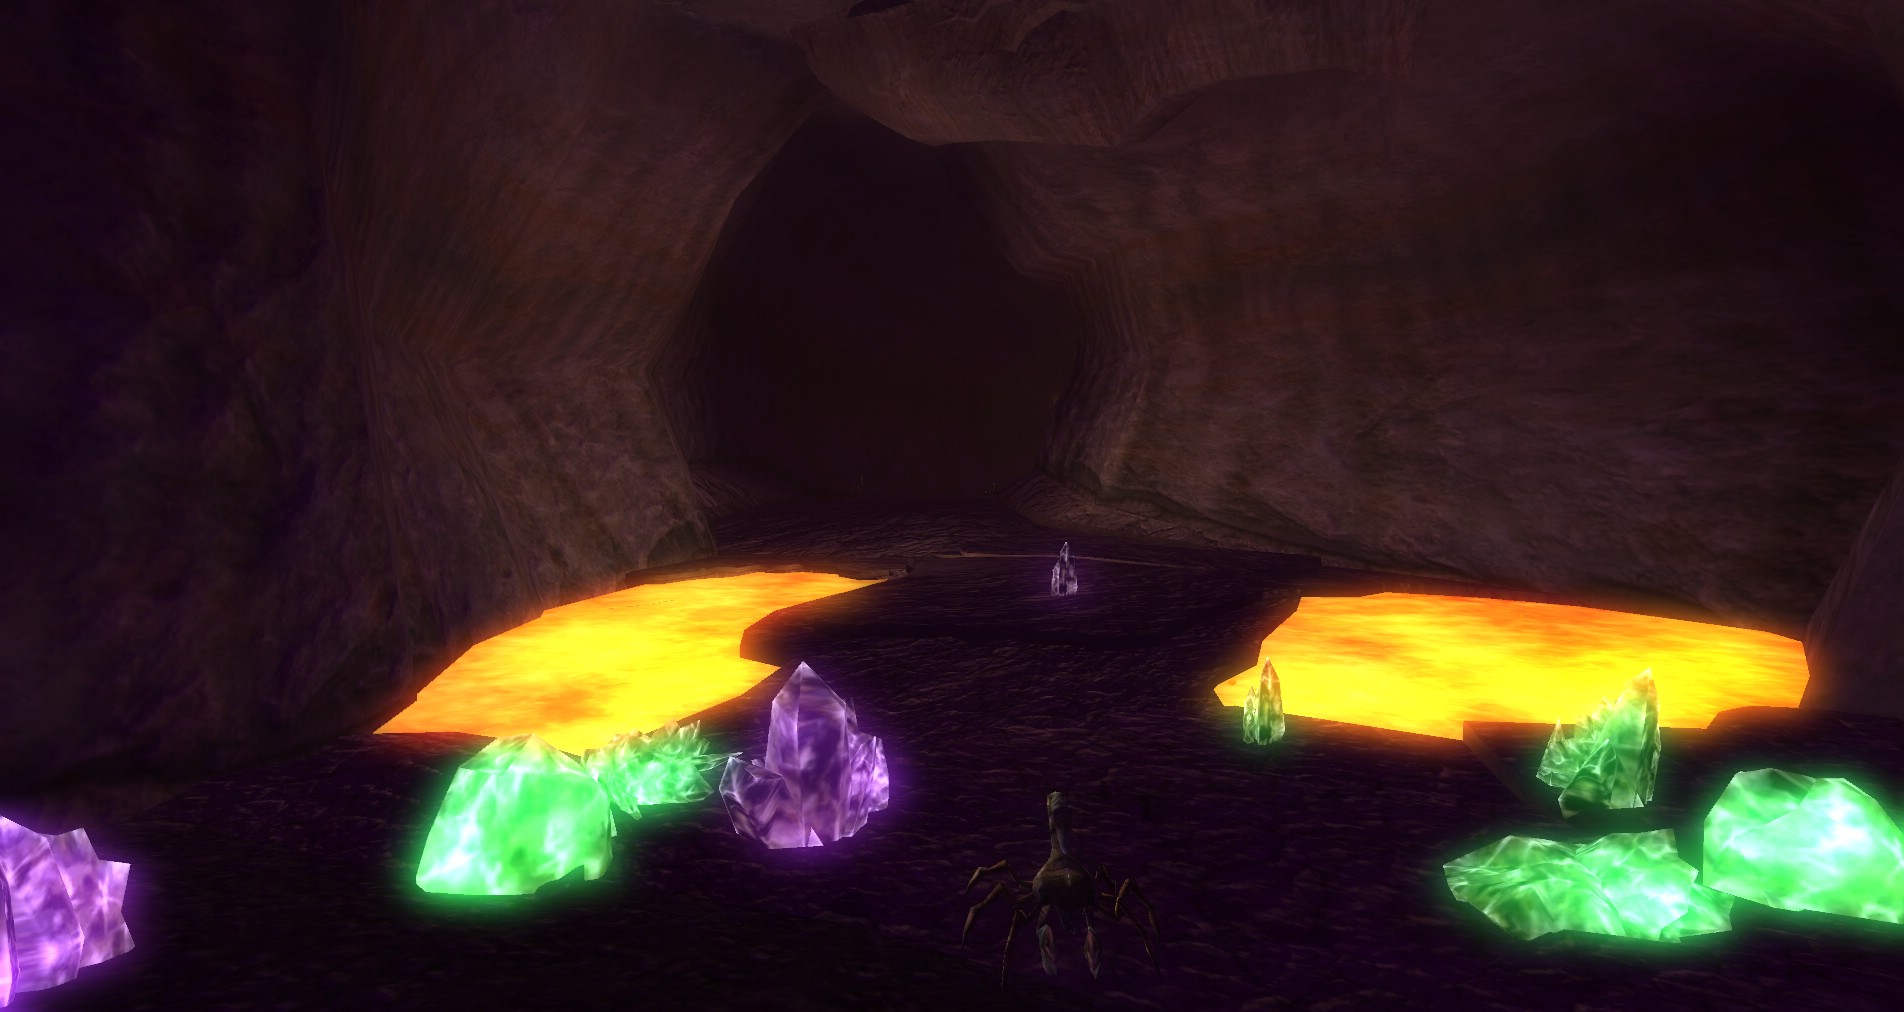
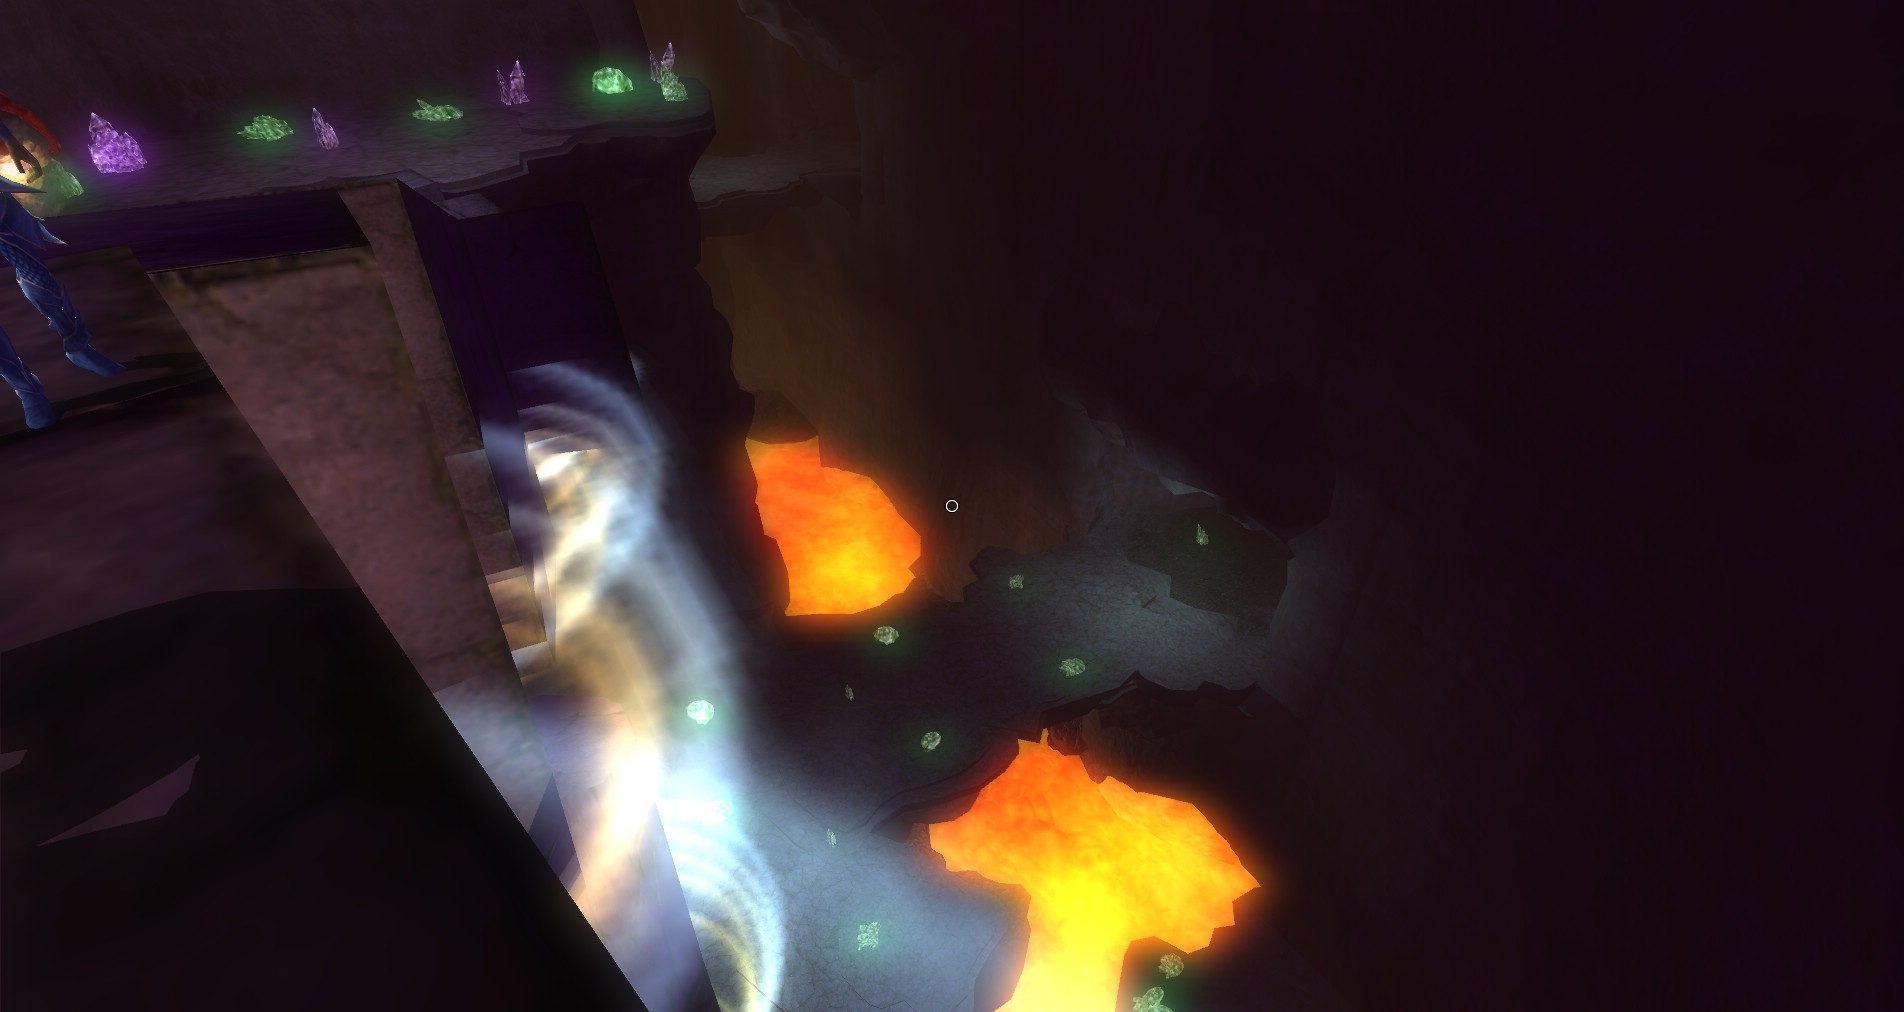
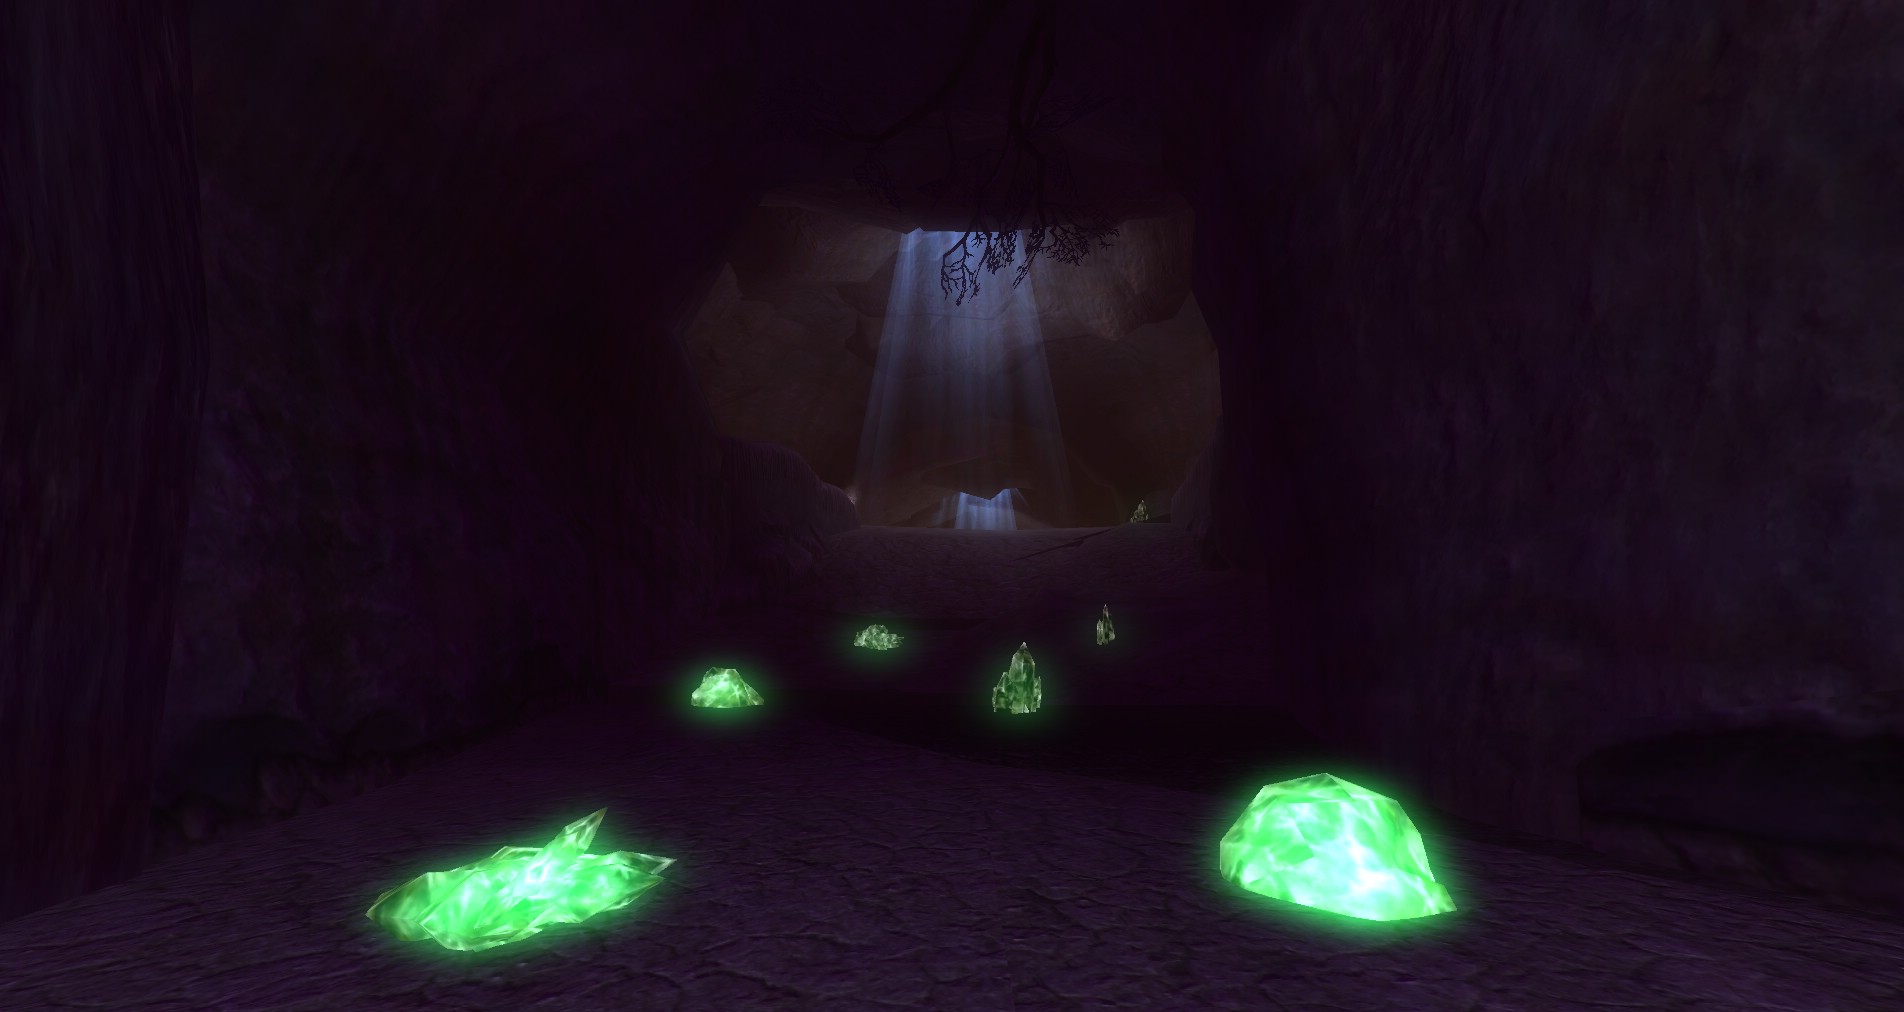
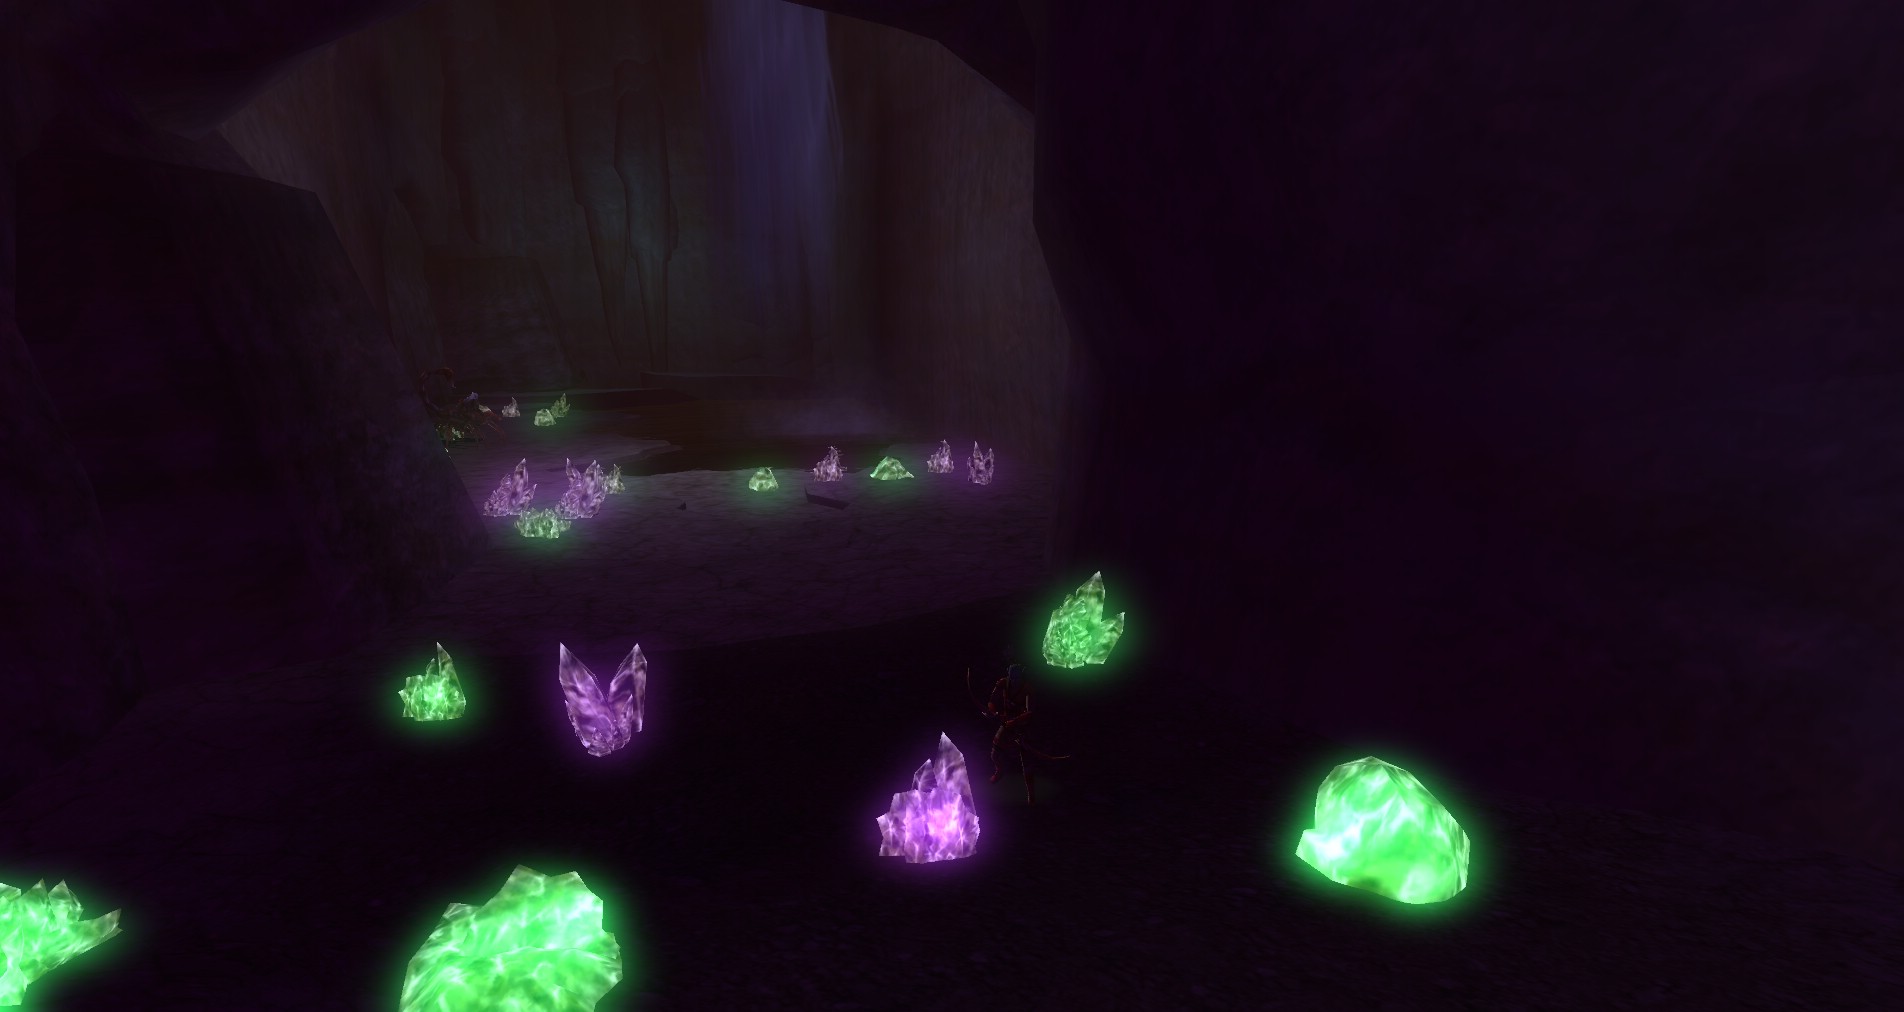
- Green crystals are worth 1 and purple crystals are worth 10.
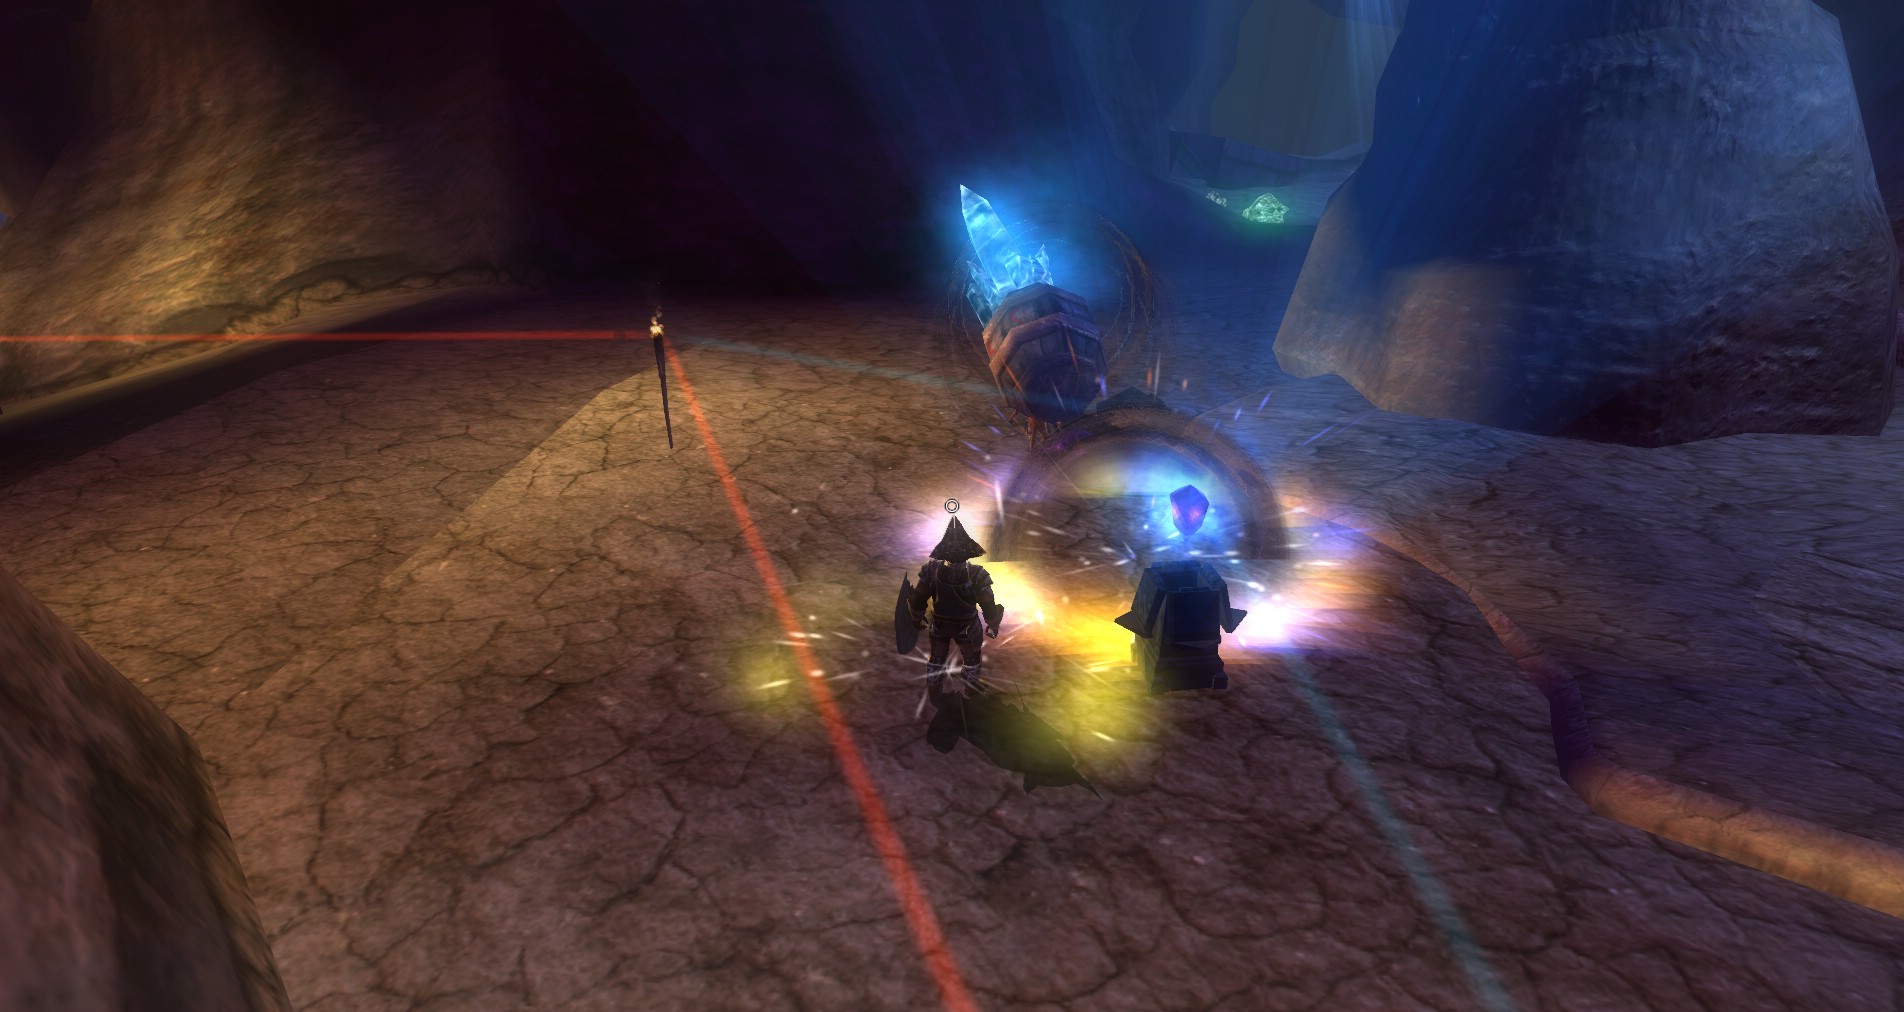
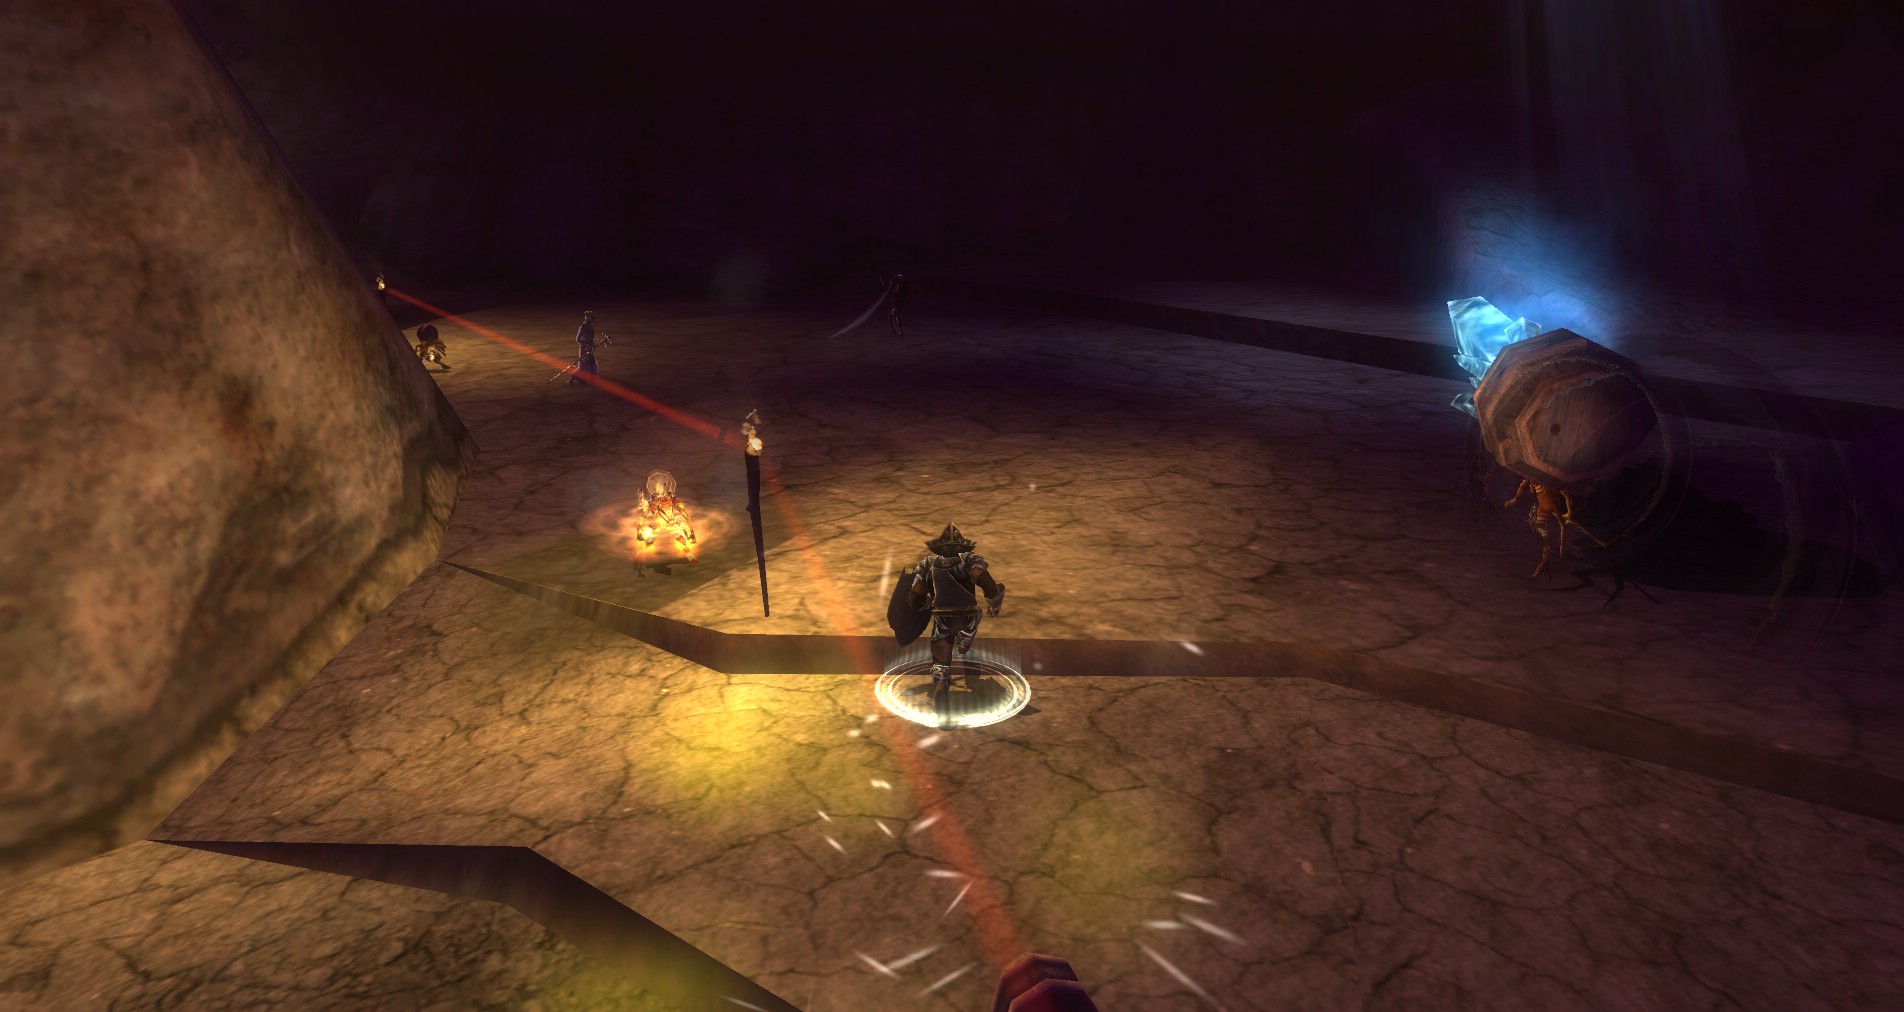
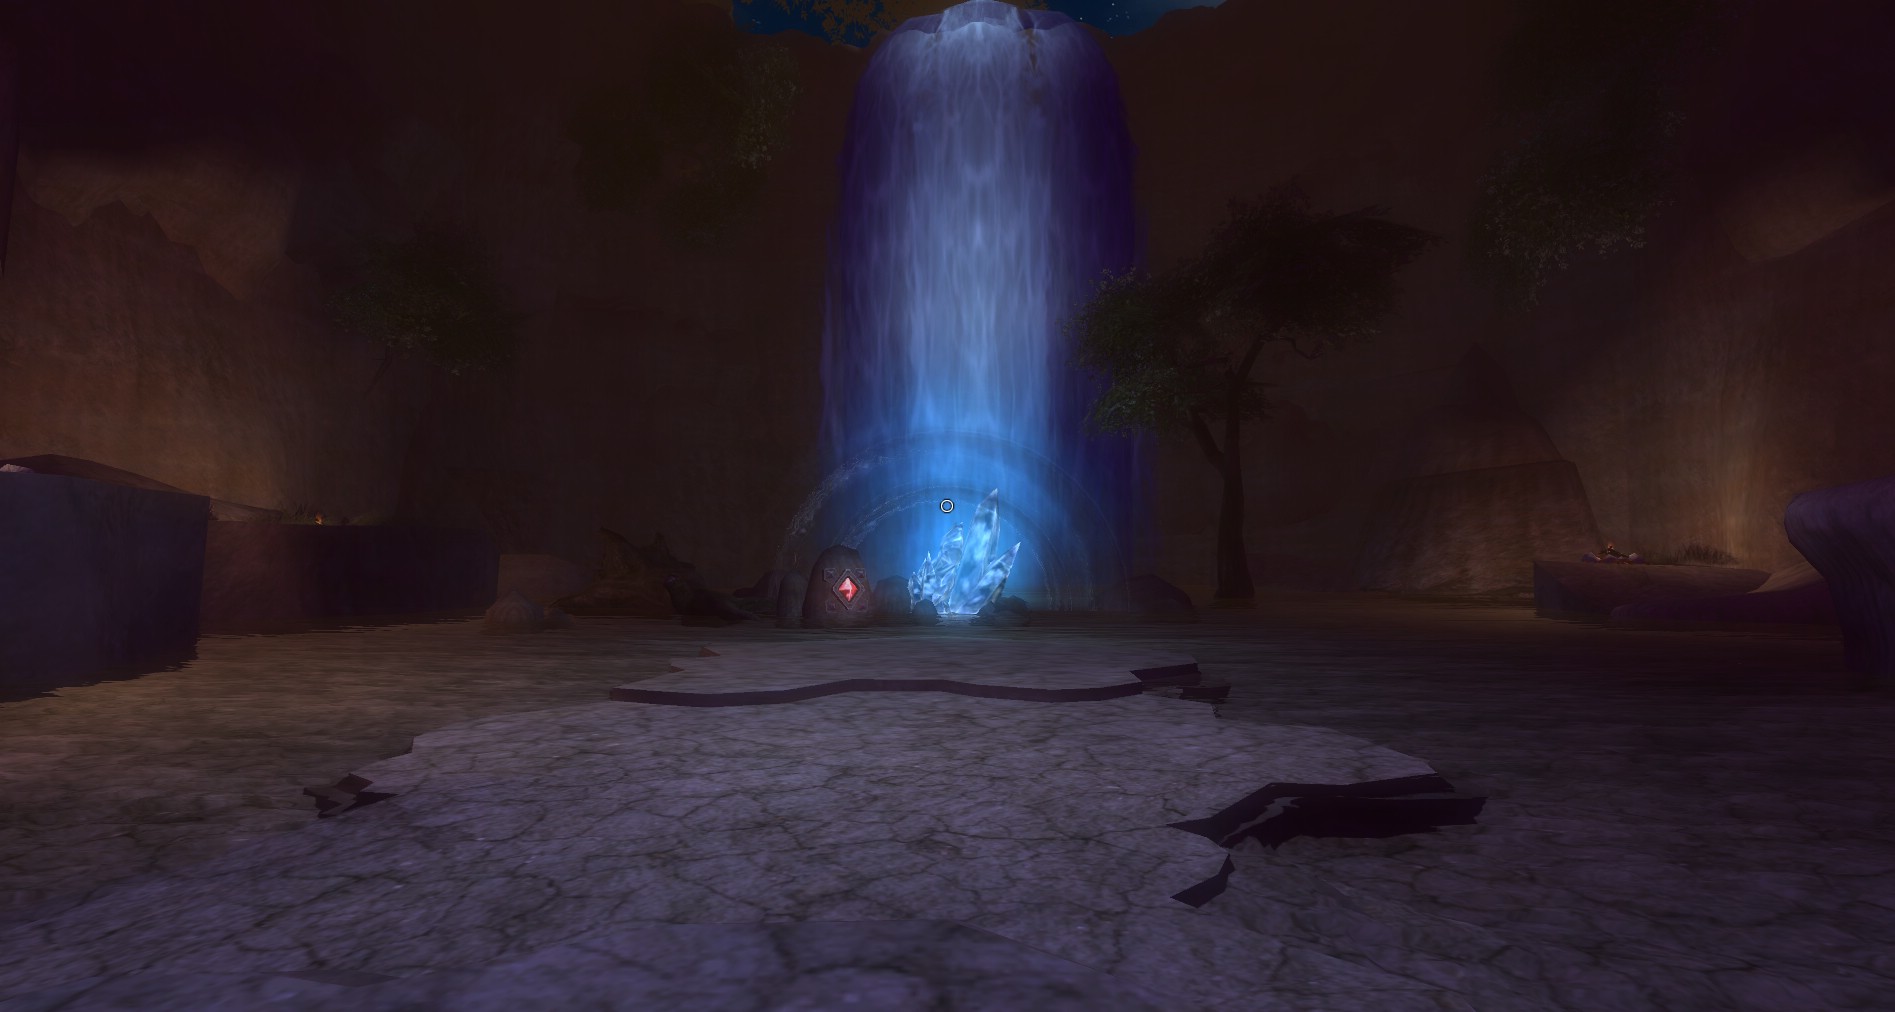
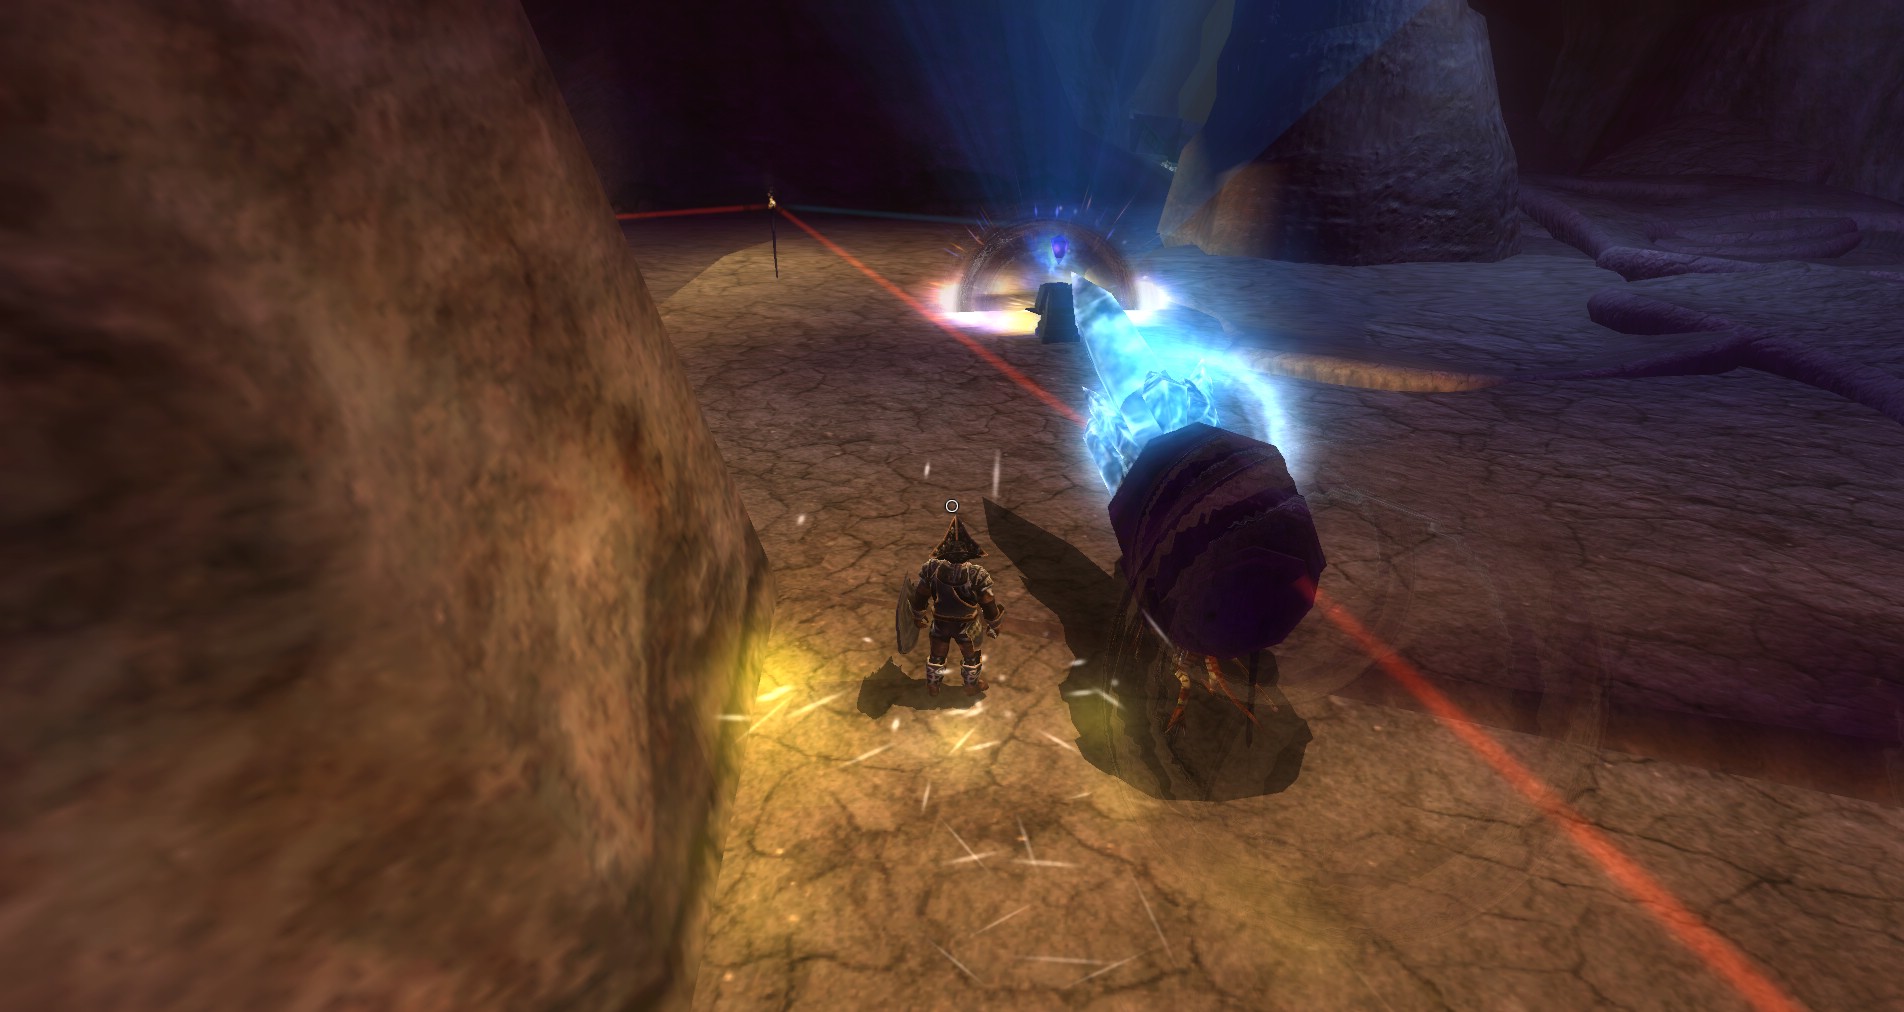
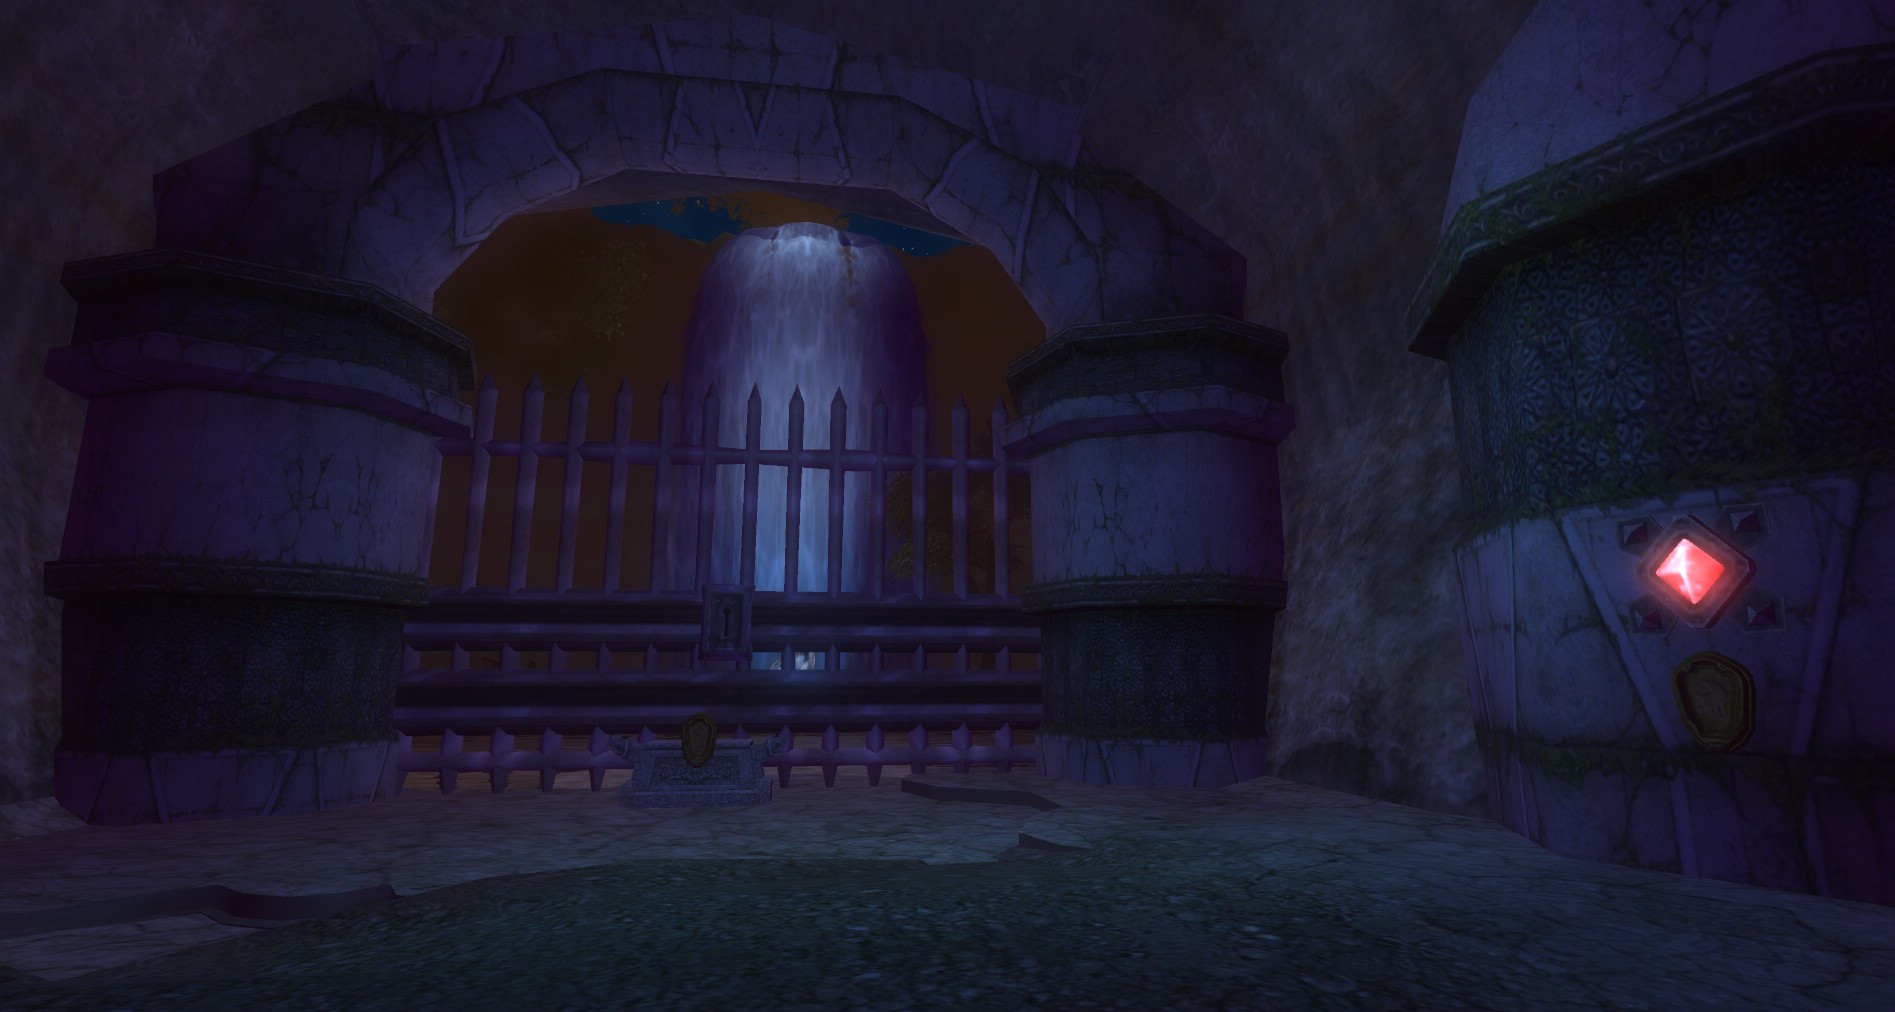
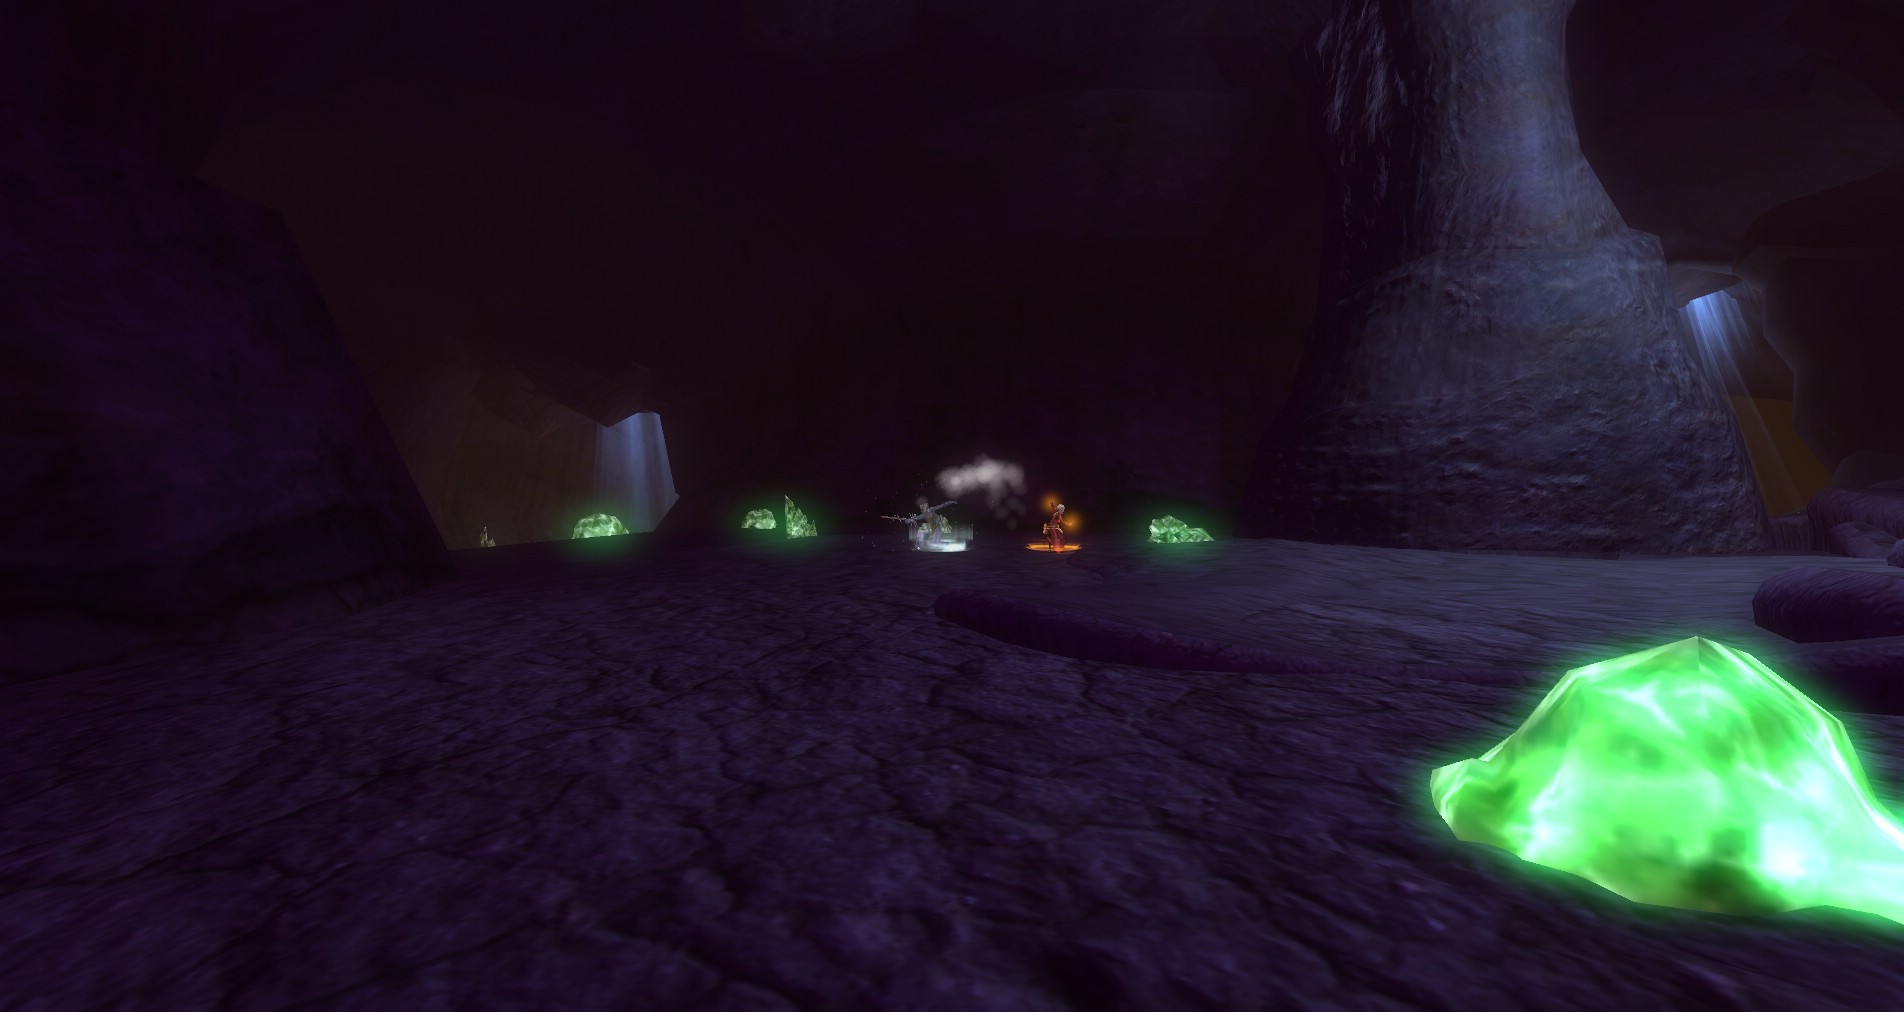
- There are Circles of Power that the crystal prospector speaks of. This is a rune-covered circle at the beginning of the quest. If you place Teleport in any of the sparkling orbs within the quest, it will create a two way portal that both you and the kobolds can use. This is vital in collecting the large numbers of crystals required in these quests.
- Once you clear a path to a teleportation orb and the Circle of Power, place a teleporter there and pull up the torches between them. This way the kobolds will use the portals instead of running.
- The teleportation circles appear in random places throughout the caves so you can’t count on them from instance to instance.ww
- It’s best to split the group up here. Have one or two people stay at the Circle of Power, keeping it free of attacking enemies. Have another group move torches and set up portals as well as keeping that area free of enemies. Then have a third group wander the Lava Caves completing some of the other optionals as well as scouting for the group.
- Named enemies can drop requisitions for more supplies.
- Named enemies can drop supply crates in your inventory. When these are double clicked they will generate random loot for you. It’s best to wait until you are out of the dungeon to do this as it can use up a lot of inventory space.
- If you find a huge cache near a portal, take the teleporter to it ASAP and pull the torches. You can get the kobolds to harvest crystals in the farthest reaches.
- Don’t forget to grab the two torches that are behind you when you enter the quest.


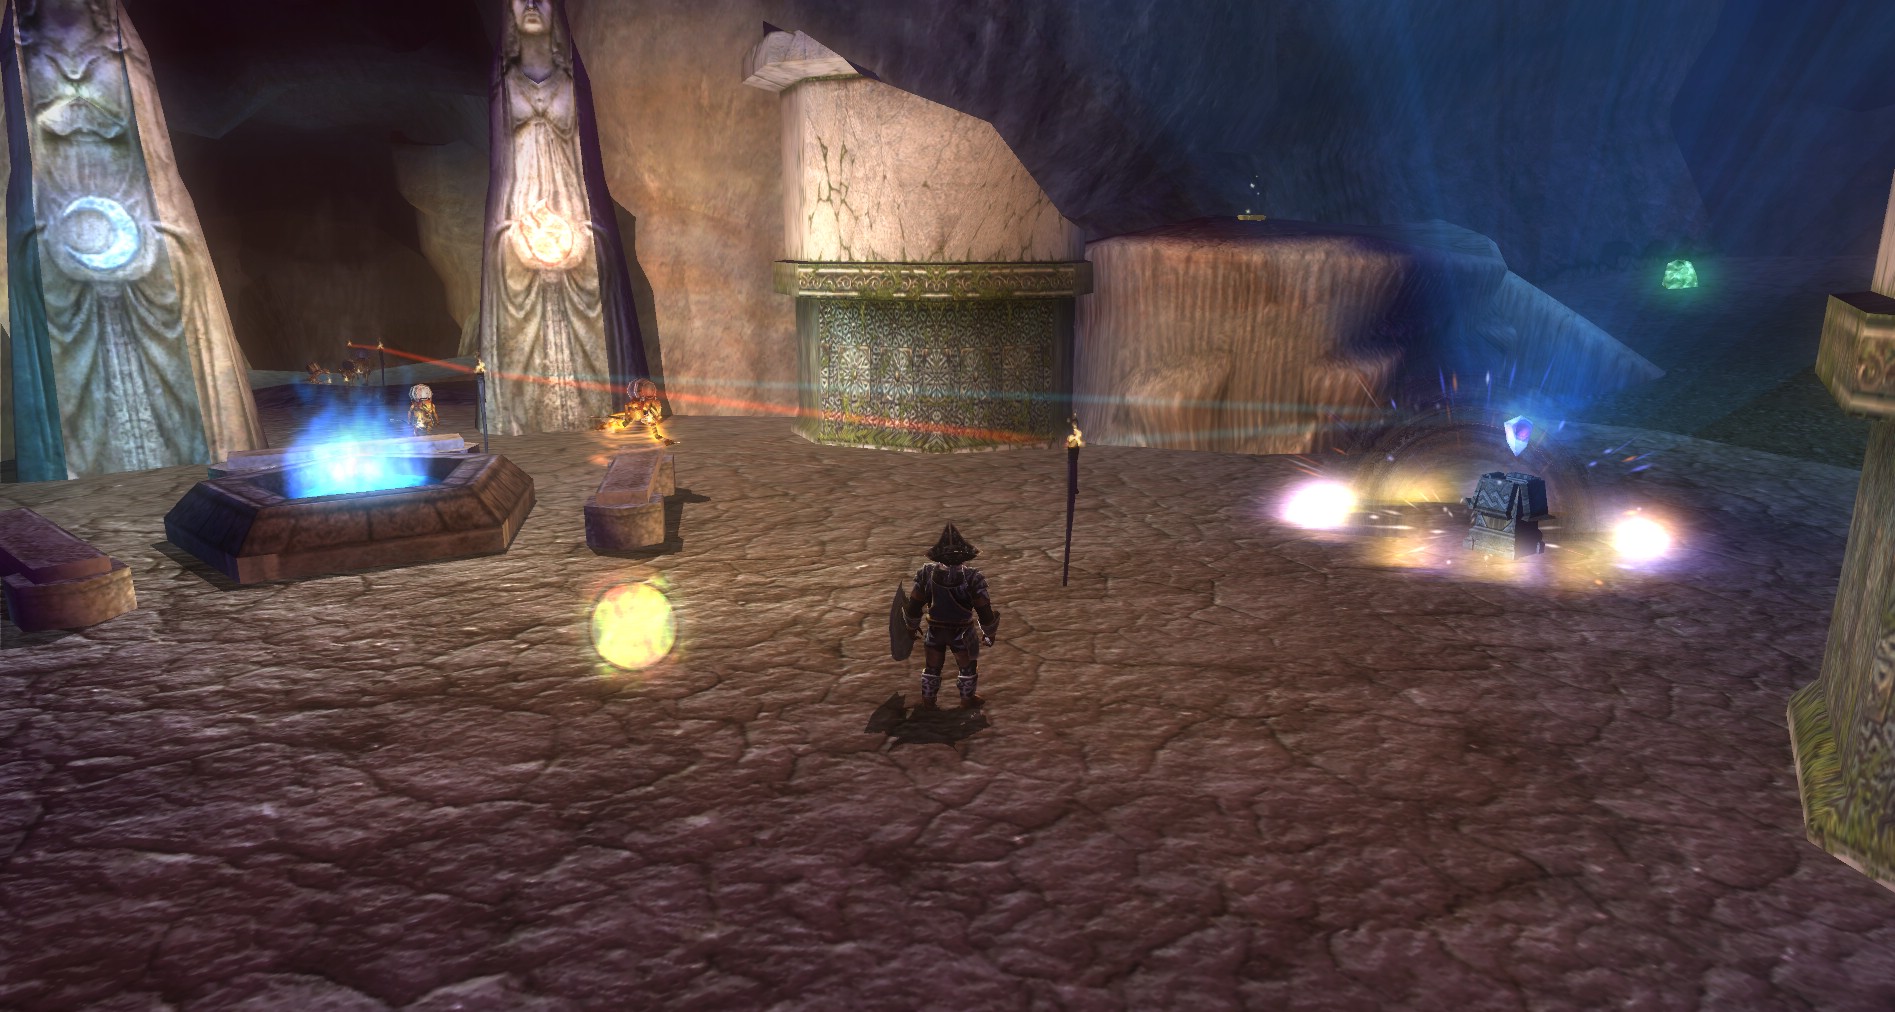


Circles of Power

- Level: 4 – 15
- Duration: 20 Minutes
- Pay: Obsidian Arrowheads
- Quest Completion Goal: Collect 300 Crystals
- Star Optional: Collect 300 Crystals above your Quota
- Star Optional: Find Azure Motes (5)
- Star Optional: Do not buy any torches
- Star Optional: Keep All Kobolds Alive
- Star Optional: Collect lots of Crystals(10,000)
This challenge quest is just like the Crystal Cove challenge for the 5th Anniversary Event. The goal is to collect as many crystals as possible. It’s best to have someone guard home base, have a team move the torch line and teleporters, as well as helping to keep the line free of enemies. One person should head out as a scout to help tell the group where to go.
 The only real difference is that in the Lava Caves, there are orbs of magic can enhance your teleporter making it work both ways. If the teleporters are in these orbs you can use these to teleport back and forth. This is a great mechanic that is very helpful to let the players get back to the entrance to protect it. This makes this quest a little more solo-able for non-casters.
These teleporters can also really help to move the kobolds to far off caches of purples!
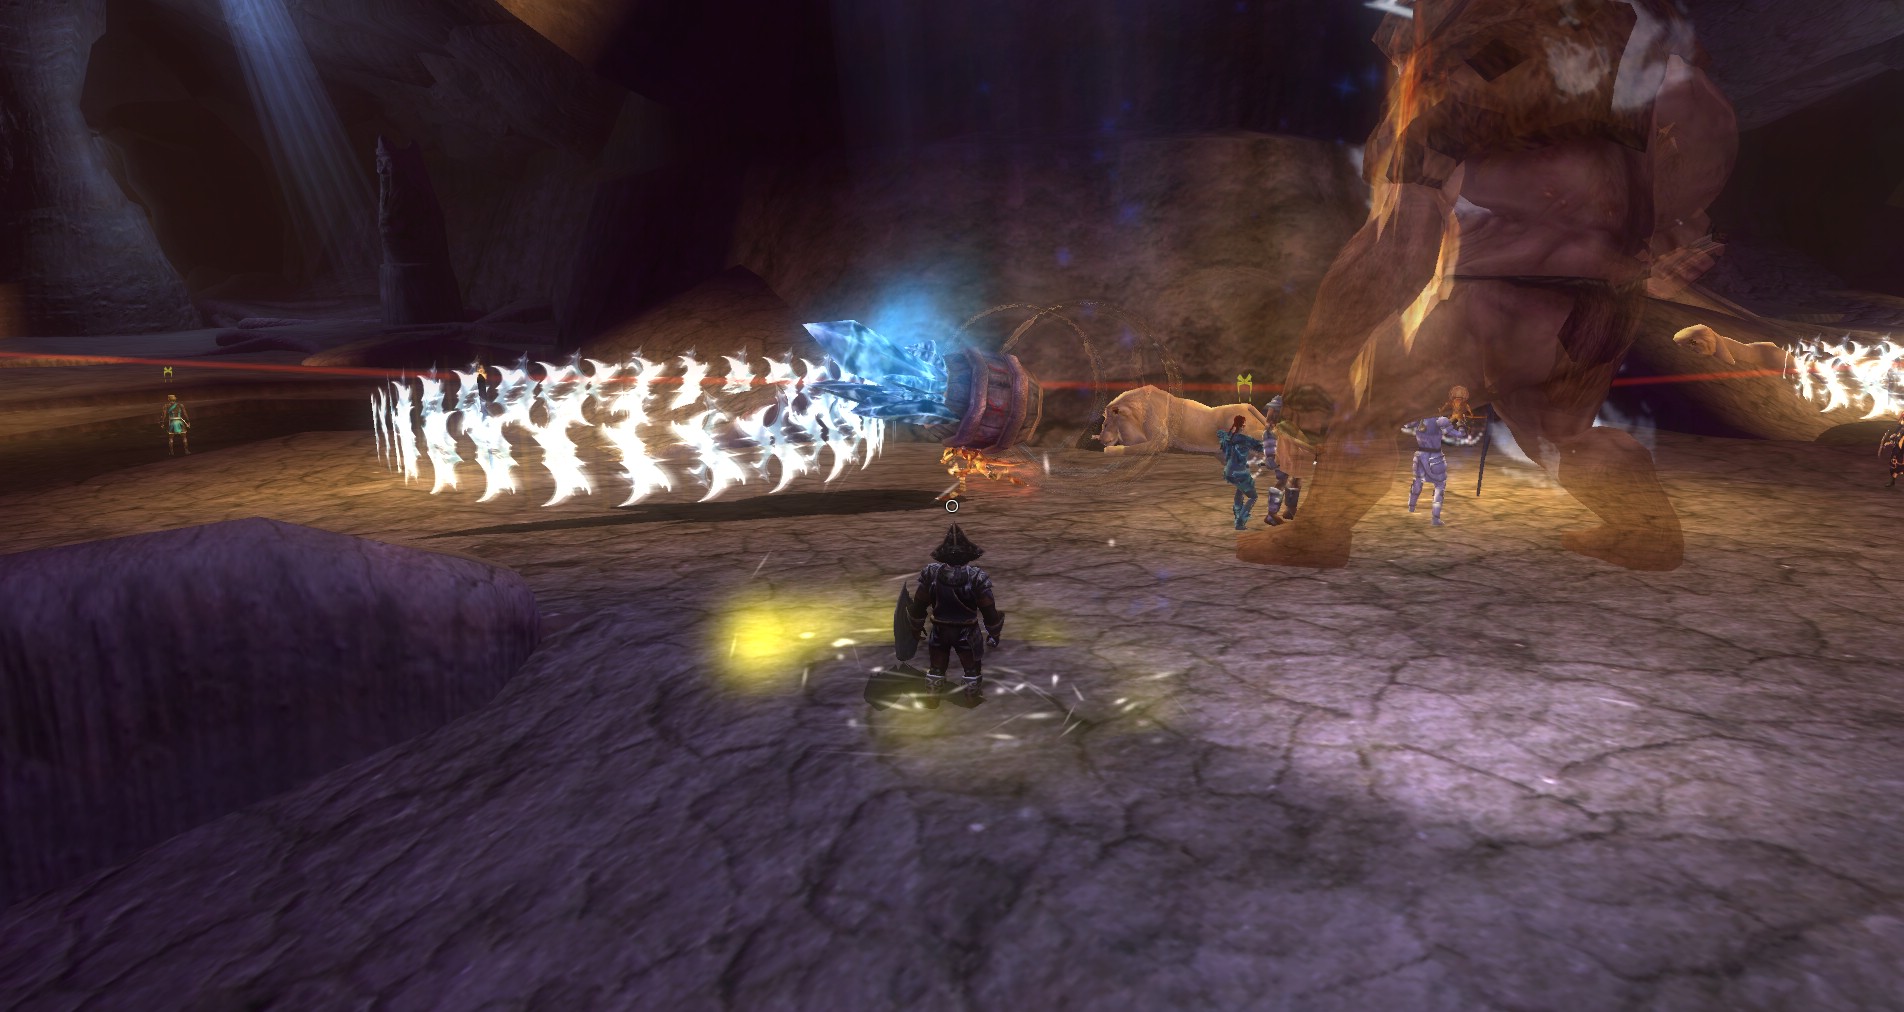
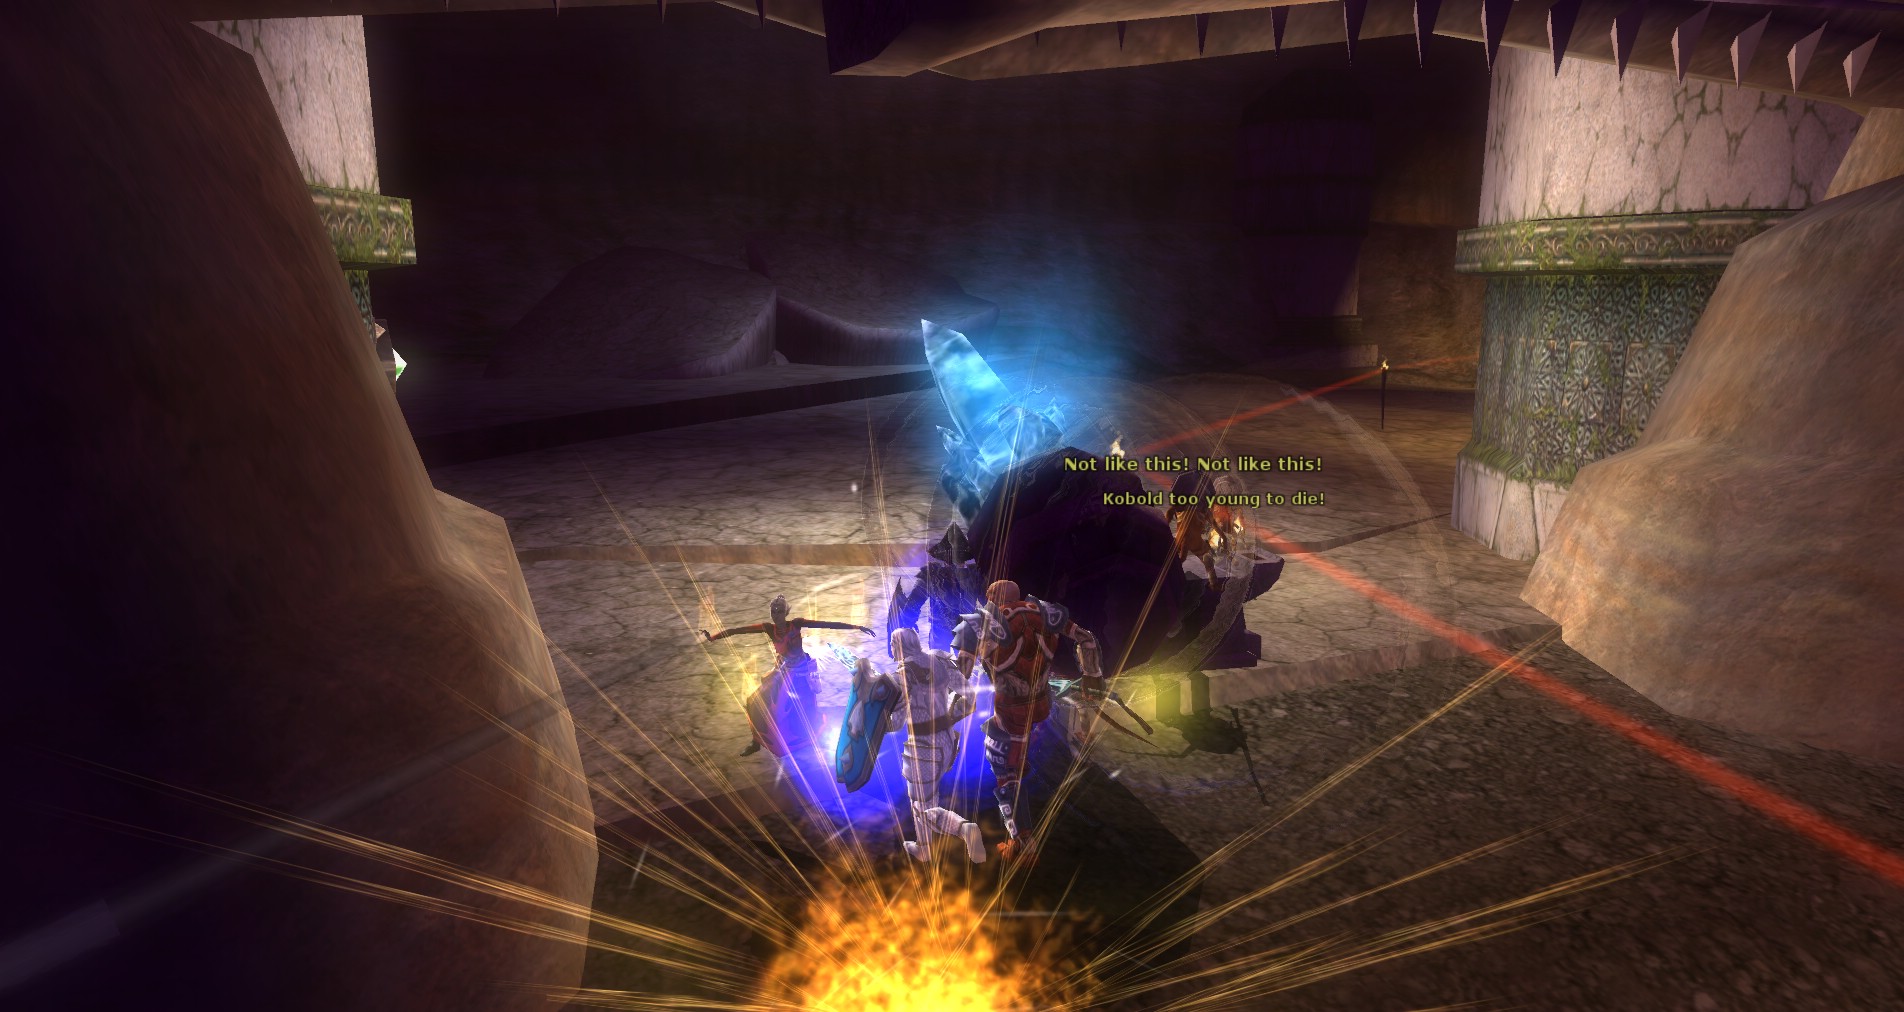
Every few minutes you will hear the Foreman shout, “incoming” as wave after wave of enemies spawn and attack the entrance. When the clock hits 4 minutes left, a named mob will attack the beginning. You might want to pop through the teleporter and help the defenders beat back the named since it will be tougher than the rest.
Colossal Crystals
- Level: 10-20

- Duration: 15 Minutes
- Pay: Jade Scorpions
- Quest Completion Goal: Collect 1 Progenitor crystal.
- Star Optional: Collect all 3 Progenitor Crystals
- Star Optional: Resurrect 12 Dead Kobolds
- Star Optional: Do not disable any security wards.
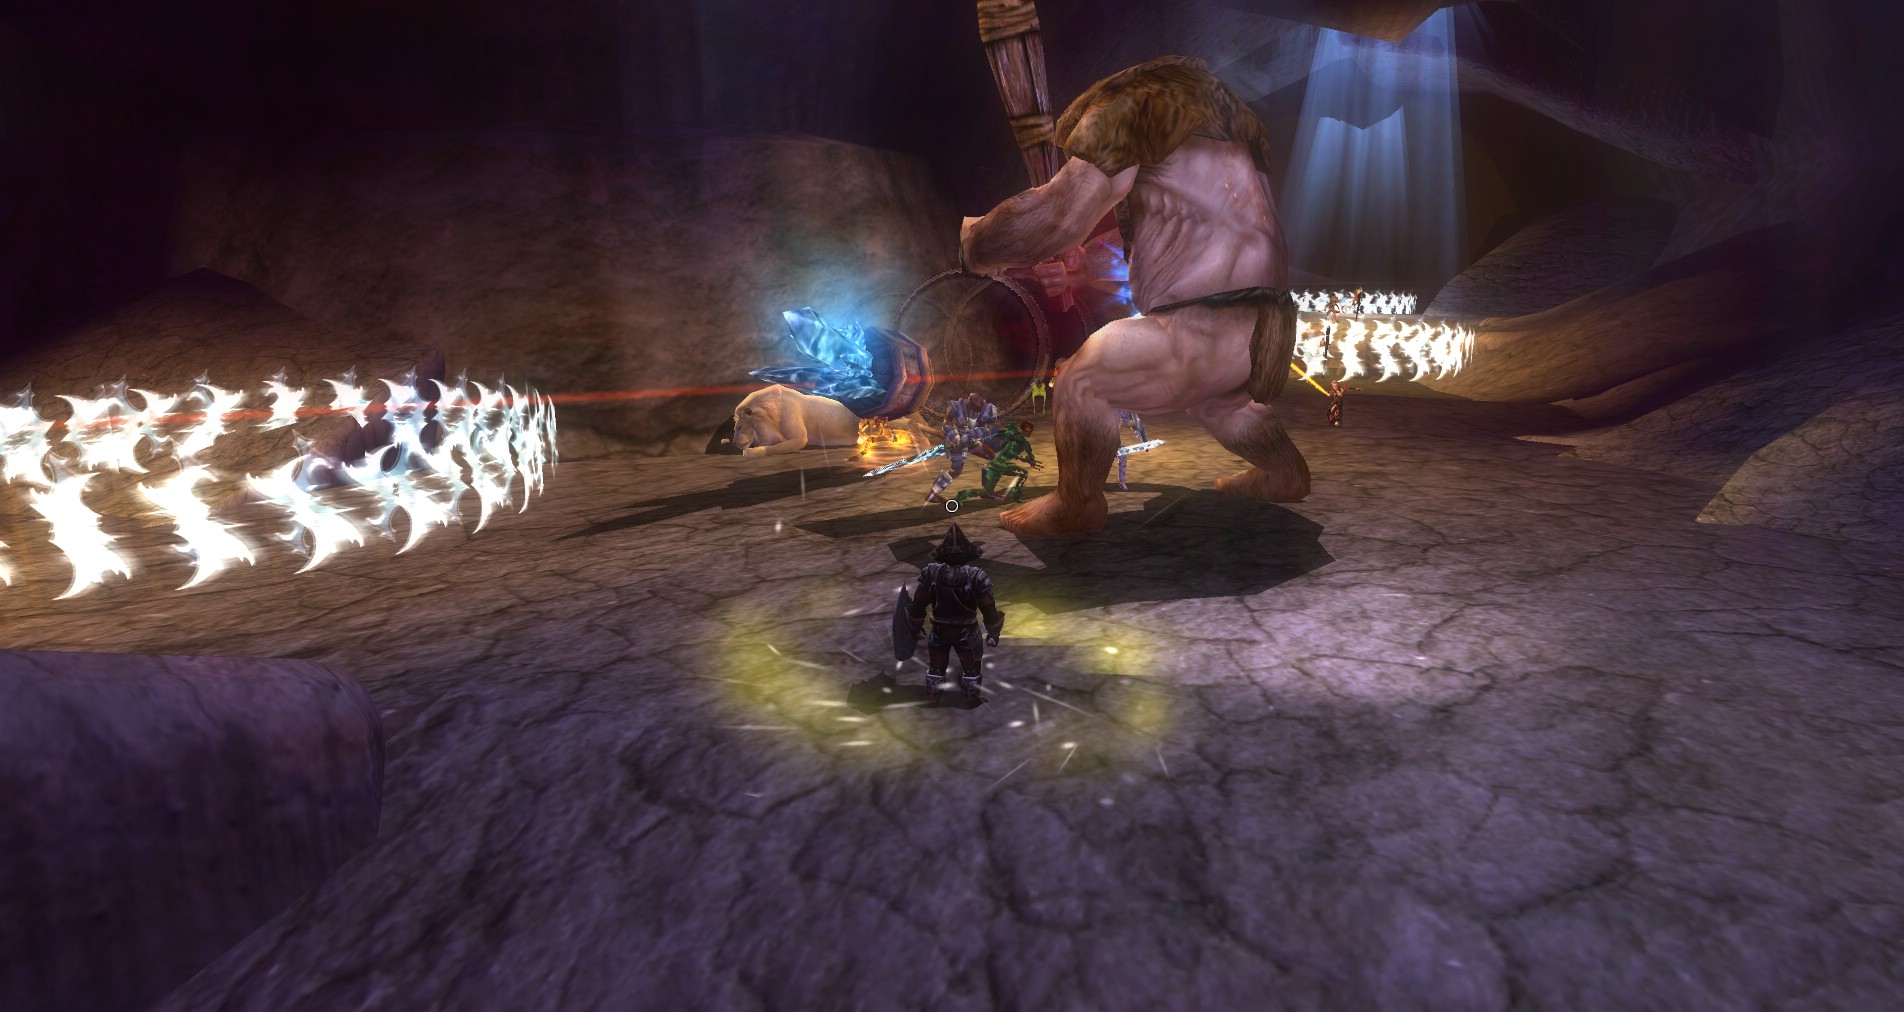
- Star Optional: Clear the Giant Encampment out of the area
- Optional: Collect lots of Crystals(10,000)

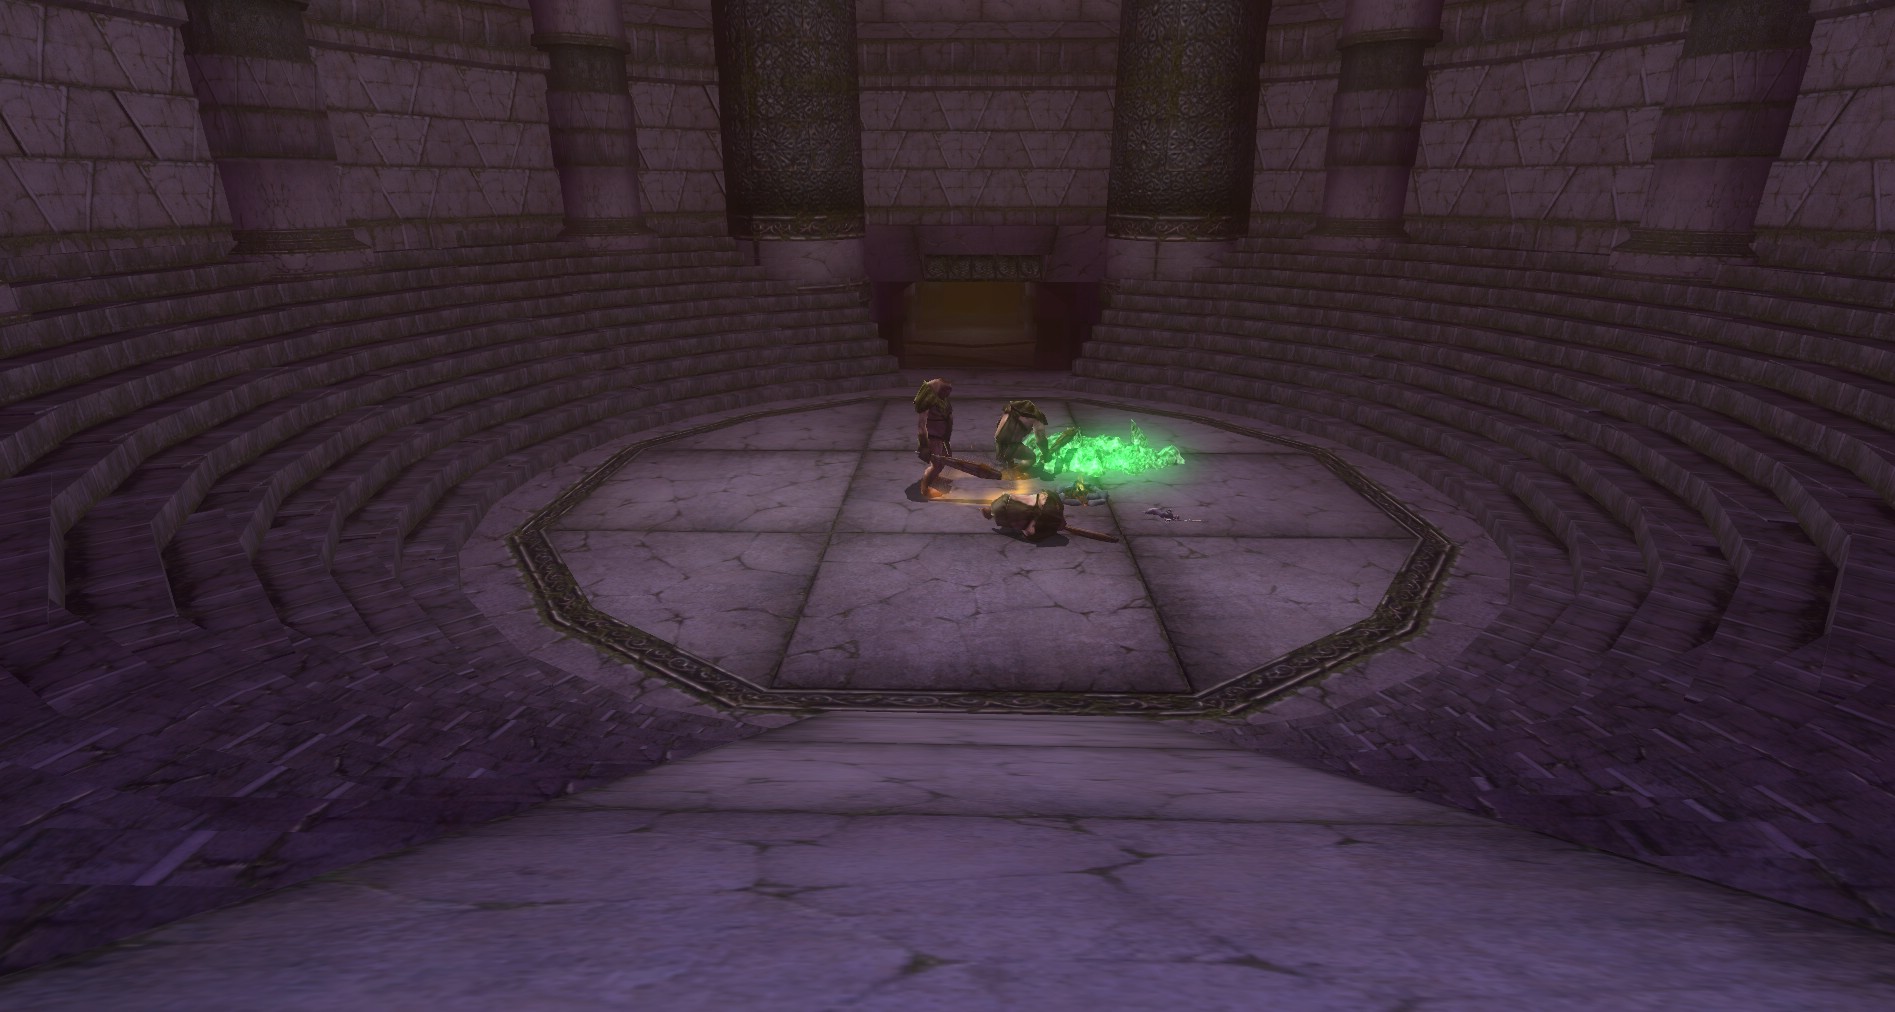
There are three progenitor Crystals in the Lava Caves for Colossal Crystals. You just have to collect one to win but if you get all three you get more XP and another Star. It’s best to push towards one, get it done, and then move onto the next if you think you will have time. Make sure to use the Circle of Power to get the Kobolds to them. Open the gates and watch the kobold to keep them healed, especially if you are not disabling the security for the Star Optional.
 The easiest crystal to get would be the one in the north east on the upper levels. To get there, go straight (north) at the beginning. Follow the passage across the ravine and up the winding corridor. When you get to the T intersection, head right (north) and then make an immediate left (west). Follow this winding passage down to the closest Progenitor Crystal.
There are a usually a couple teleport areas on the way and you can easily get Kobolds to them.
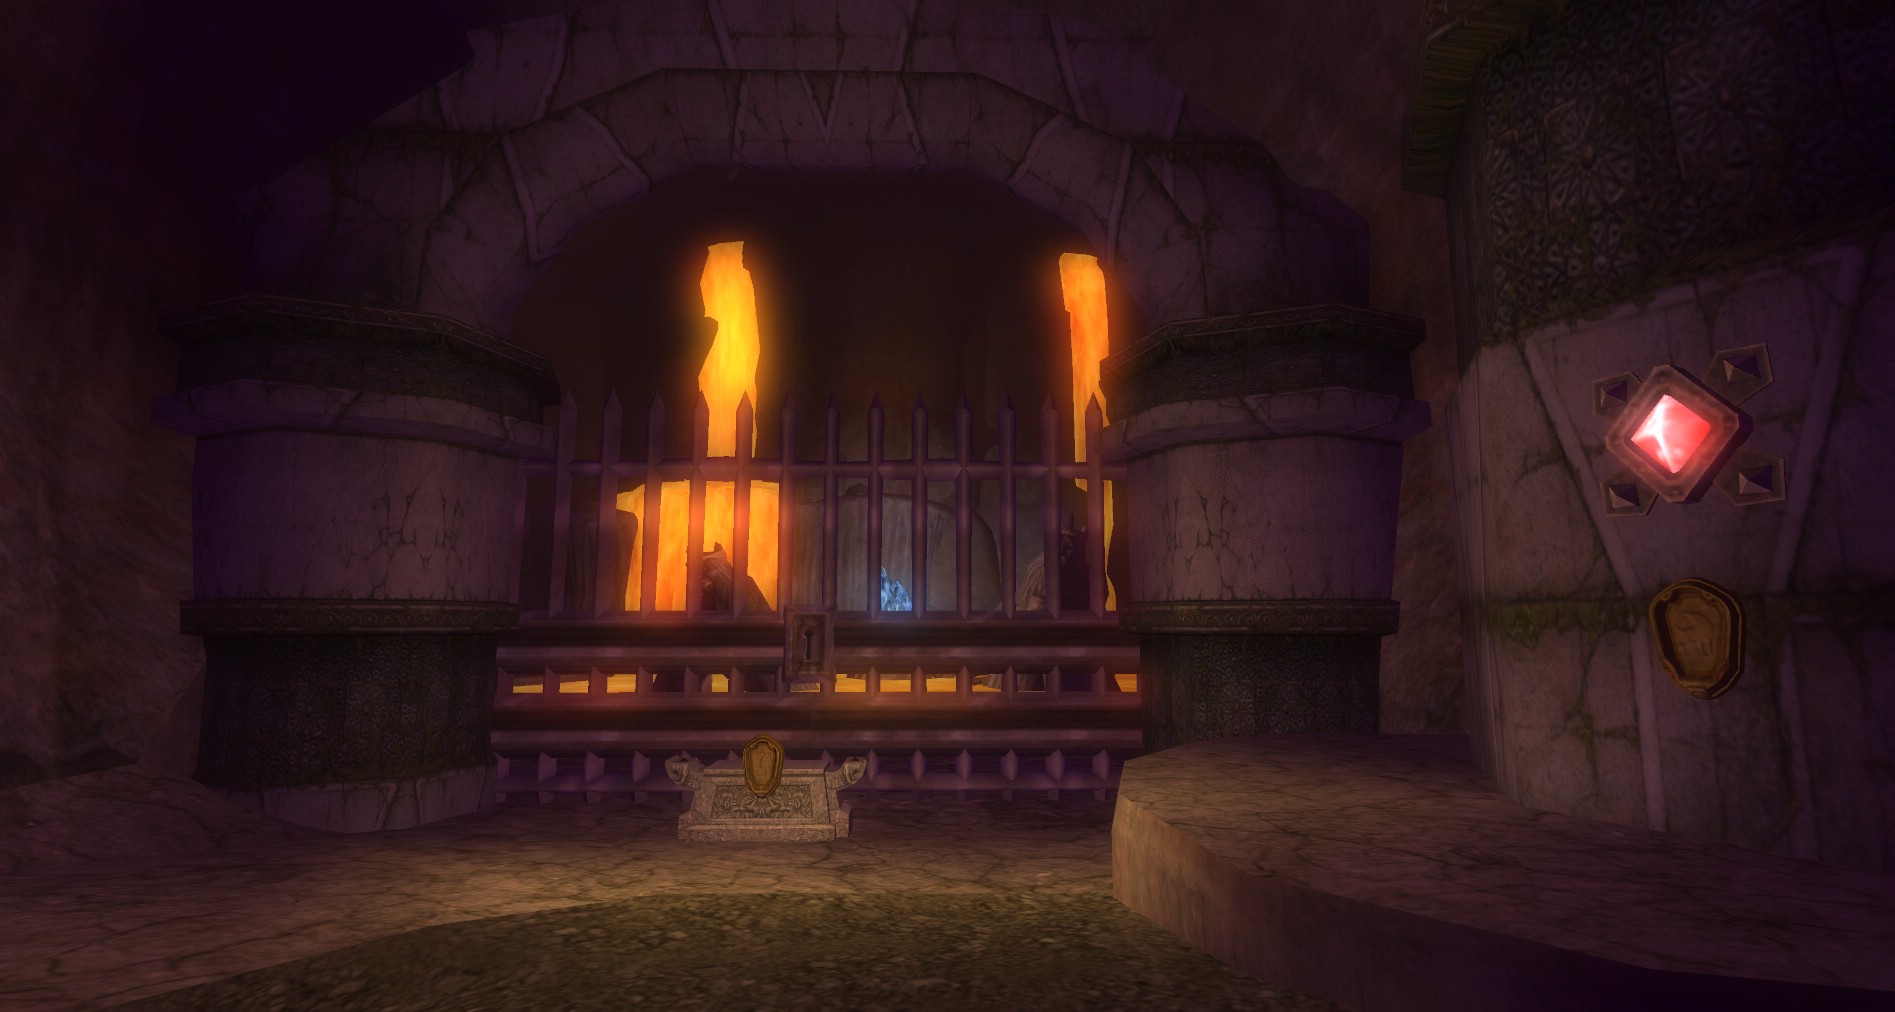
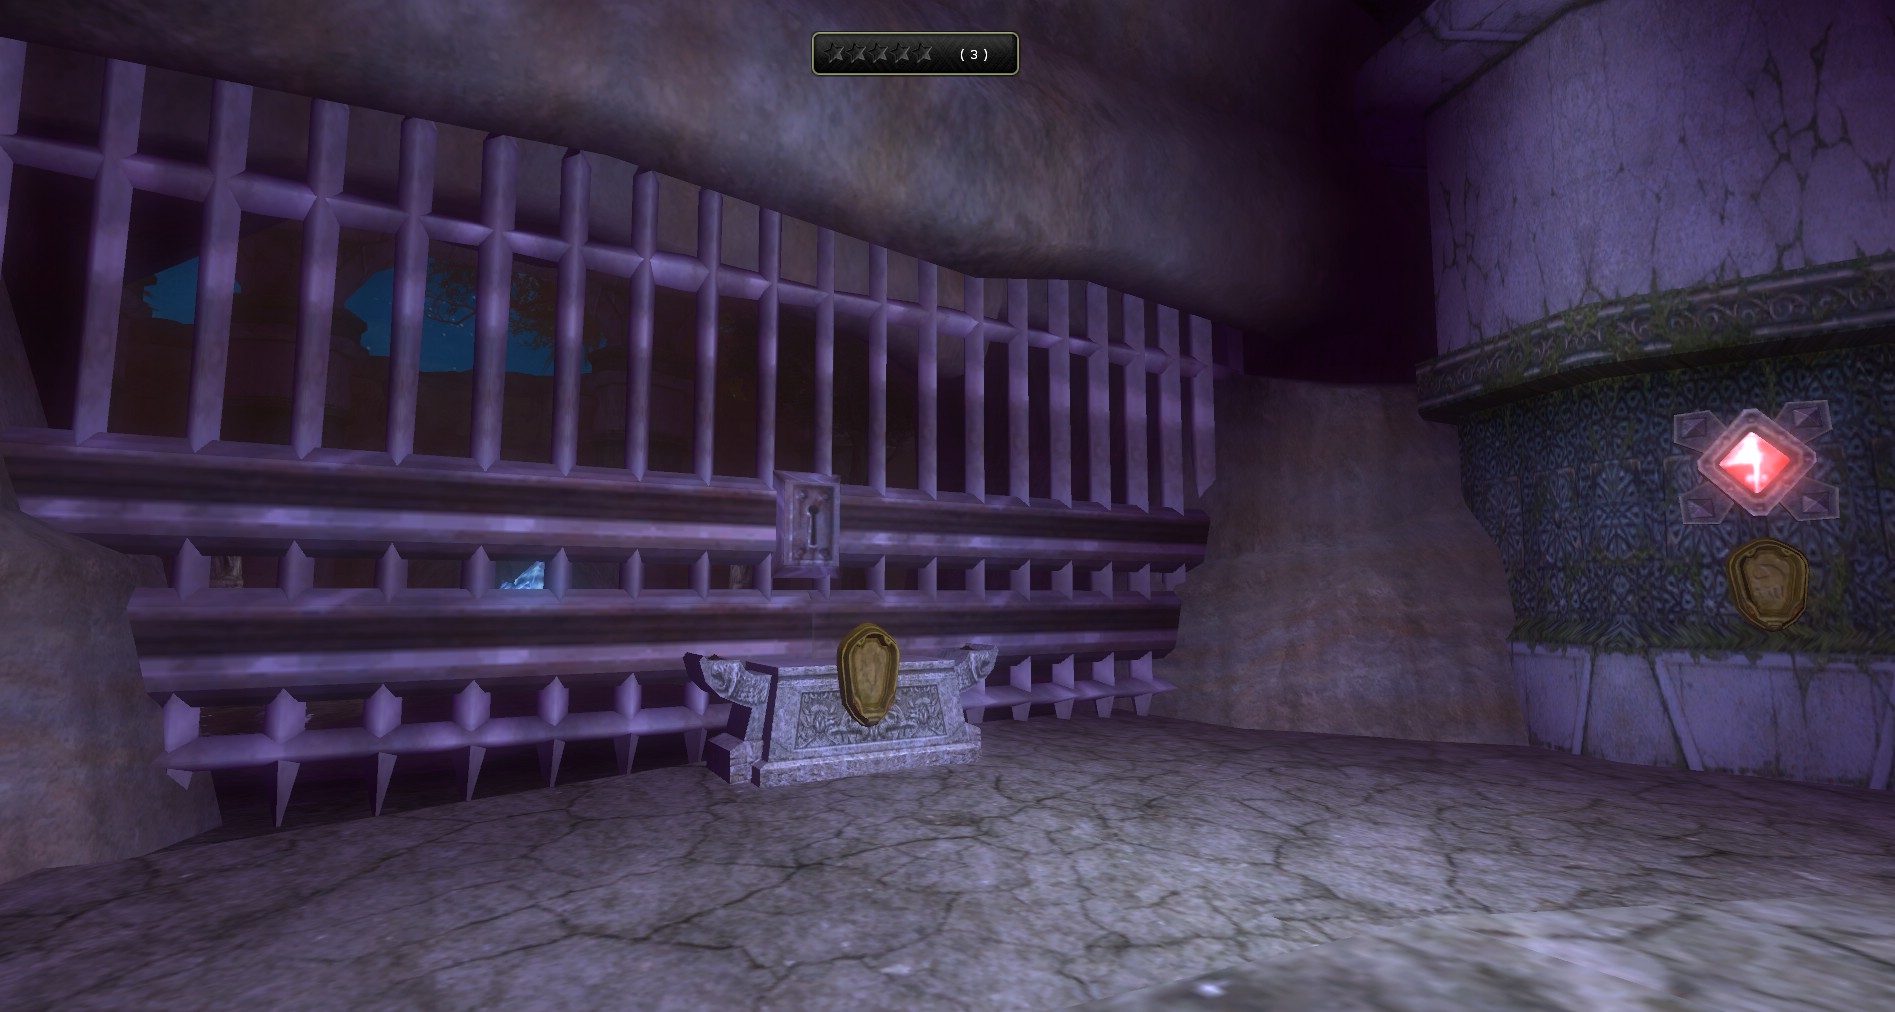
The rooms with the Progenitor Crystals are protected by a security ward socket and animal crest socket. Make sure you get the right rune! The animal crests and security crests are randomly placed throughout the dungeon. The one needed for the doors are usually fairly close. You can open the gates with the animal crest. If you do not put the security crest in the socket, the security will stay active for another Star Optional. Leave the security active and be ready to buff and heal the kobold that enters. You may want to break the line so only one can try at a time. This will keep you from having a pack on Kobolds the room to get toasted.
When the kobolds have the Progenitor Crystal, your job is not done! It is too big to teleport back so the Kobold will go on foot, which totally sucks. Also, the area will be ambushed by many enemies that will try to kill the kobold and anything else that moves. Make sure to keep the kobold with the big crystal alive and healed. Buff it up as much as you can! Then make sure that you have agro on everything. You will know when the kobolds have agro because they will run or stop moving. Clear it immediately to keep the kobold moving. Make sure to have your buffed up pirate hats for haste/heals/defense or whatever.
 The second one I would go after is near the first one, sort of. From the four way intersection in the north central of the Lava Caves, just outside of where the Bat Gate is, head due east down that passage. You will come to a shrine, an open area that will probably have a crest in it. There is a waterfall that is pouring water into this chamber. This causes a bit of a current in the water which can push you off below. Let it! You will drop down right in front of the passage for the octopus gate. Start dropping torches until you get to a magic teleport circle and drop your teleporter there. Build it back to the octopus gate and you are good to go.
Pick it all up and head back to the beginning.
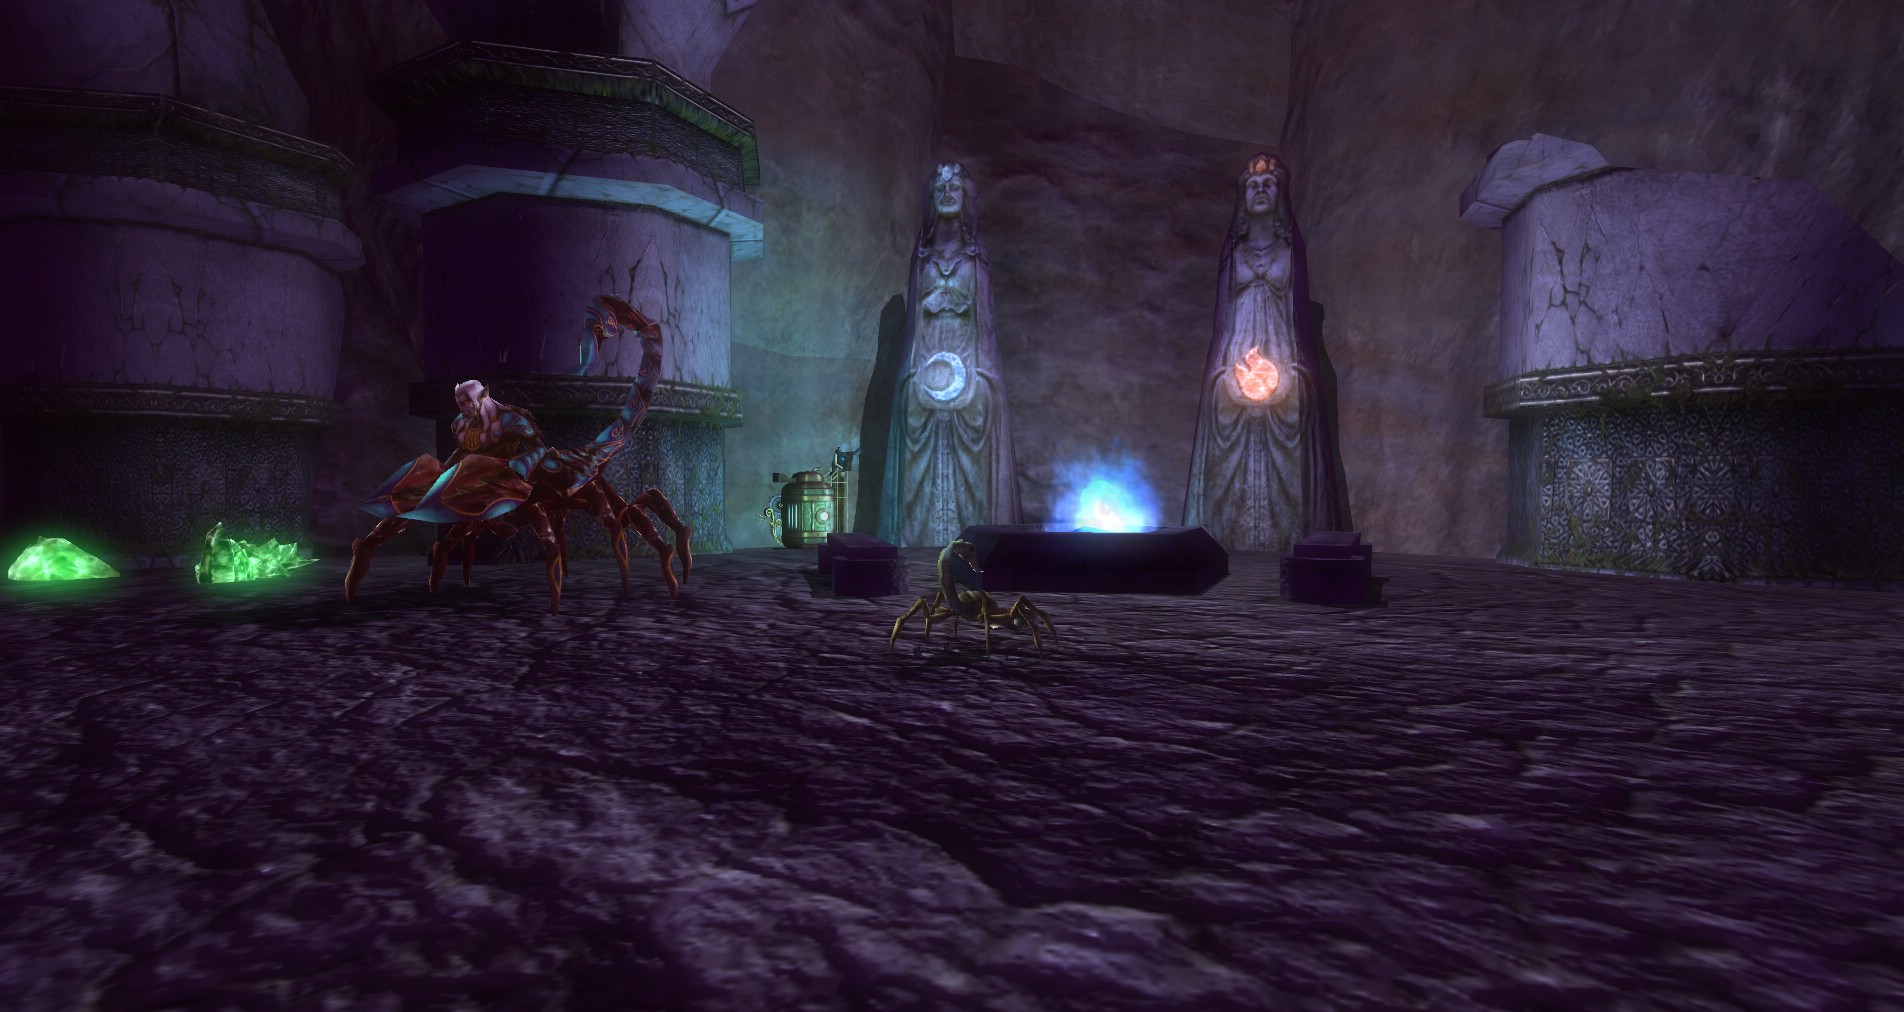
The third one to go after would be to the left (west) at the first intersection. Follow this down, down, down into the area filled with drow. You will cross a rock bridge across the ravine. Just past that you come to an intersection. Head left (west) and run down between the shrines. Follow the passage down and you will run into the scorpion gate with a Progenitor Crystal behind it.
There are usually a lot of purples on this route so you may want to build a torch line. This path is longer but there should be a teleporter at the end. So build it down to the teleporter and pick up the line to the beginning.
NOTE: An alternate route if you are in a hurry is to head straight at the beginning until you get to the rock bridge. Then jump off to the left (west) to the bridge below. Don’t forget Featherfall, Jump and Haste! This will shave off a lot of time getting down through the spiral tunnel down but you will miss many crystals. Then head right (north), take your first left (west). When you get to the shrine head between them and you will be at the scorpion gate with the last Progenitor Crystal.
 When the timer gets to 4 minutes, a named giant will attack the beginning. Be ready to defend against it so you can get the giant crystals back to the foreman before time runs out. You can use this last attack as a sure fire way to slaughter the kobolds if you are going after that particular Star Optional.
There is not a lot of time to get all these tasks done so work hard to coordinate the group so everyone is always working on something. The map will show you were kobolds, teleporters and other important information so make sure to use it. Pass the kobold with the Progenitor Crystal off to the entrance defenders after the ambush and the halfway mark. Have a scout clear the paths and let the line builders know where the teleporters should go. The key is to work together and work quickly. Don’t hesitate to ask for help as mobility is easy going through the teleporters in the Lava Caves.
Time is Money
- Level: 15-20

- Duration: 5 Minutes
- Pay: Crystallized Magma Shard
- Quest Completion Goal: Gather 200 Crystals
- Star Optional: Keep all Kobolds alive
- Star Optional: Collect lots of crystals 10,000
- Star Optional: Find and defeat the Fire Giant Warlock
- Star Optional: Send Kobolds through teleporters 200 times
- Star Optional: Buy less than 9 Minutes of Time
- Optional: Collect lots of Crystals(10,000)

This challenge quest is very similar to the other quests where you just collect crystals. Use the same tactics you use for those and you should do well here.
The only real change is that you can actually purchase time with the crystals you collect. A total of 24 extra minutes can be purchased. However, if you are trying to get all of the Star Optionals do not buy time more than three times or you will miss out. Besides, it starts to get really expensive for all that extra time.
You can buy time in this quest.
- 5 Crystals for 3 Minutes

- 10 Crystals for 3 Minutes
- 15 Crystals for 3 Minutes (Stop here if you want the extra Star Optional)
- 20 Crystals for 3 Minutes
- 25 Crystals for 3 Minutes
- 30 Crystals for 3 minutes
- 35 Crystals for 3 minutes
- 40 Crystal for 3 minutes

With the Star Optional to send kobolds through the teleporters you really should be hitting this goal every time. For the most part teleporters should be used as the primary method to get the kobold miners to the cache of crystals. Don’t worry about buying a ton of torches for this one. Just use the torches to move the kobolds out a ways from the teleporters. Have them strip an area, then pull up the torches and teleporter and move to another location.
 Since there is such a time crunch here I would highly recommend to have two teams running torches and teleporters. Have team 1 set up and harvest the area. Team two should set up torches but leave the teleporter out until the first location is done. Then have team 1 pull up the teleporter, stopping the kobolds from heading that way. Team 2 then drops their teleporter into an already established torch network around teleporter 2. While the kobolds harvest team 2’s location this should give team 1 time to set up their next area. Rinse and repeat.
Team 1 on the torches should take all the torches that are bought. Team 2 should take all those they pick up once the kobolds finish collecting near the entrance. This will give each team about 10 torches. Get as many kobold workers and barrels as you can so they can clean up the caches of crystals quickly.
Colossal Crystals ~ EPIC
- Level: 21-25

- Duration: 15 Minutes
- Pay: Epic Jade Scorpions
- Quest Completion Goal: Collect 1 Progenitor crystal.
- Star Optional: Collect all 3 Progenitor Crystals
- Star Optional: Resurrect 12 Dead Kobolds
- Star Optional: Do not disable any security wards.
- Star Optional: Clear the Giant Encampment out of the area
- Optional: Collect lots of Crystals(10,000)

This quest is similar to the regular Colossal Crystals challenge quest. Refer to the guide above for tips and tricks about how to complete this challenge.
Time is Money ~ EPIC
- Level: 21-25

- Duration: 5 Minutes
- Pay: Epic Crystallized Magma Shard
- Quest Completion Goal: Gather 200 Crystals
- Star Optional: Keep all Kobolds alive
- Star Optional: Collect lots of crystals 10,000
- Star Optional: Find and defeat the Fire Giant Warlock
- Star Optional: Send Kobolds through teleporters 200 times
- Star Optional: Buy less than 9 Minutes of Time
- Optional: Collect lots of Crystals(10,000)

This quest is similar to the regular Colossal Crystals challenge quest. Refer to the guide above for tips and tricks about how to complete this challenge.

No Comments Yet