 Dr. Rushmore is an evil arch mage wanted by the Twelve since the Last War. He has committed a long list of serious and heinous arcane crimes.
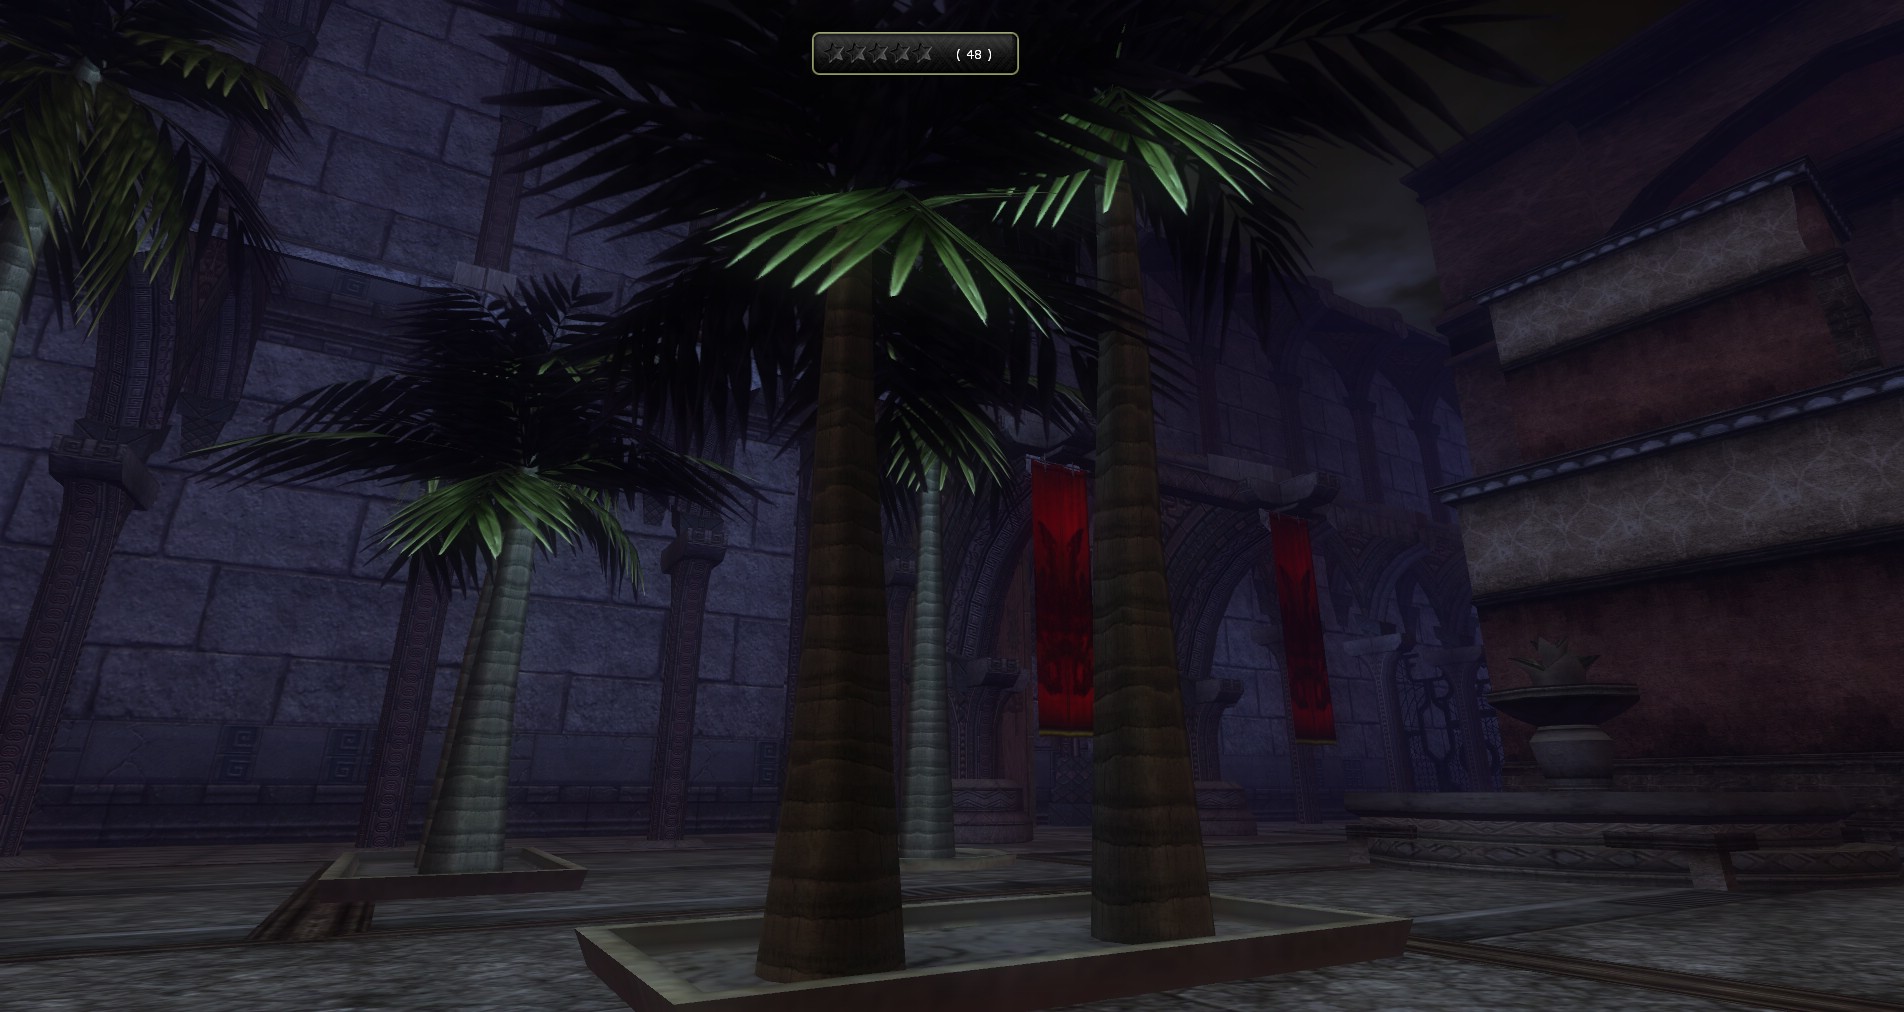
A giant mansion suddenly appeared overnight inside of Stormreach and the Twelve suspect it is the work of Dr. Rushmore.
Clarent Chell of the twelve is waiting just down the street from this mansion recruiting any who will help the Twelve. He warns of many magical creatures and traps within his mansion so all those that venture inside should use extreme caution. For any who return successfully from the mission on any one of a number of missions the Twelve will pay those adventurers in magic items that can be traded in for powerful magical weapons and armor.
There are a few things you should know about the mansion in general and will apply to any quest undertaken there.

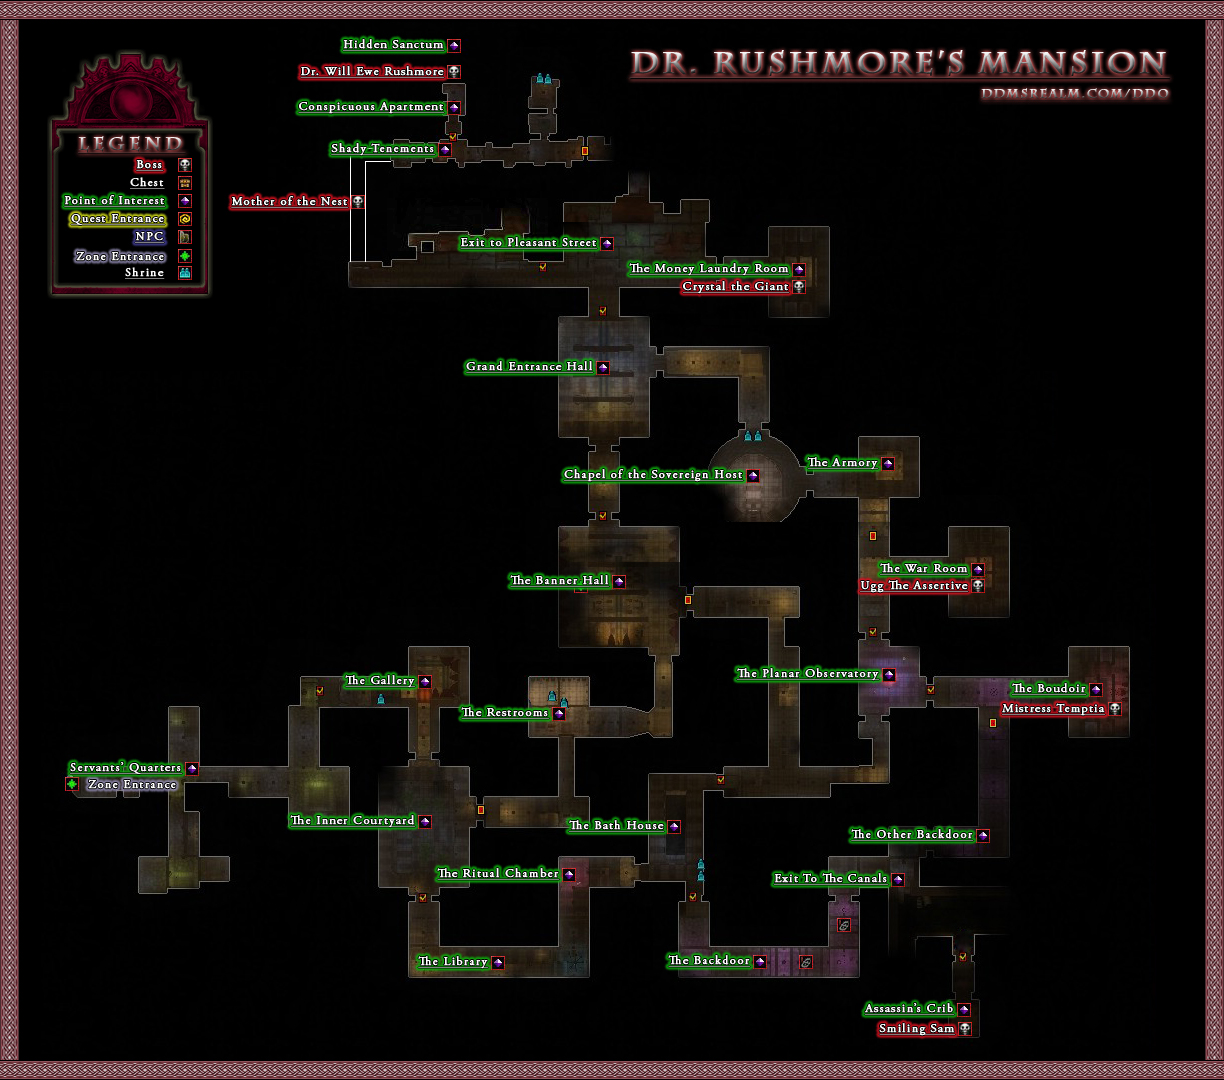
Click to Enlarge
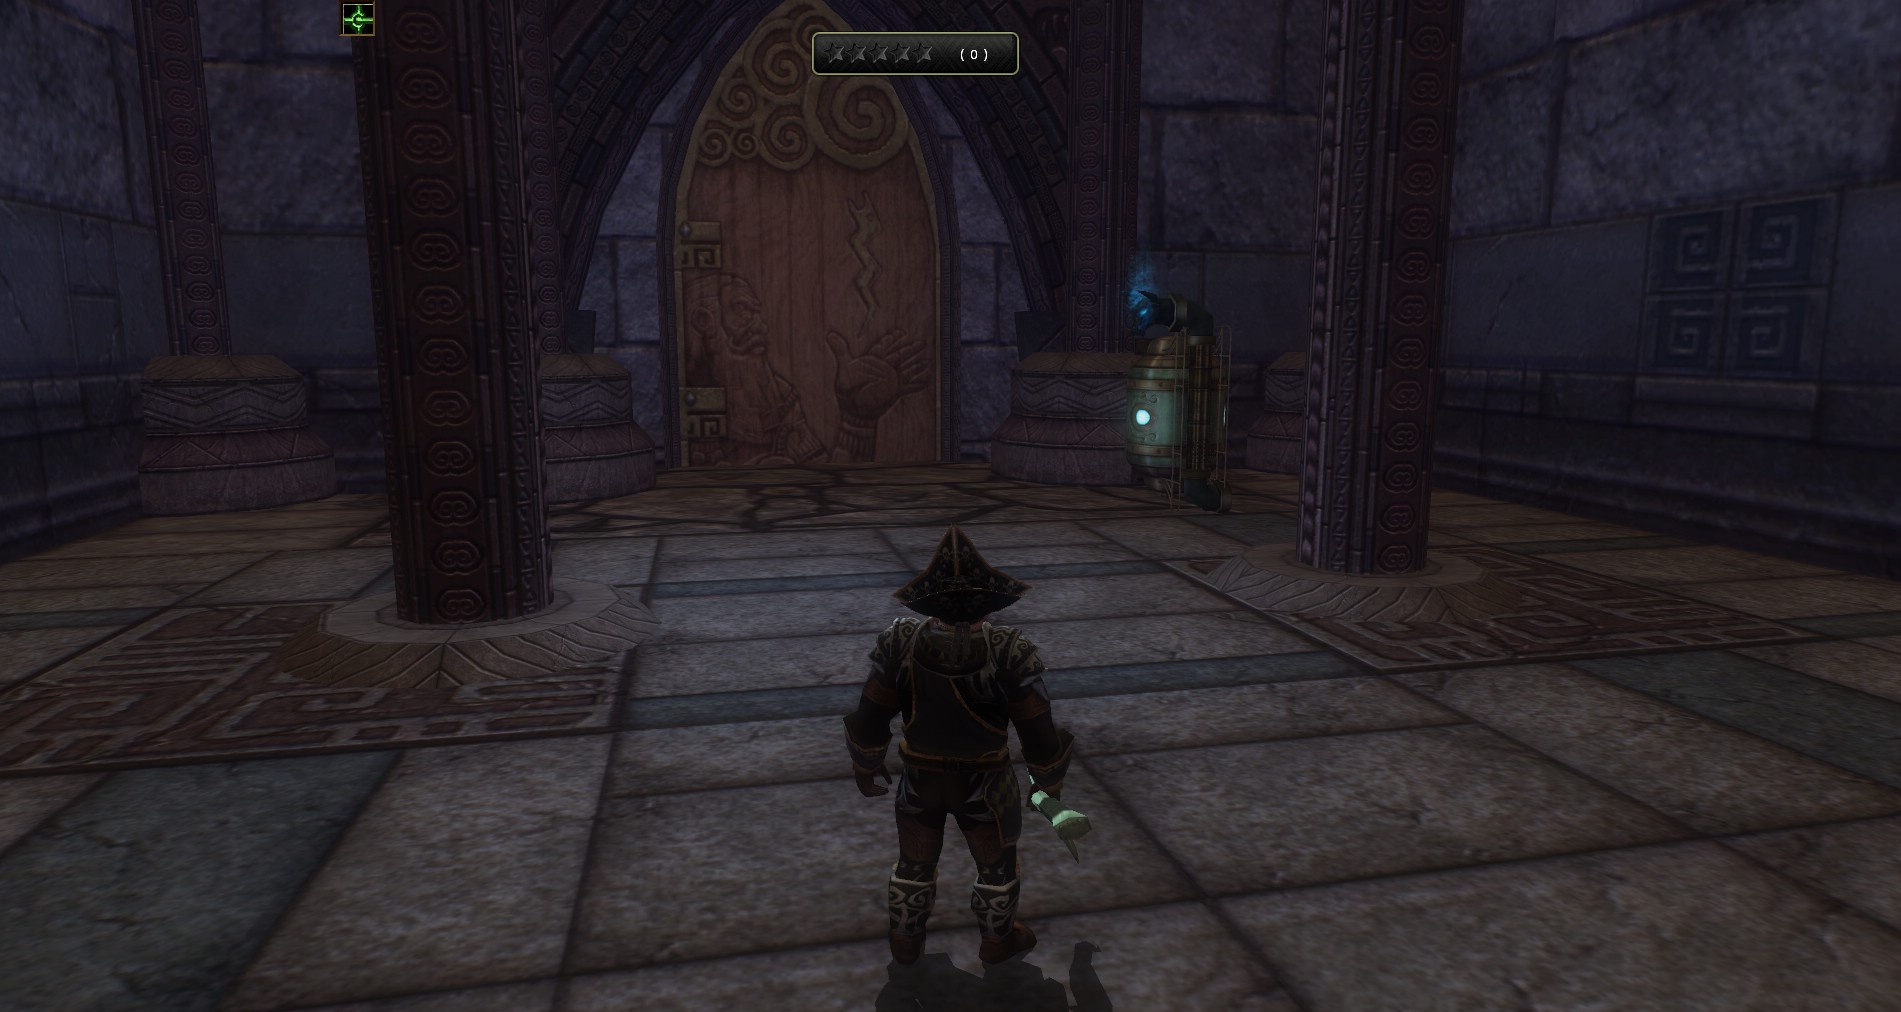
- It should not come as a surprise that the mansion has several secret doors and hidden passages. Keep an eye out and try to keep up Detect Secret Doors or True Seeing. This will save you a lot of time. There are secret doors in the bath house, banner room and at the east end of Pleasant Street to name a few.
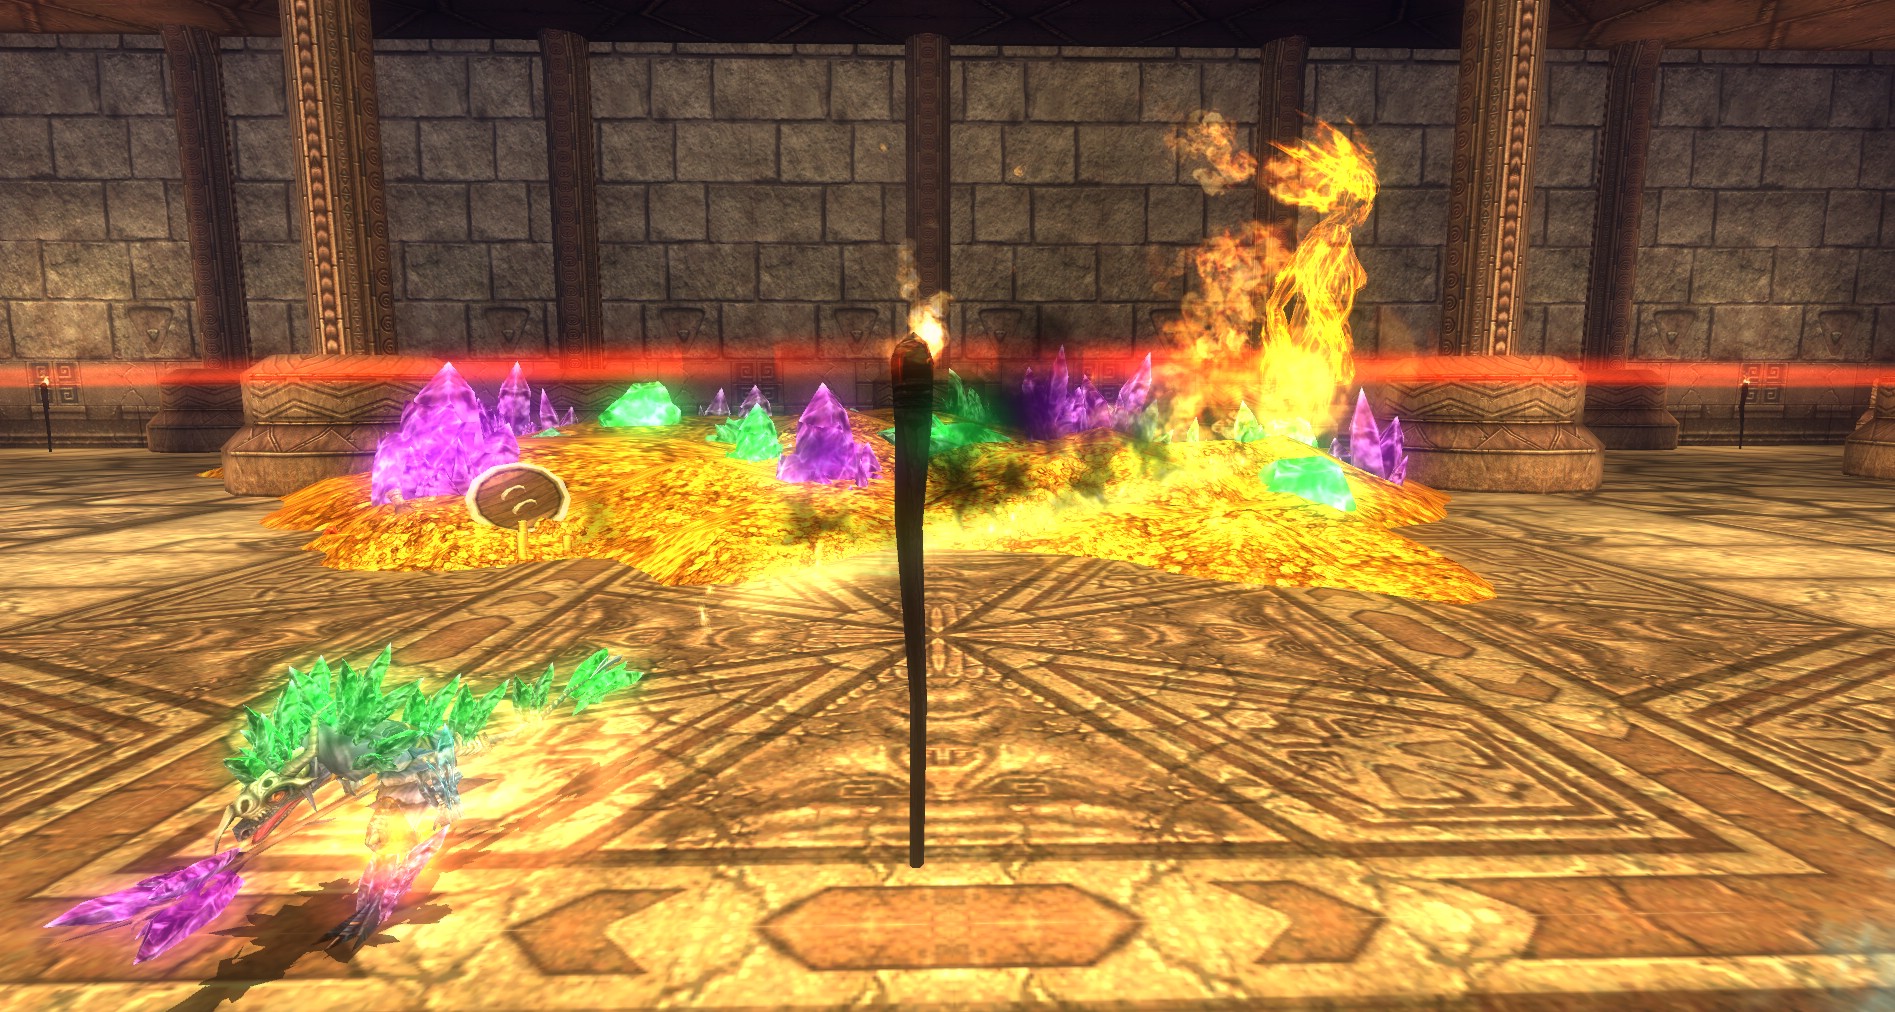
- When killing bosses that are under Dr. Rushmores employ they will give you a Supply Crate.
- Double click the Suppy Crate to get some randomly generated loot. I would suggest holding off until you are back in town to do this as they can fill up your inventory quickly.
- Use the map created by DDM’s Realm to help you quickly find your way or locate targets you are after.
- Make sure to buff up against spell casters in this dungeon. There are a great many of them.
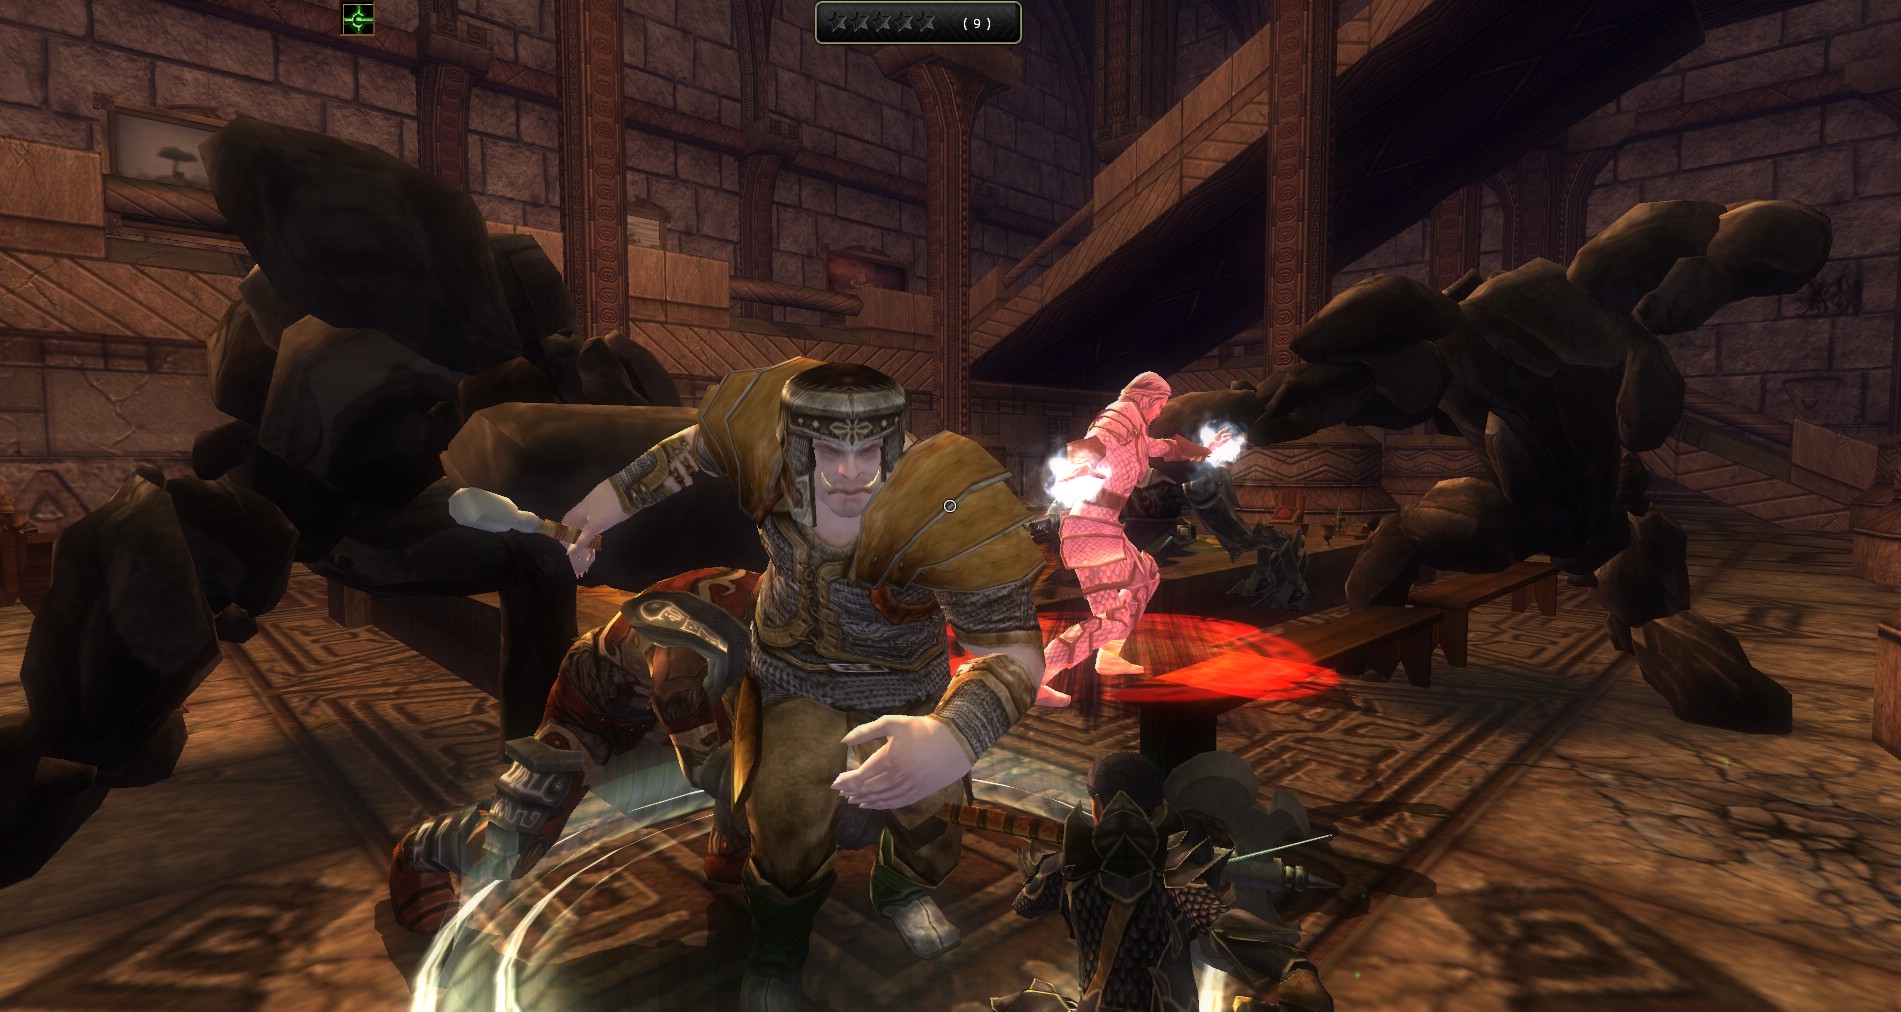
- Warforged portraits on the wall are magically trapped and will summon magic defenders to attack you. These will reactivate after several minutes so more defenders can spawn. Assume you will have to fight your way anywhere, even places you have already been.
- Keep an eye on your inventory as kills will give you crests to open the sealed doors.
- If you are looking for the 5 star completion, break your group into 2 or three teams. Branch out and work fast as this Dr. Rushmore’s Mansion is a very large dungeon.
- Remember that crests can be removed from a door if it is not open so pull them out and try another route if you want to go another way. No need to waste crests on a door you can not open.
Behind the Door

- Level: 4 to 15
- Duration: 13 minutes
- Pays: Antique Gold Coins
- Quest Completion Goal: Defeat at least one of the bosses from Rushmore’s Party
- Star Optional: Kill all 16 Bosses
- Star Optional: Open all the sealed gates
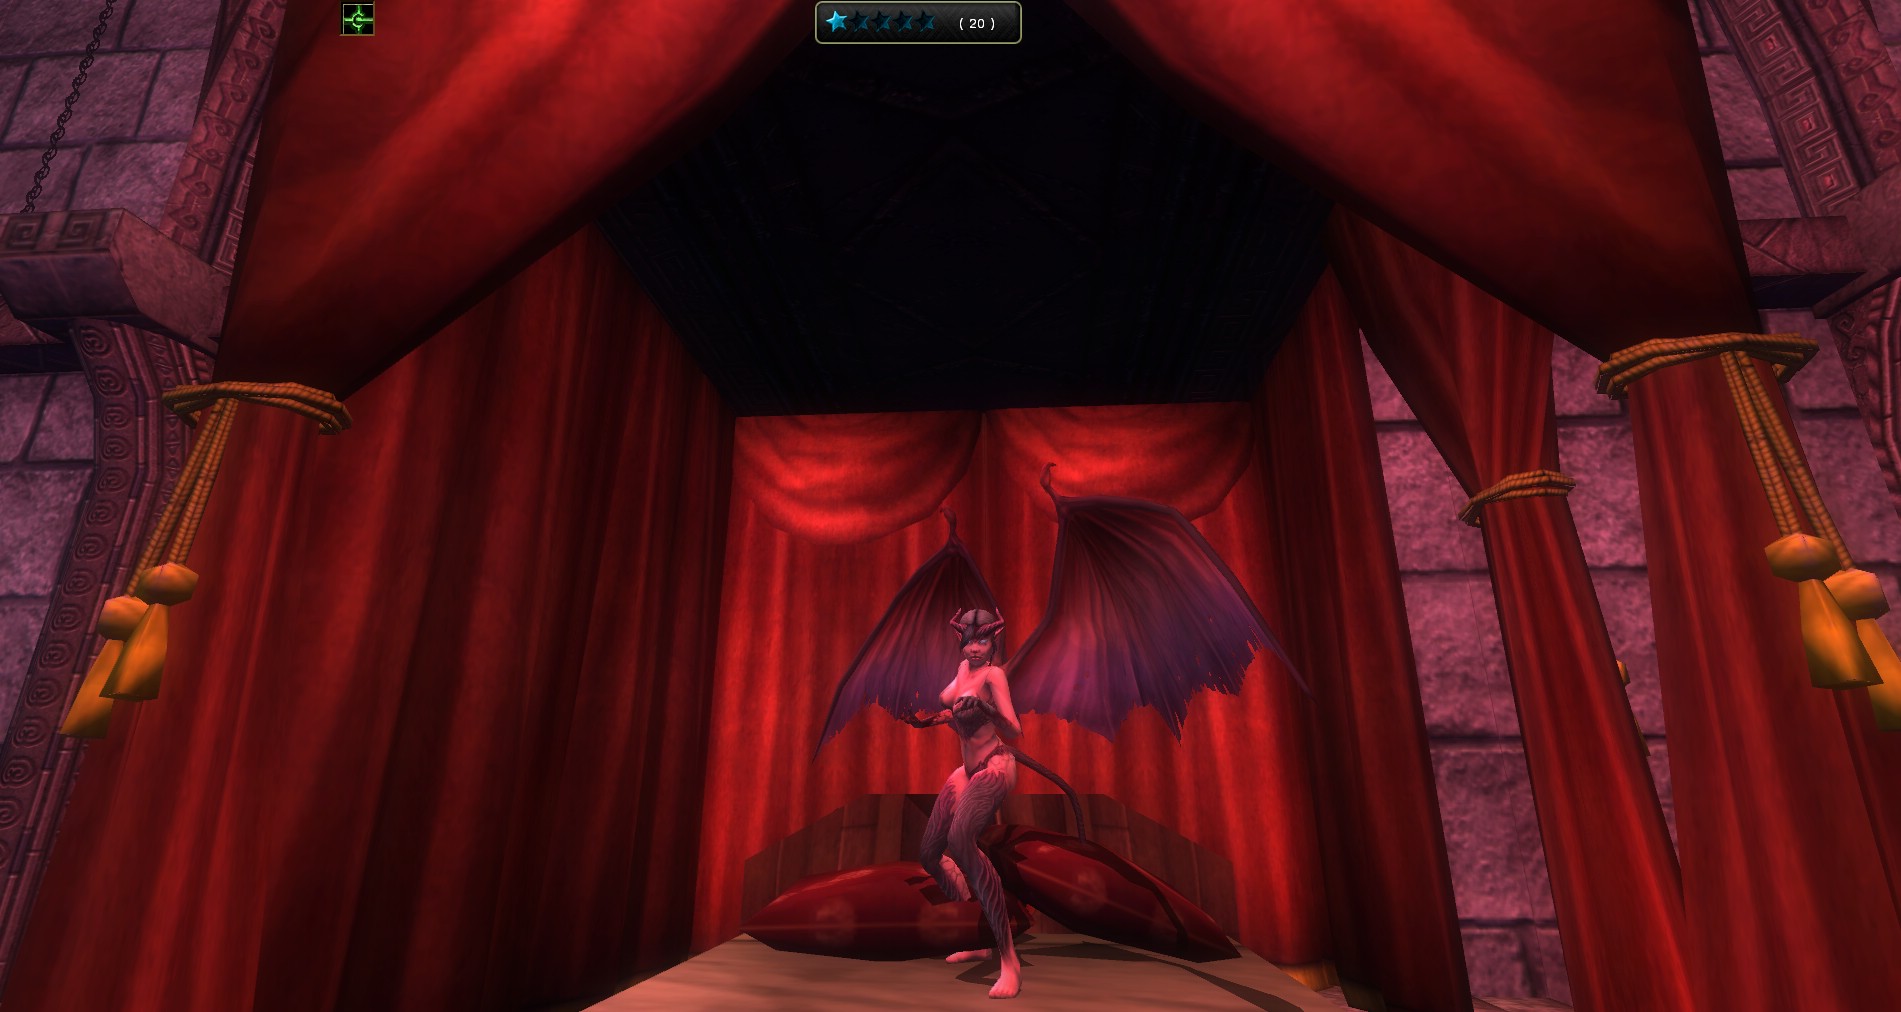
- Star Optional: Defeat Mother of the Nest
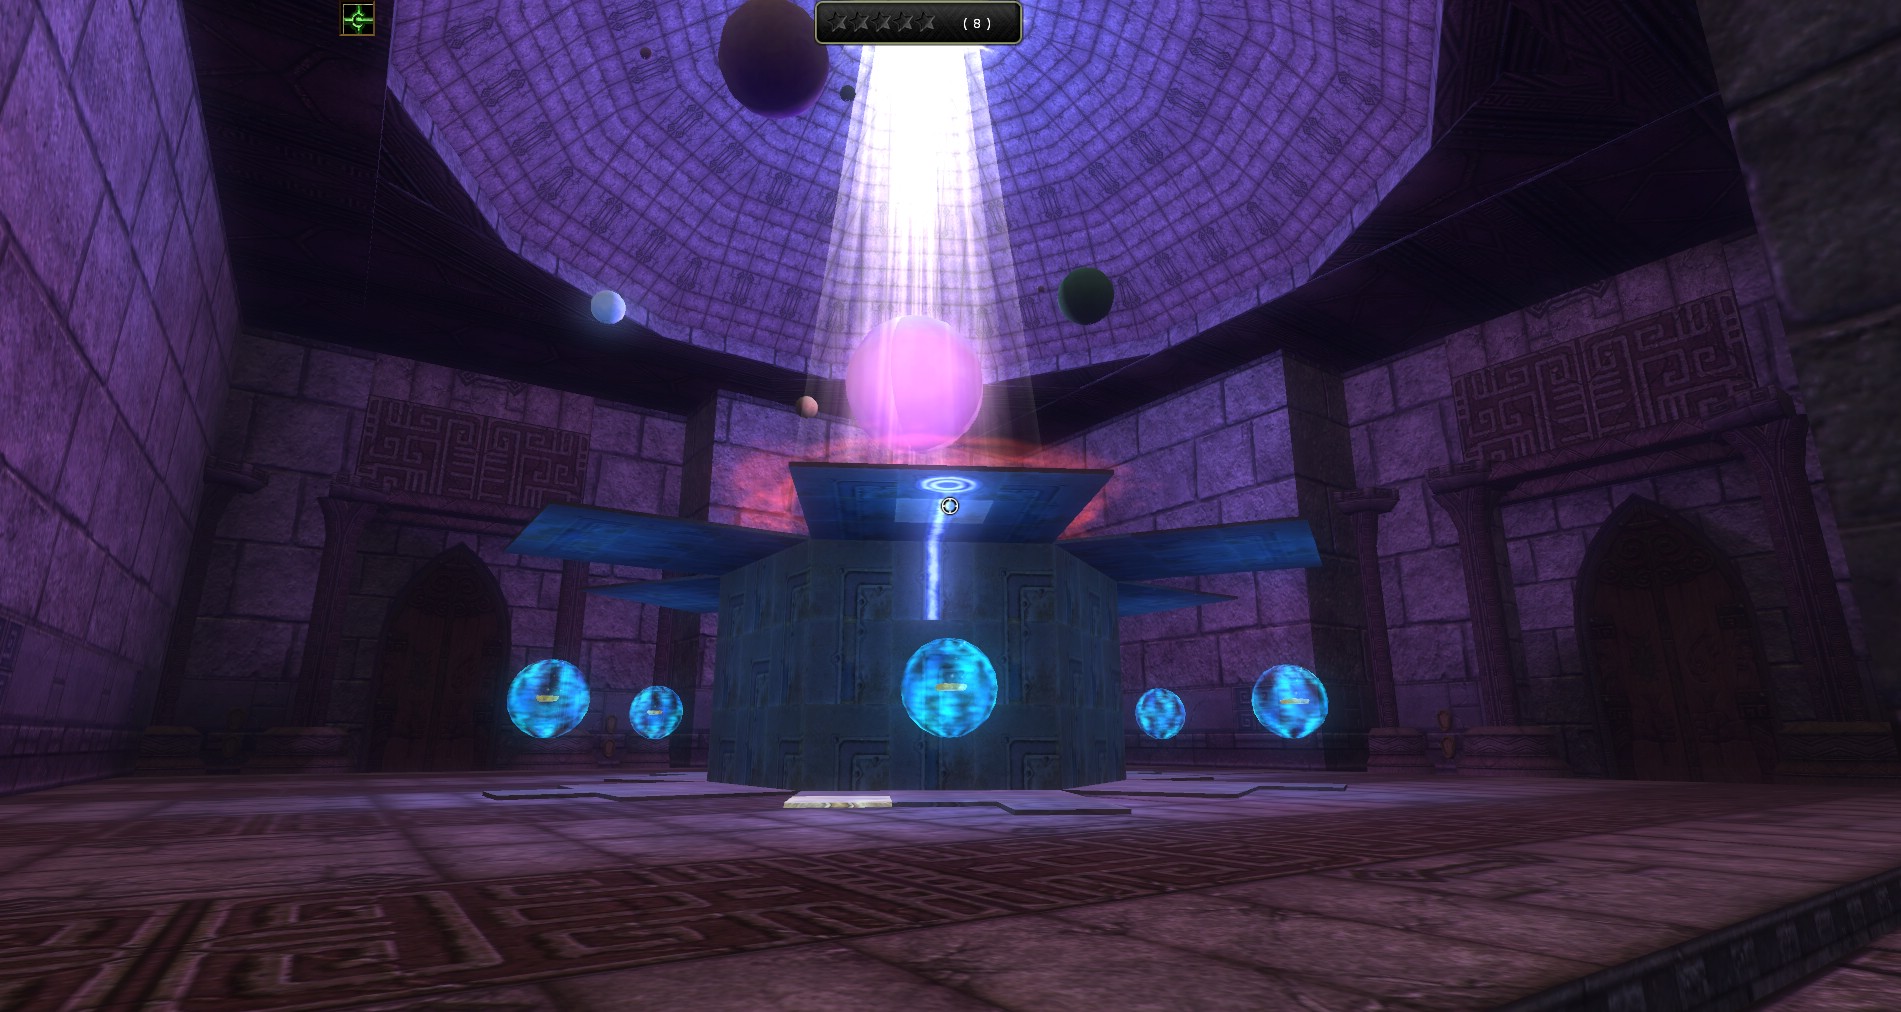
- Star Optional: Open three bubbles in the Observatory
This challenge is a good one to get started on to learn the layout and the feel for Dr. Rushmore’ s Mansion. It is a huge place and it will take you multiple runs in here to see the entire thing. If you have the right group you can split up into groups to tackle this quest. You may have to split up to reach the 5 star mark for this one.
Each Crest Sealed door opened extends the challenge by 2 minutes. This also ticks away at the optional to open all the sealed gates. S you progress through the dungeon make sure that you not only search carefully for all crests but you also kill all enemies and break anything you see as you can gain more crests this way. So make sure to break it all and kill it all!
Crests can be removed from doors that are not open. If you find yourself with 3 of the 4 pull them out and look for the 4th. Make sure everyone is aware they will get crests in their inventory and try to stick together so you do not have to wait for someone to open a door. Should you be out of crests run by the portraits and kill the respawns. Hopefully this will get you the ones you need.
There are several secret doors and tunnels in this quest. Make sure to have True Seeing on or Detect Secret doors. You can search if you want but that can use up time that is very precious in this timed challenge quest.
The Back Door area of this quest is heavily trapped. Be careful and send your rogue and those with high evasions that direction. It is in the south east of the map.
Moving Targets

- Level: 10 to 20
- Duration: 9 Minutes
- Pay: Illuminated Manuscripts
- Quest Completion Goal: Defeat at least one of the bosses from Rushmore’s Party
- Star Optional: Open all the sealed gates
- Star Optional: Defeat the other bosses
- Star Optional: Activate every portrait of warforged
- Star Optional: Kill a boss in the bathroom
The first thing that you need to know about this dungeon challenge is that the boss’s moves around this dungeon. This can make things a bit tricky. However, they do announce to the dungeon where they are going so you can head that way. Keep in mind they will only stay there for a couple minutes so if you want to intercept them, make it quick. You have to track them down. Use the map on DDM’s Realm to help you locate their current location.
This quest can be very quick or very tough depending on how and where the bosses move to. To assure that you can complete and get the important optional, Kill a boss in the bathroom, you should send at least one person there immediately. They need to be able to handle a boss on their own. If they can’t have a couple people go. Once the boss is dead you will complete and have an optional. Then they can rejoin the group or clear another area out while there is still time remaining. If the whole group runs around trying to find the bosses when they shout your chances of completing are much worse.
Picture Portals

- Level: 15-20
- Duration: 8 Minutes
- Pay: Jeweled Goblet
- Quest Completion Goal: Defeat at least one of the bosses from Rushmore’s Party
- Star Optional: Open all the sealed gates
- Star Optional: Defeat the other bosses
- Star Optional: Sell two minutes to the Foreman
- Star Optional: Do not let enemies go through teleporters
The Pictures all have a teleported that when activated then clicked on will teleport you to a nearby location. These can be good time savers when you learn where they go. However, they also leave you exposed to failing the star optional, Do not let enemies go through teleporters. If you have agro on an enemy and use a teleporter, they will follow you through and you will lose this bonus.
There is a kobold somewhere in the dungeon called the Time Foreman. He will allow you to trade time for one of the power ups that these challenge quests offer. You need to buy at least two of them to complete the Star Optional, Sell two minutes to the Foreman. Once you purchase something from him he will follow you around.
- Each Powerup costs 1 minute of time except the Random Orb and will last for 60 seconds. These Powerups are; Double Speed,High Jump,Invincible, Invisibility,Life Aura,Quad Damage, andRandom Orb (Costs only 30 seconds).
Moving Targets ~ EPIC

- Level: 21 to 25
- Duration: 9 Minutes
- Pay: Epic Illuminated Manuscripts
- Quest Completion Goal: Defeat at least one of the bosses from Rushmore’s Party
- Star Optional: Open all the sealed gates
- Star Optional: Defeat the other bosses
- Star Optional: Activate every portrait of warforged
- Star Optional: Kill a boss in the bathroom
Use the same strategy and tactics that are listed above for the regular version of this challenge quest.
Picture Portals ~ EPIC

- Level: 21-25
- Duration: 8 Minutes
- Pay: Epic Jeweled Goblet
- Quest Completion Goal: Defeat at least one of the bosses from Rushmore’s Party
- Star Optional: Open all the sealed gates
- Star Optional: Defeat the other bosses
- Star Optional: Sell two minutes to the Foreman
- Star Optional: Do not let enemies go through teleporters
Use the same strategy and tactics that are listed above for the regular version of this challenge quest.

This guide is all good information, but it makes multiple references to a map of the dungeon which I could not find on the DDM website. There’s no link, no section of the website for maps, and searching both through the site and via google failed to turn up said map, so I shall have to use the map on DDO wiki.
And of course immediately after I posted I realized the tiny thumbnail near the top was the map.
NP if you are missing it I am sure others are. I will tag it so it is more clear. Thanks!
Wonderful guide, thank you. Any chance you could add something about weapons/spells that help defeat the monsters and their DR?
Thanks a lot! Ya I will revisit the quest and add some tips in there to fight the various mobs there. I can’t remember them all off the top of my head. But I will check it out and do a little update for the guide. After the expansion of course! hehe
Great guide! Just wanted to point out that your map doesnt include the secret passageway to the mother of the nest which is a star in some of the challenges. More Power to you!
Thanks! I have a passage marked just to the right of the legend. Is there a second spawn point for it?
Thanks for the guide! I did not know about removing crests if door not opened, wish I had.
Some things I noticed though:
You should mention the locked doors can be opened from one side only. It means you can’t do any kind of ‘loop’ around the mansion, and is a real incentive to split up the party.
You may want to mark the other secret doors on the map, and I believe that spaz, in the comment above, was referring to the secret door off the Banner Hall. SW corner if I remember correctly. It leads to the Bathhouse. Mother of the Nest was there for me.
Some of the bosses have respawning elemental minions that buff the boss. Killing them weakens the boss for a while.
There are quite a number of spots where crests always spawn. Some are in odd places, like on top of pillars, or in the water. And you can also get a drop of a ‘skeleton’ crest. This crest is bound to character, permanent, doesn’t drop on exit, and you can use it once per run in place of a crest you are missing.
Thanks again for the guide!
Sure thing! Thanks for the tips. I will try to get those added to this guide as I get time. Thanks again!
OK updated the map. Hopefully that will help you all rock this one a little harder!