 The Lord of Blades has sent his minions into the Cannith Power Works. The Bladesworn have shut down the Power Crystals within the Power Work, severely crippling House Cannith’s ability to manufacture. You have been asked to head into the Cannith Power works and meet up with Kylea d’Cannith. She can power up the crystals but she will need your help to fight off the invading forces. Meet her inside the Cannith Power Works and she will help you complete the quest for the good of House Cannith!
- Series: None
- Level: 19
- Patron: Cannith
- Length: Medium
- Dungeon: Cannith Power Works
- Recommended Party: Standard, Rogue for the trapped hallway is nice, but not necessary. Caster Crowd Control is great for the end fight.
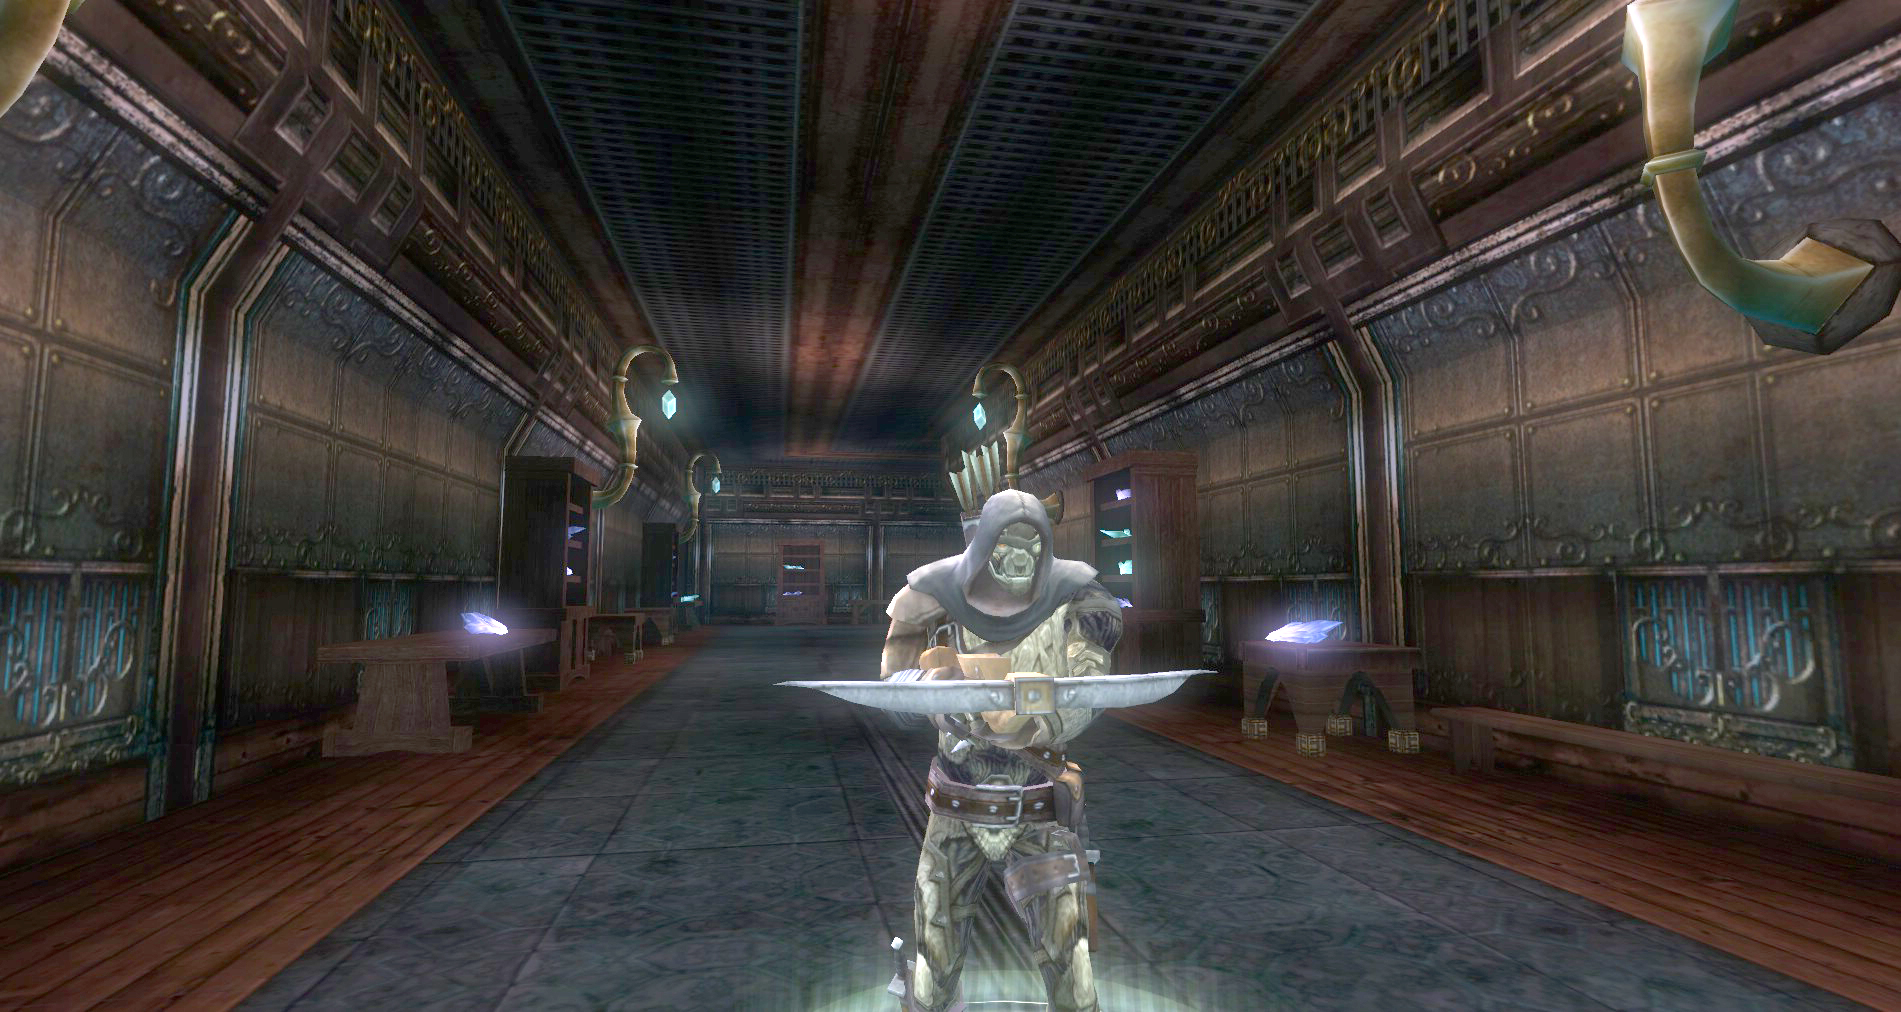
- MoBs: Bladesworn Paladin, Bladesworn Tempest, Bladesworn Assassin, Watcher Constructs, Iron Juggernaut, Bladehound, Ancient Arachnids, Animated Armor
- Dangerous MoBs: Steelthorn, Bladesworn Artificer, Bladesworn Cleric, Scrapheap
- Buffs: Freedom of Movement
- Special Note: Follow the map provided for the quickest completion. This quest is needed for access to the raids The Master Artificer and The Lord of Blades.
- Quest Stats: Detailed Quest Stats on DDMs Realm Here

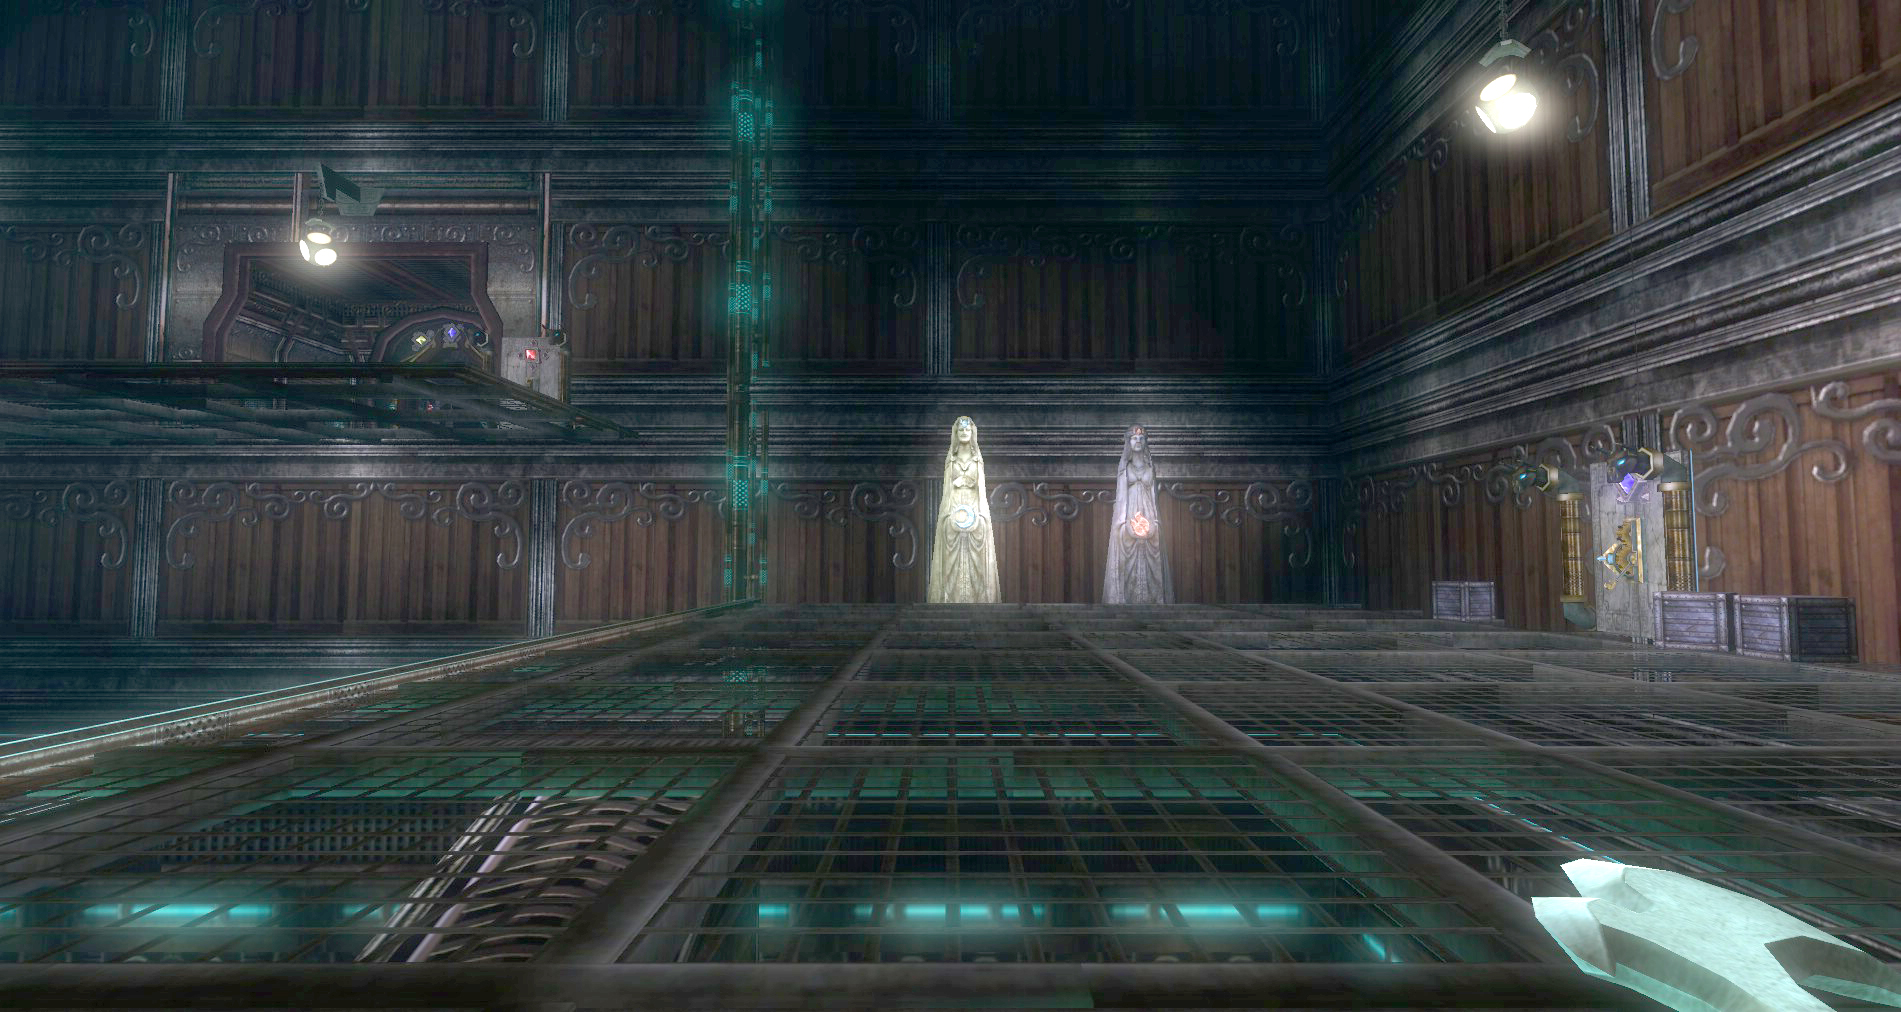

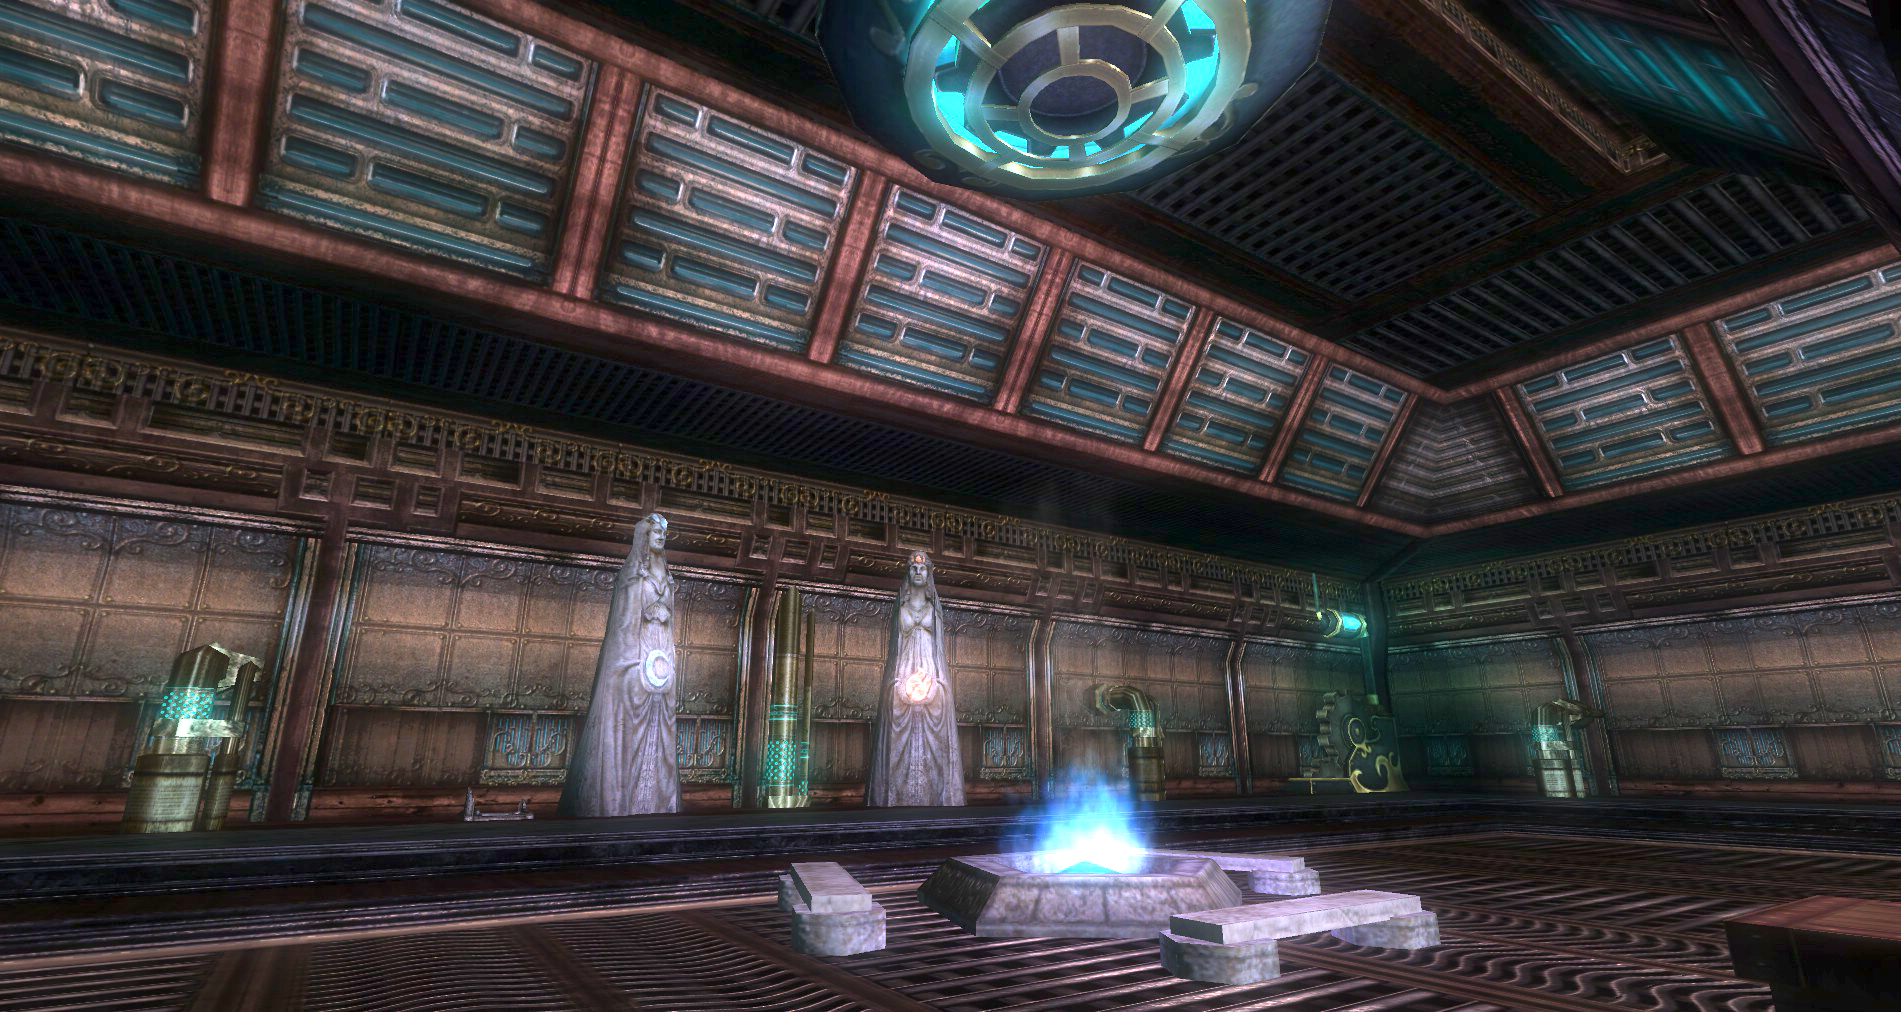


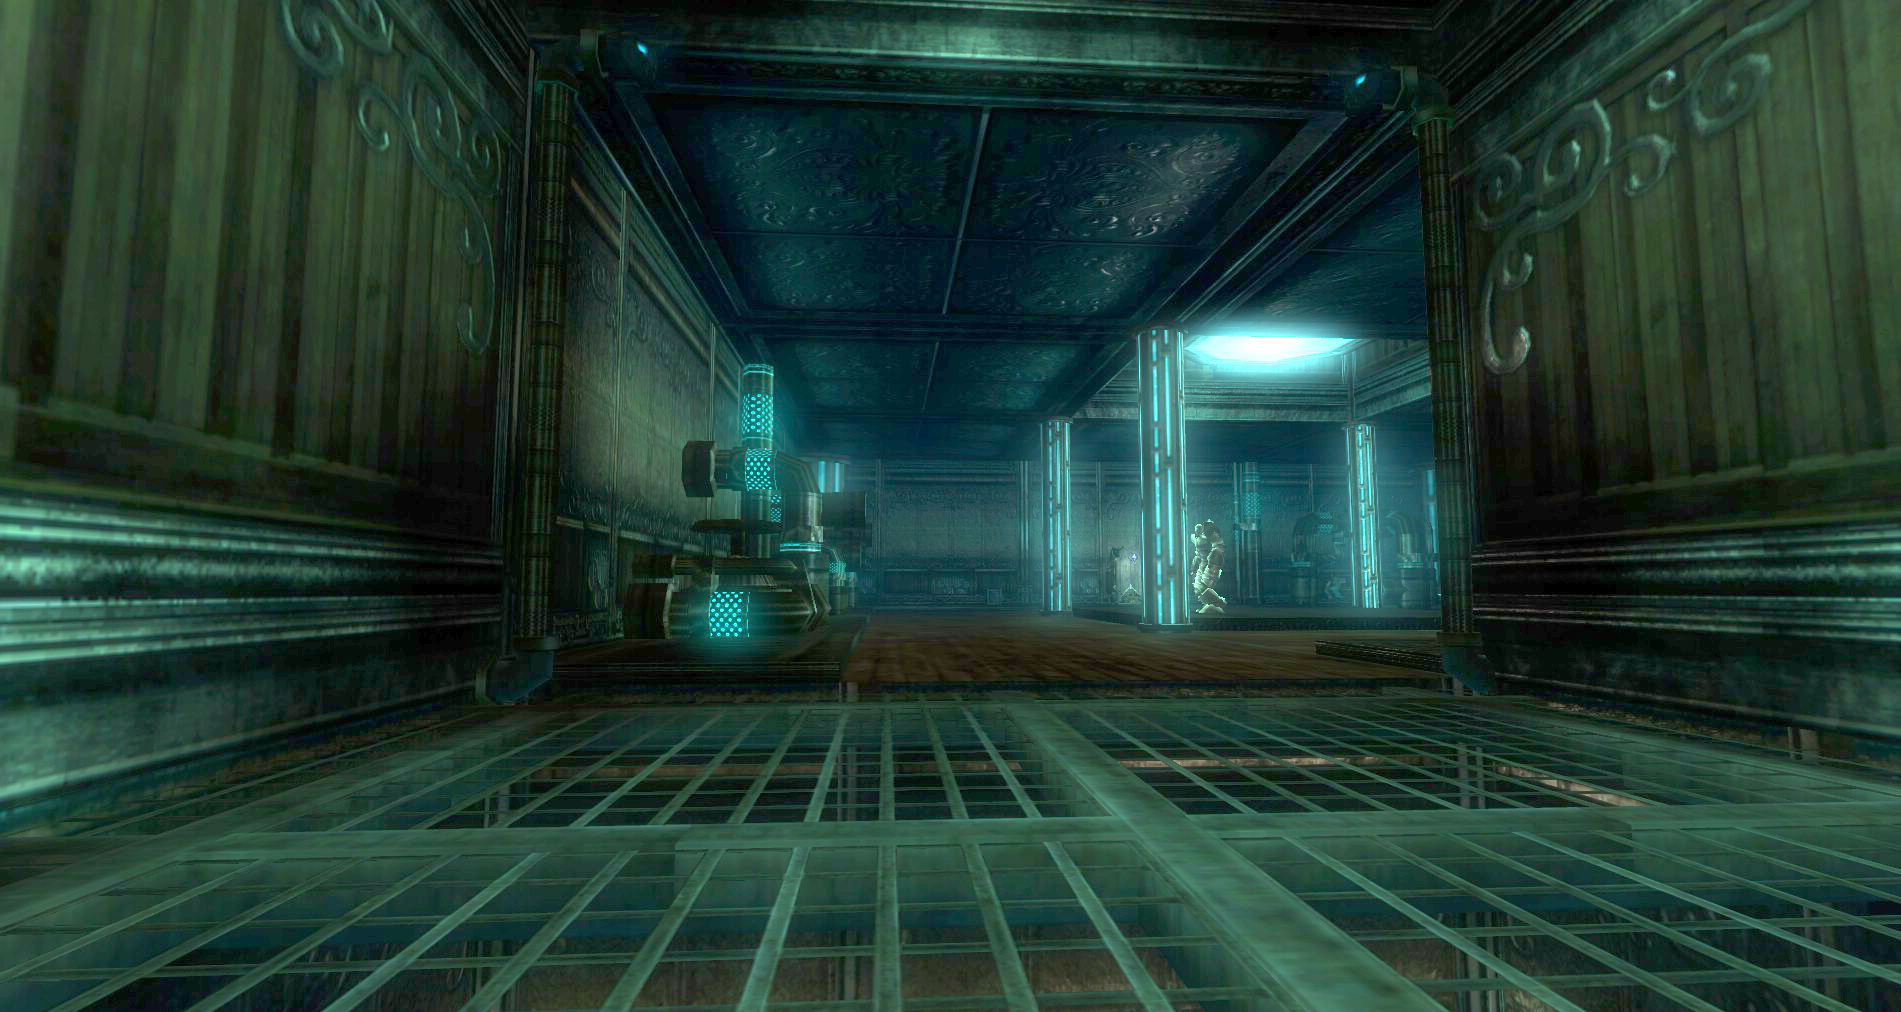

Entering the Cannith Power Works
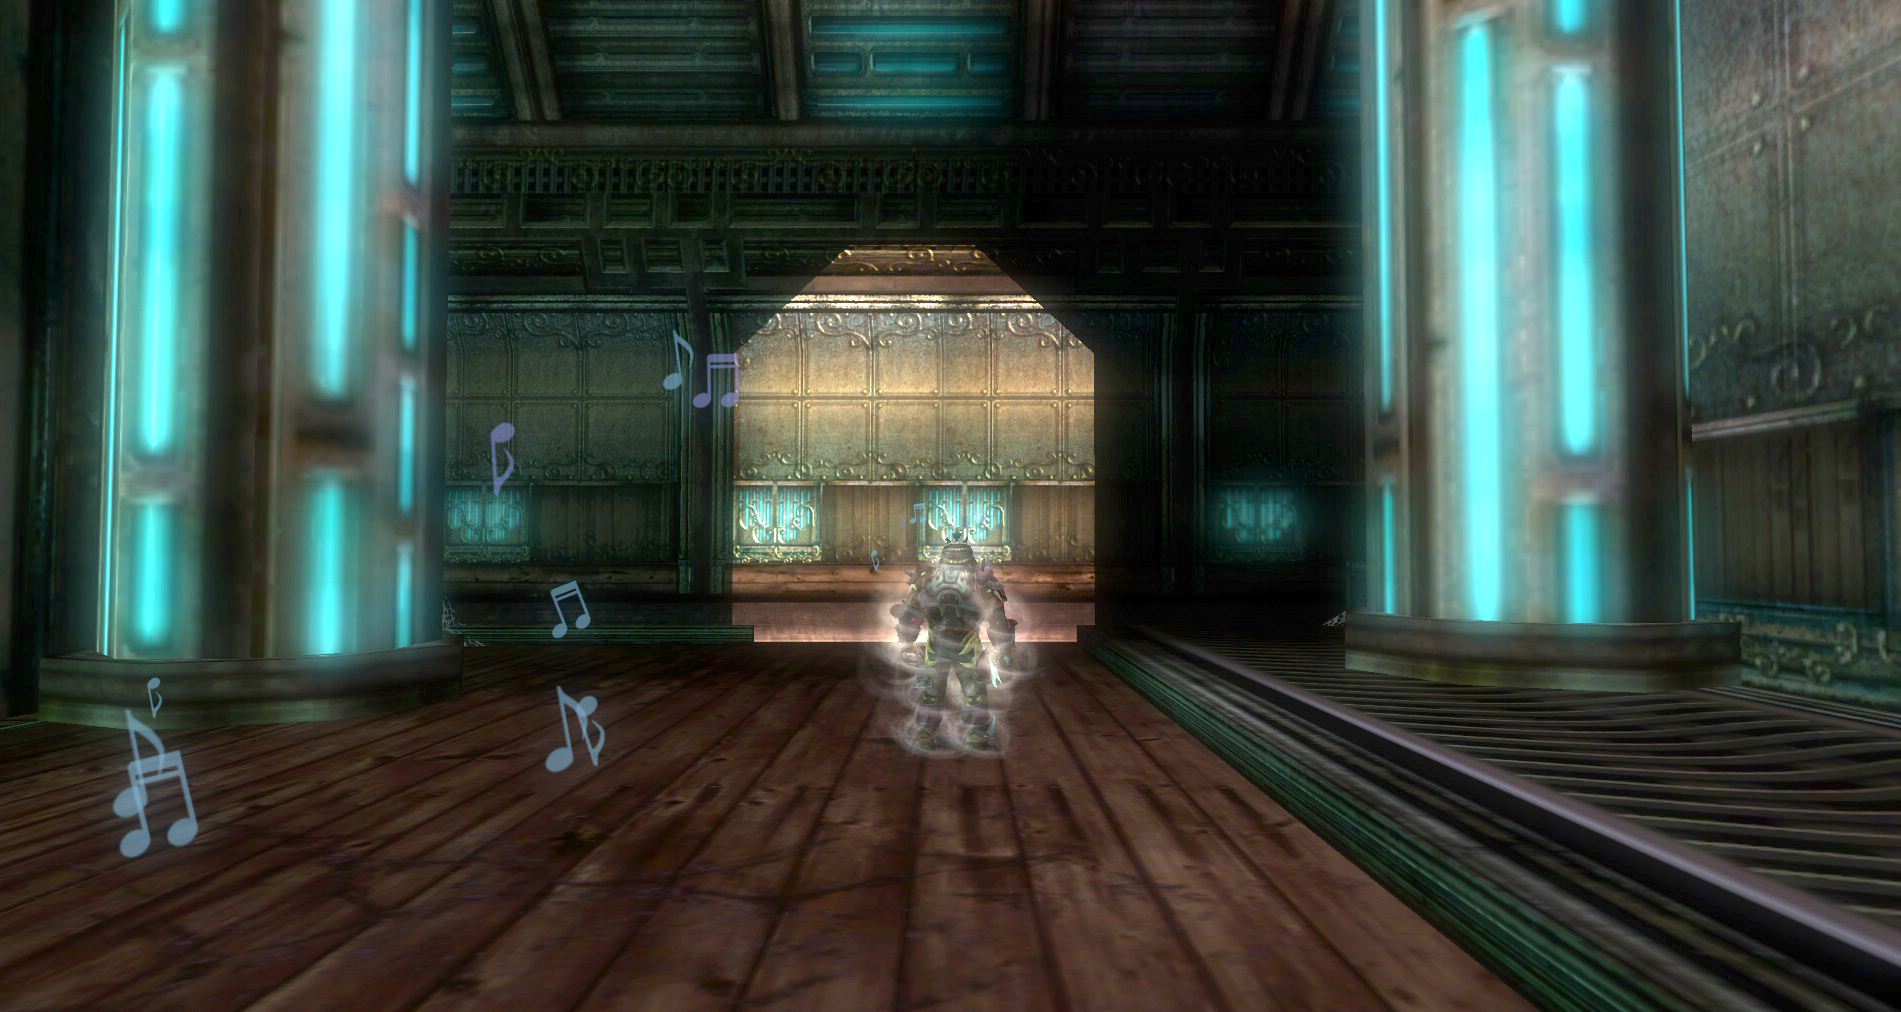
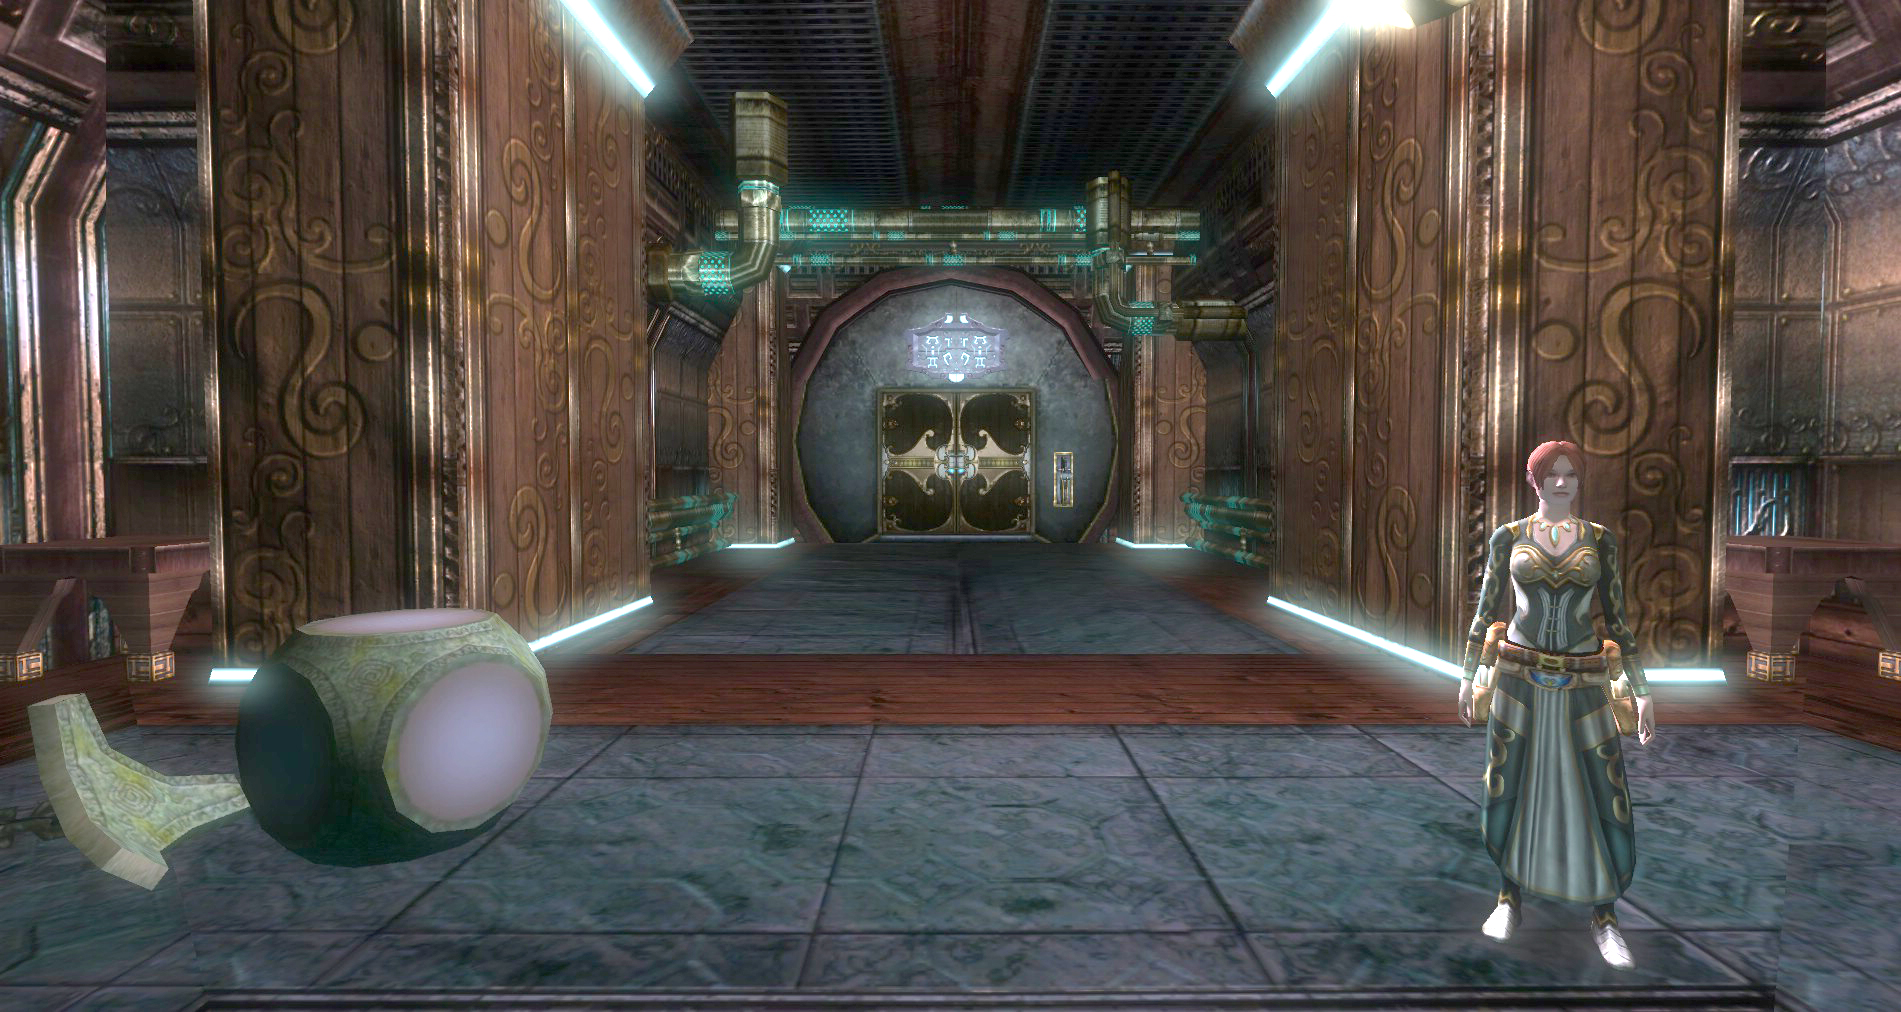
Once you are inside, have someone who will be near the back of the group talk to Kylea d’Cannith. Kylea will tag along with the group and help out here and there. Her main purpose is to power up the crystals for you. It is best to keep her back if you can so she can stay out of the way and so she doesn’t get agro. You can ask her to do several other things that can come in handy when controlling her. You can ask her to stay where she is, ask her to follow you, or have her teleport back to the entrance. You can do this to switch her between people or stash her somewhere to keep her out of danger. Once she is in the group go ahead and buff up, this way she will get the buffs too. The standard buffs should be fine here along with Freedom of Movement. If for some reason you lose track of Kylea, you can pull the lever at the beginning to summon her there.
As with the other dungeons in this update, it is important to take out the Artificers as soon as possible. They love Blade Barrier so get rid of them before they can blanket the area with these painful spells.
Use the Power Play quest dungeon map to the right for the quickest route to completion. This also has you stopping by shrines at good times and makes it so you have the least amount of backtracking. It can get frustrating backtracking in this quest and if you activate the last crystal away from the end room, the warforged are sure to destroy some of the Power Crystals, costing you the optional.
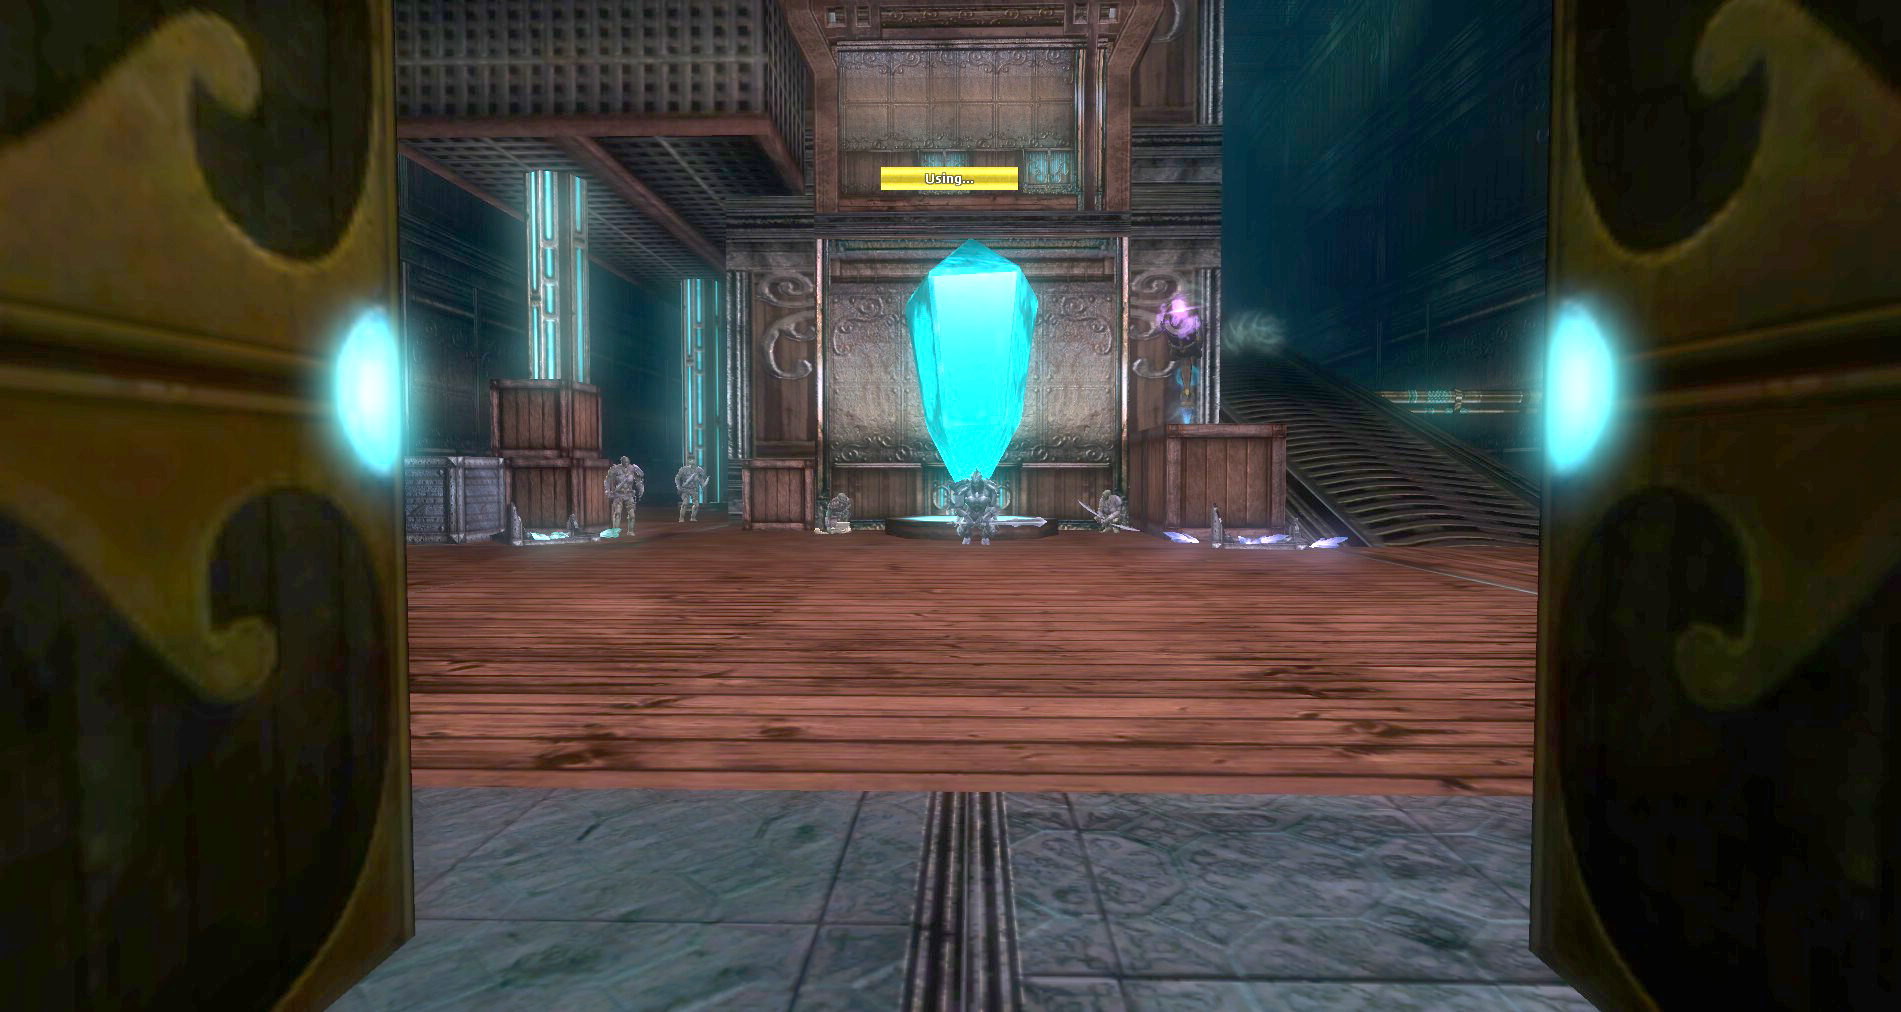
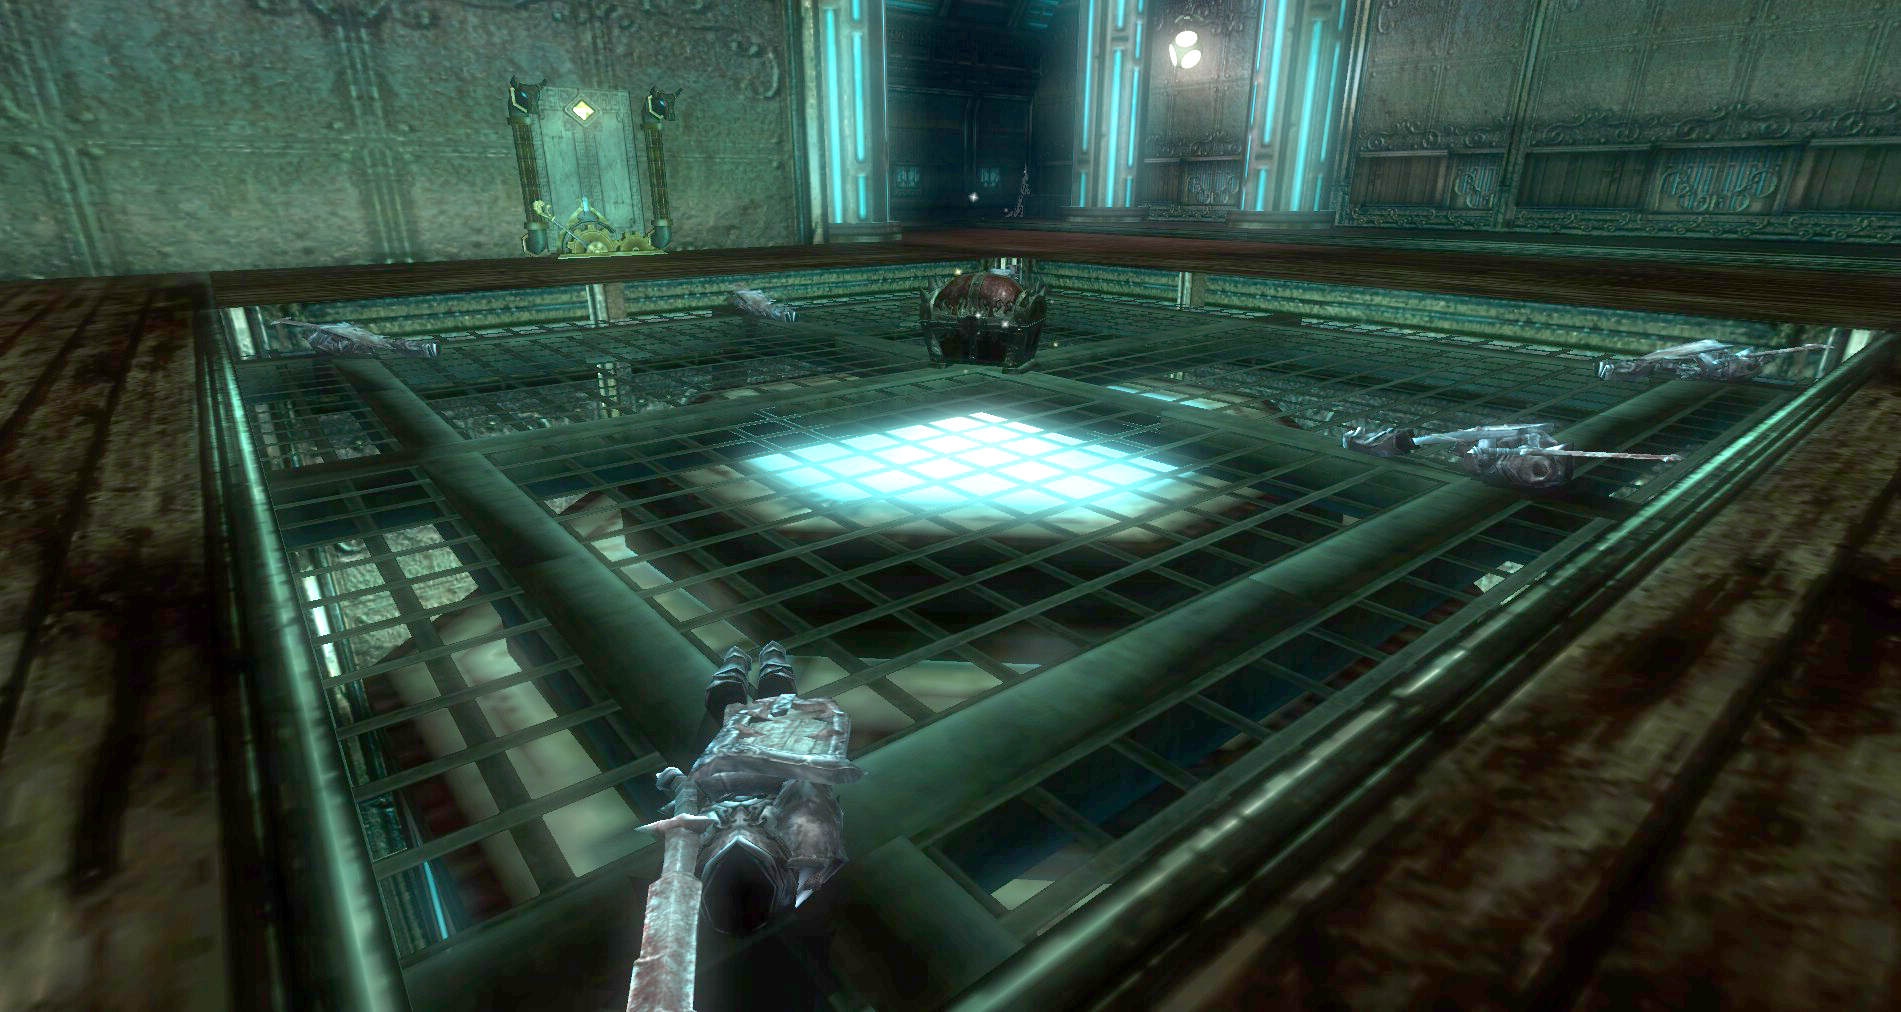
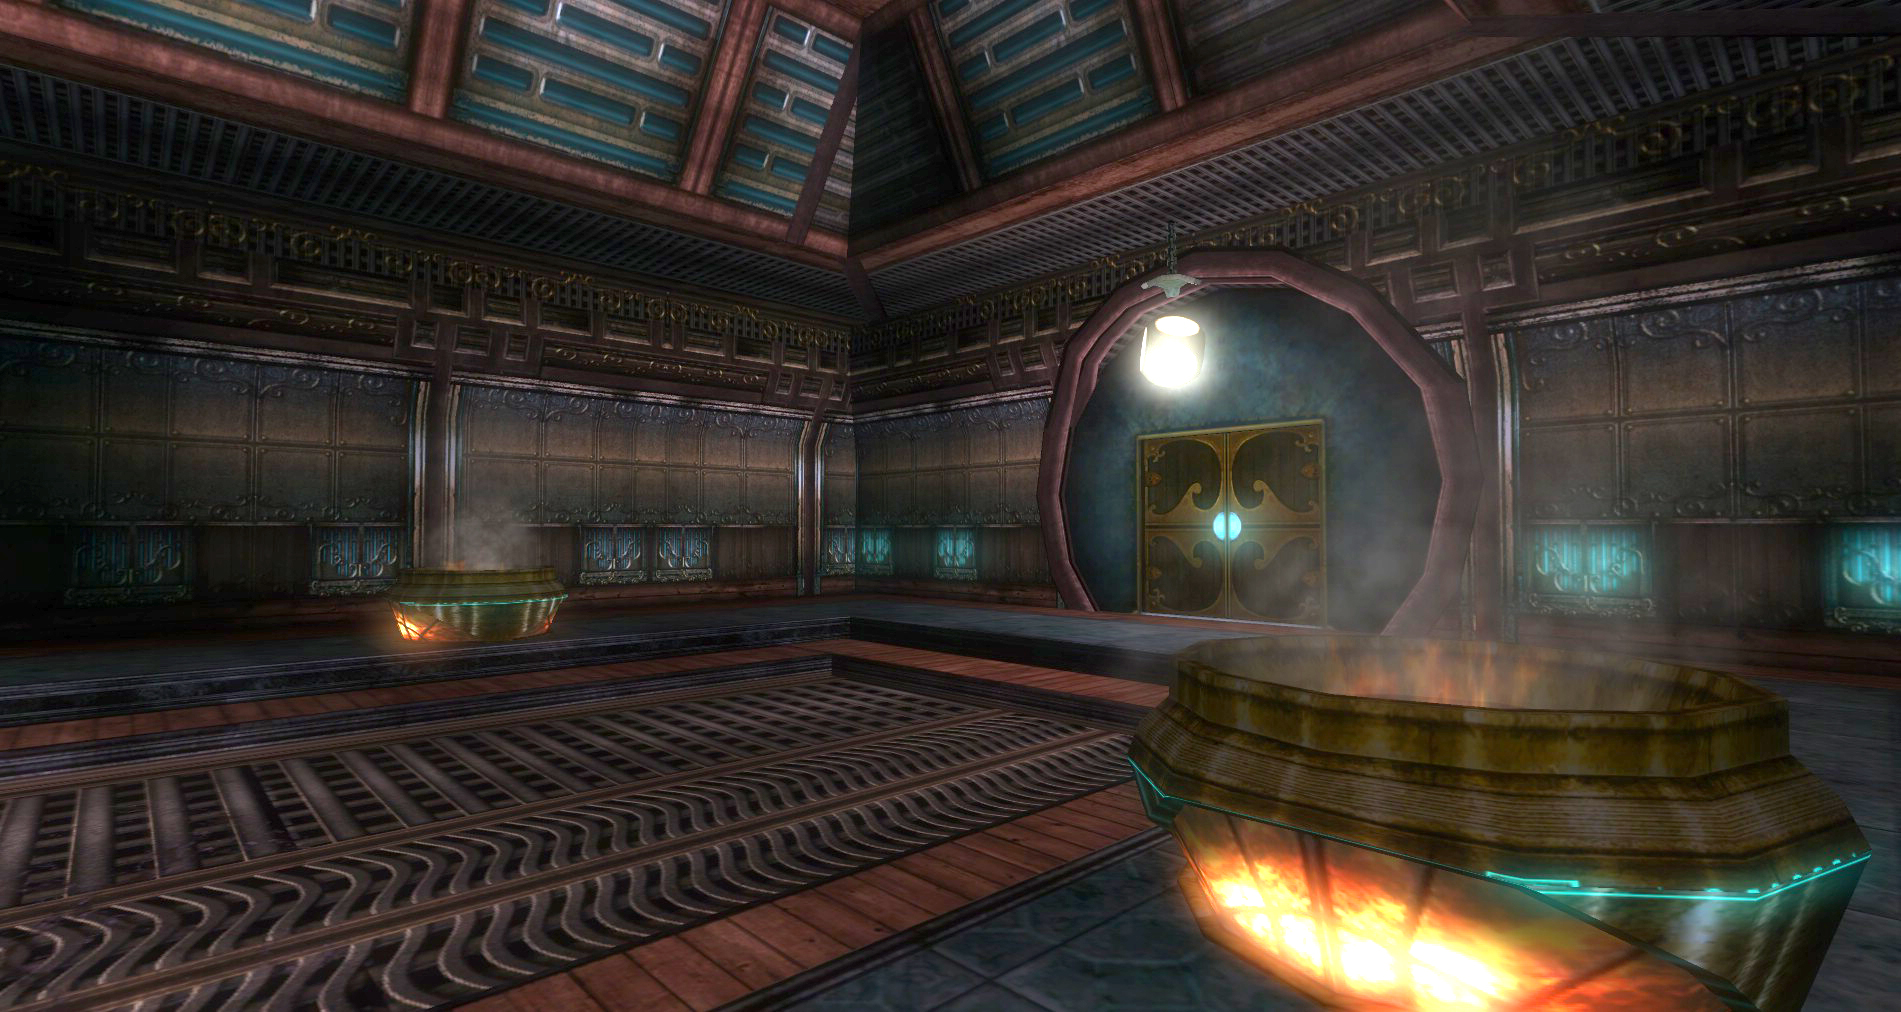
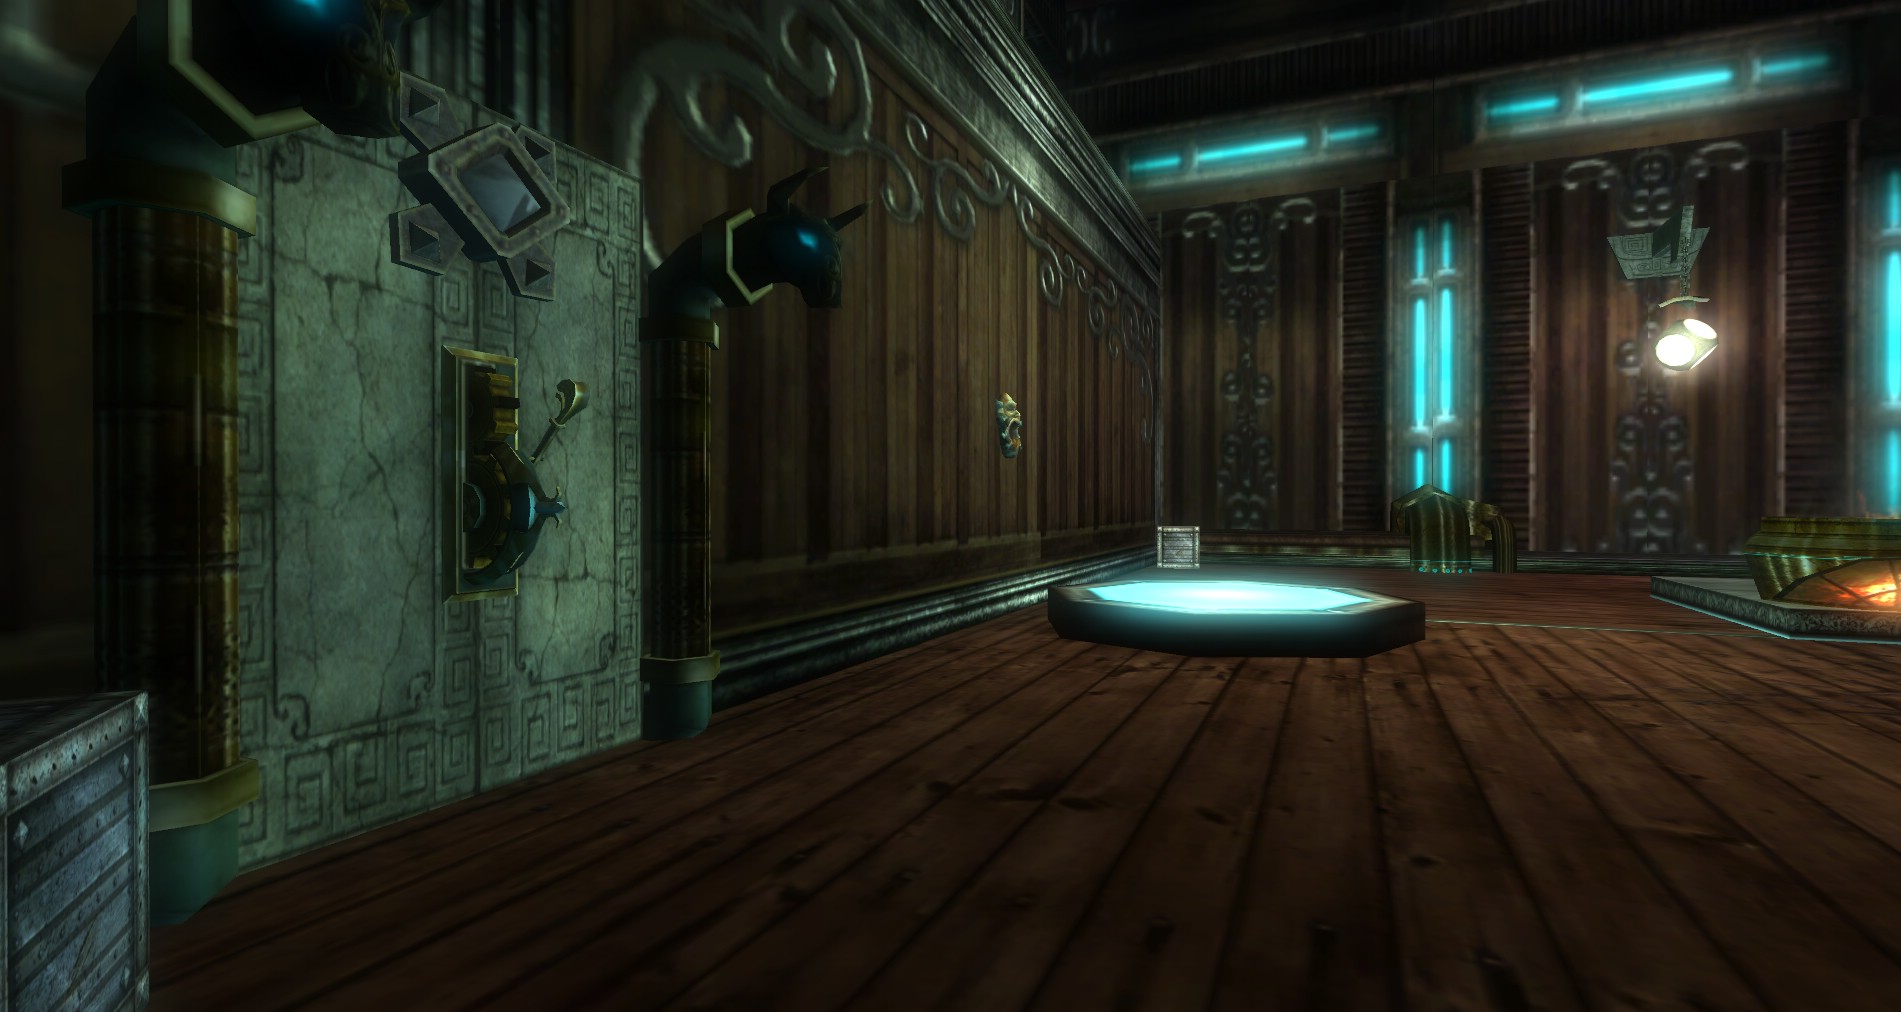
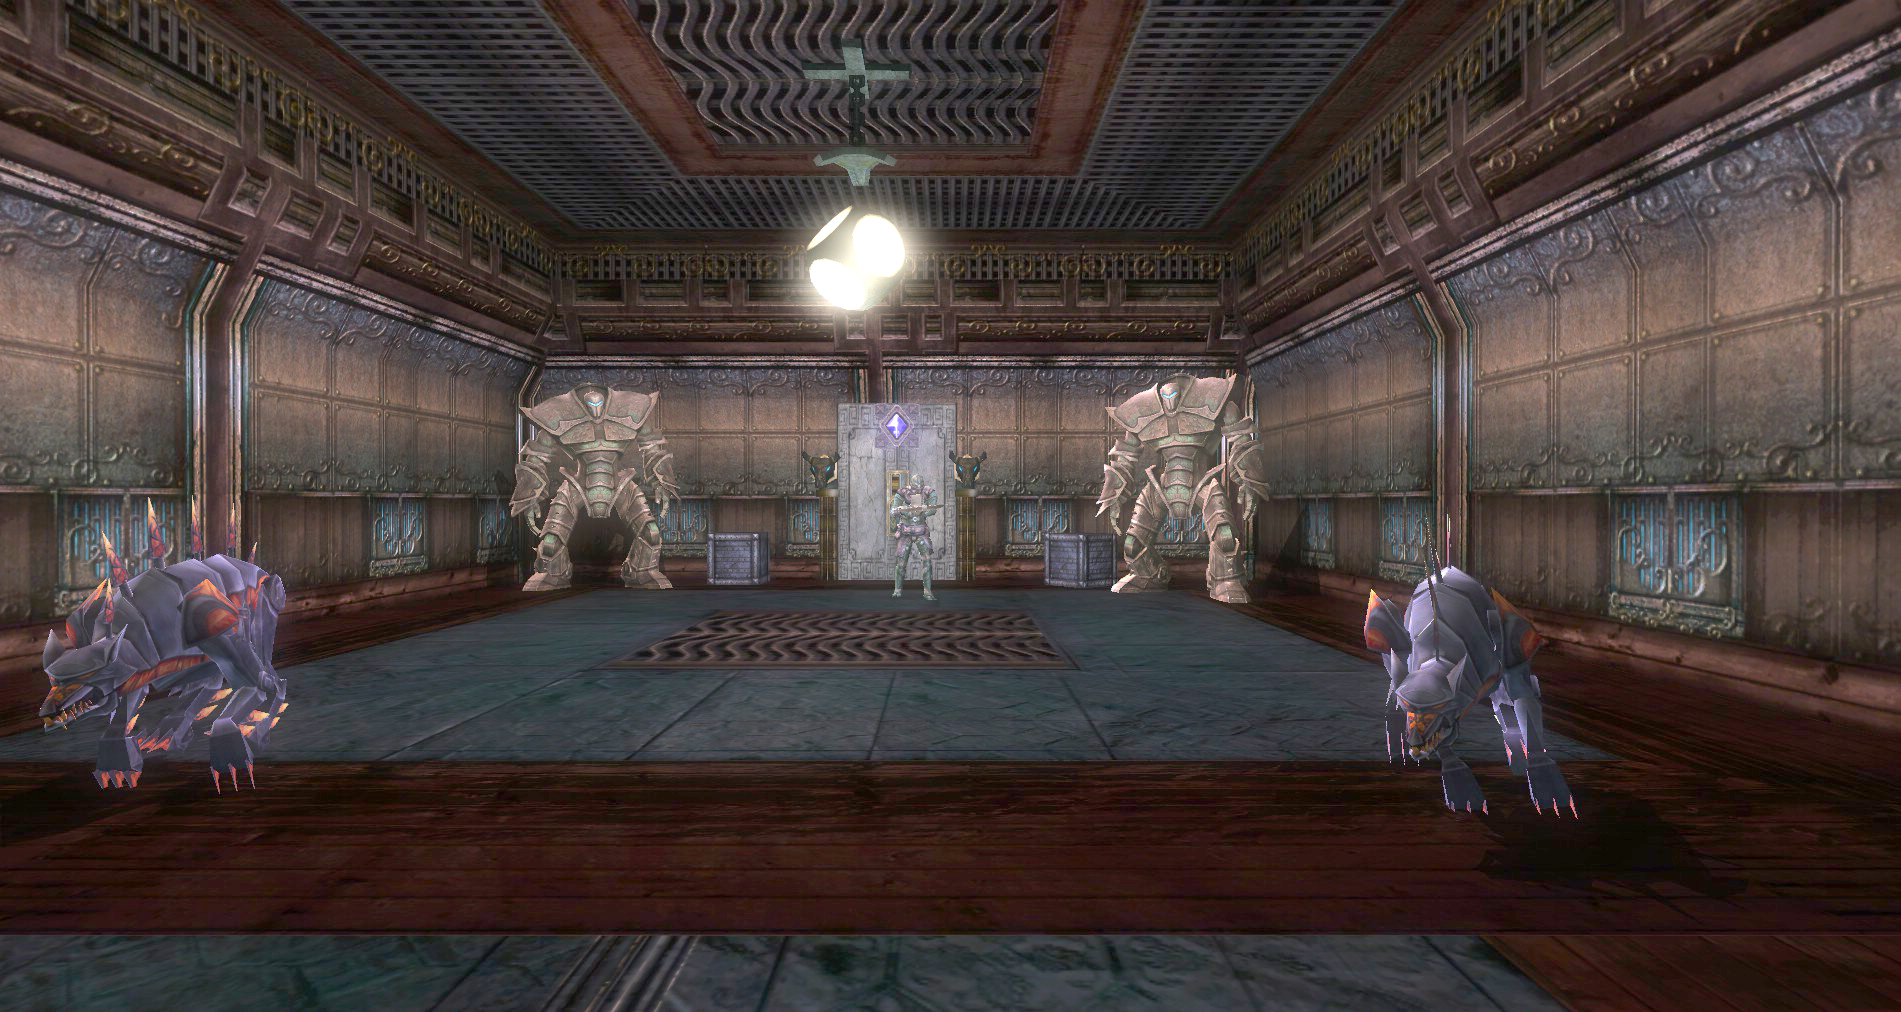
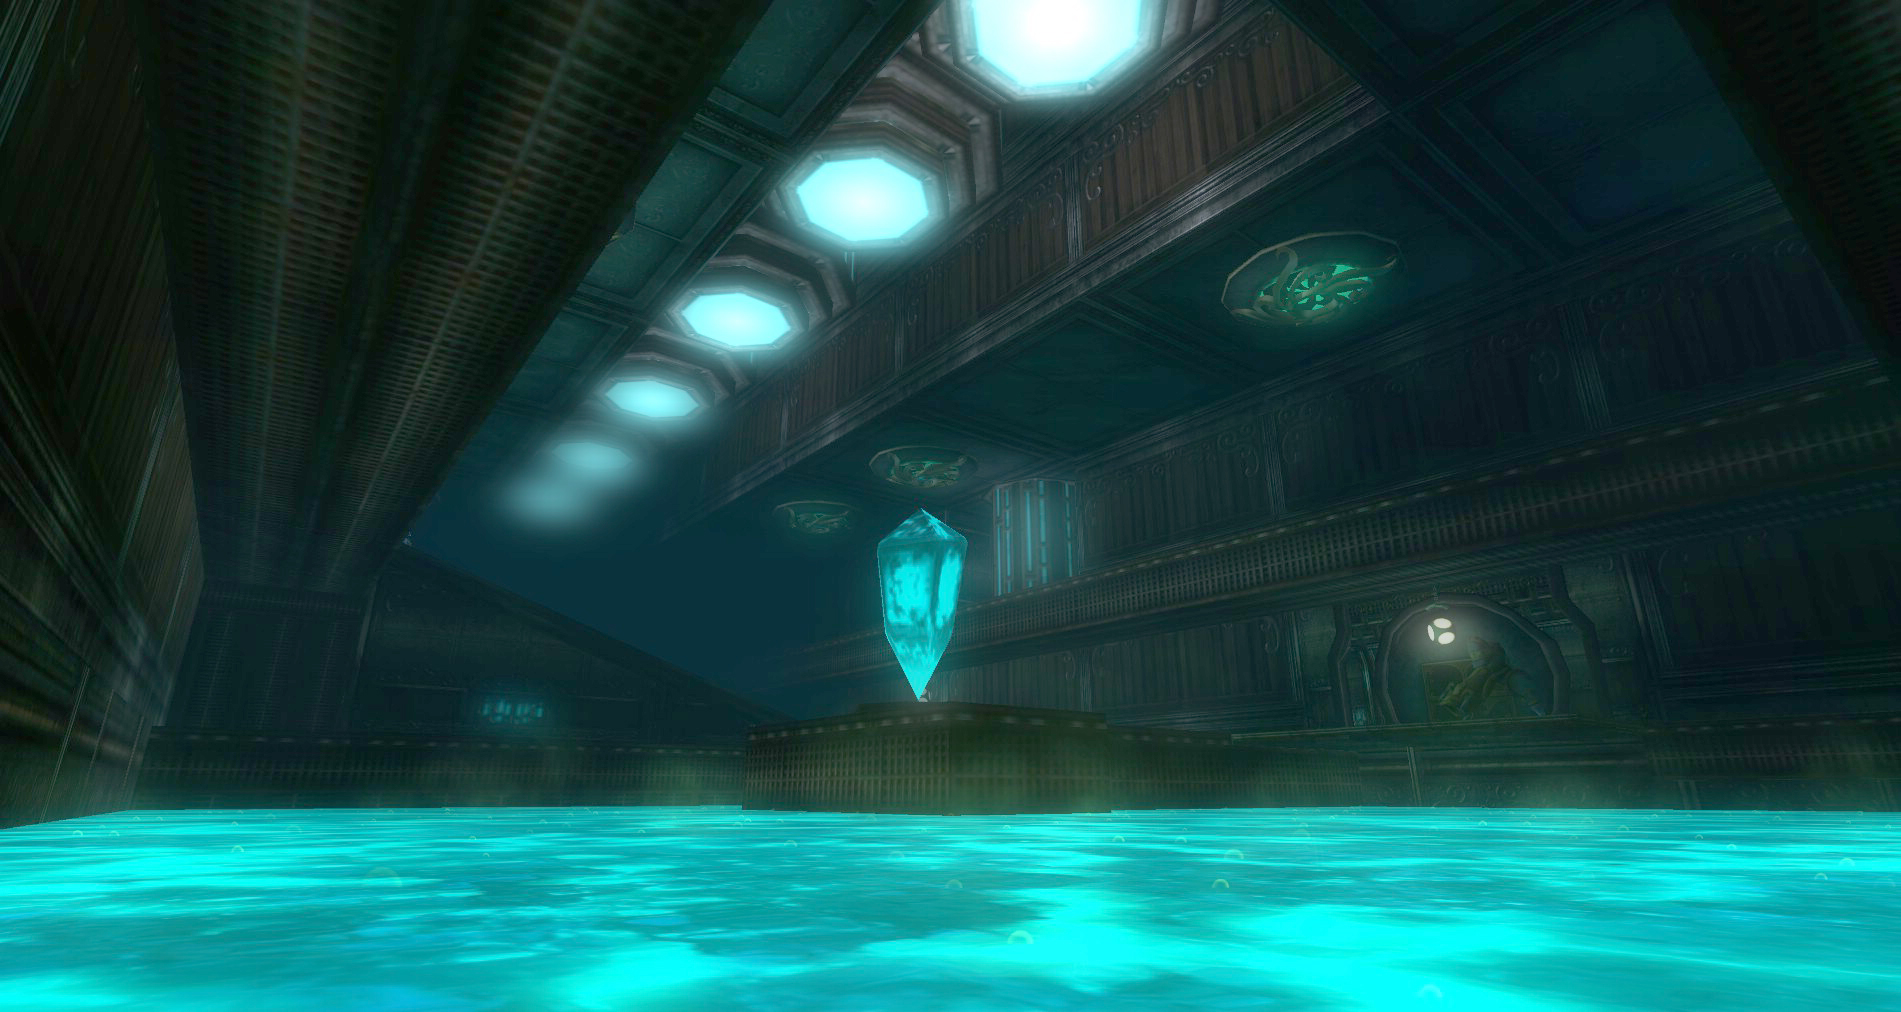
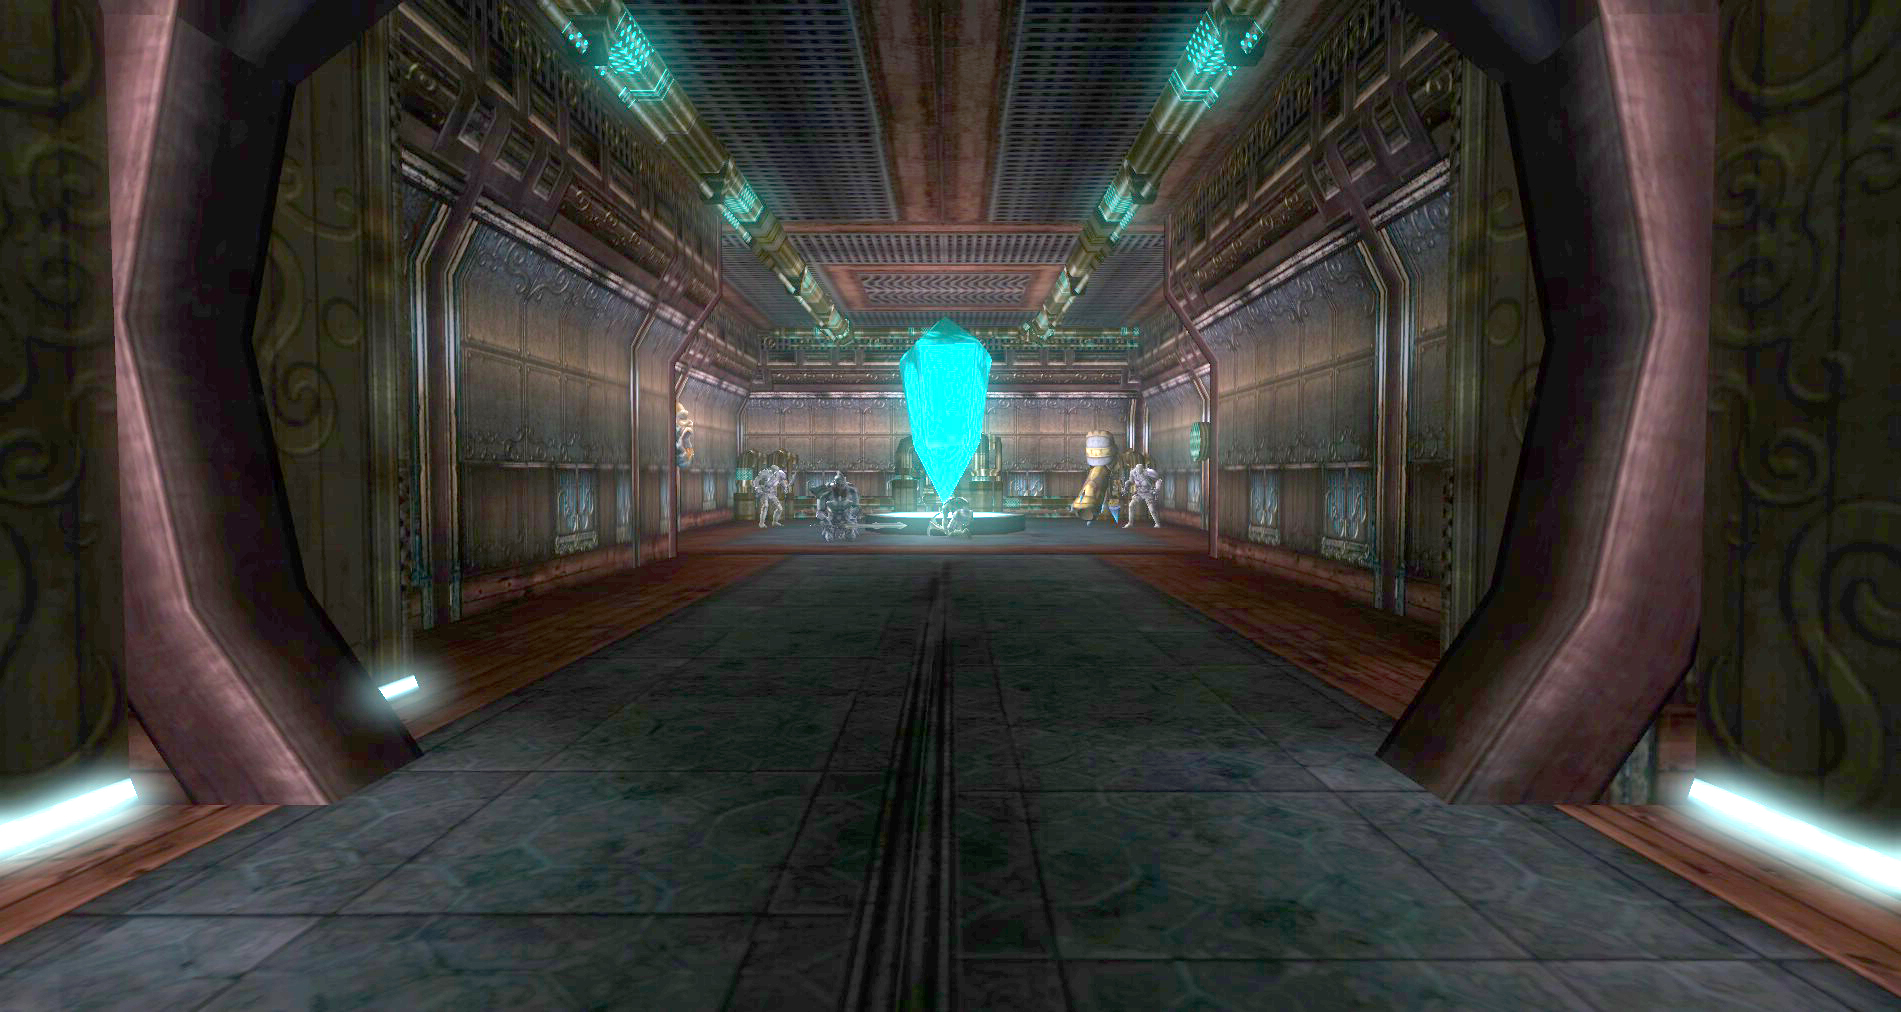
1 – The Entrance Power Crystal
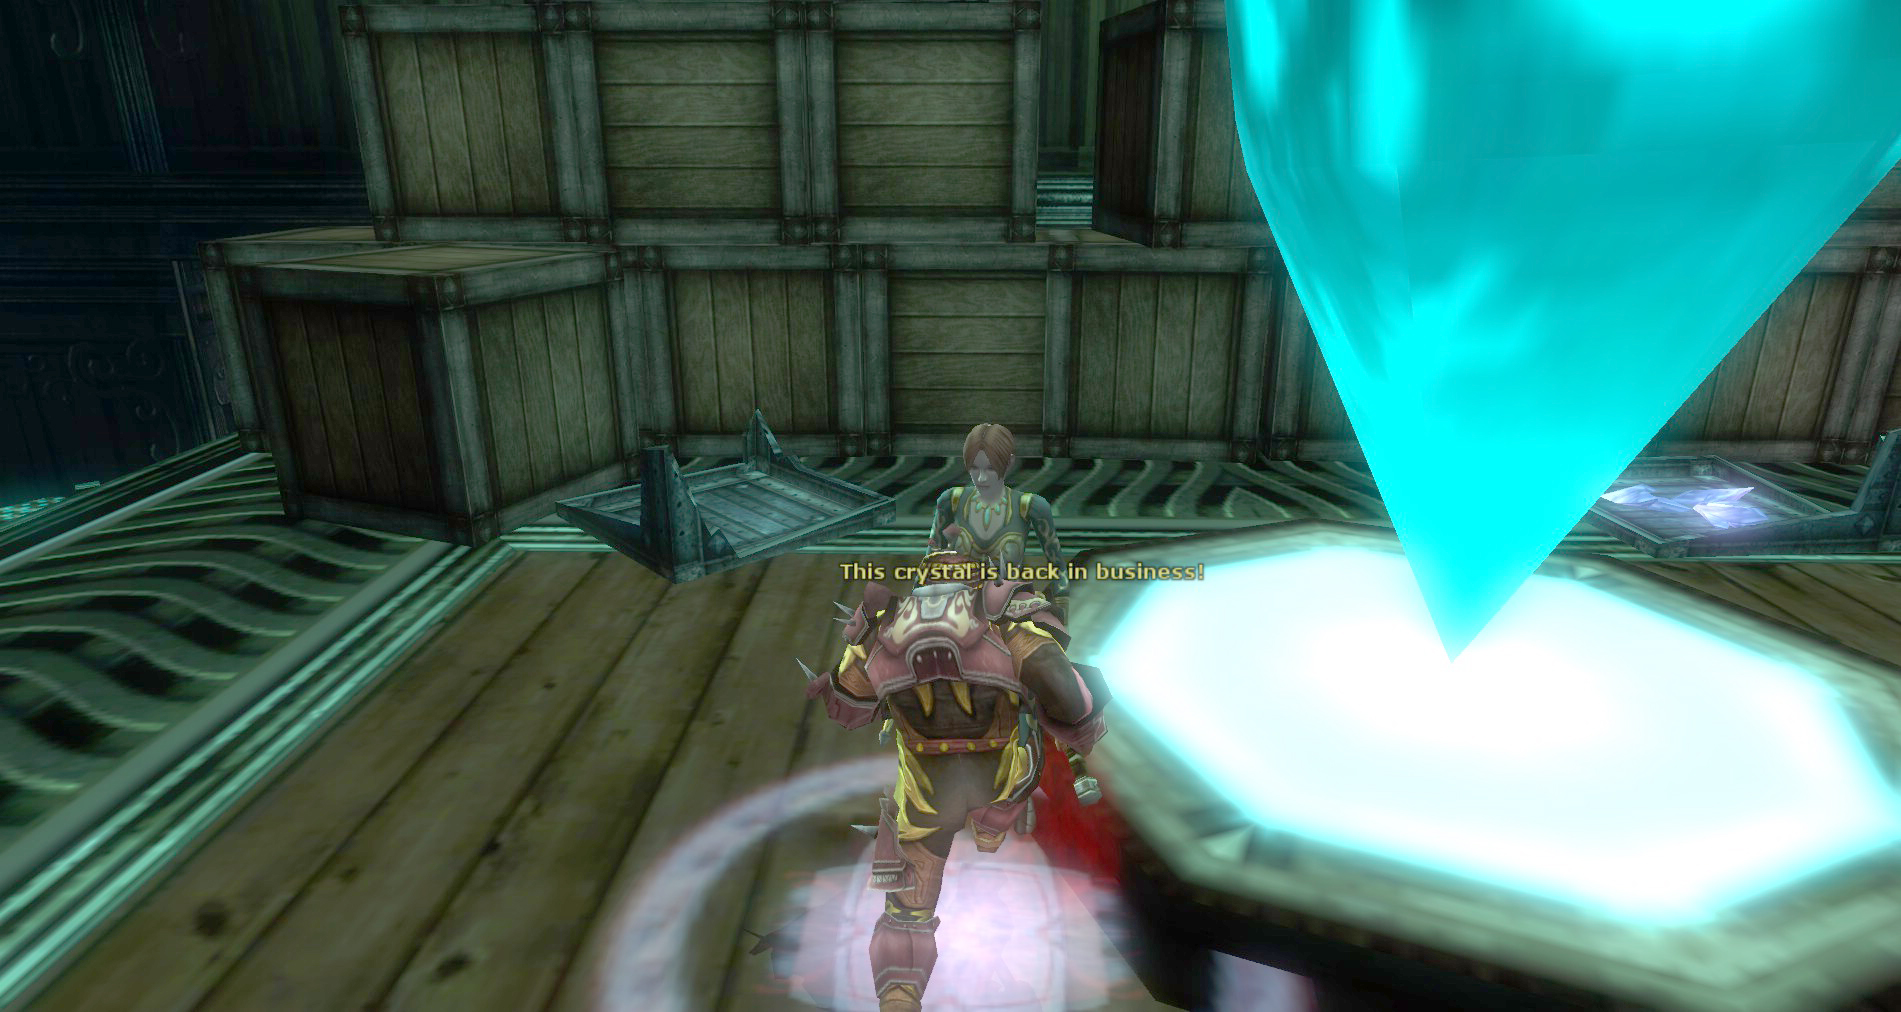
 Just inside the entrance, there is the first power crystal. It is protected by a handful of warforged. Expect similar defenses with all of the other power crystals. Make sure to have your tanks grab agro so Kylea can power up the crystal ASAP. If she does while you are still fighting, the Magefire Cannons will power up and help you out. If she gets agro, she tends to cower under a Minor Globe of Invulnerability until the danger passes. Make sure she is buffed up and protected. She is pretty tough but if left unattended she will sit there and die.
2 – Artificer Study
Head east and power up the Power Crystal in the hallway on your way to the Artificer’s Study.
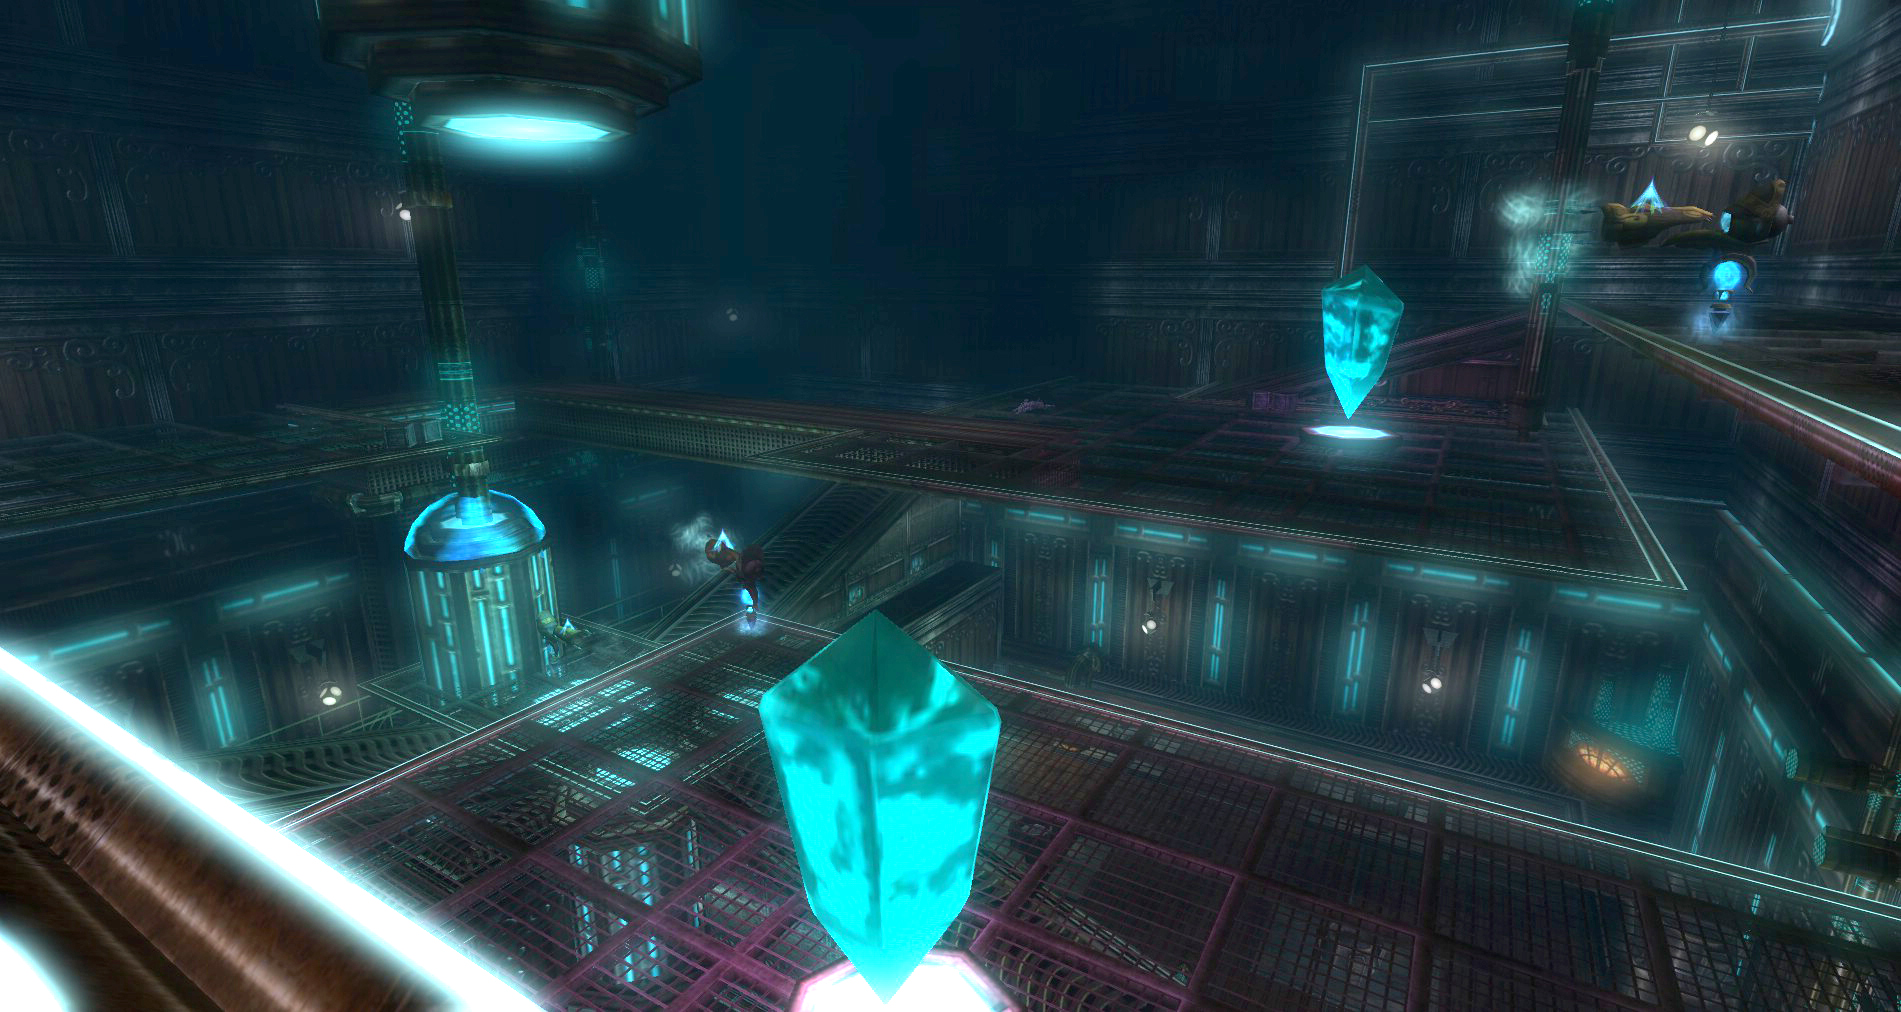
Once you are in the Artificer’s Study there is a Power Crystal on the ground floor. Power that one up and don’t forget to hit the lever for the East Access Door. There is a narrow passage behind the ramp that you can use to get a drop on the defenders of the crystal. Take care of those enemies and then head up the catwalks towards the other Power Crystals in this large open room.
Keep an eye on the sky for the Watcher Constructs up top, they like to rain fire down on you. They can see you from far away and will harrass the group all the way up if they are not taken out.
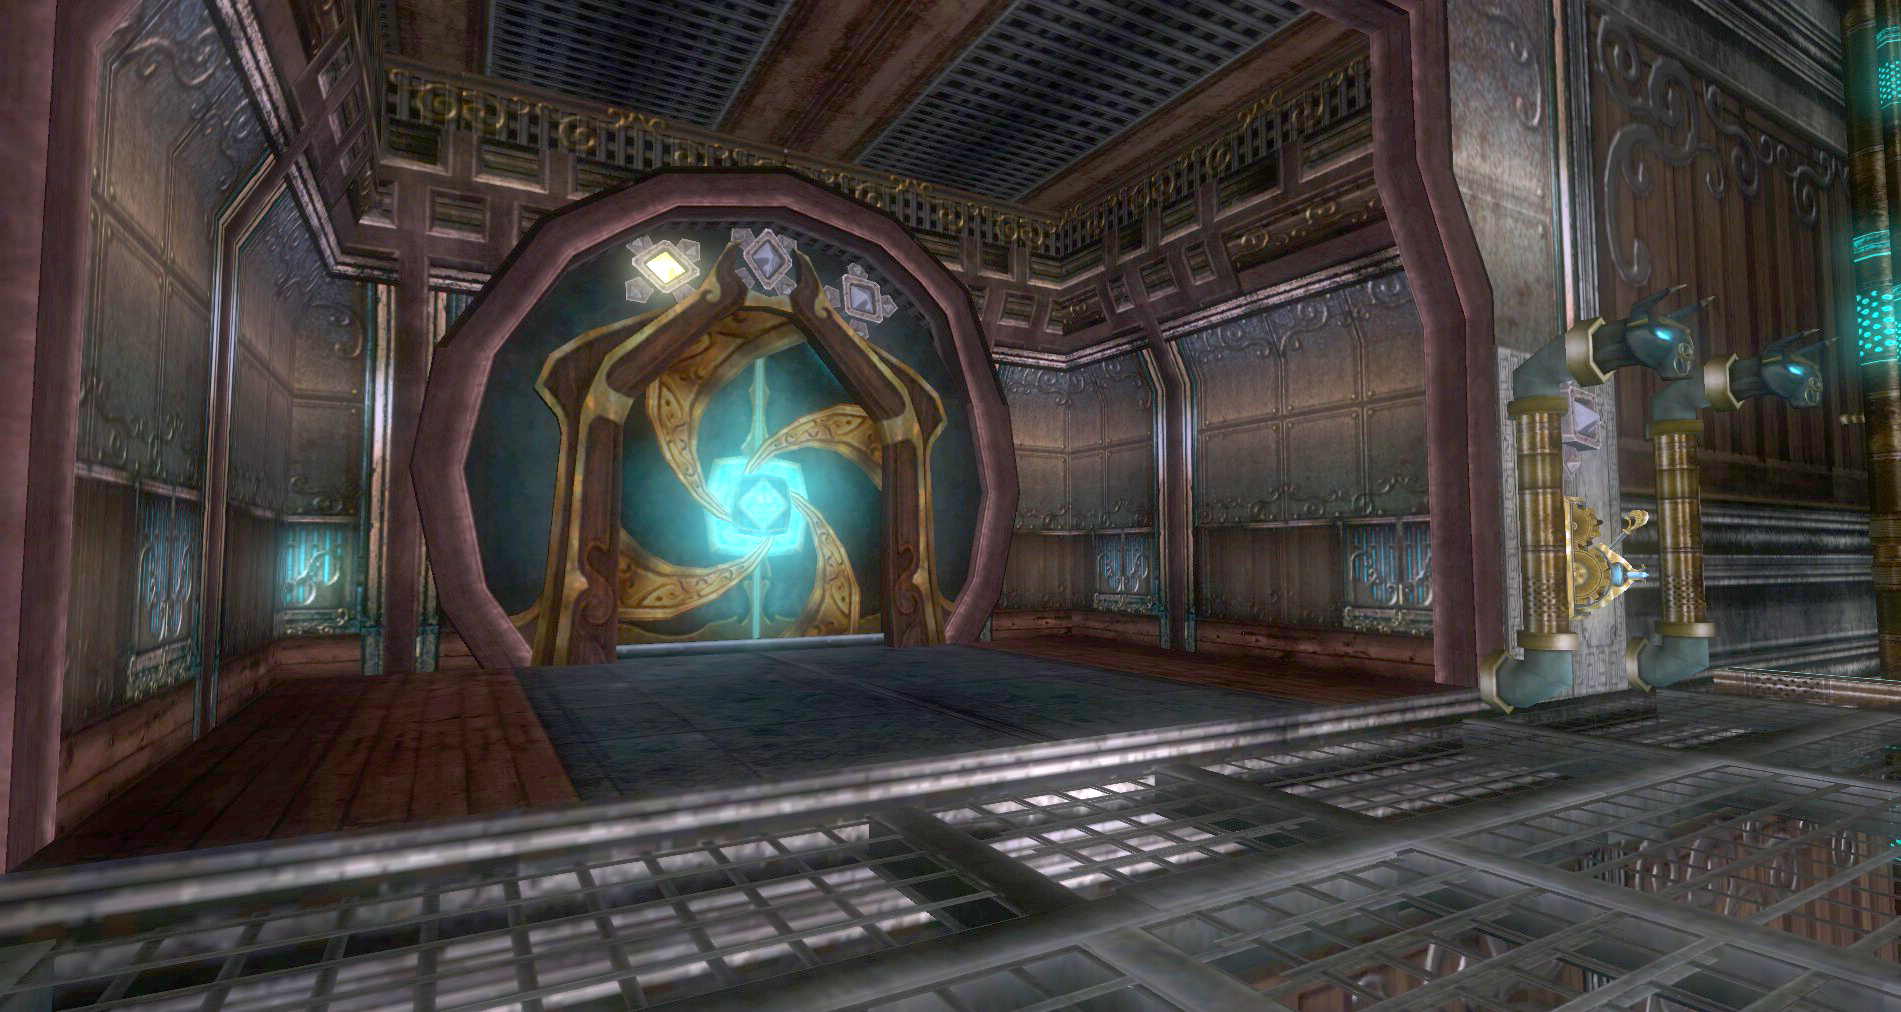
 There is another switch on your way up to the top, make sure to hit it as well. Clear everything out and power up the crystals. Once that is done use the shrine up at the top and then Dimension Door back to the beginning or run back to the west.
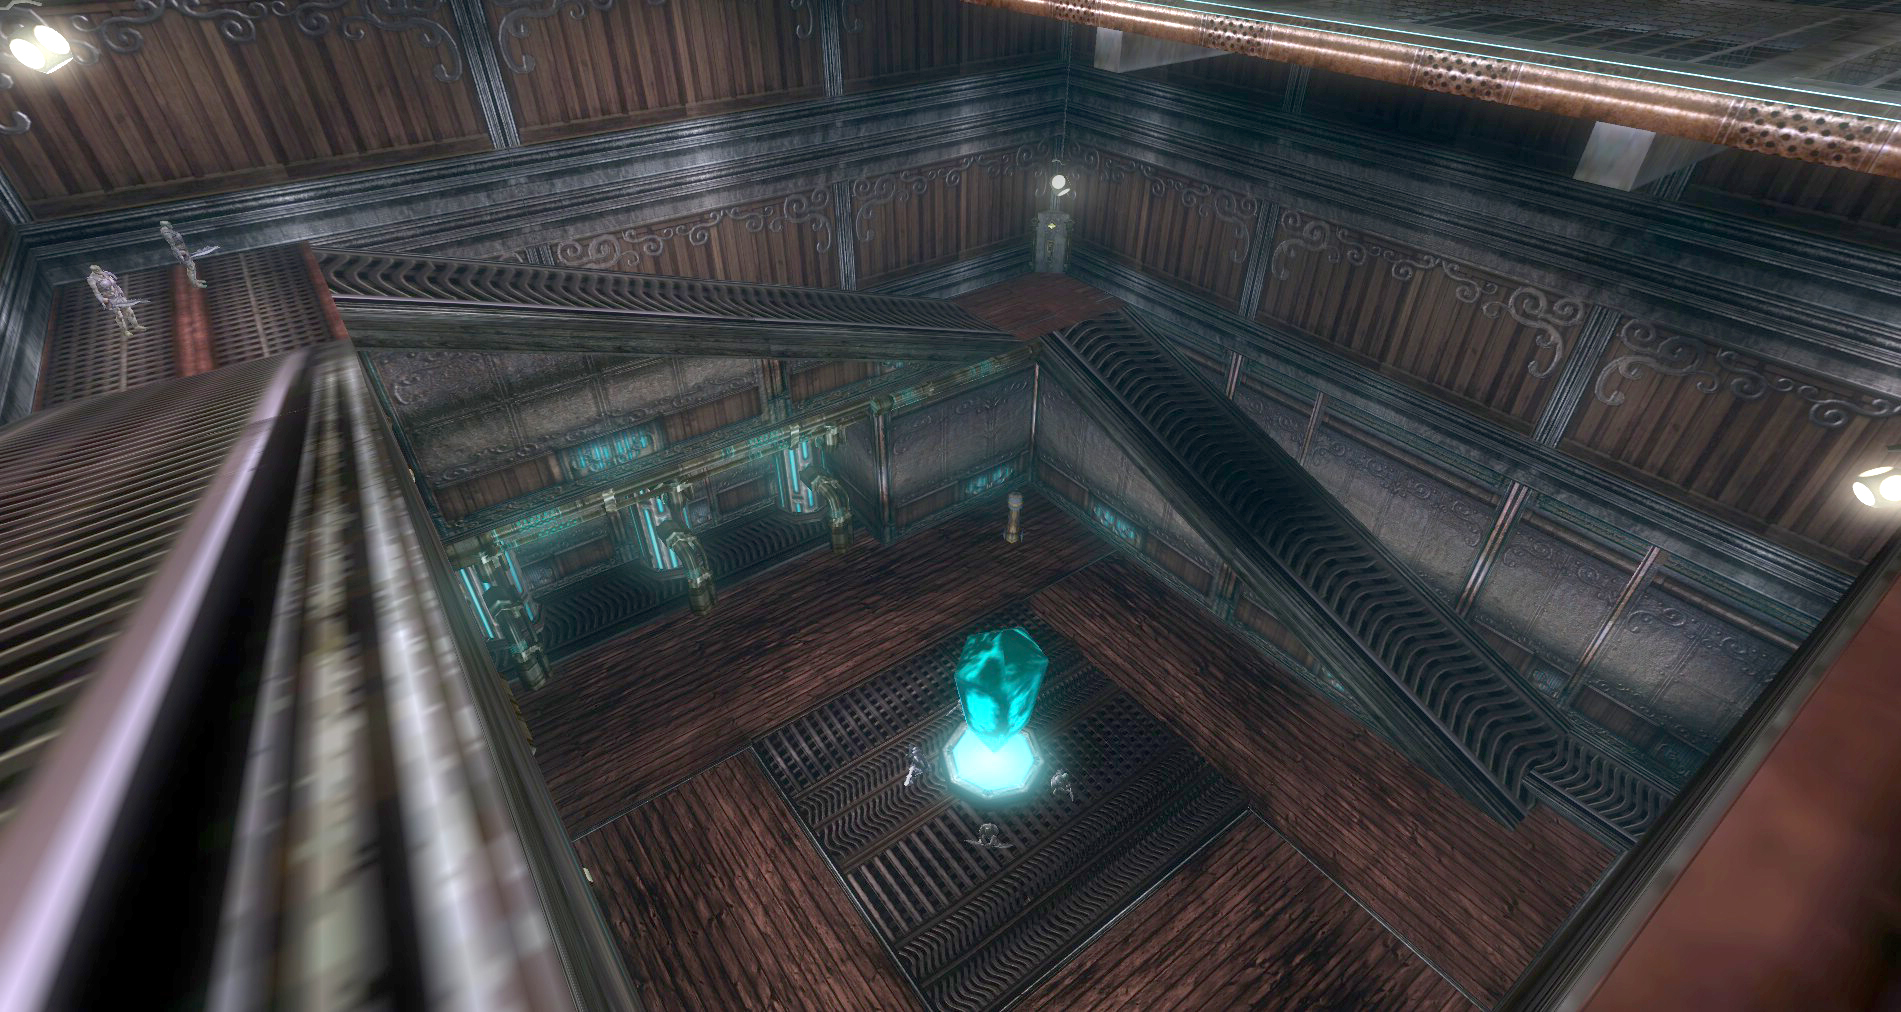
3 – Shrine Room
Here you will find another shrine that is currently being used by some of the enemy Bladesworn that have taken over the Cannith Power Works. Take them out and use the Shrine.
Once this is done, head back to the Center Junction and take the eastern tunnel on the top level of the Center Junction.
4 – West Side Power Room
Make sure to cast your short term buffs (Haste/Rage/Prayer/Recitation) at the door before opening it. There will be a fight just inside the room next to the Power Crystal. Power up this crystal and then send half of the group around one side of the main column and half around the other side. There are ramps up here but do not take them yet. Stay on the ground floor and make your way around.
Watch for agro from enemies above, they will chase you, but leave the rest be for now. You will be back soon to take care of the other warforged here. Smash the breakables as you run through and make sure to get the levers on the bottom of this room.  There is one on each side (East and West). Meet up with your group at the door on the north side of this room.
5 – Clearing the Barricade
Head down the hall and power up the crystal on the way. This crystal will actually power up a Magefire Cannon that is in the hallway a little further north. It will start firing on the barricade that the enemy warforged have set up.
Move down to where the barricade is and take out the warforged there, smash all you can see, and clear to the door. Do not open the door as it leads to the final room of the quest and you are not ready for it yet.
Make your way back to the West Side Power Room.
4 – West Side Power Room Take Two
This time, head down the west side of the large open room to the ramp leading up. Take the ramp up, clearing and killing all your enemies as you make your way up.
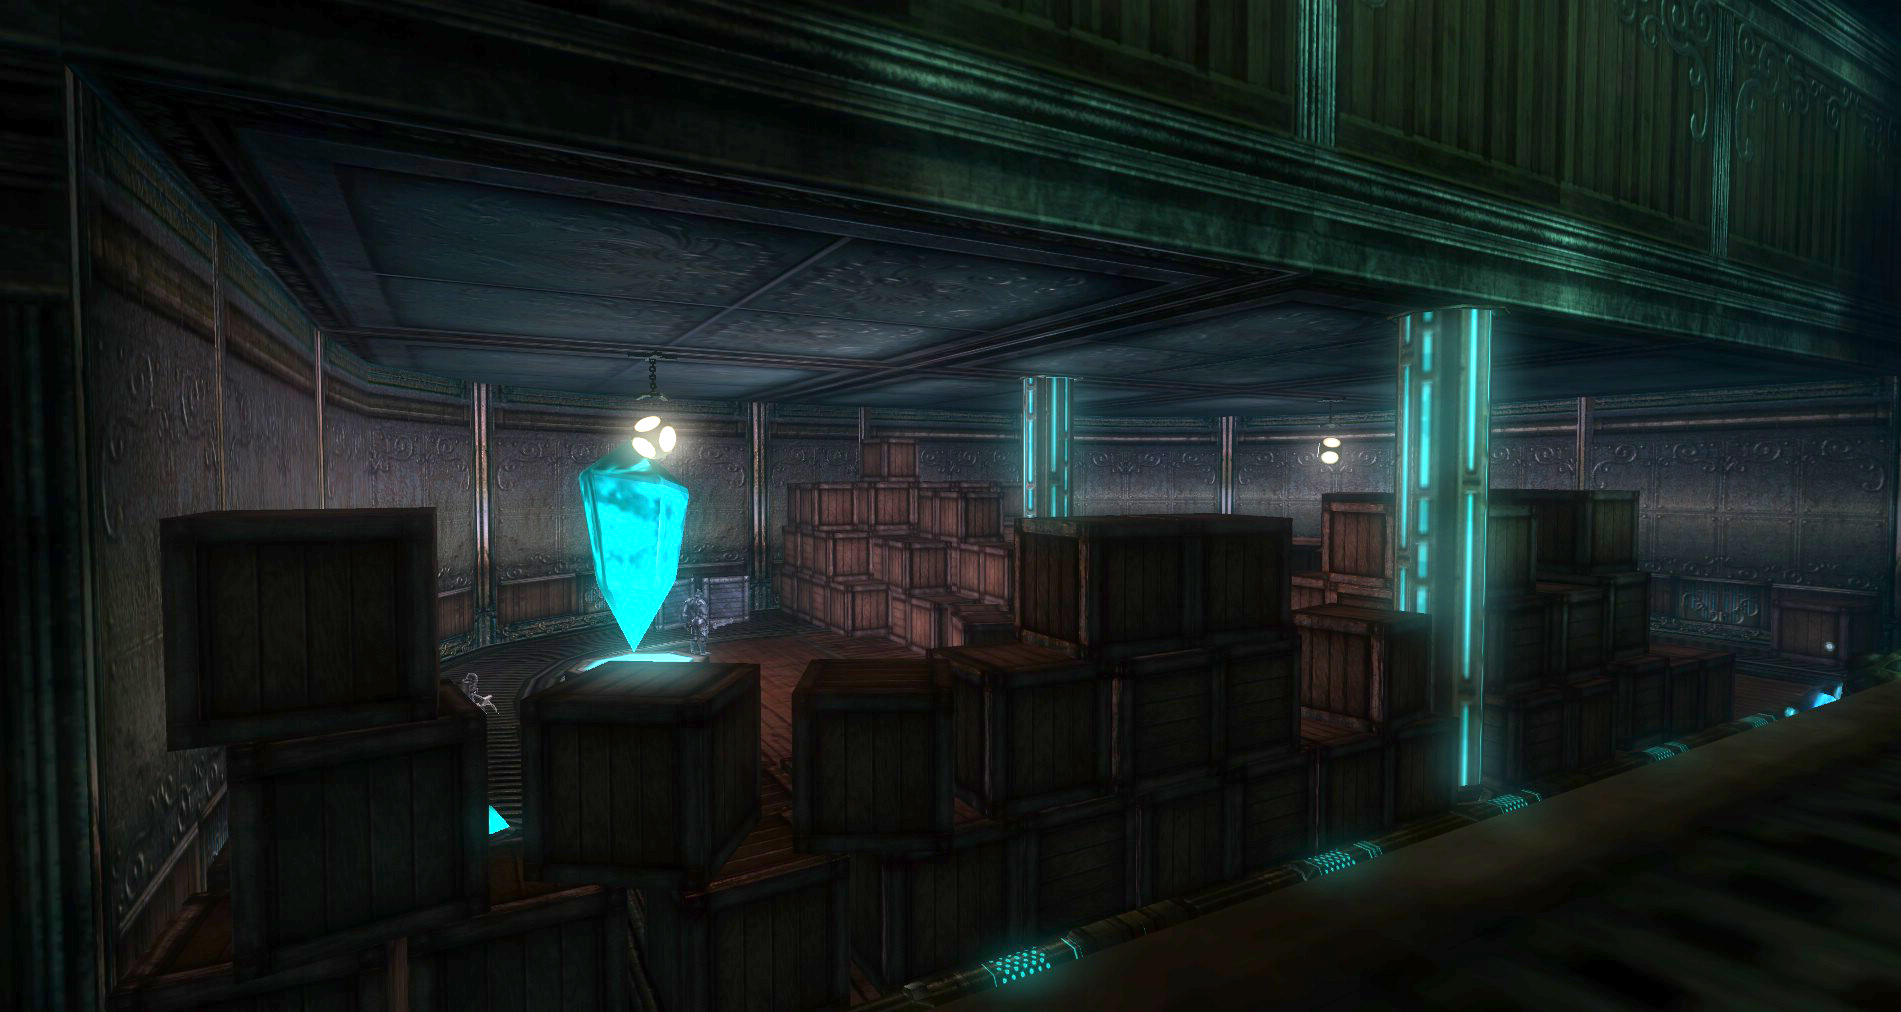
Halfway up you will get to a ramp that will lead off into a side storage area with a bunch of crates. Head over there to power up the Power Crystal there. Make sure to smash what crates you can here. Once that is done continue heading up to the top.
Power up the crystal at the top and hit the West Side Access Door lever. If you have used the other two levers, the West Side Access Door will open and you can head into the Center Junction of this dungeon.
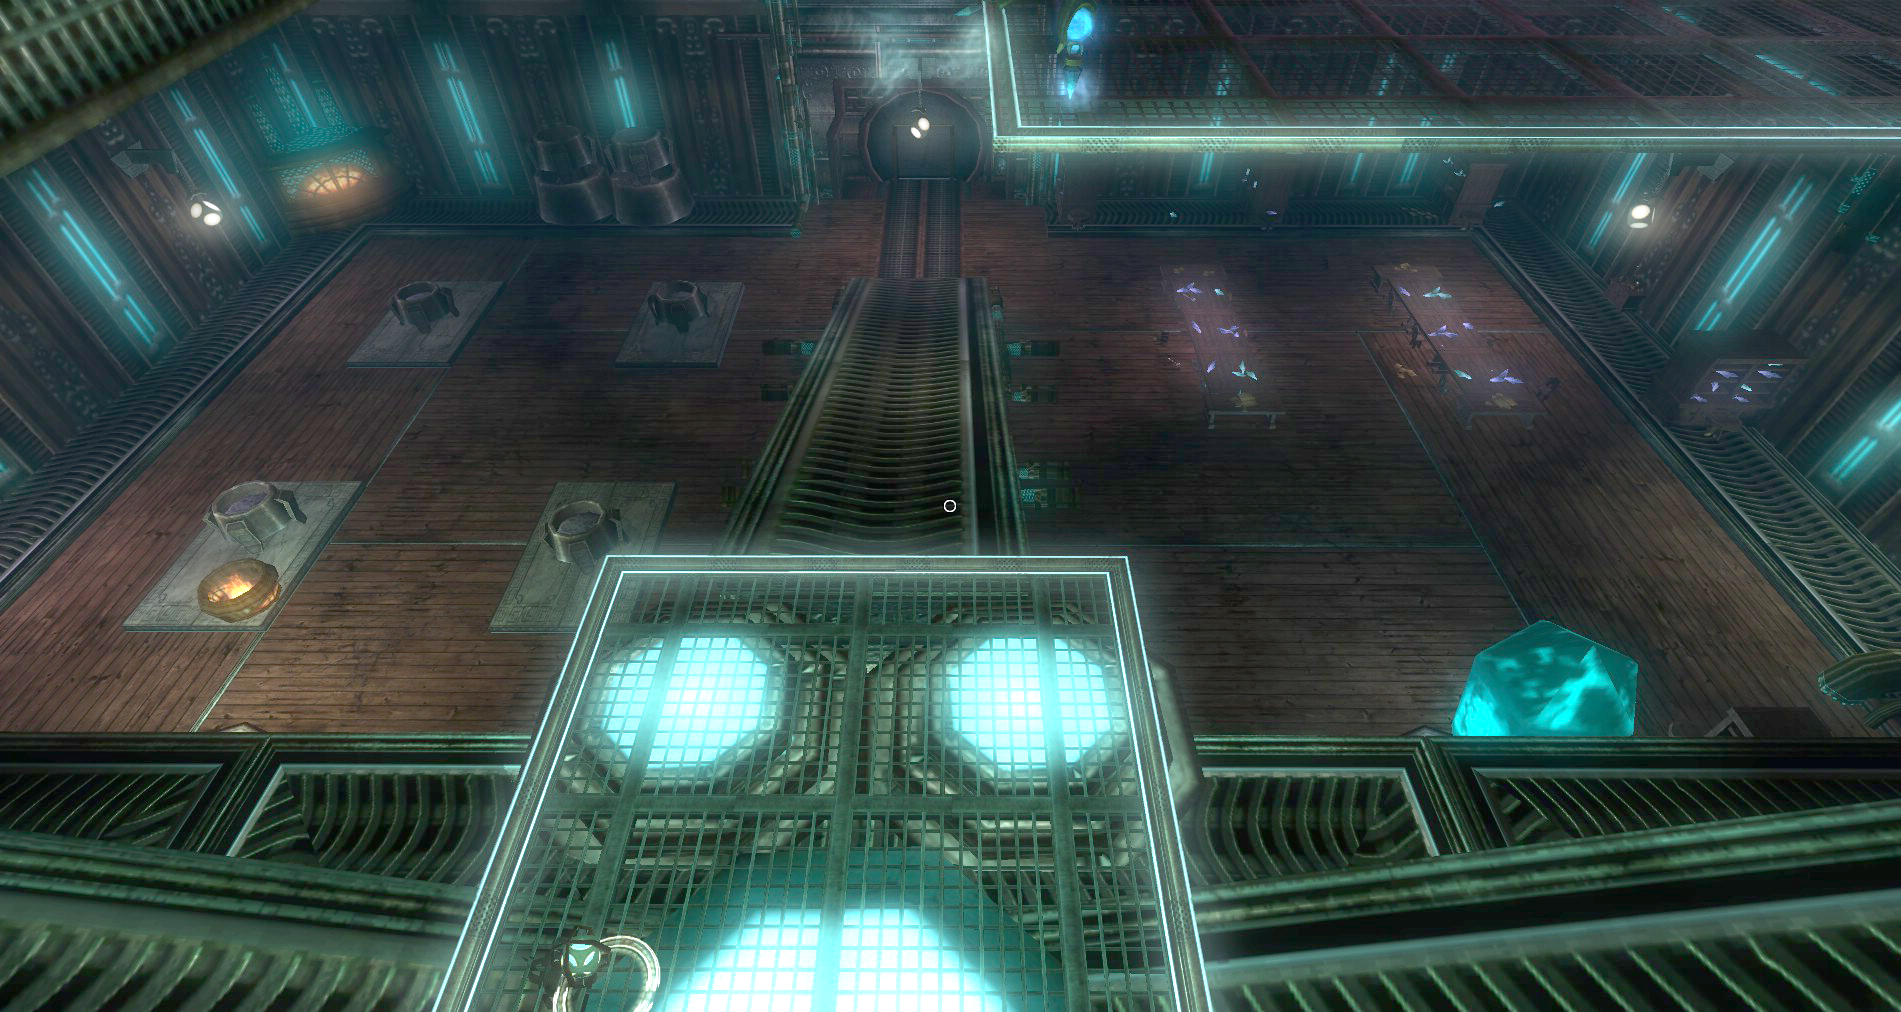
6 – Center Junction
 Your party’s condition should determine if you take out the optional or not. If you need to Shrine, leave the chest in the bottom for now and head to the shrine room (#7).
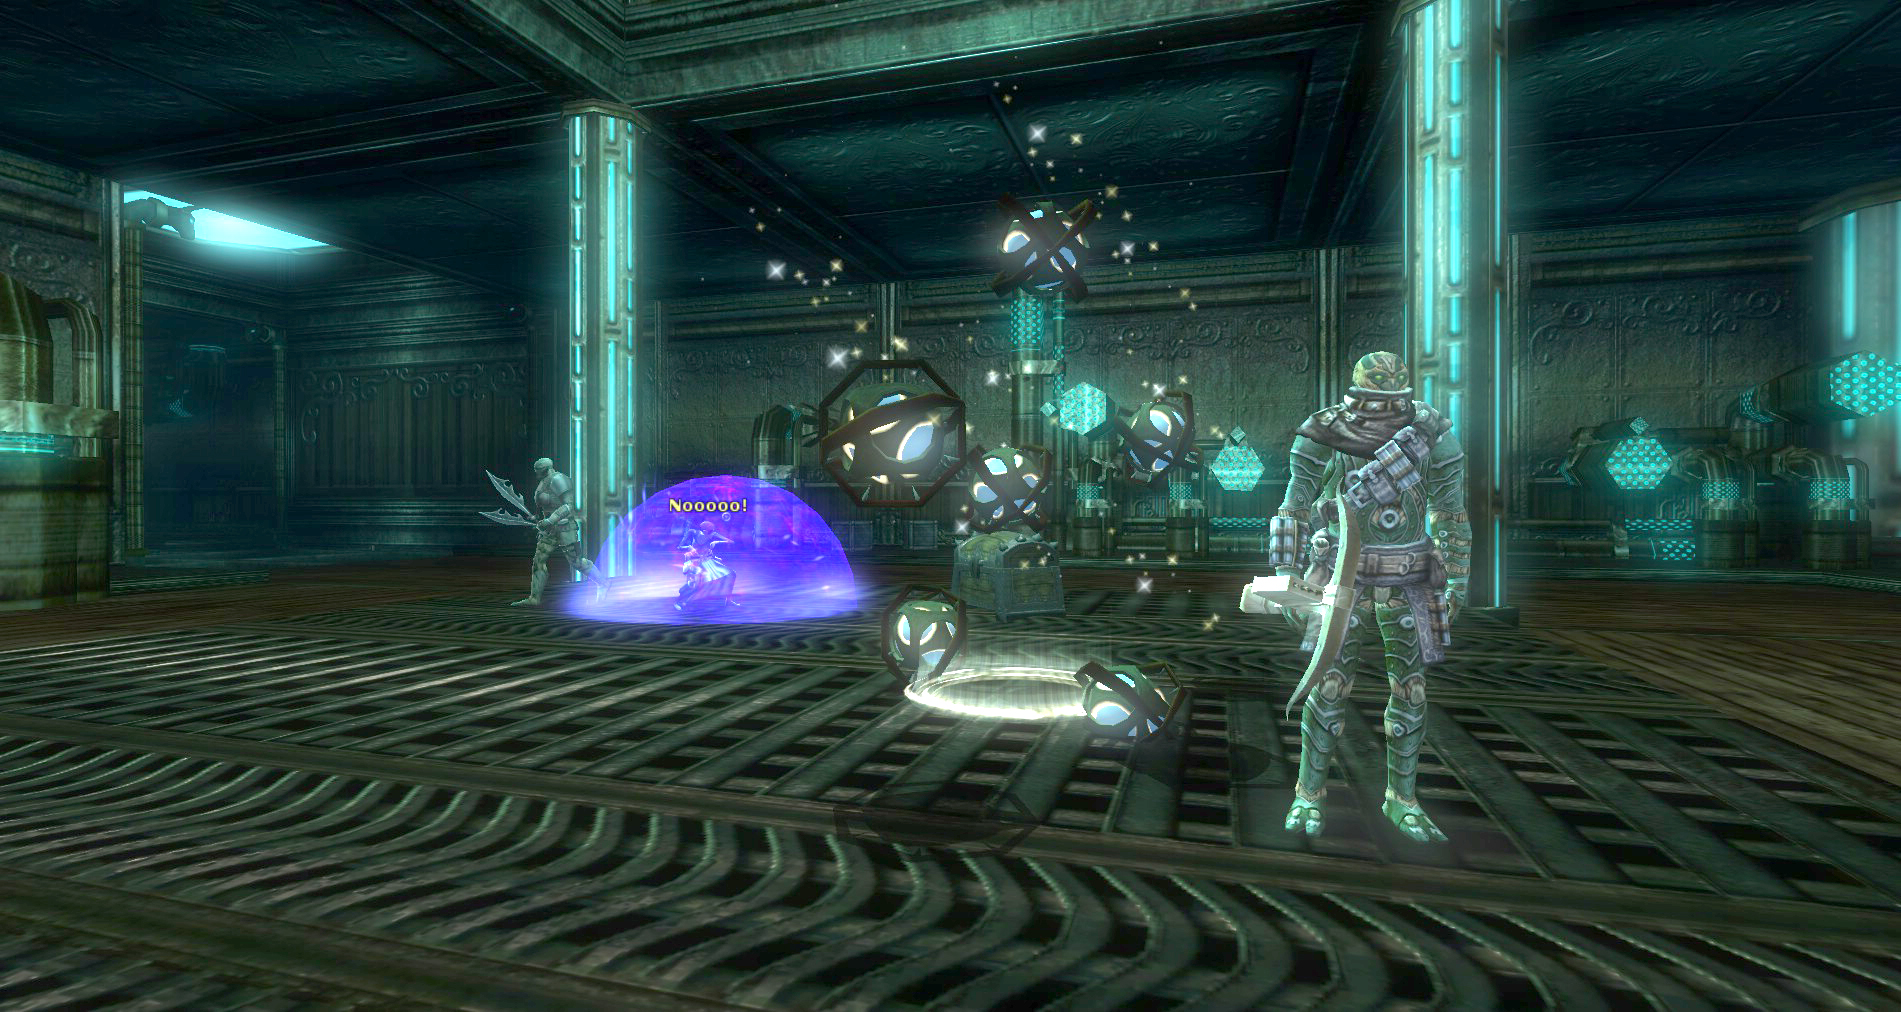
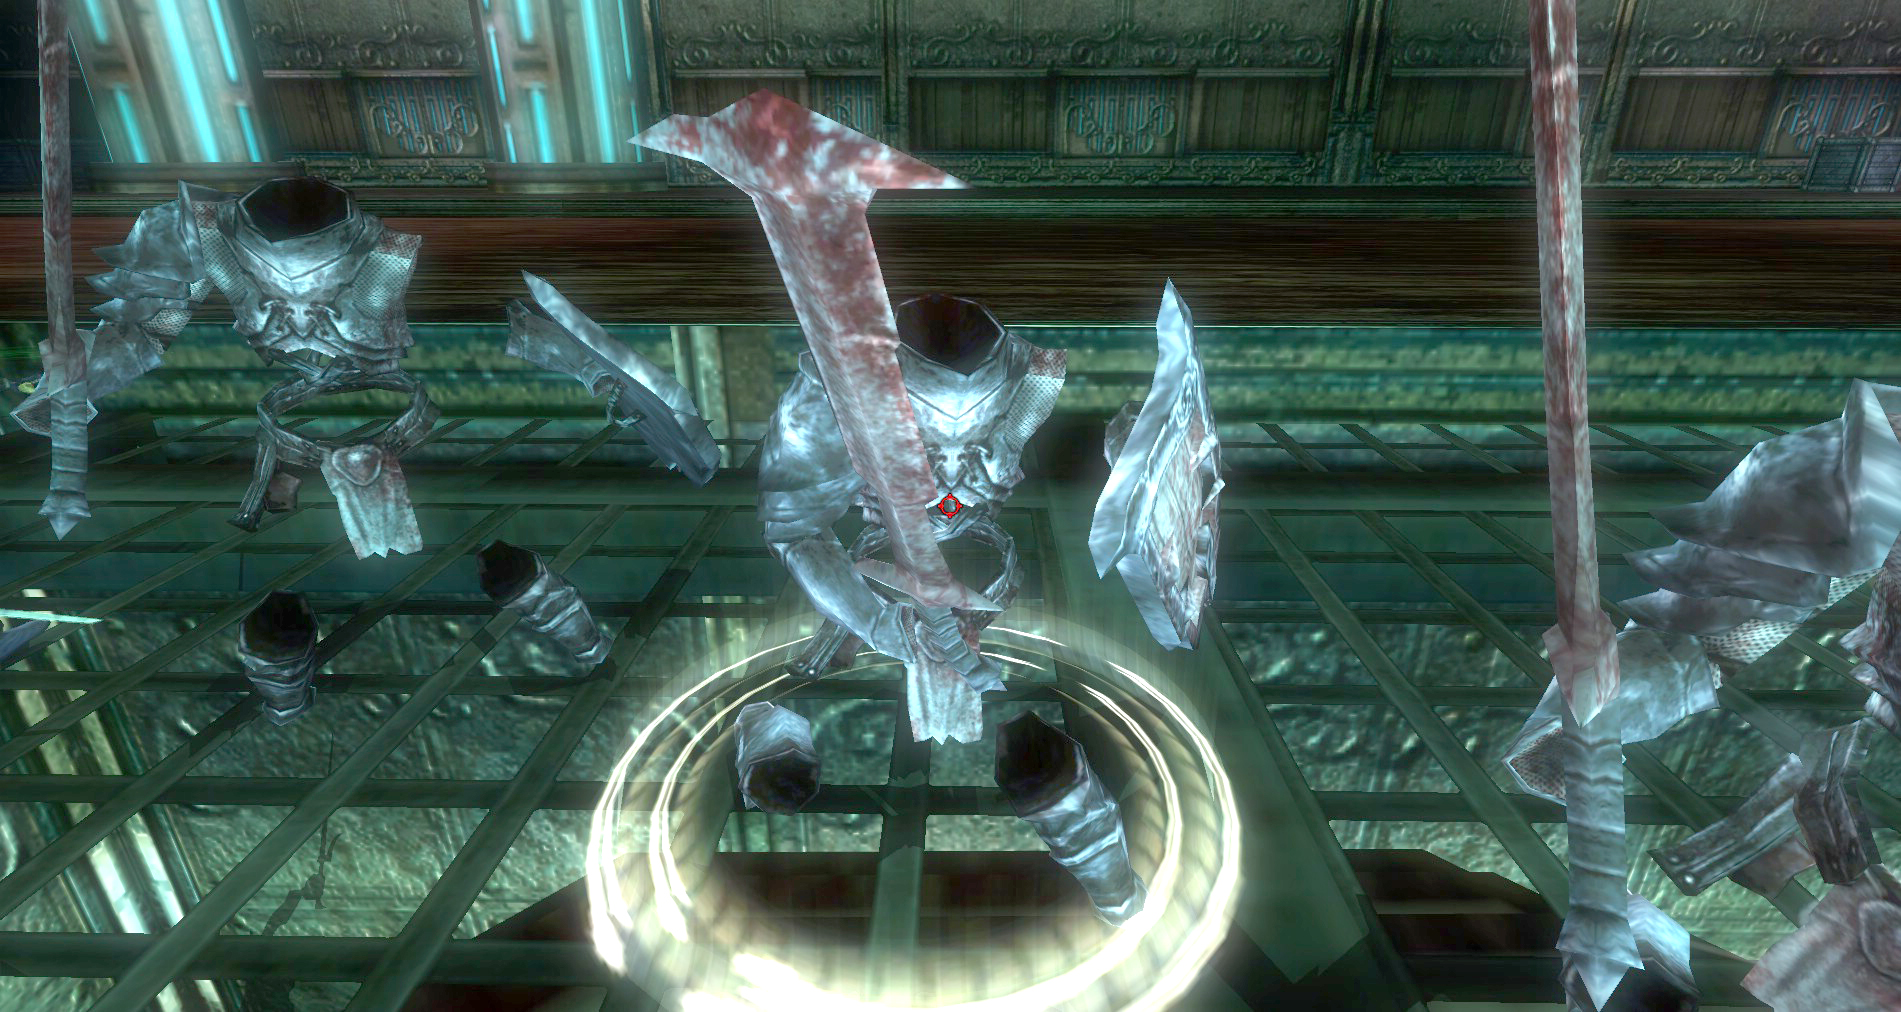
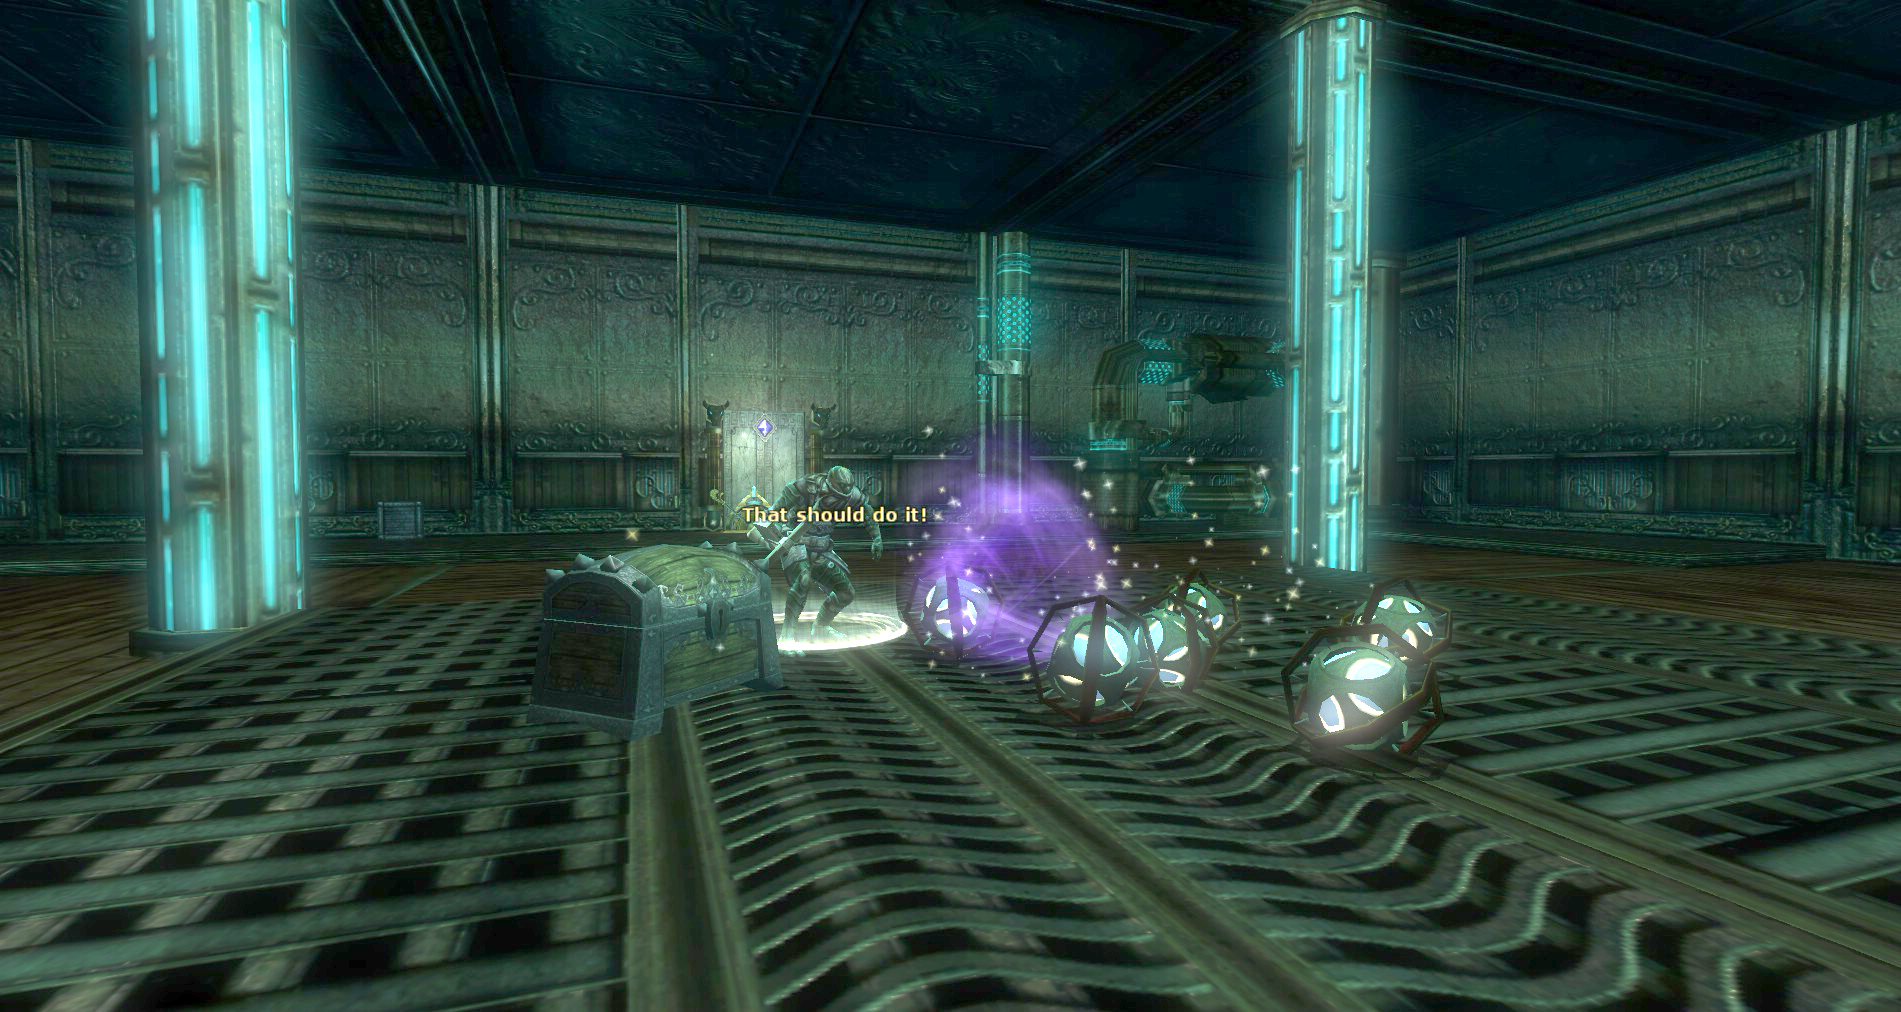
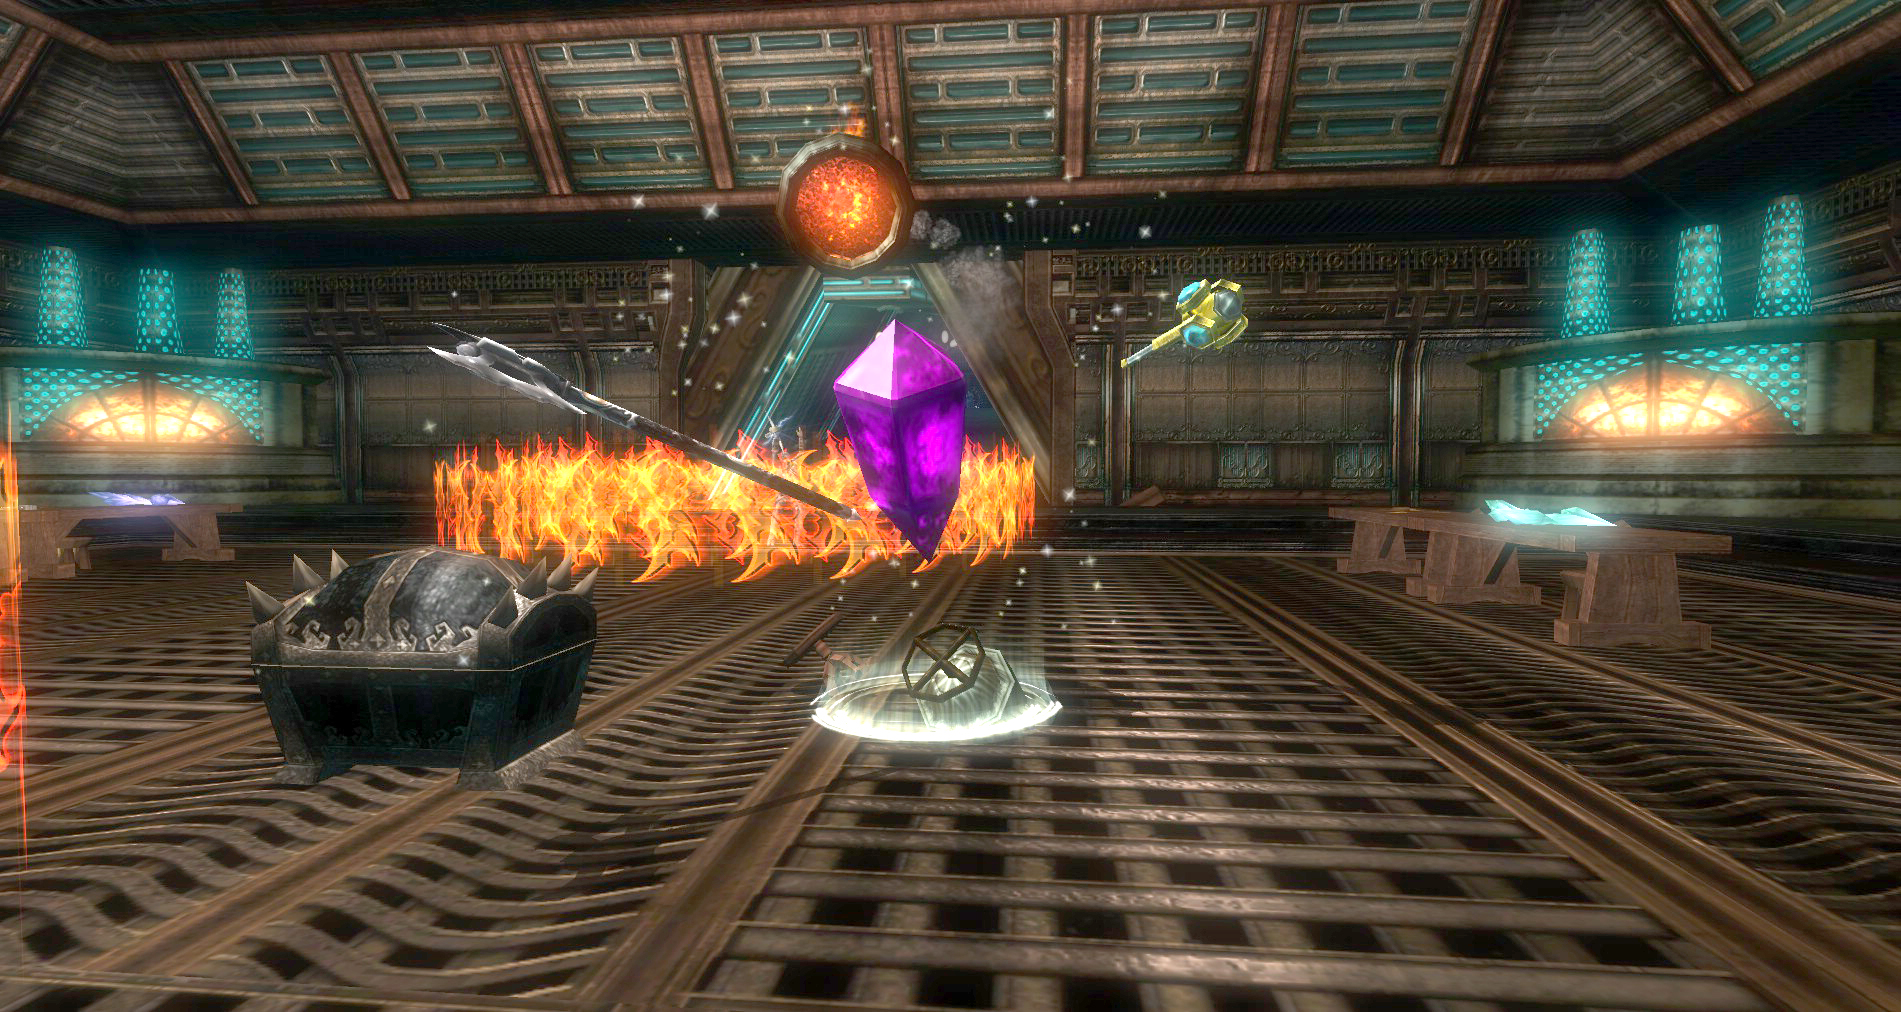
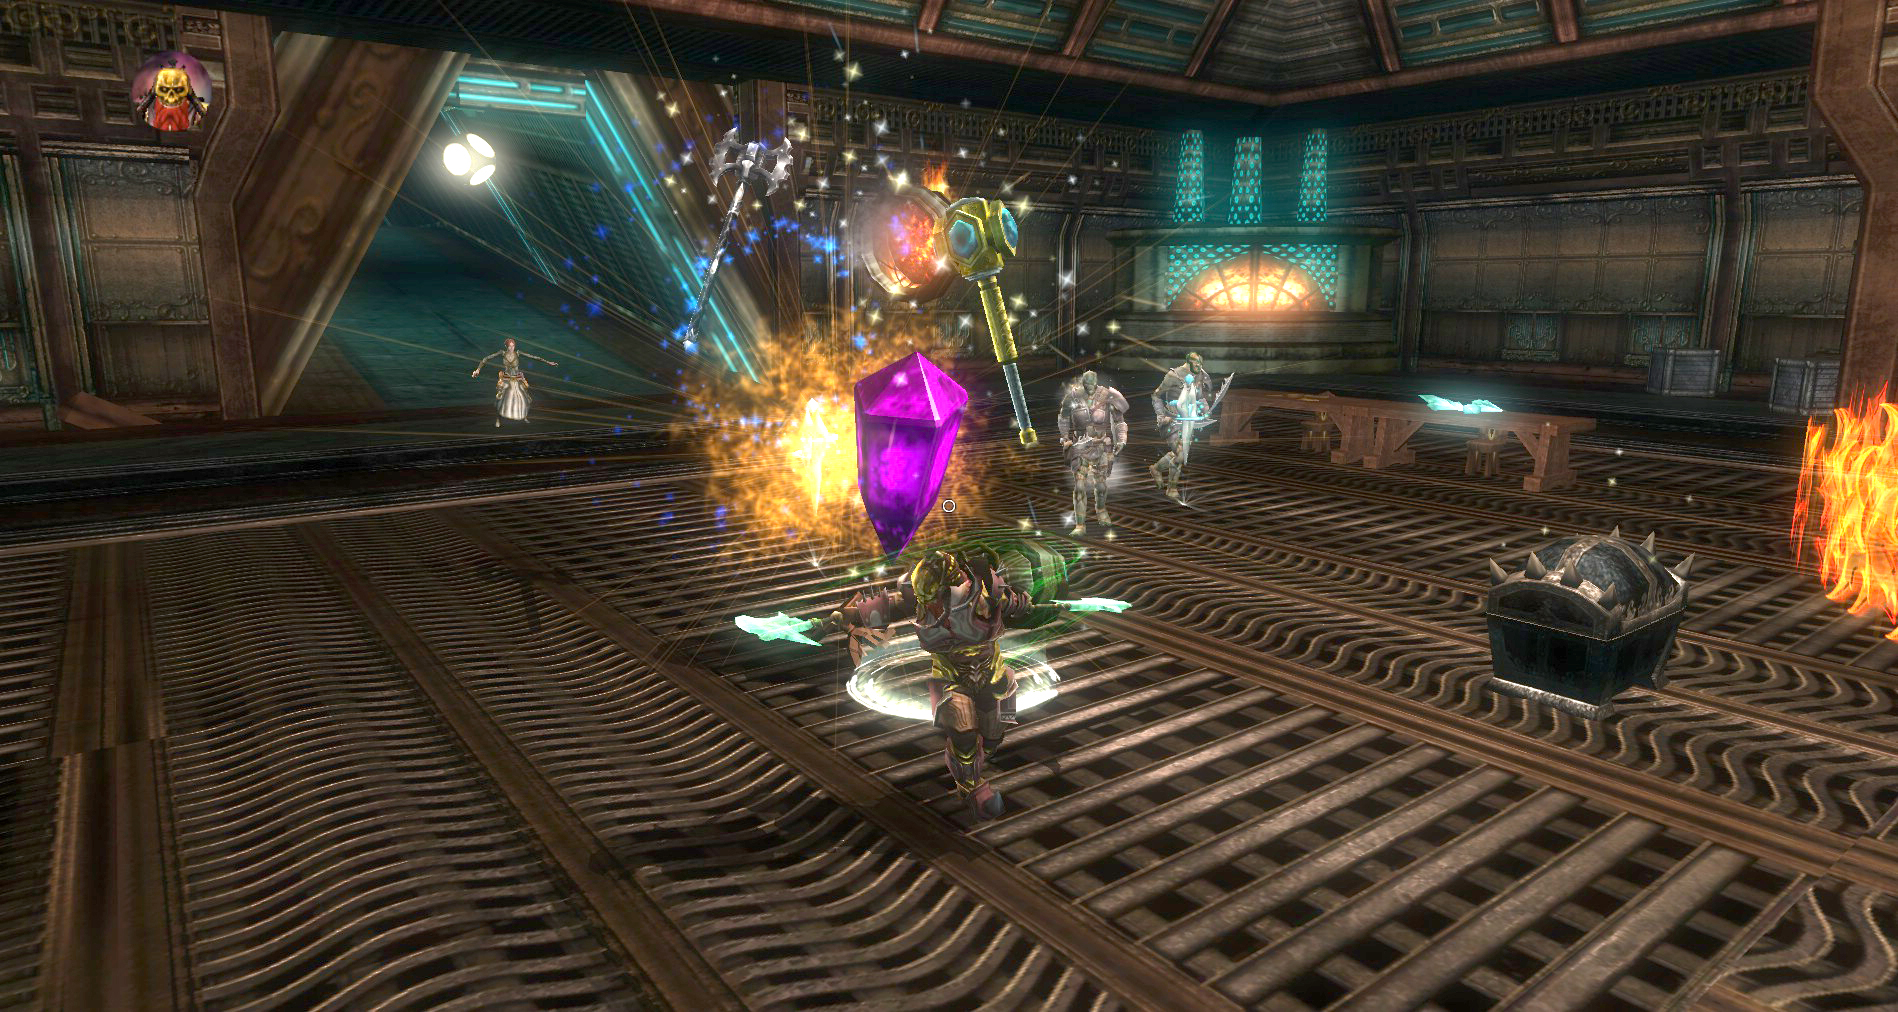
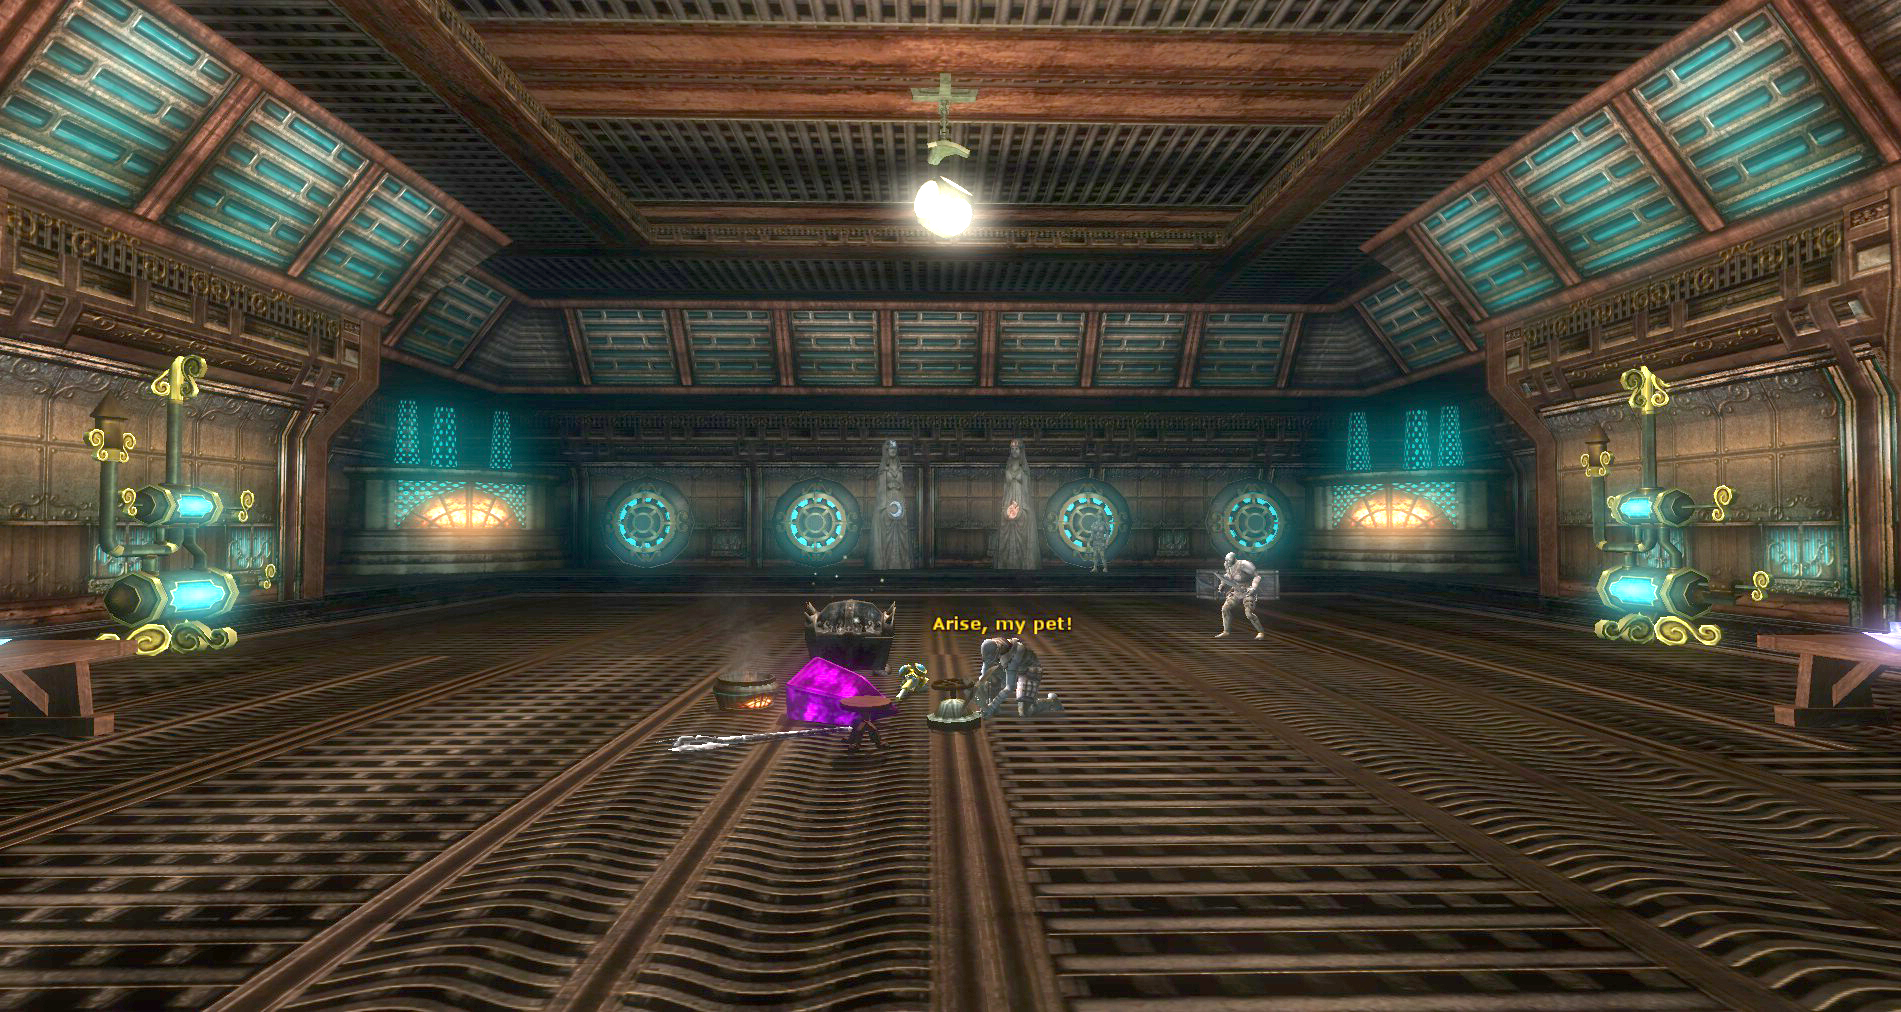
When you are ready, head down to the bottom of the Center Junction and unlock the chest. Take note of the suits of armor laying all around the room, they are not there just for looks. As soon as you pop open the chest, the suits of armor animate and attack you. Take care of them and then loot your chest.
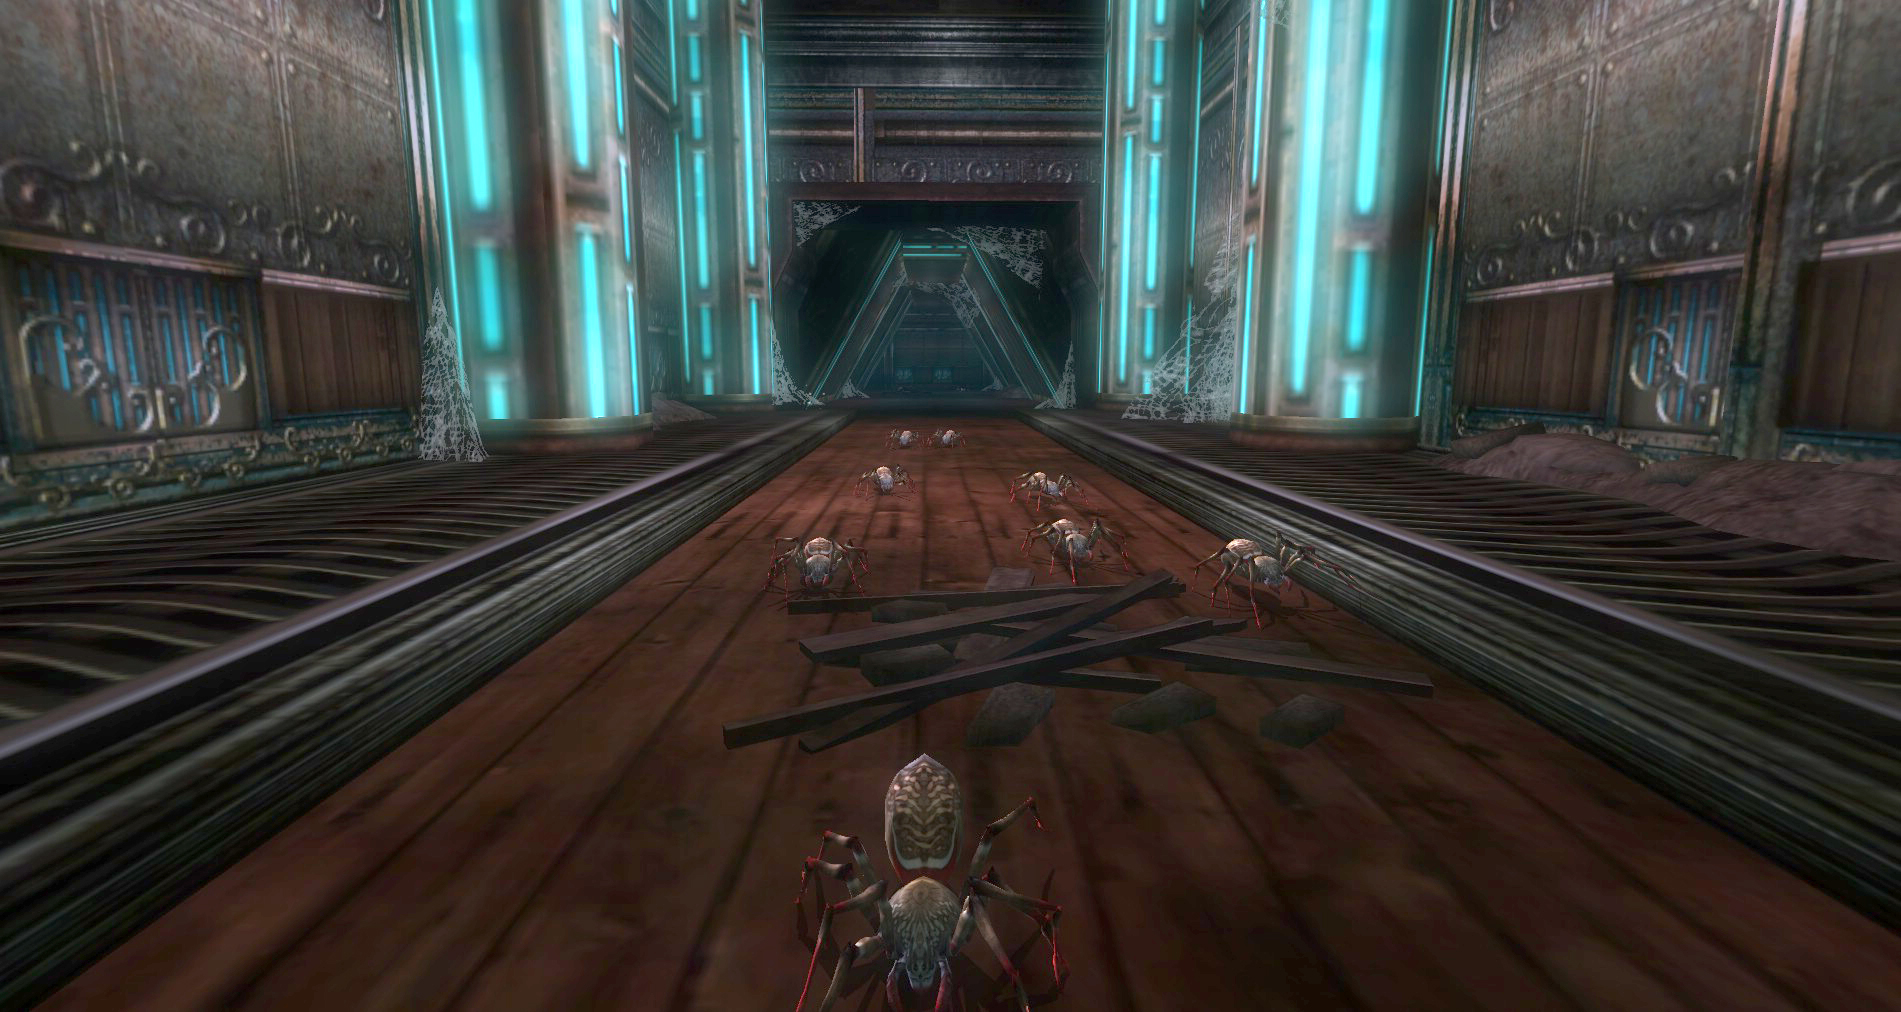
Don’t leave yet. To the north of the room on the bottom floor is a secret door. Open up this secret door and clear out the hallway full of spiders. At the other end is another secret door. Open this up to expose a Shrine that is on a balcony in the final room. Save this shrine in case you need it at the end. Head back to the Center Junction.
7 – Scrapheap Workshop
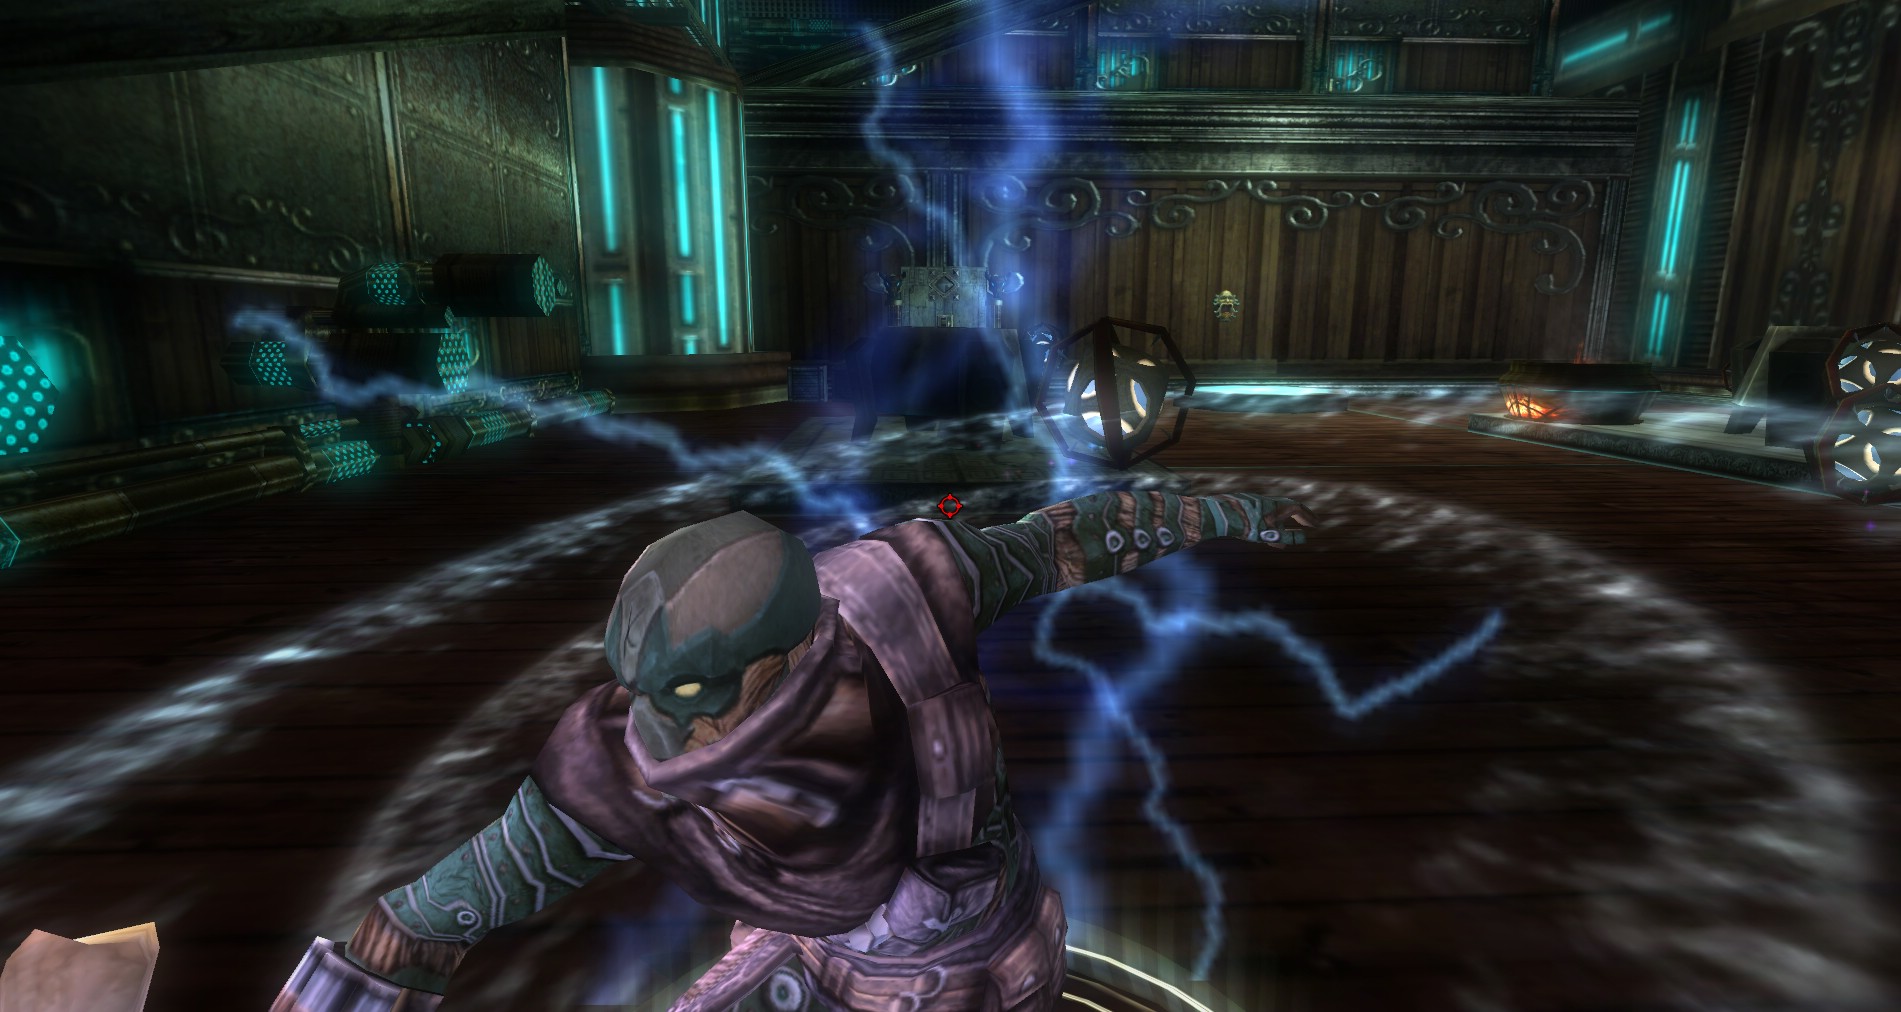
 Head back to the west clearing and smash everything as you go. When you get to a branch in the hallway to the west, take it. Down at the bottom of the ramp there will be a handful of enemies, many of which are artificers. Scrapheap, the animated pile of scraps, spawns here. Make sure to take out the artificers first, even with Scrapheap beating on you, or you will have a hard time with this fight if the room is full of artificers. Once the artificers are killed, taking out Scrapheap is much easier.
Loot up and Shrine if you need, then continue deeper into the Power Works dungeon.
8 – Watchman’s Room
 This room can have a rare in it called Watchman. It is similar to Scrapheap and is animated by a artificer. Make sure to take out the artificer first as it will heal up Watcher as you fight it. If the rare is not up, you will find some Iron Juggernauts in here. Smash everything and make sure the room is clear. Pull the lever if it is still needed and then you can move on.
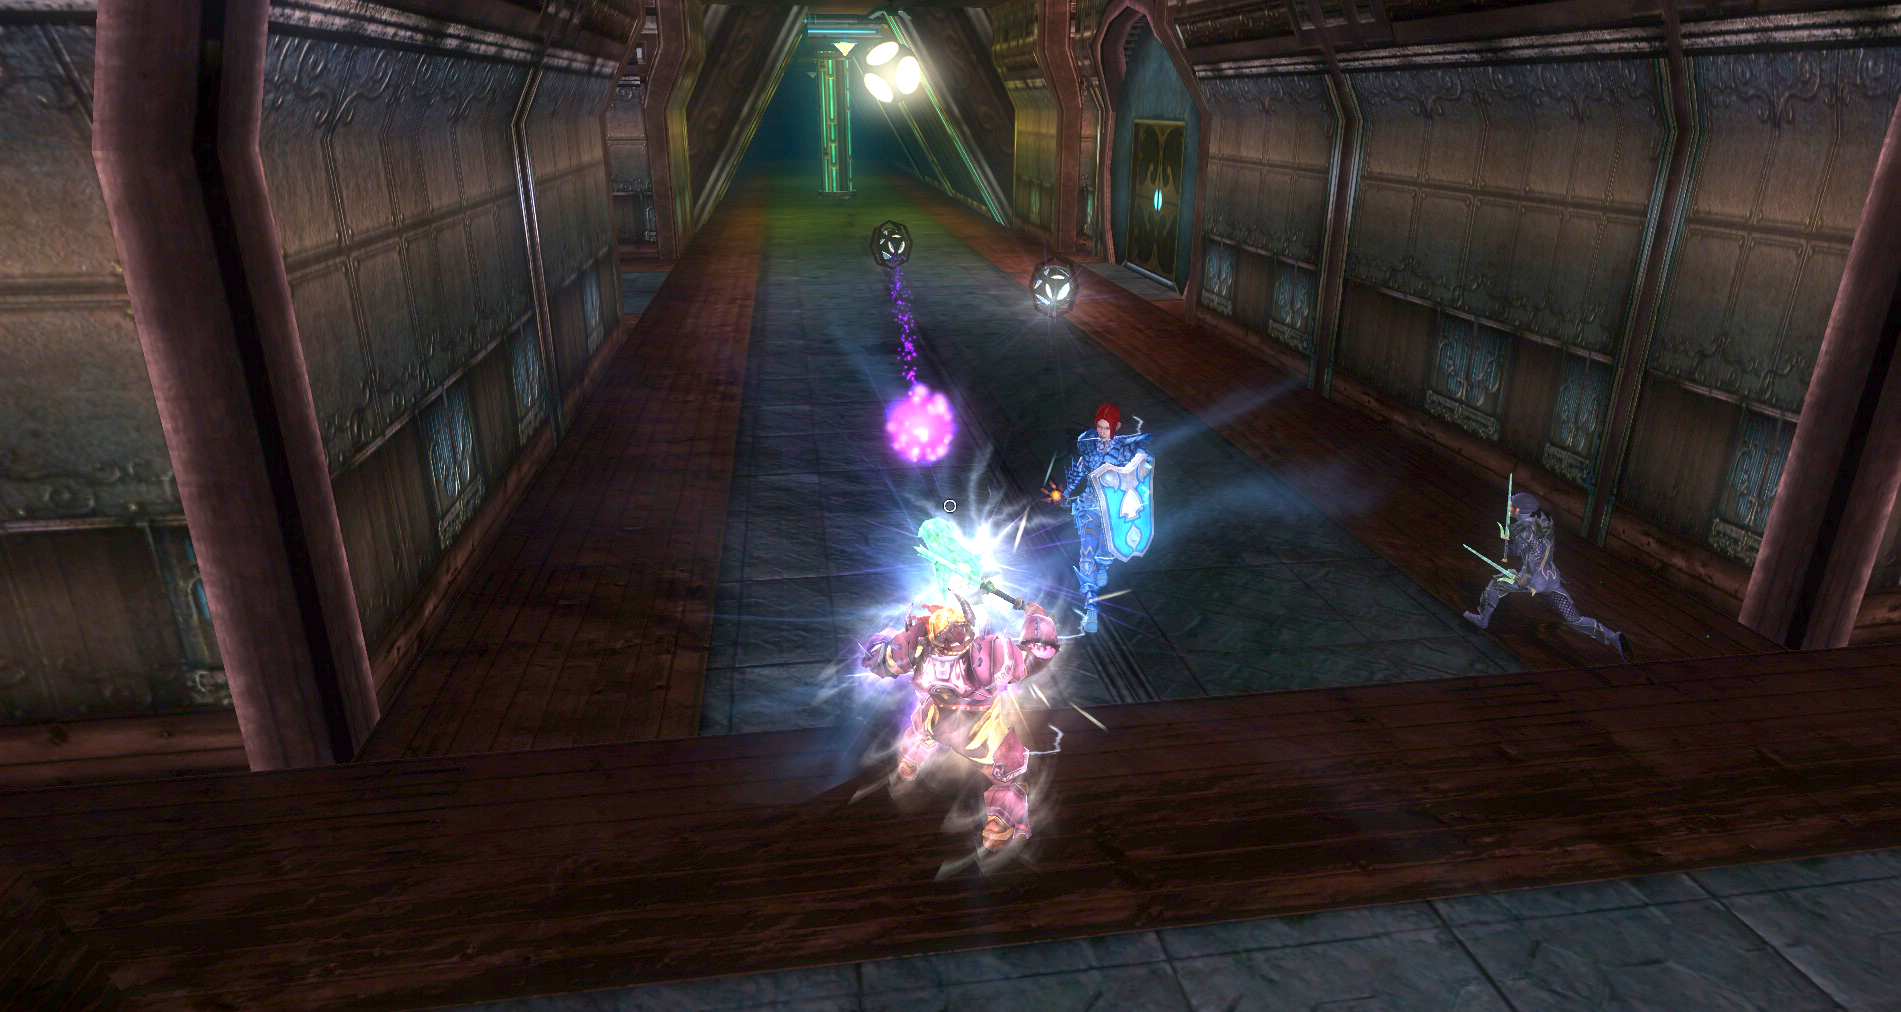
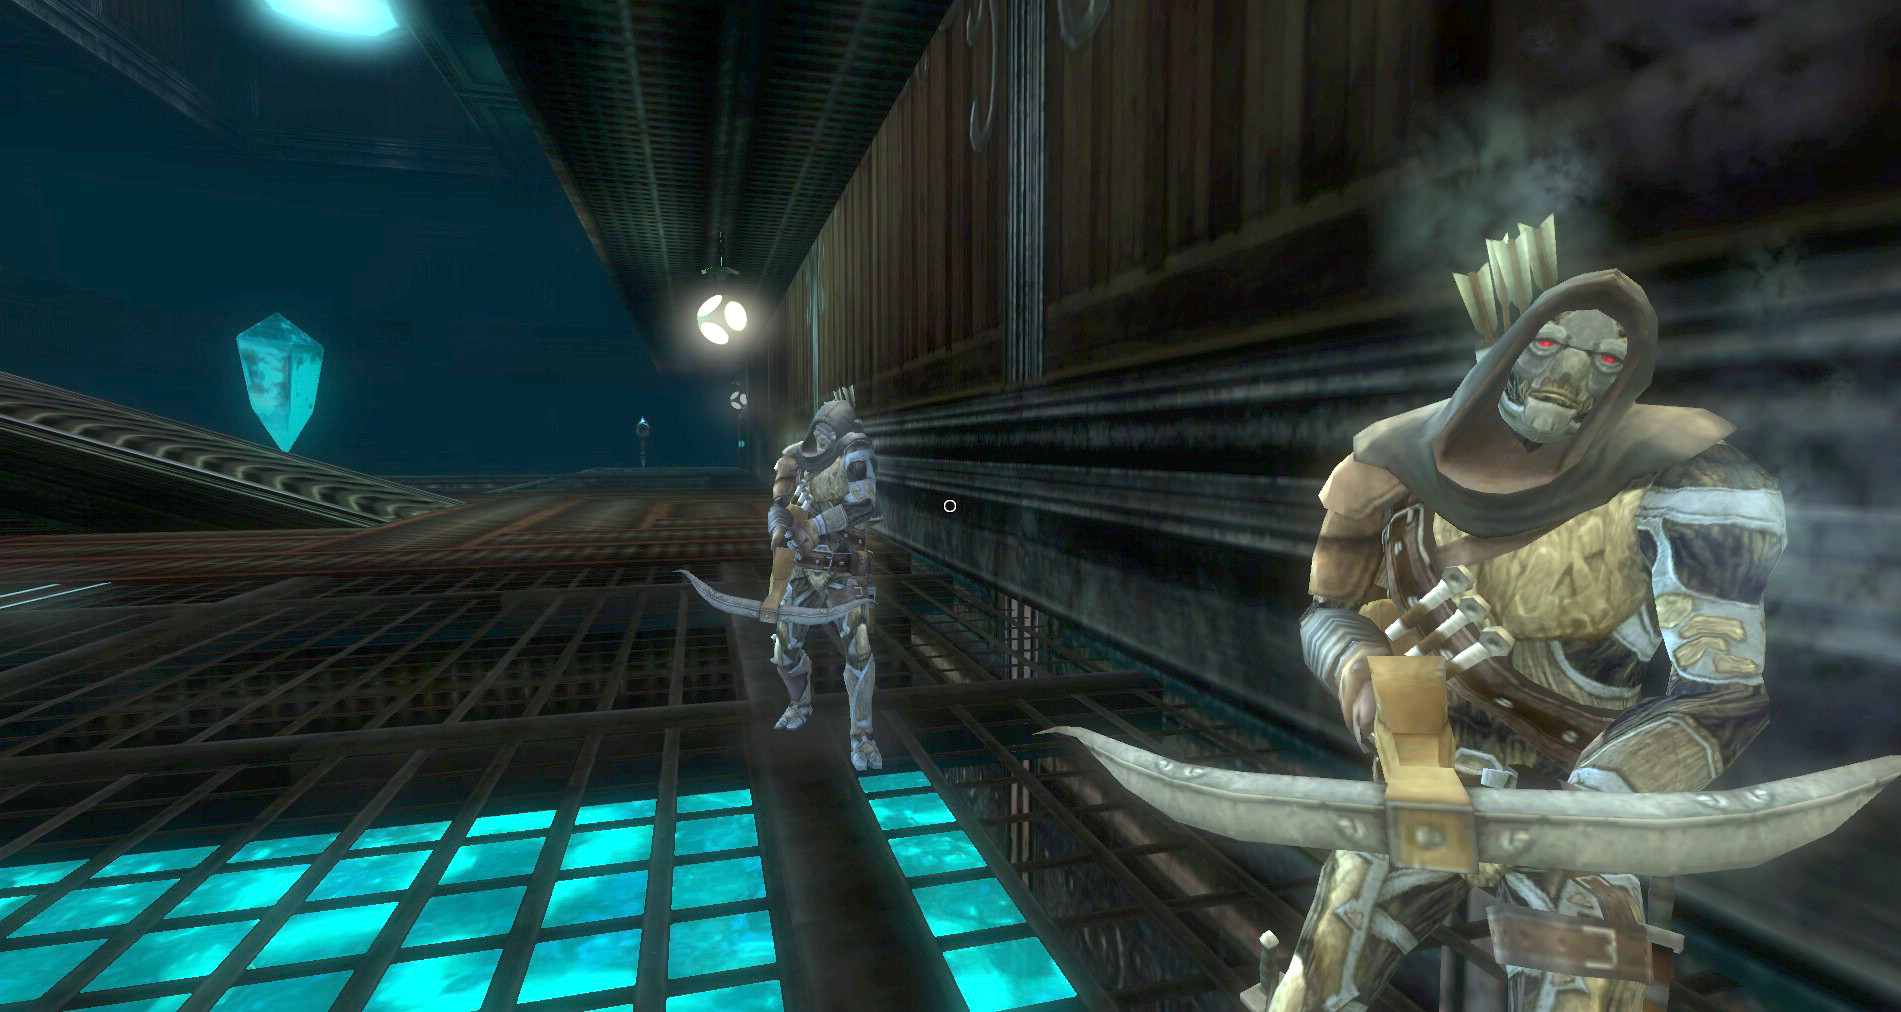
At the end of the eastern passage in the center is a few more warforged and some hounds. Take care of the invaders and then hit the East Side Access Door lever. If you need another Shrine the first one you used should be ready again (if you are on normal). You can get it by heading south at the intersection here. The Eastern Doors should be open now and it is a quick run.
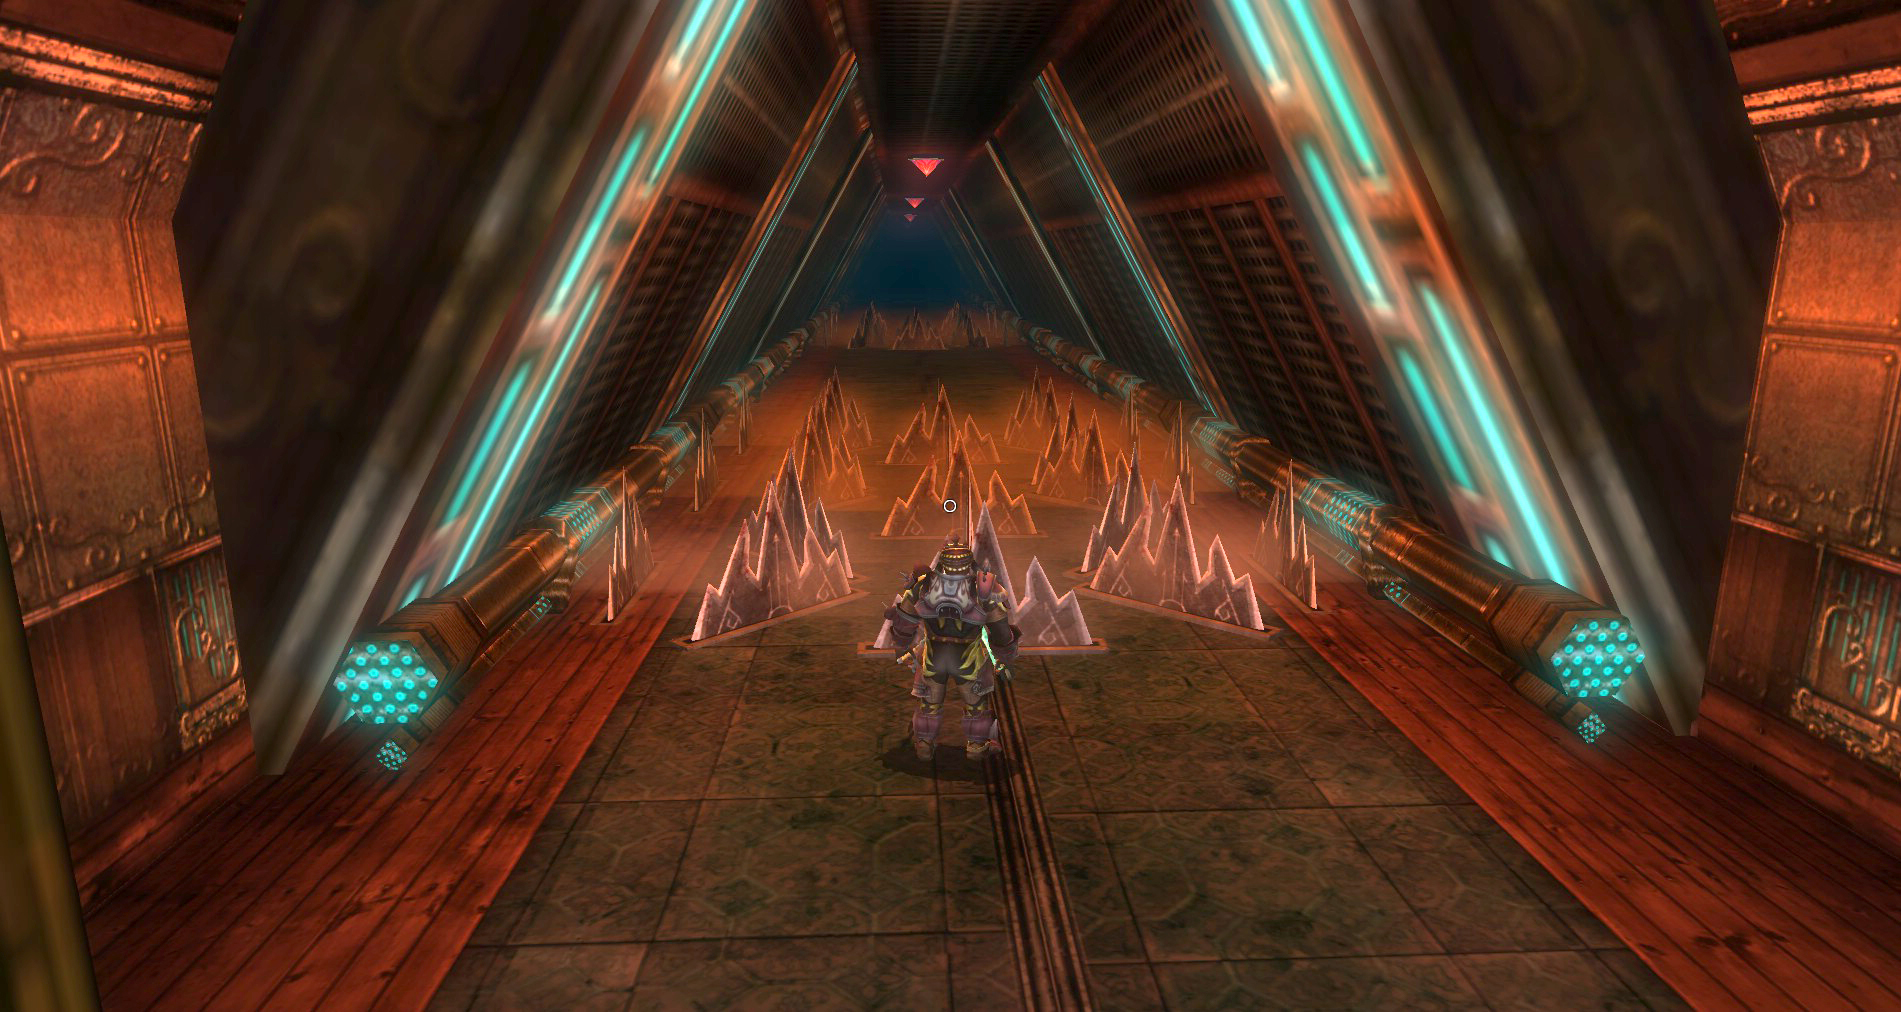
 Once you are done Shrining, or if you are skipping it, head north at this intersection instead. Be warned, there are many blade traps in this hallway. Send your rogue down first to take care of them or be ready for some damage. There are some safe spots you can stop to heal if need be.
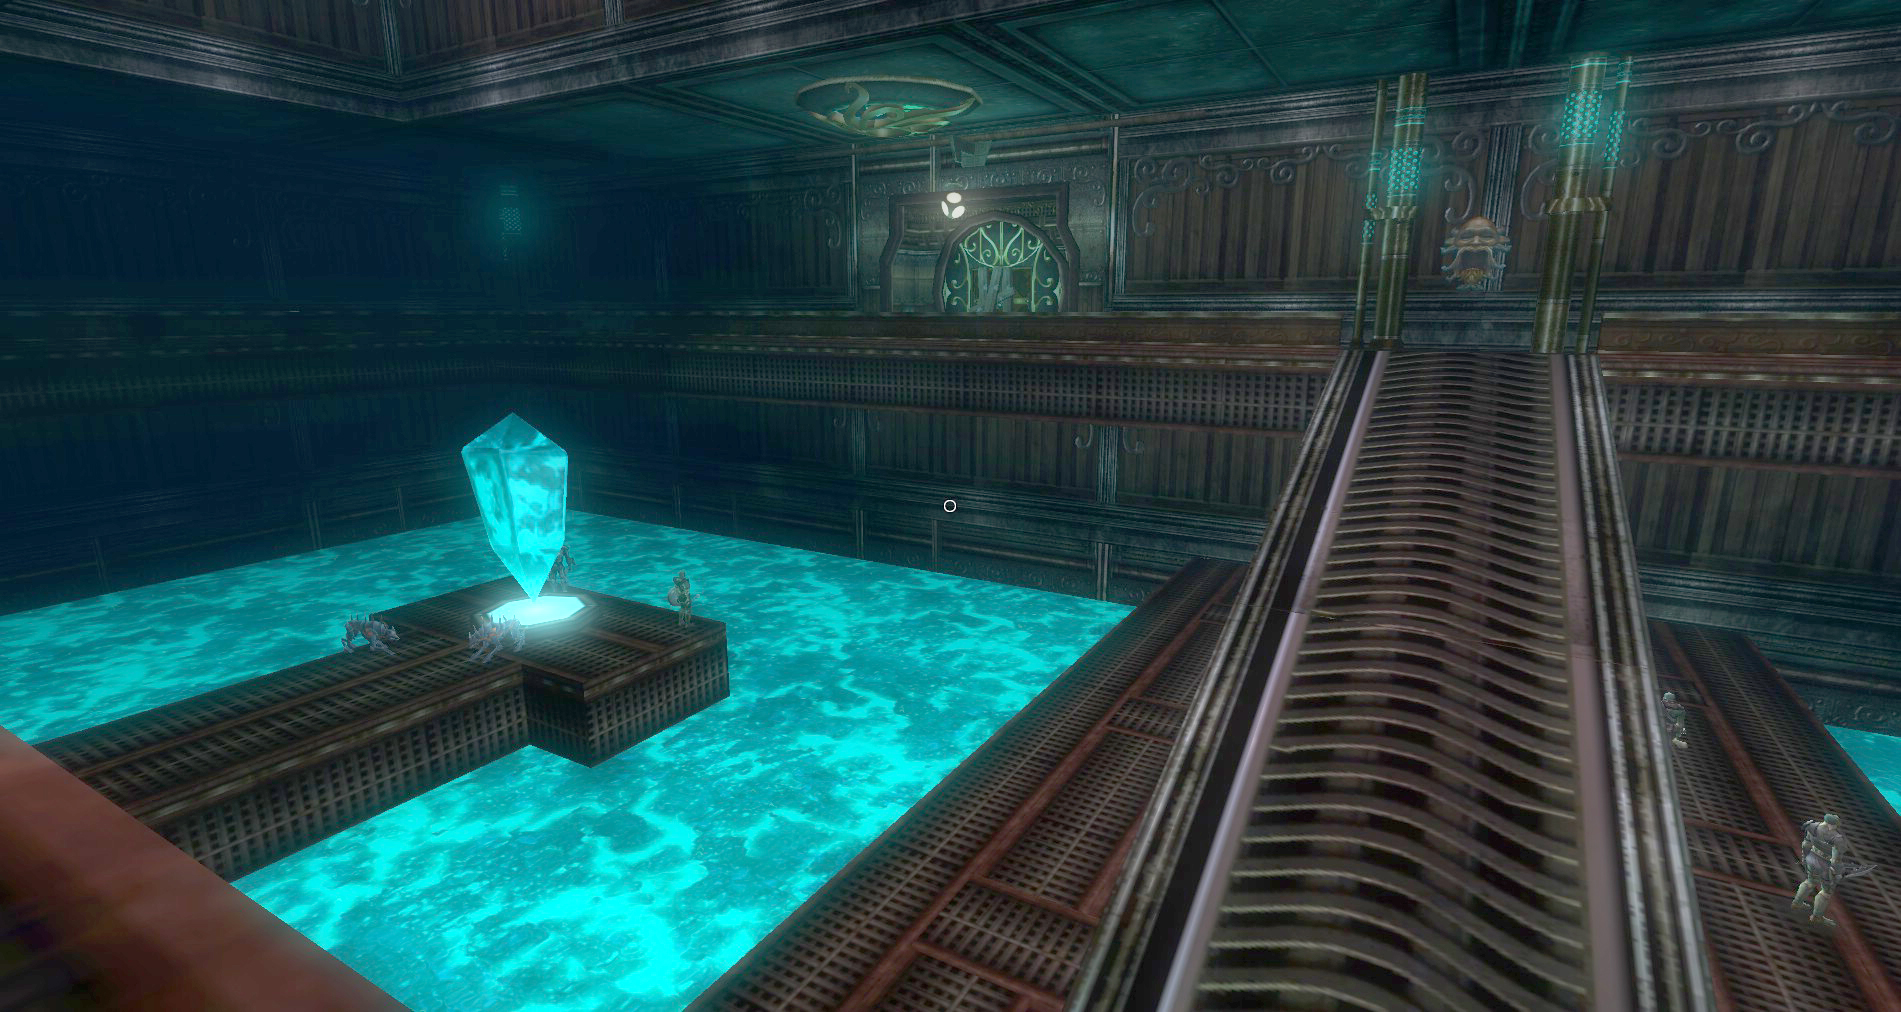
9 – North Eastern Power Room
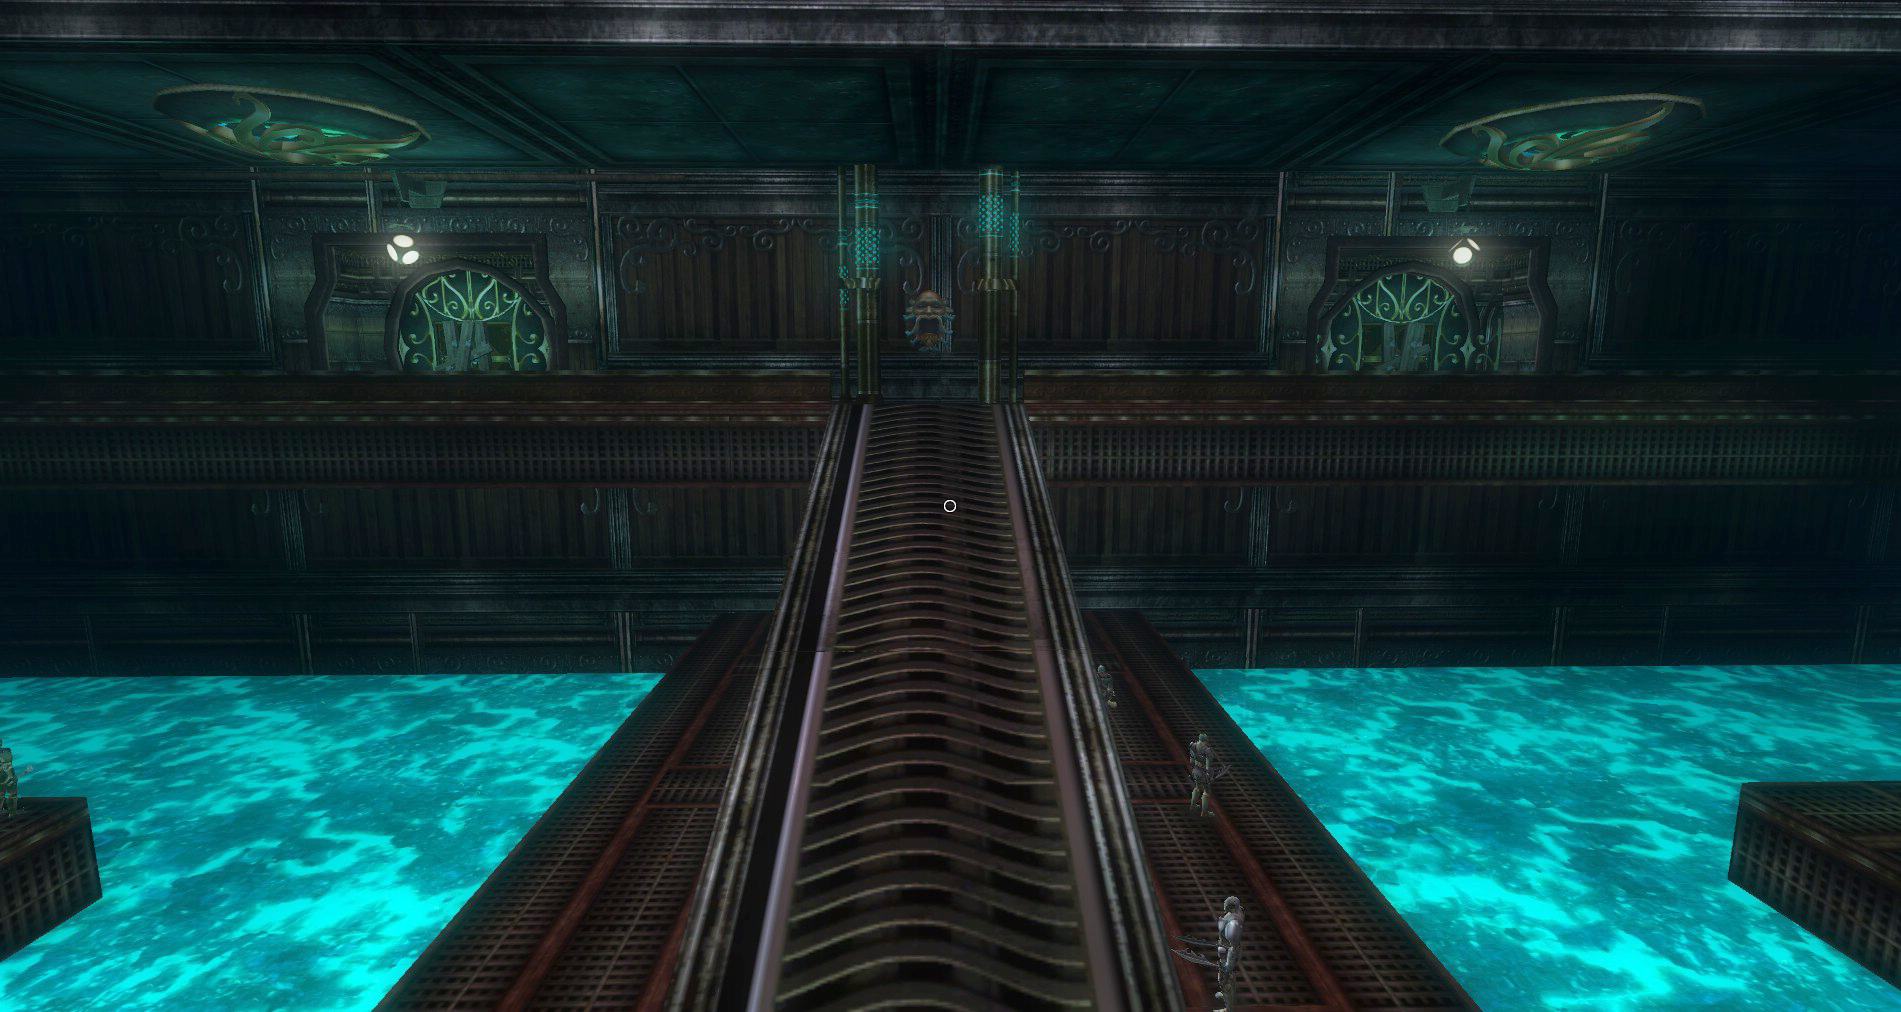
You will come out on the top walkway in the power room here. You can see the power crystal below. Attack the poor, unsuspecting warforged and get this power crystal activated again. Make sure to smash whatever you can and then move onto the final room of the quest.
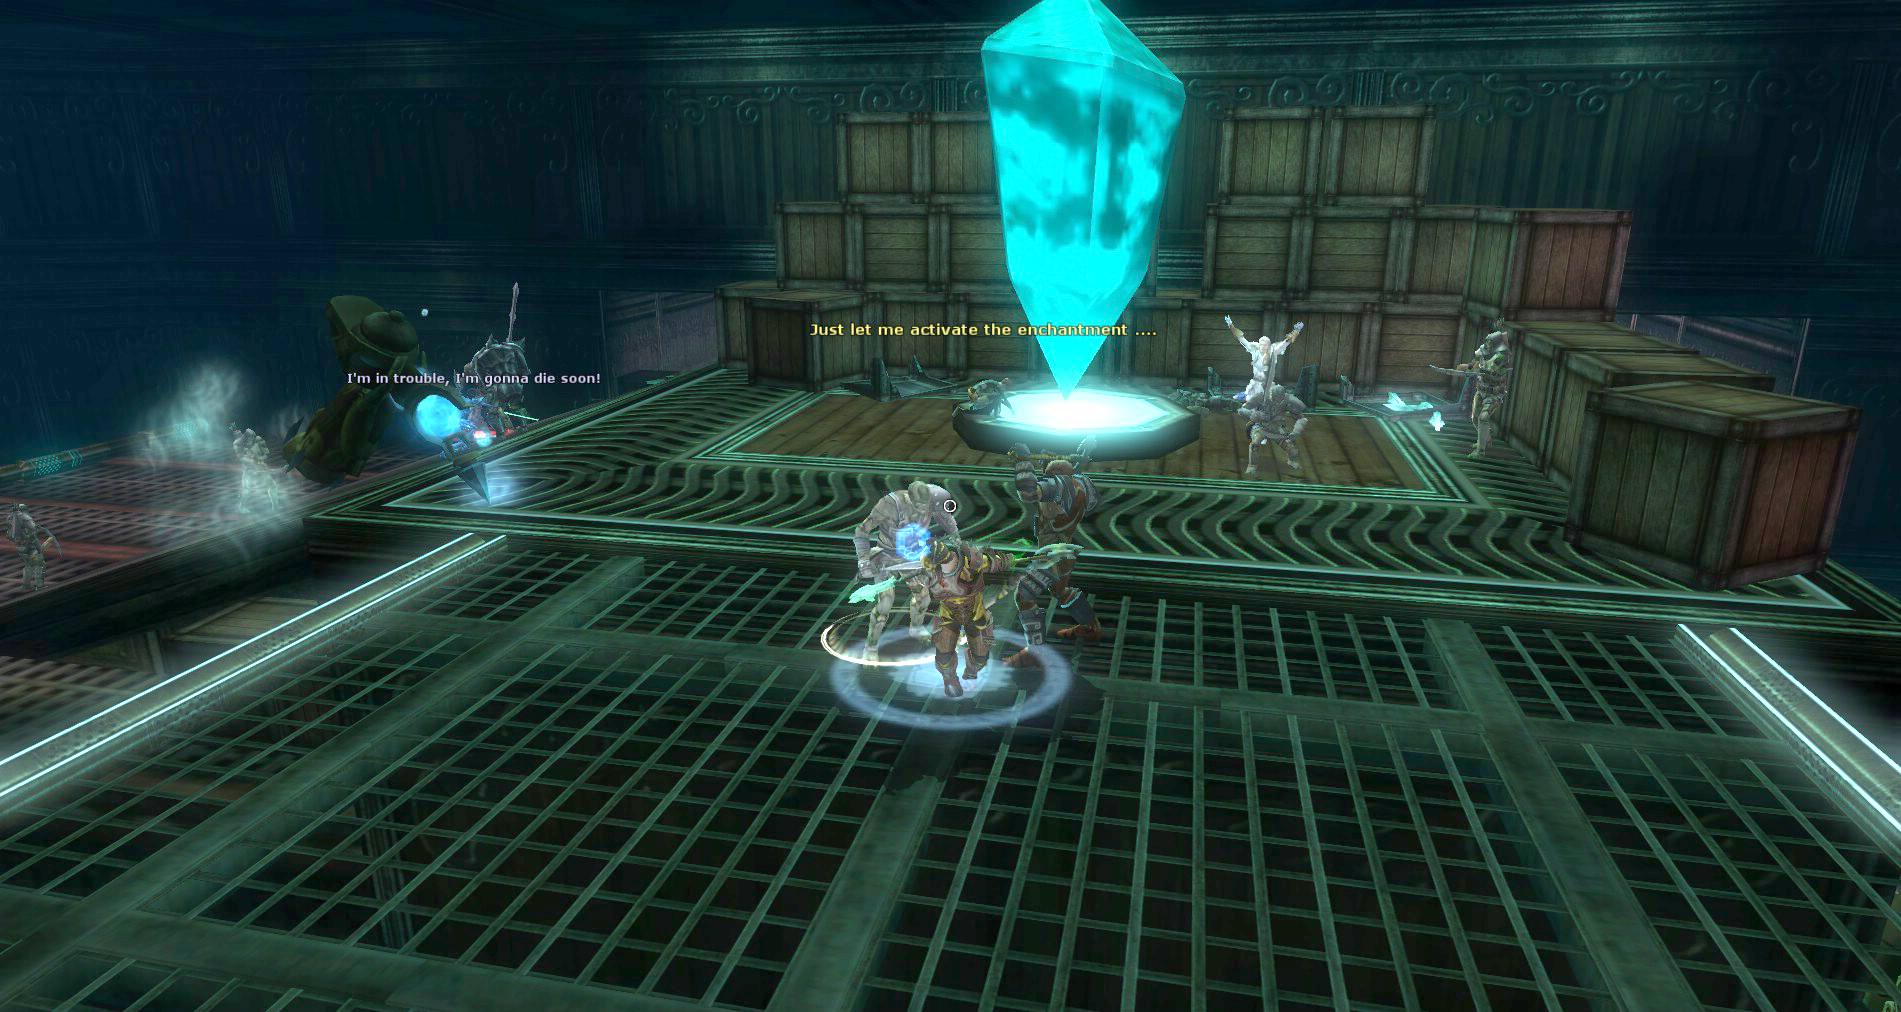
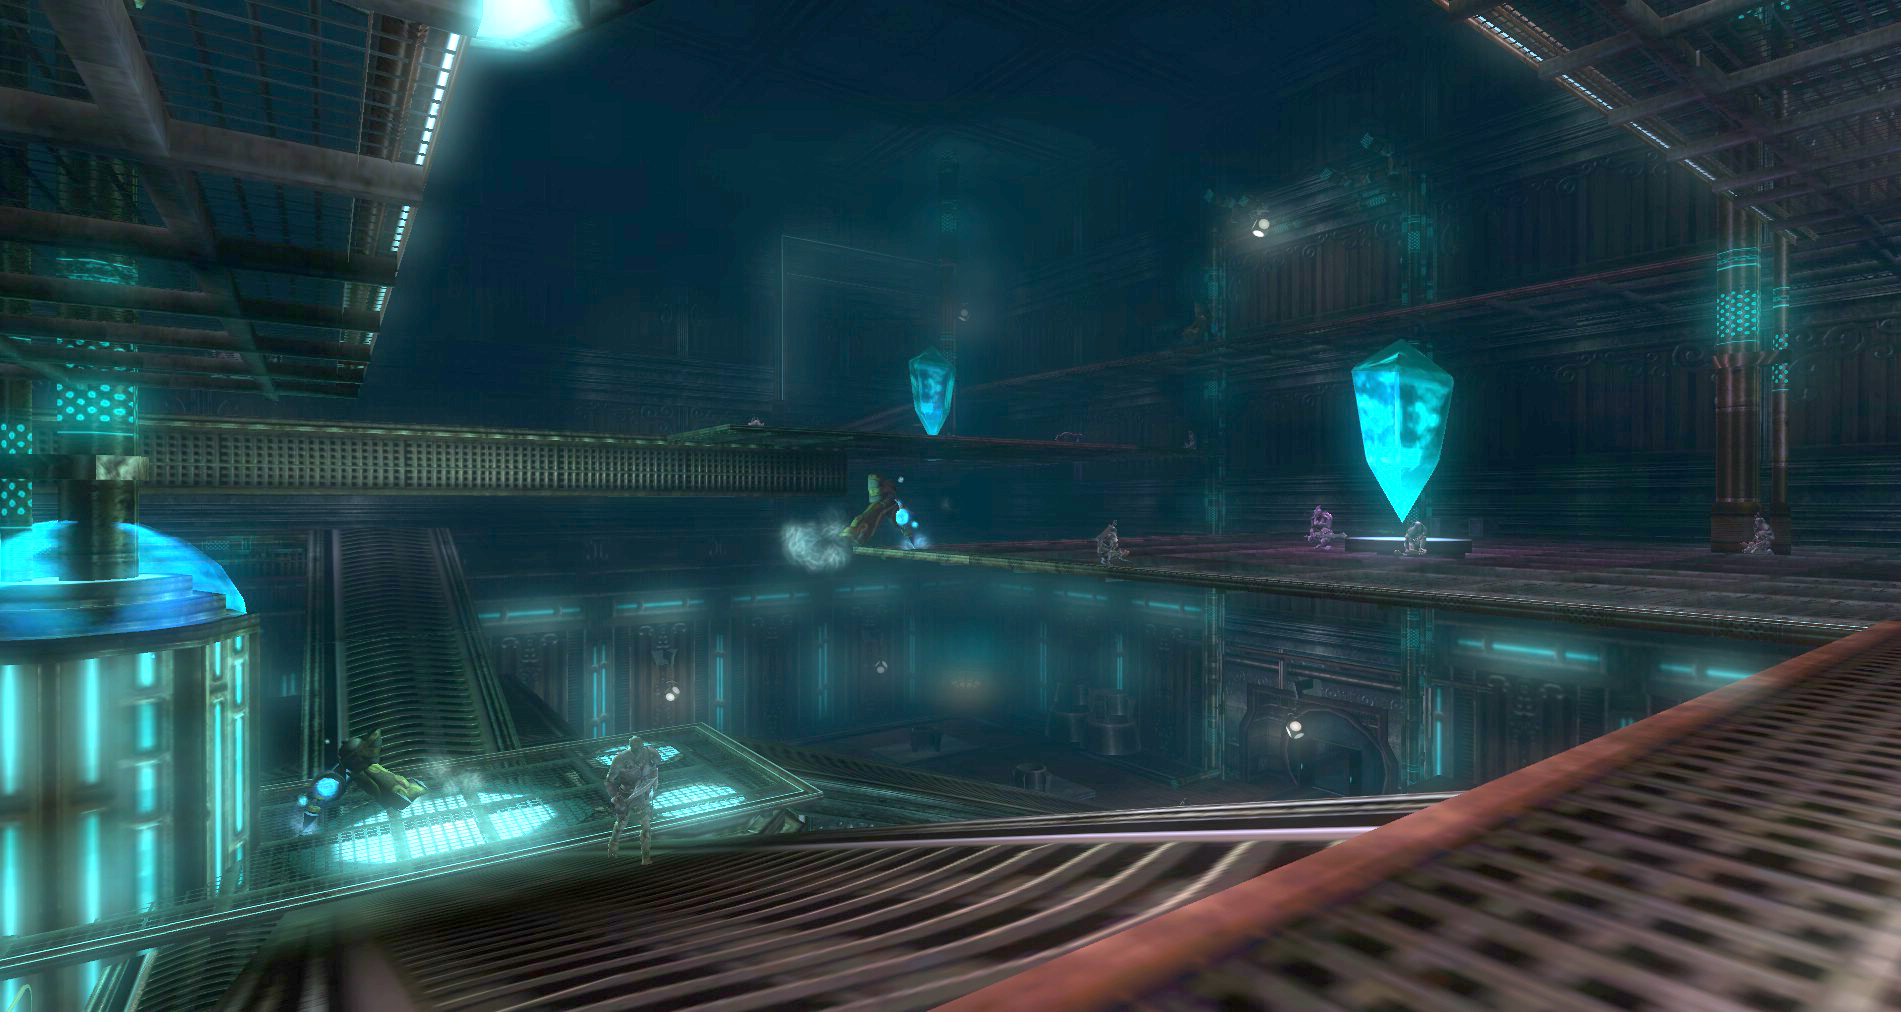
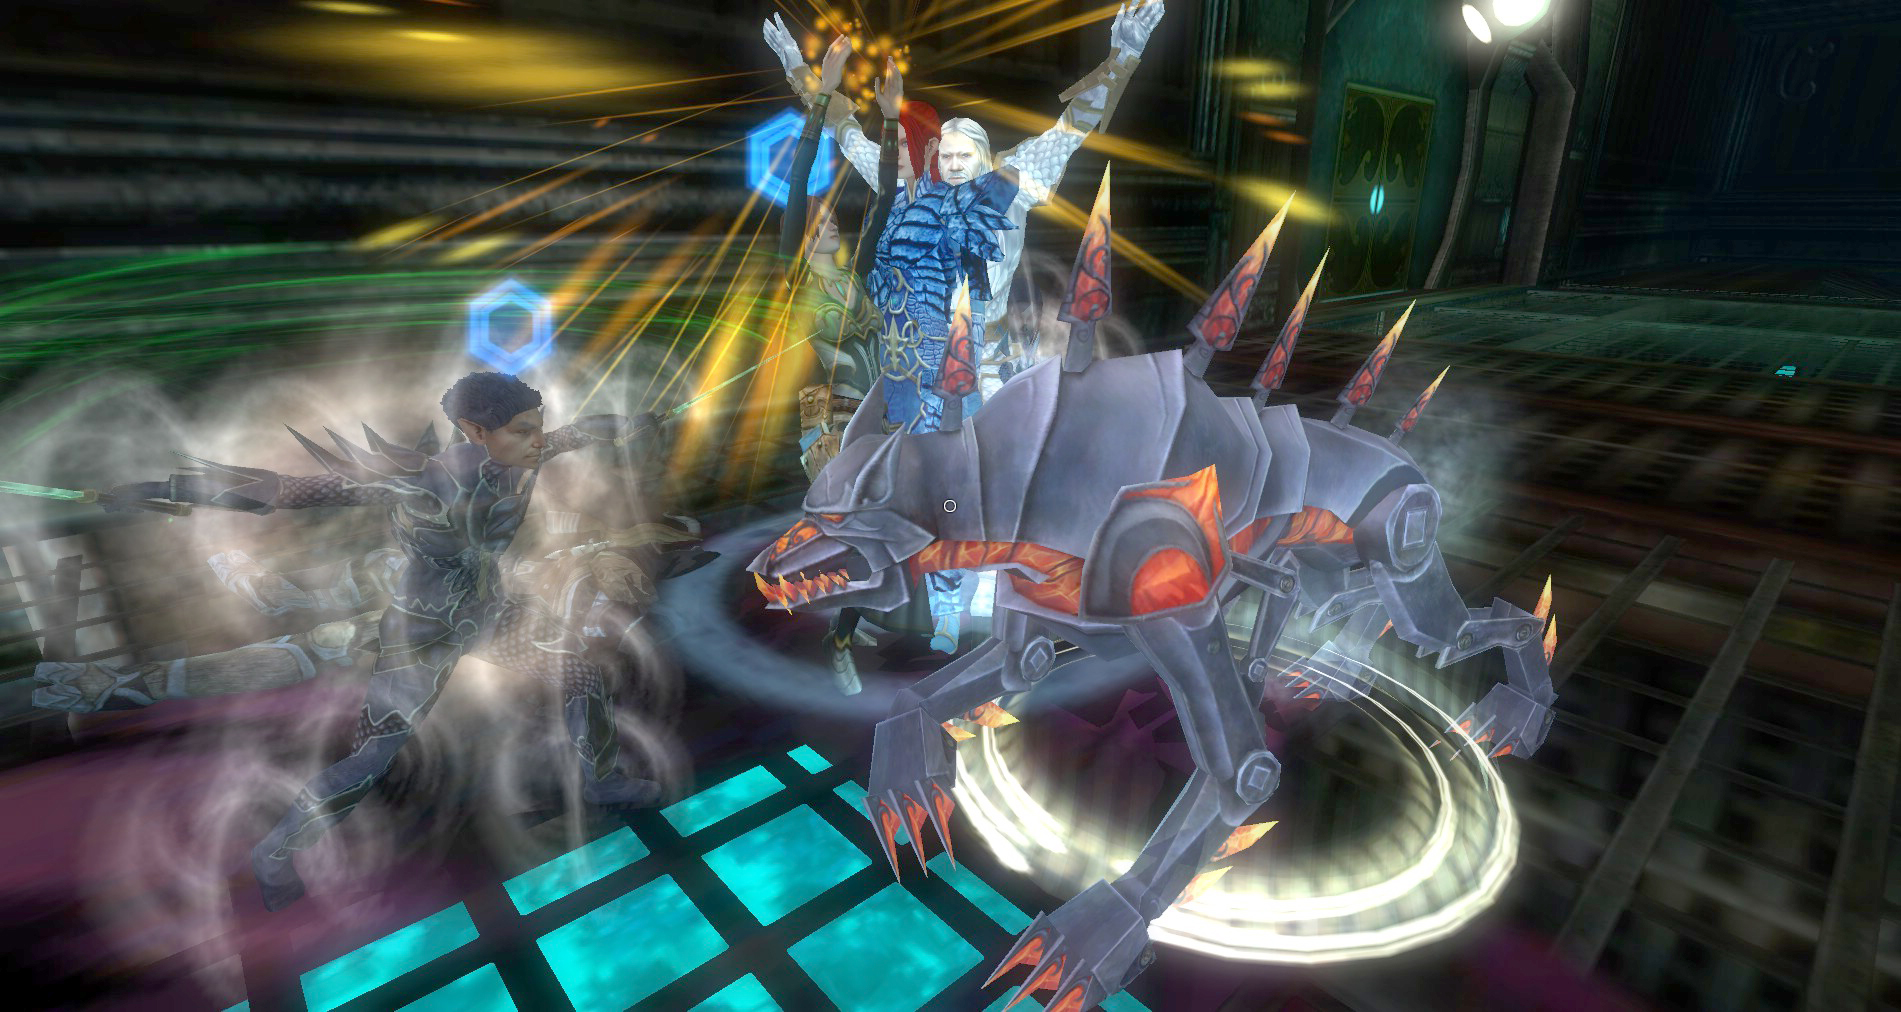
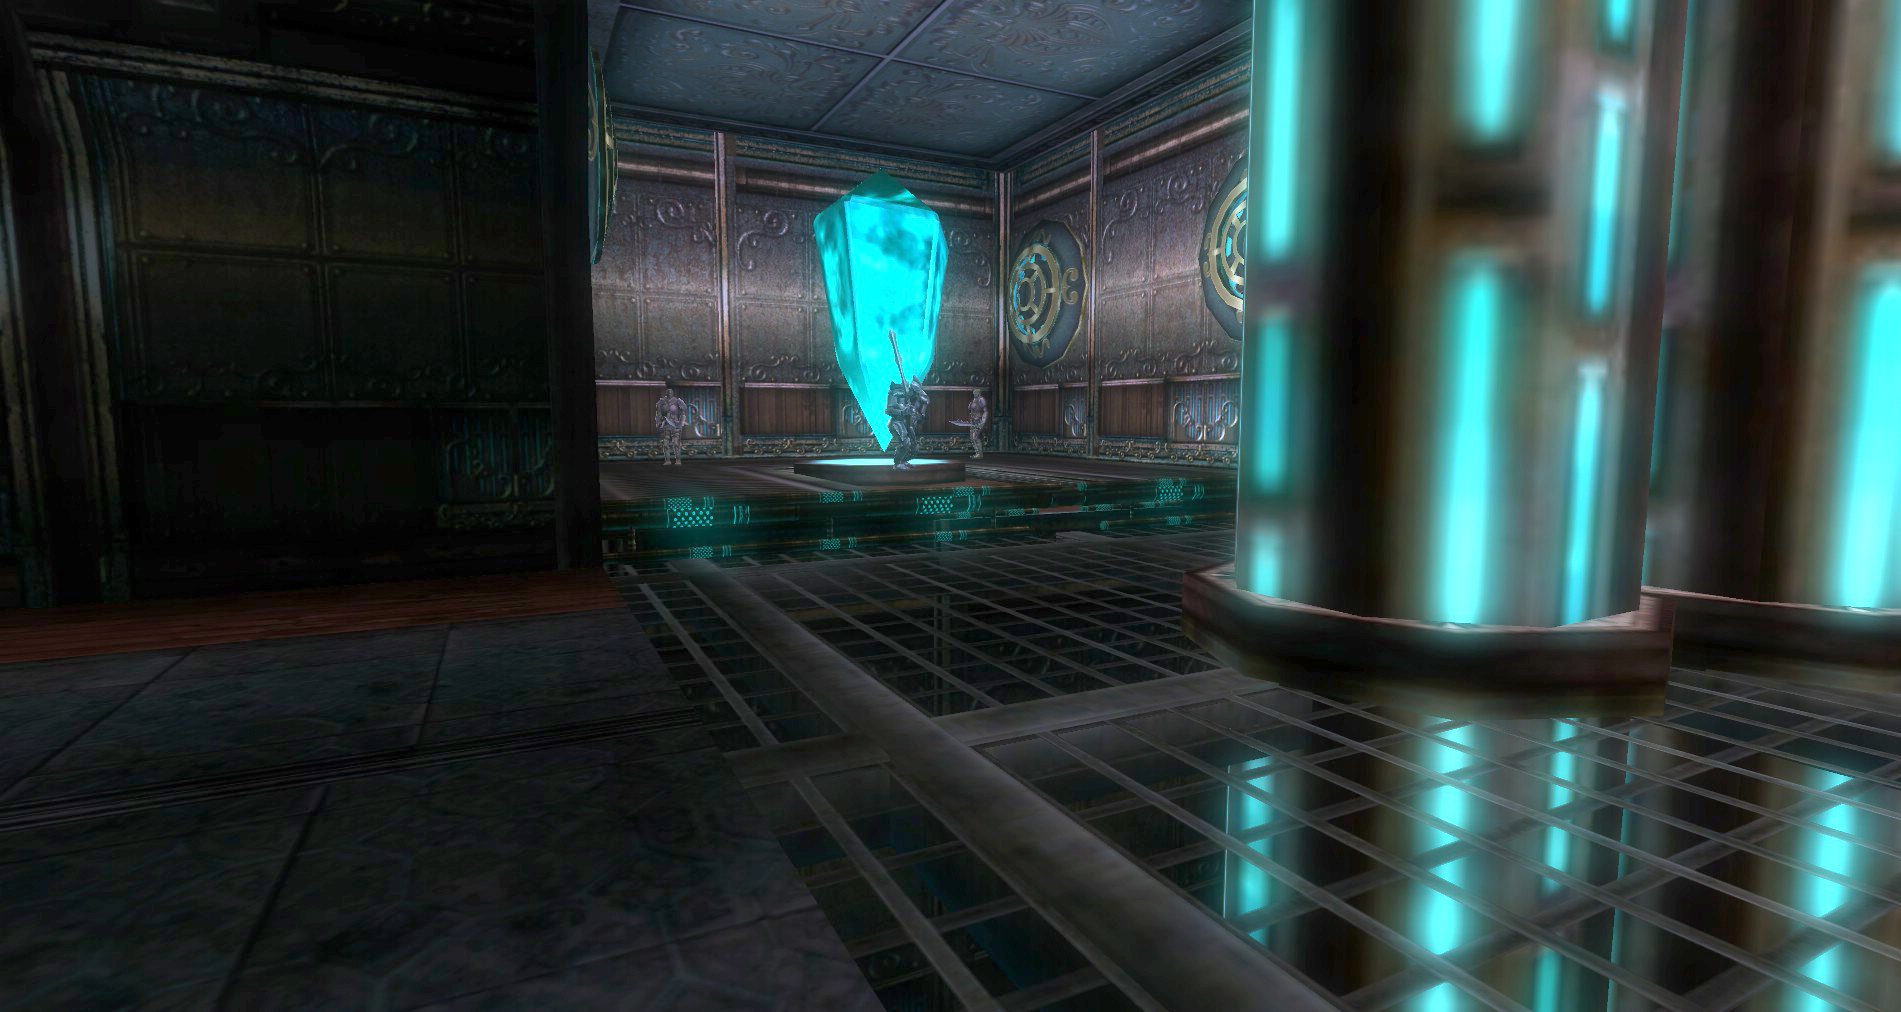
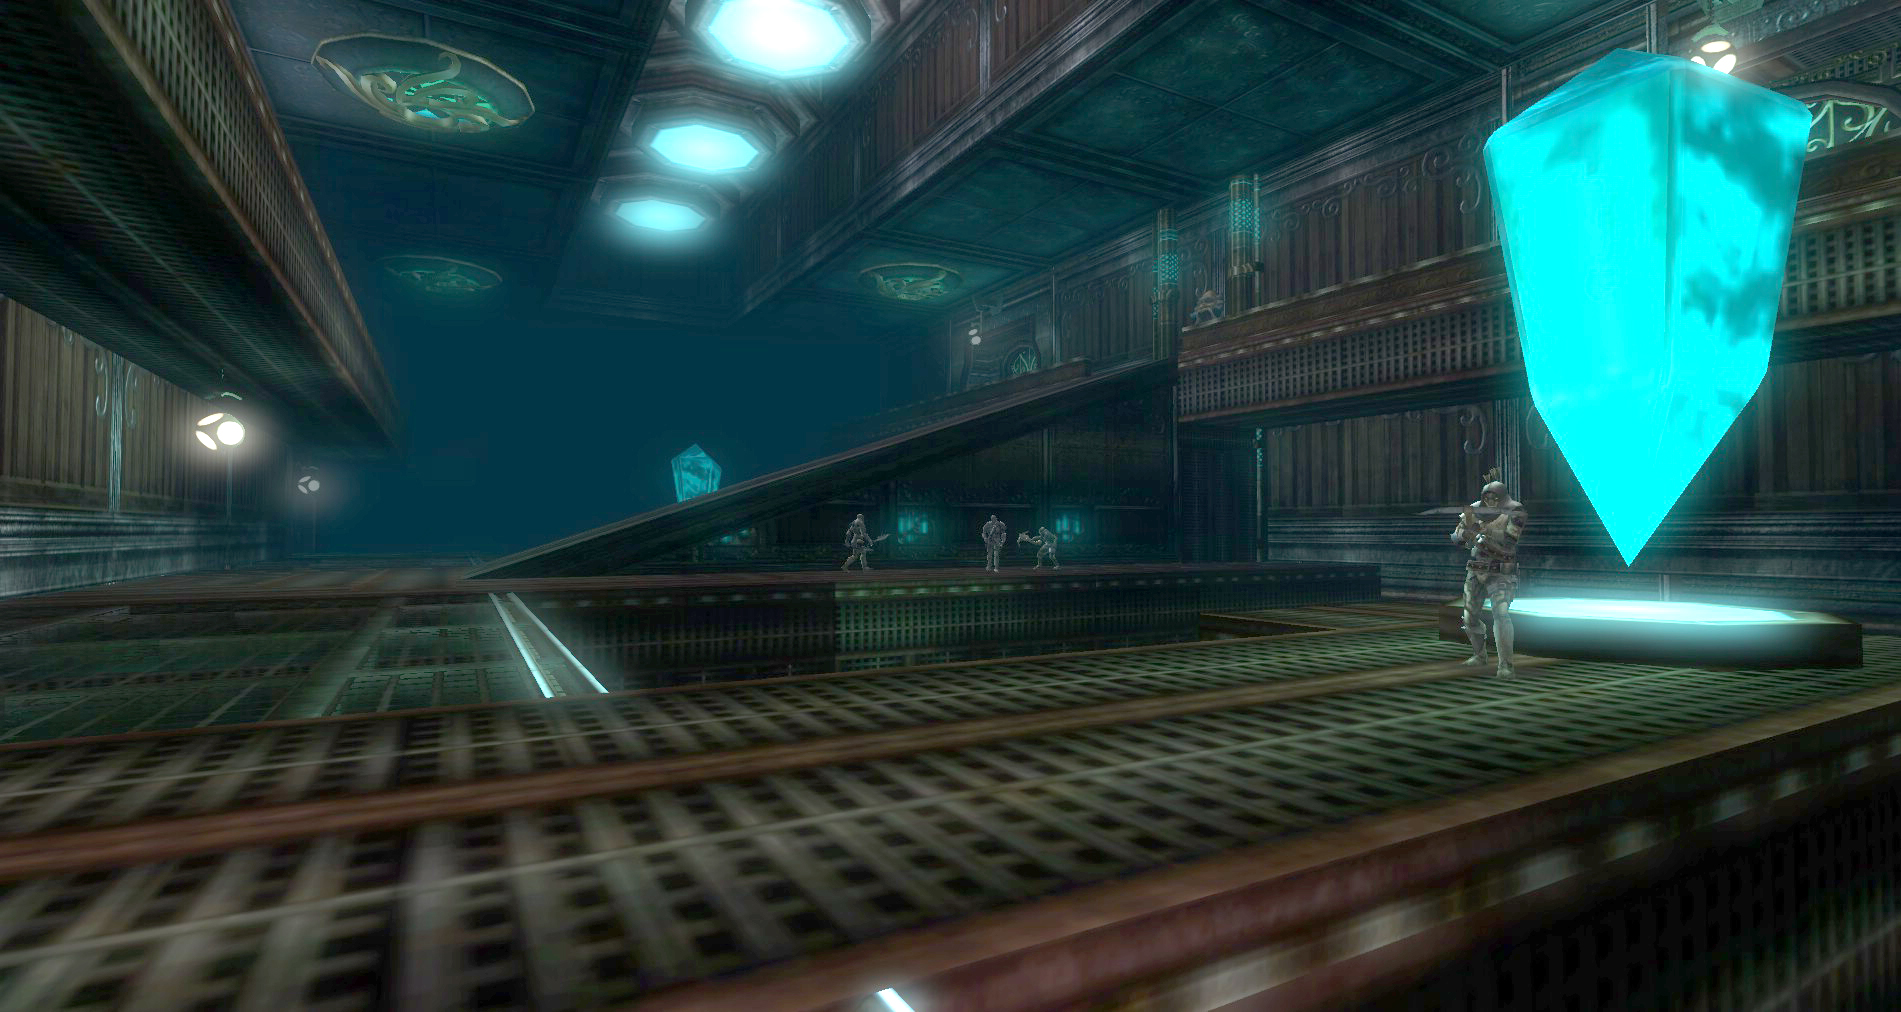
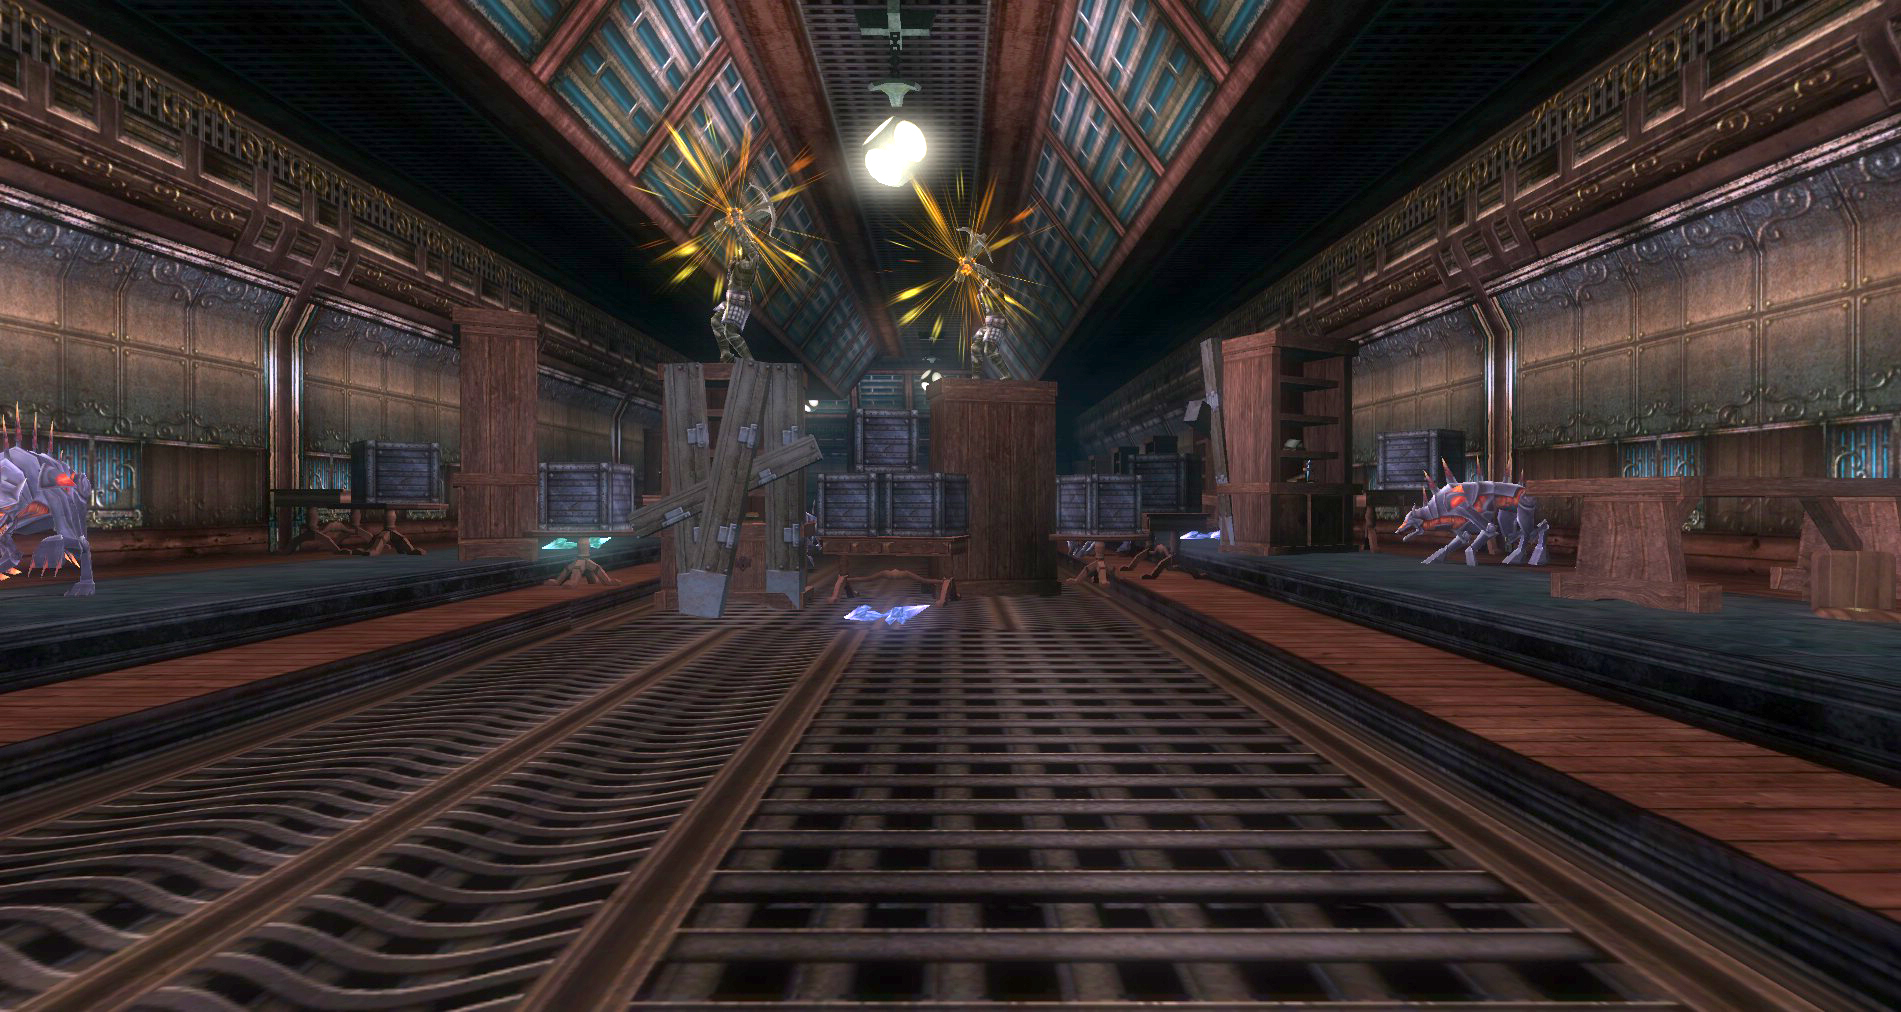
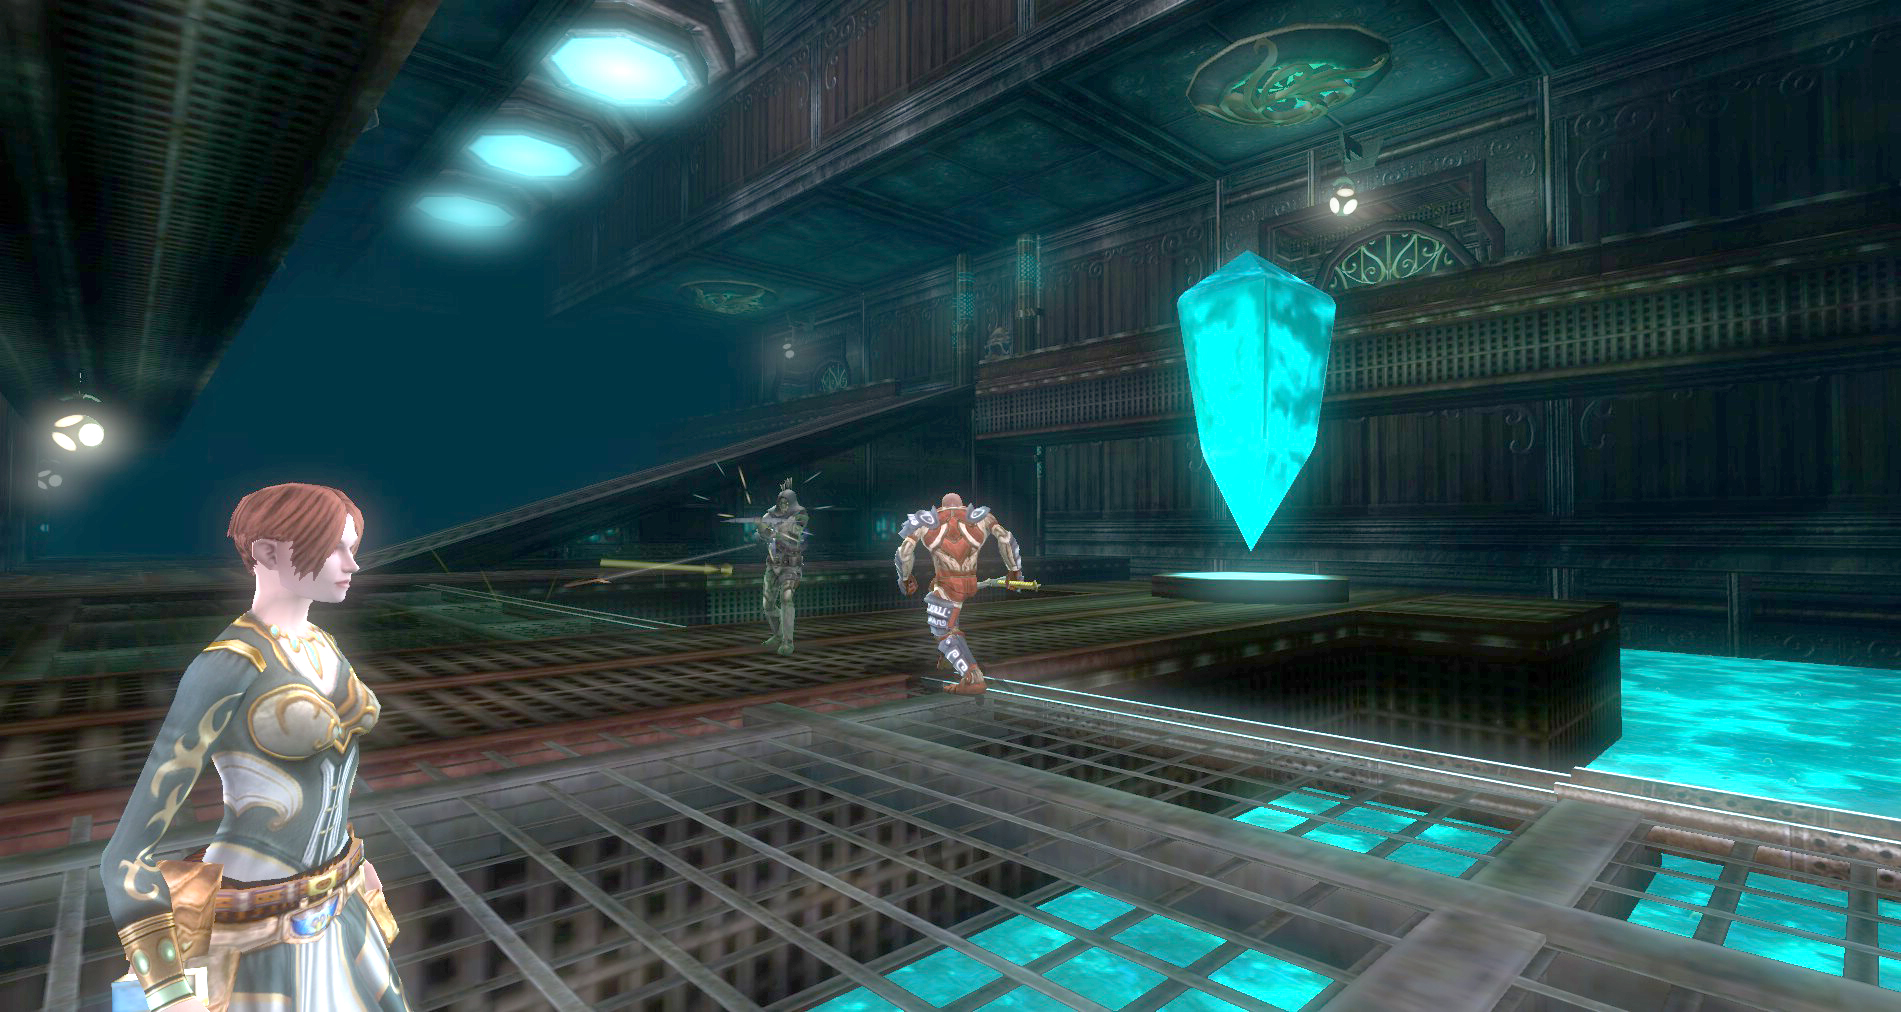
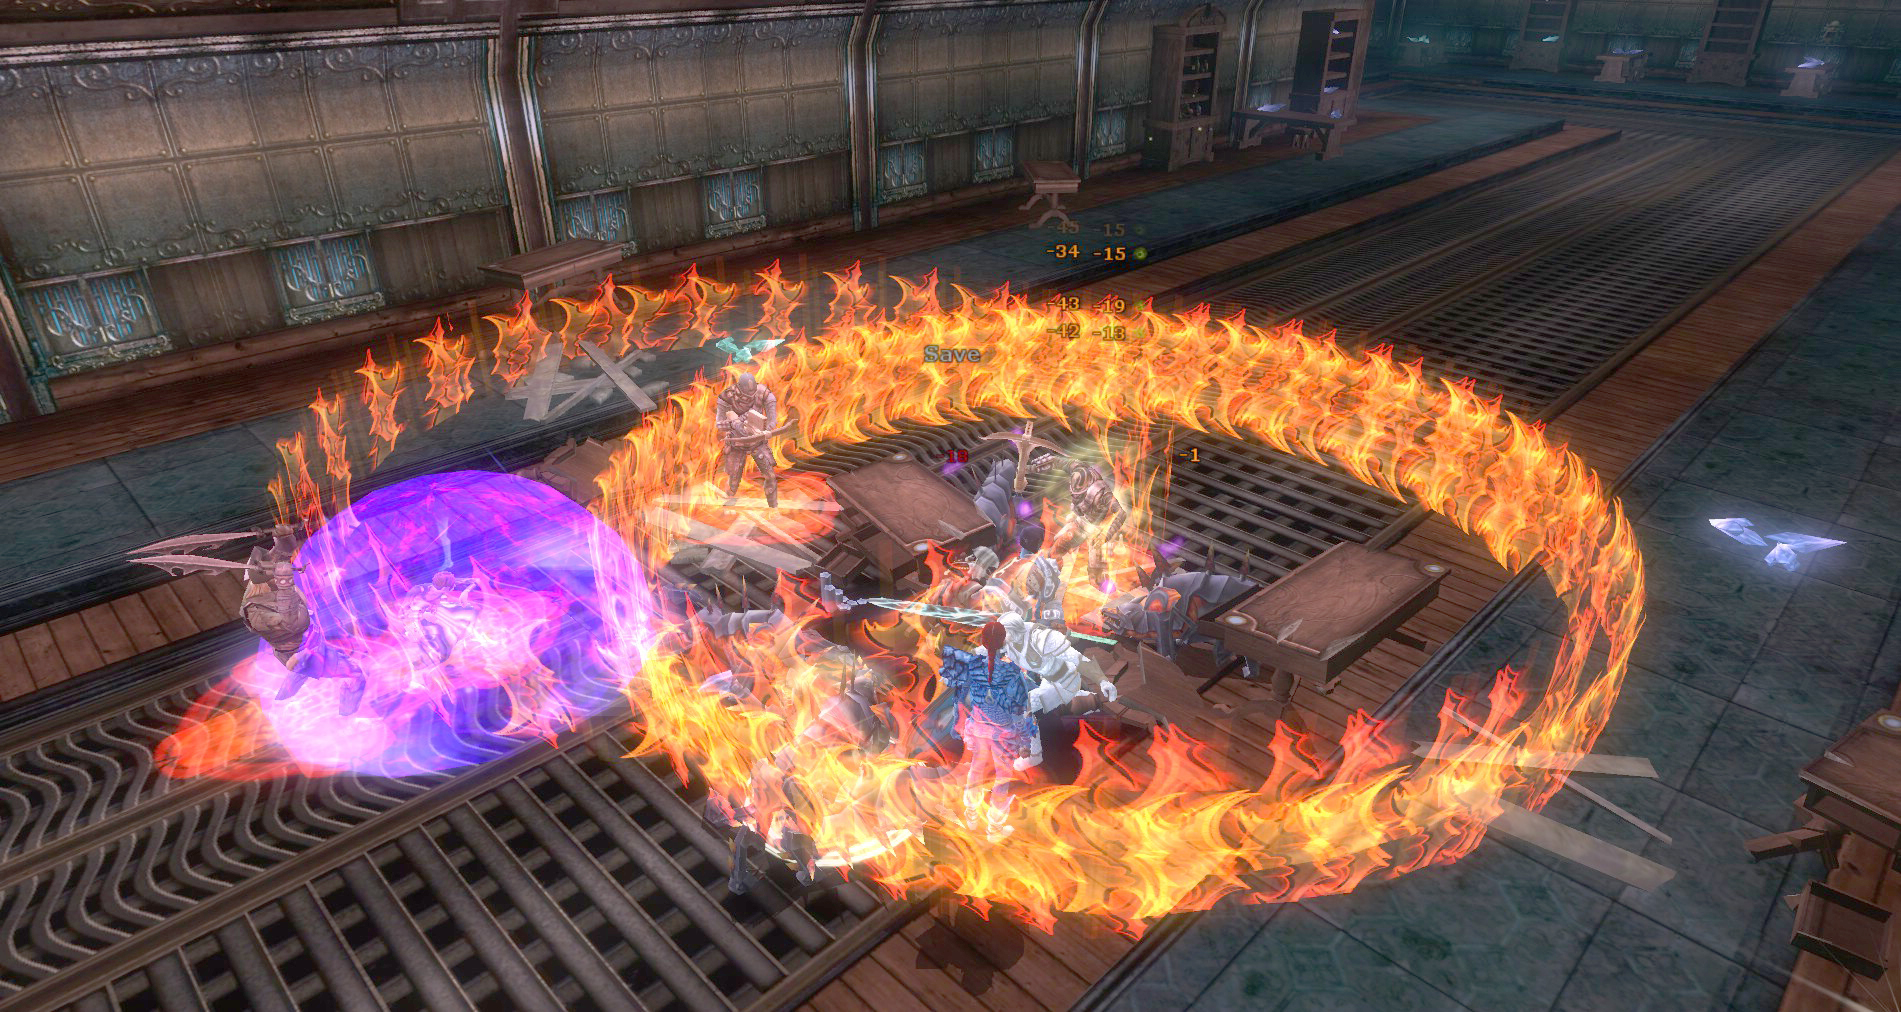
10 – Power Crystal Cooling Room
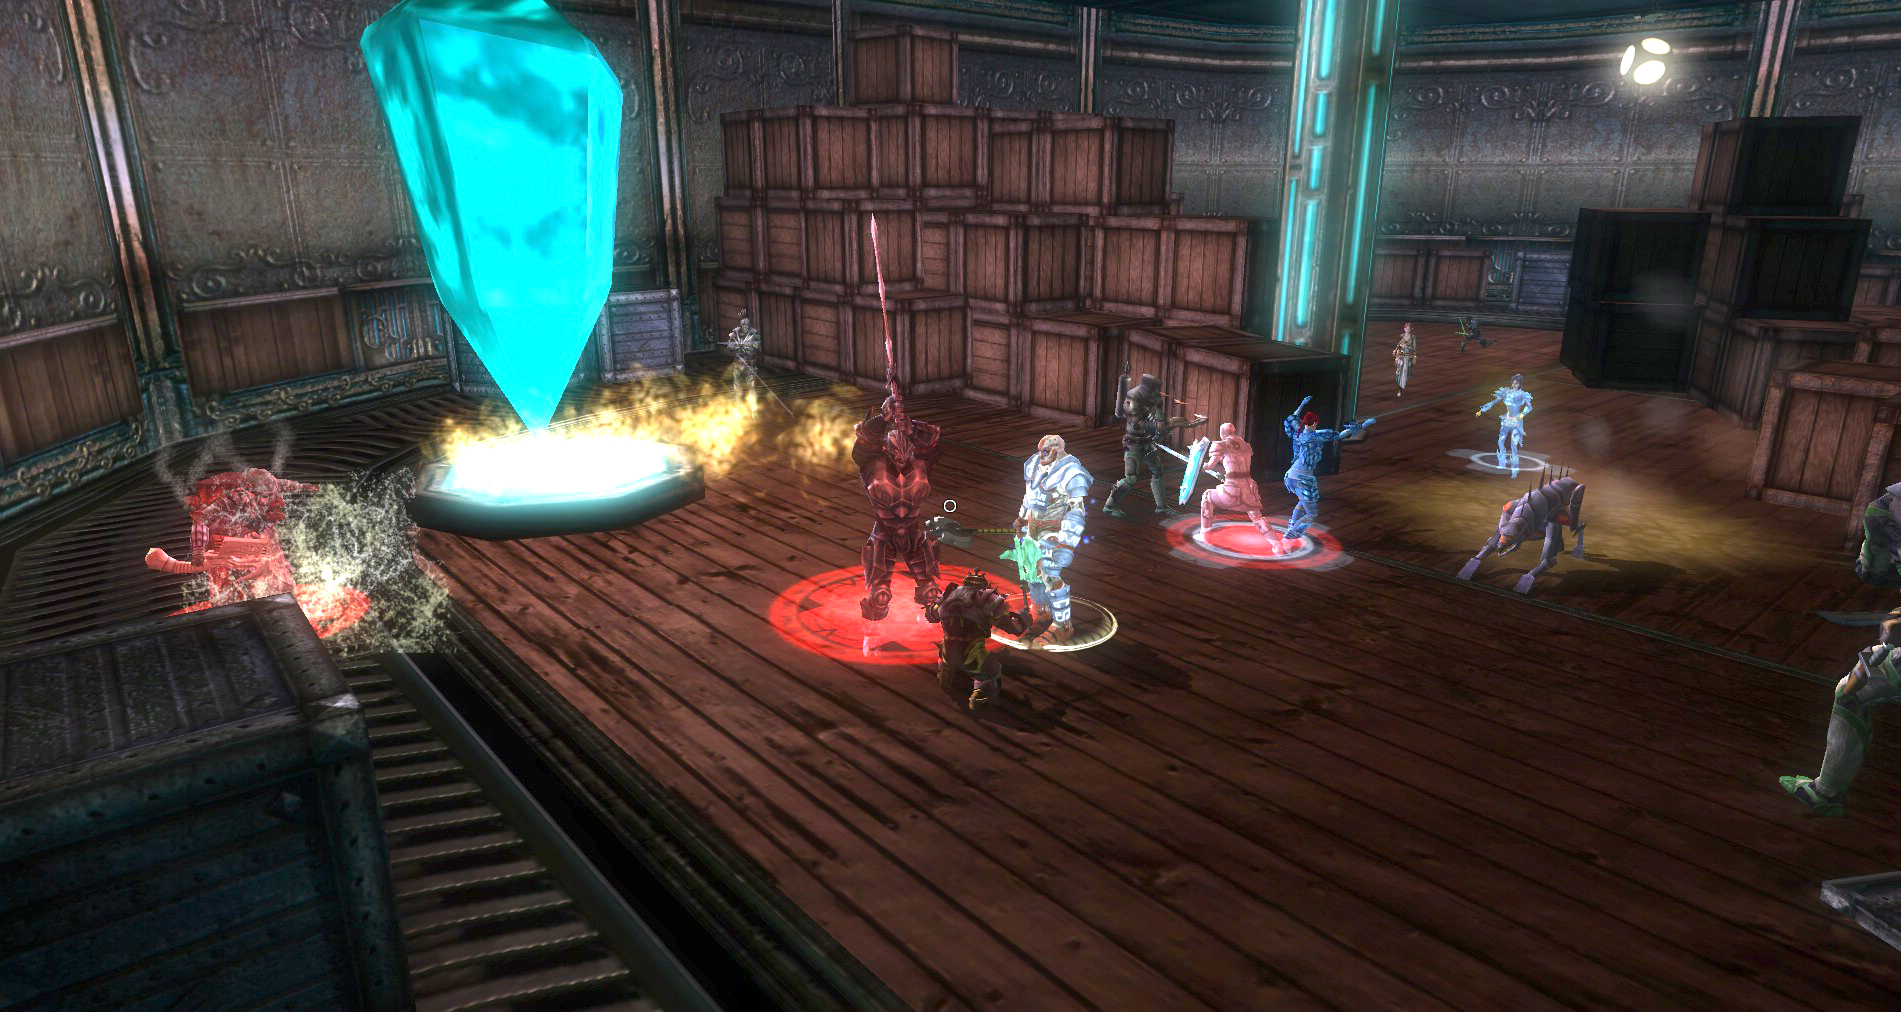
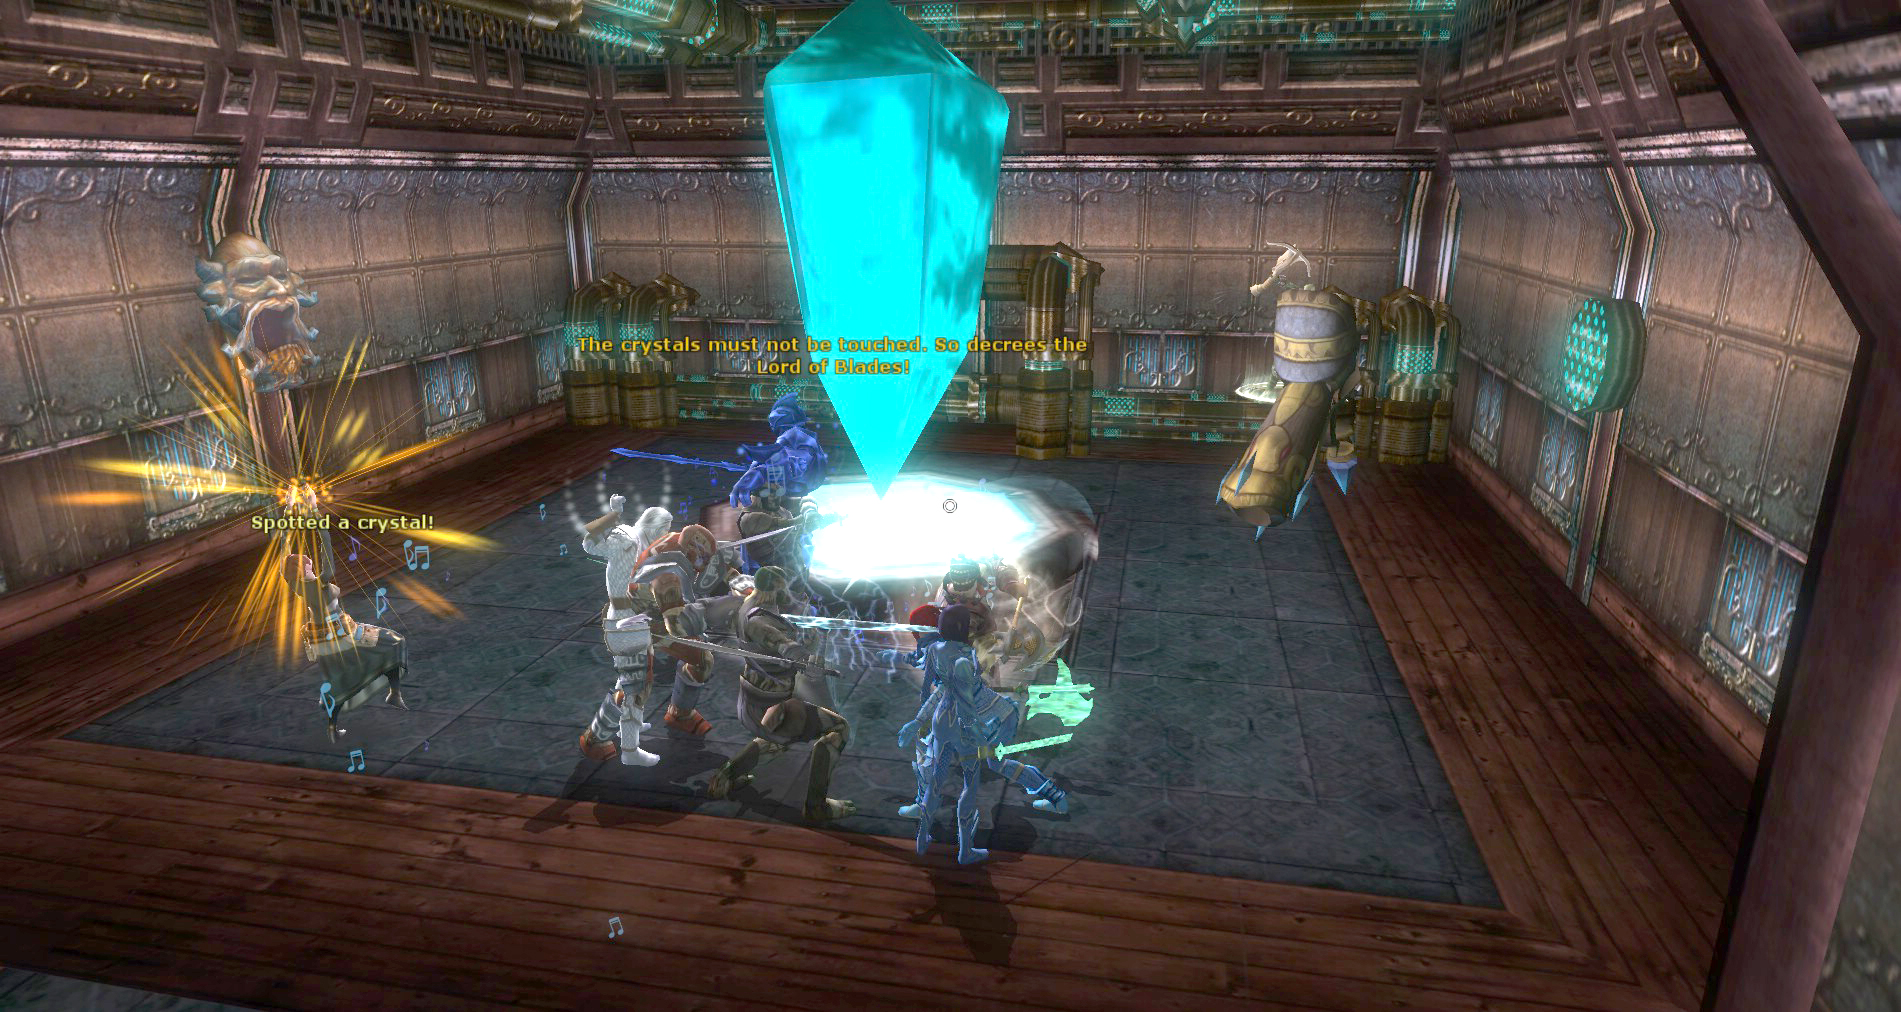
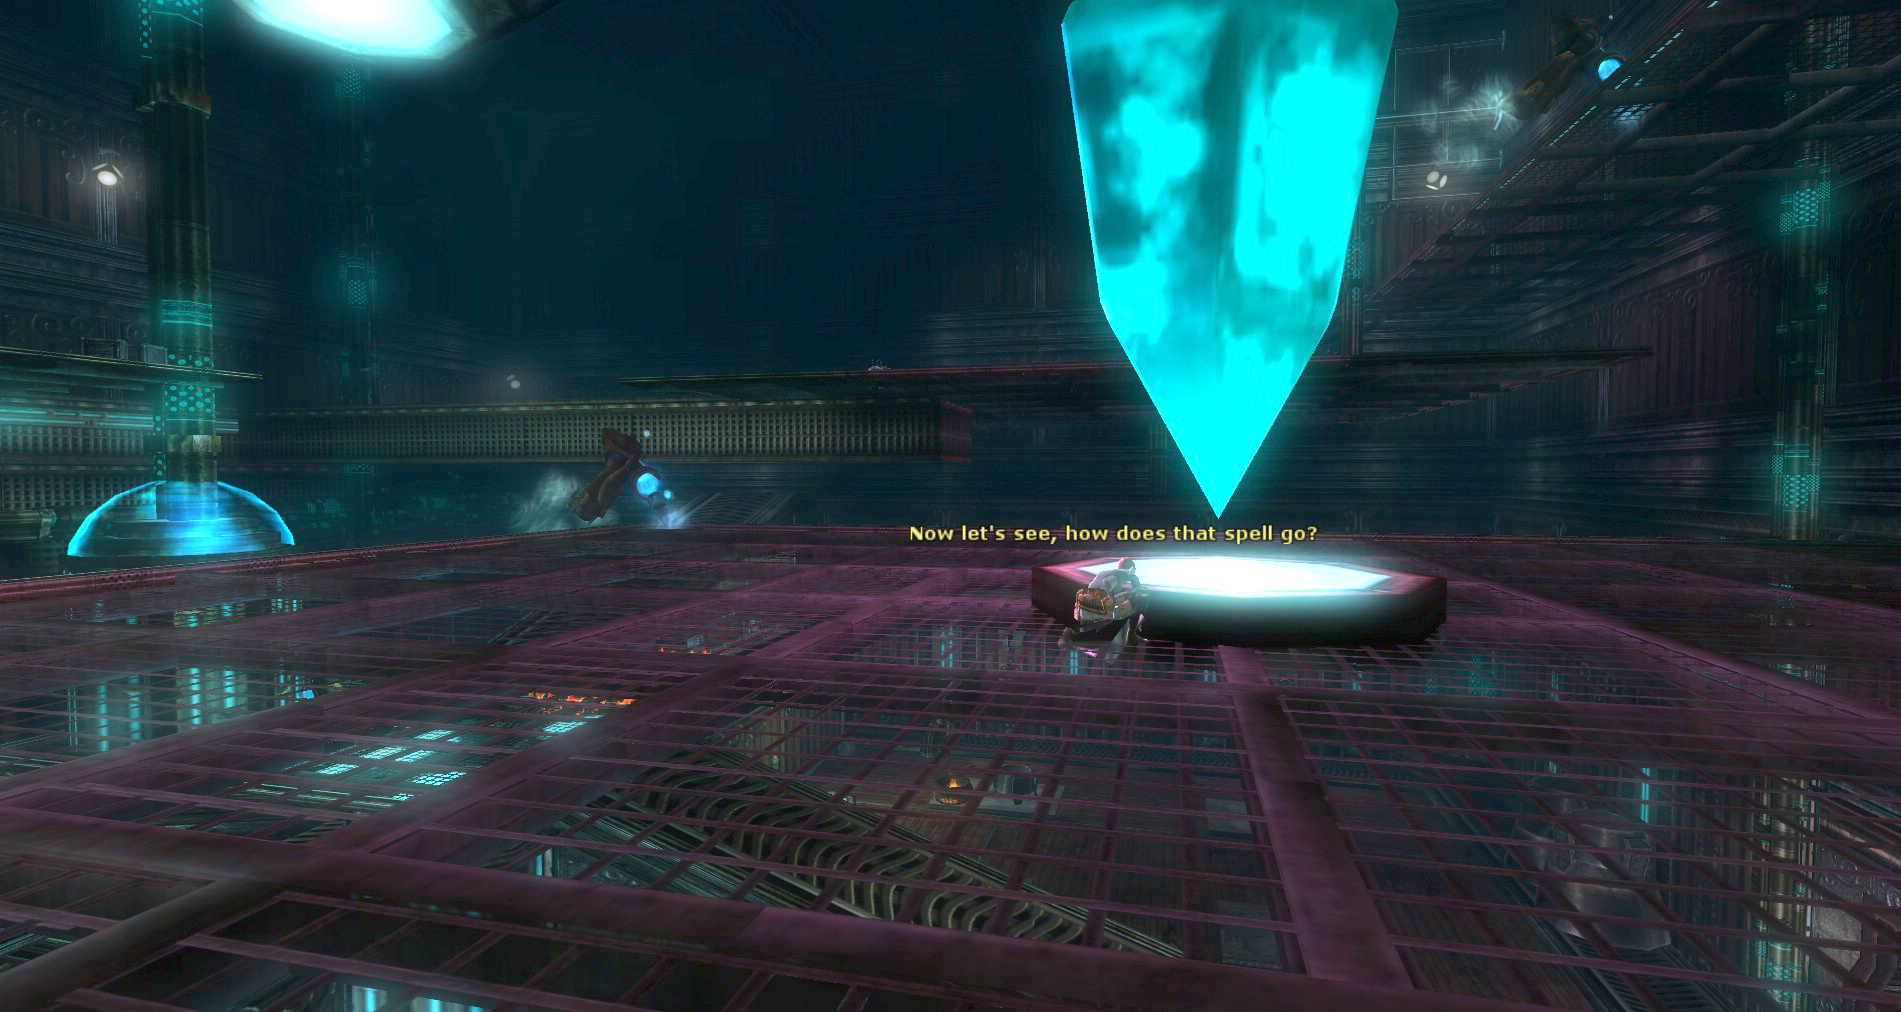
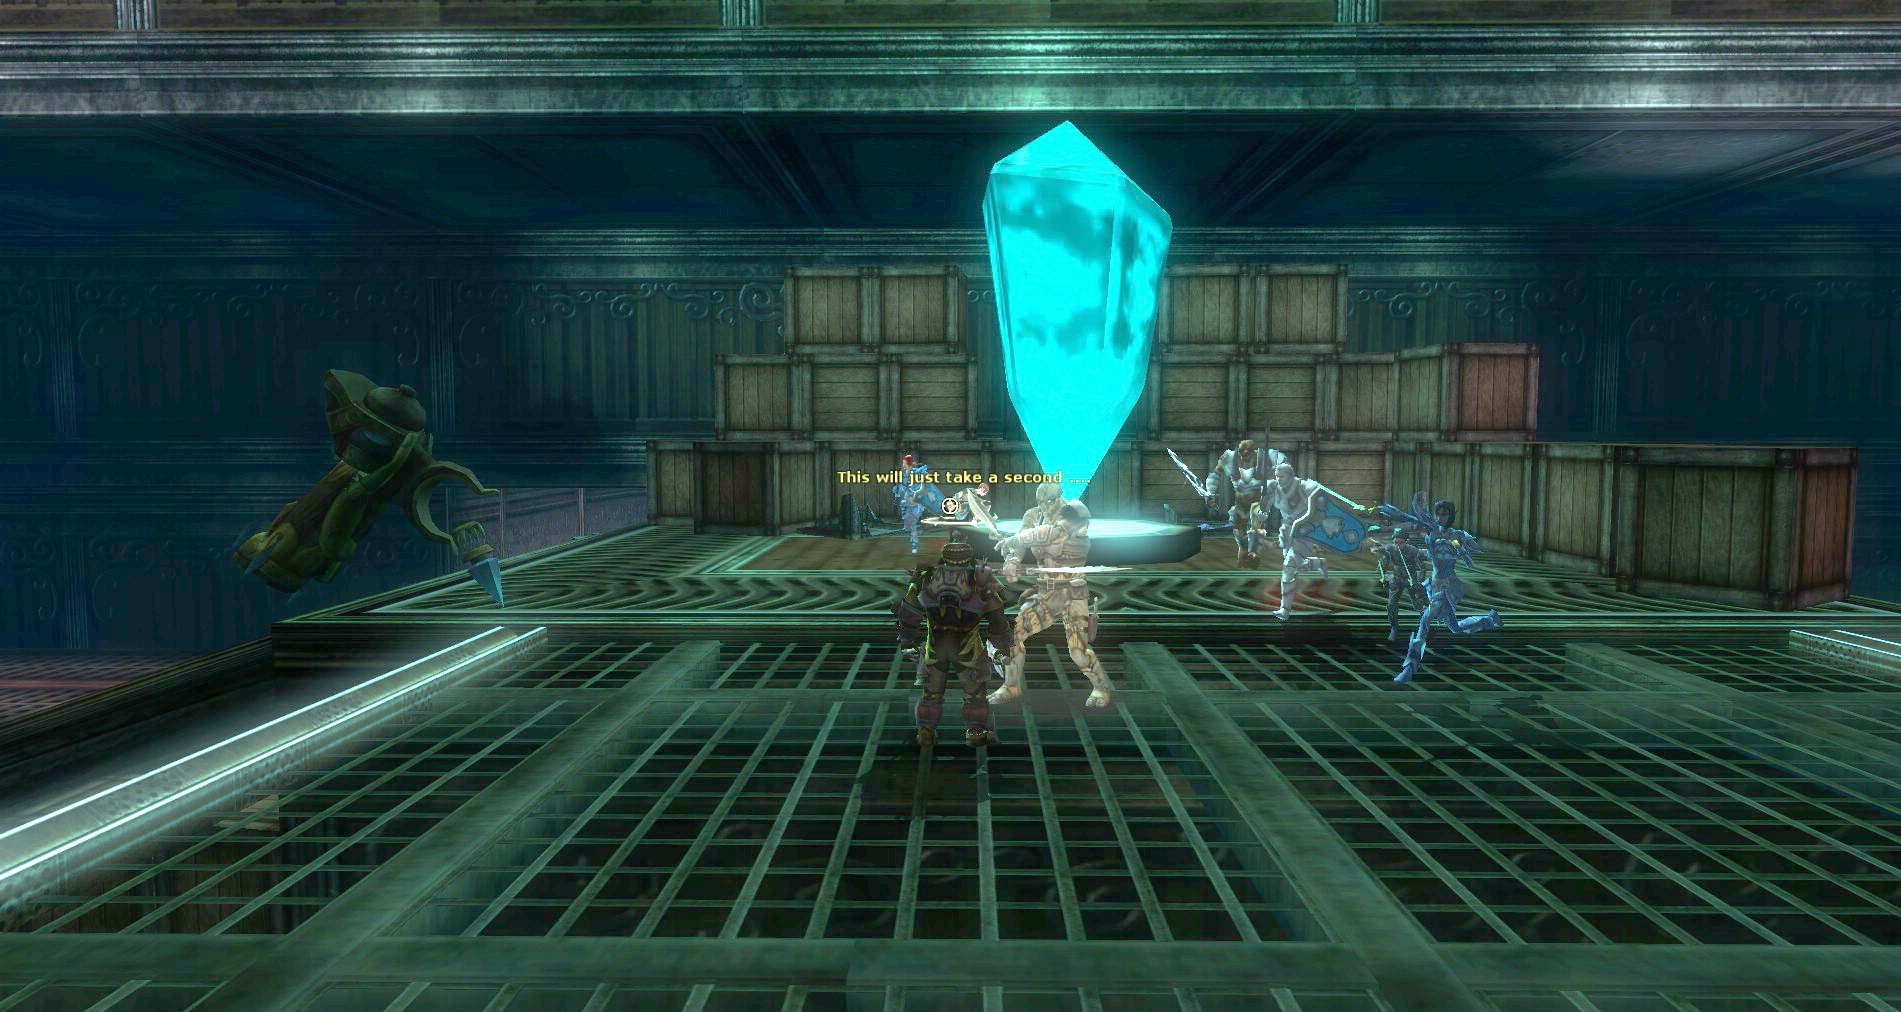
 Make sure to refresh your short term buffs and make sure that everyone is aware of the plan when you enter. You will get agro immediately which is not a huge deal but everyone must know that as soon as the second crystal in here is powered up, the doors to the far north of this room will open and warforged will come streaming out. You can’t control Kylea too closely so if she senses the Power Crystal she will run off and activate it whether you are ready or not.
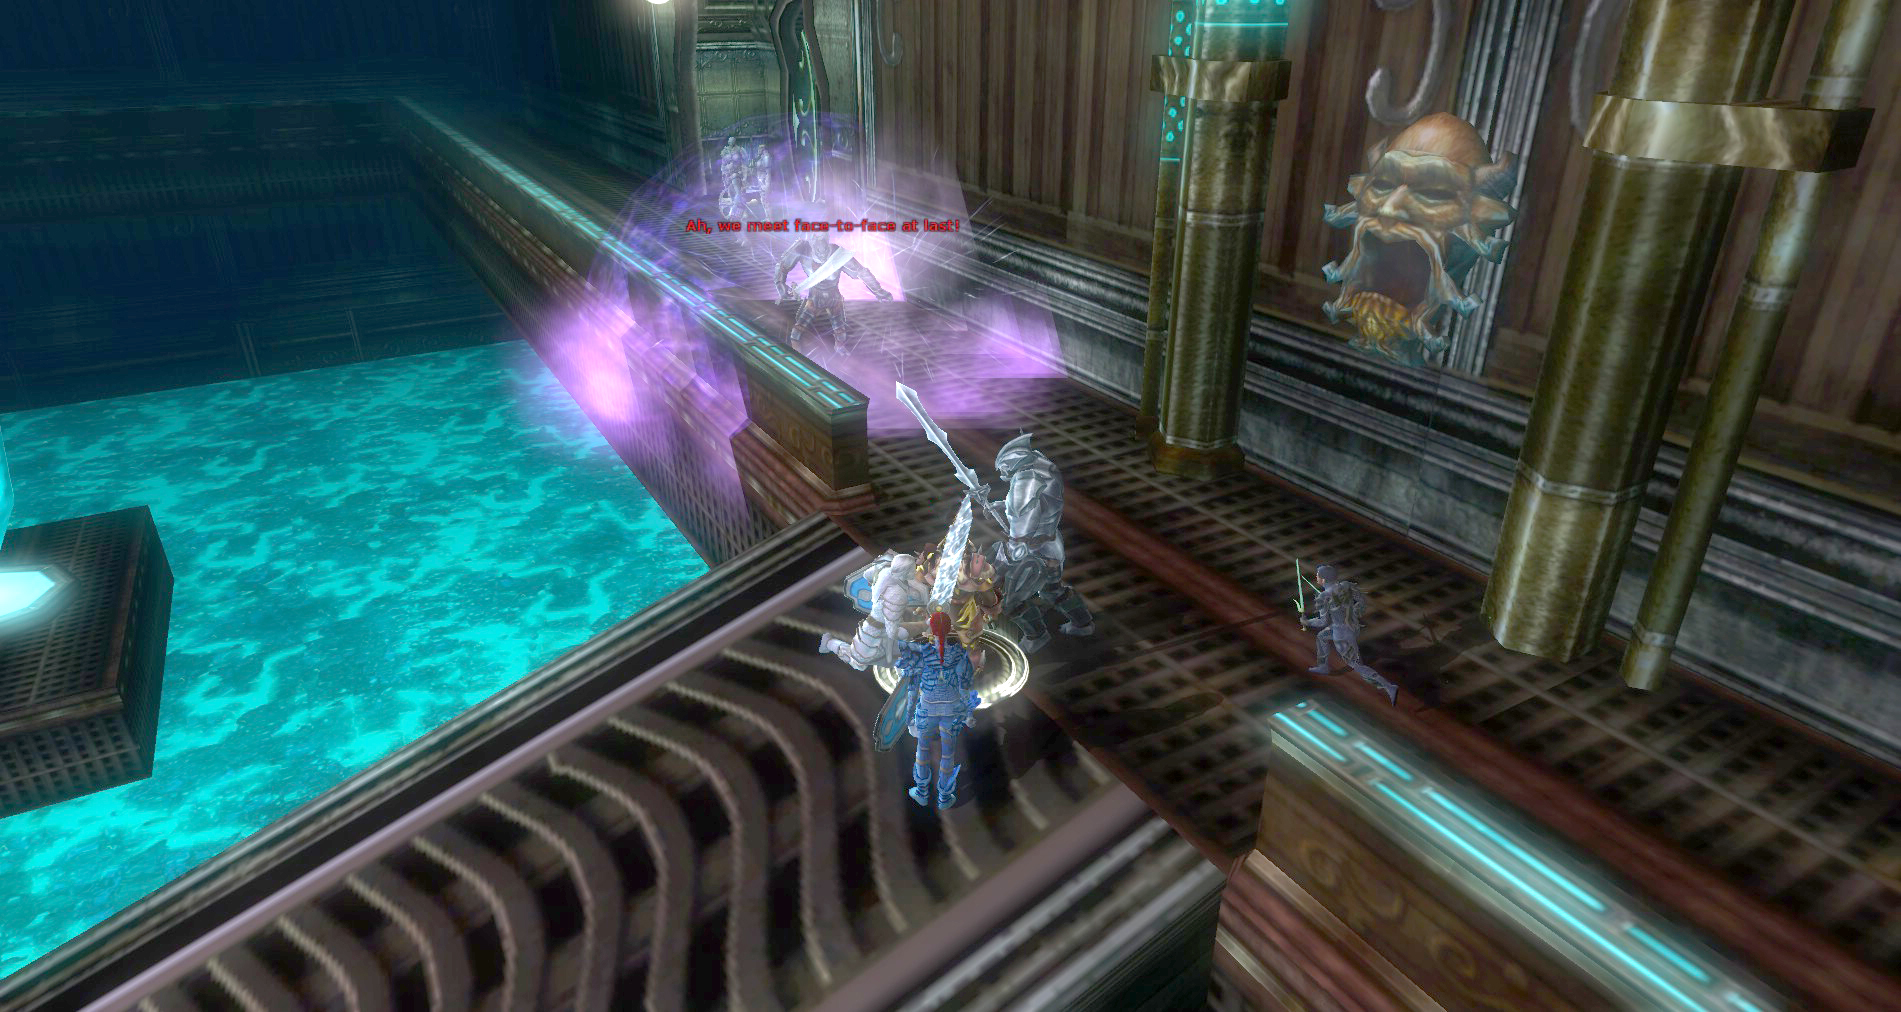
Have the crowd control characters move right over to the ramp in the center to intercept all the enemy warforged that will come streaming out. If you have crowd control spells, use them here and keep them up. The warforged will come out and if they are not agroed onto someone in the party, they will charge into the dungeon on a mission to destroy the Power Crystals and Magefire Cannons you have worked so hard to get working again. Don’t let them mess with the plan or ruin your chance for the optional XP!
 The enemies protecting the crystals are not too hard to defeat and Kylea will power those up as soon as she can. The real trouble comes when the floodgates of warforged come pouring out. The fights here can be a bit rough if the artificers are not taken out quickly.
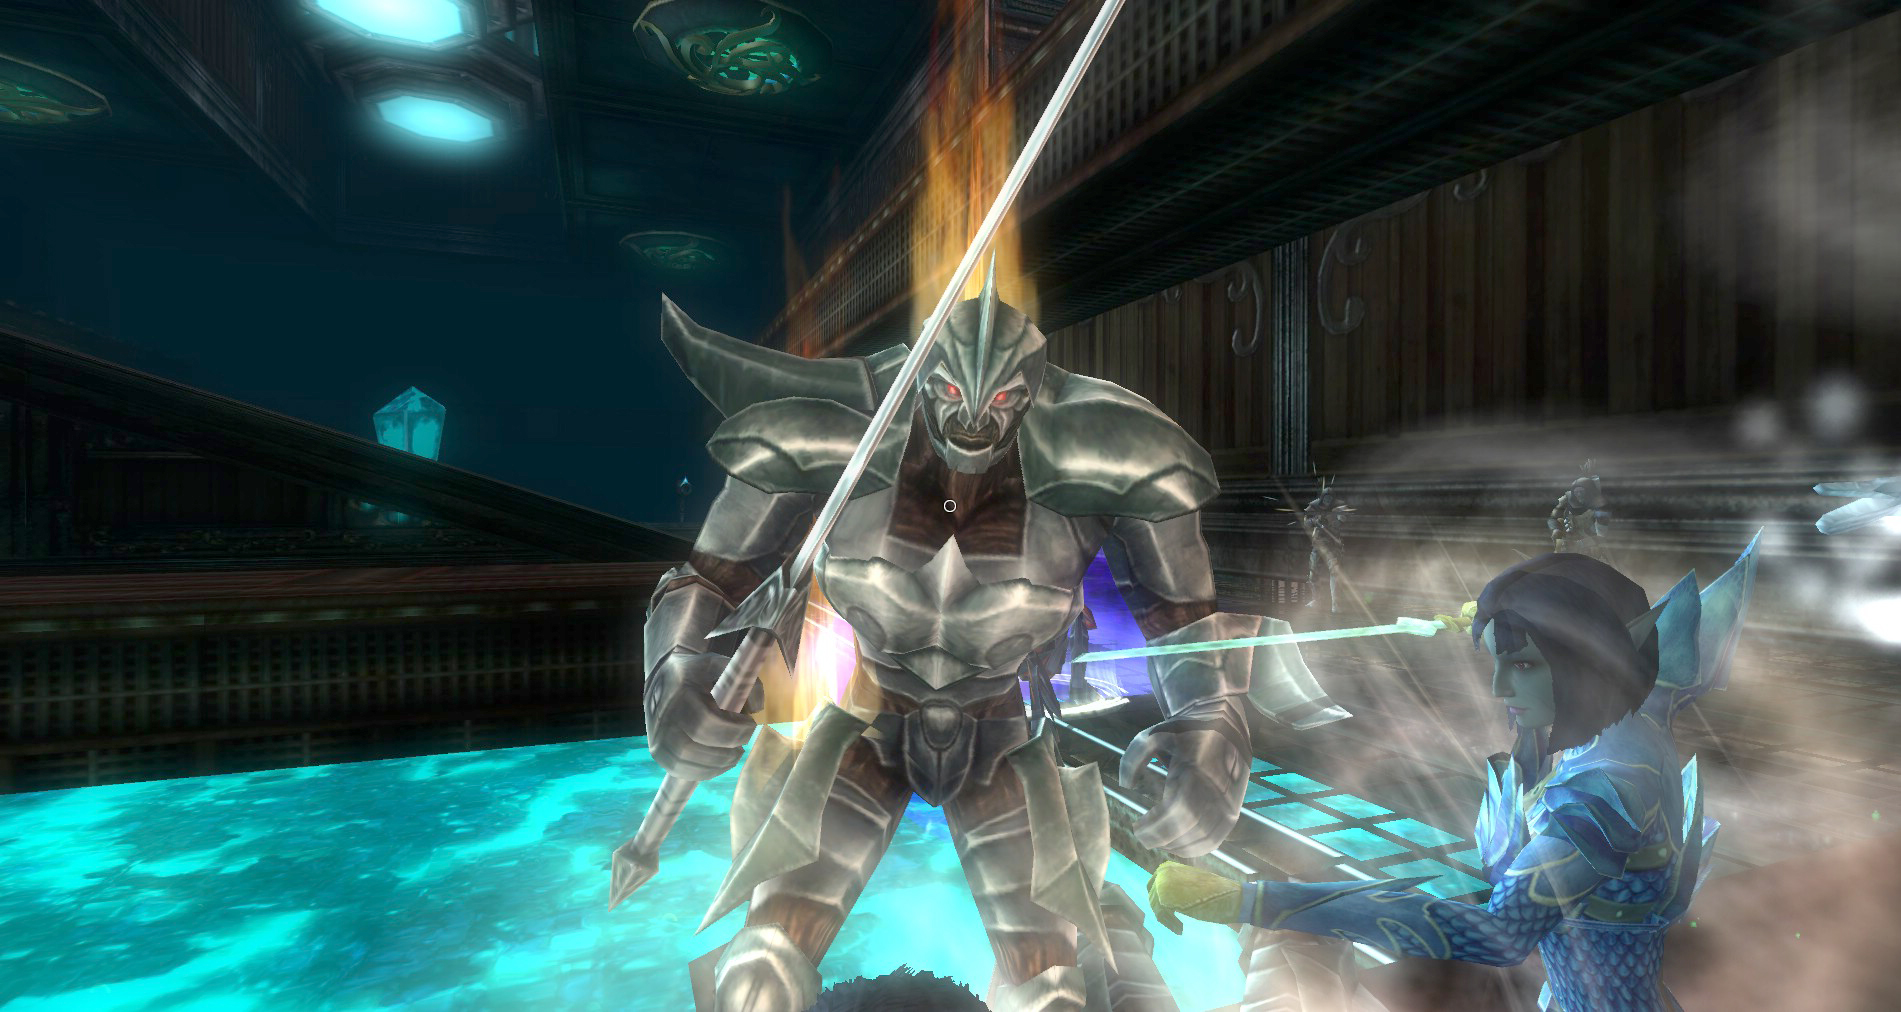
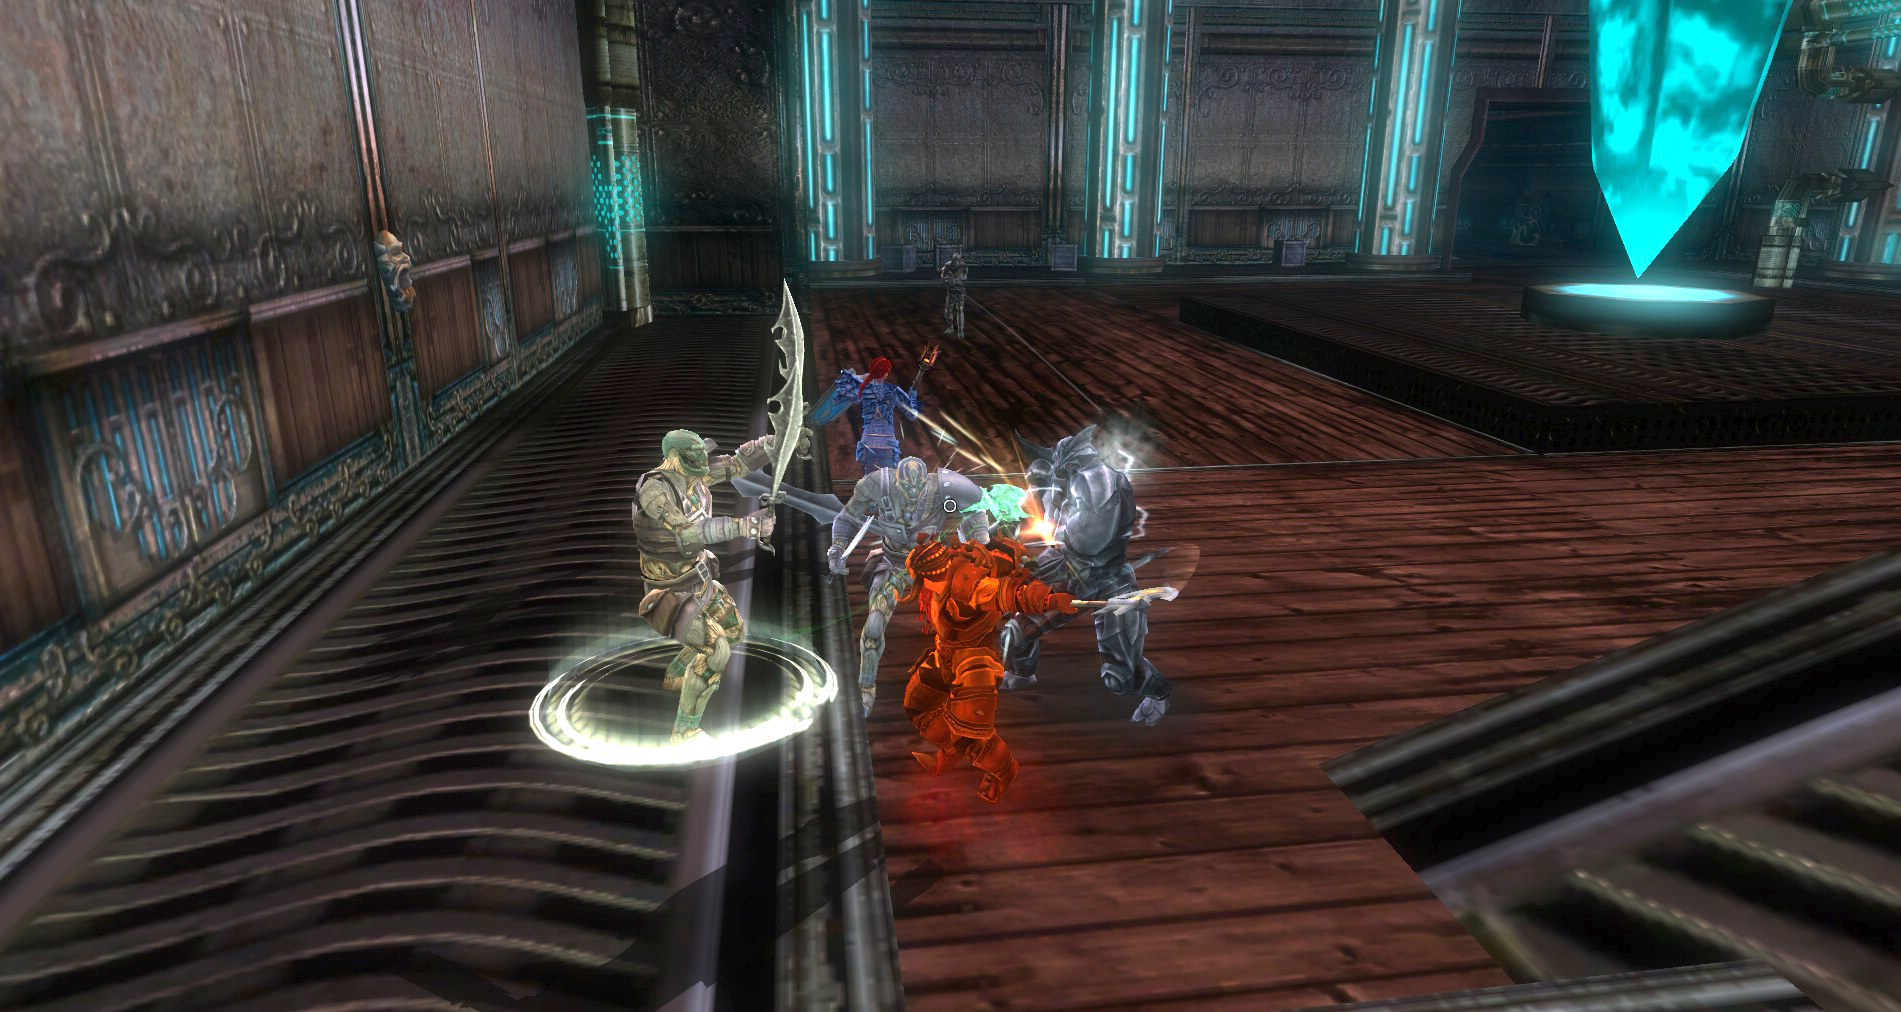
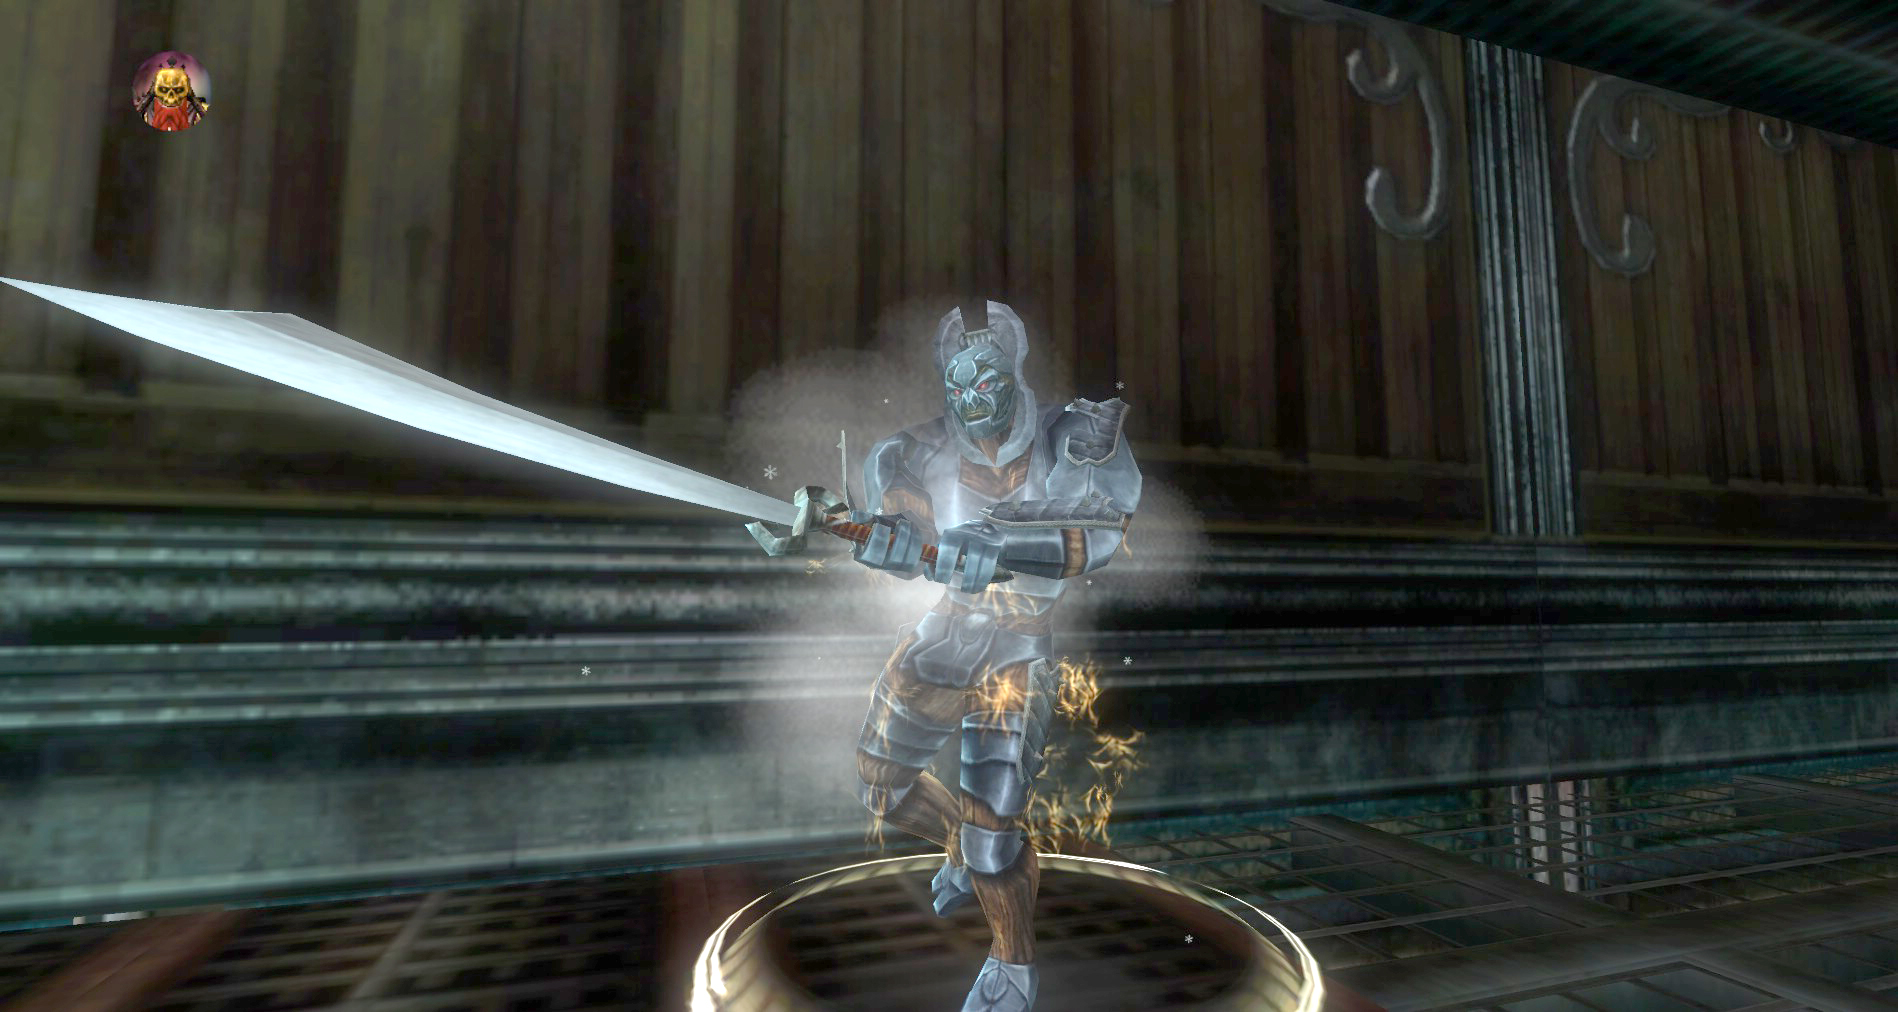
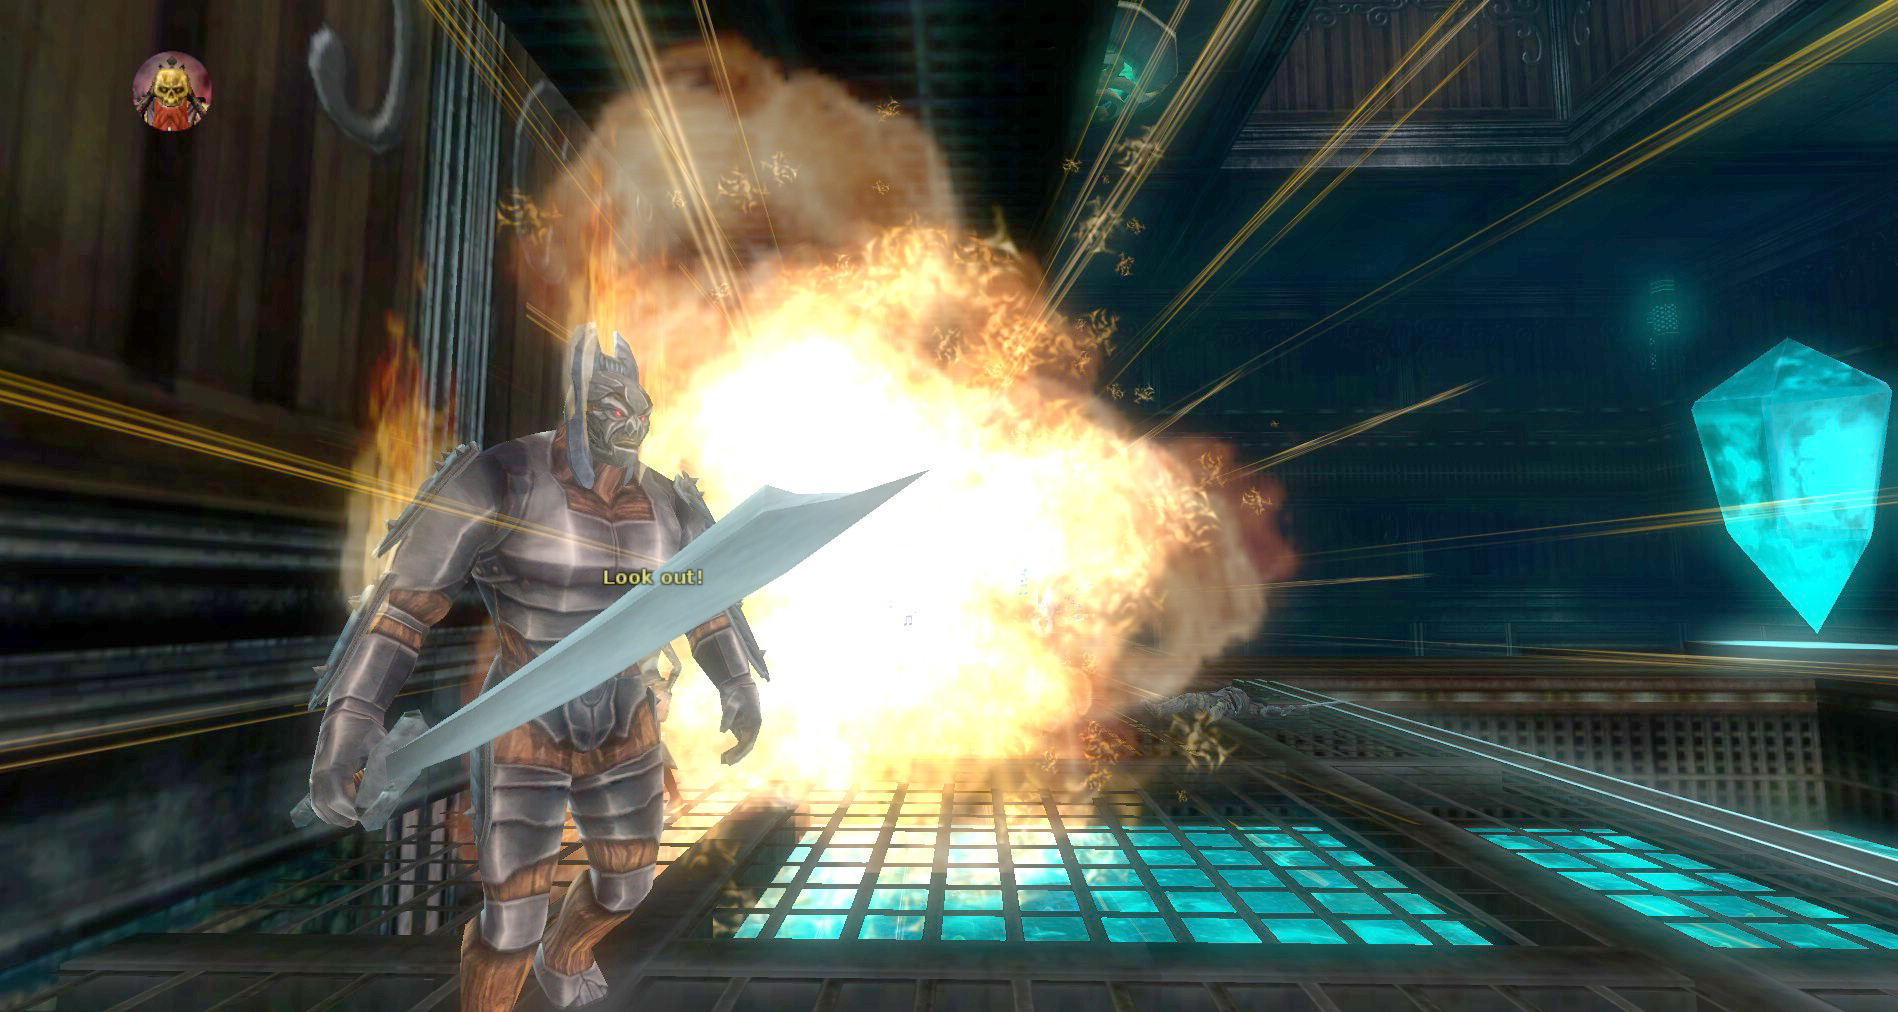
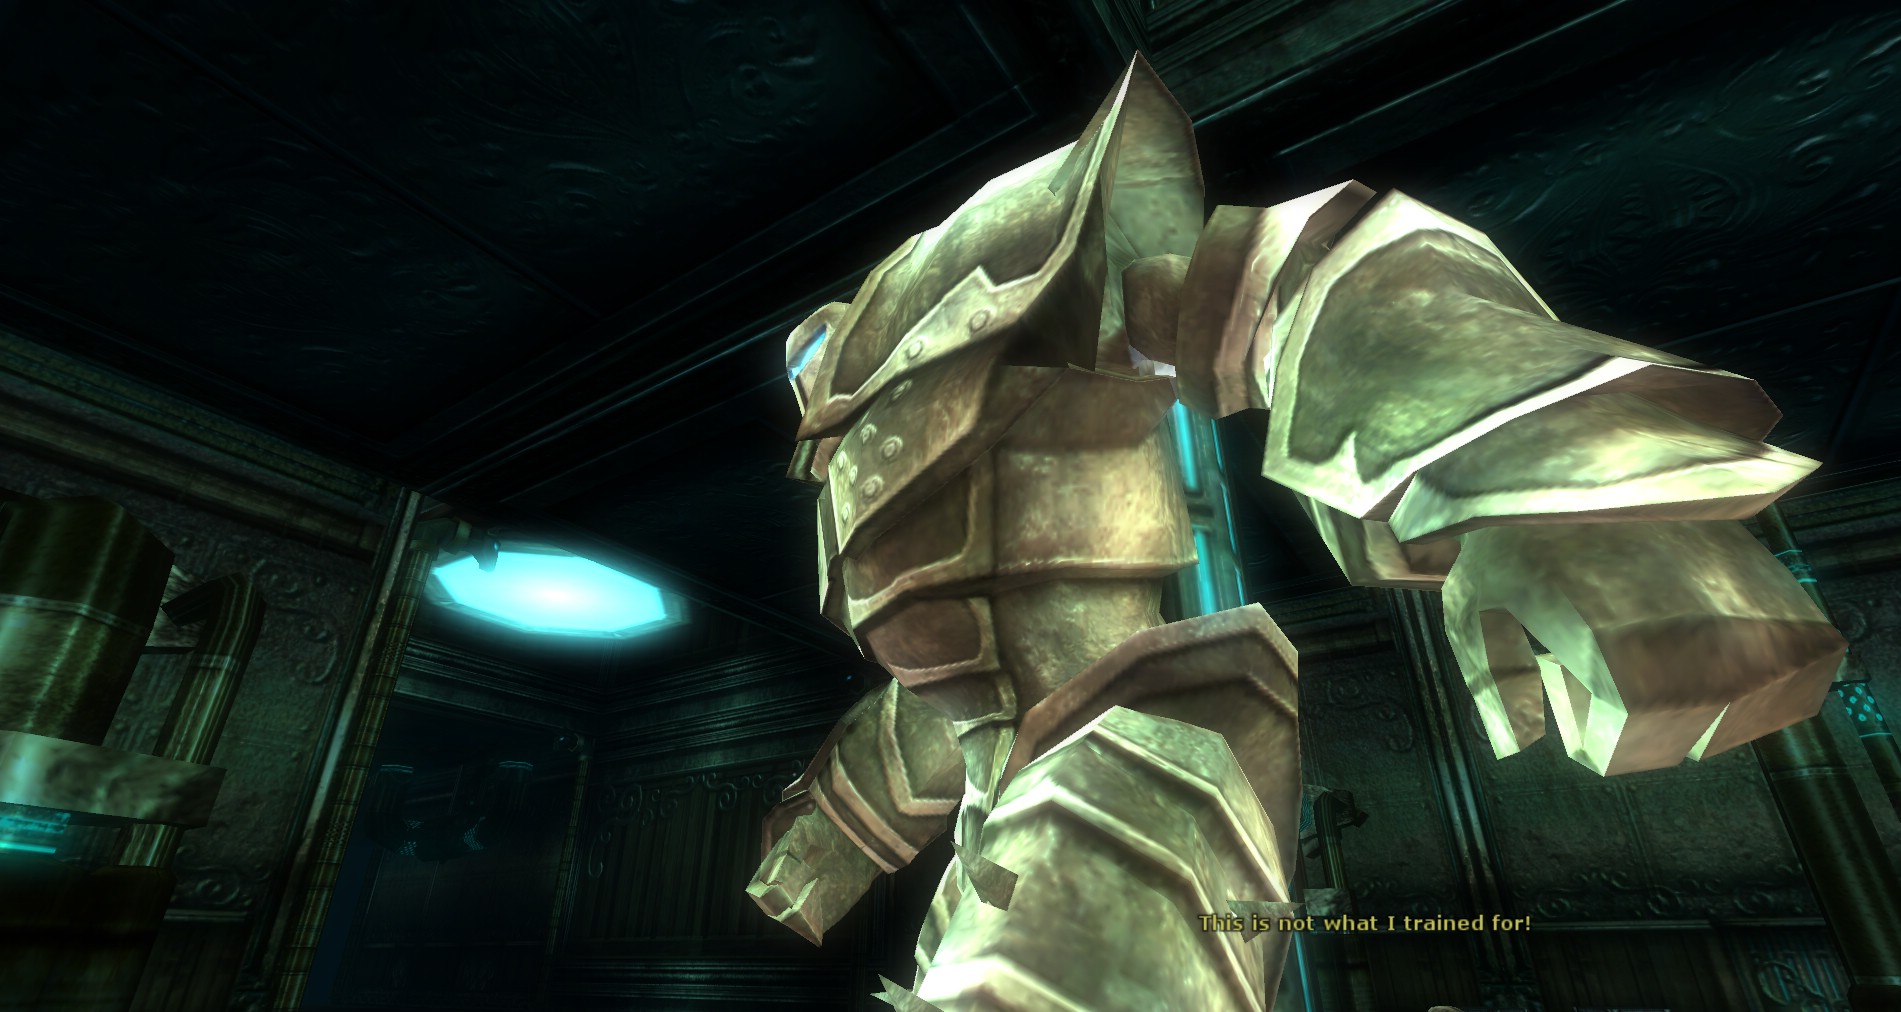
Steelthorn will come out with other warforged. He is not that hard himself, it is just all his allies that can cause problems. They will nuke you, heal him and generally keep everyone busy if they are not dealt with quickly. They will also keep spawning until Steelthorn is killed so it is best to take the boss out as quickly as possible.
If things are not going well, give up on protecting the crystals and allow the respawns to move to them. Move Steelthorn off from the ramp and over to the corner or some other place that is out of the line of where the respawns move. Doing so will remove the need to fight them so you can focus on Steelthorn himself. This makes it much easier but you are almost guaranteed to lose the optional to keep the Power Crystals from being destroyed. So use this as a last ditch effort to complete the quest if you happen to be struggling with it.
You can access the shrine on the second level if you need to resurrect someone or need to sneak off for more spell points.
Once Steelthorn dies, the quest completes and the warforged respawns stop. Even though the spawns stop, there may be some warforged still roaming around so be wary of these. Then head up to the rooms where the warforged were coming out of for your end chest. Good luck on your loot!

No Comments Yet