 The conflict between the Lord of Eyes and the Twelve comes to a head as the Lord of Eyes himself enters the Tower of the Twelve! It is time to find out what the Lord of Eyes is up to and to drive him from the Tower of the Twelve. You will have to enter the Tower of the Twelve and fight through the Lord of the Eyes’ minions to rescue some of the wizards of the Twelve. These wizards are working to protect the tower and to help bring the Lord of Stone in to aid their cause!
- Series: Lord of Eyes
- Level: 17
- Patron: The Twelve
- Length: Long
- Dungeon: The Lower Arcanum
- Recommended Party: Standard
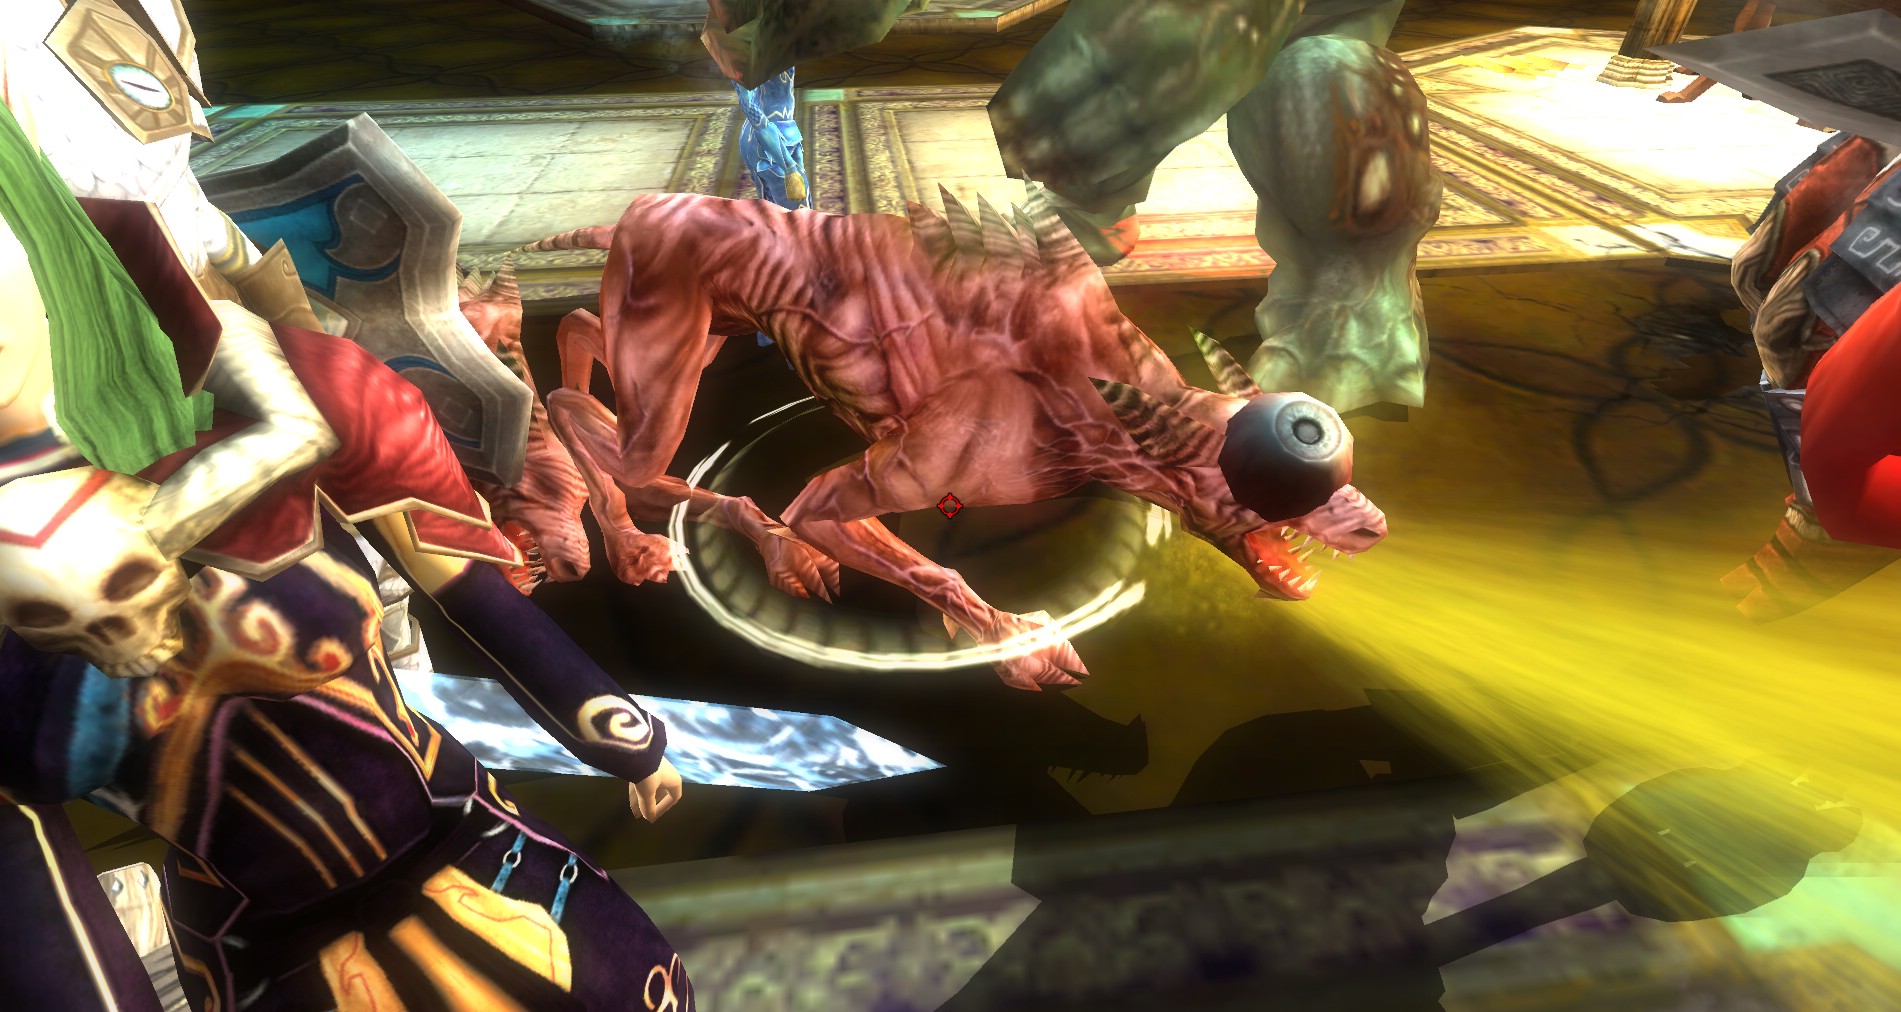
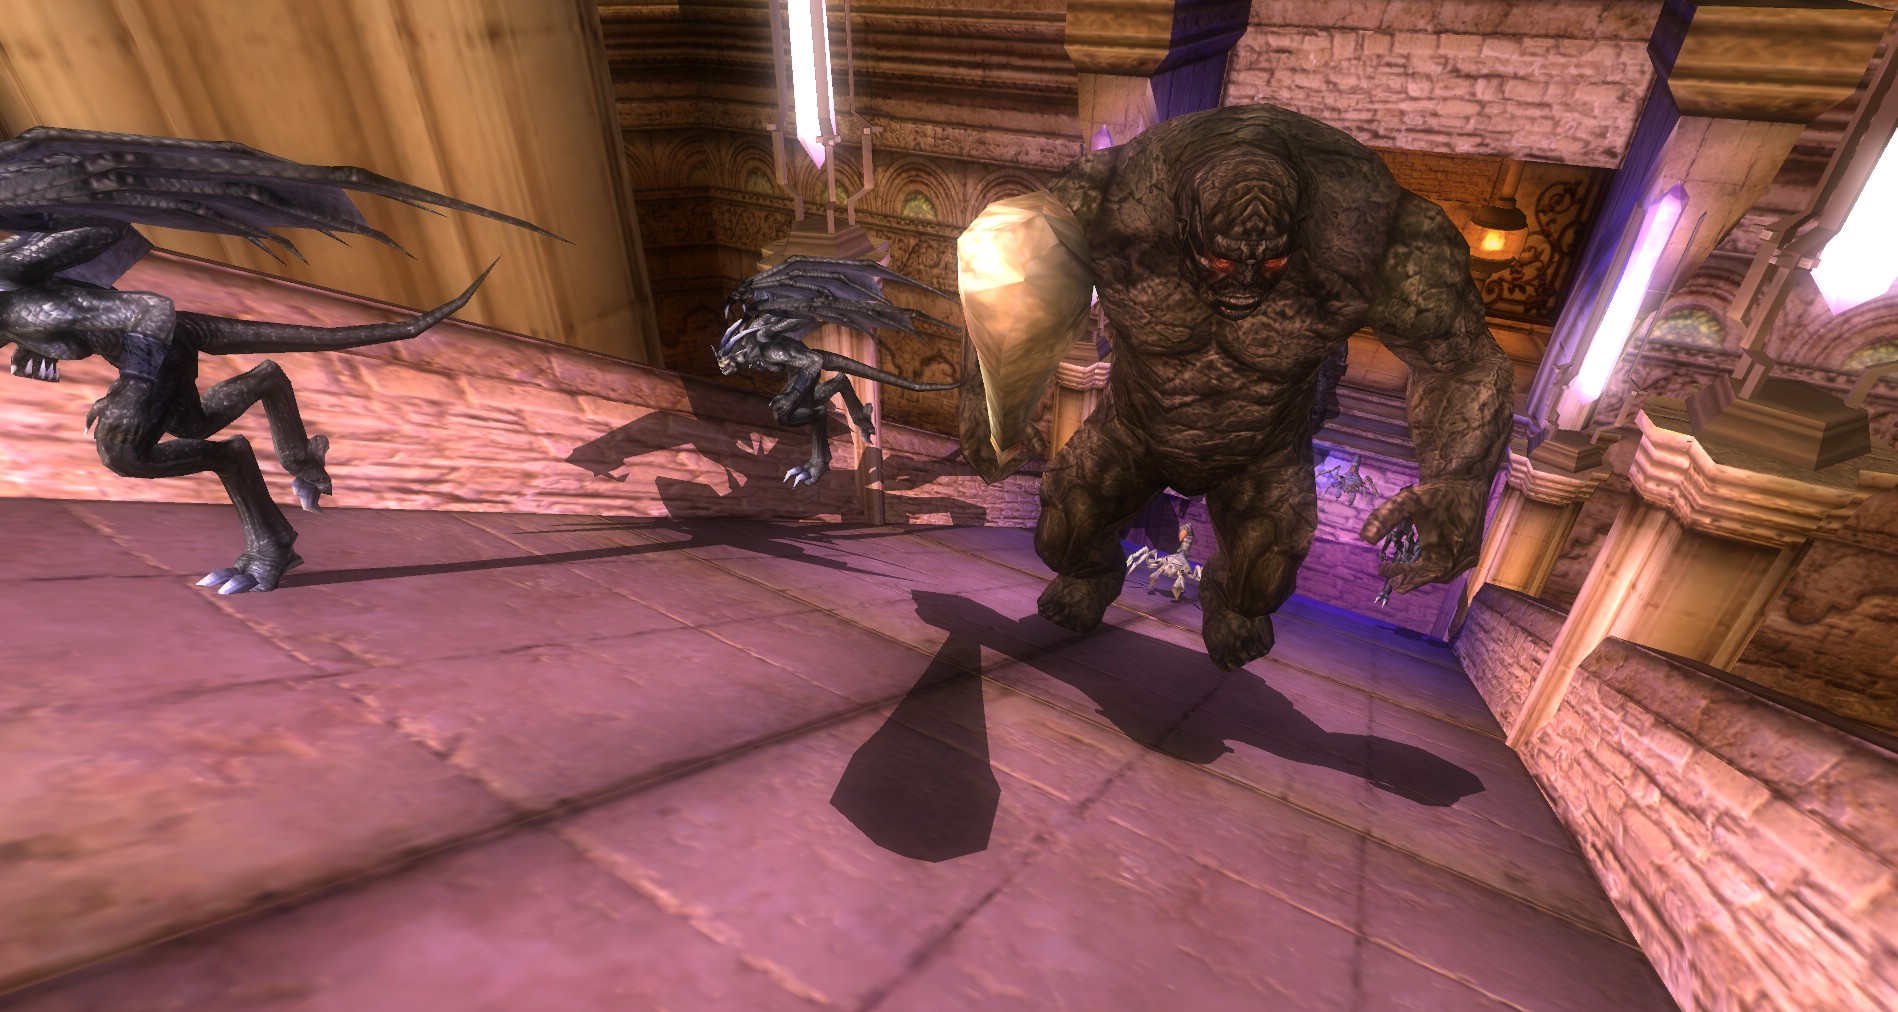
- MoBs: Evil Eyes, Greater Evil Eye, Eye Horror, Xoriat Render, Xortiat Hound, Prodigal Earth Elemental, Prodigal Air Elemental, Greater Thaarak Hound
- Dangerous MoBs: Chaos Beholder, Frost Beholder, Beholder Fleshmaker, Armored Beholder, Prodigal Fire Elemental, Prodigal Water Elemental, Mind Flayer Mage
- Buffs: Standard, Elemental Resist are great when collecting the Elementals (Fire and Cold at least), Feather Fall, Deathward
- Special Note: There is a lot of back tracking in this quest. Be prepared for monsters when you pass back through an area.
- Quest Stats: Detailed Quest Stats on DDMs Realm Here
 Before you head in, make sure that you have spoken to Basmore Trask and that you are on the right step of the Lord of Eyes quest arc.
Speak to Elawyn Thwr to get the quest. She will send you down the corridor to a door to the Lower Arcanum. The wizards of the Twelve are not sure what is going on and you will have to discover what the Lord of Eyes is up to and how to stop him throughout the quest.
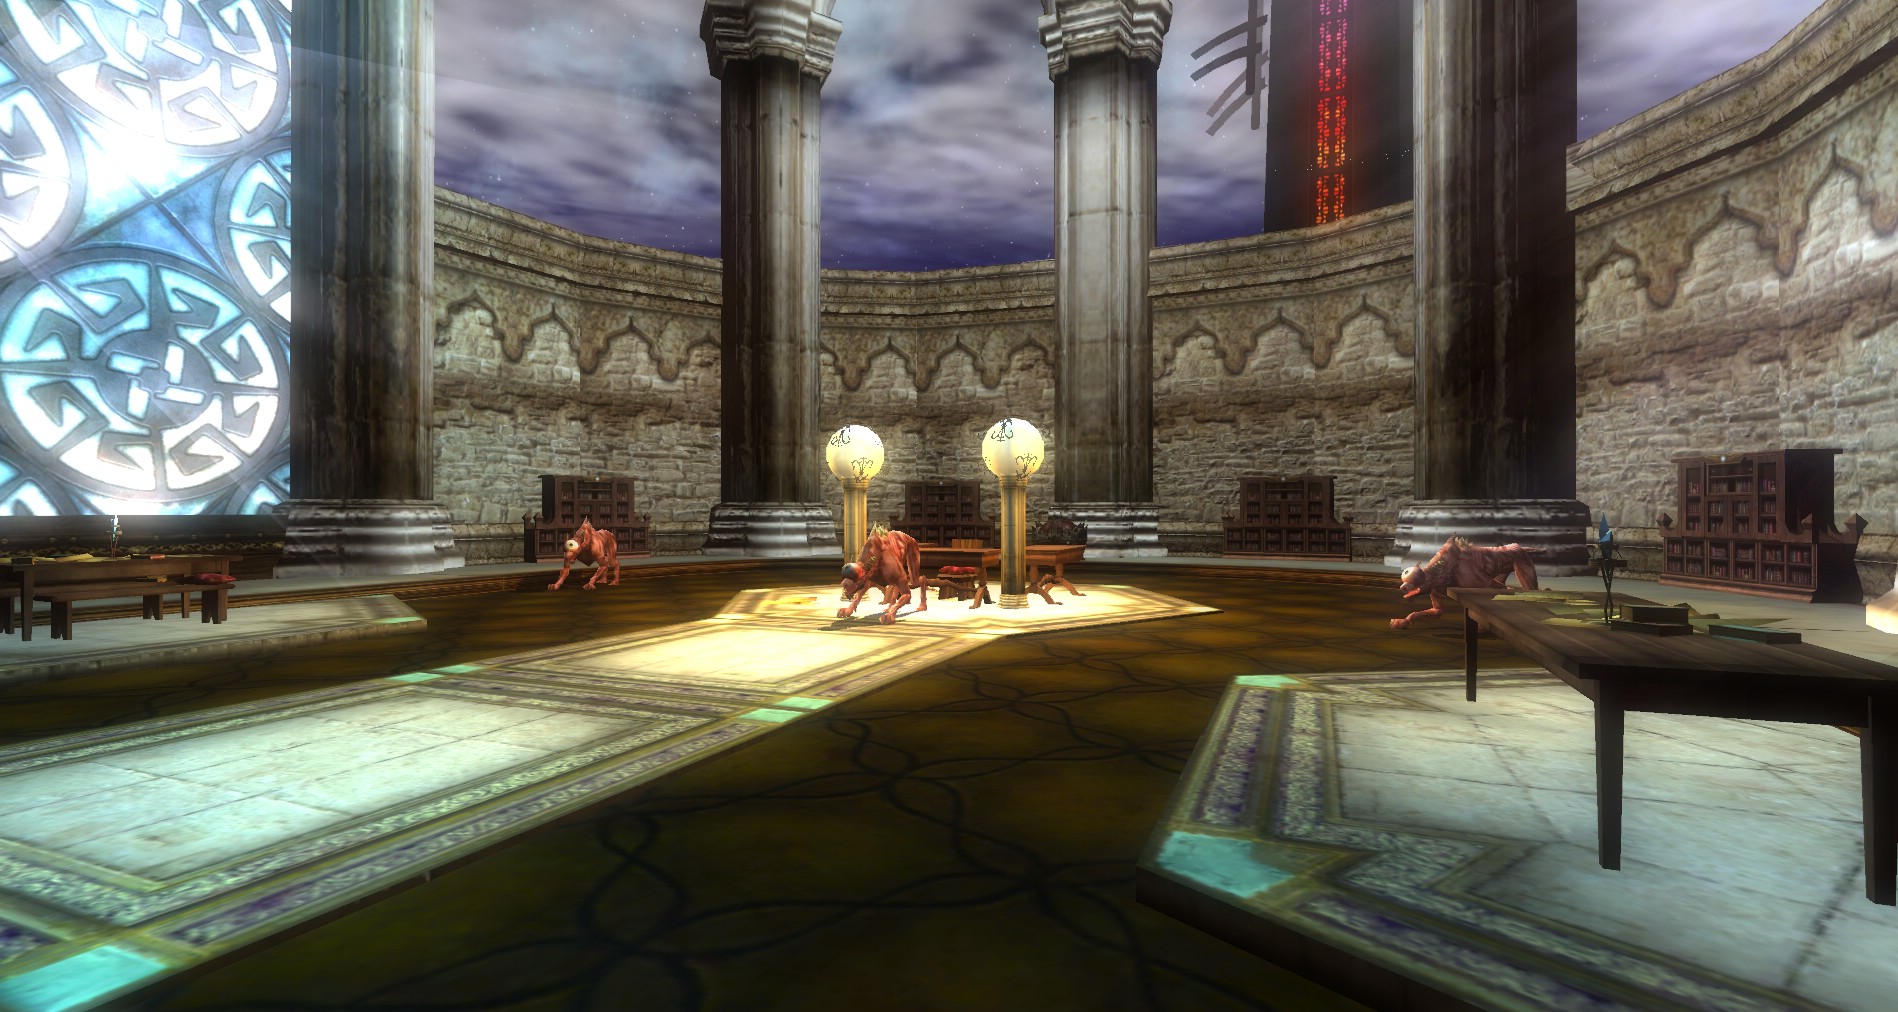
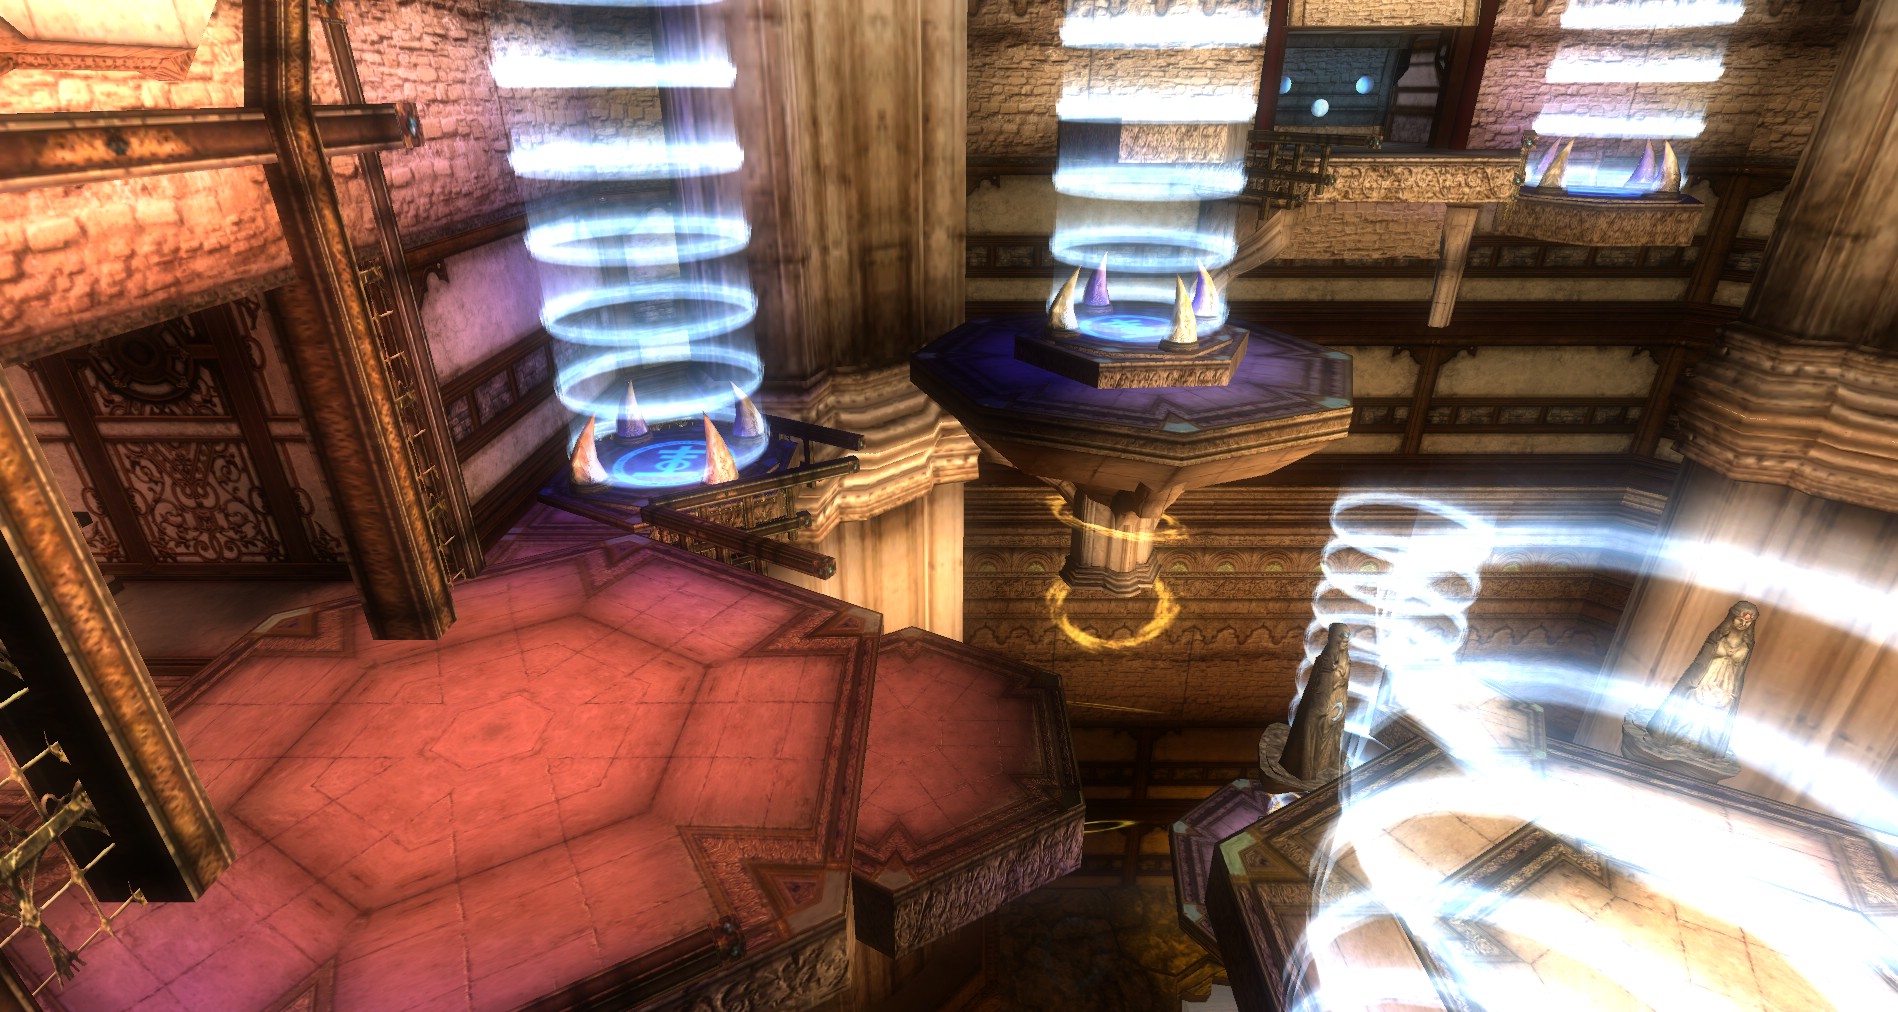
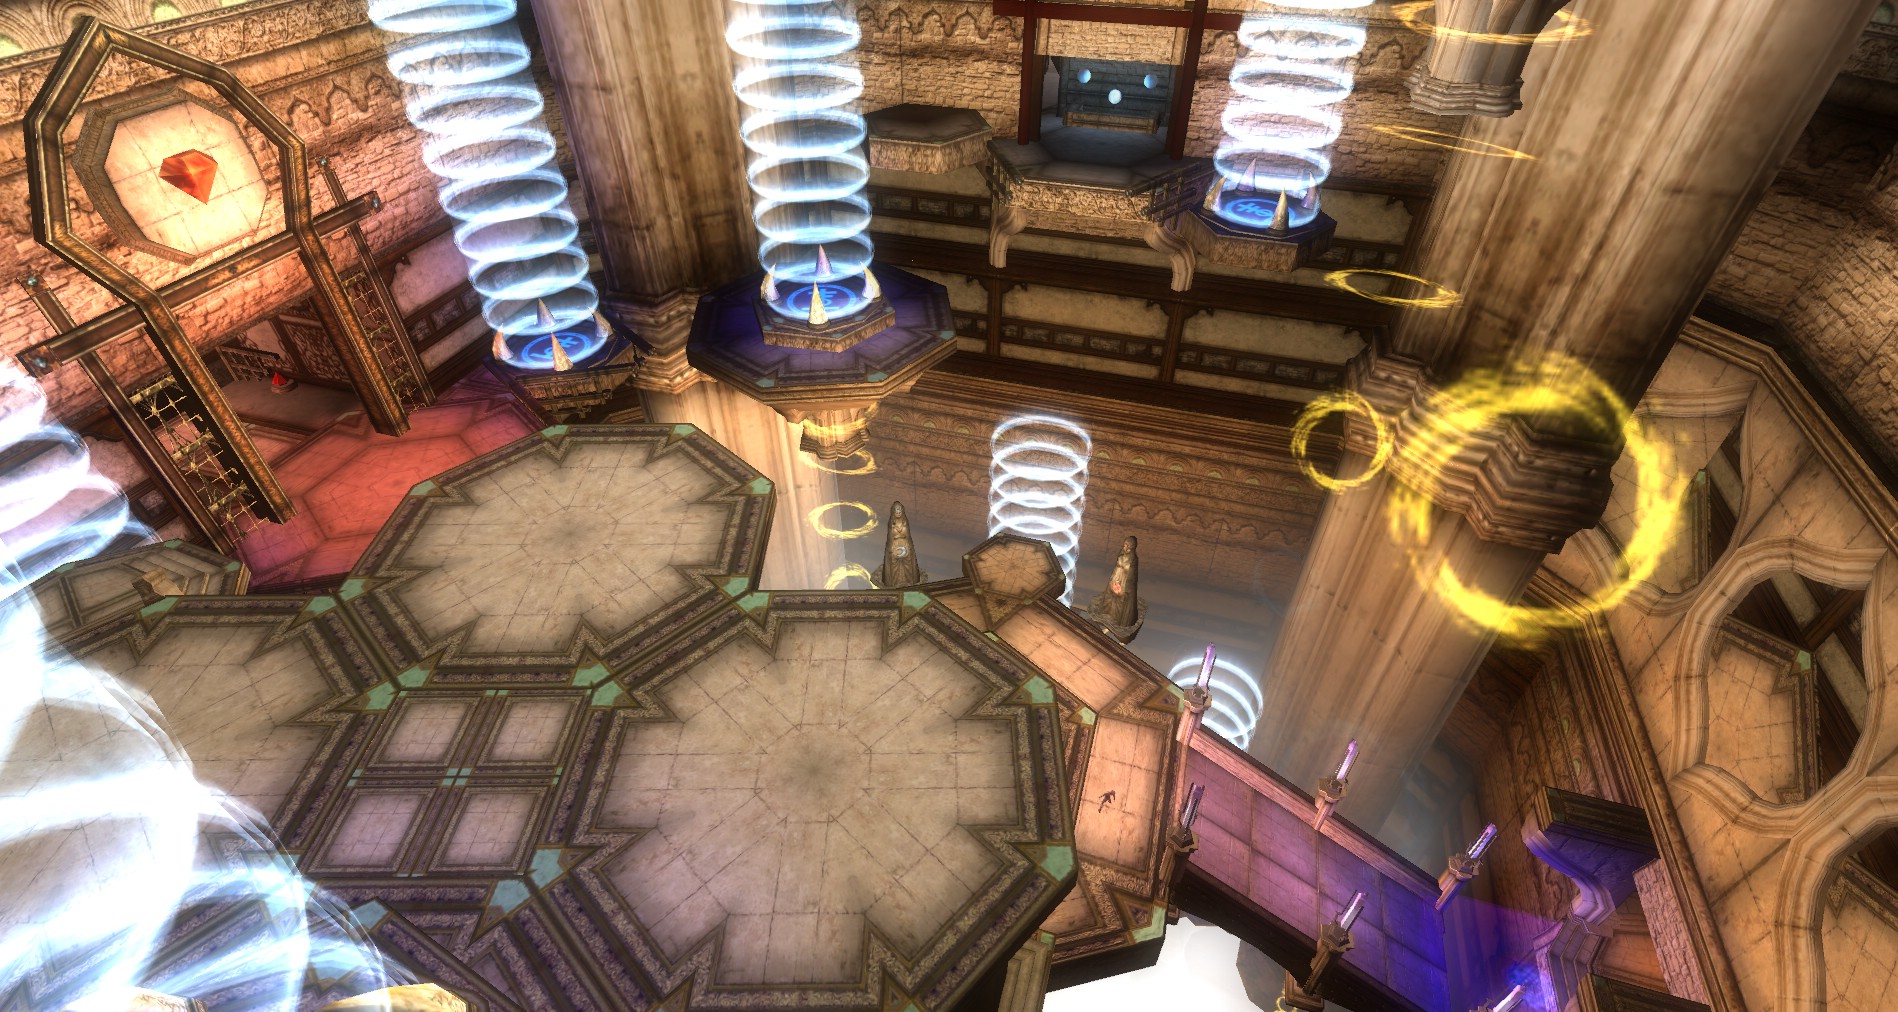
There are four main sections to the tower here and they can each be accessed in one direction. The entrances may be high or low but you will know if you are in the right area if you check your map to see if you are north/south/east/west of the main central chamber.
As you move around this dungeon, events unfold, so be prepared for mobs spawning in areas you have already been. Note that when on the levitation sections, mobs do not spawn until you are on them. They appear right next to you, so be ready for them!
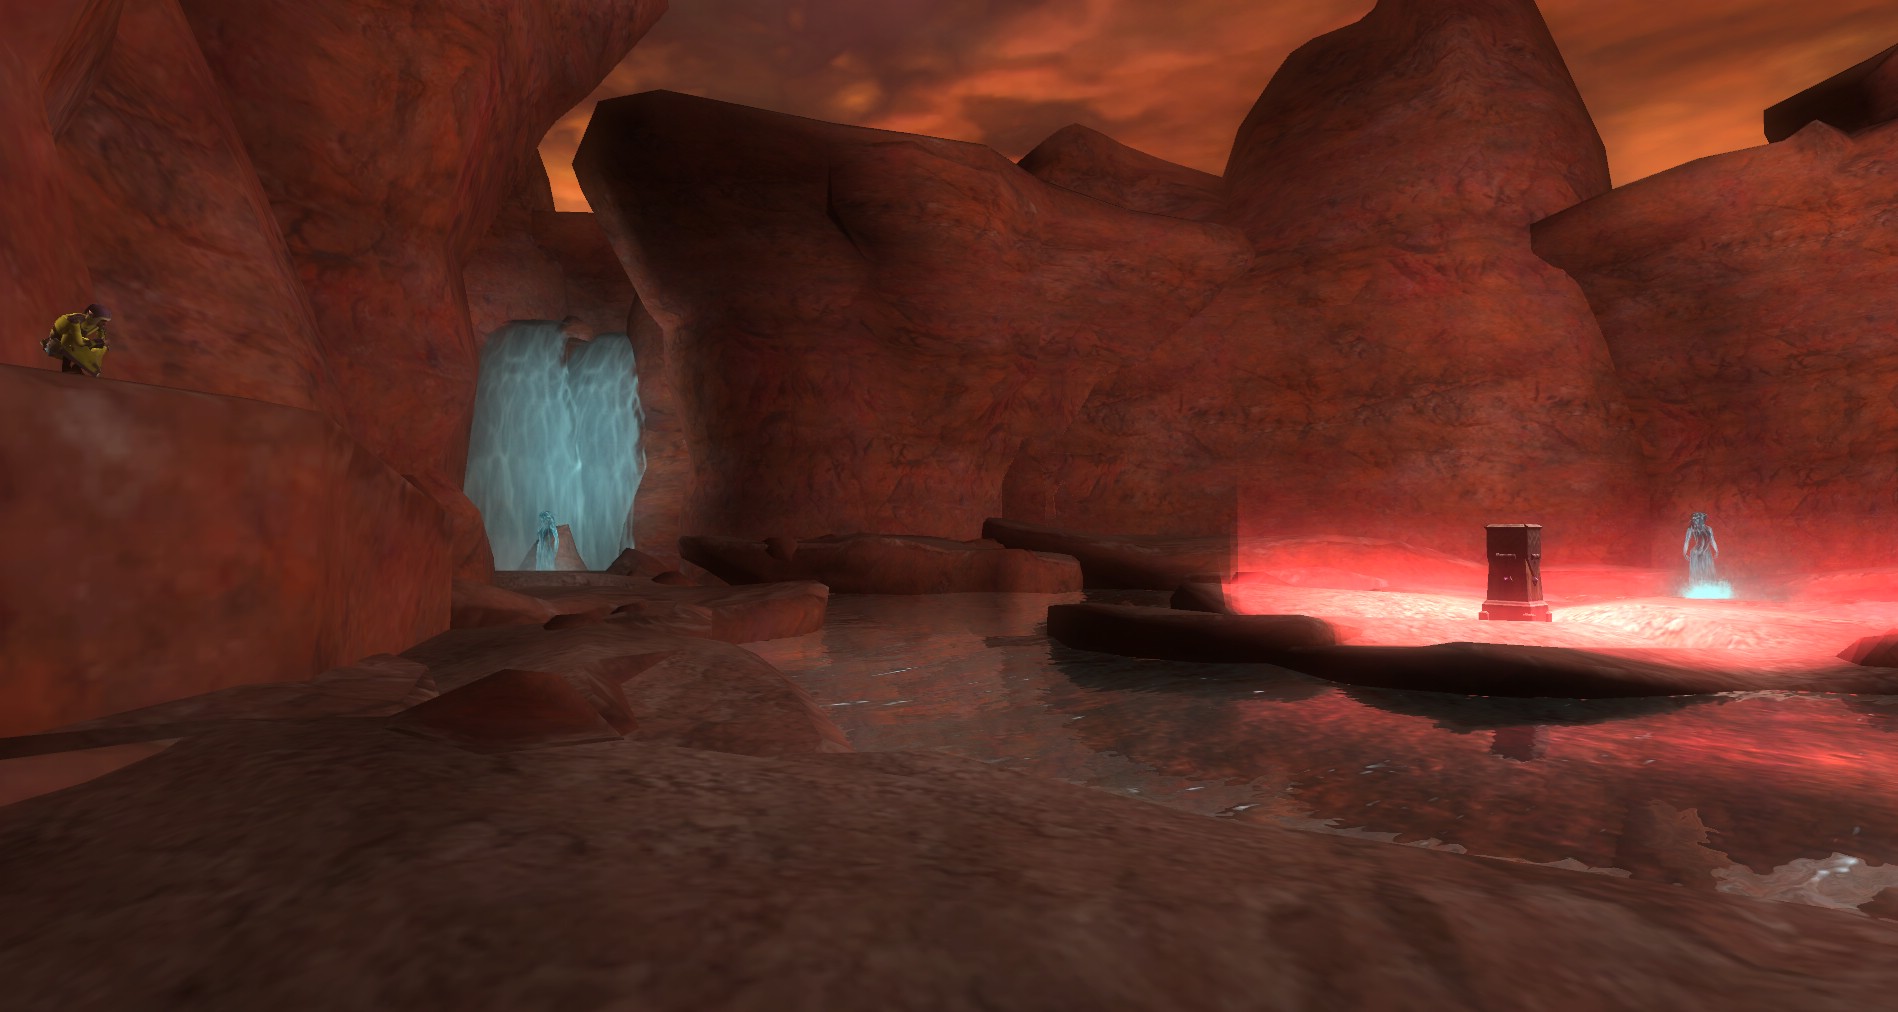
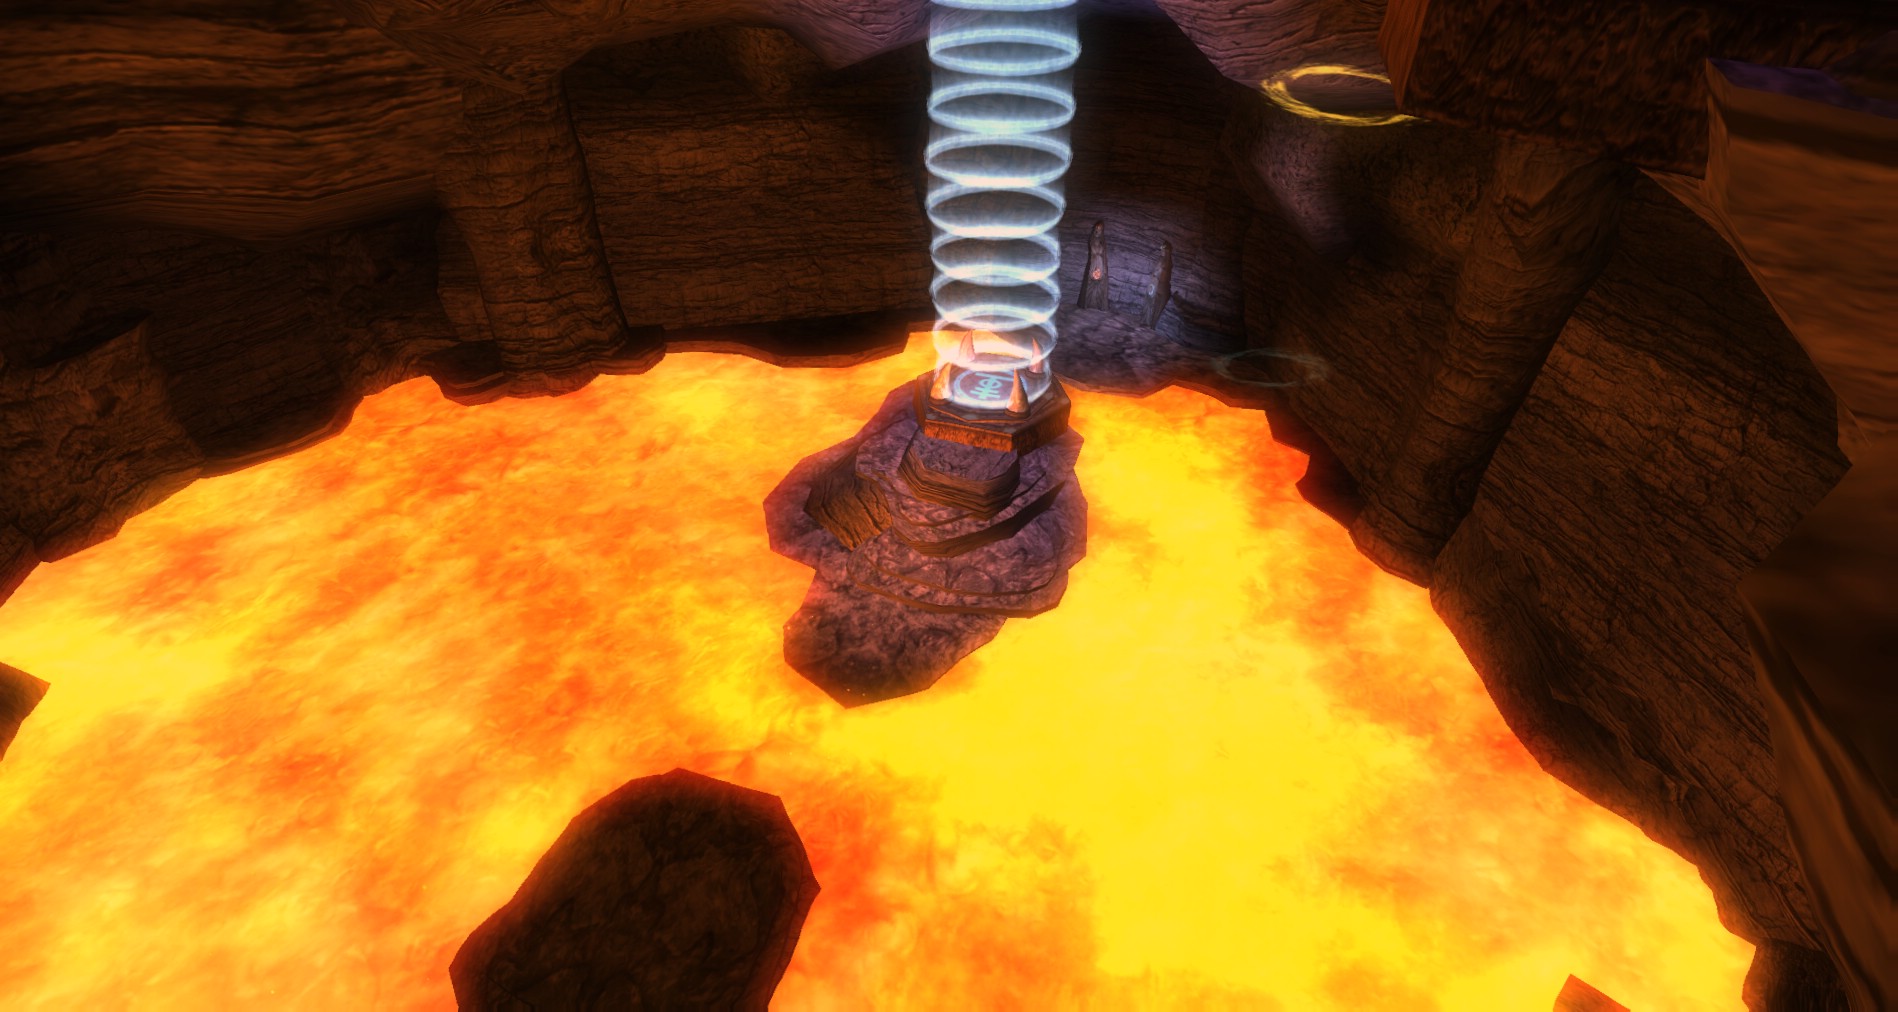
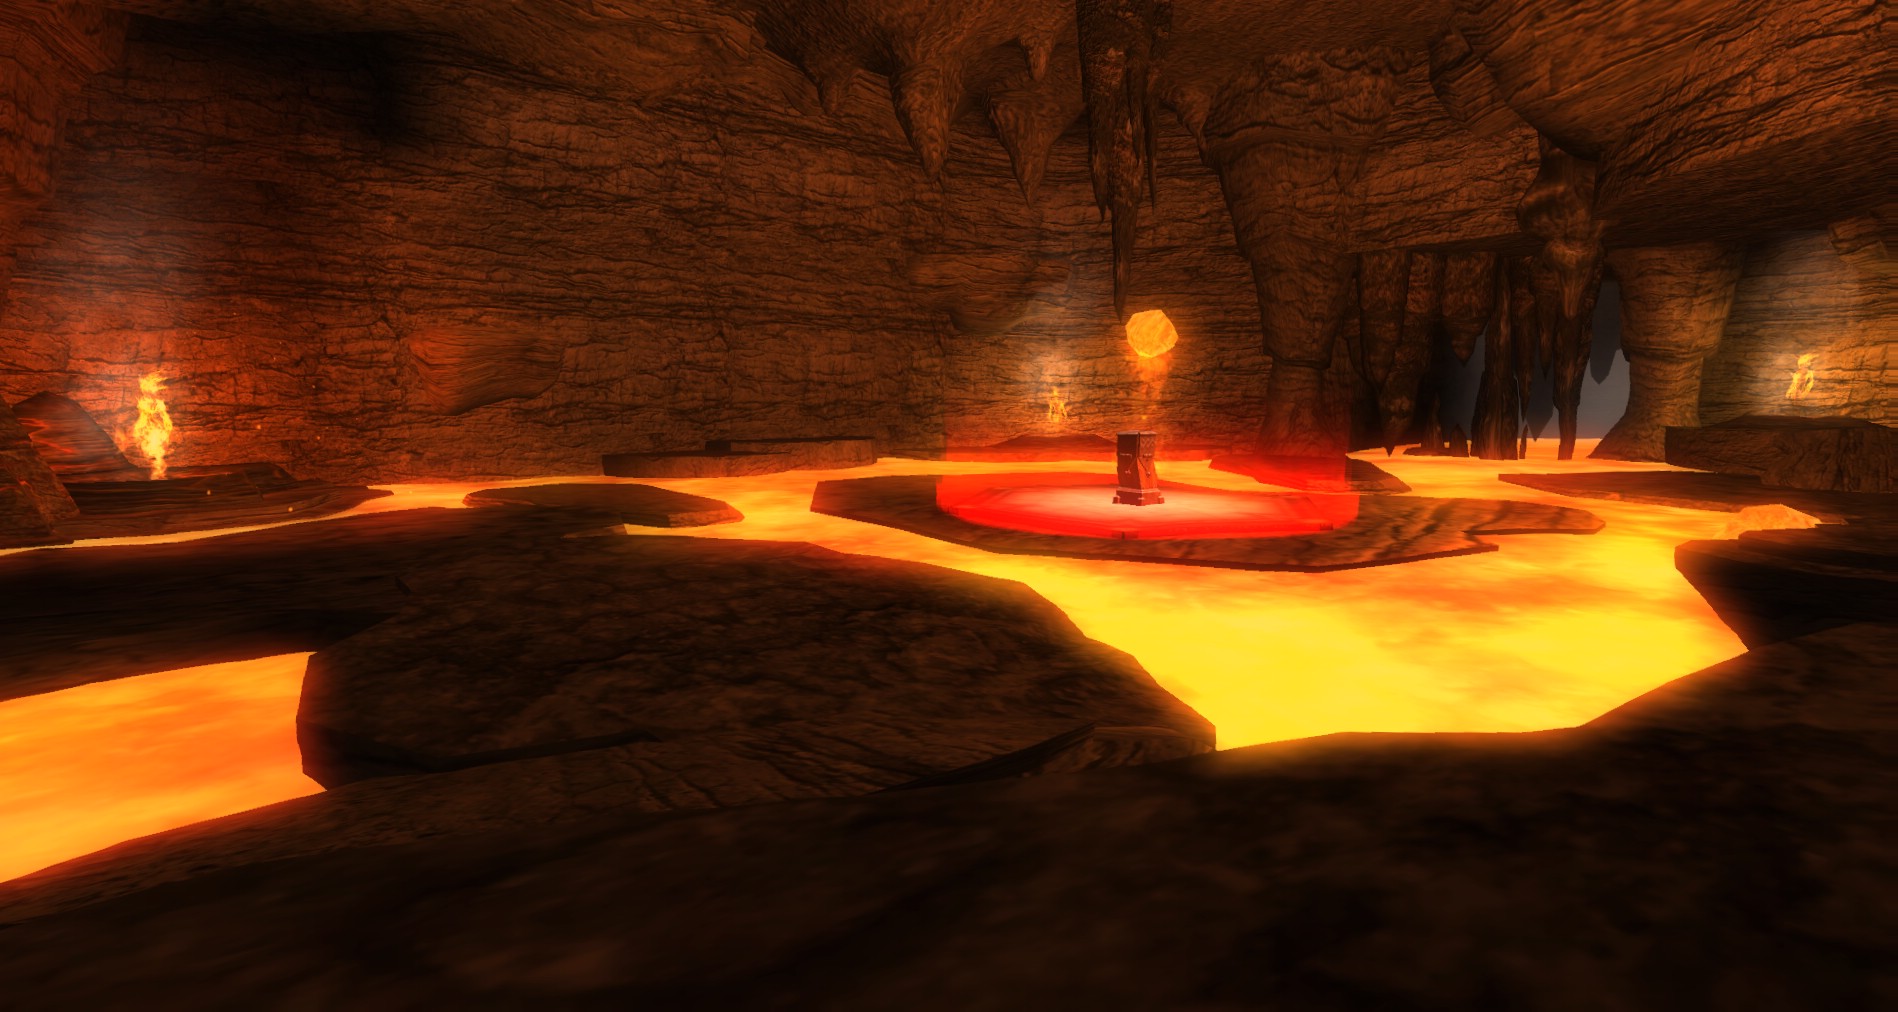
 In the very bottom of the central levitation chamber is a lava lake, but tucked back in the corner is a shrine. Use this shrine first if you need it. Save the central shrine on the main platform because you will likely need it later.
Also, a good tip if you find yourself overwhelmed or need to escape: make your way back to this central room and fall all the way to the bottom to recover. Mobs will not follow you and you will have the ability to res, recover and come up with a plan if things do not go well in the quest.
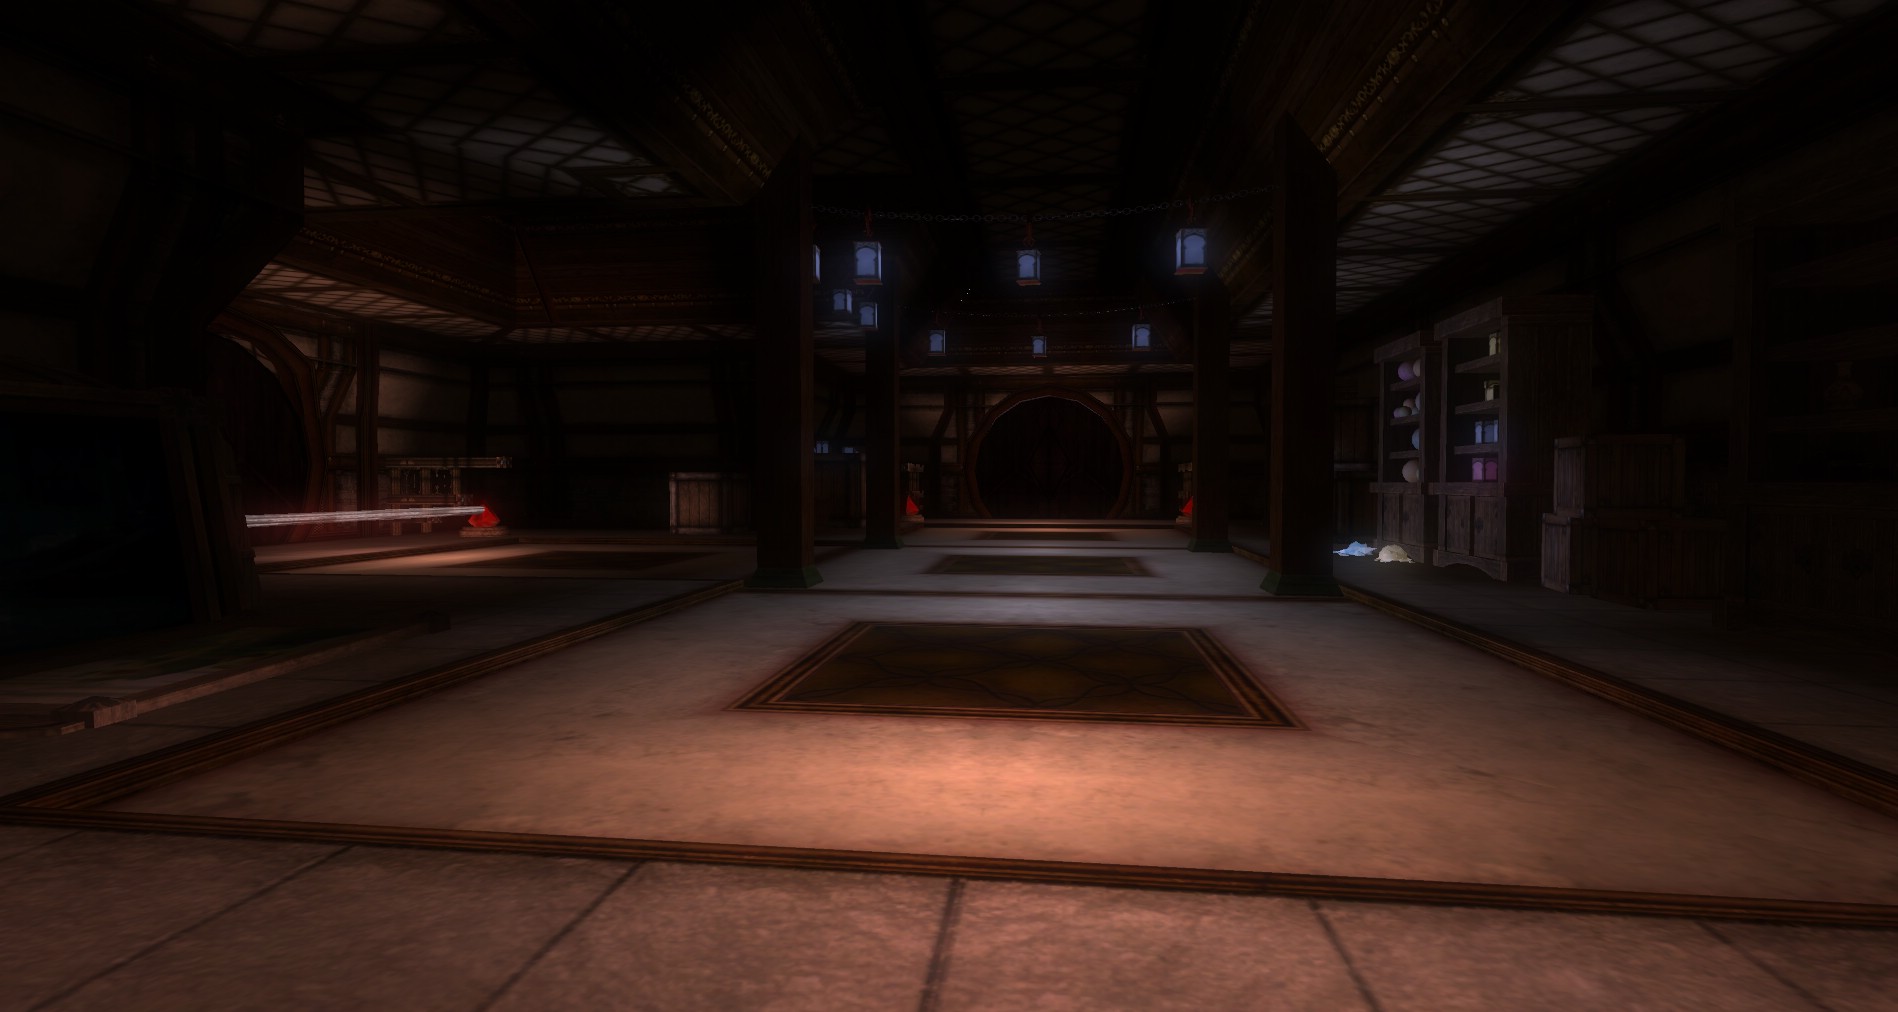
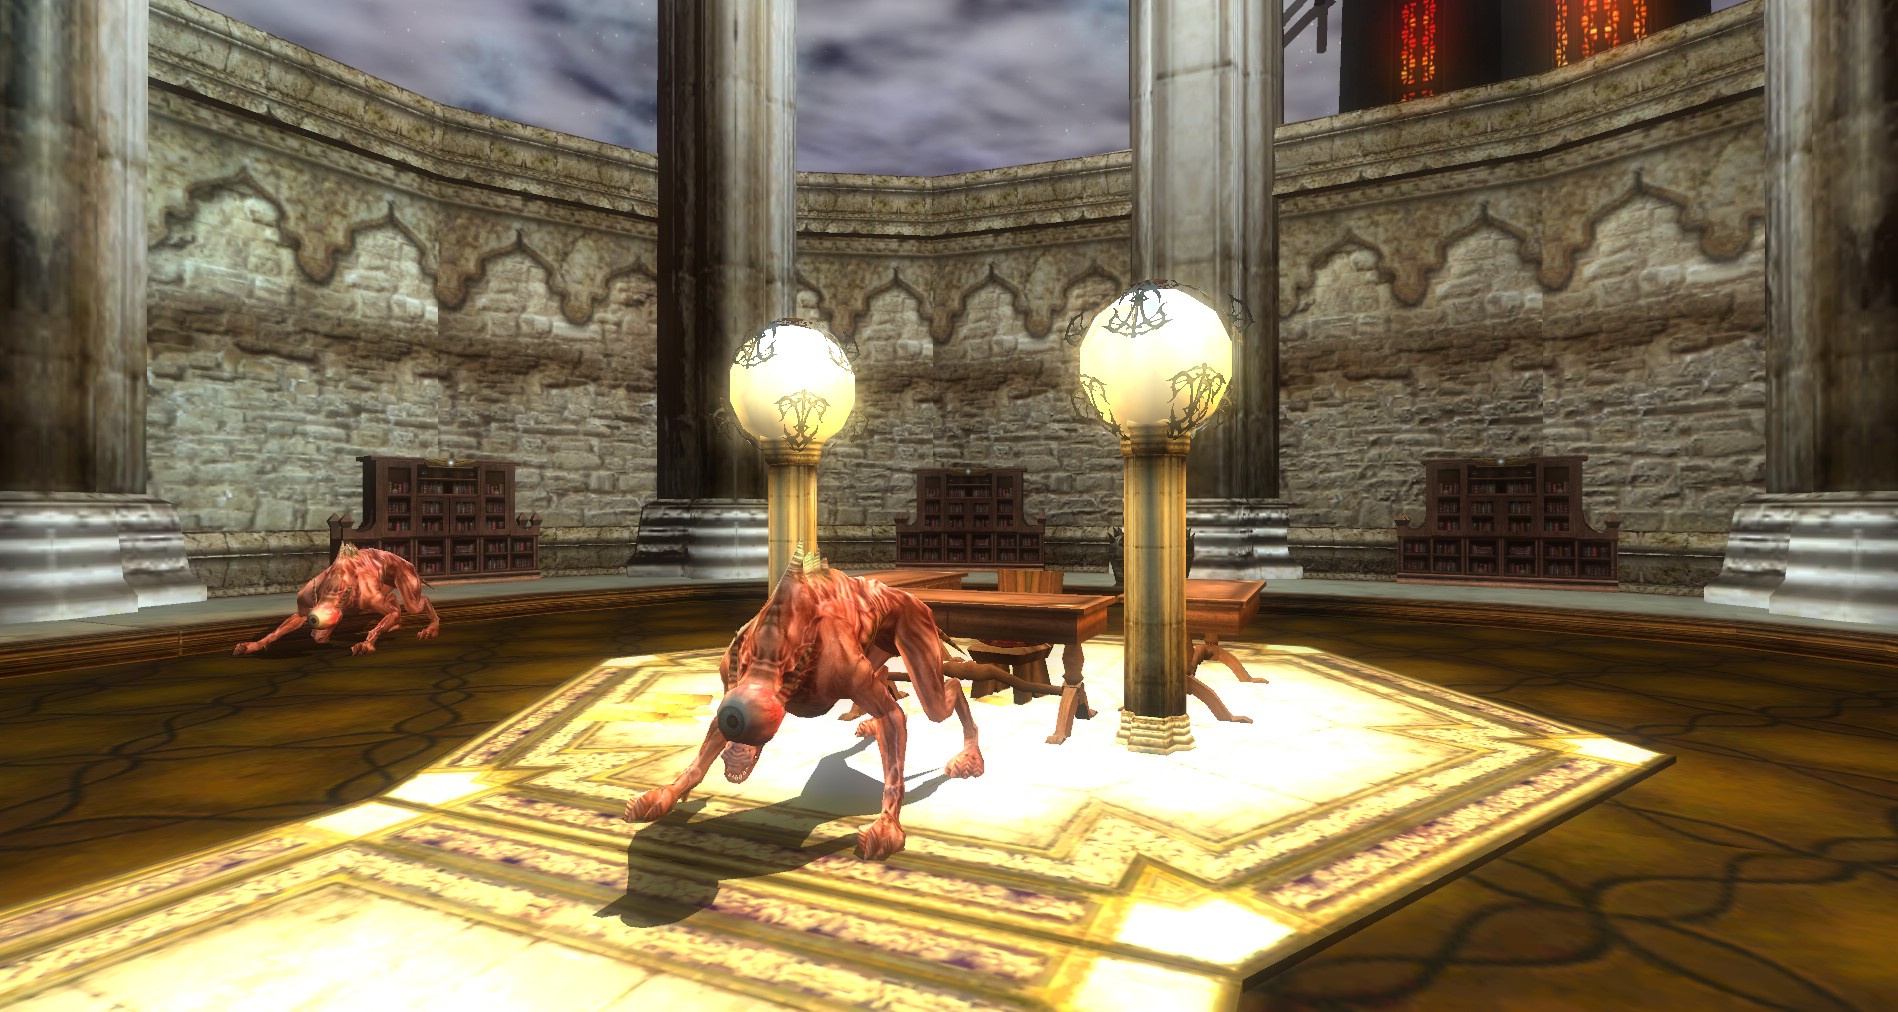
Foyer of the Arcanum
 Once in, buff up and summon whatever you need. Don’t go crazy with buffs here as there are many beholders, some of which will just dispel your buffs anyway. You start in the section to the south of the main chamber or at the bottom of your map.
Head down and talk to Ferrah Deene. She will give you some information about what is happening and direct you to seek out Herodigas Melange in the basement who is head of security. She will open the door for you so you may enter the main levitation chamber.
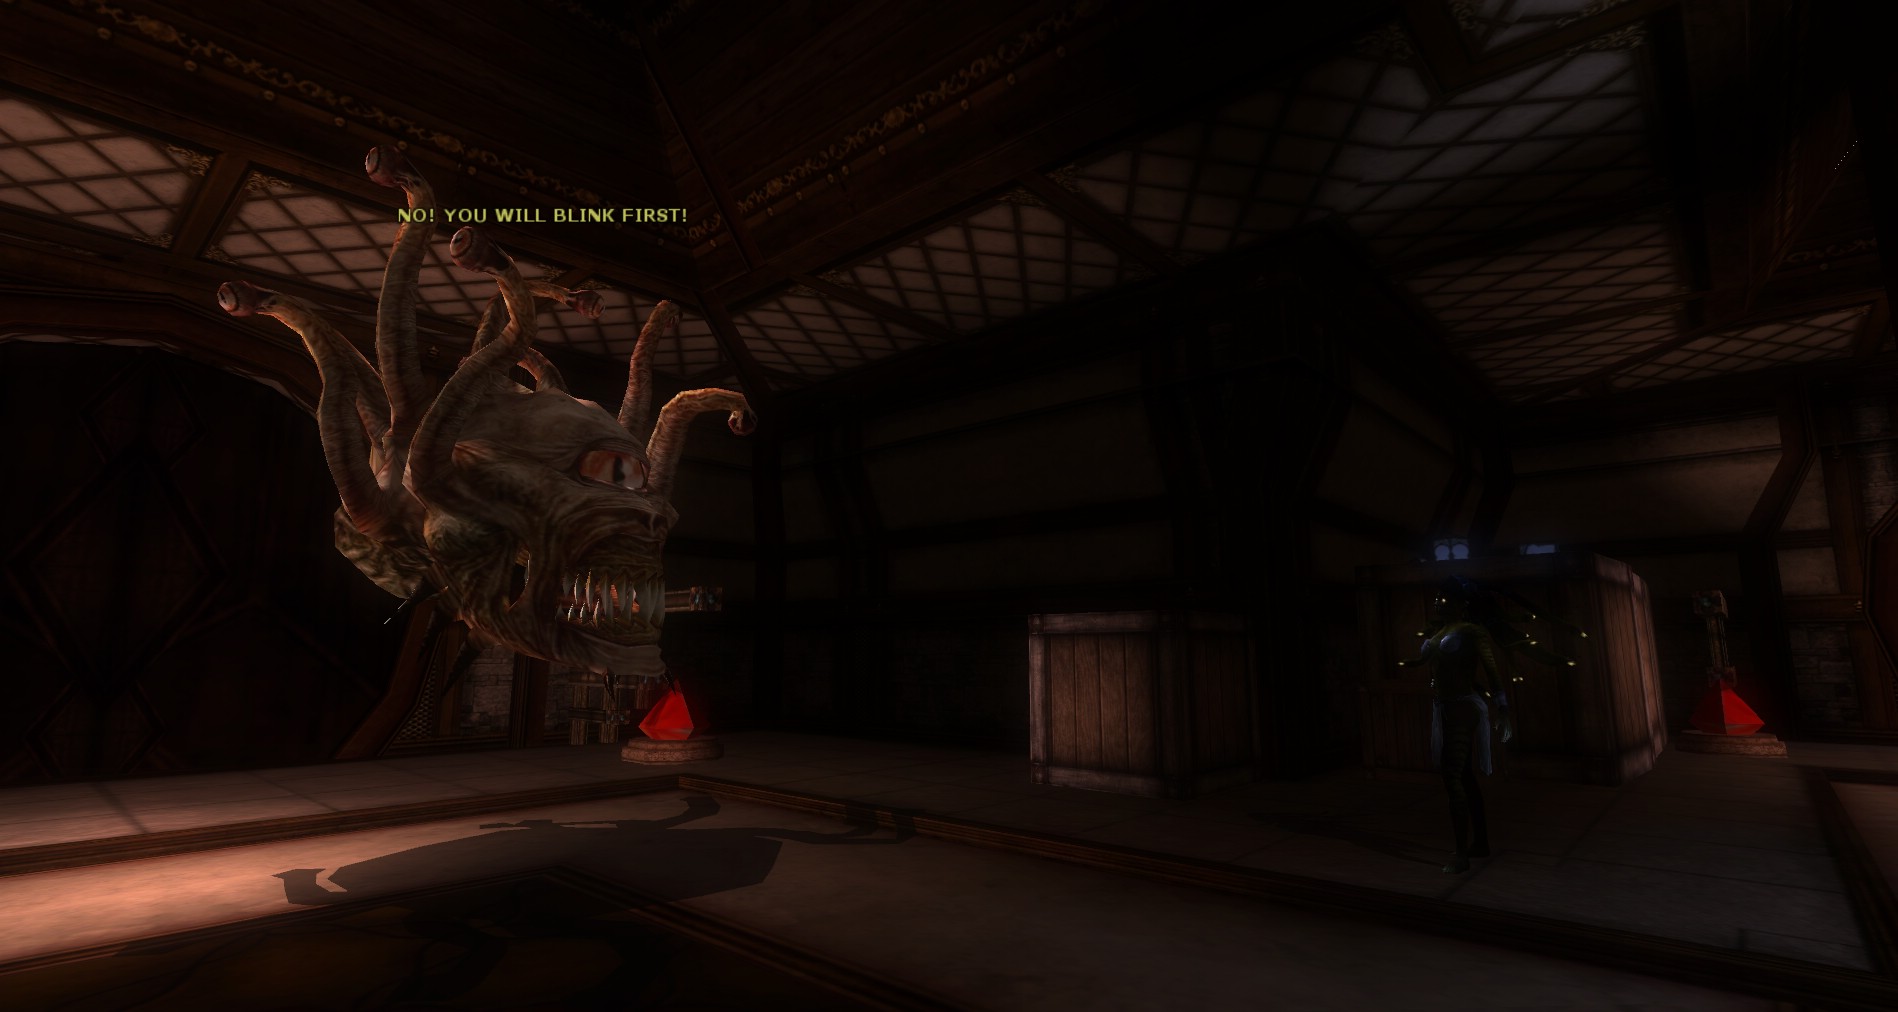
When you open the door there is a beholder and some of its friends there waiting for you. It is a Chaos Beholder and it will not dispel you yet.
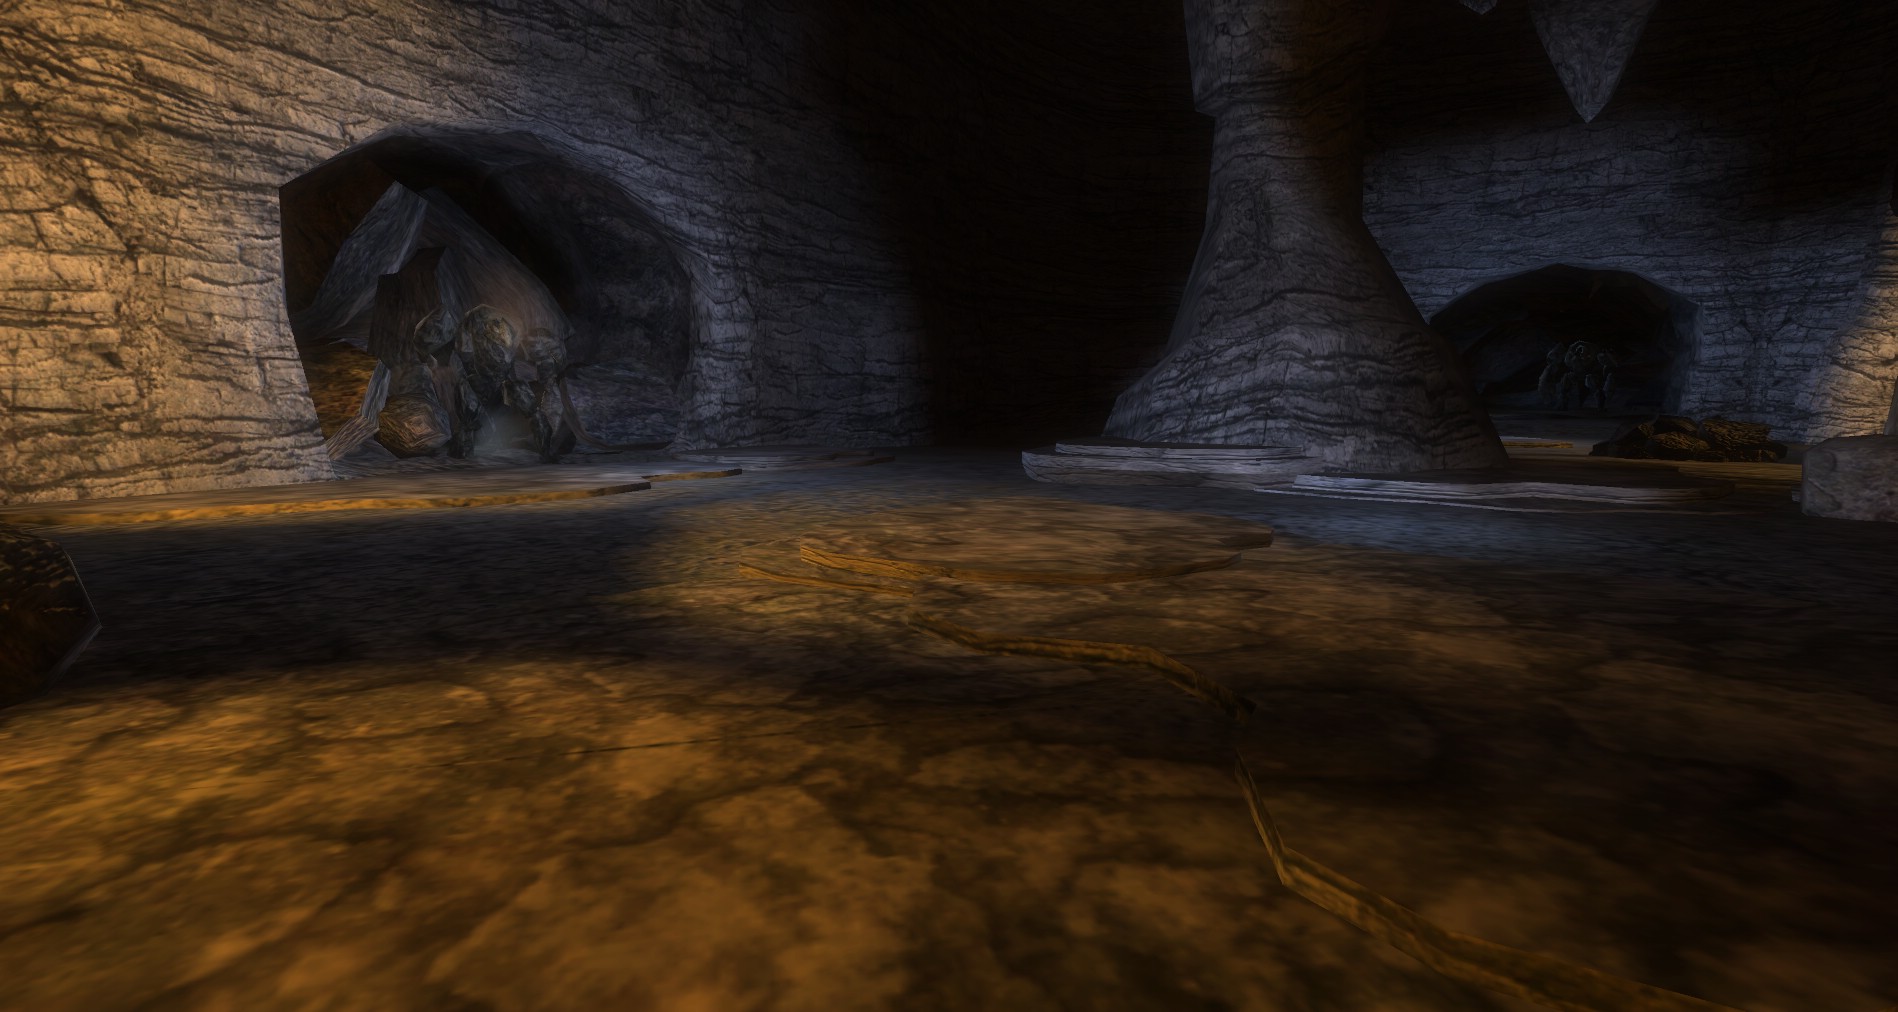
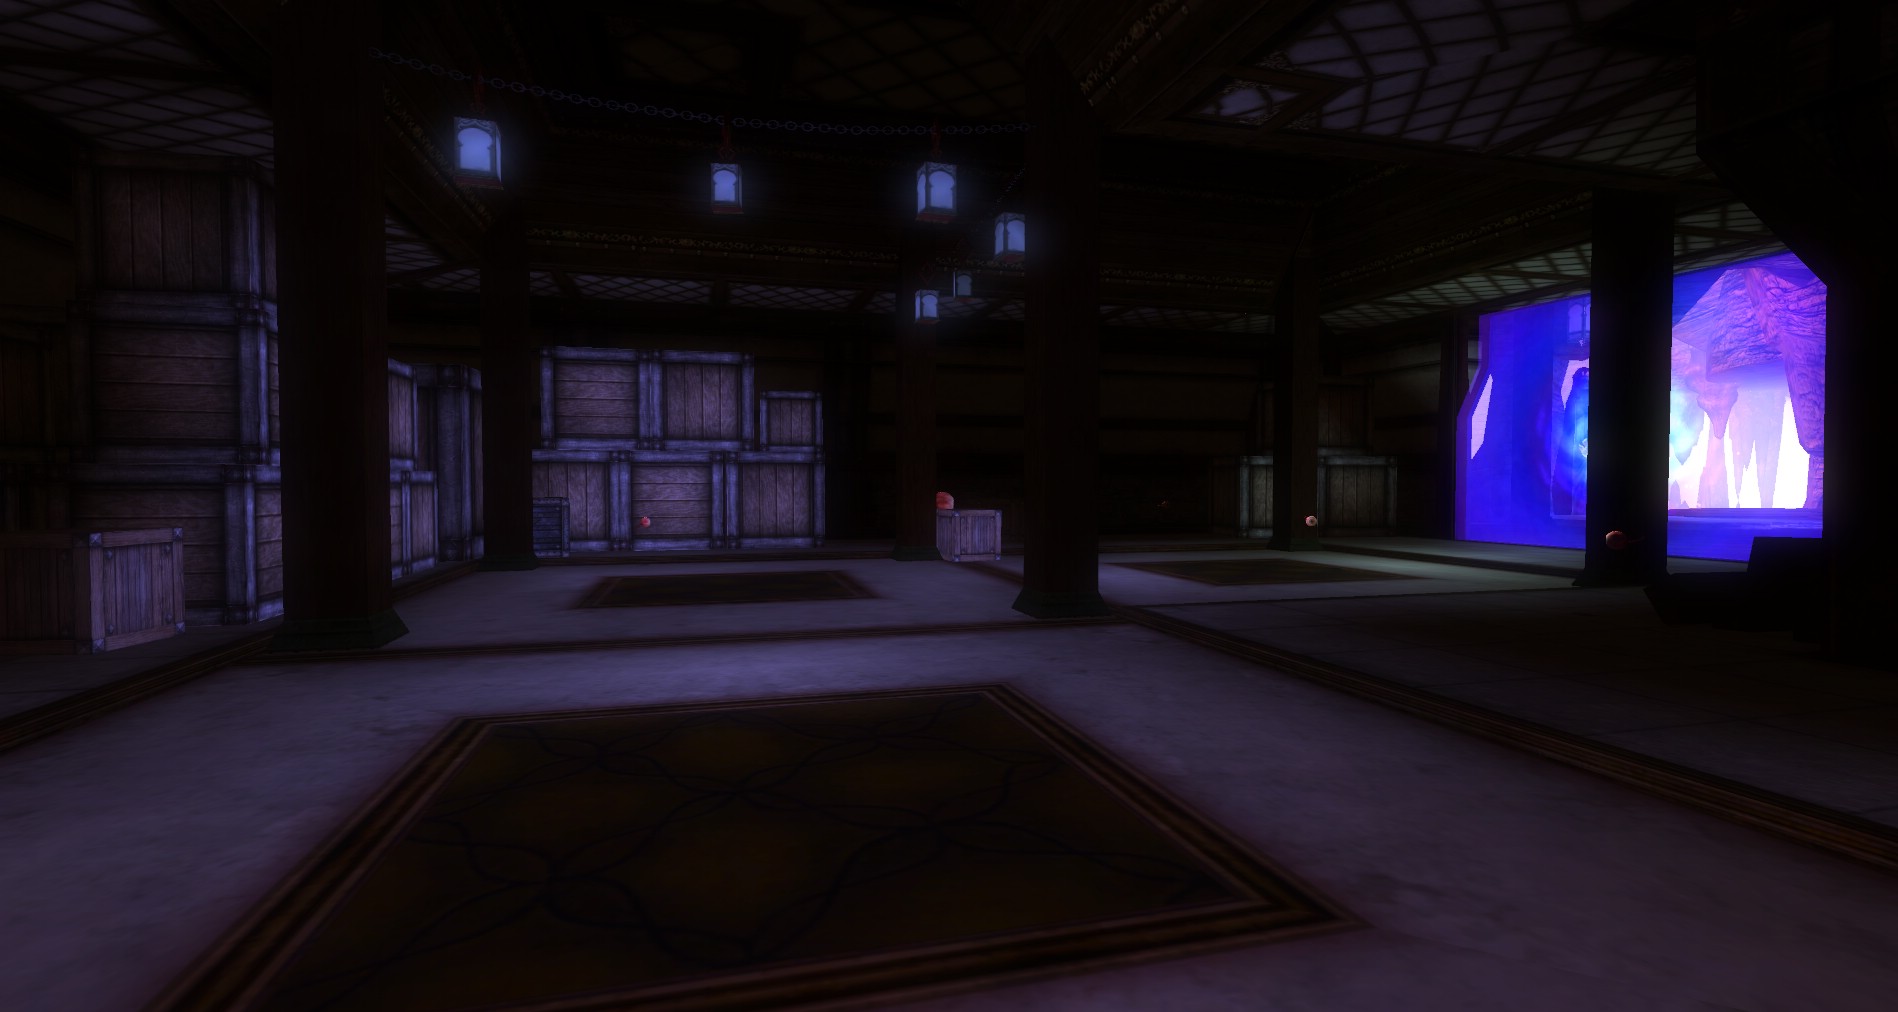
The Basement
 The basement is in the northern section of your map and near the bottom. Put on your feather fall and jump straight across to the center platform. When you land, a Frost Beholder will spawn along with more evil eyes. Make quick work of them, take note of the shrine here, leave it be, and continue north.
Head down across the magic bridge and head to your left. You will come to a Twelve Apprentice that is cowering in the corner. Kill the beasts that have made him hide and he will open the way further into the basement for you.
Take out the Beholder Fleshmender and his friends. Once they die the door will open and an Armored Beholder along with a Xoriat Render and Hound will come through.
 As you move deeper in, you will come to a storage room with some evil eyes in it . Herodigas has sealed them in here. Once they are dead he will drop the shield so you can go talk to him.
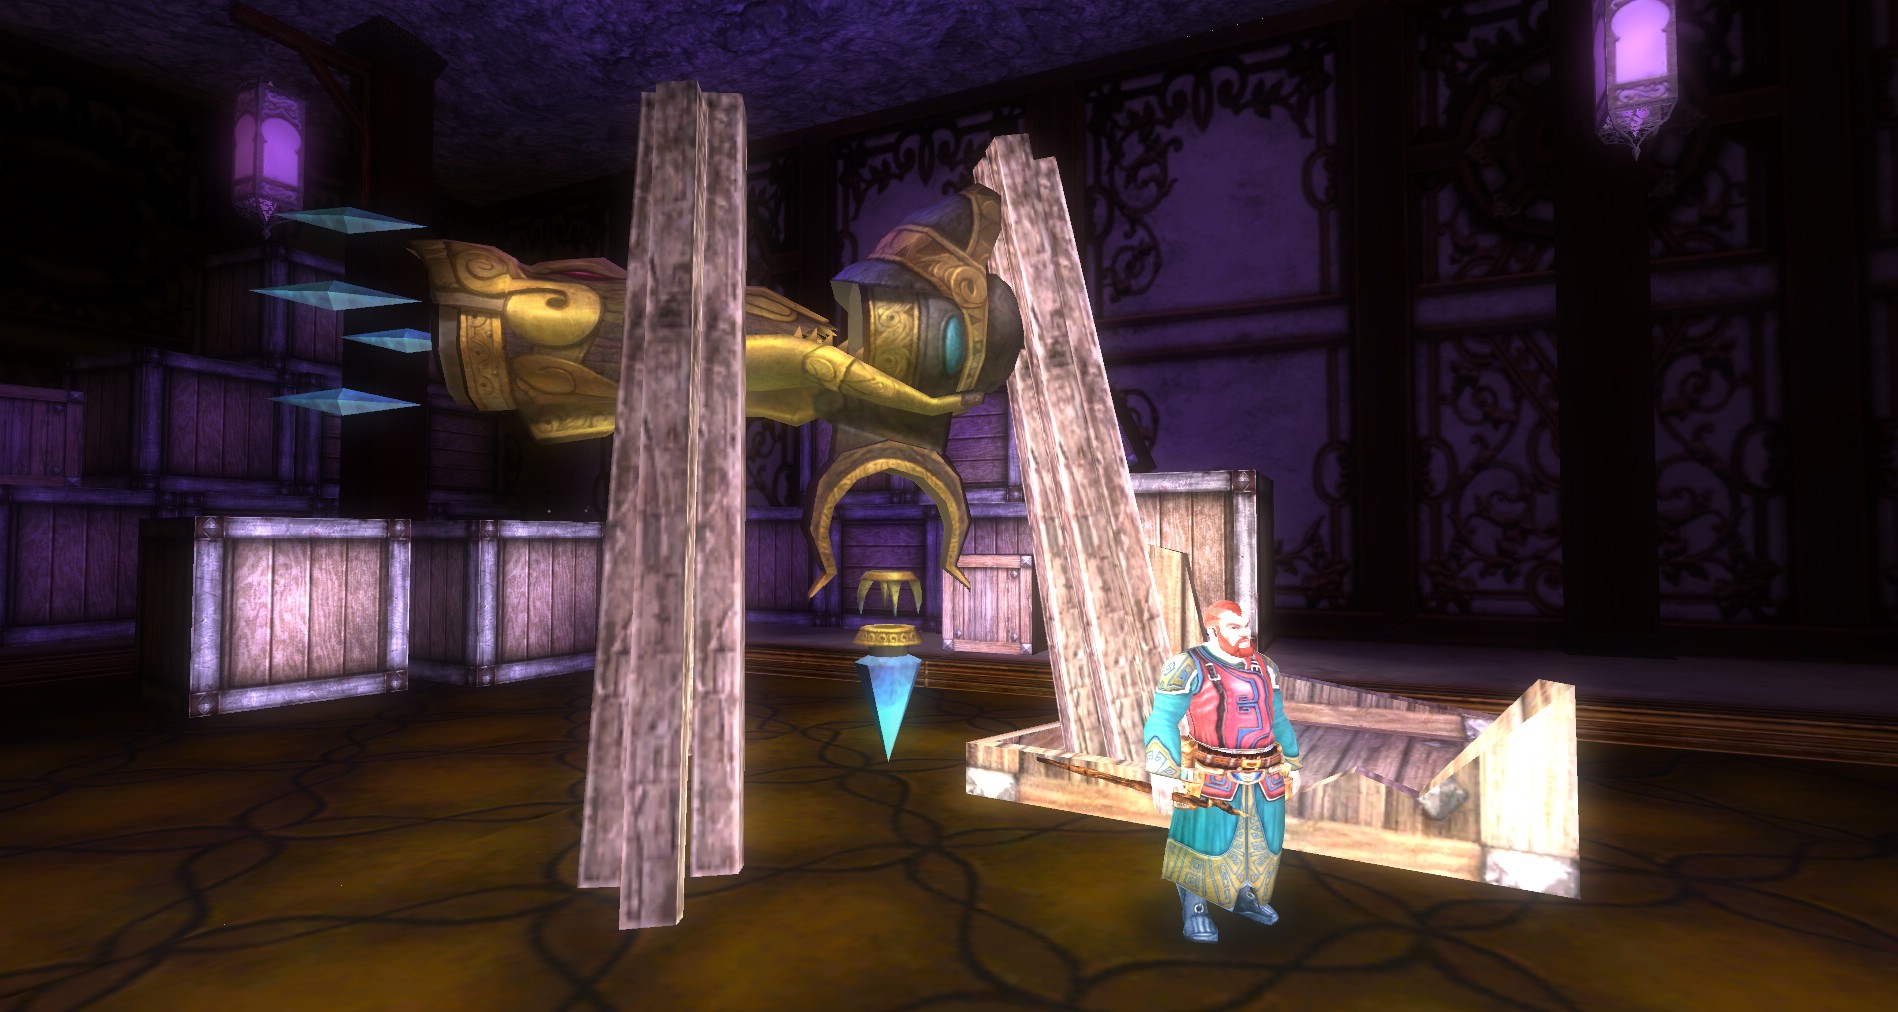
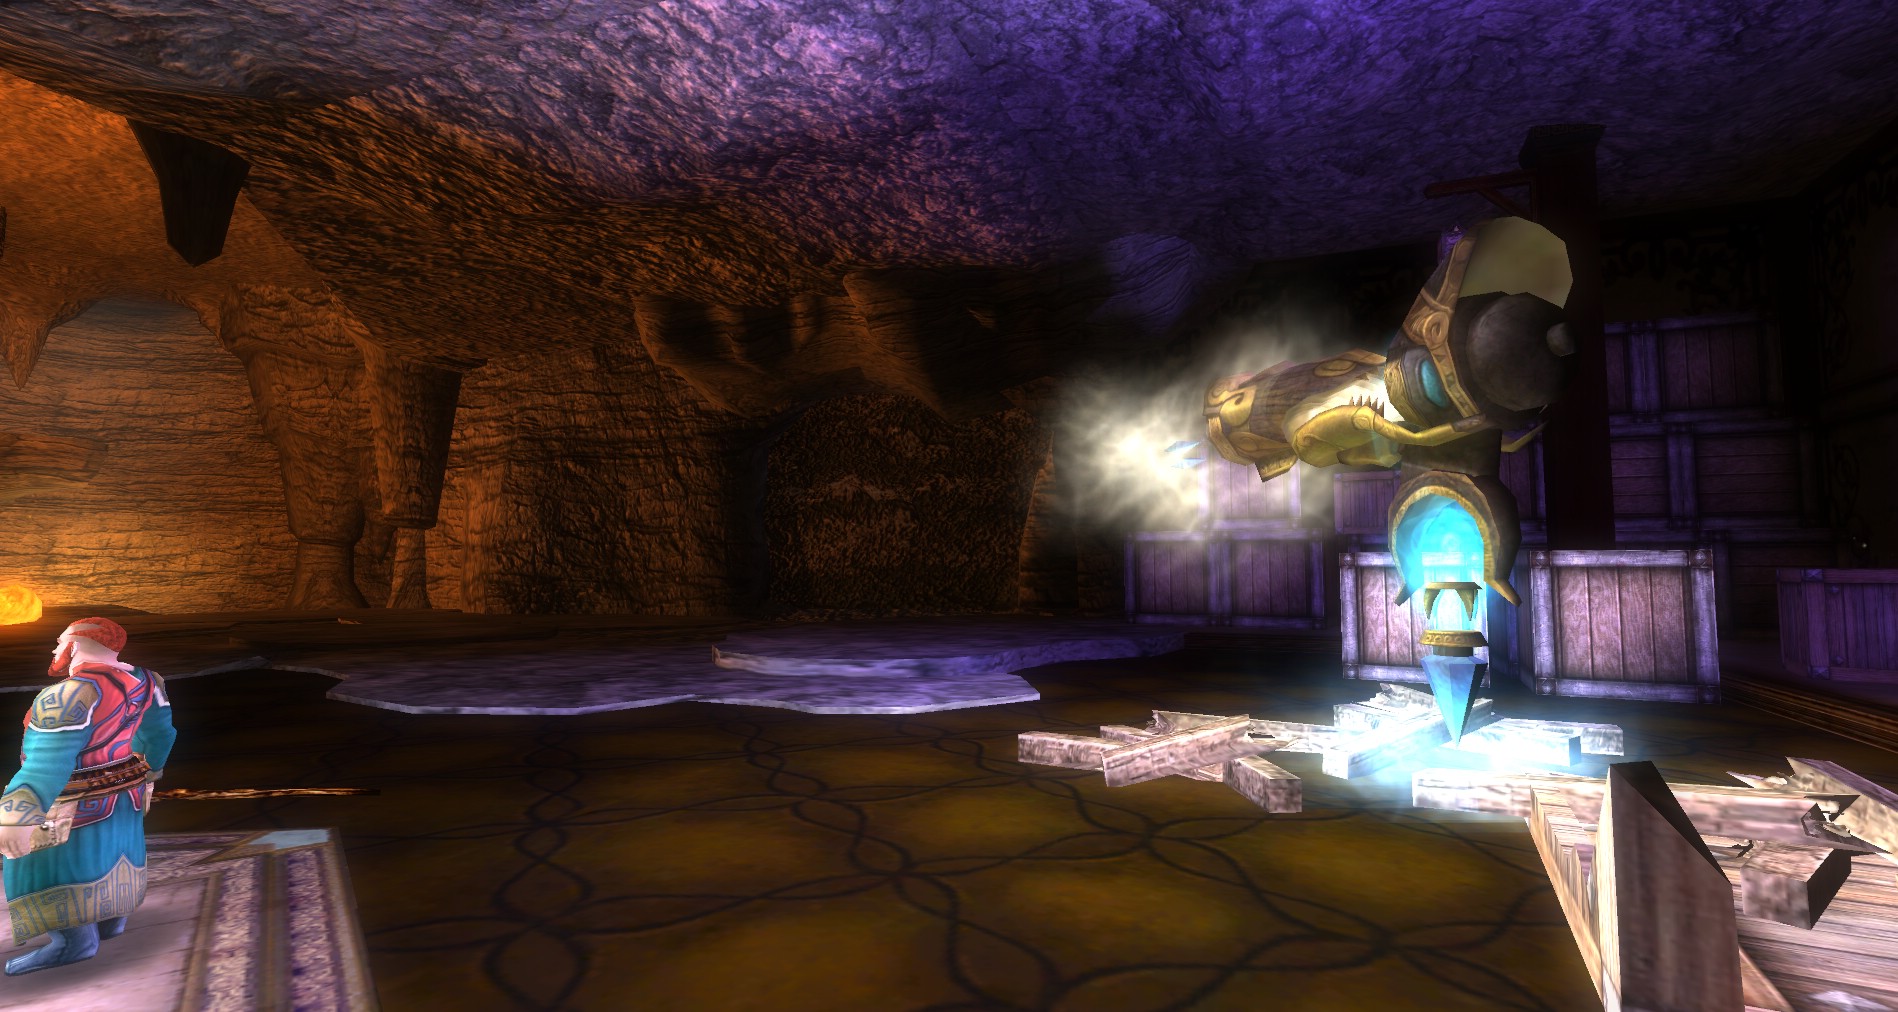
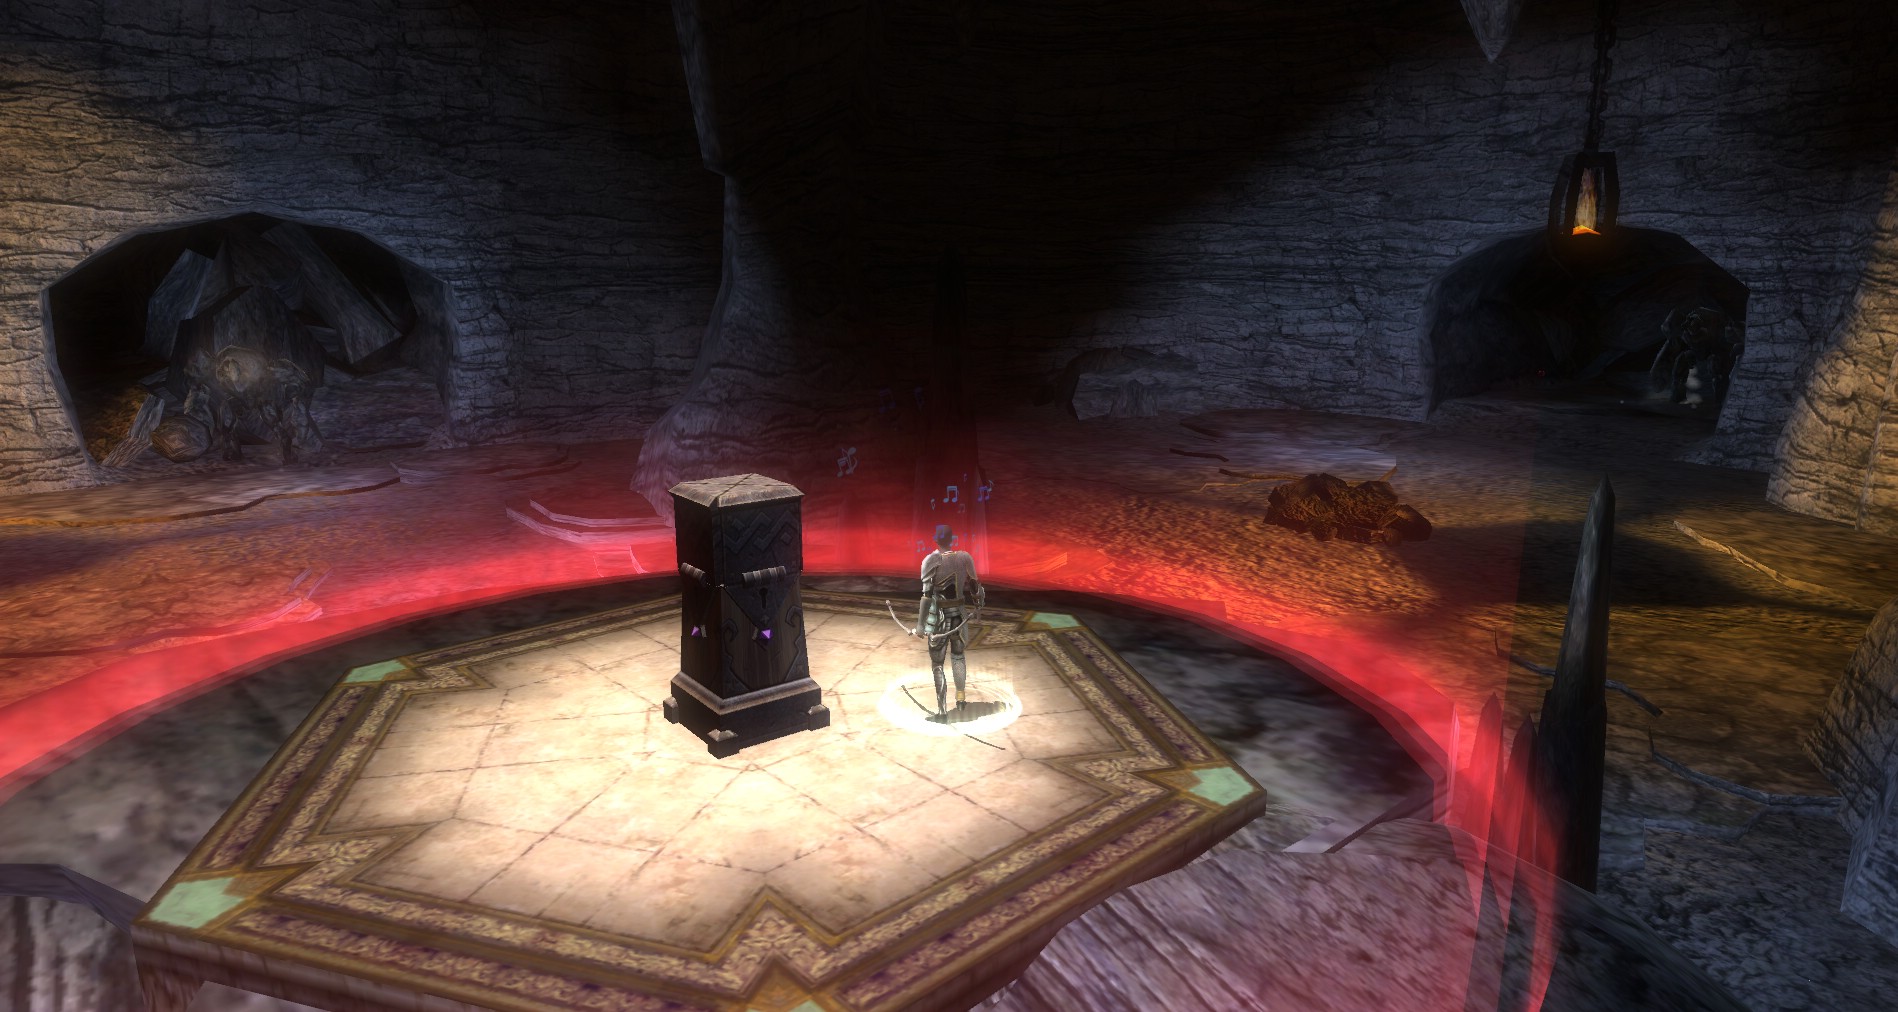
Talk to Herodigas and he will tell you that he needs to have bound elementals for the Magefire Cannon he plans to use to blast a hole to Kyber to allow Orlassk, the Lord of Stone and his troops into the tower. You need to fetch these for him and bring them back.
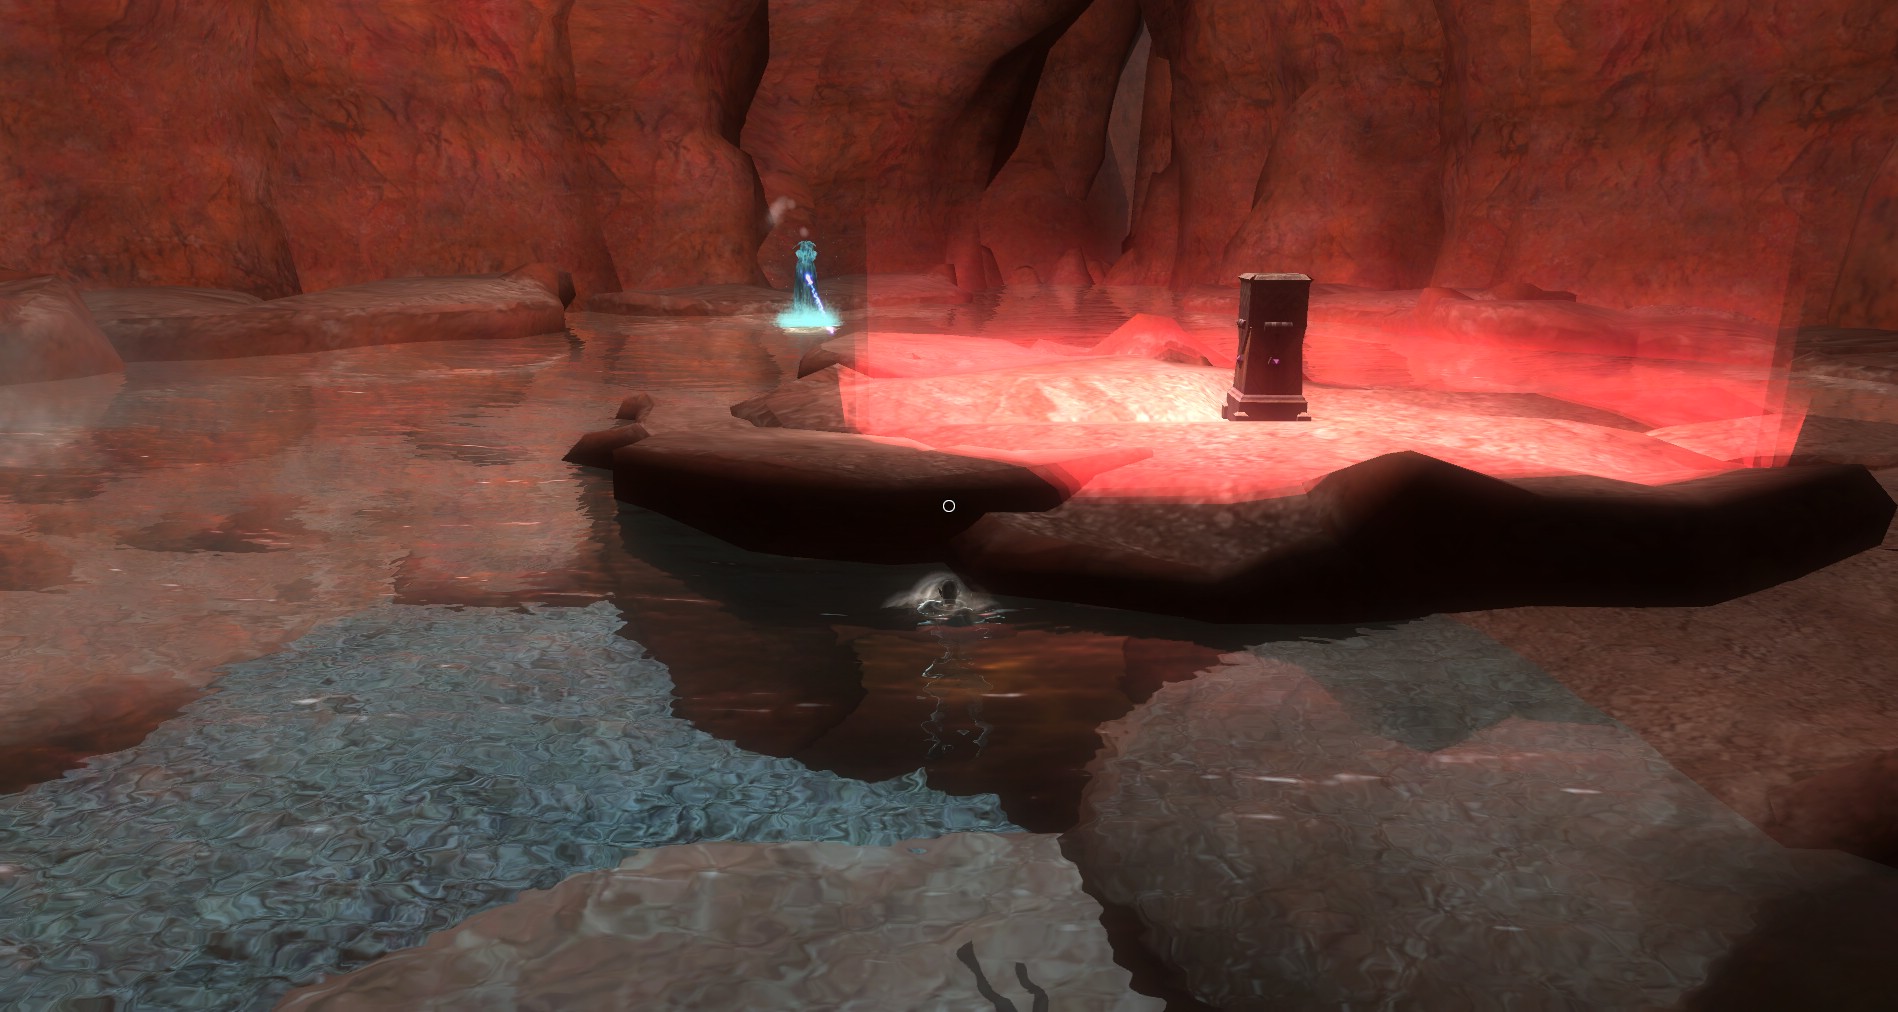
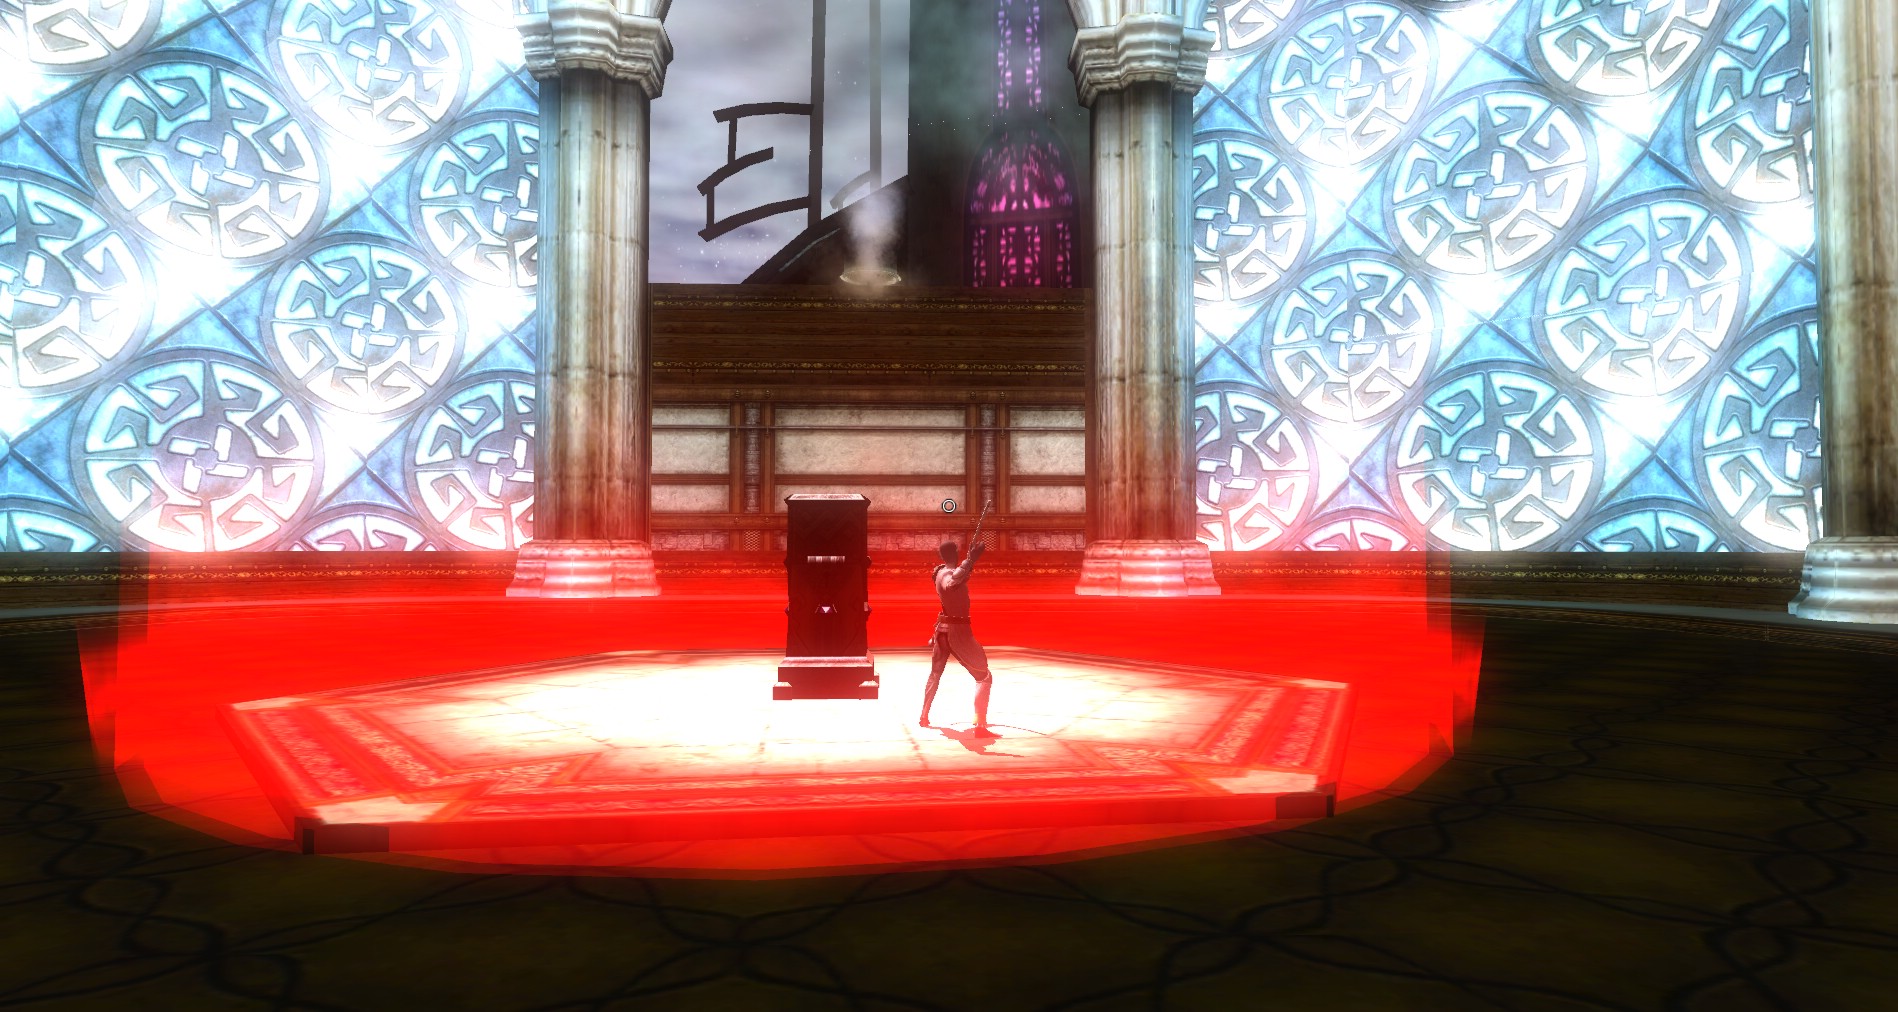
To retrieve the elementals, make one mad, and then make it chase you into the ring in the middle of the rooms. Once there, kill it and the device will capture them when weak. Once you have five of them captured, a gem will pop up and allow you to take it for the Magefire cannon.
Once you have the fire elementals captured, head back into the storeroom in the basement and you will see the second door is open. Head right to go collect your earth elementals. If you have a strong party, you may split, leaving evasions to gather fire elementals and the rest to go get the earth. Then you can meet back up on your way back to the central levitation room.
Fire Elemental Chamber
This room is connected to and part of the basement storage area with the Magefire cannon. I would suggest those with evasion grab the elementals and pull them into the center. The rest can use the shrine in the room if need be while those with evasion deal with the elementals.
If you do not have evasion types that can handle this, buff up with fire resist and be ready to heal as these elementals can do a lot of damage on failed saves. It is also a good idea to jump a lot as they are shooting fireballs at you. If you are lucky, they will toss them far into the sky, missing you completely.
I suggest pulling out a ranged weapon, standing in the middle, and shooting each one so it will run into the center. They will likely toss a few Fireballs your way as they move closer, but they will get on the platform soon enough. Drop them fast when you get to melee.
Do not use hirelings or pets for this. They will really mess up your ability to actually bring the elementals to you since they will go out and chase them.
Earth Elemental Chamber
 There are a few extra evil eyes in here to watch for, and then it is similar to the fire. Stand in the center and range the elementals to activate them. Make sure to have a Freedom of Movement if your saves aren’t great since they will stone grab you.
Stay in the center so they will come to you. The earth elementals can be a bit stubborn, so you may have to go into melee with them for a swing or two to goad them into chasing you.
Do not use hirelings or pets for this. They will really mess up your ability to actually bring the elementals to you since they will go out and chase them.
Back to the Levitation Chamber
 Make your way back to the entrance area. Be ready for more respawns and fighting. Once you get to the southern platform, you have the ability to go to the east or west. Go to the west first. This will lead you to the area where you will collect the water elementals.
If you are sneaking through this or if for some other reason the levitation rings do not send you up, just jump and they will catch you.
The West Wing
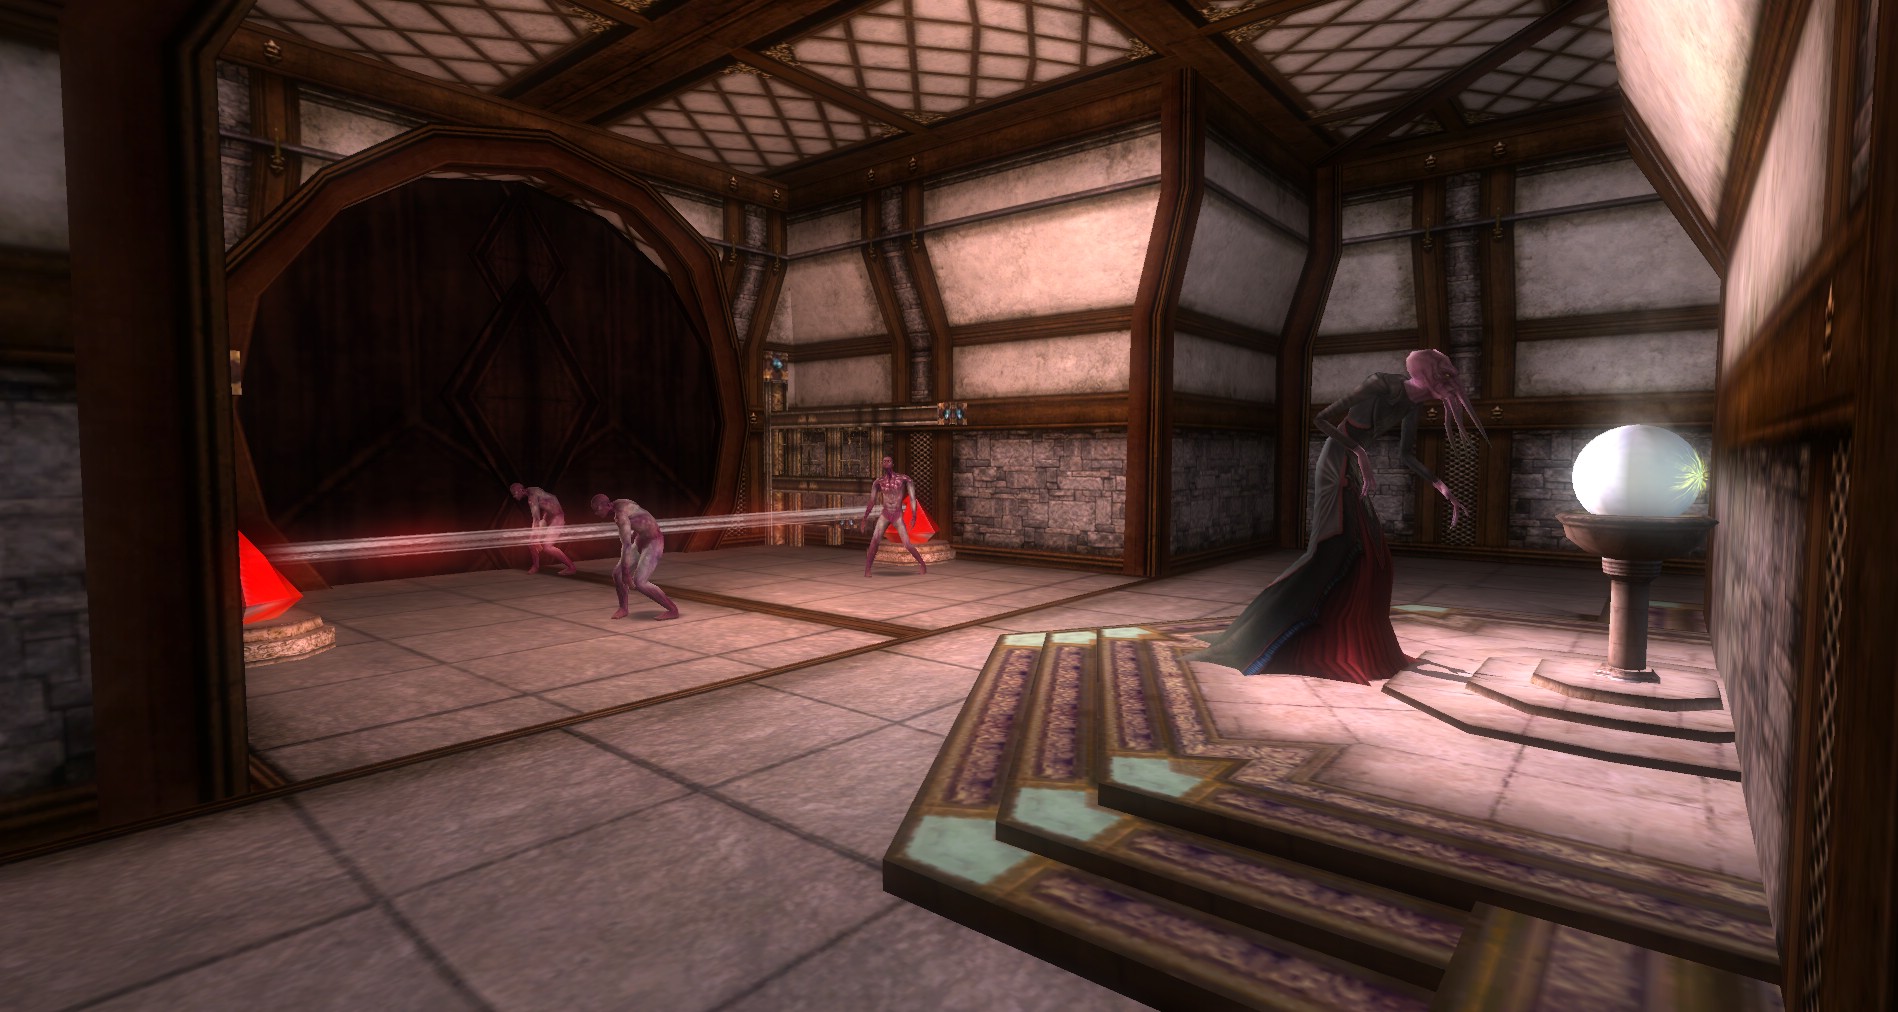
When you enter the West Wing, be ready for a mind flayer and his minions just around the corner. Once these mobs are dead, the door will open so you can head further in. More evil eyes and beholders stand in your path. Take them down and continue past.
You will come to an area where you can go right or left. Head right first.
You will come to the end of a corridor with a Tharaak hound in it. There may be a rare that spawns here but I am not sure. Once they are dead, head back to and take the left side passage.
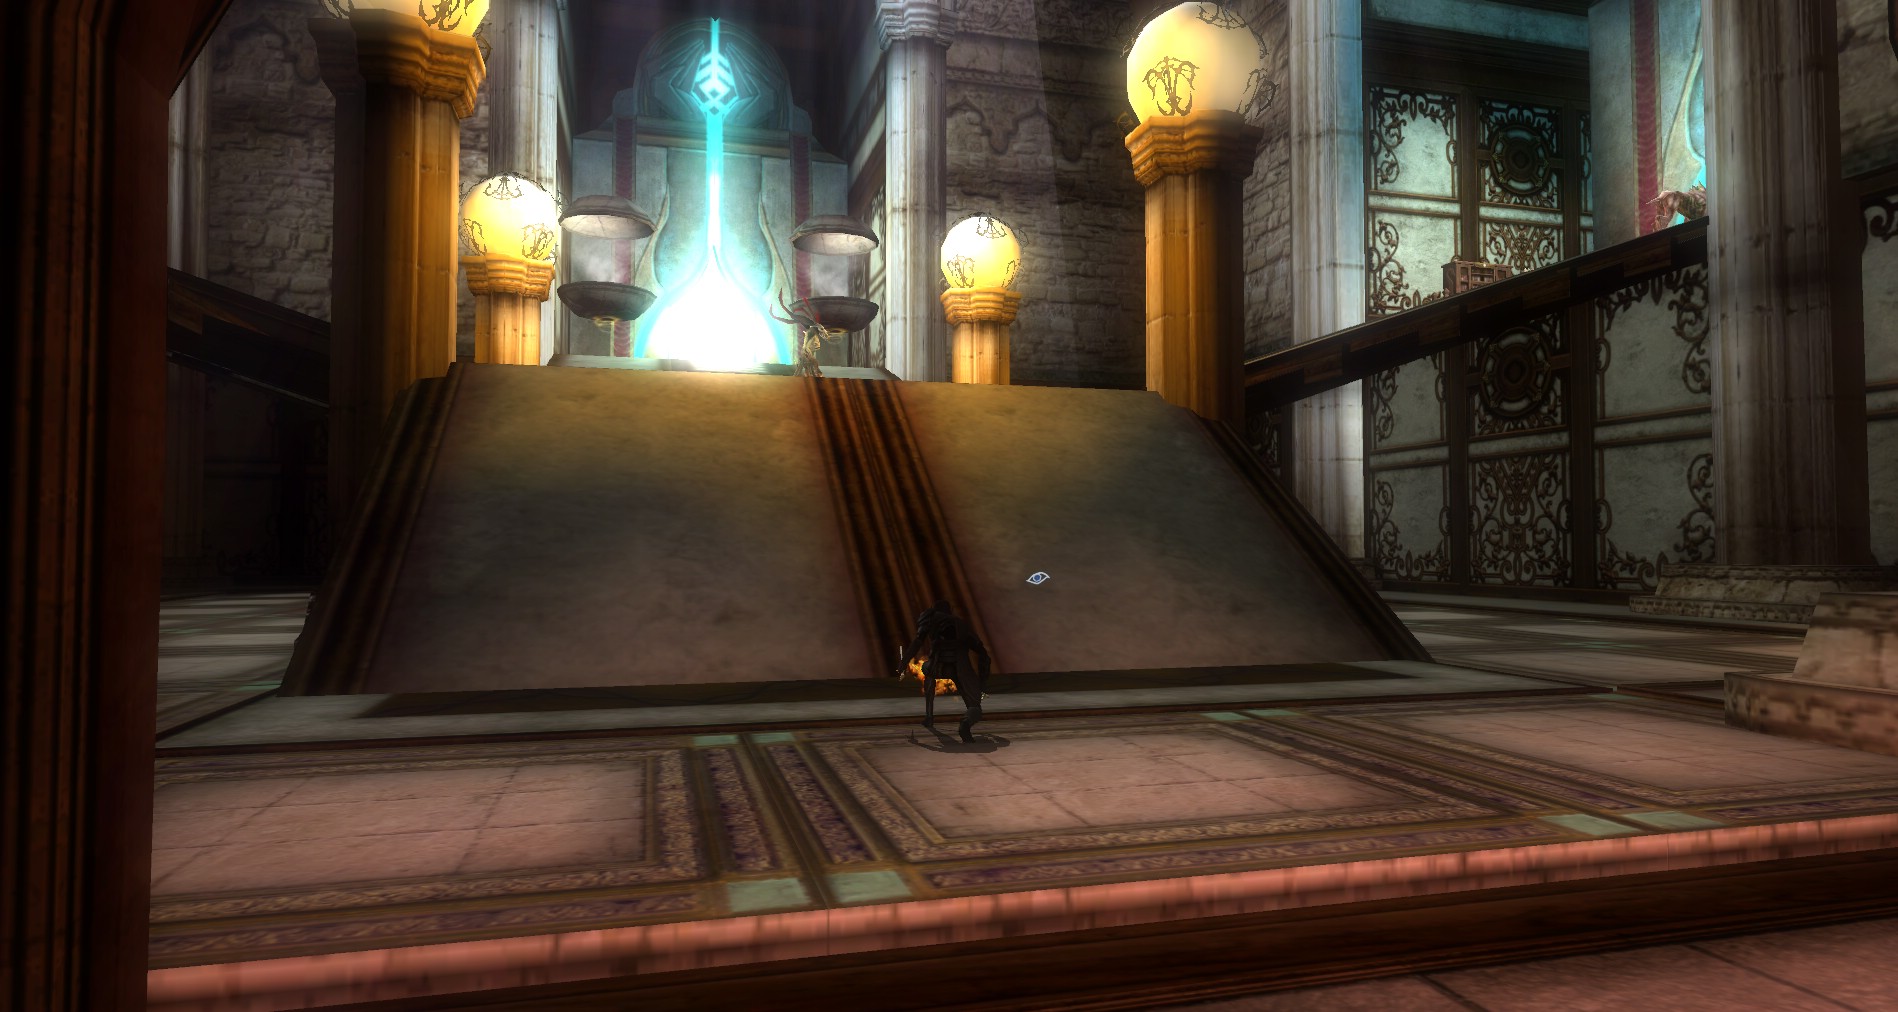
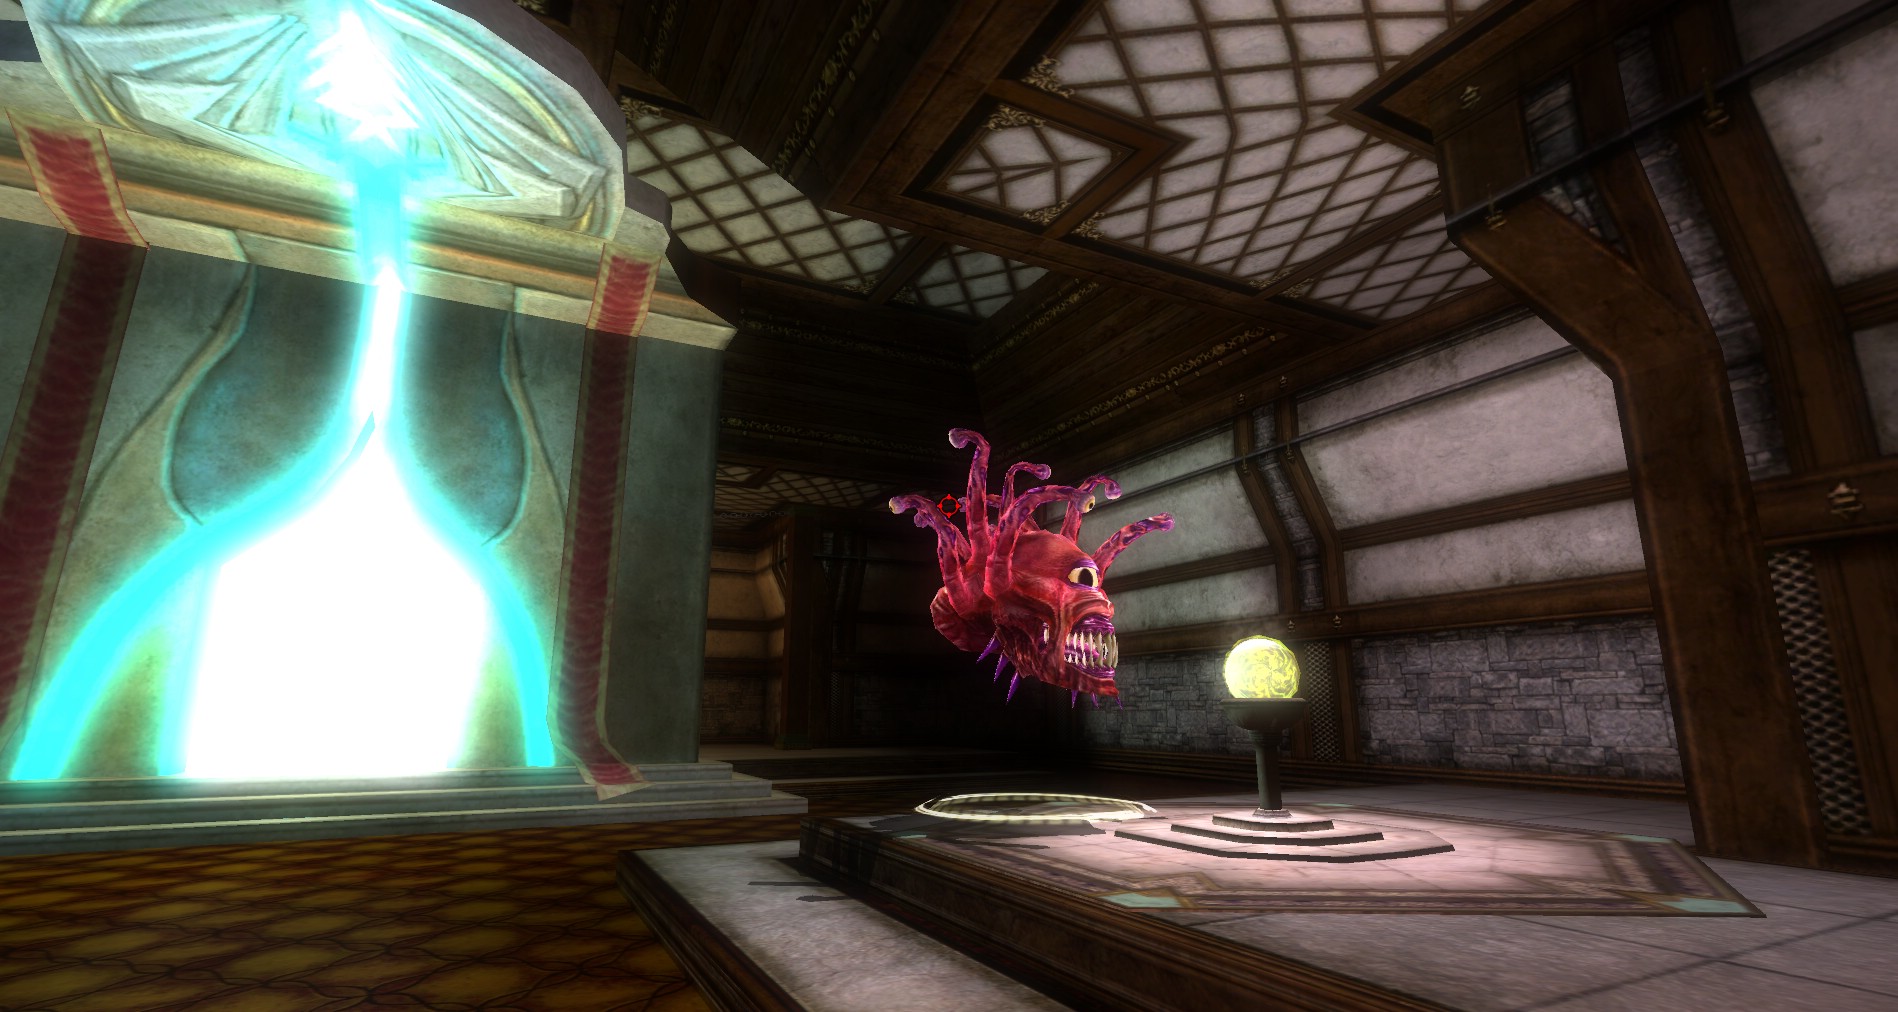
There is a portal at the end of this corridor to that leads to a mountain pass where you can harvest water elementals.
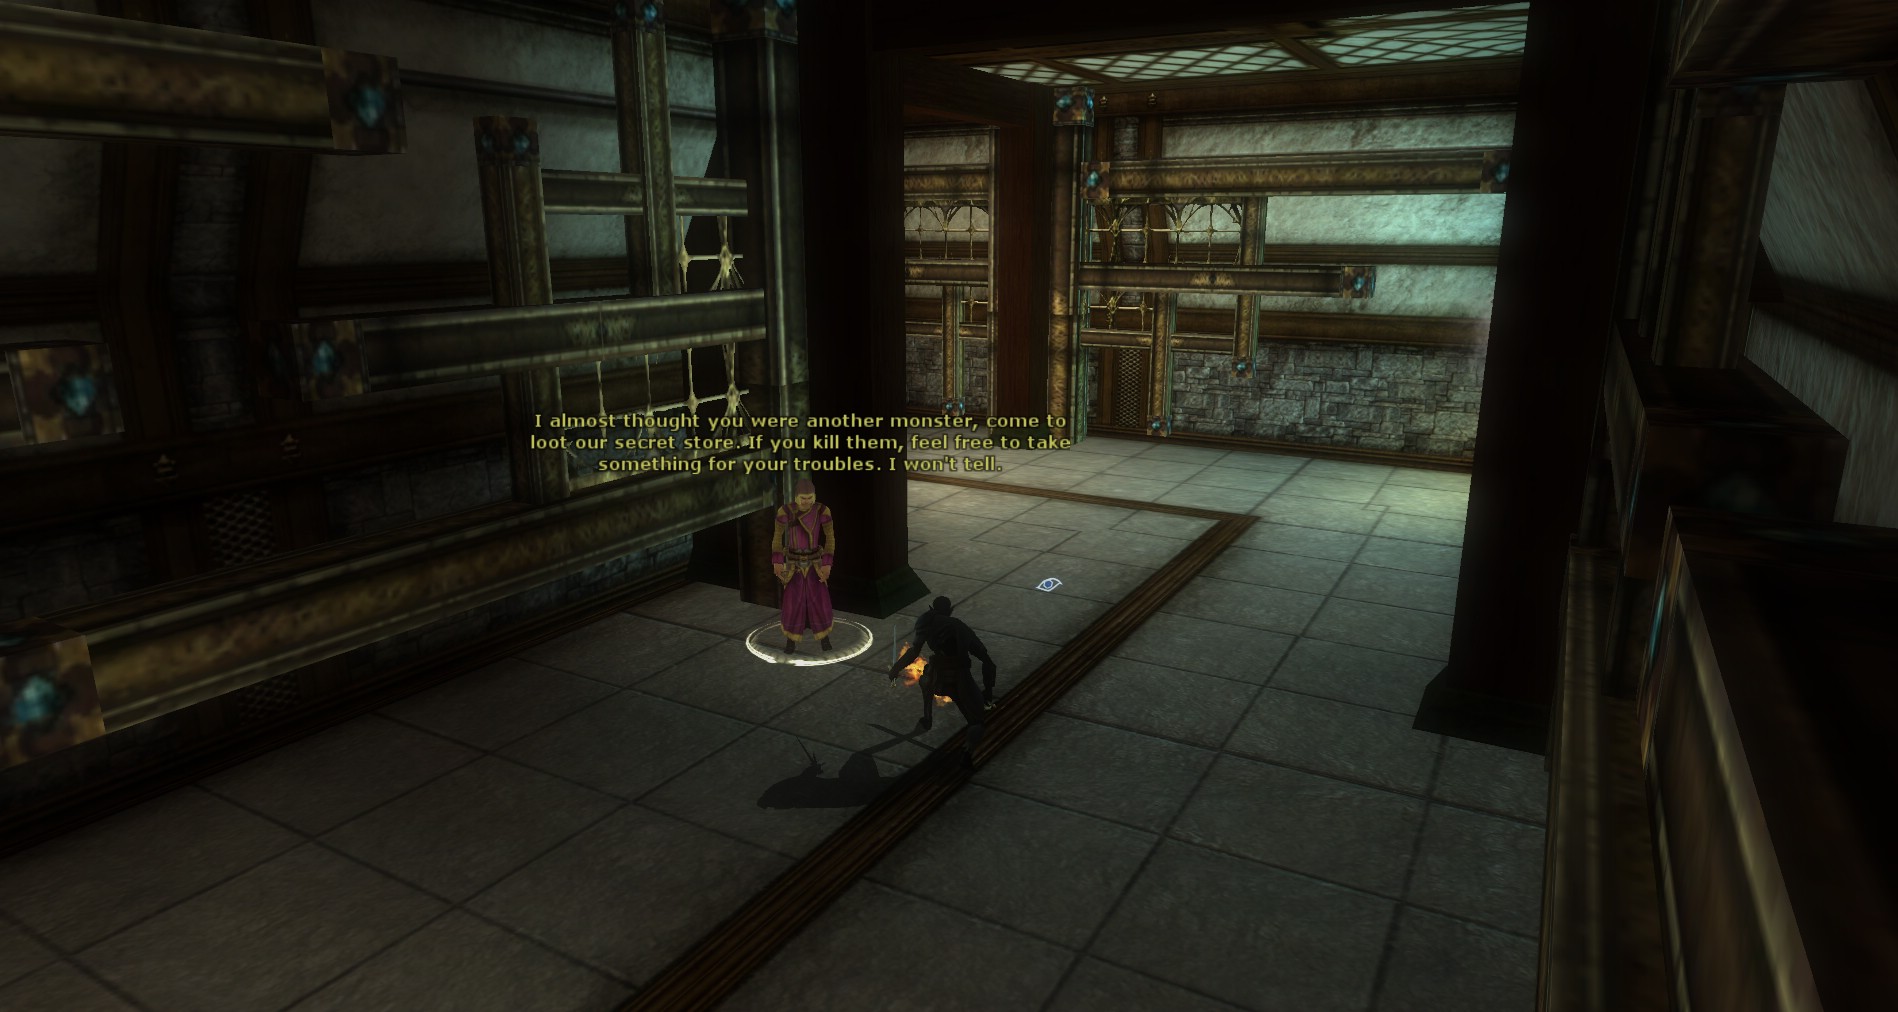
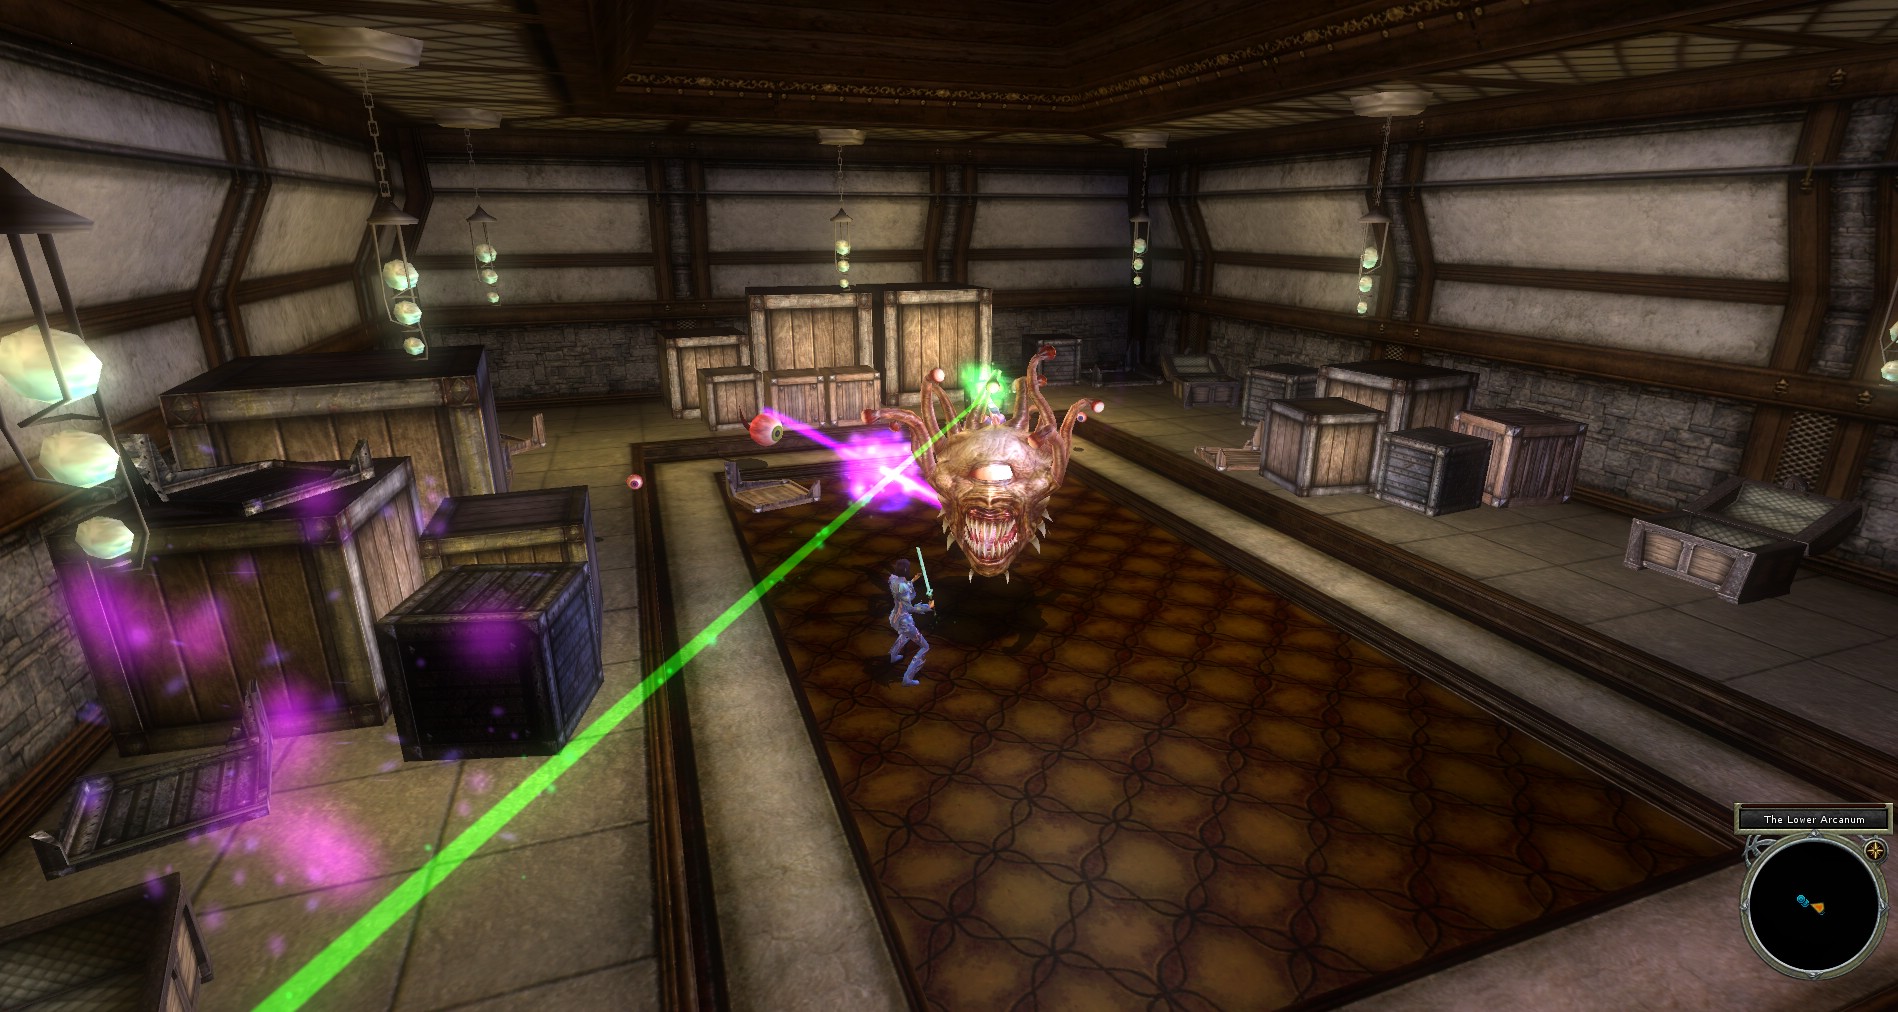
There is also a secret door to the north of the portal. This secret door leads to a hidden storeroom that is being ransacked by a beholder and his minions. Take out these interlopers and see if there is anything left in the storeroom that you can find for your own efforts. The named Xoriat Render, All-Seeing Ulthraat can spawn in here.
Head back to the portal and jump out into the mountain spring.
Water Elemental Mountain Spring

Make sure you are buffed up with cold resist and pro if you have it and send one or two in to get the elementals.
 These elementals can do a lot of damage so be careful. The best way I have found is to range one and then jump down and hide in the water opposite of where it started. This way it will head straight toward you moving up onto the central platform. Then you can jump up and take it down fast. The island protects you from the attacks as they move forward. This can actually be one of the hardest parts of the quest if you are not careful. You can also dodge their attacks if you time jumps and dodges close enough but this is much more difficult than using the island to block their attacks.
Do not use hirelings or pets for this. They will really mess up your ability to actually bring the elementals to you since they will go out and chase them.
Back to the Levitation Chamber
 Once you have collected all the elemental spirits, head back into the main levitation room and do the east side. Keep an eye out for more respawns and beholder ambushes along the way.
Make sure to have Featherfall on and watch where you are going. Falling in here can really slow things down because there is really only one way up. Also the beholders can toss you off the edges as well so Featherfall will save you a fall all the way down to the bottom and into the lava.
Use the four spired pads as a landing area. If there is a roof overhang on the easternmost side that will toss you back out into the levitation room if you are not careful. It is much easier to land off to the side.
East Wing of the Tower of the Twelve
 Head in slaughtering whatever you run into. Expect more beholders and evil eyes as well as a few eye horrors. The corridor you run into is a big square so it doesn’t really matter which way you go. Split up if you want speed and make sure you smash anything you find if you are going for Ransack. At the end of the hall is a Frost Beholder waiting for you. He has to die if you want to continue into the next area.
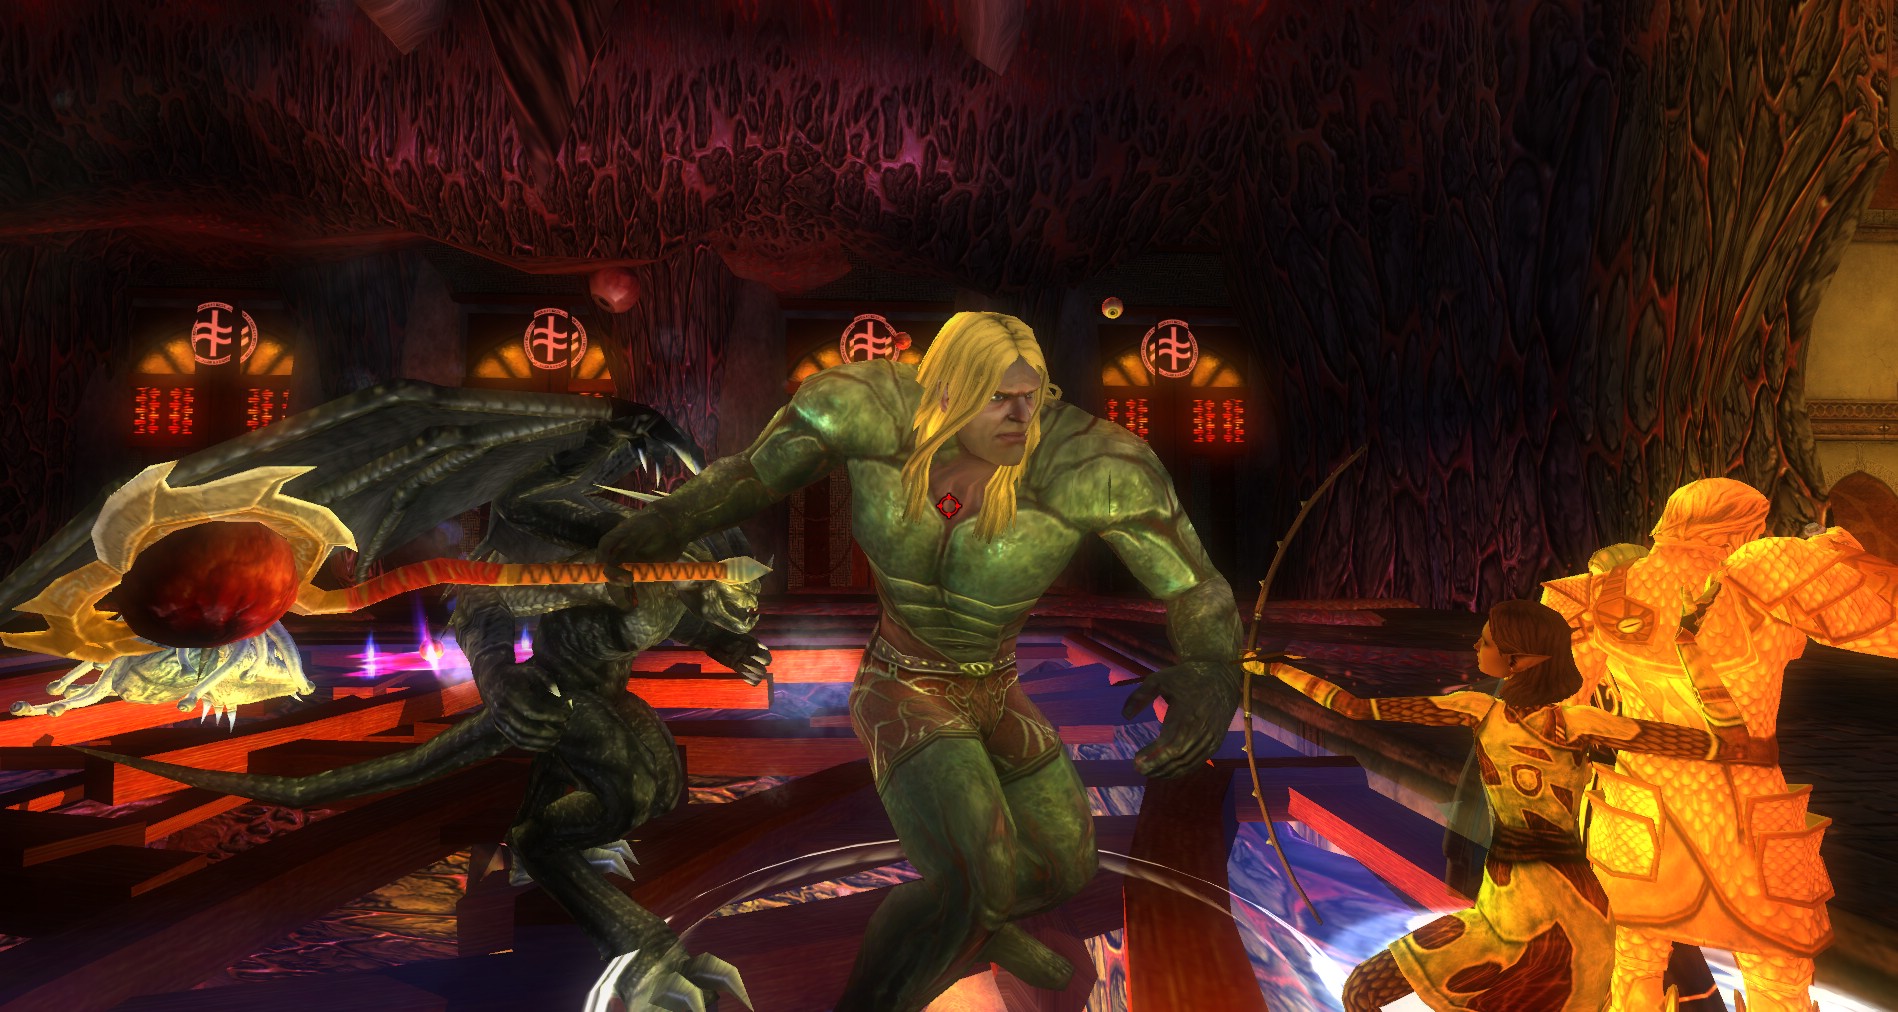
You will come to a large room with a few portals in it. There are also a few more mobs in here to deal with: A Xoriat Render and a few Greater Thaarak Hounds. If you have bad saves, make sure that you have a Deathward heading in here so you do not become a victim of a hound’s Dance of Death.
Air Elemental Harvesting Tower
 Taking the portal in the east wing to the Air Elemental Harvesting Tower will teleport you up to the very top of the Tower of the Twelve. Electrical Resist is useful but since they changed air elementals they are really pretty easy. I would say this is the easiest elemental collection room.
Do not use hirelings or pets for this. They will really mess up your ability to actually bring the elementals to you since they will go out and chase them.
Here you will see some elementals up on the ledges. Use ranged weapons to lure them down. Stay in the center and they will come right to you. Beat them down and repeat the process until you have the fire that you need.
Then use the portal to head back down into the East Wing Portal Room.
Office of the Chief Elemental Officer
 Before you head back into the main levitation room and down to the basement, stop by the Office of the Chief Elemental Officer. It is the southerly portal in the east wing portal room.
Here you will find in the office three of the Lord of Eyes’ prized thaarak hounds, Ocular Hounds. These are specially crafted hounds personally created by the Lord of Eyes himself.
They are much like regular thaarak hounds, only tougher. Acid Resist and Deathward are important spells for this fight.
Make sure you are ready to fight them before you move up. They will activate and attack as you approach them. Take them out and loot the chest they leave behind. If you are working towards ransack make sure that that you smash the bookcases and the desks in the room. These can easily be overlooked.
Into the Levitation Chamber, Again
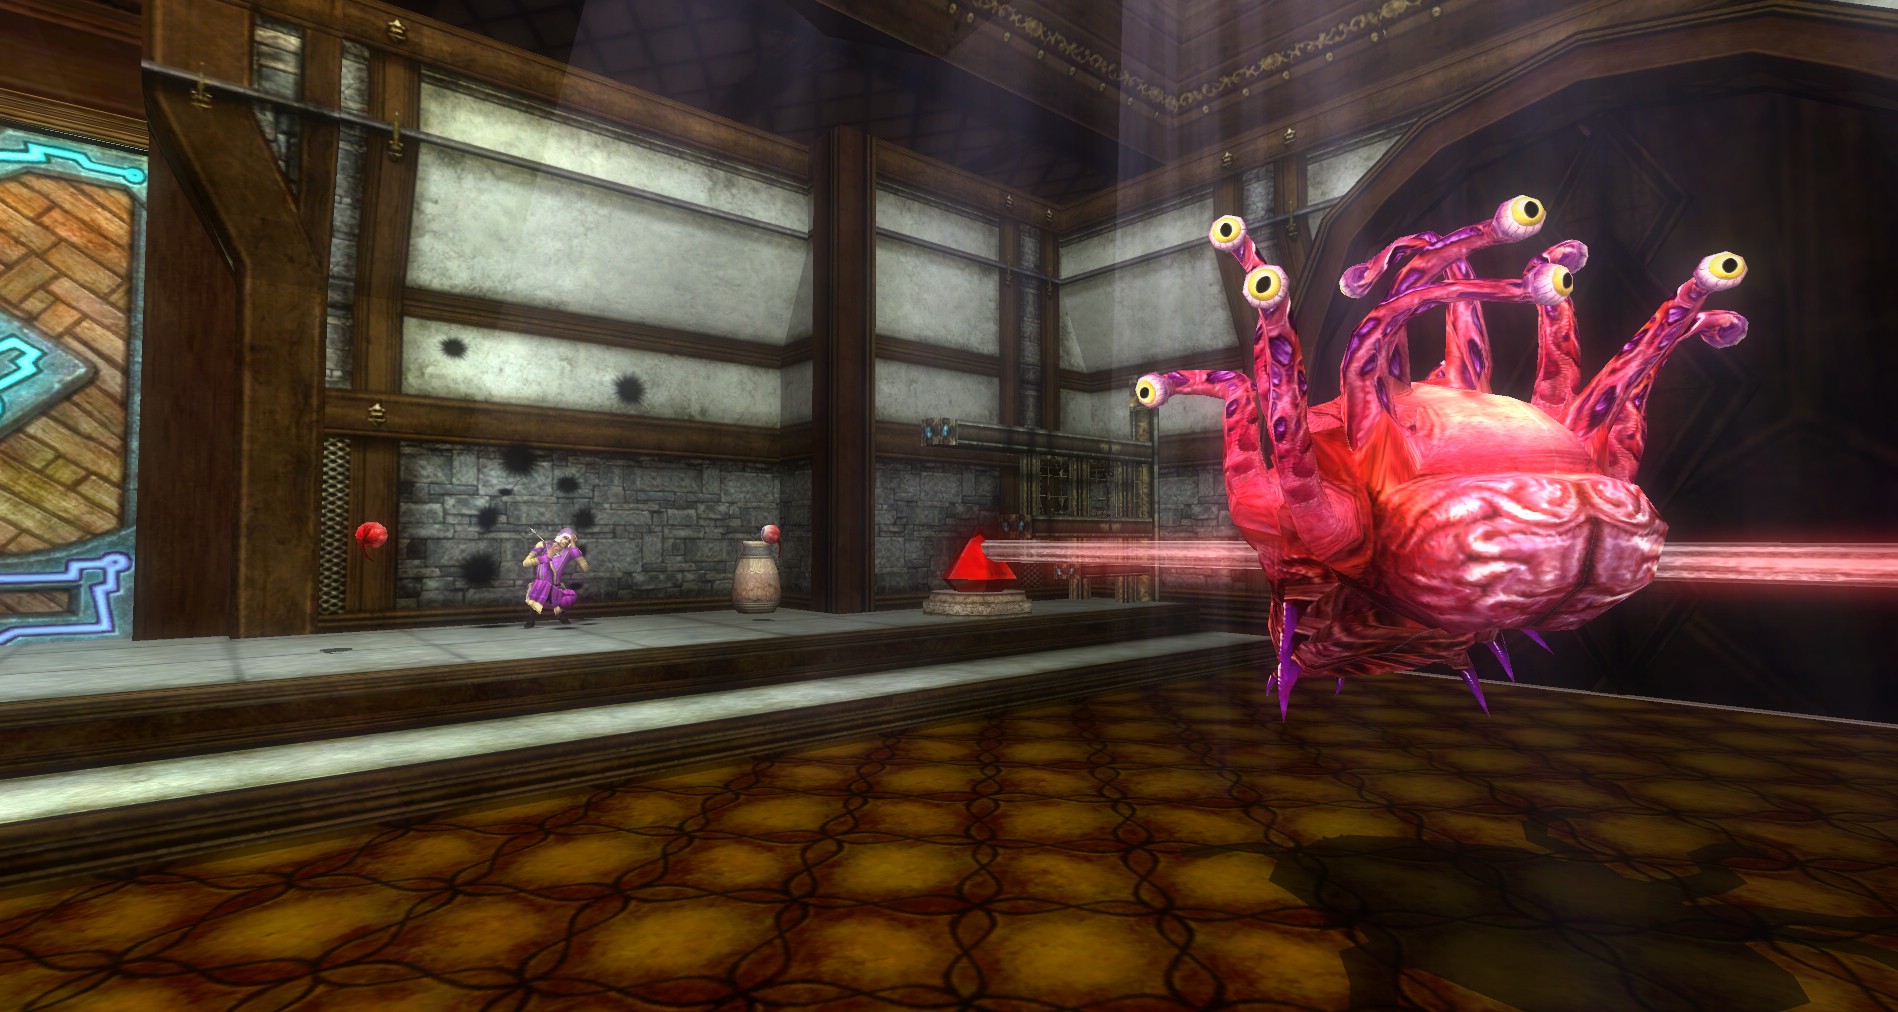
 Head back into the Levitation Chamber and make your way to the basement. Stop by the center platform and take on the big mean old beholder, Opuloxx the Indomitable.
This is the meanest beholder to date, and appears on the center platform when the last of the elementals are collected. There is no reason to buff unless you have some bard buffs or other buffs that cannot get dispelled by antimagic rays.
When you are ready, jump down and take out the evil eyes first, then go to work on Opuloxx. He is nasty and there is nowhere to hide from his eye rays. He is more your standard beholder that is just buffed up and one mean boss.
If the fight is not going well or you need to regroup, grab the stones you can and jump down to the bottom of the room to recover. When you make your way back up, coordinate your entry since he will see you come up and will get the drop on you this time around. If you have DD you can go back to the beginning and drop back down on him if you want to keep that edge.
Skip the shrine in the middle if you can. Head to the basement and use that shrine again if you are able. Save the shrine in the middle for healing and recovering right before the end. We are getting very close now.
Back in the Basement
 Head back down to the basement and use the shrine located there if it is available to you. This way you are set for the final push and fighting to the last fight but will have the middle shrine still available in case you need it right before you face the Lord of Eyes.
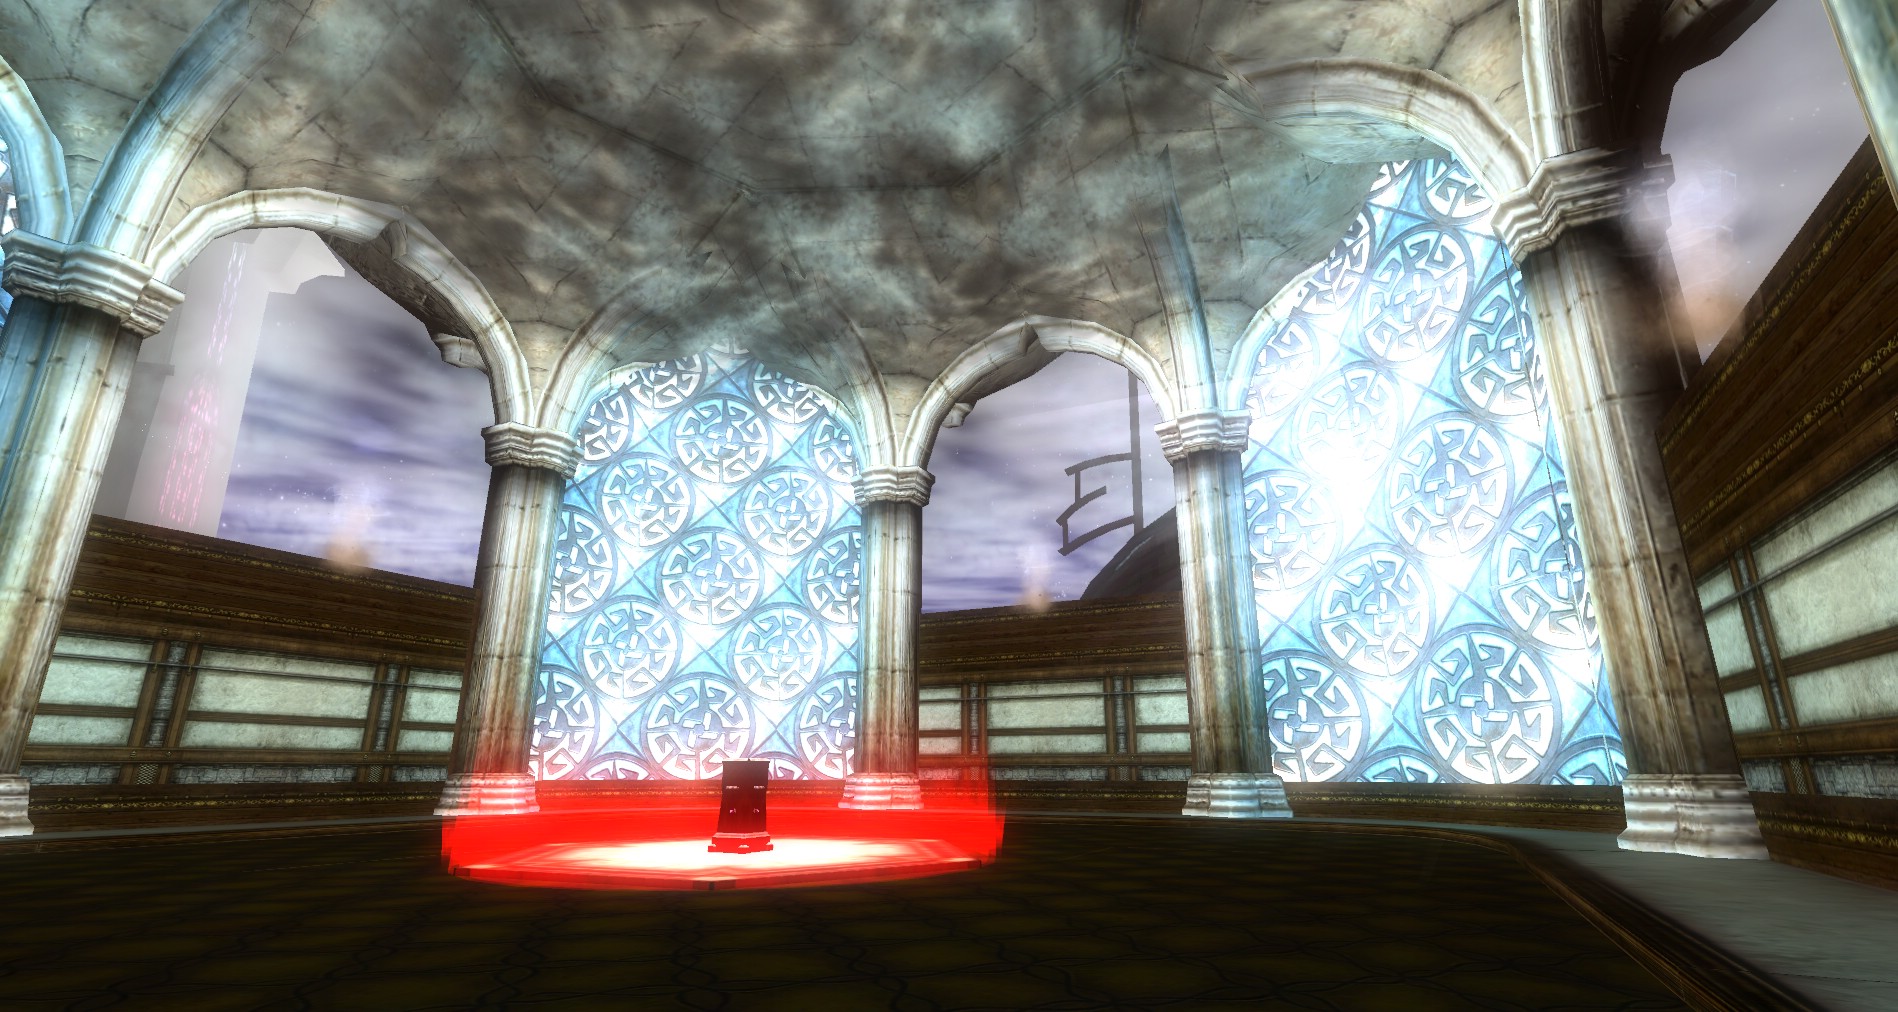
One you are buffed and ready, head over to the Magefire cannon and repair it. This will set off a series of events that you cannot stop.
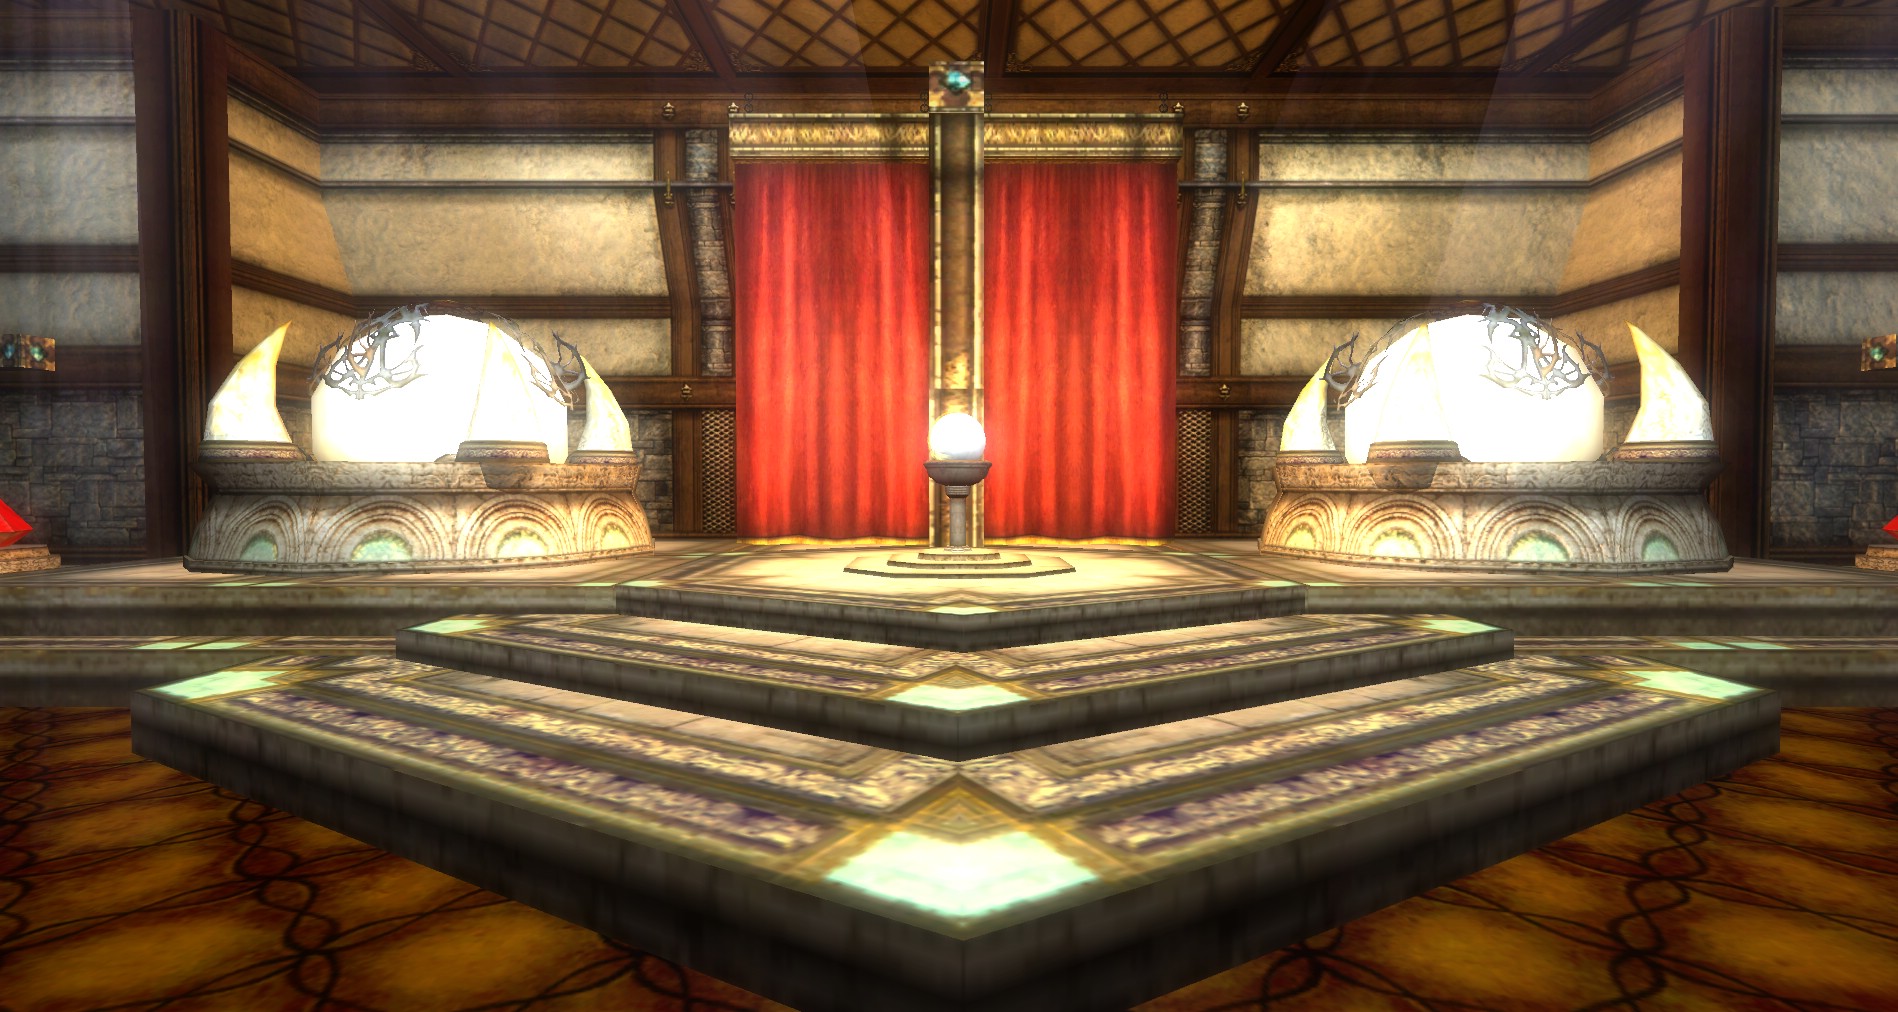
As the Magefire cannon is repaired, it charges up and blasts a hole in the wall. This massive hole allows the Orlassk, the Lord of Stone, and his minions to pour through. They make their way up through the Tower of the Twelve, pushing back the Lord of Eyes forces. Fight with the forces of Kyber as you make your way up the tower. They come to a stop at the center platform you were on only a minute ago.  You learn that the Lord of Eyes has retreated back and is making a last stand in the Portal Room.
Shrine up, heal up and buff up if needed, then step through the now-active portal to face the Lord of Eyes himself.
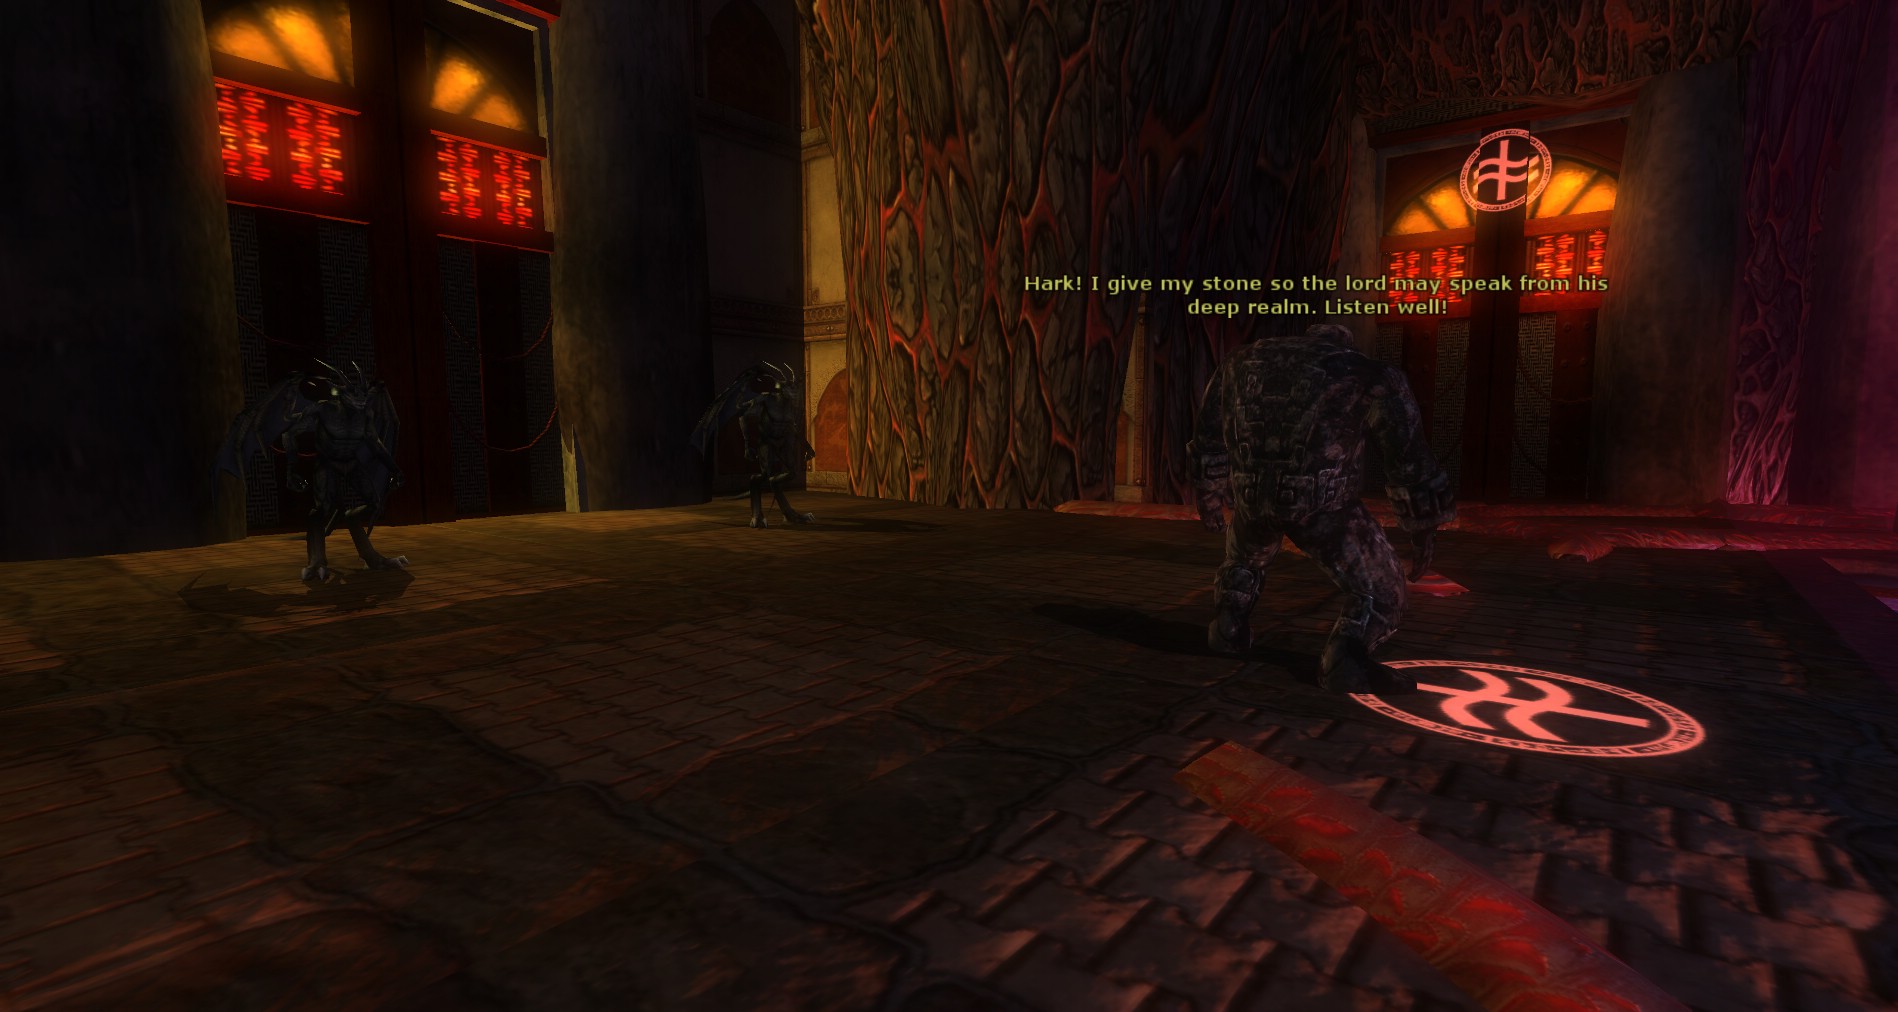
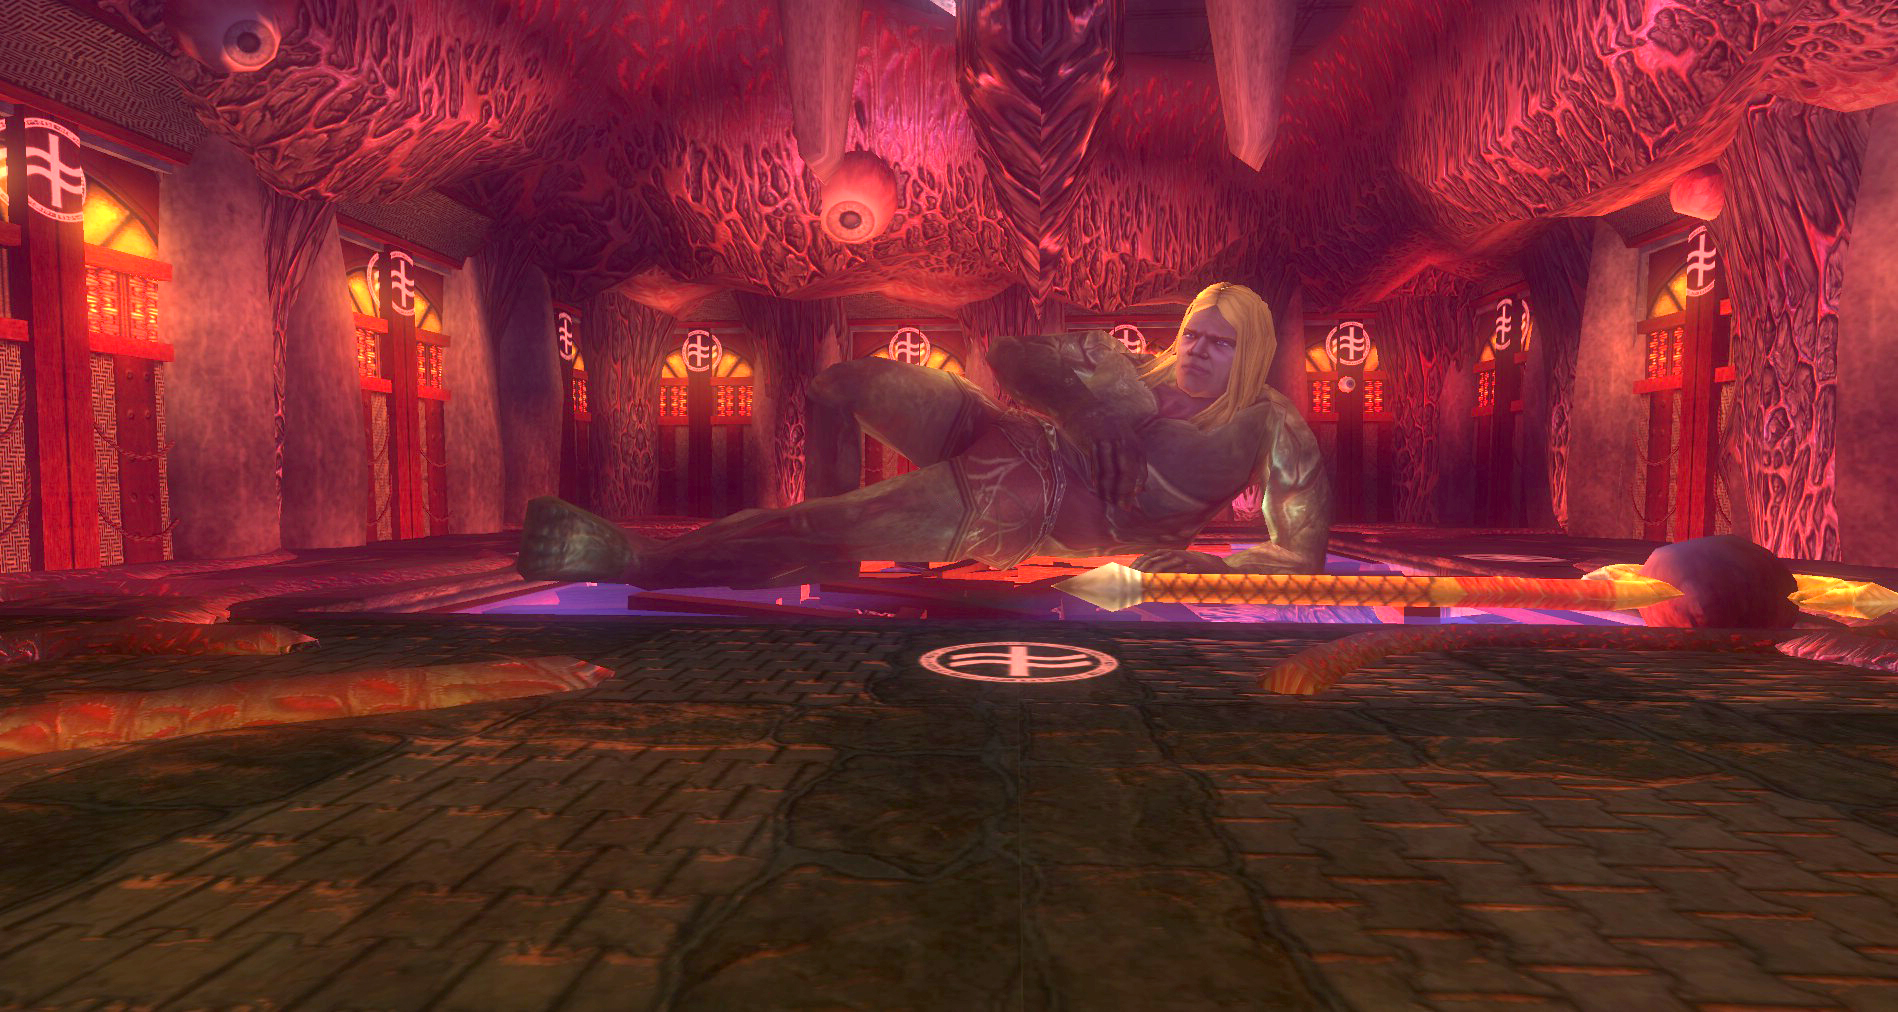
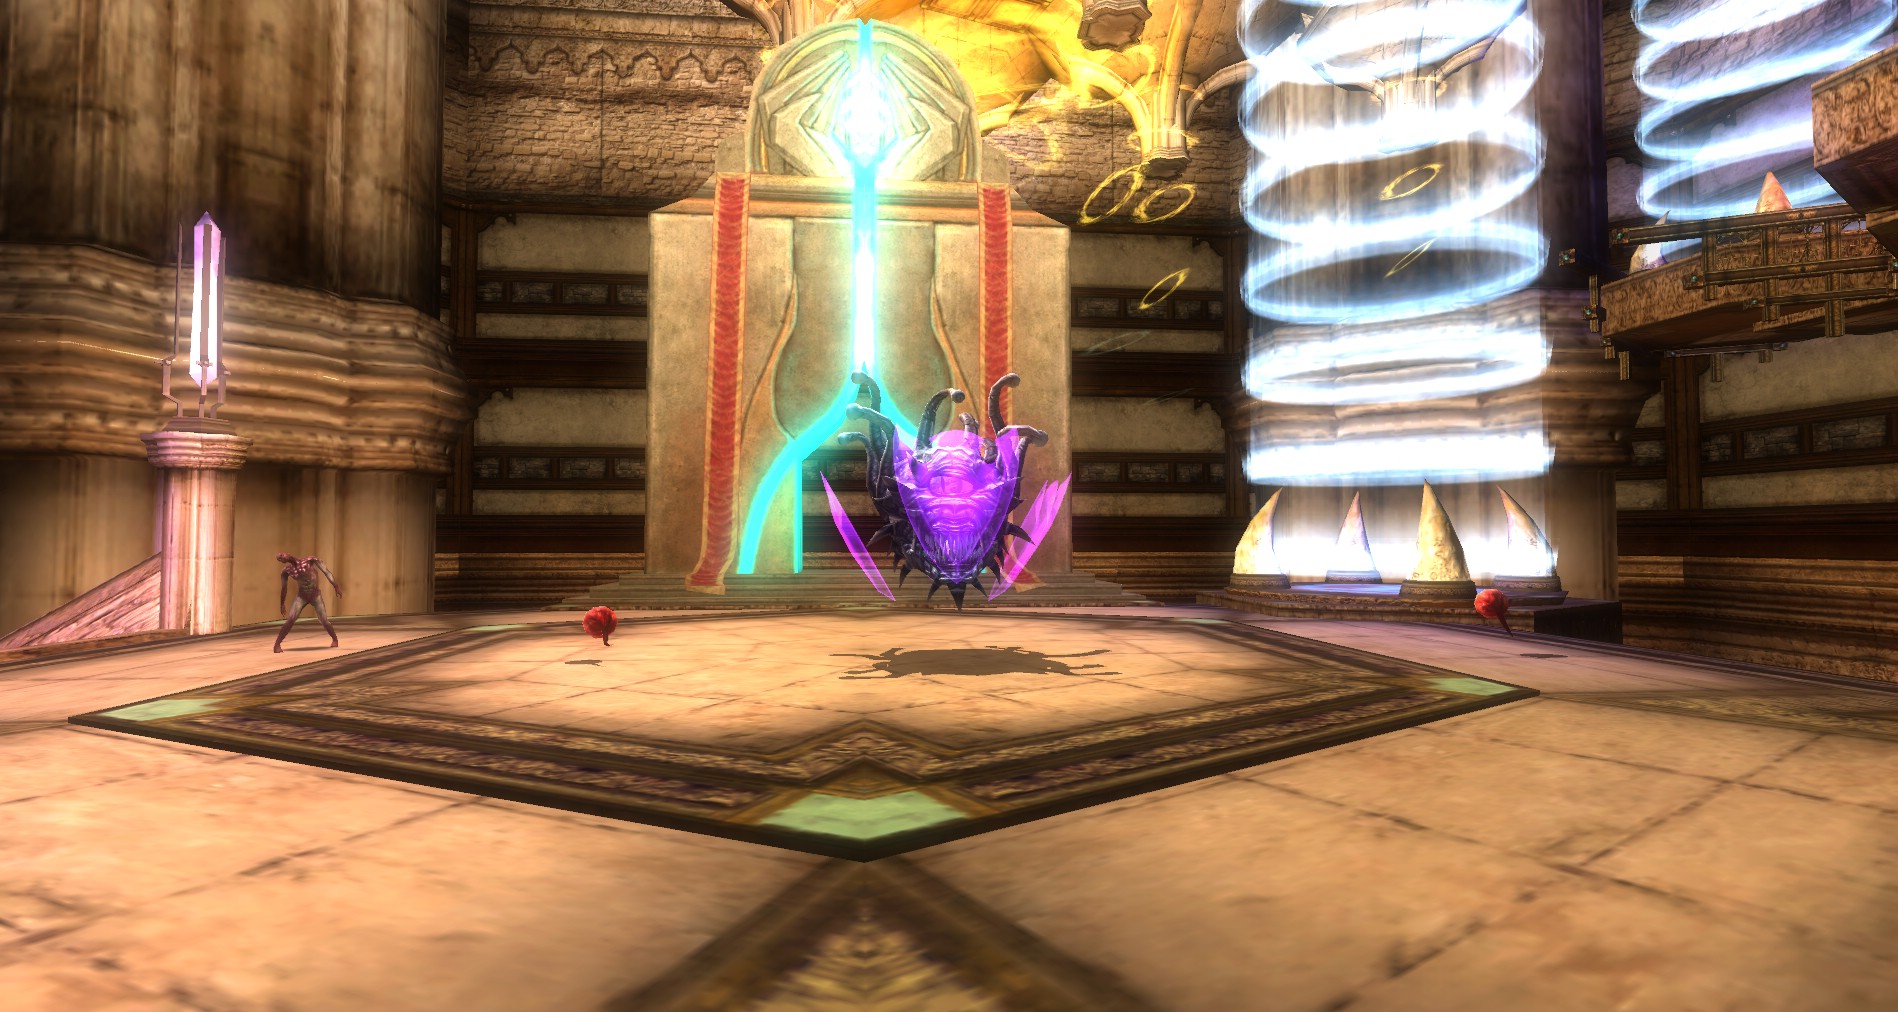
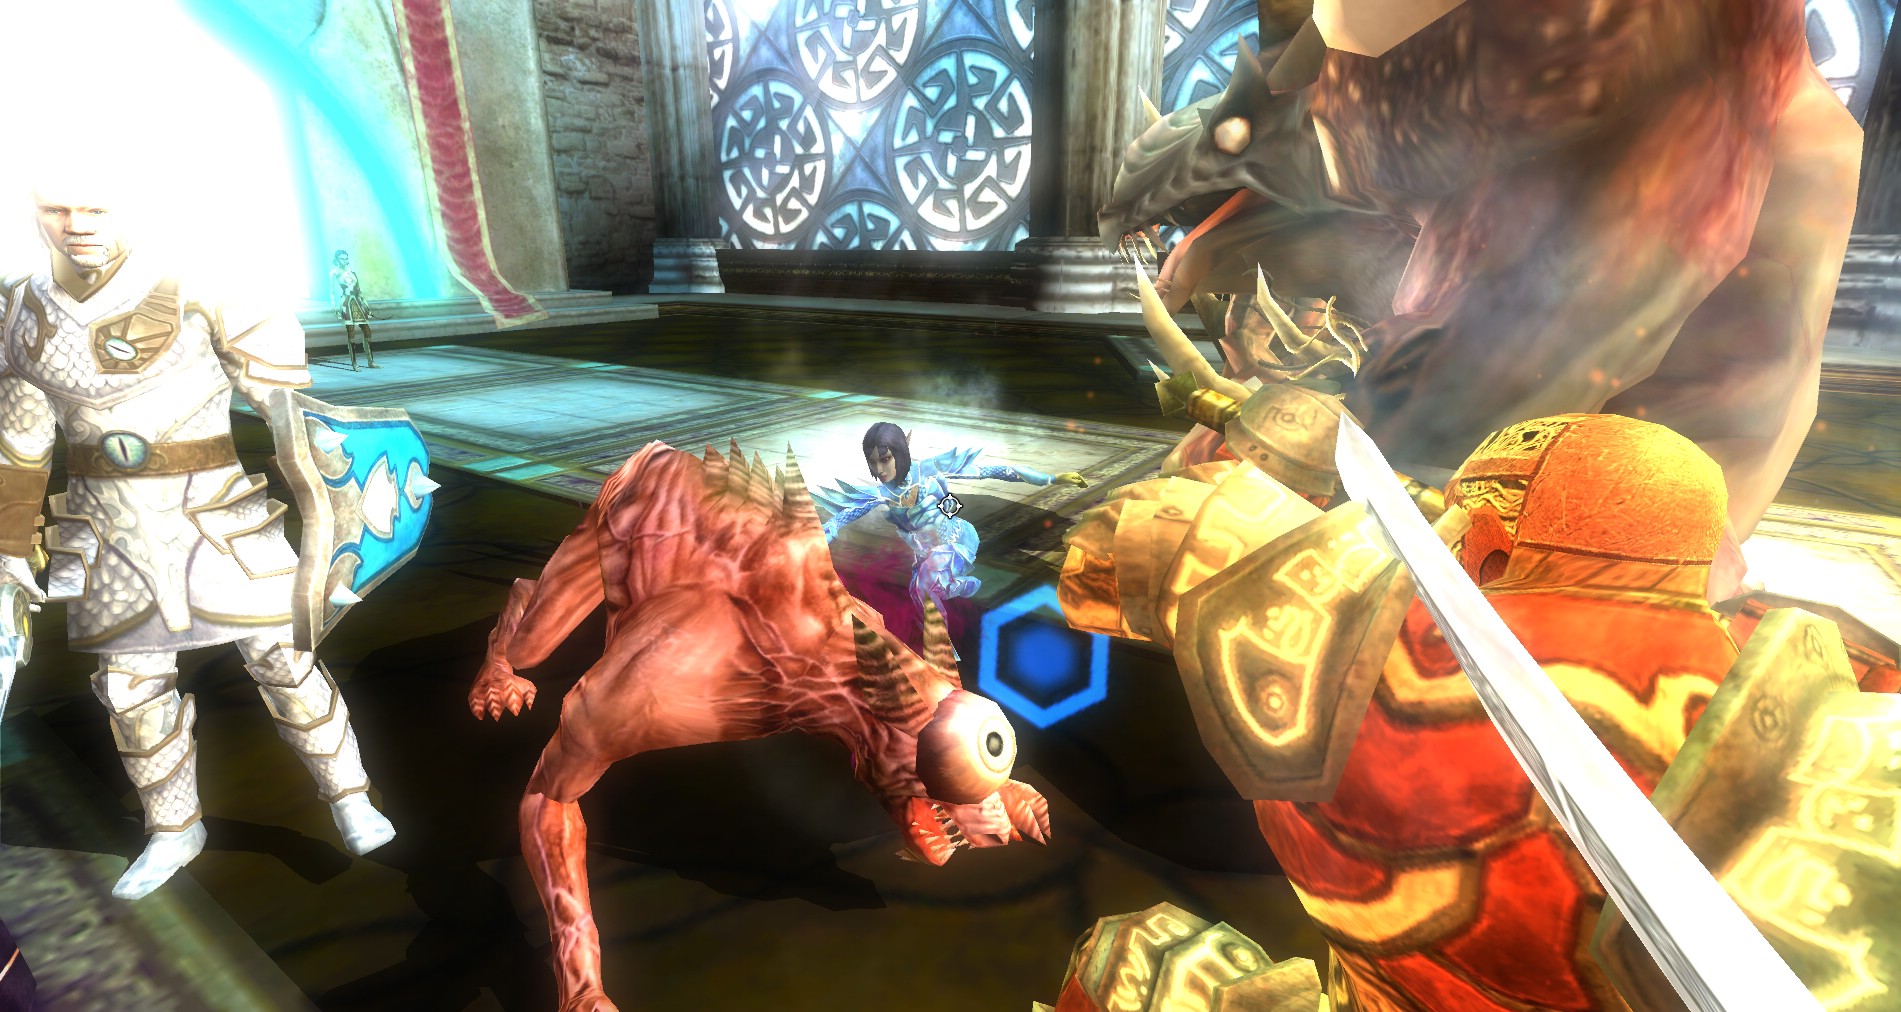
The Hall of the Planes
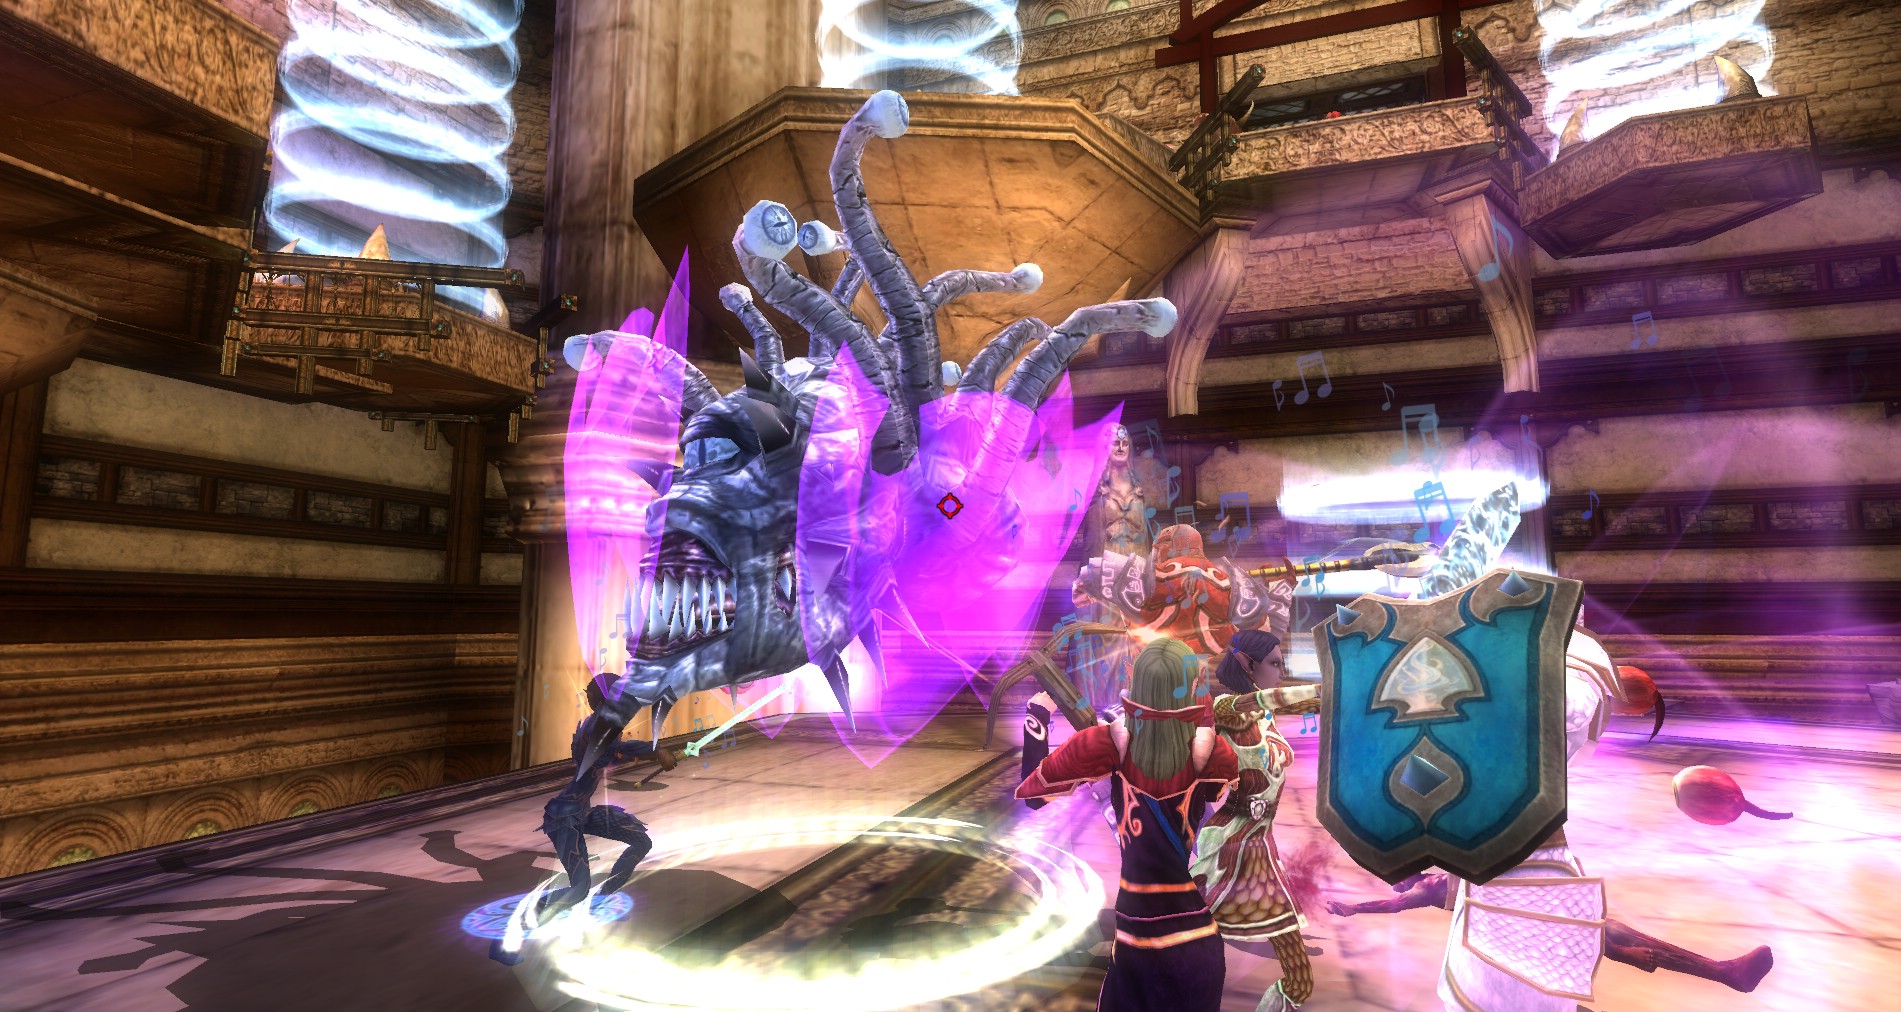
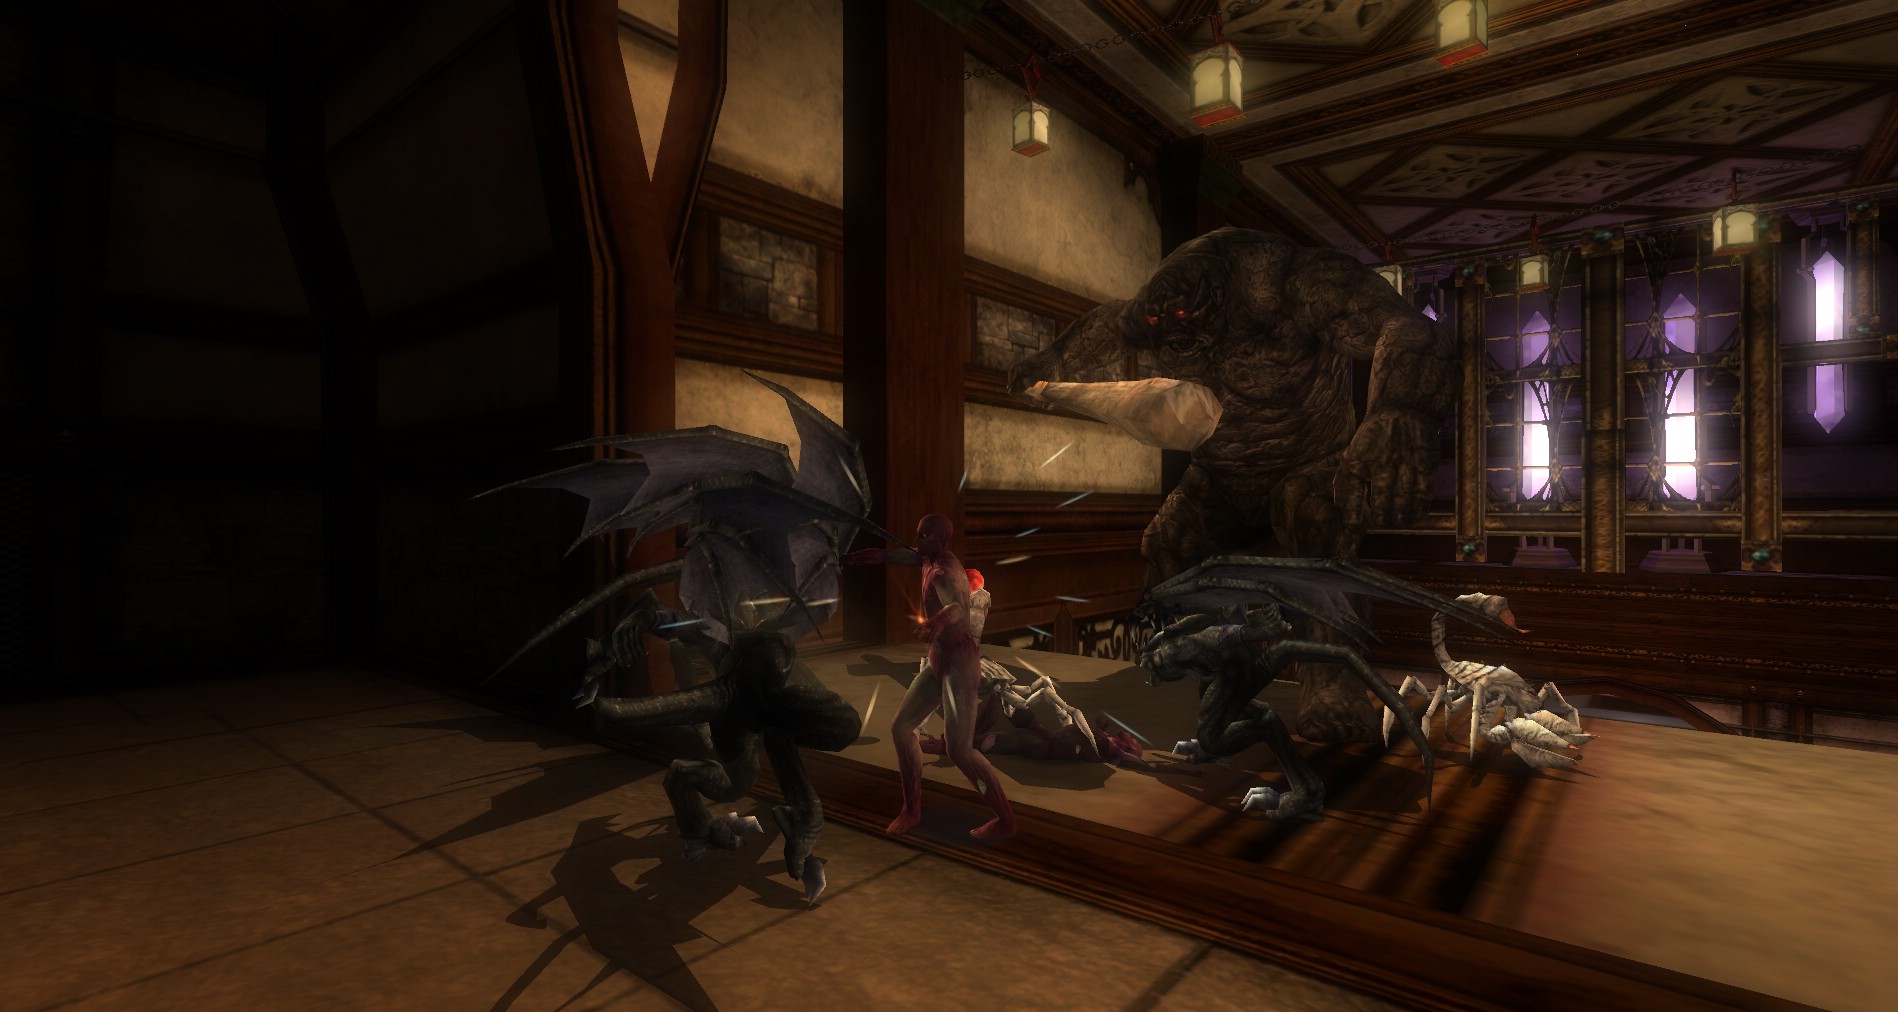
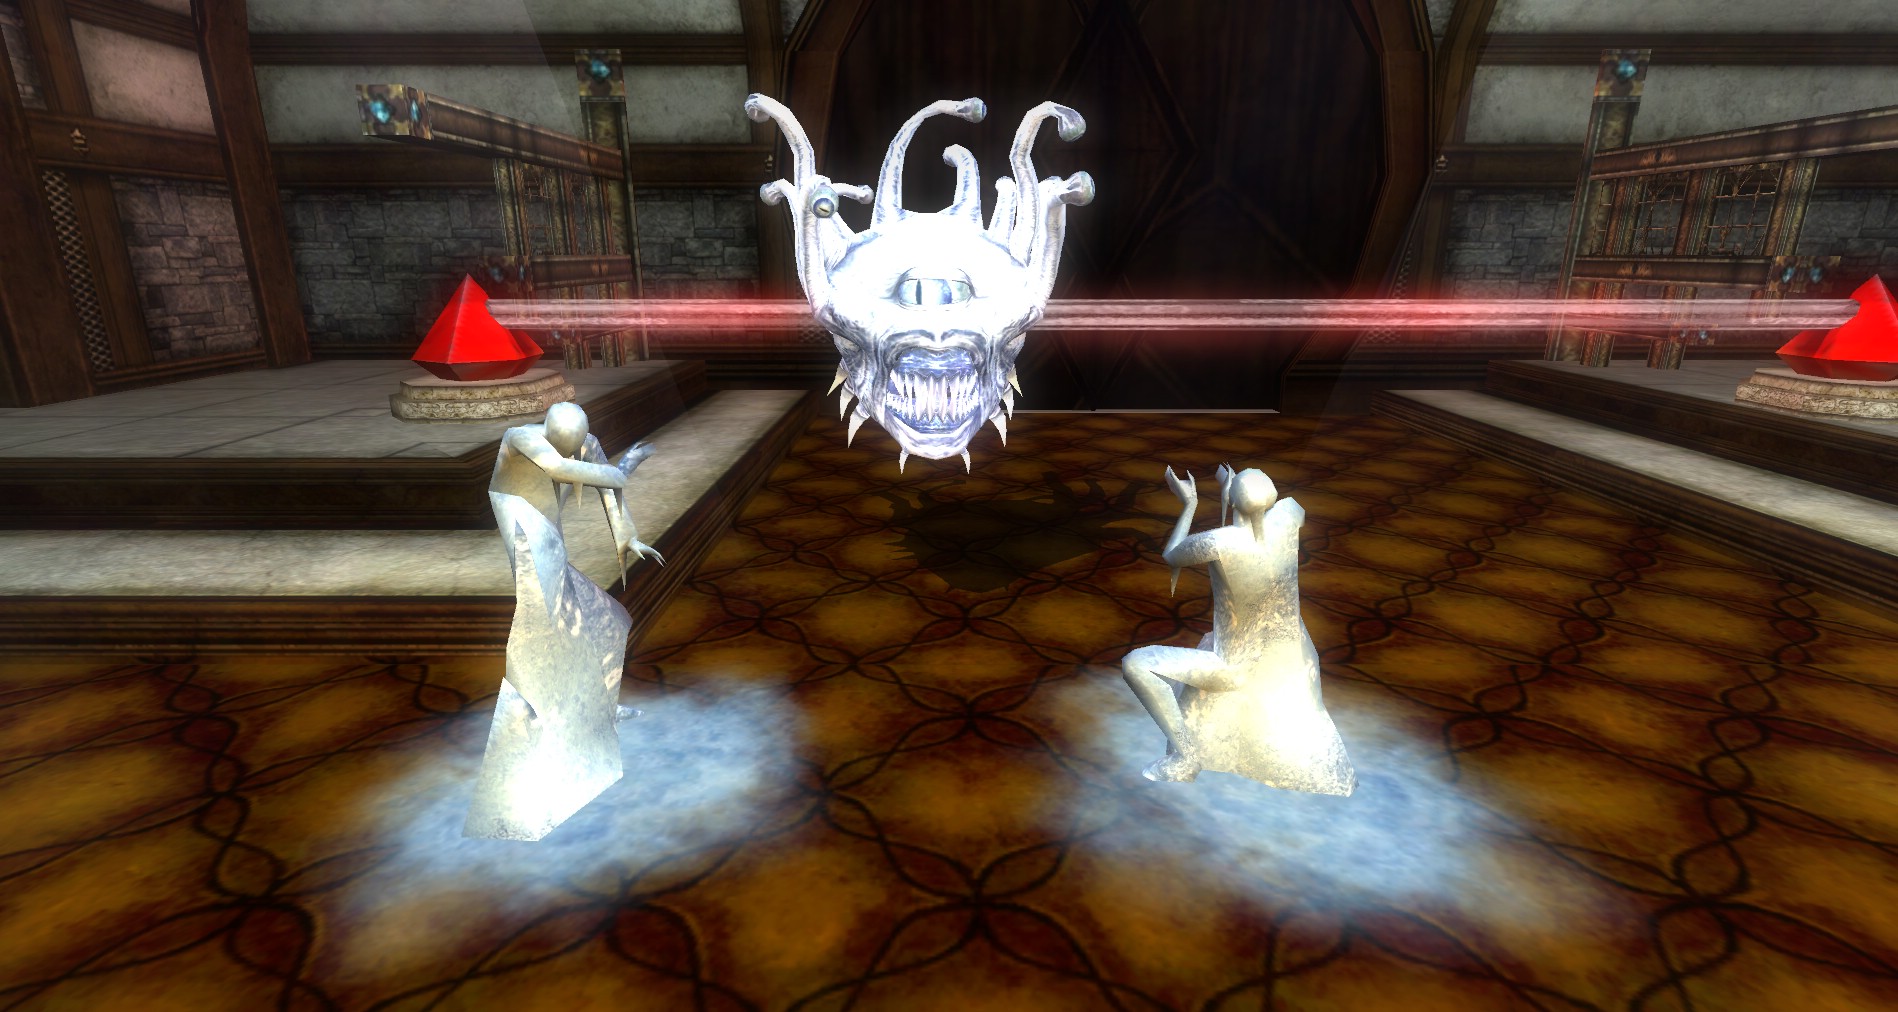
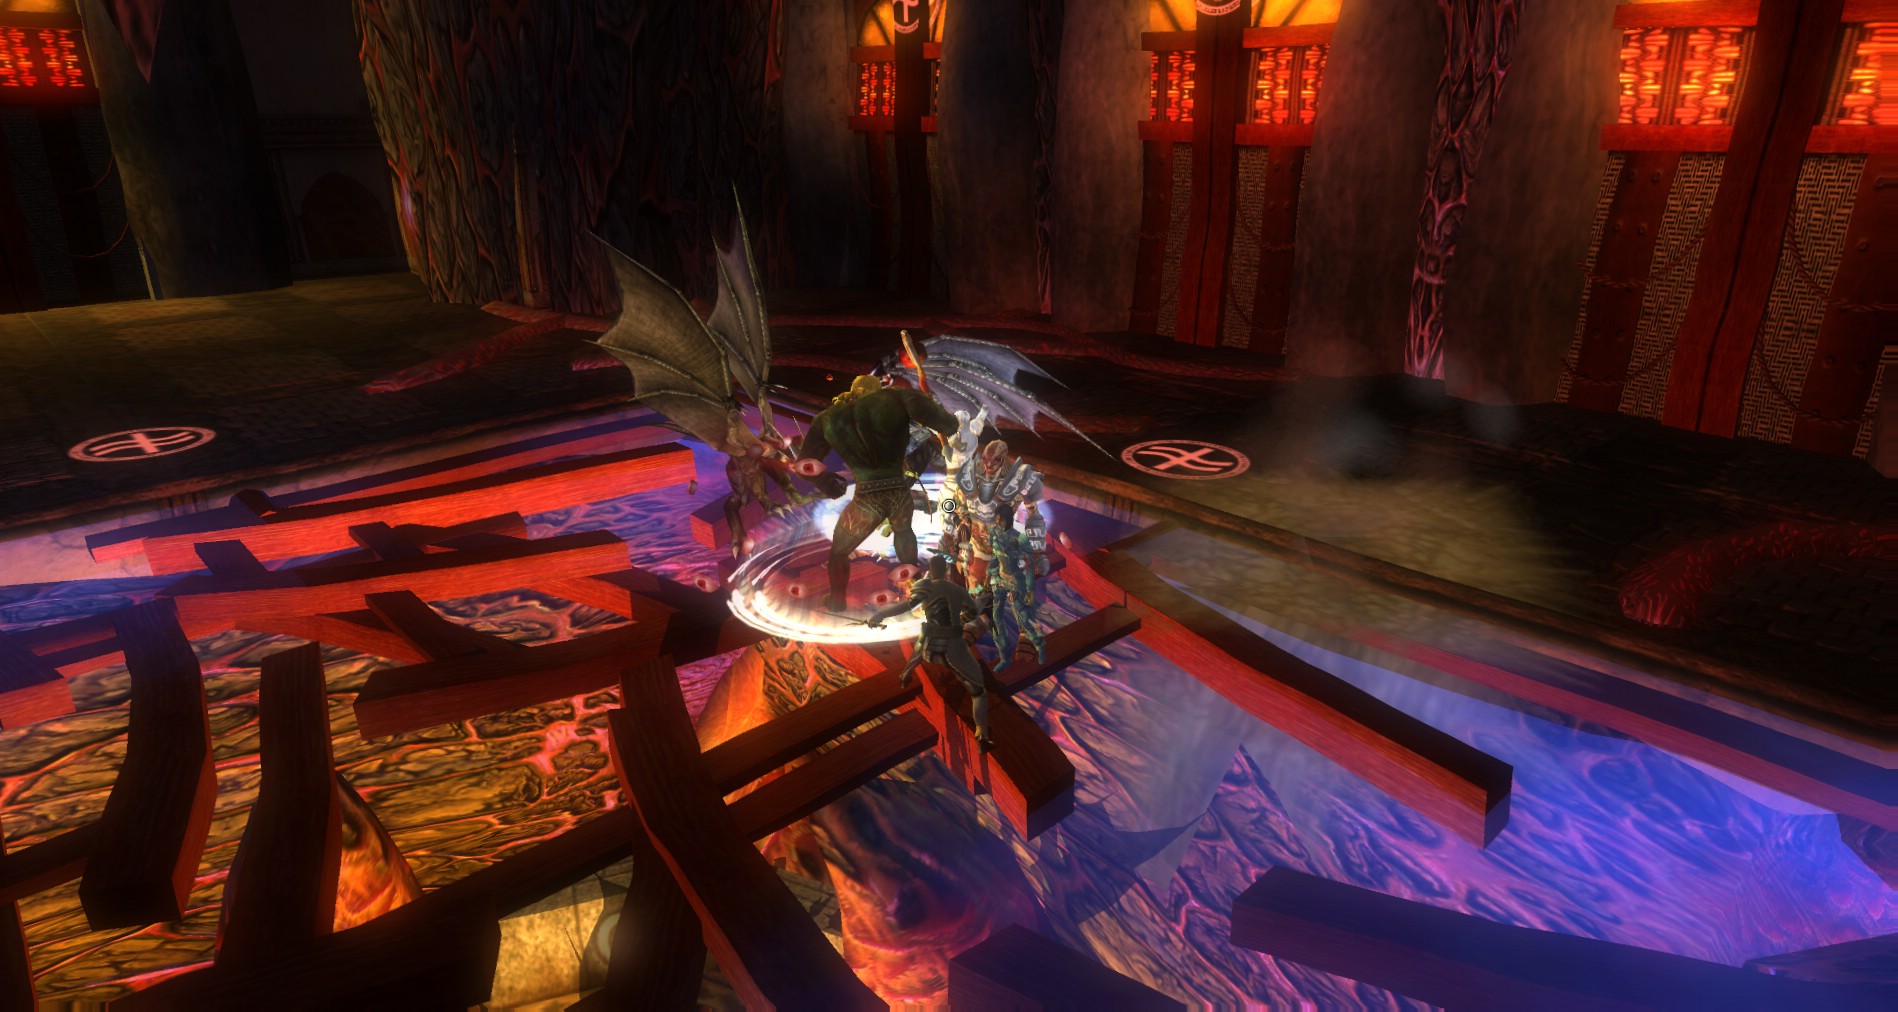
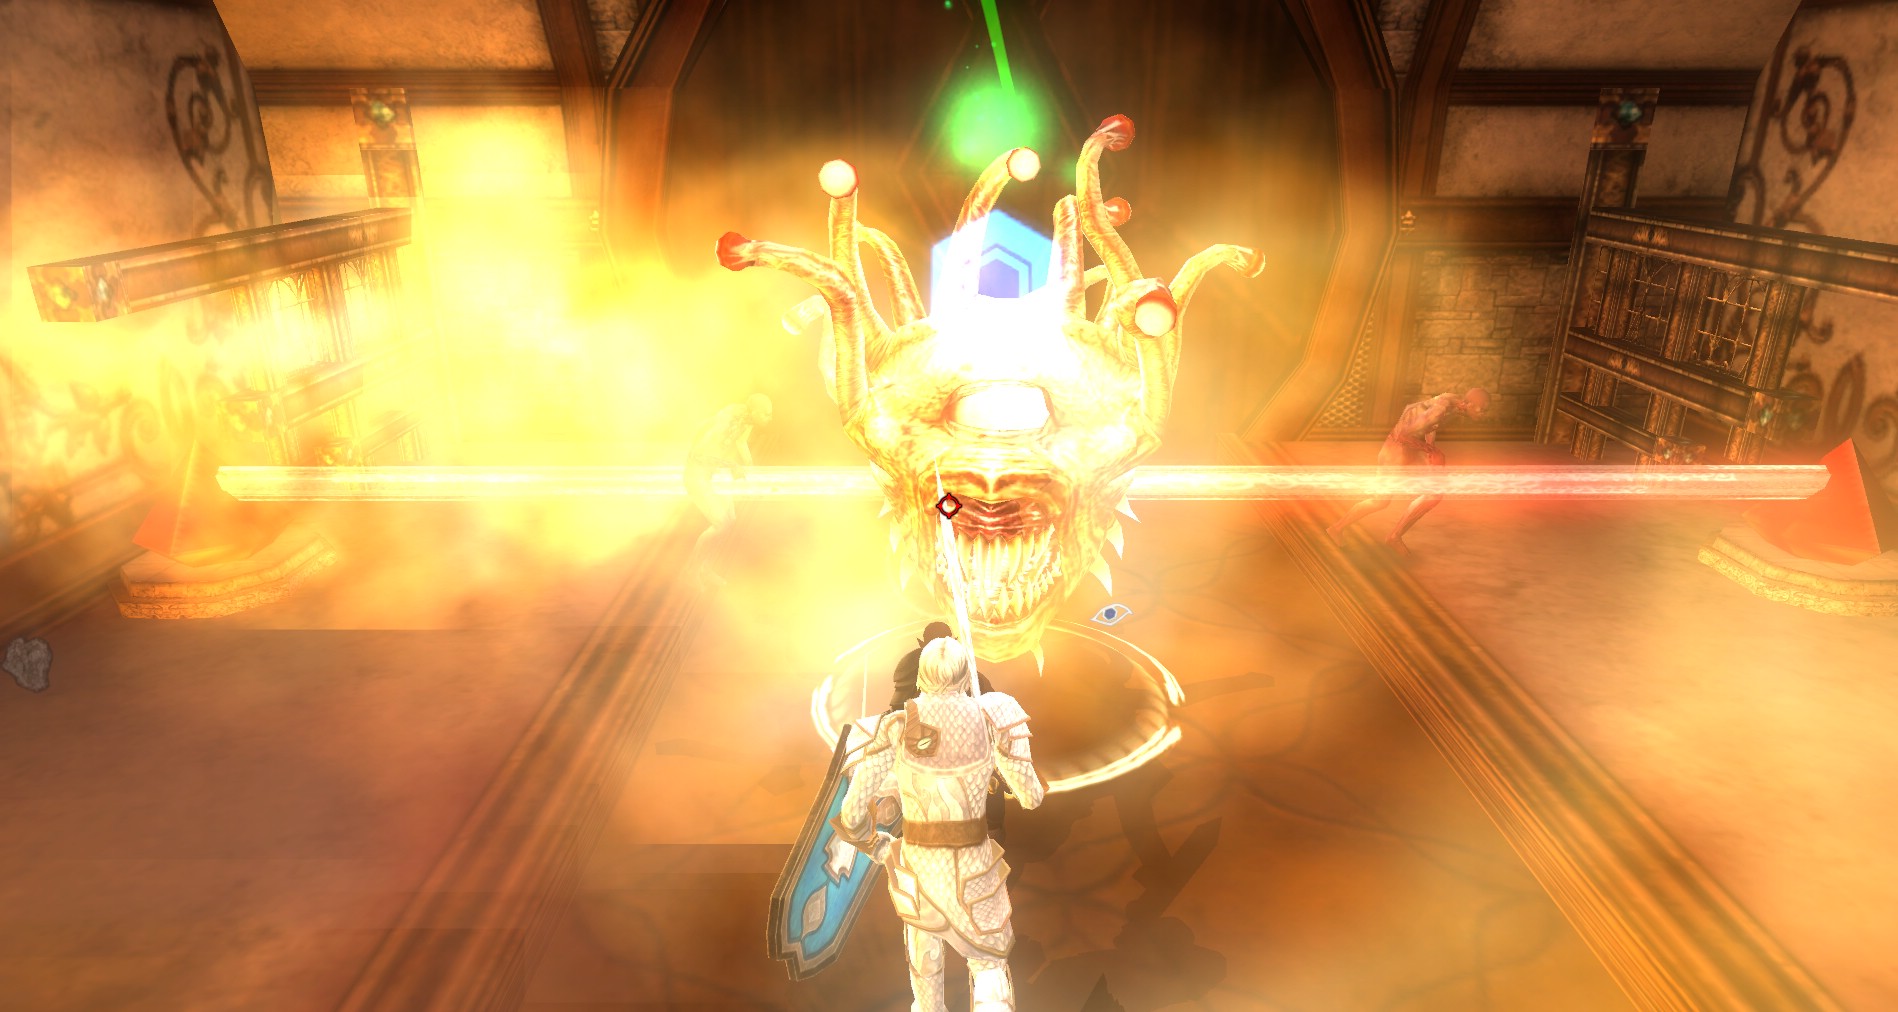
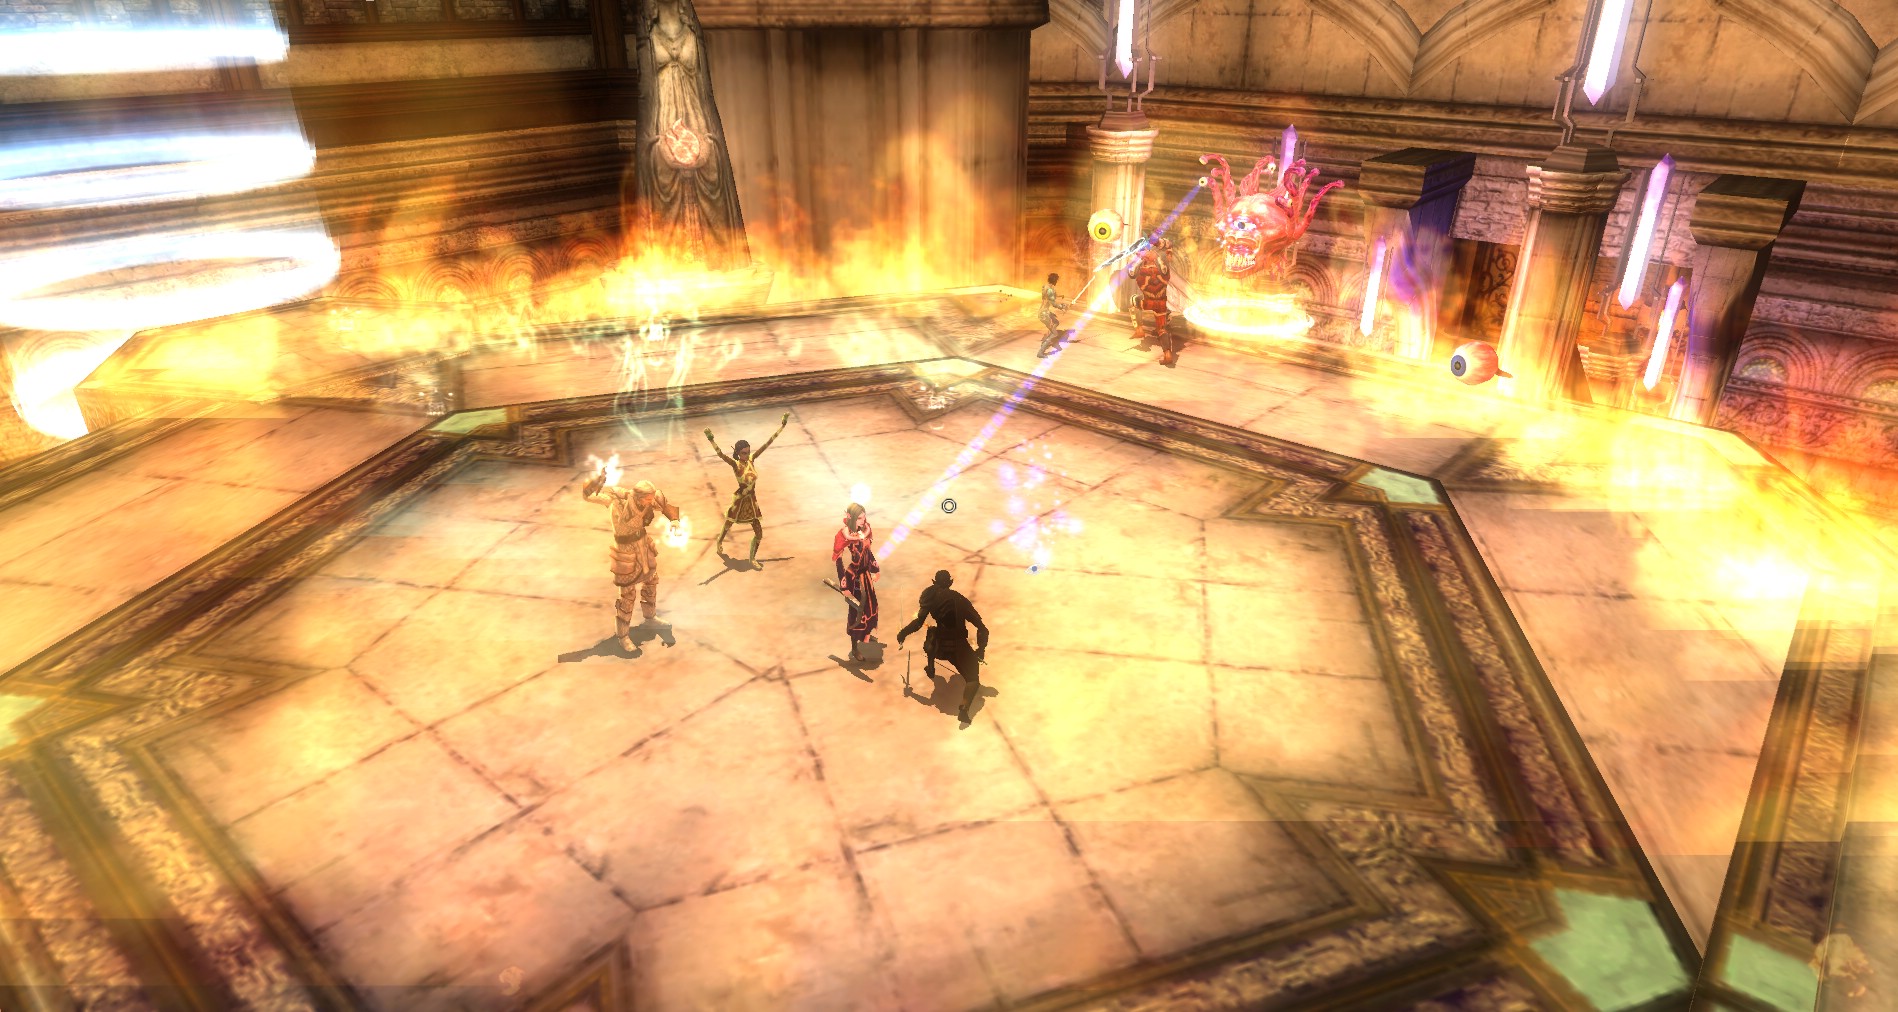
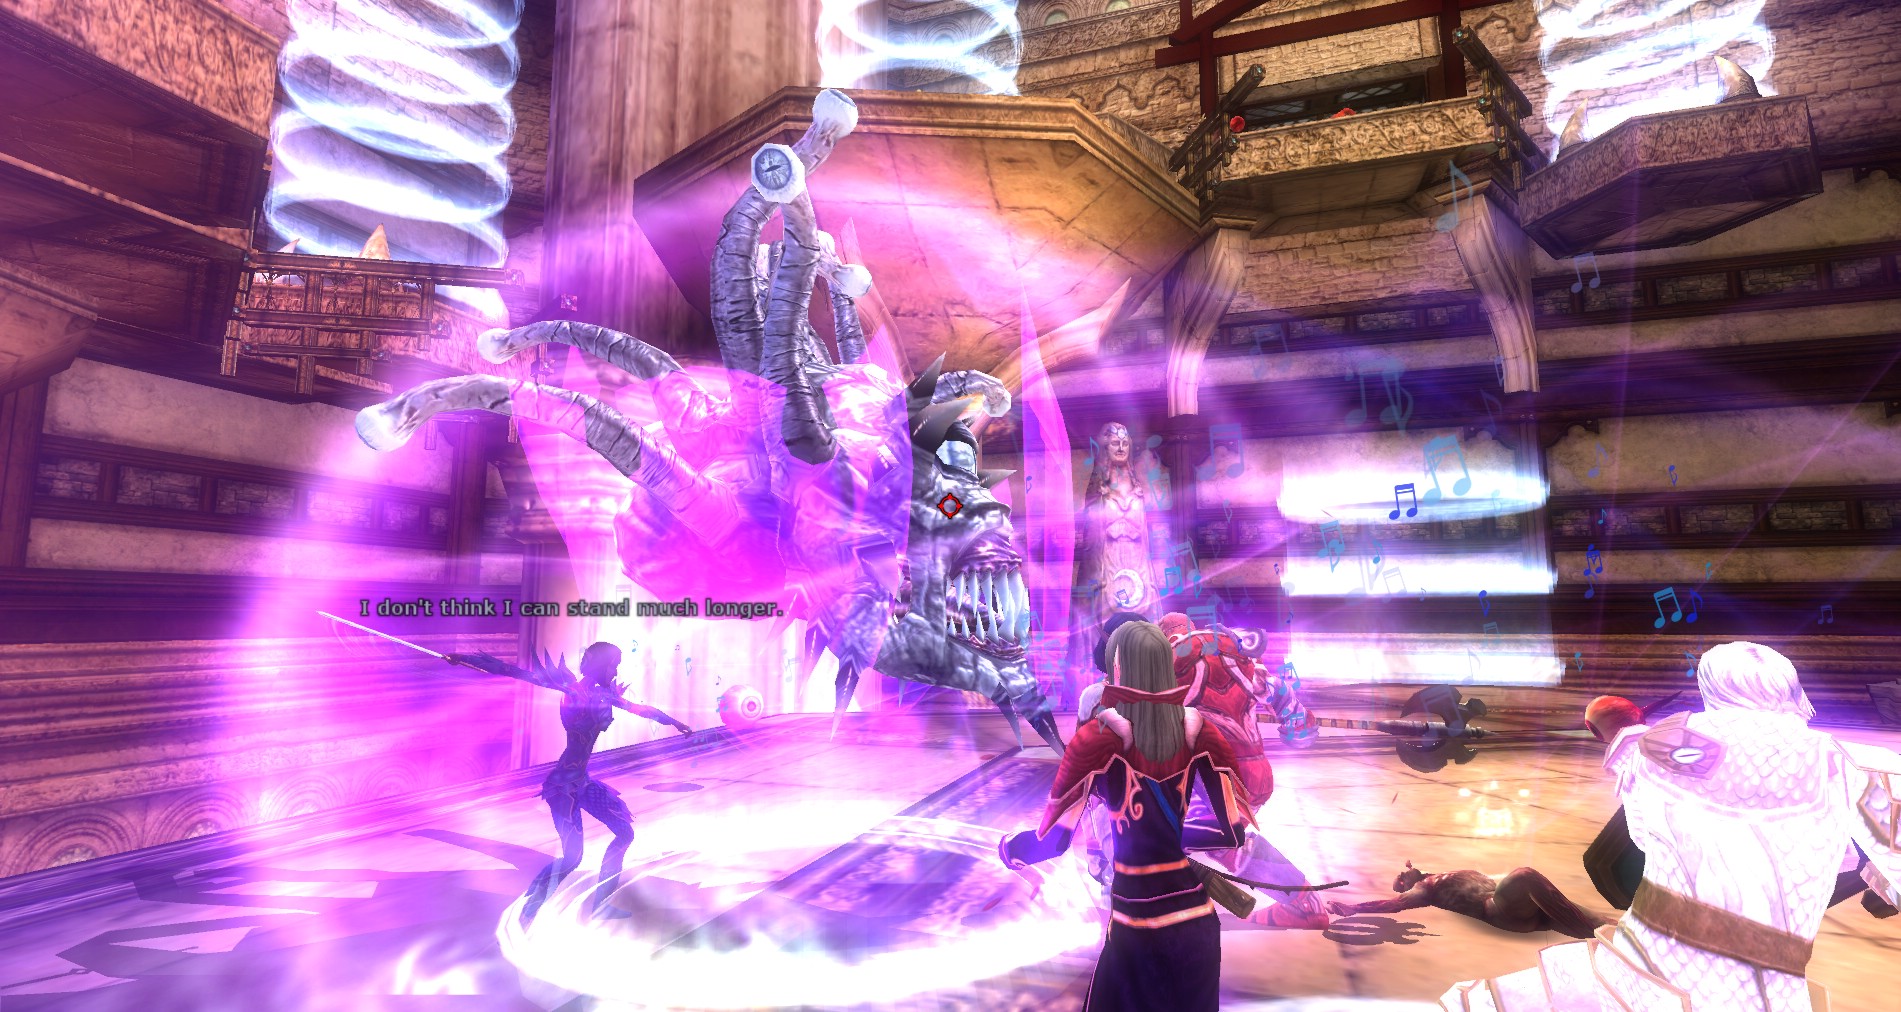
Make sure you are healed up and well buffed before you head into Hall of the Planes. Belashyrra, the Lord of Eyes, is a chaotic caster who has a great many spells he may throw at you. Along with all of the spells he uses he will also summon his minions throughout the fight.
The Lord of Stone does live up to his end of the deal and he sends in a few of his own minions to help you. They are not particularly powerful, but they do work well to distract Belashyrra and his minions from time to time.
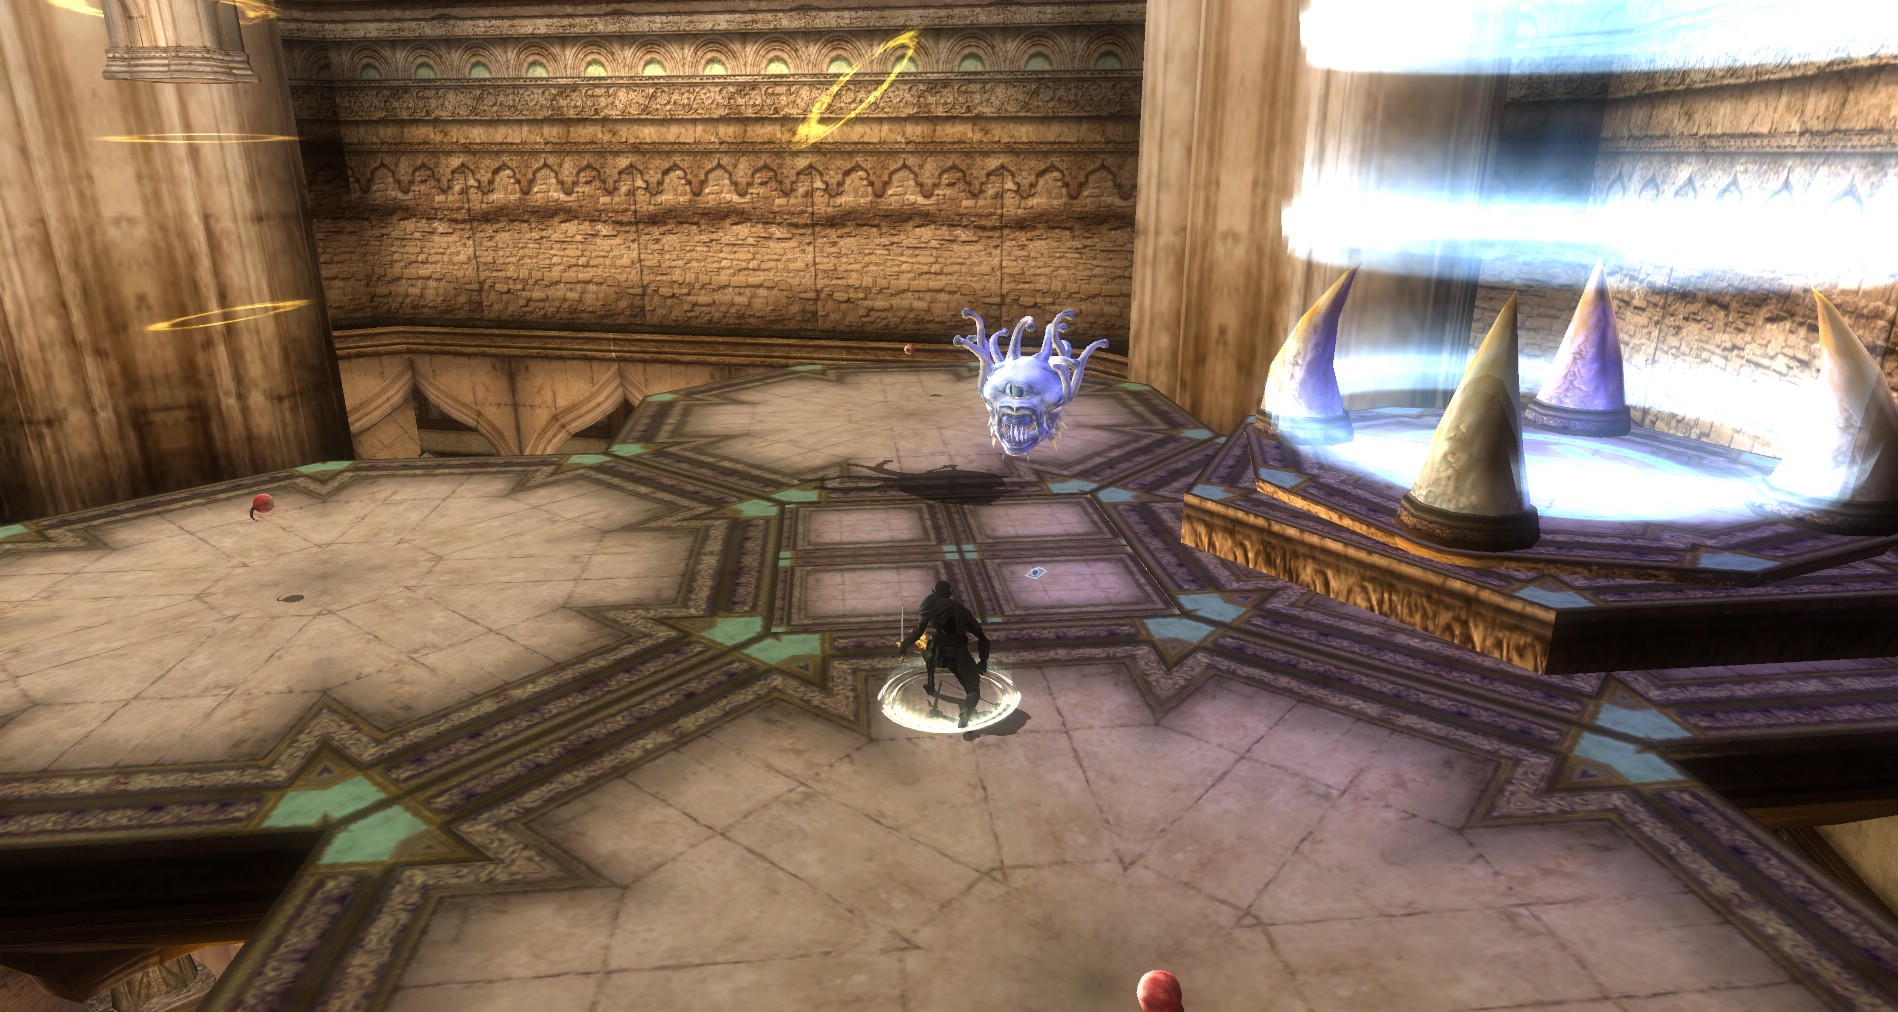
I would suggest having at least one person, if not two, on “trash duty”. This means they should be the ones to peel off and take care of the mobs that Belashyrra summons. Sometimes he summons small evil eyes and other times he will summon beholders to aid him. Luckily he doesn’t summon any of the ones with the anti-magic rays so your buffs should remain intact.
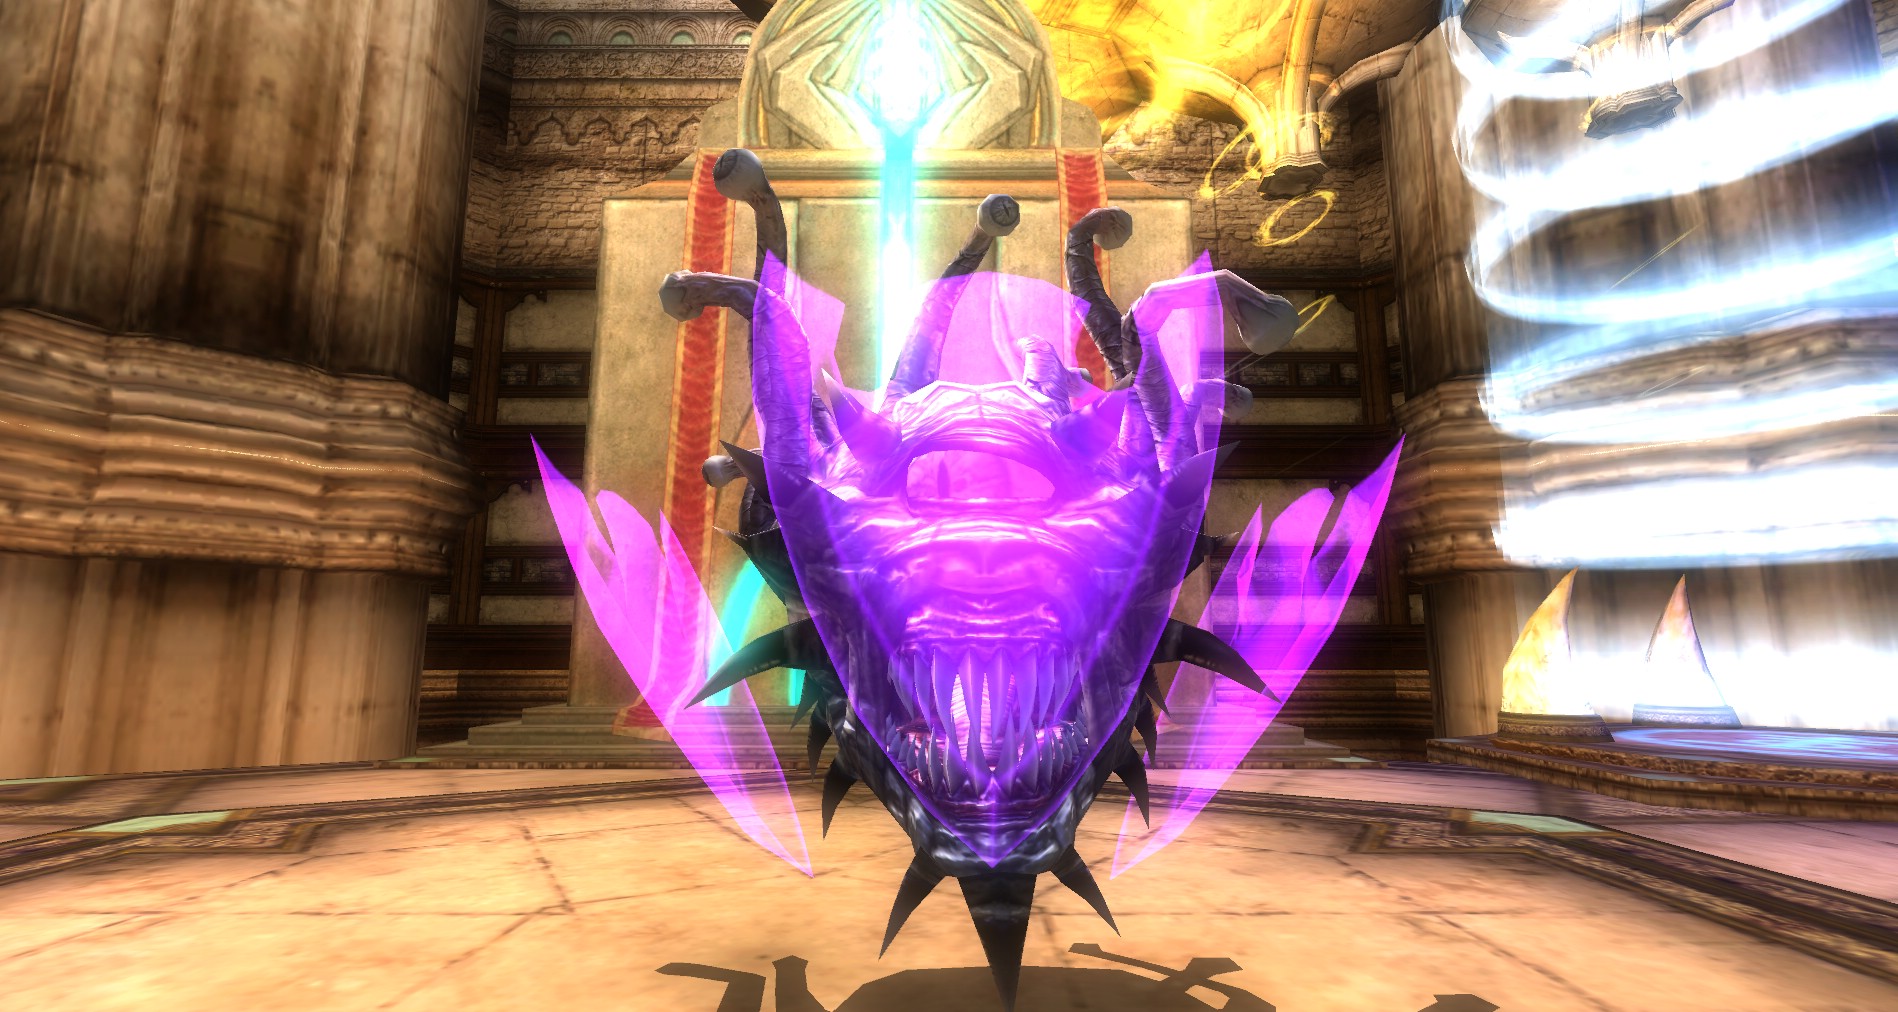
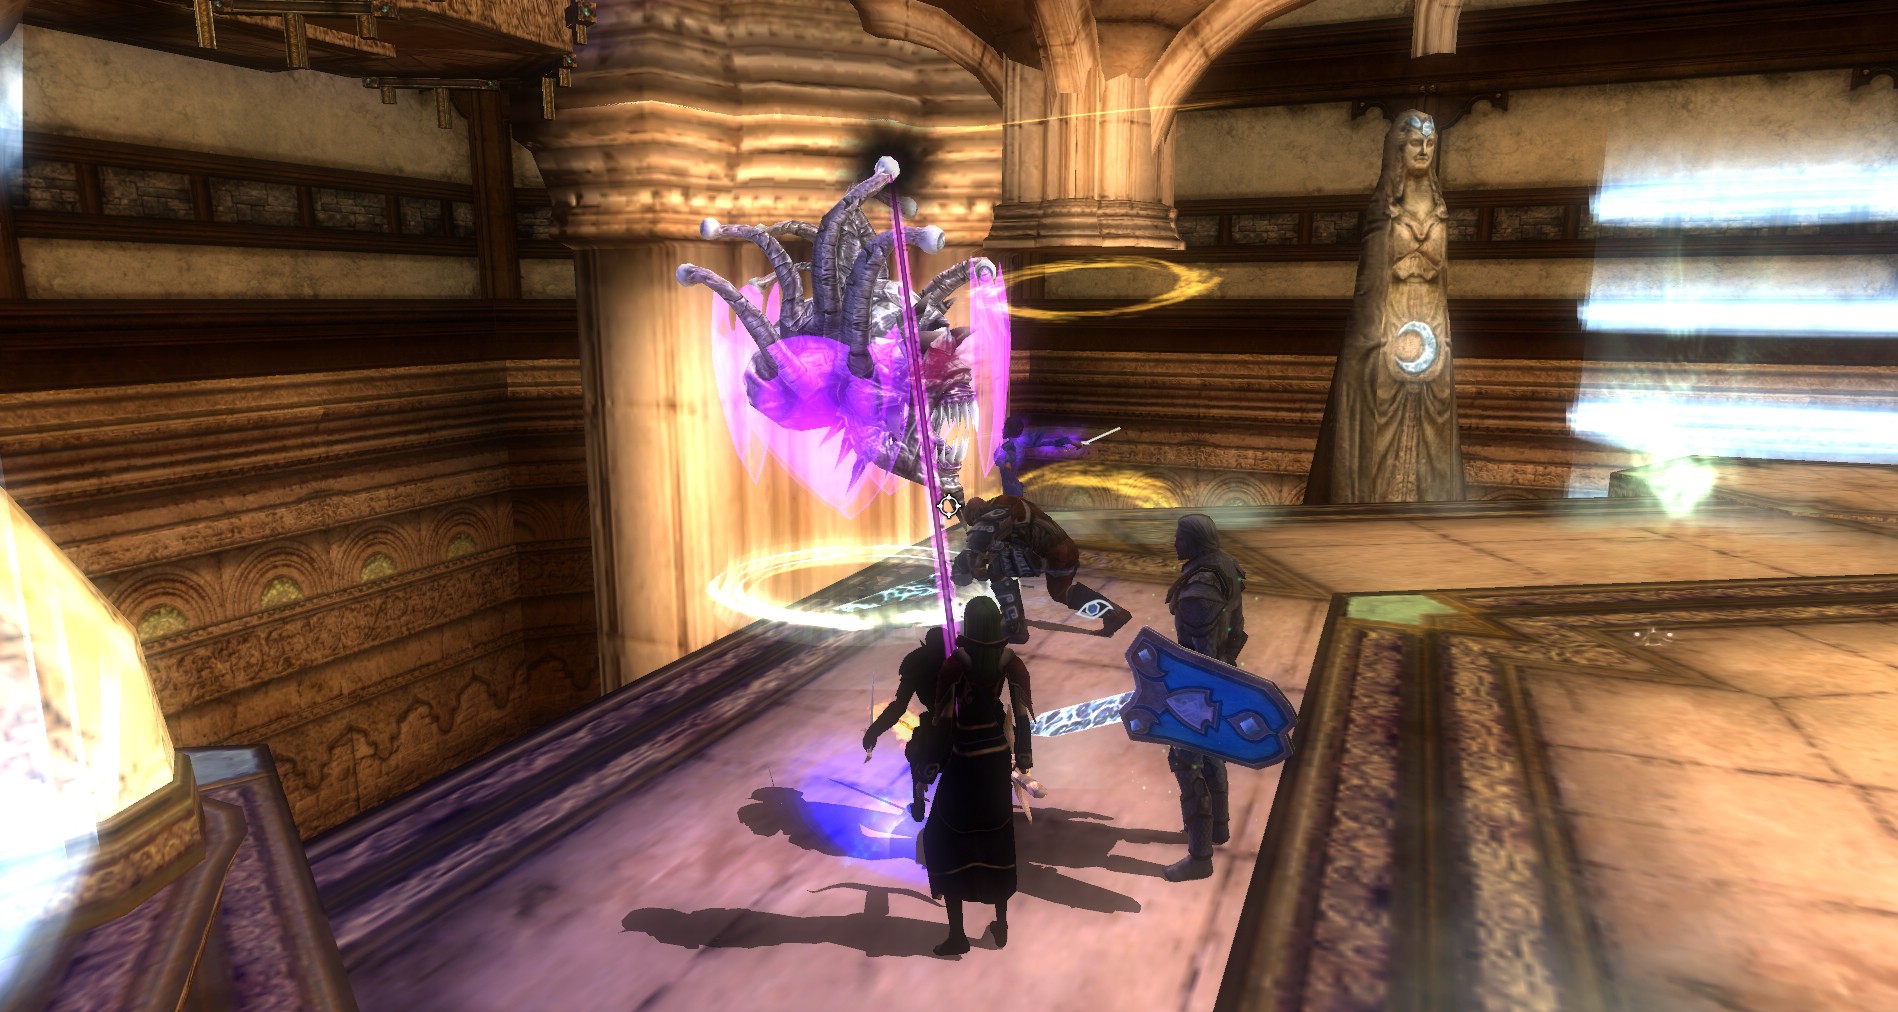
 Listen for Belashyrra: throughout the fight he will call out “We need more eyes on the situation!” or something to that effect. He will start to be surrounded by small eyes that circle around him. This is your cue to get away! These eyes will do damage to all enemies around him as well as stun you if you are in the area of effect. This is not something you want to happen in the middle of fighting a demi-god!
This fight is not particularly hard on normal as long as you work together and keep an eye out for Belashyrra’s eye swarms and the adds are taken care of quickly.
Once he dies, you complete the quest. Finish off any leftover minions. Once they are dead your allies from Kyber will head back home. Loot up and finish out. You have ended the threat from the Lord of Eyes… for now!
 This final fight can drop named items, most notably Belashyrra’s Scepter which drops with several random effects on it. Make sure to look at all the effects and hand it over to the person in your party who can use it the most. The random effects mean it may take a little more time to determine who in the party would benefit the most.
When you are out, be sure to talk to Basmore for your series reward on top of your quest reward. Good luck on the named items and make sure to repeat it immediately so you are ready to run the series again.


No Comments Yet